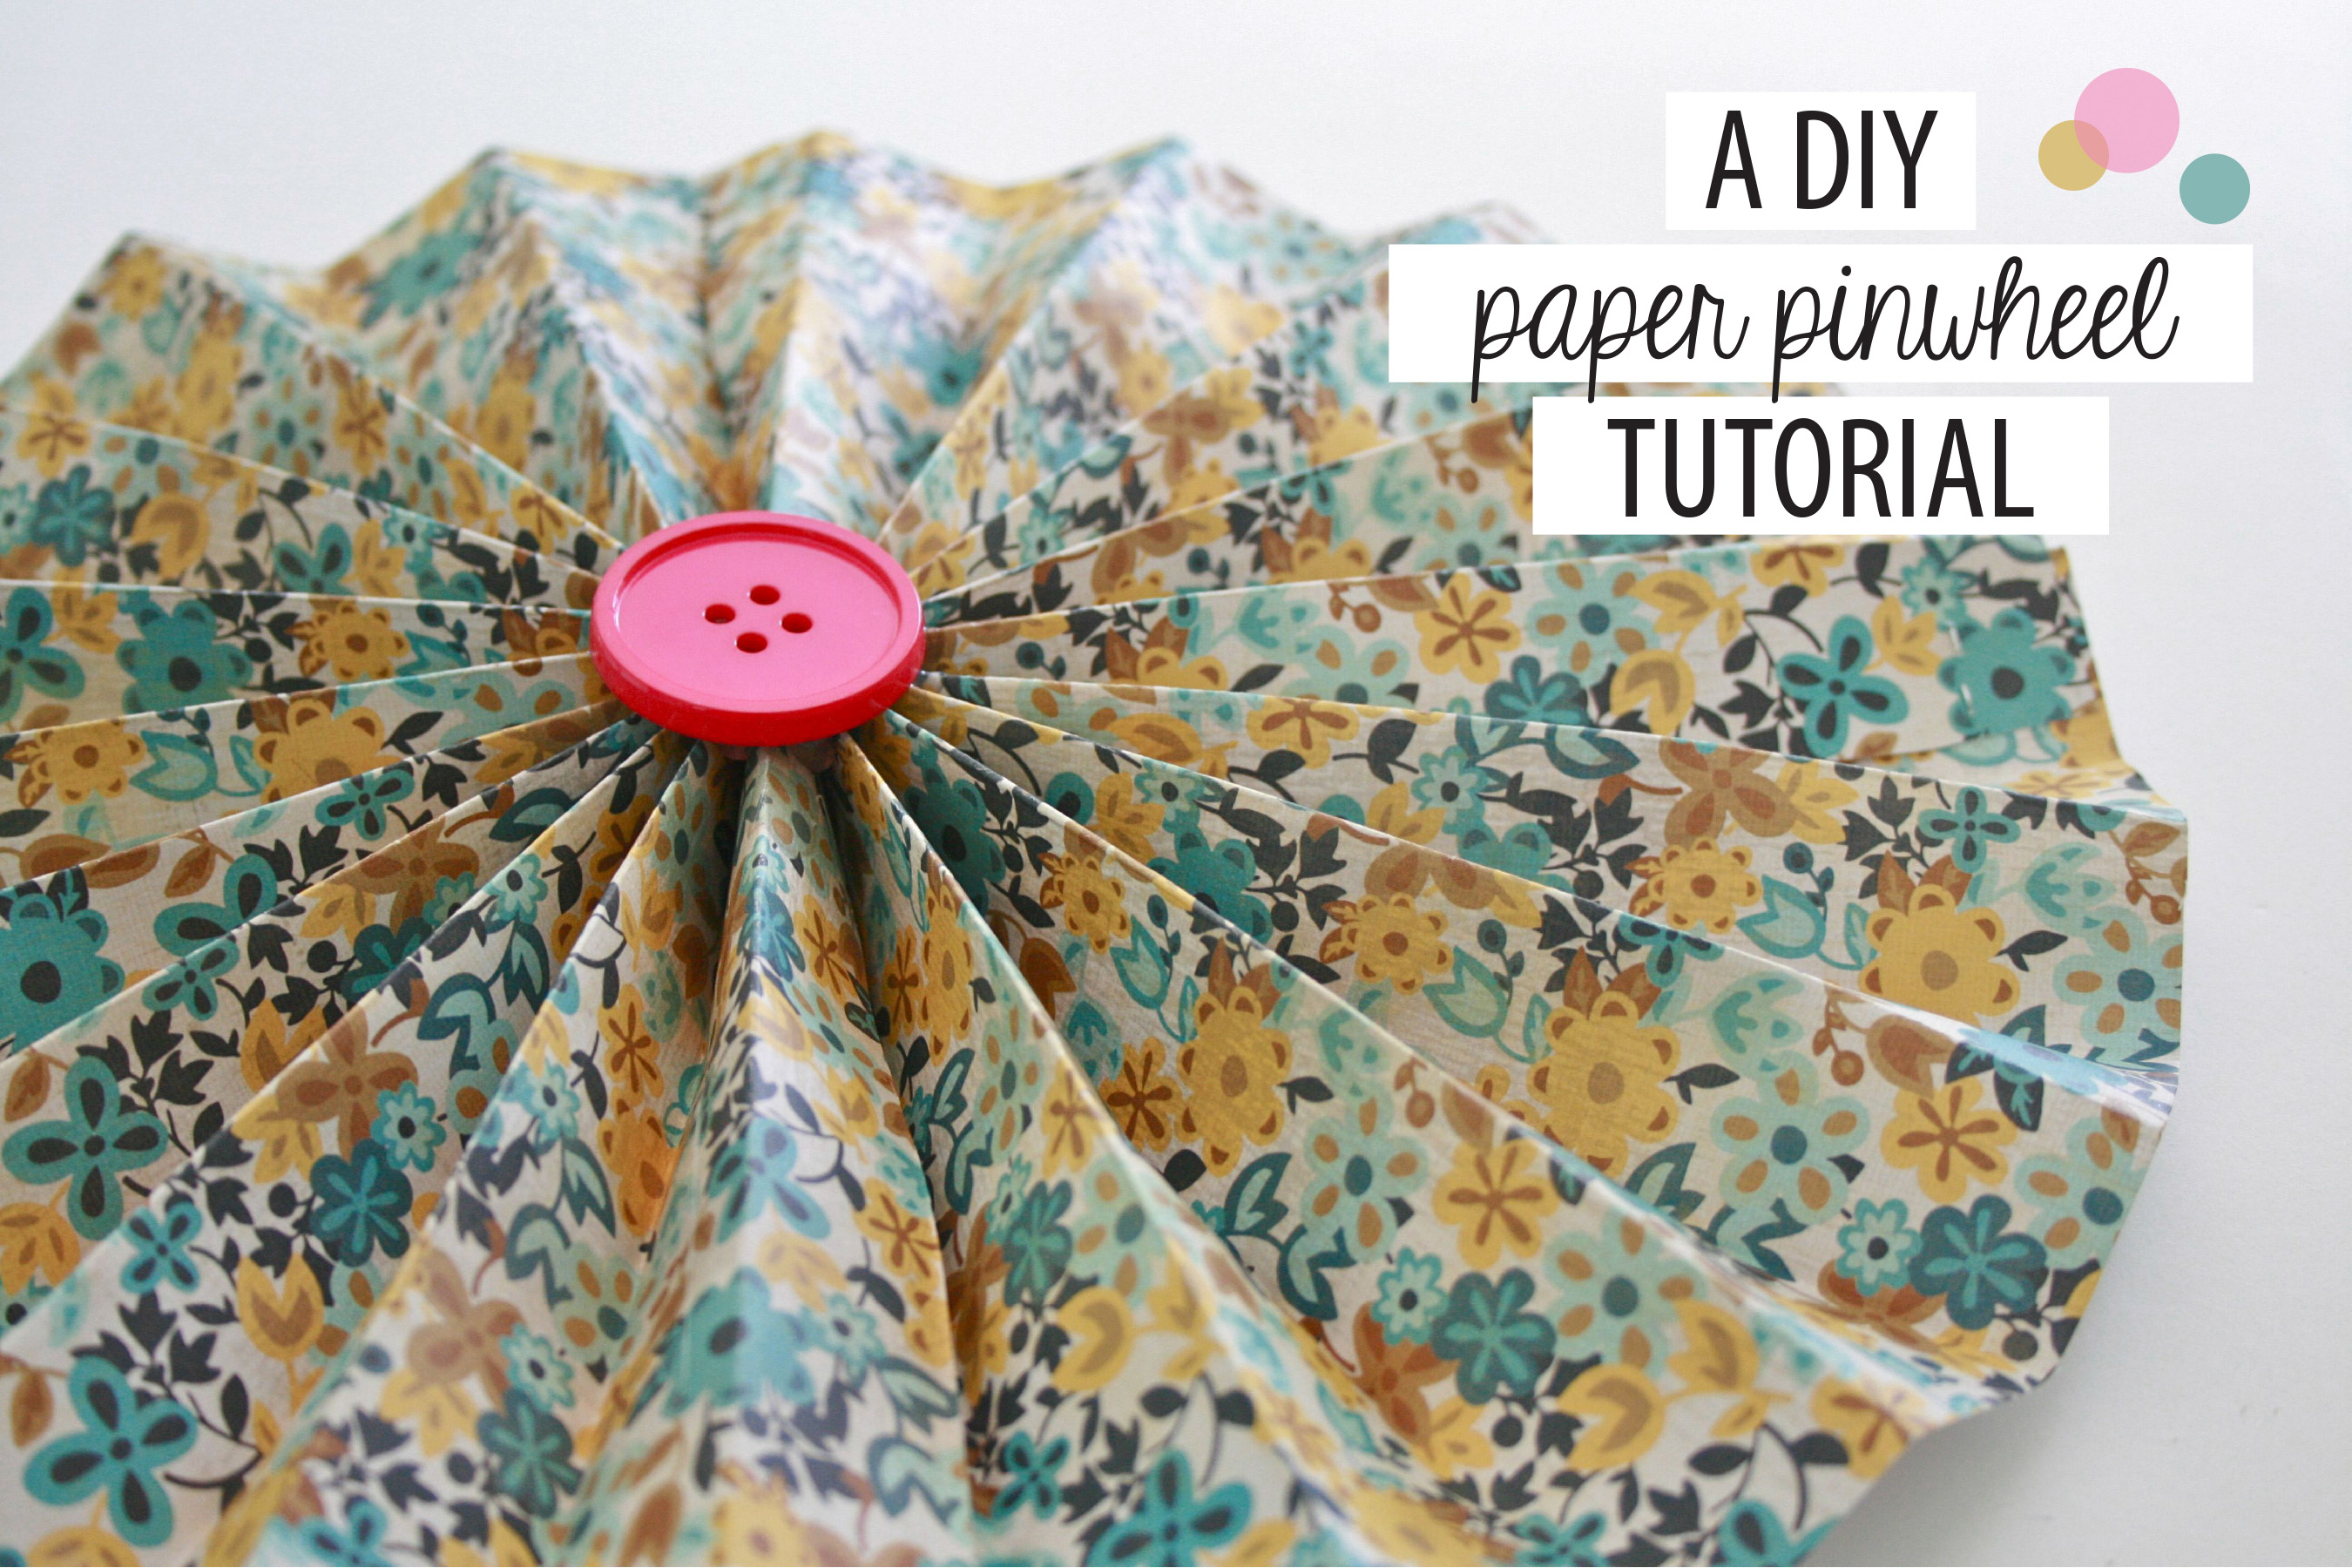
Paper pinwheels probably take the prize for simplest DIY craft with the most brilliant final product. Truly, once you get the hang of the process, you can whip these babies up in less than 10 minutes each. So with an hour or two on your hands (or, better yet, a couple of PAIRS of hands helping you out), you could have a pretty big pile ready to hang – and, as we saw during last week’s studio reveal, hanging them en masse makes quite a statement. Want to learn how to do it? Read on!
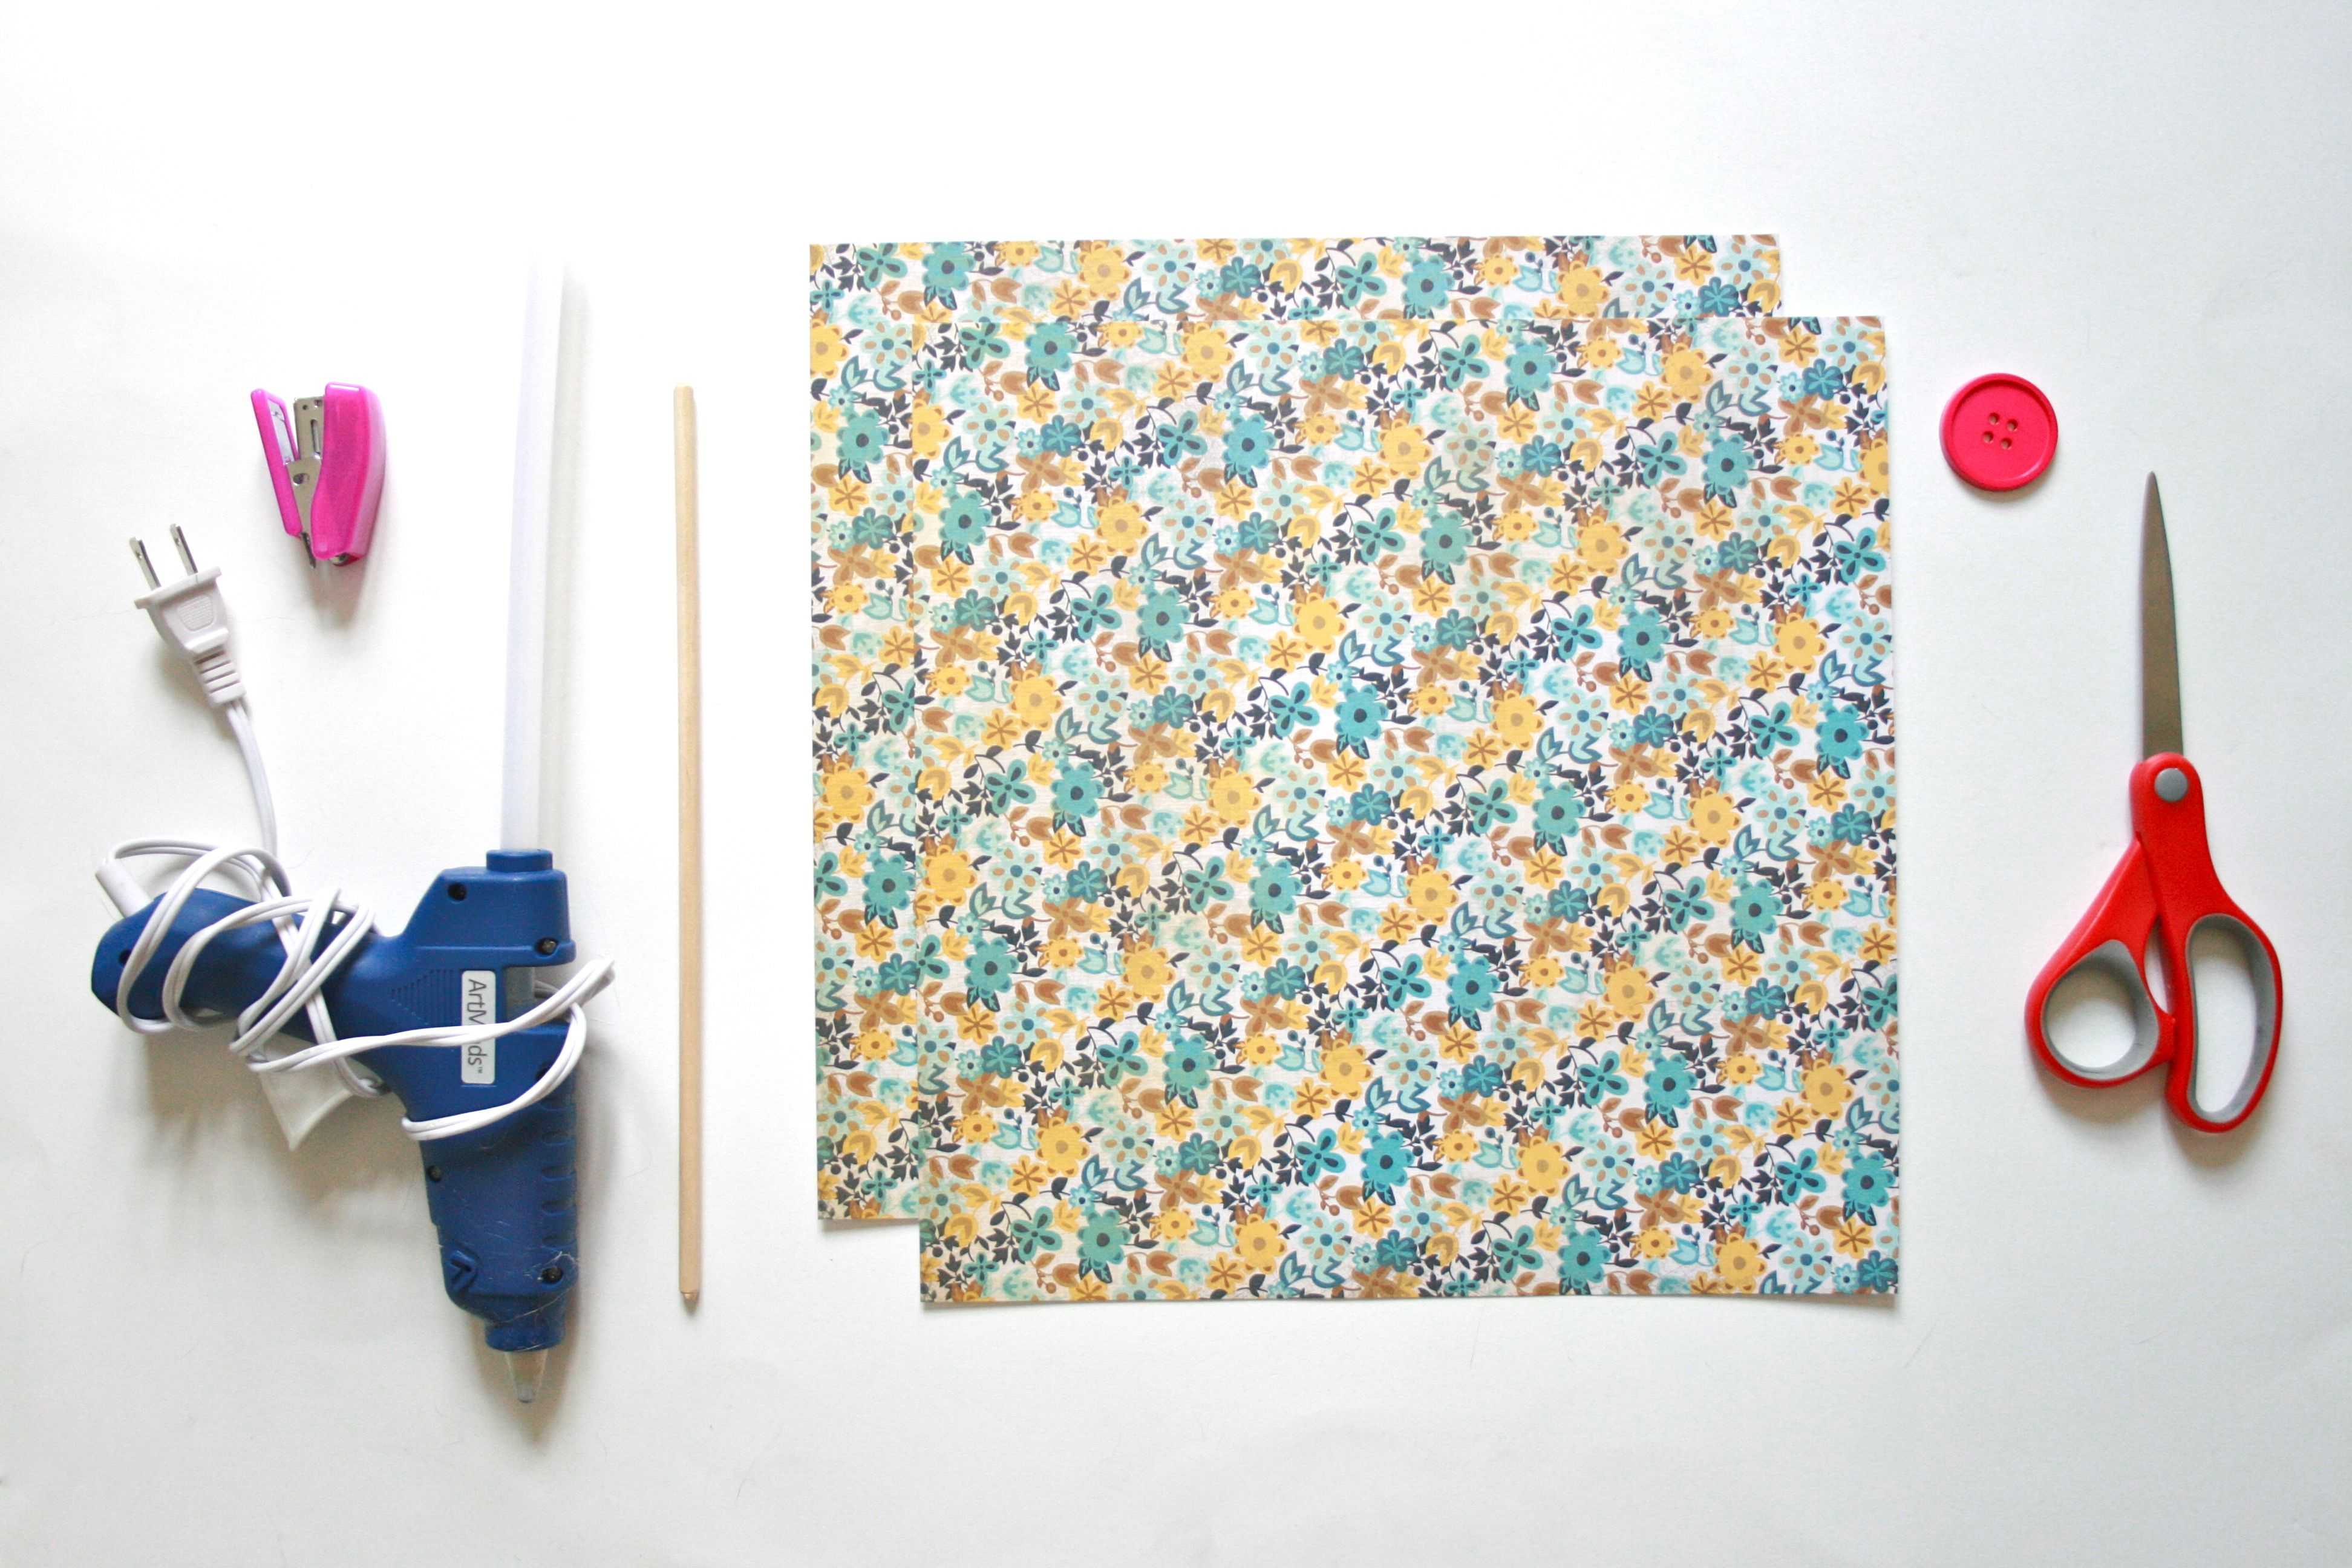
Supplies:
- Stapler (although I would suggest a full size over our mini – I just couldn’t find the big one)
- Hot glue gun and glue sticks
- Thin wooden dowel rod (about 1/4″ in diameter) cut to about 1ft in length
- Two pieces of scrapbook paper in the same print
- An oversized button in your color of choice
- A pair of scissors
Directions:
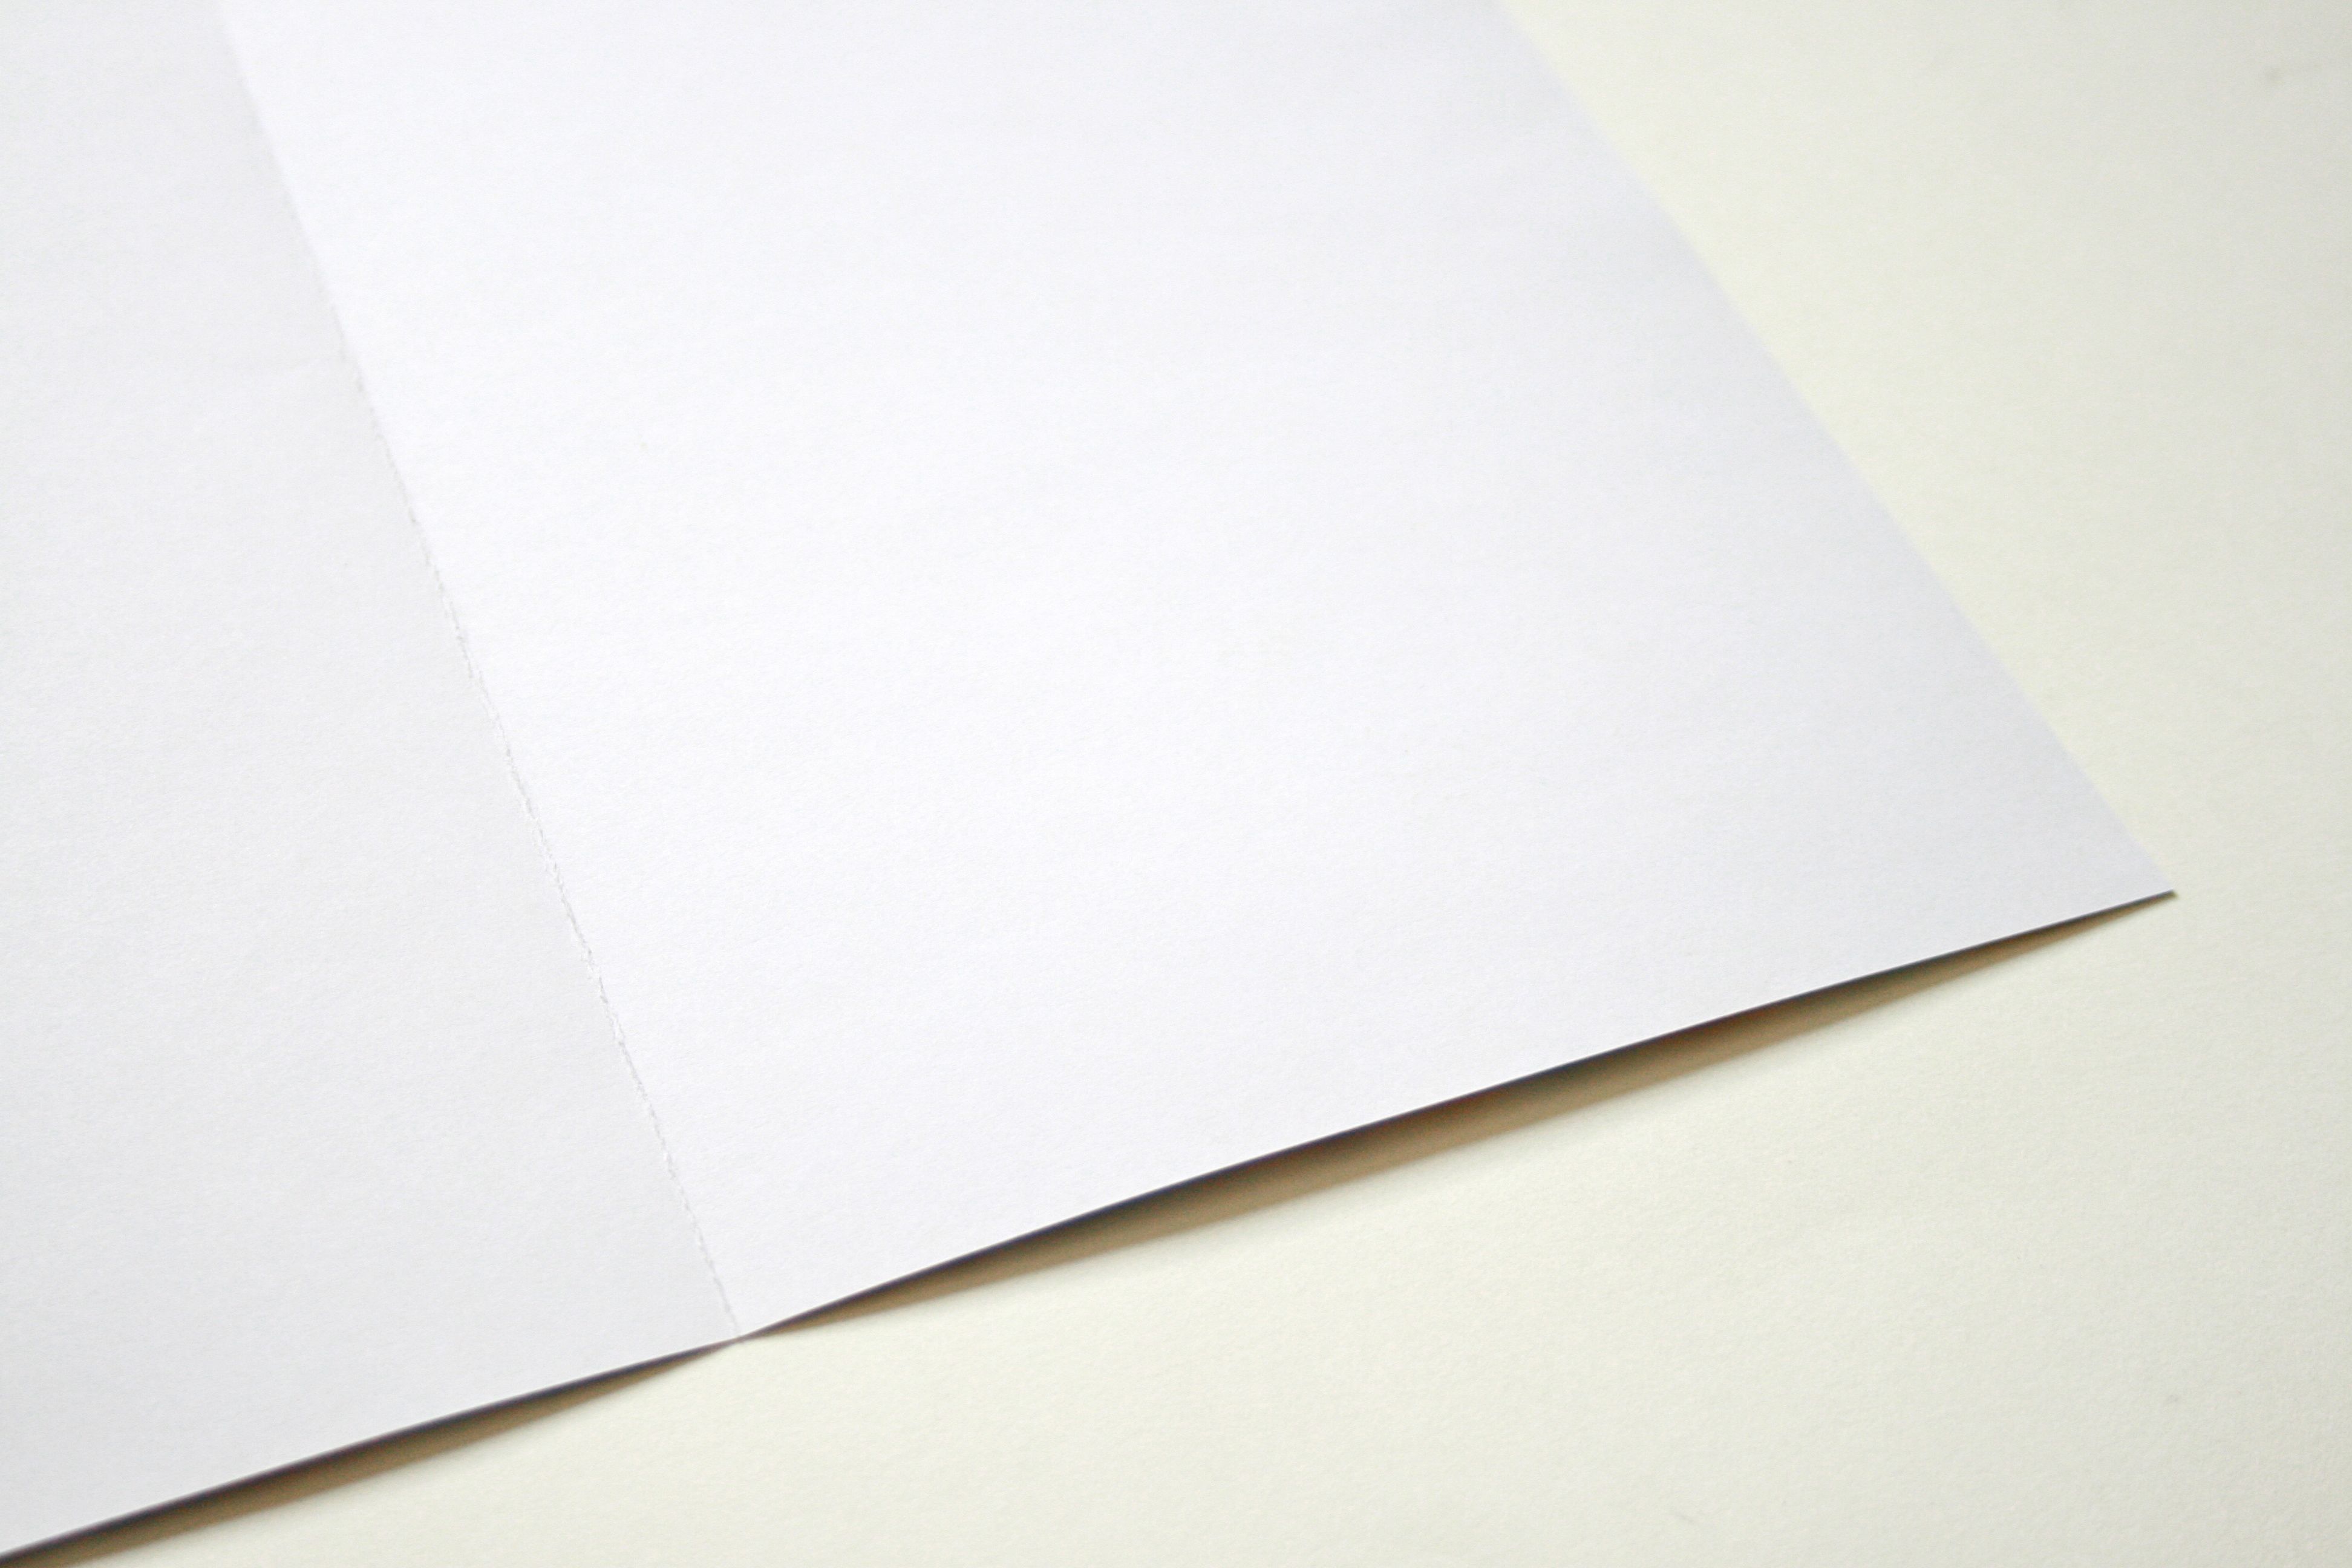
1. Start by folding each piece of scrapbook paper in half. This will help you cut the two pieces in perfect halves since you can easily follow the bend mark with your scissors.
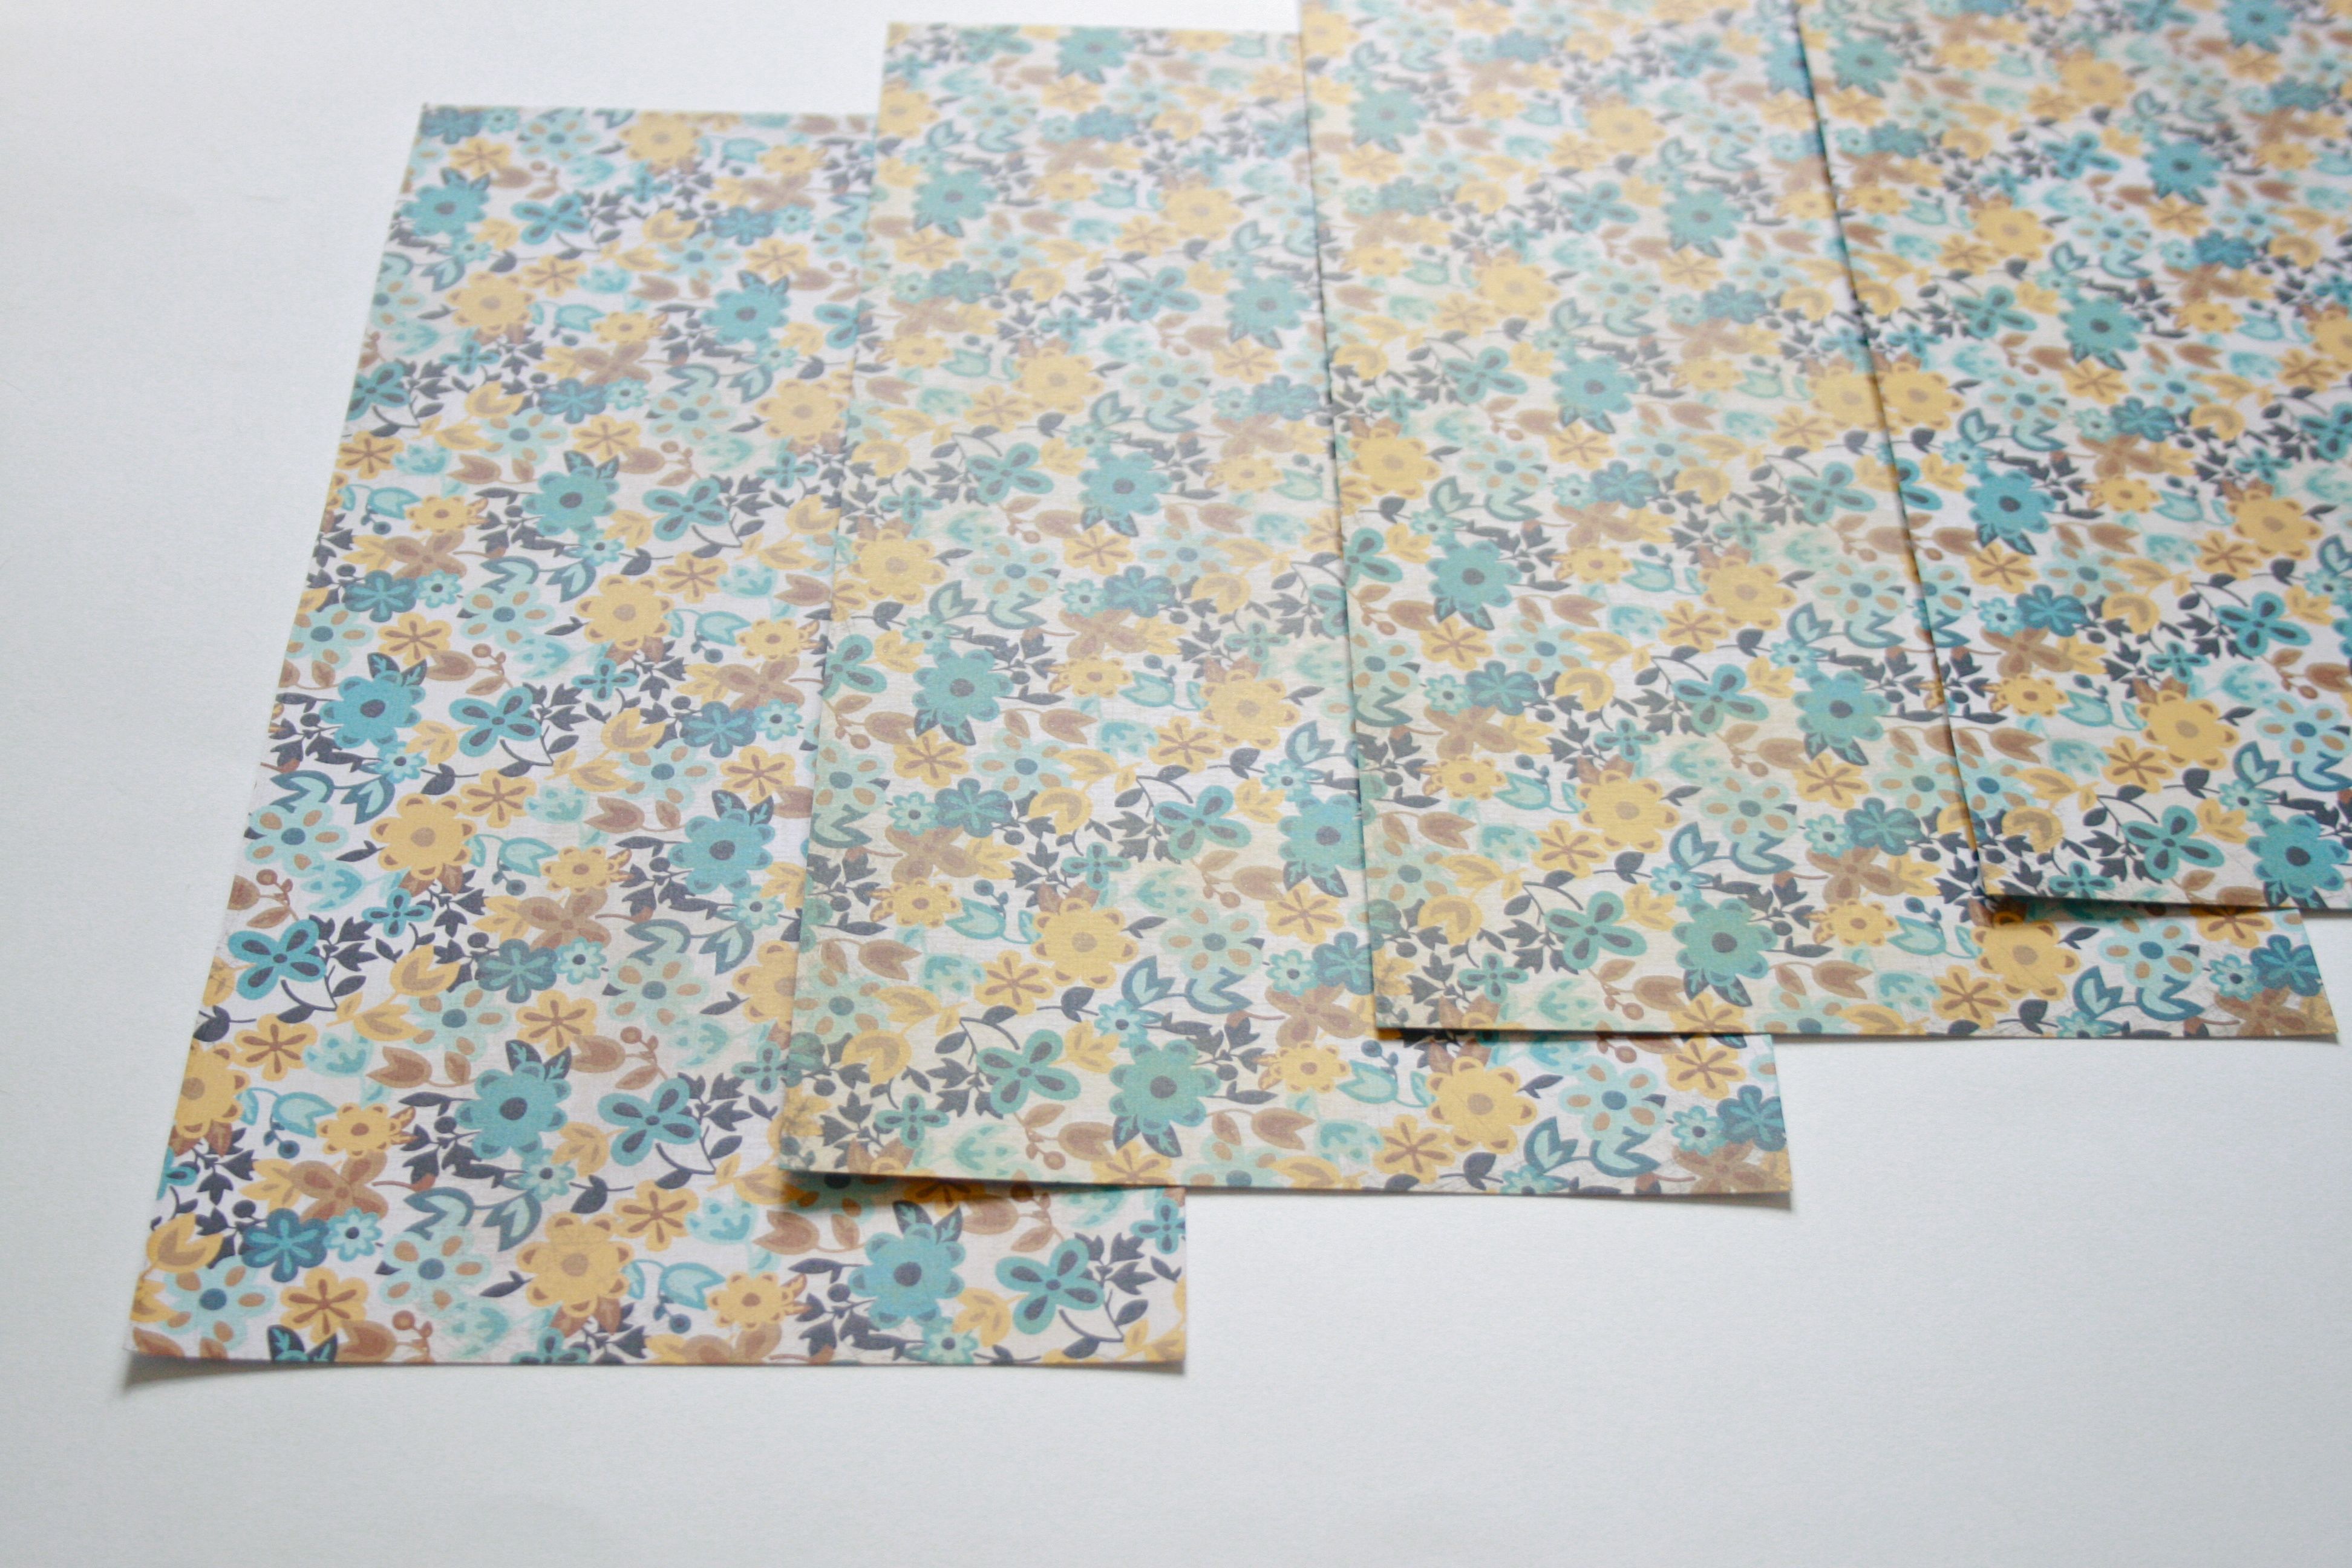
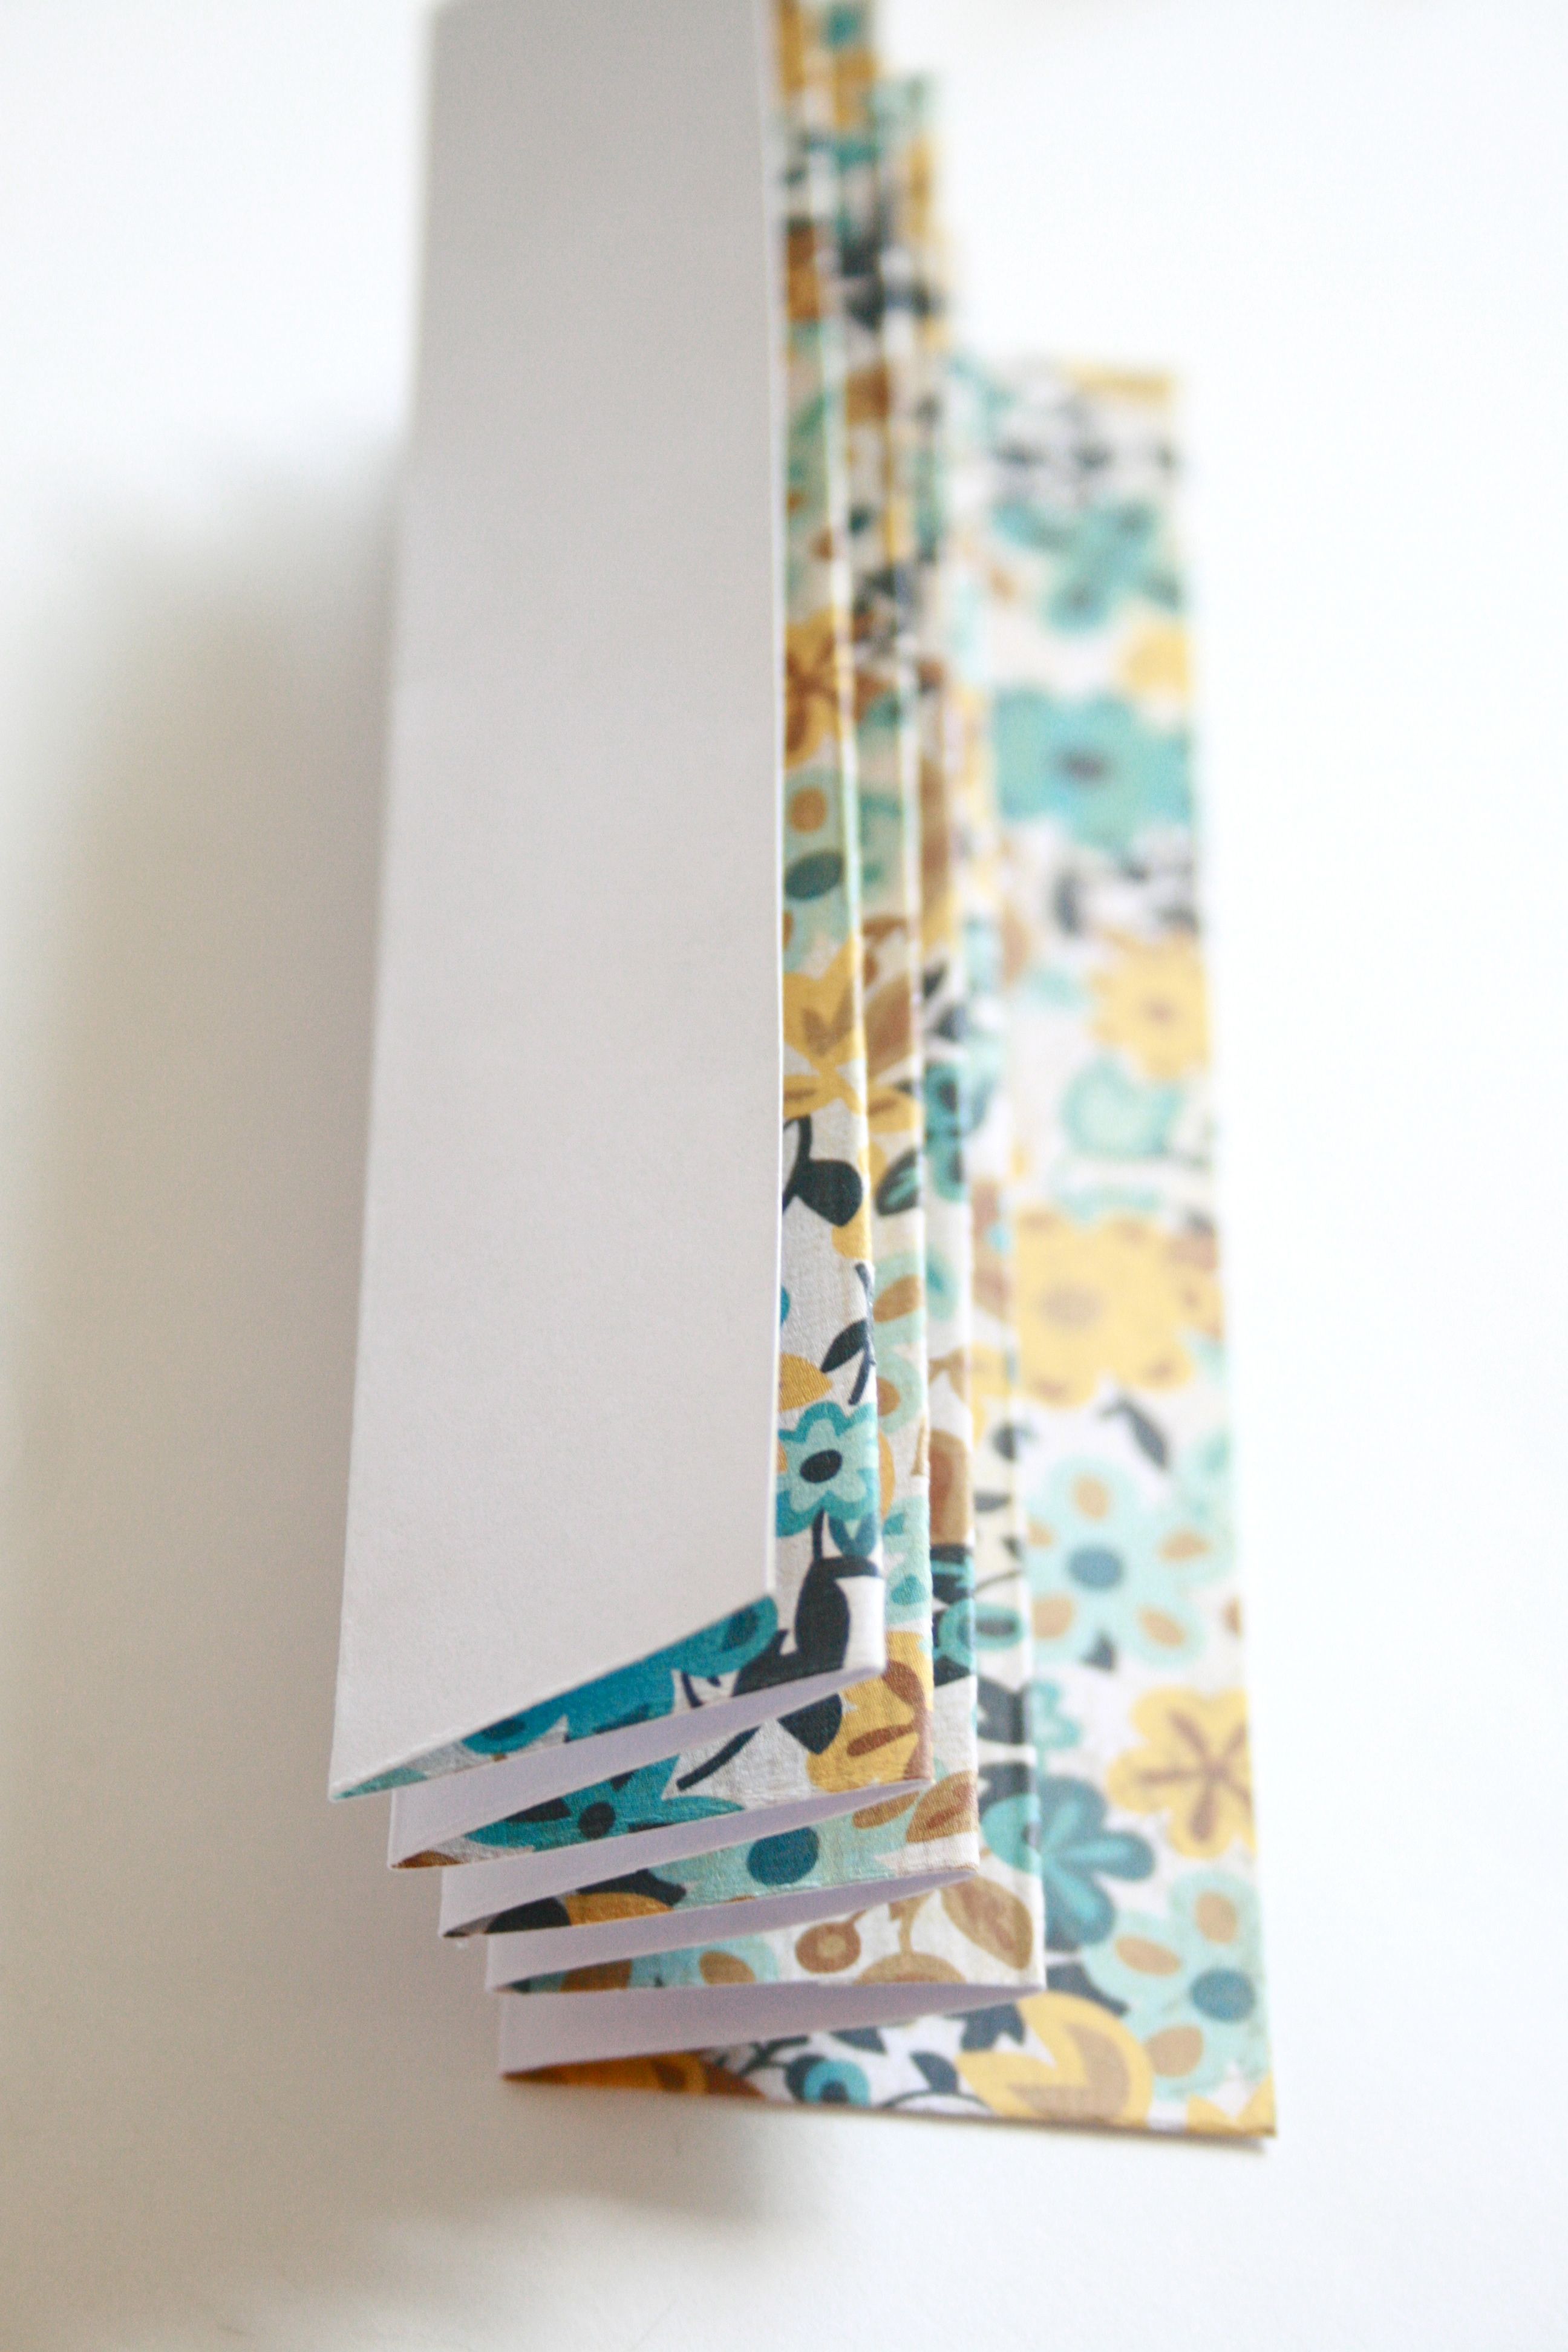
2. Once you have all four halves cut, begin to fold them accordion style. I make my first bend about 1 inch in width and then allow that to dictate the rest of my folds so that they stay even. If you fold your piece of paper all the way through but notice that you have a bit of a wide piece at the end (see below photo for representation of this), just trim it to match the rest of your folds – It won’t make any difference at the end of the project.
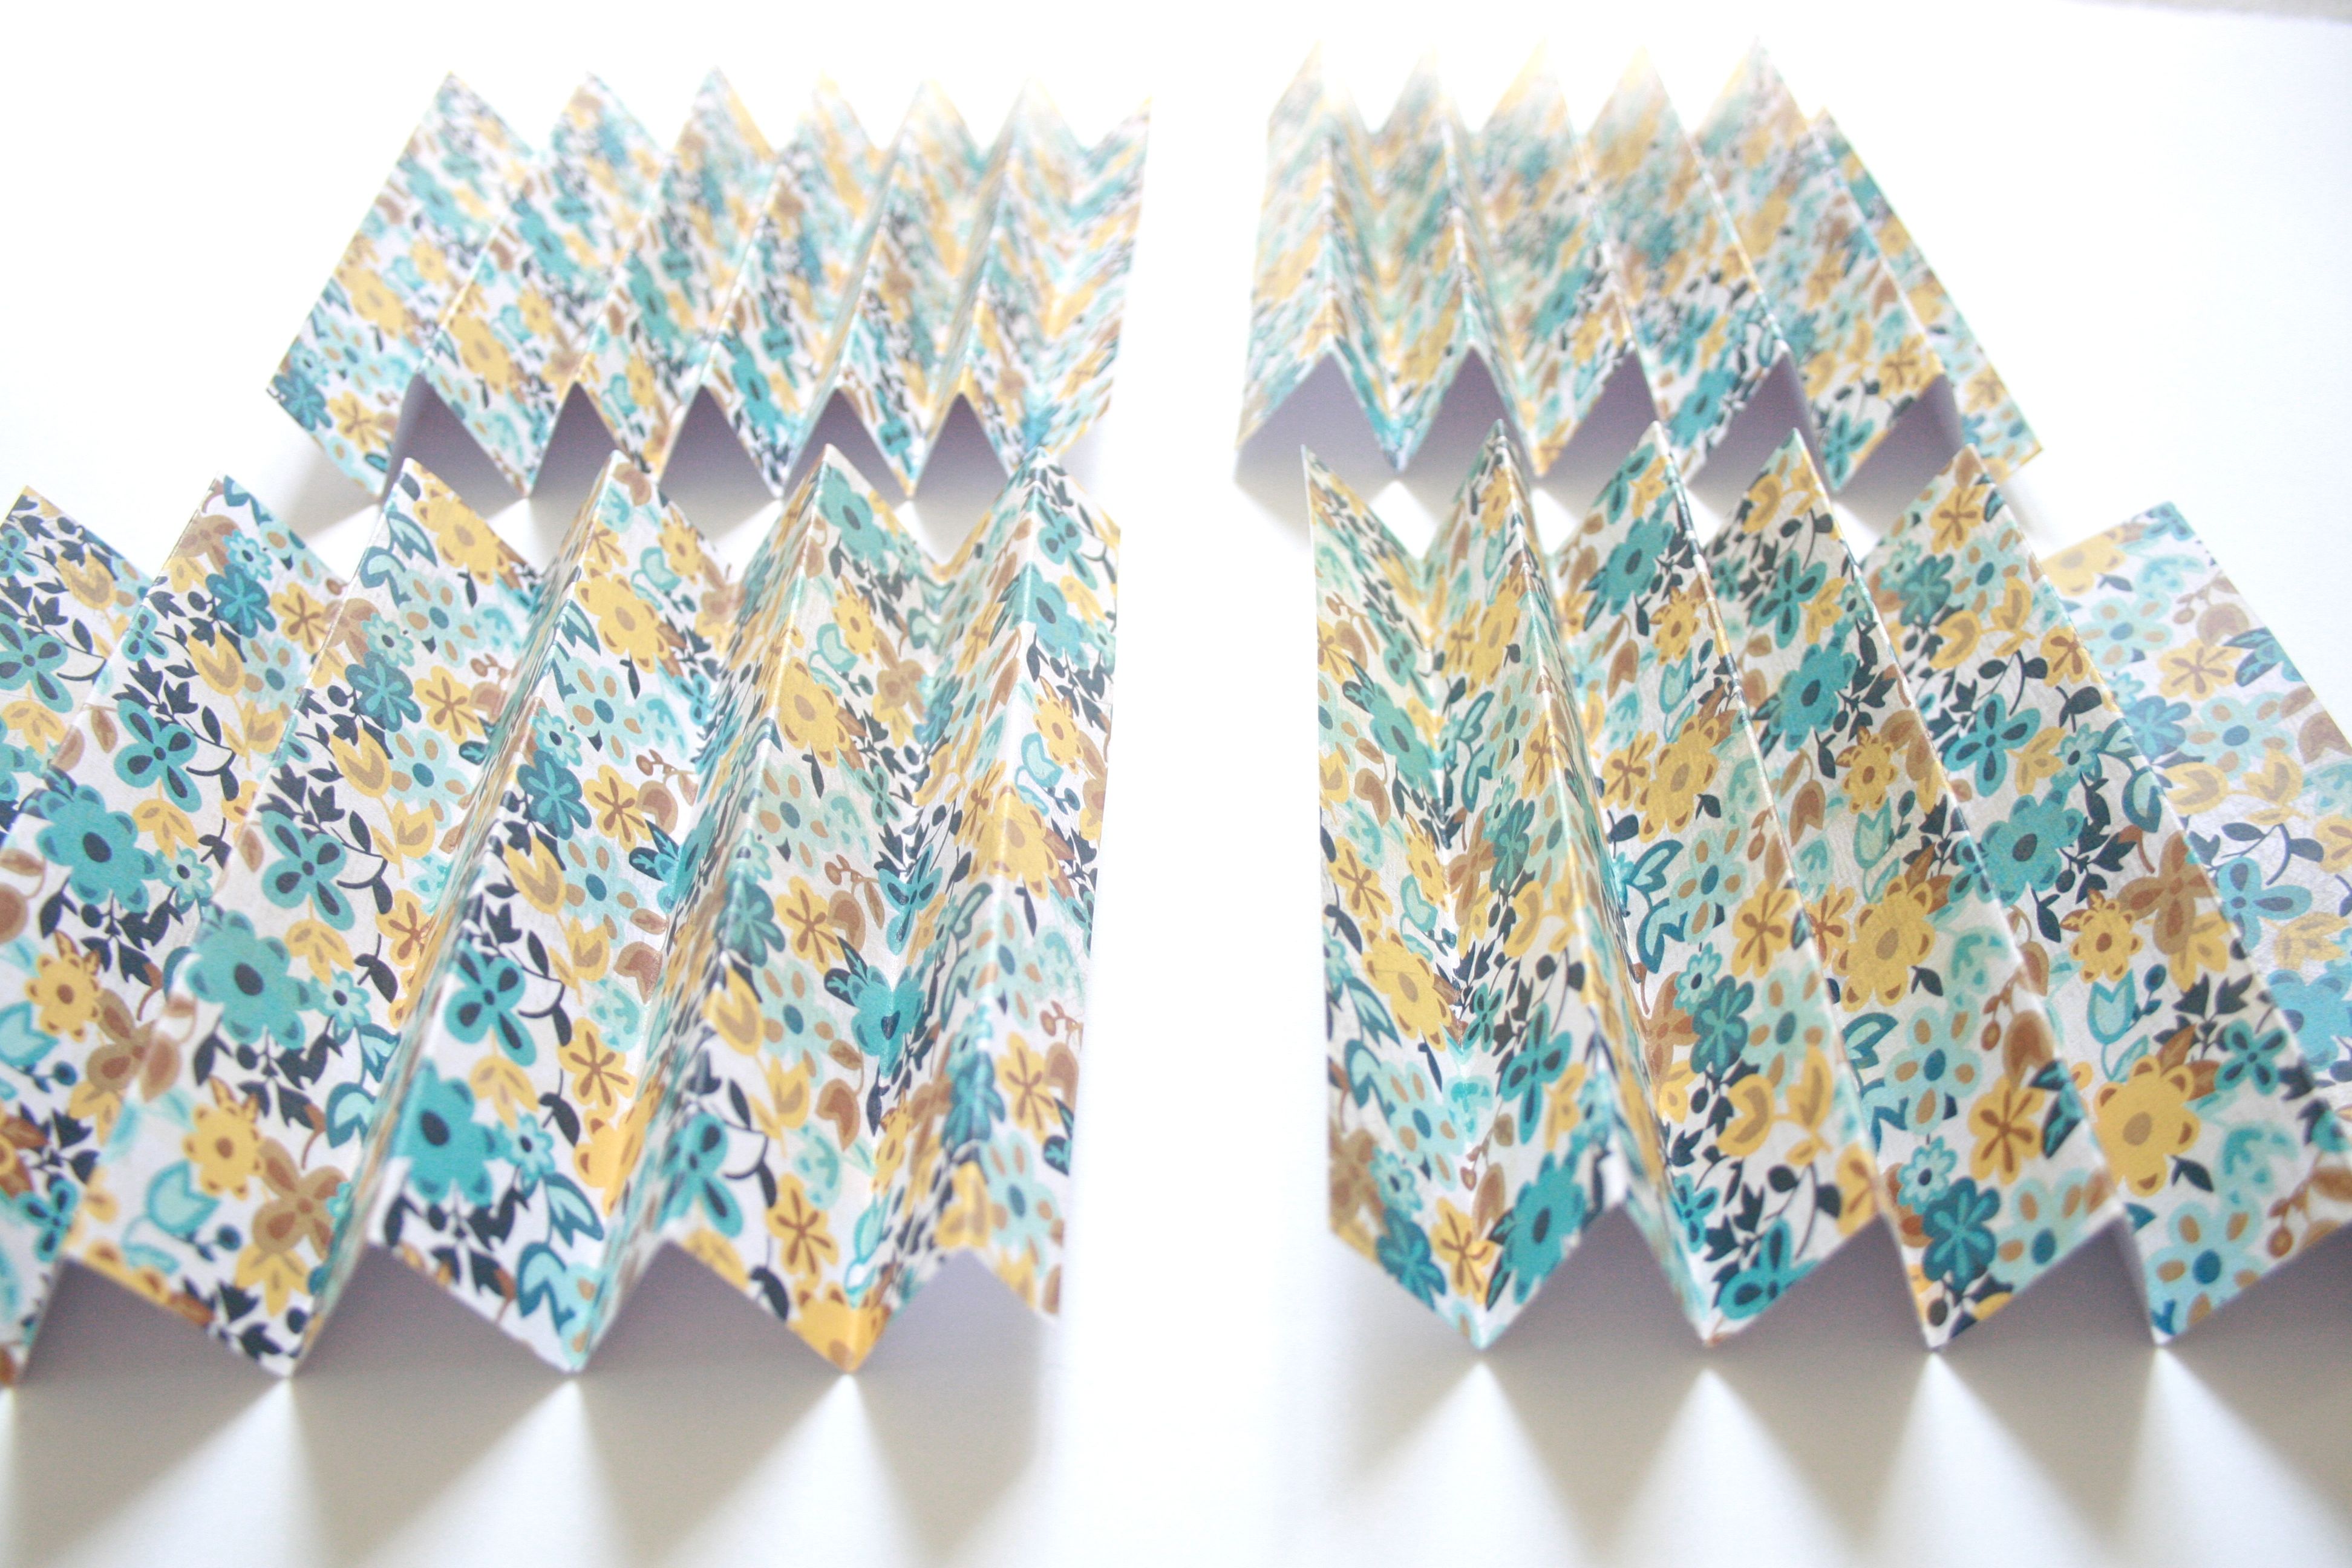
3. With all 4 pieces of paper folded accordingly, match them up end to end to create one super long trail. To do this, take the end of one piece and drop it over the beginning of another.
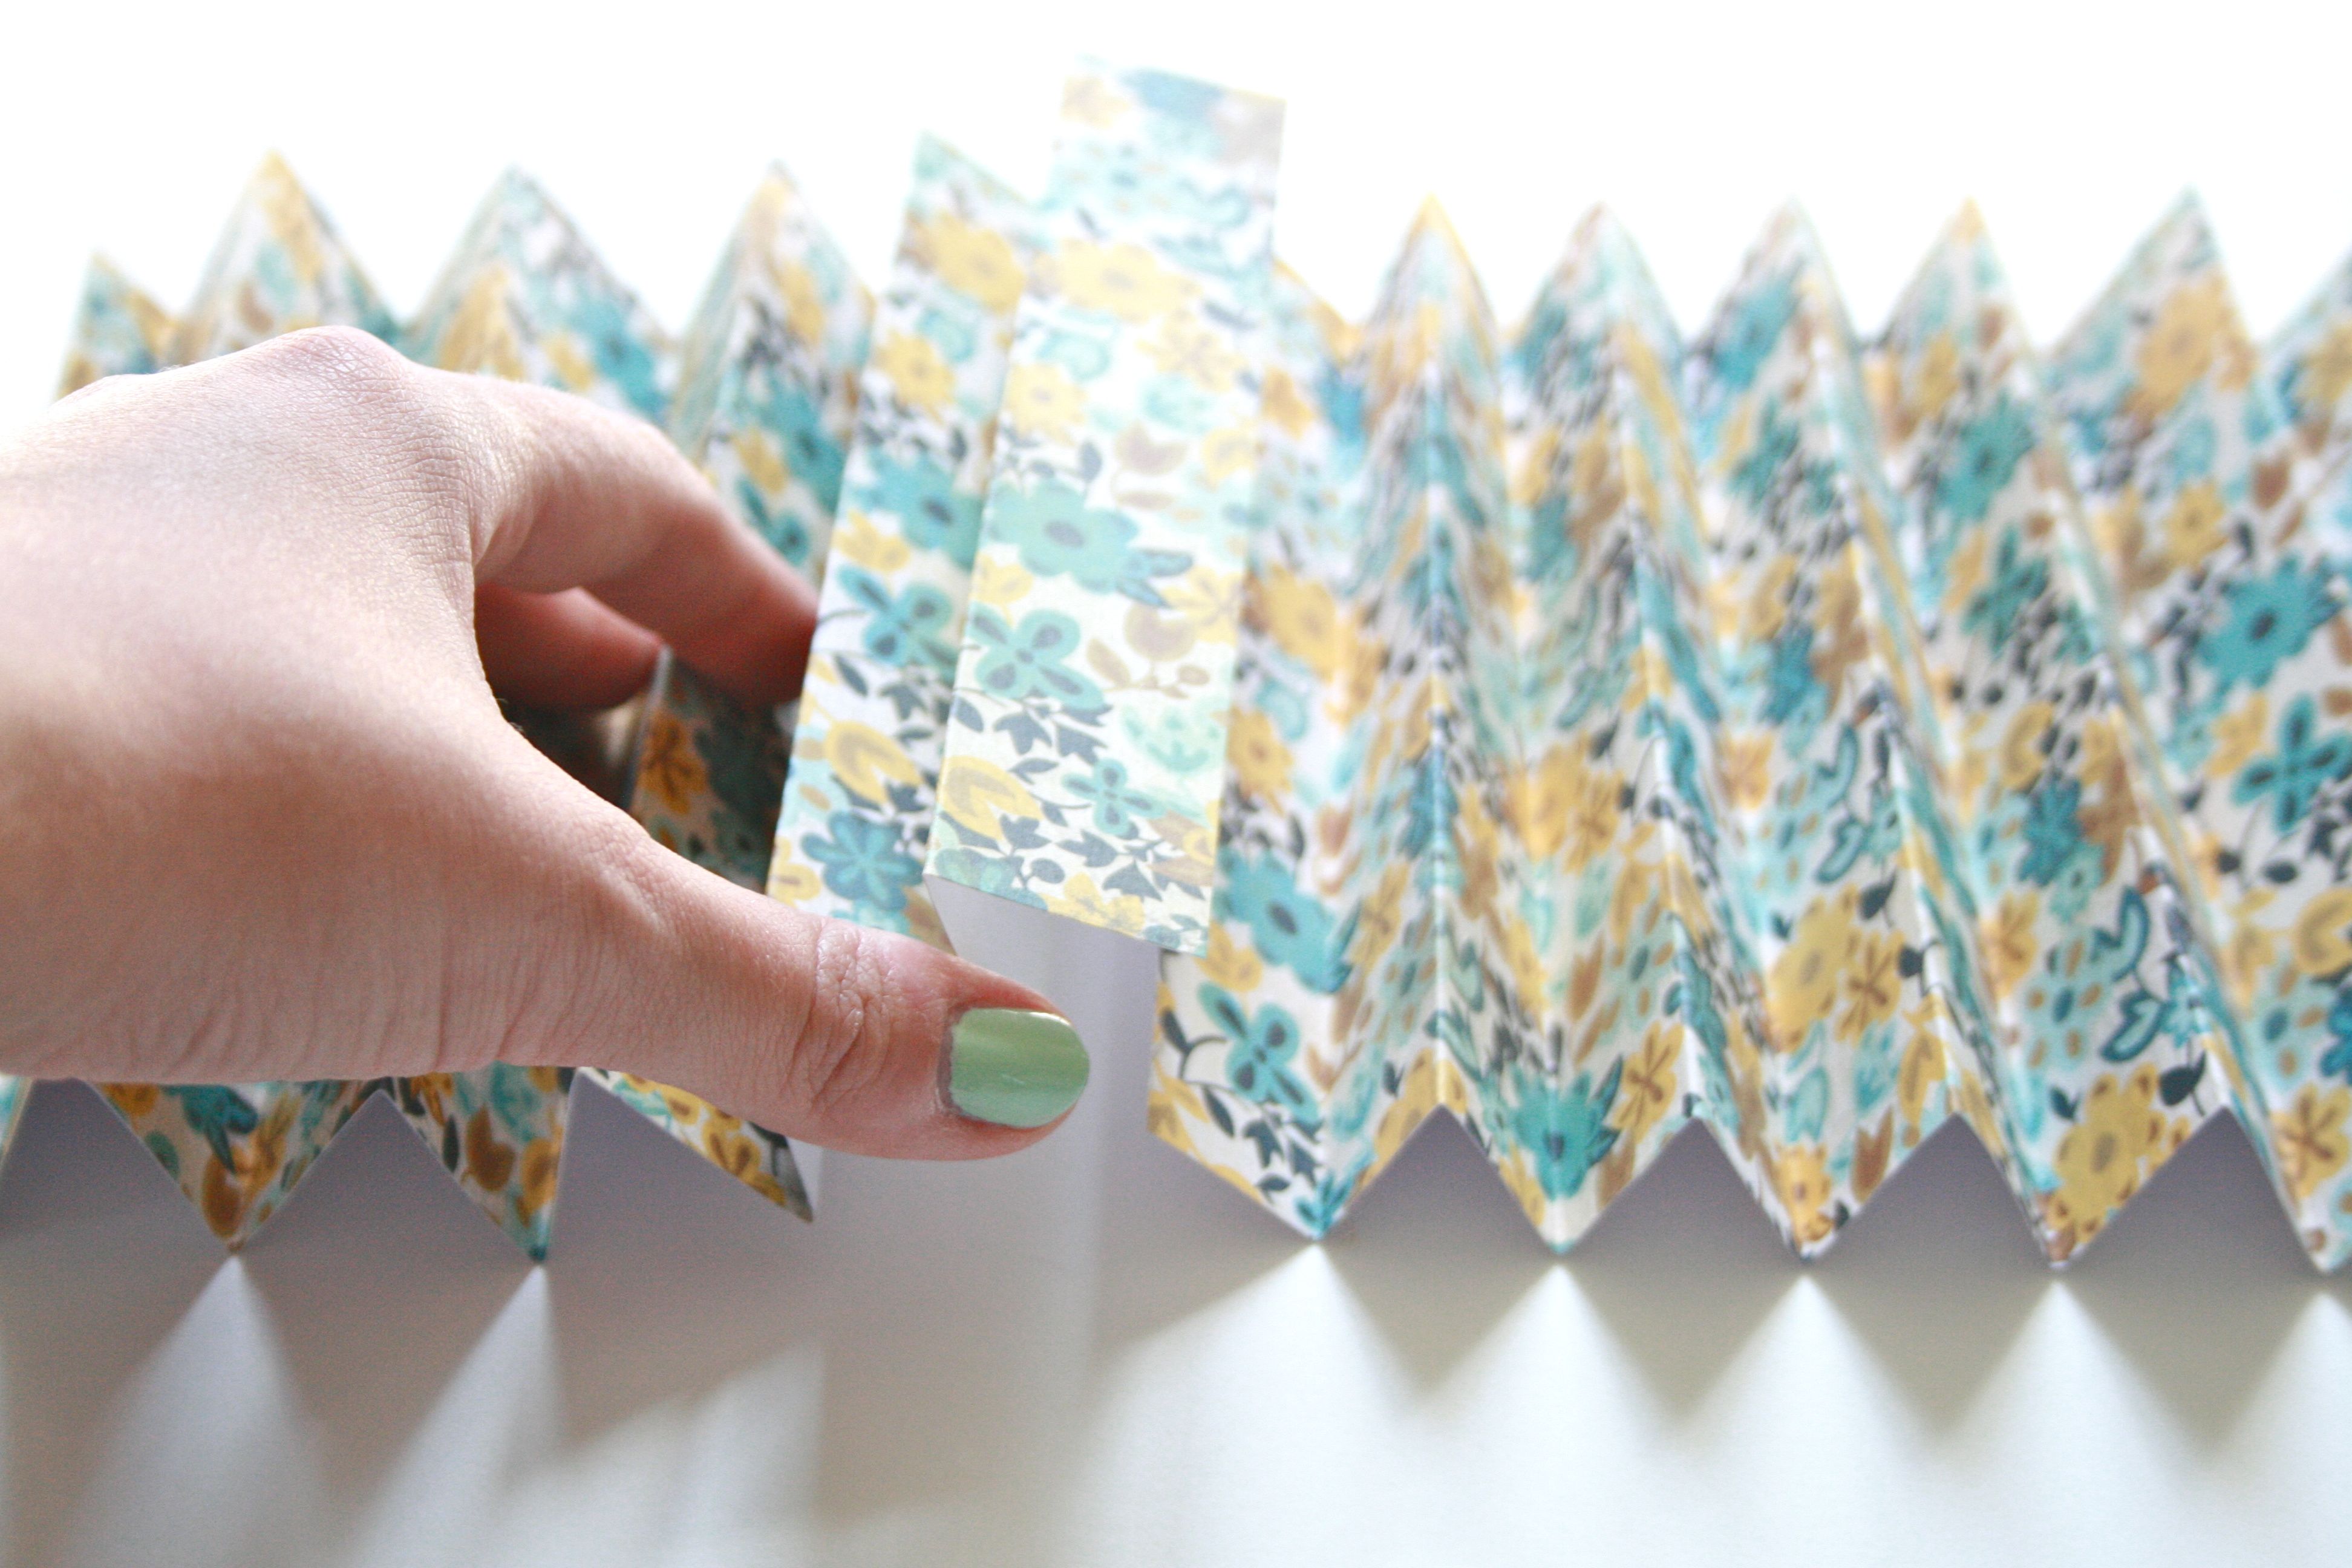
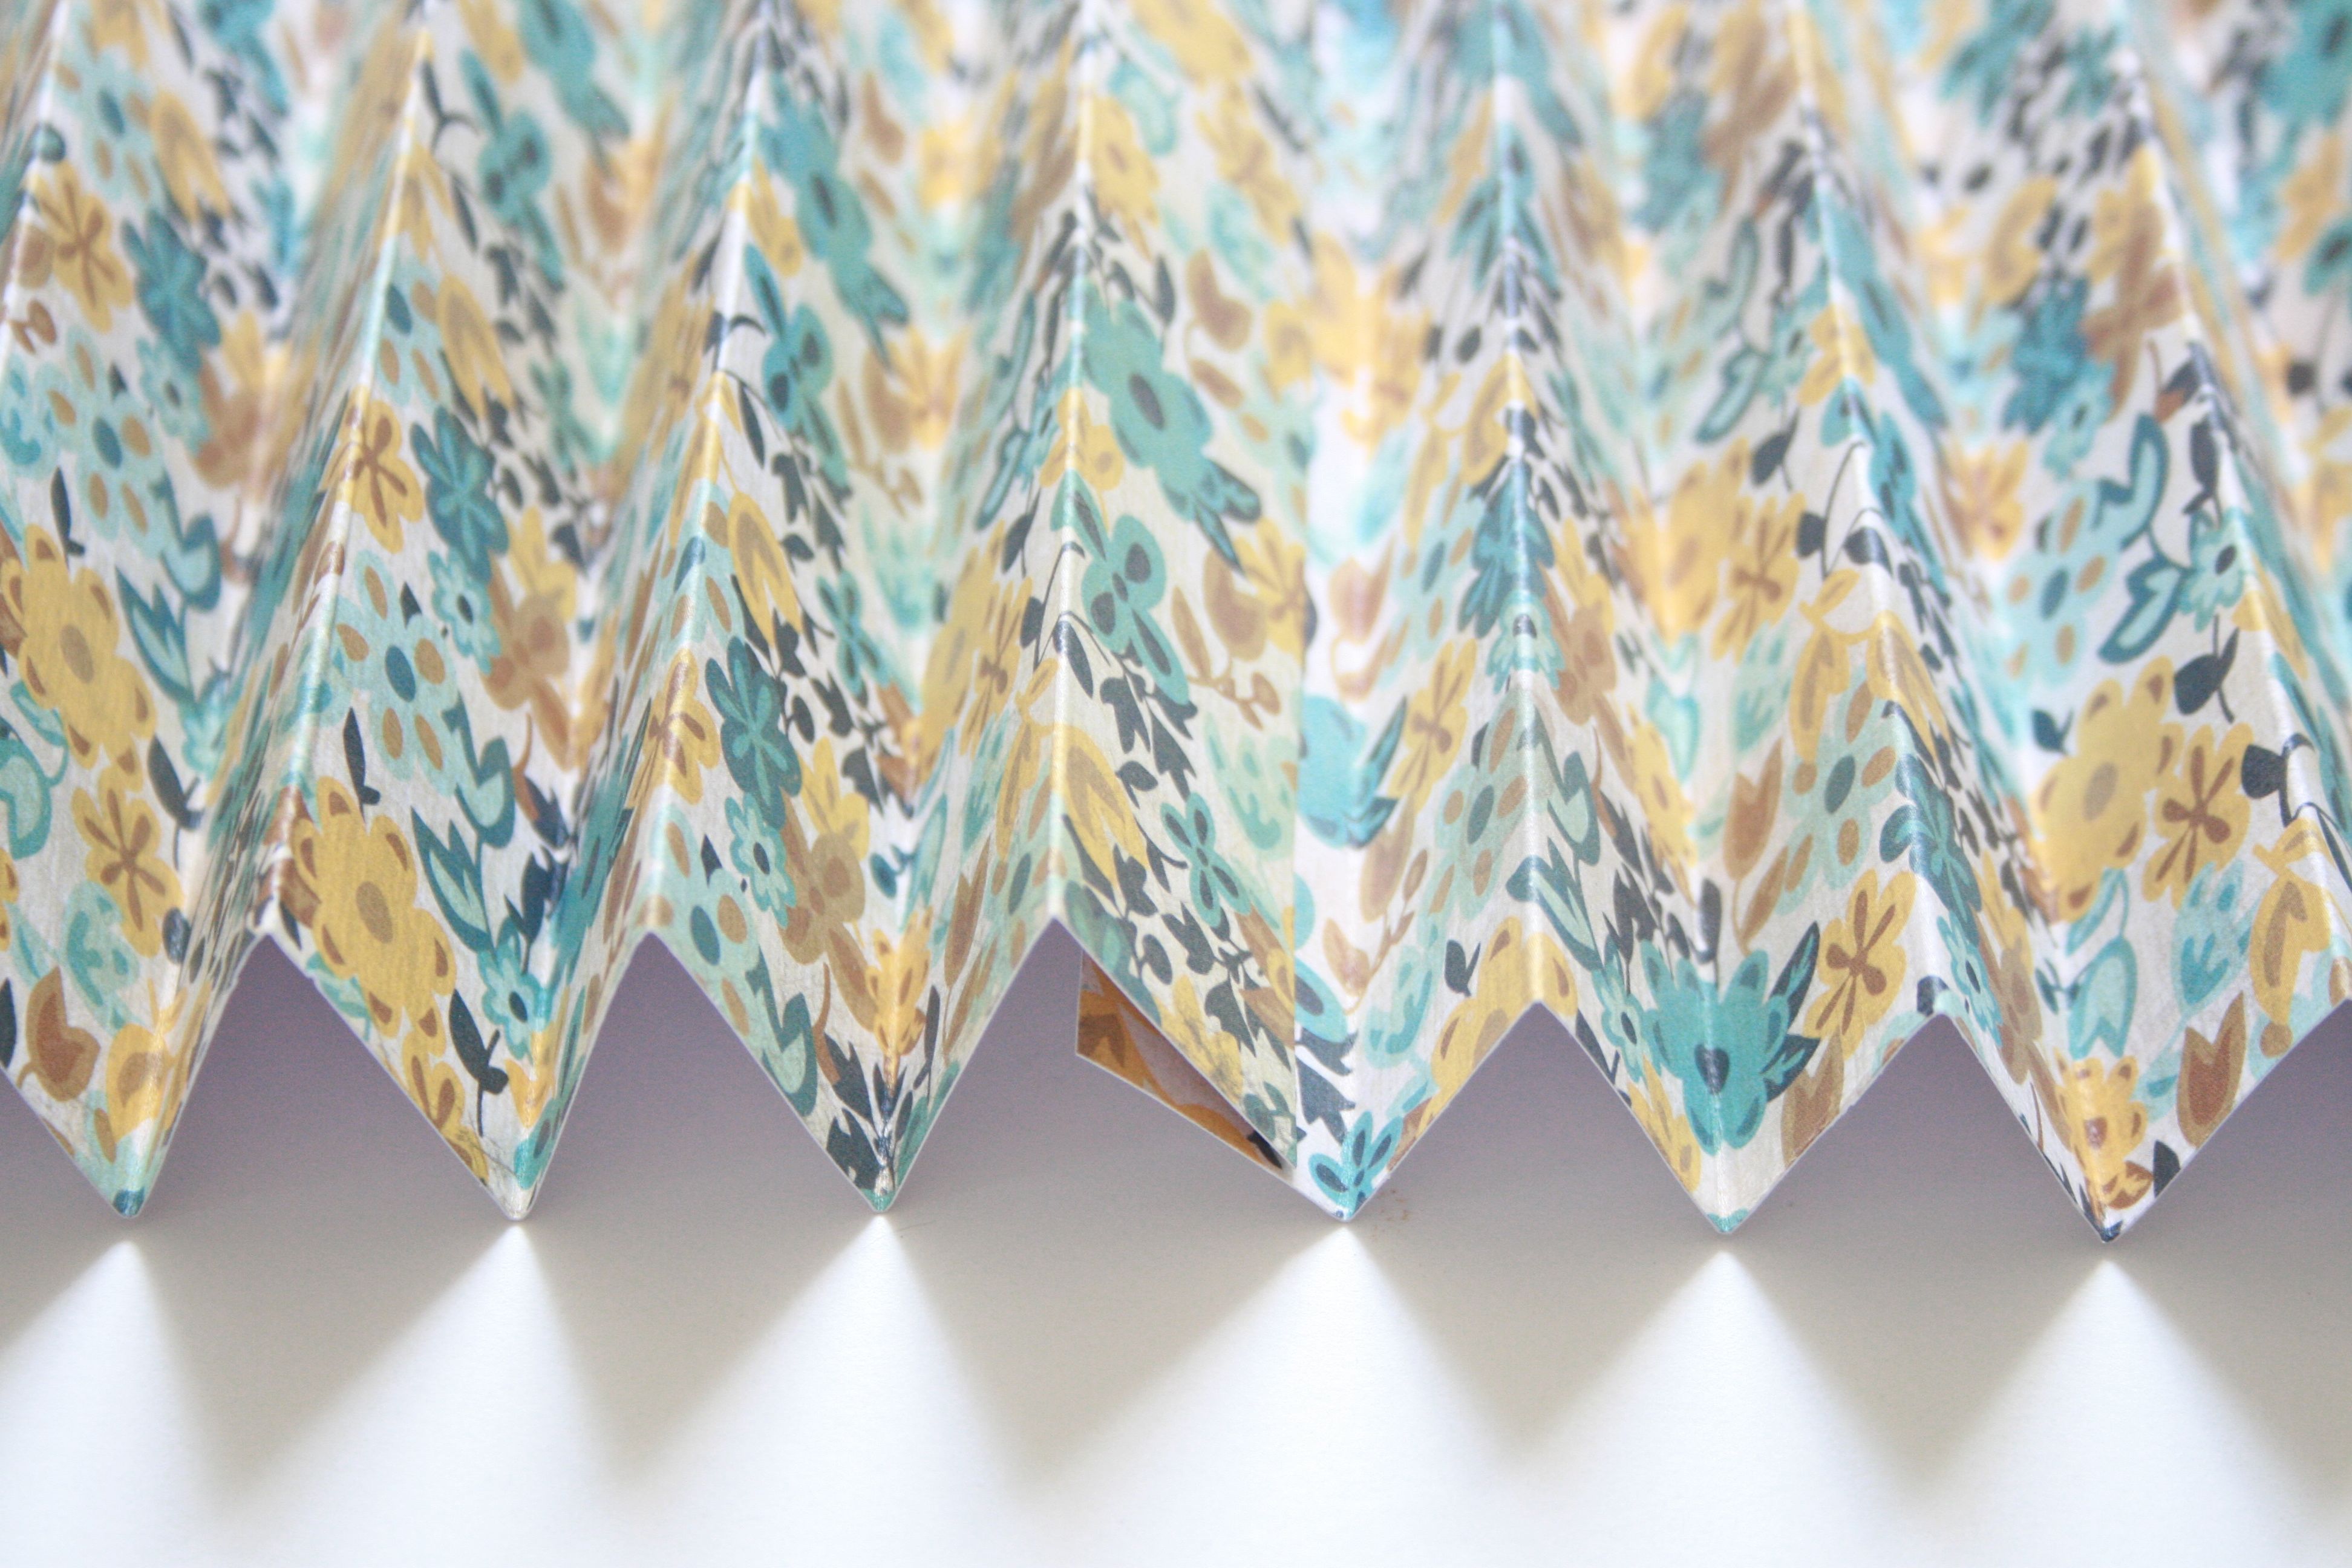
3. (continued) Here’s where things can sort of be a crapshoot. You’ll either get pieces that match perfectly (like above) – one edge angles up, while the other angles down – or you’ll get ends that DON’T mesh well, with both ends angled up or down (like below). Although this might seem alarming, it’s a simple fix – Just trim the last angle off of one of the pieces of accordion paper. See two photos down for an example of this quick fix.
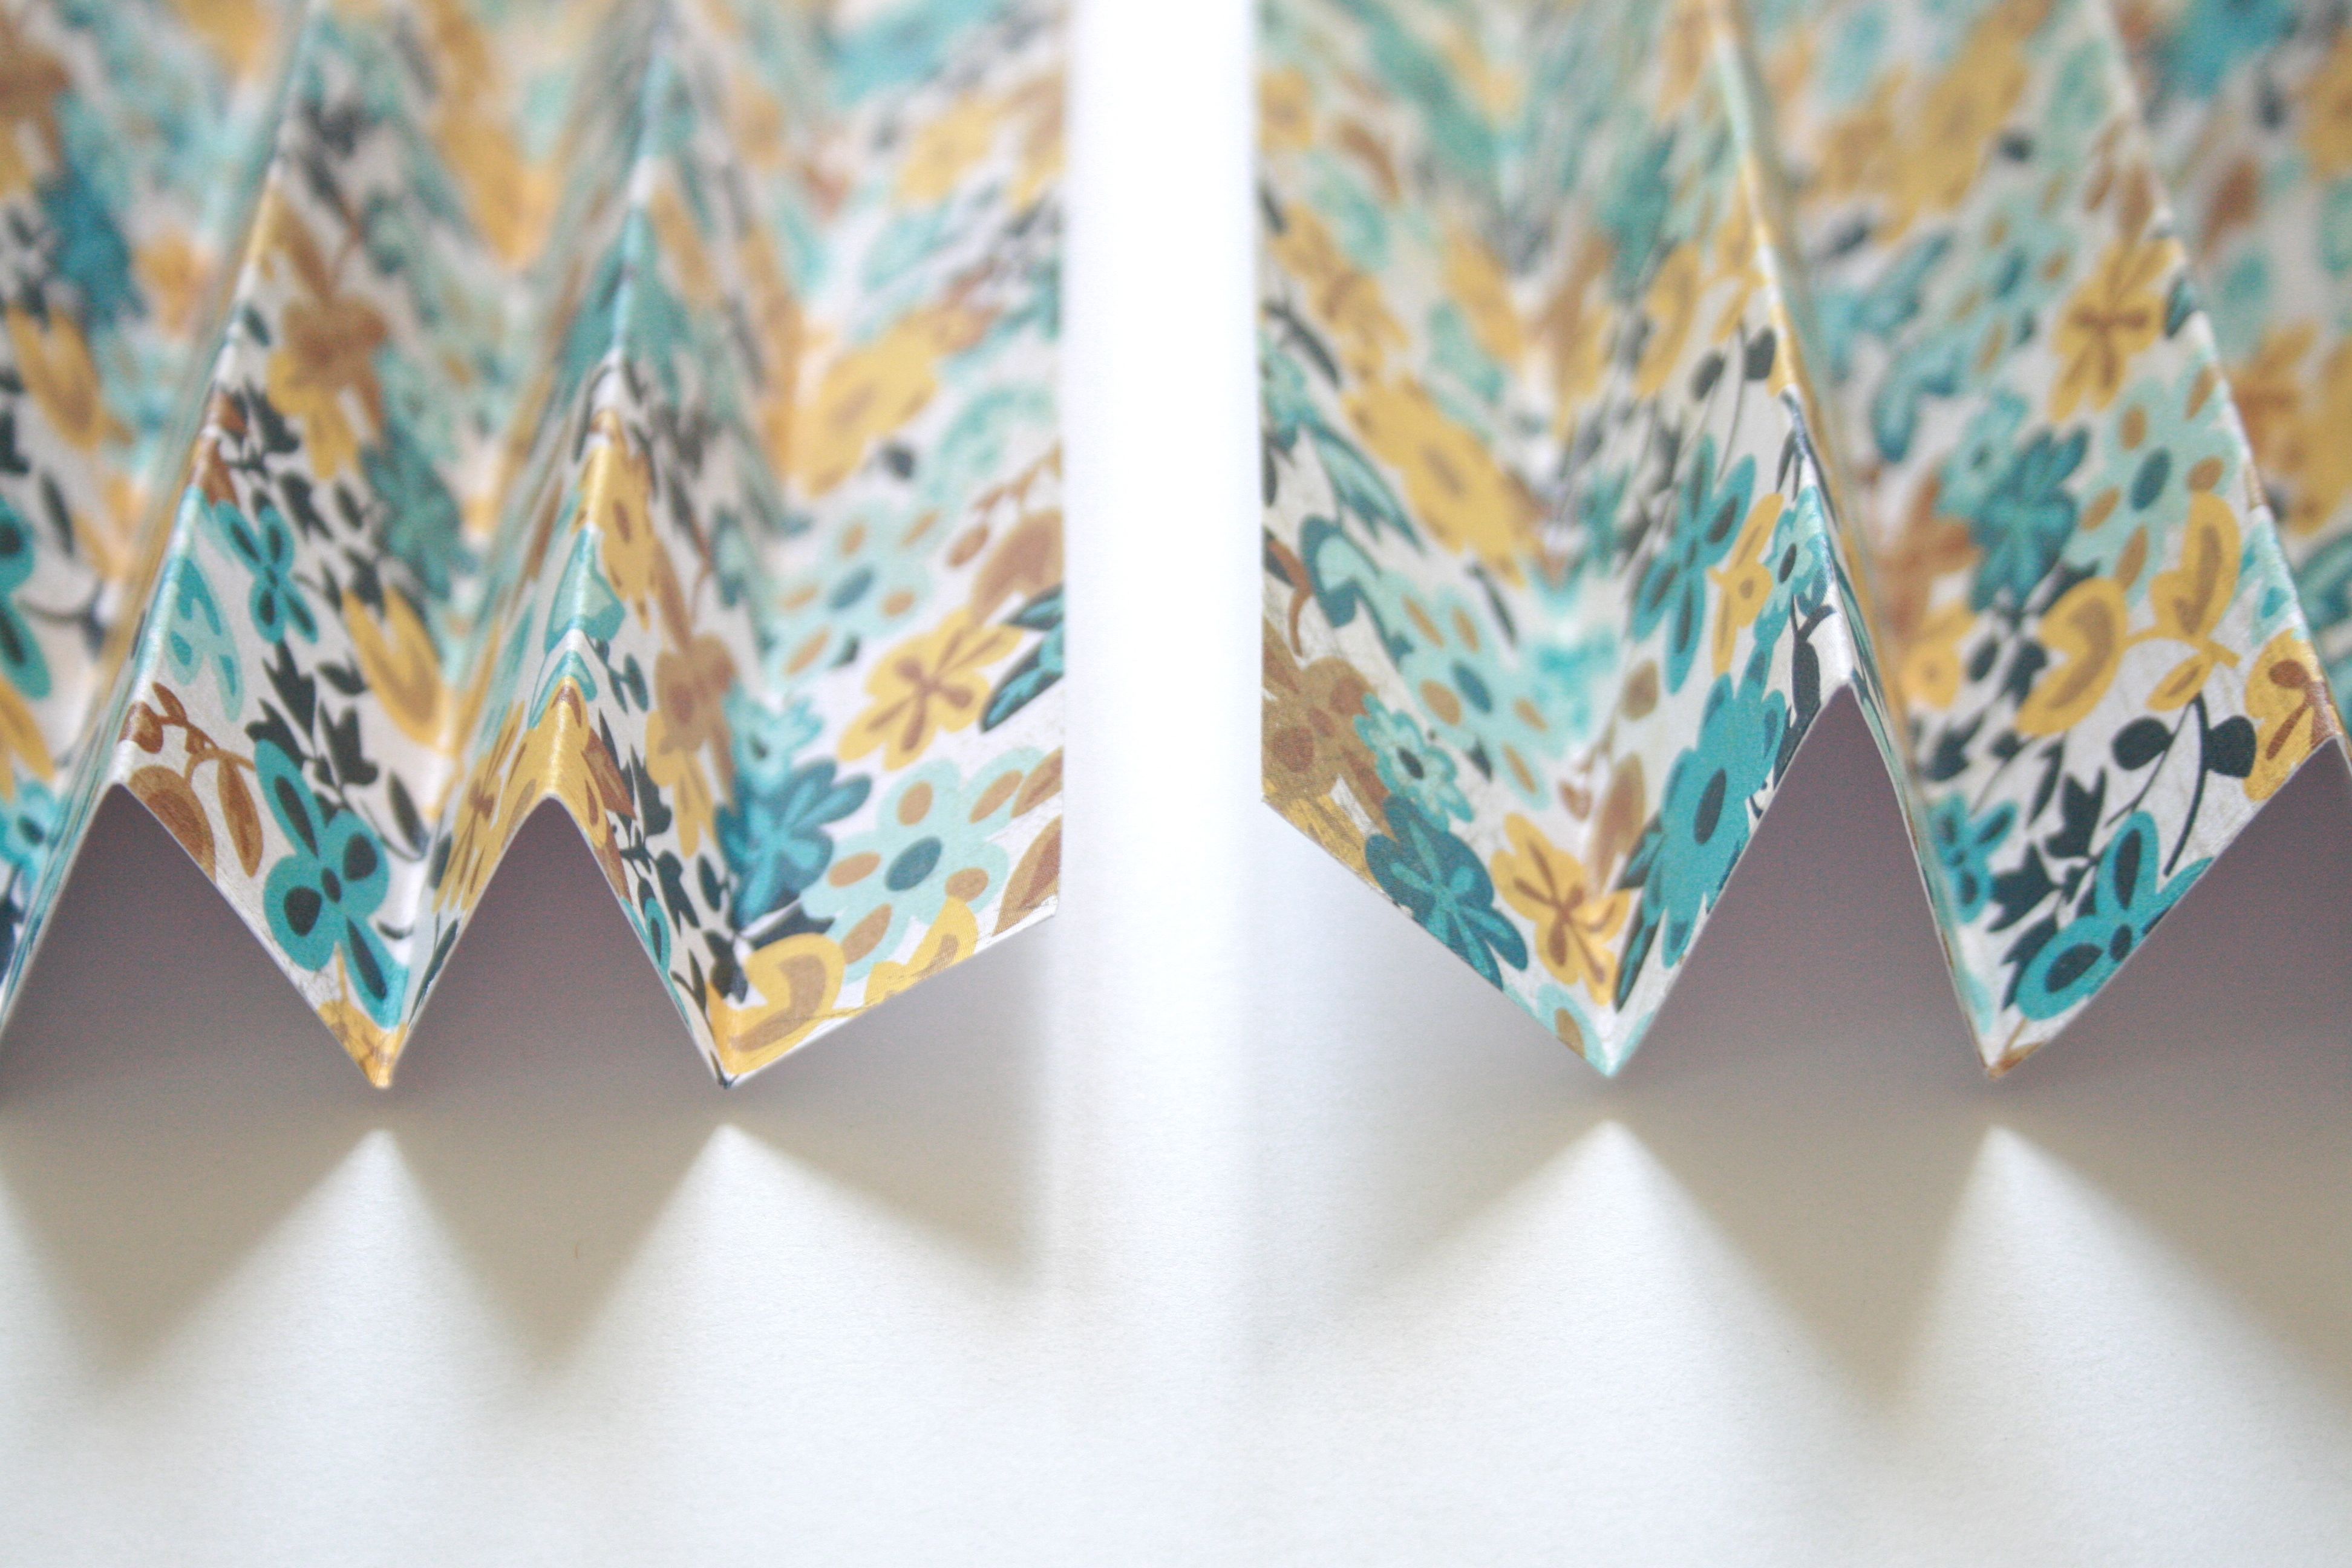
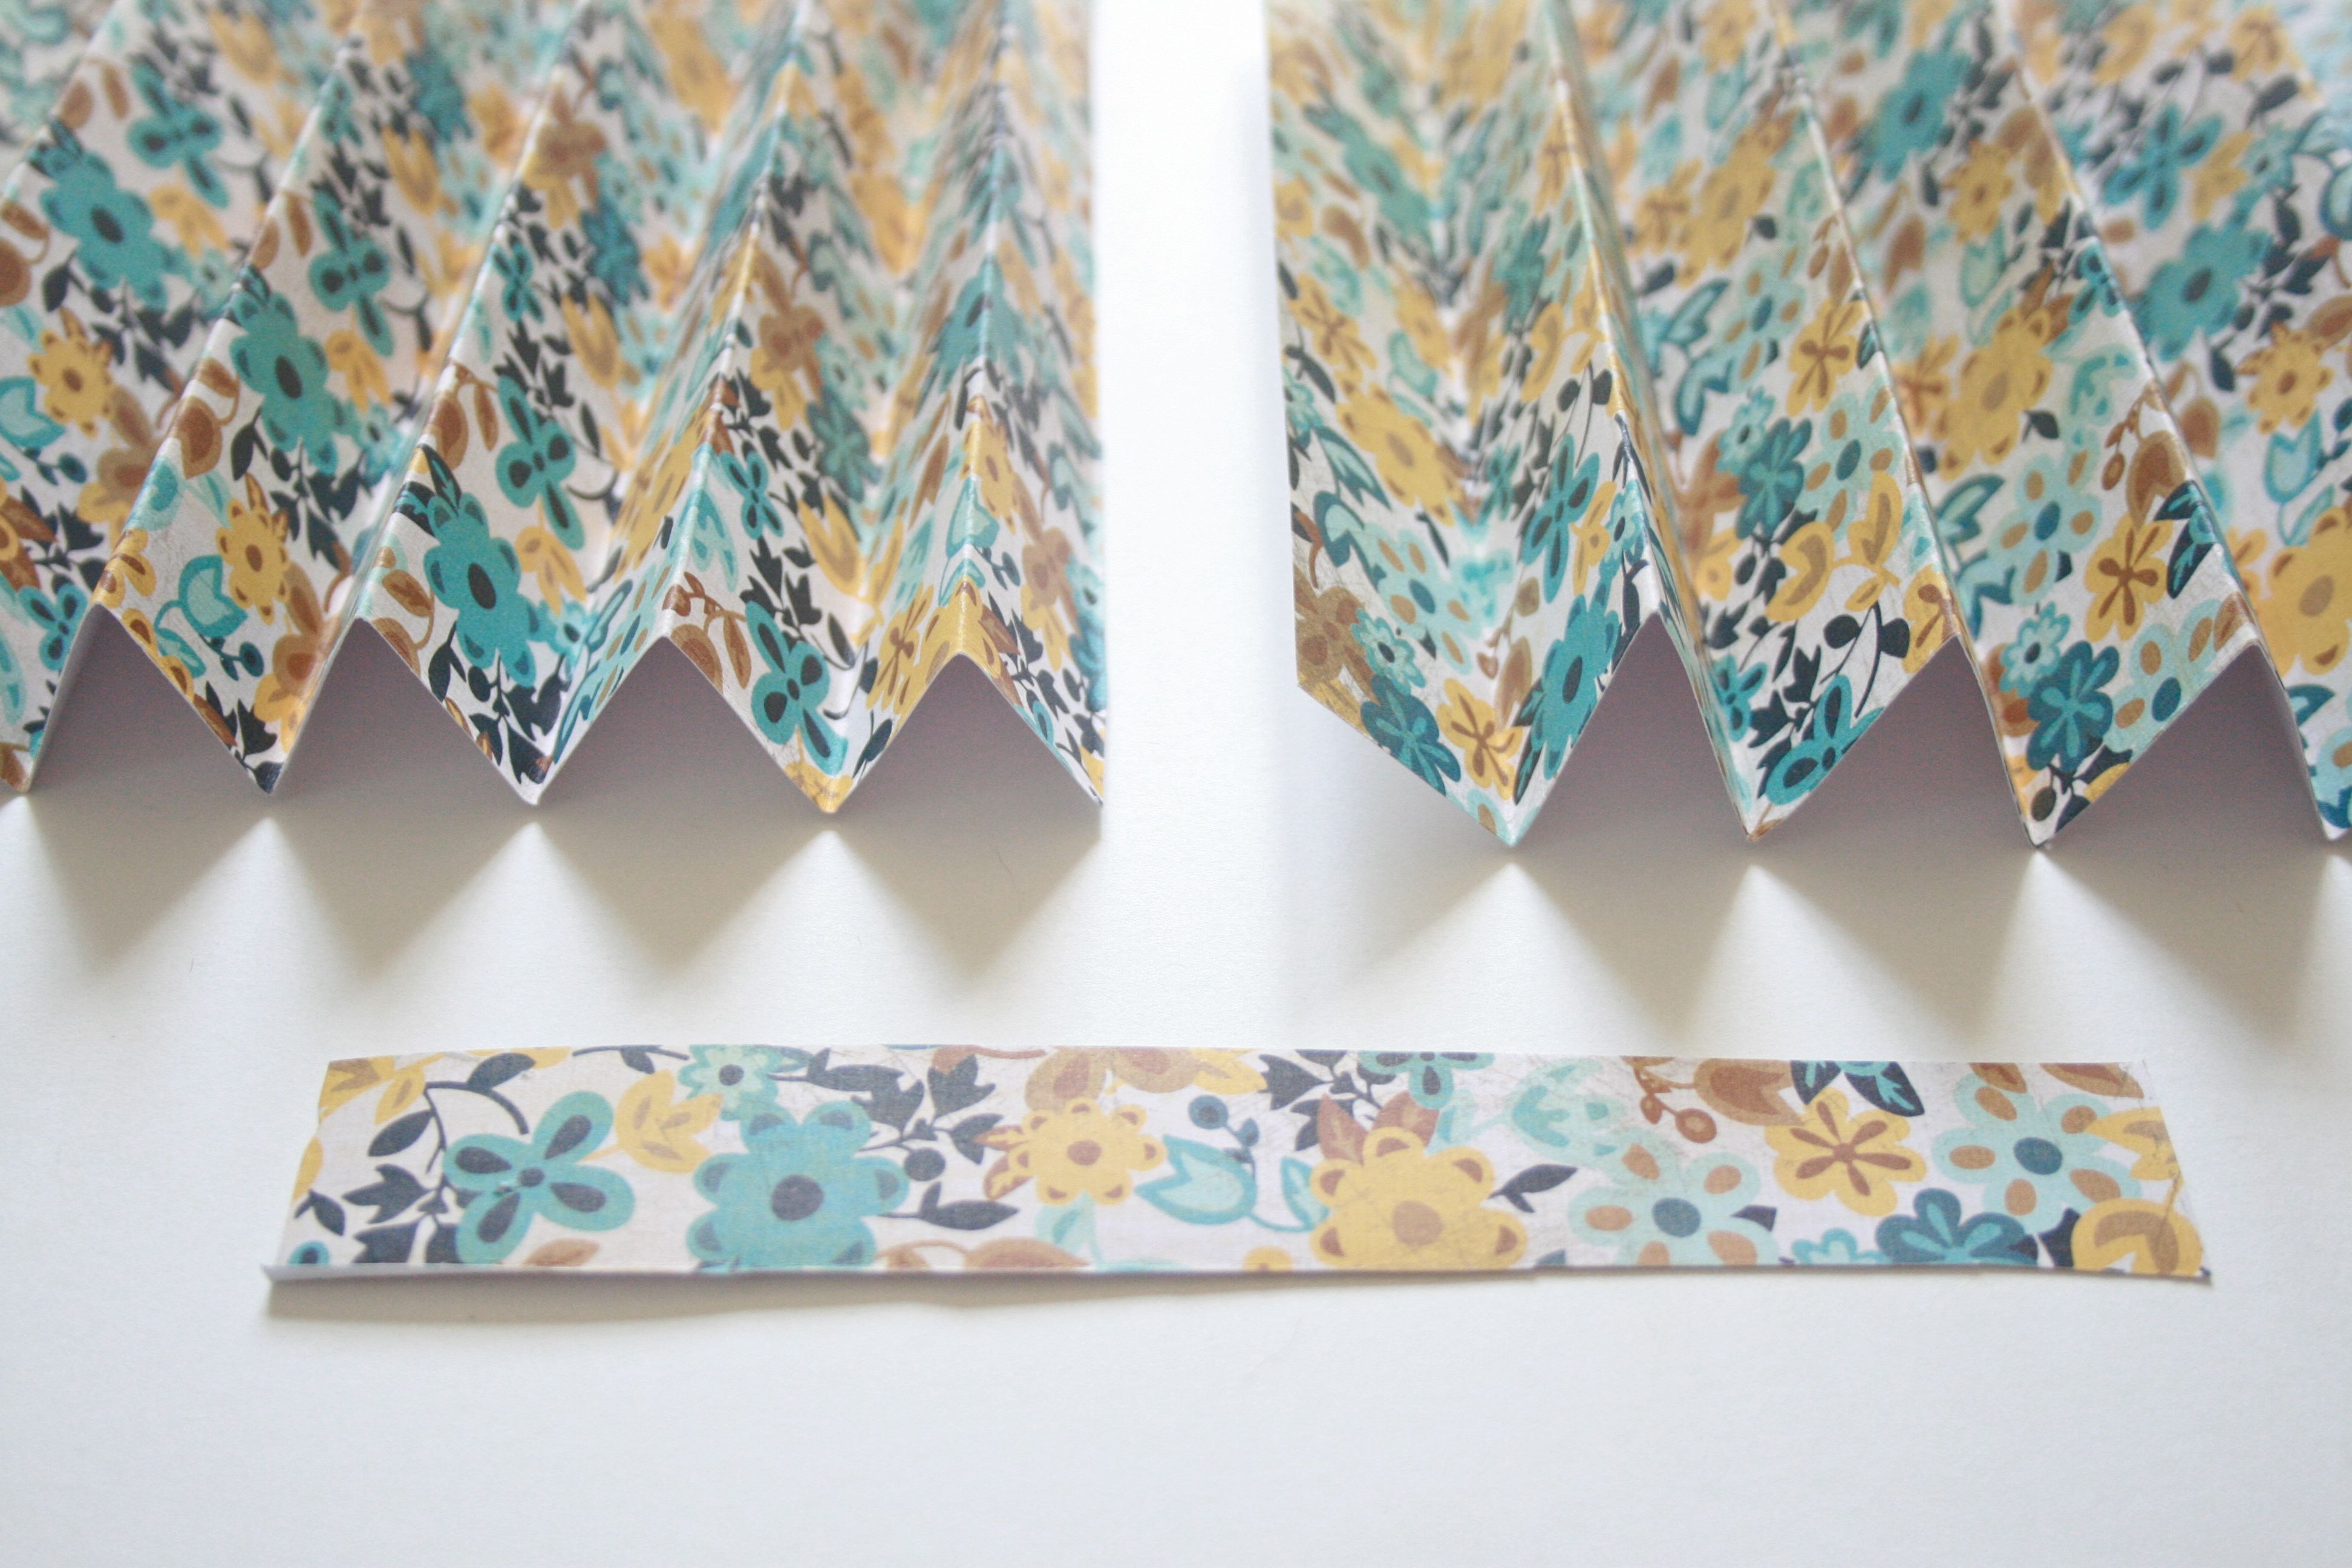
4. Once you have your ends matched up creating that long piece of accordion paper, take your stapler and connect them together – one staple at the top of the connecting edges, and another at the bottom. If you use a nice and busy pattern like I did, your staples will be very difficult to see. But if you’d like it to be more seamless, feel free to use glue to attach the papers together.
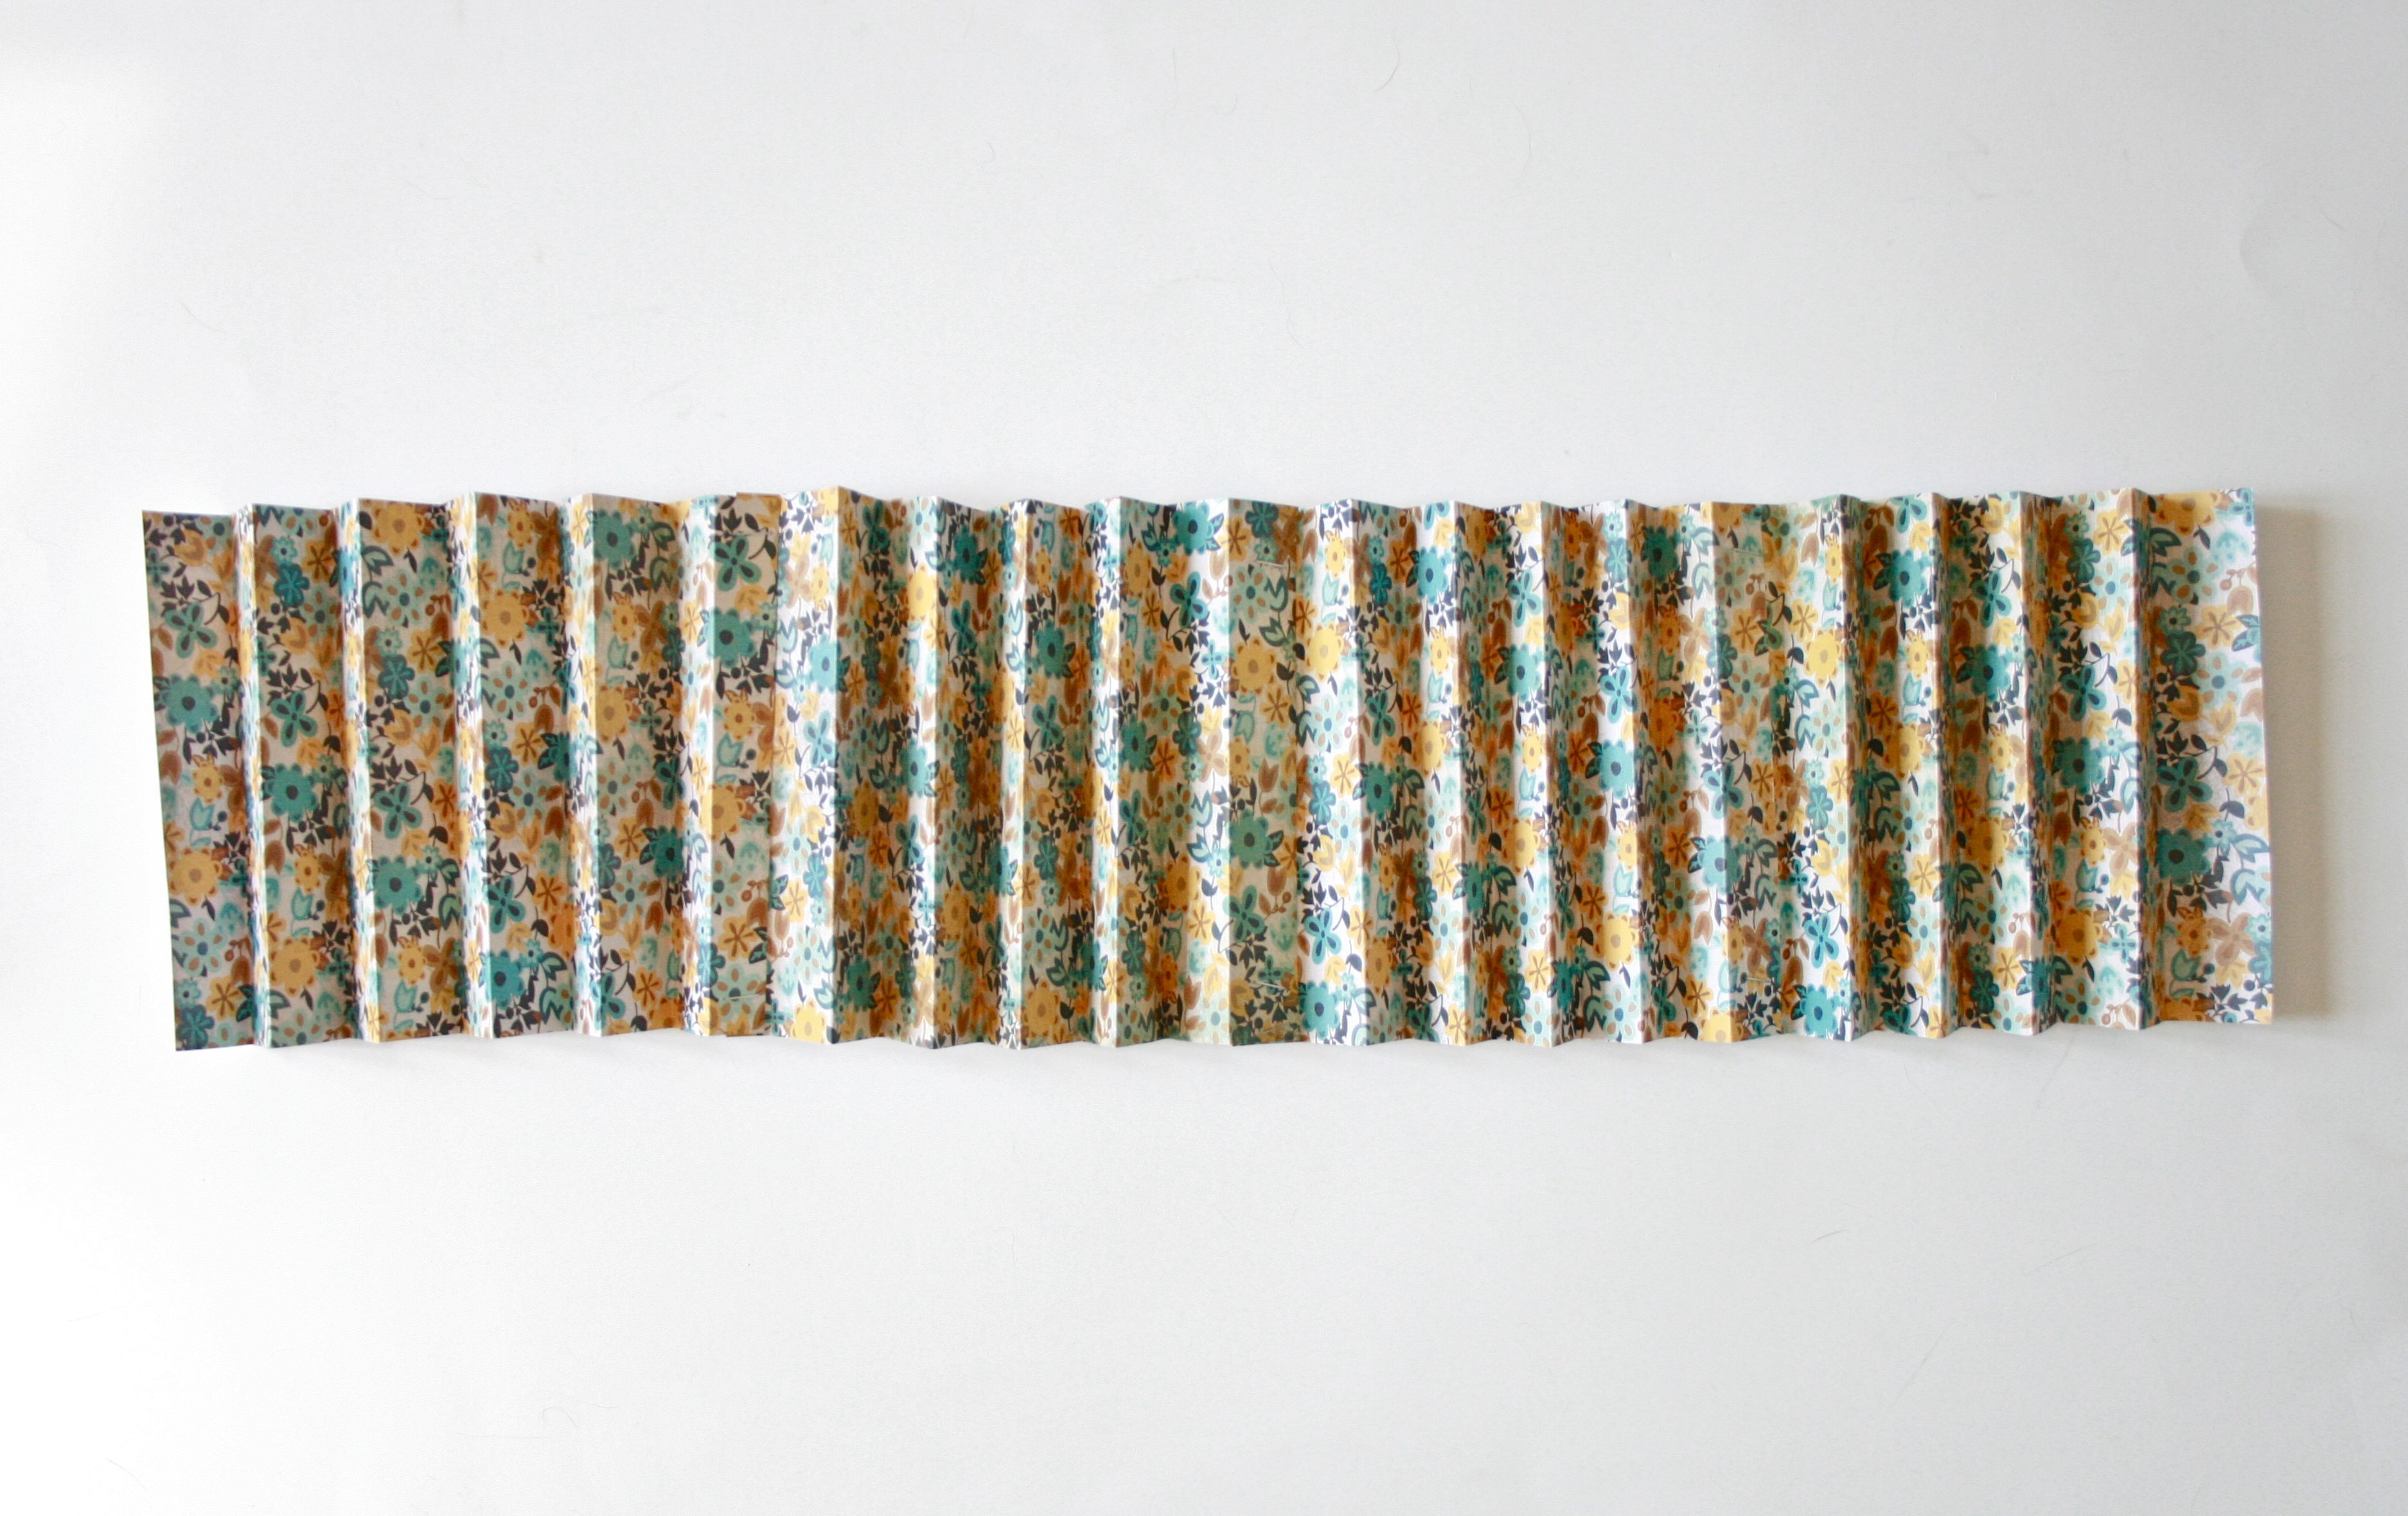
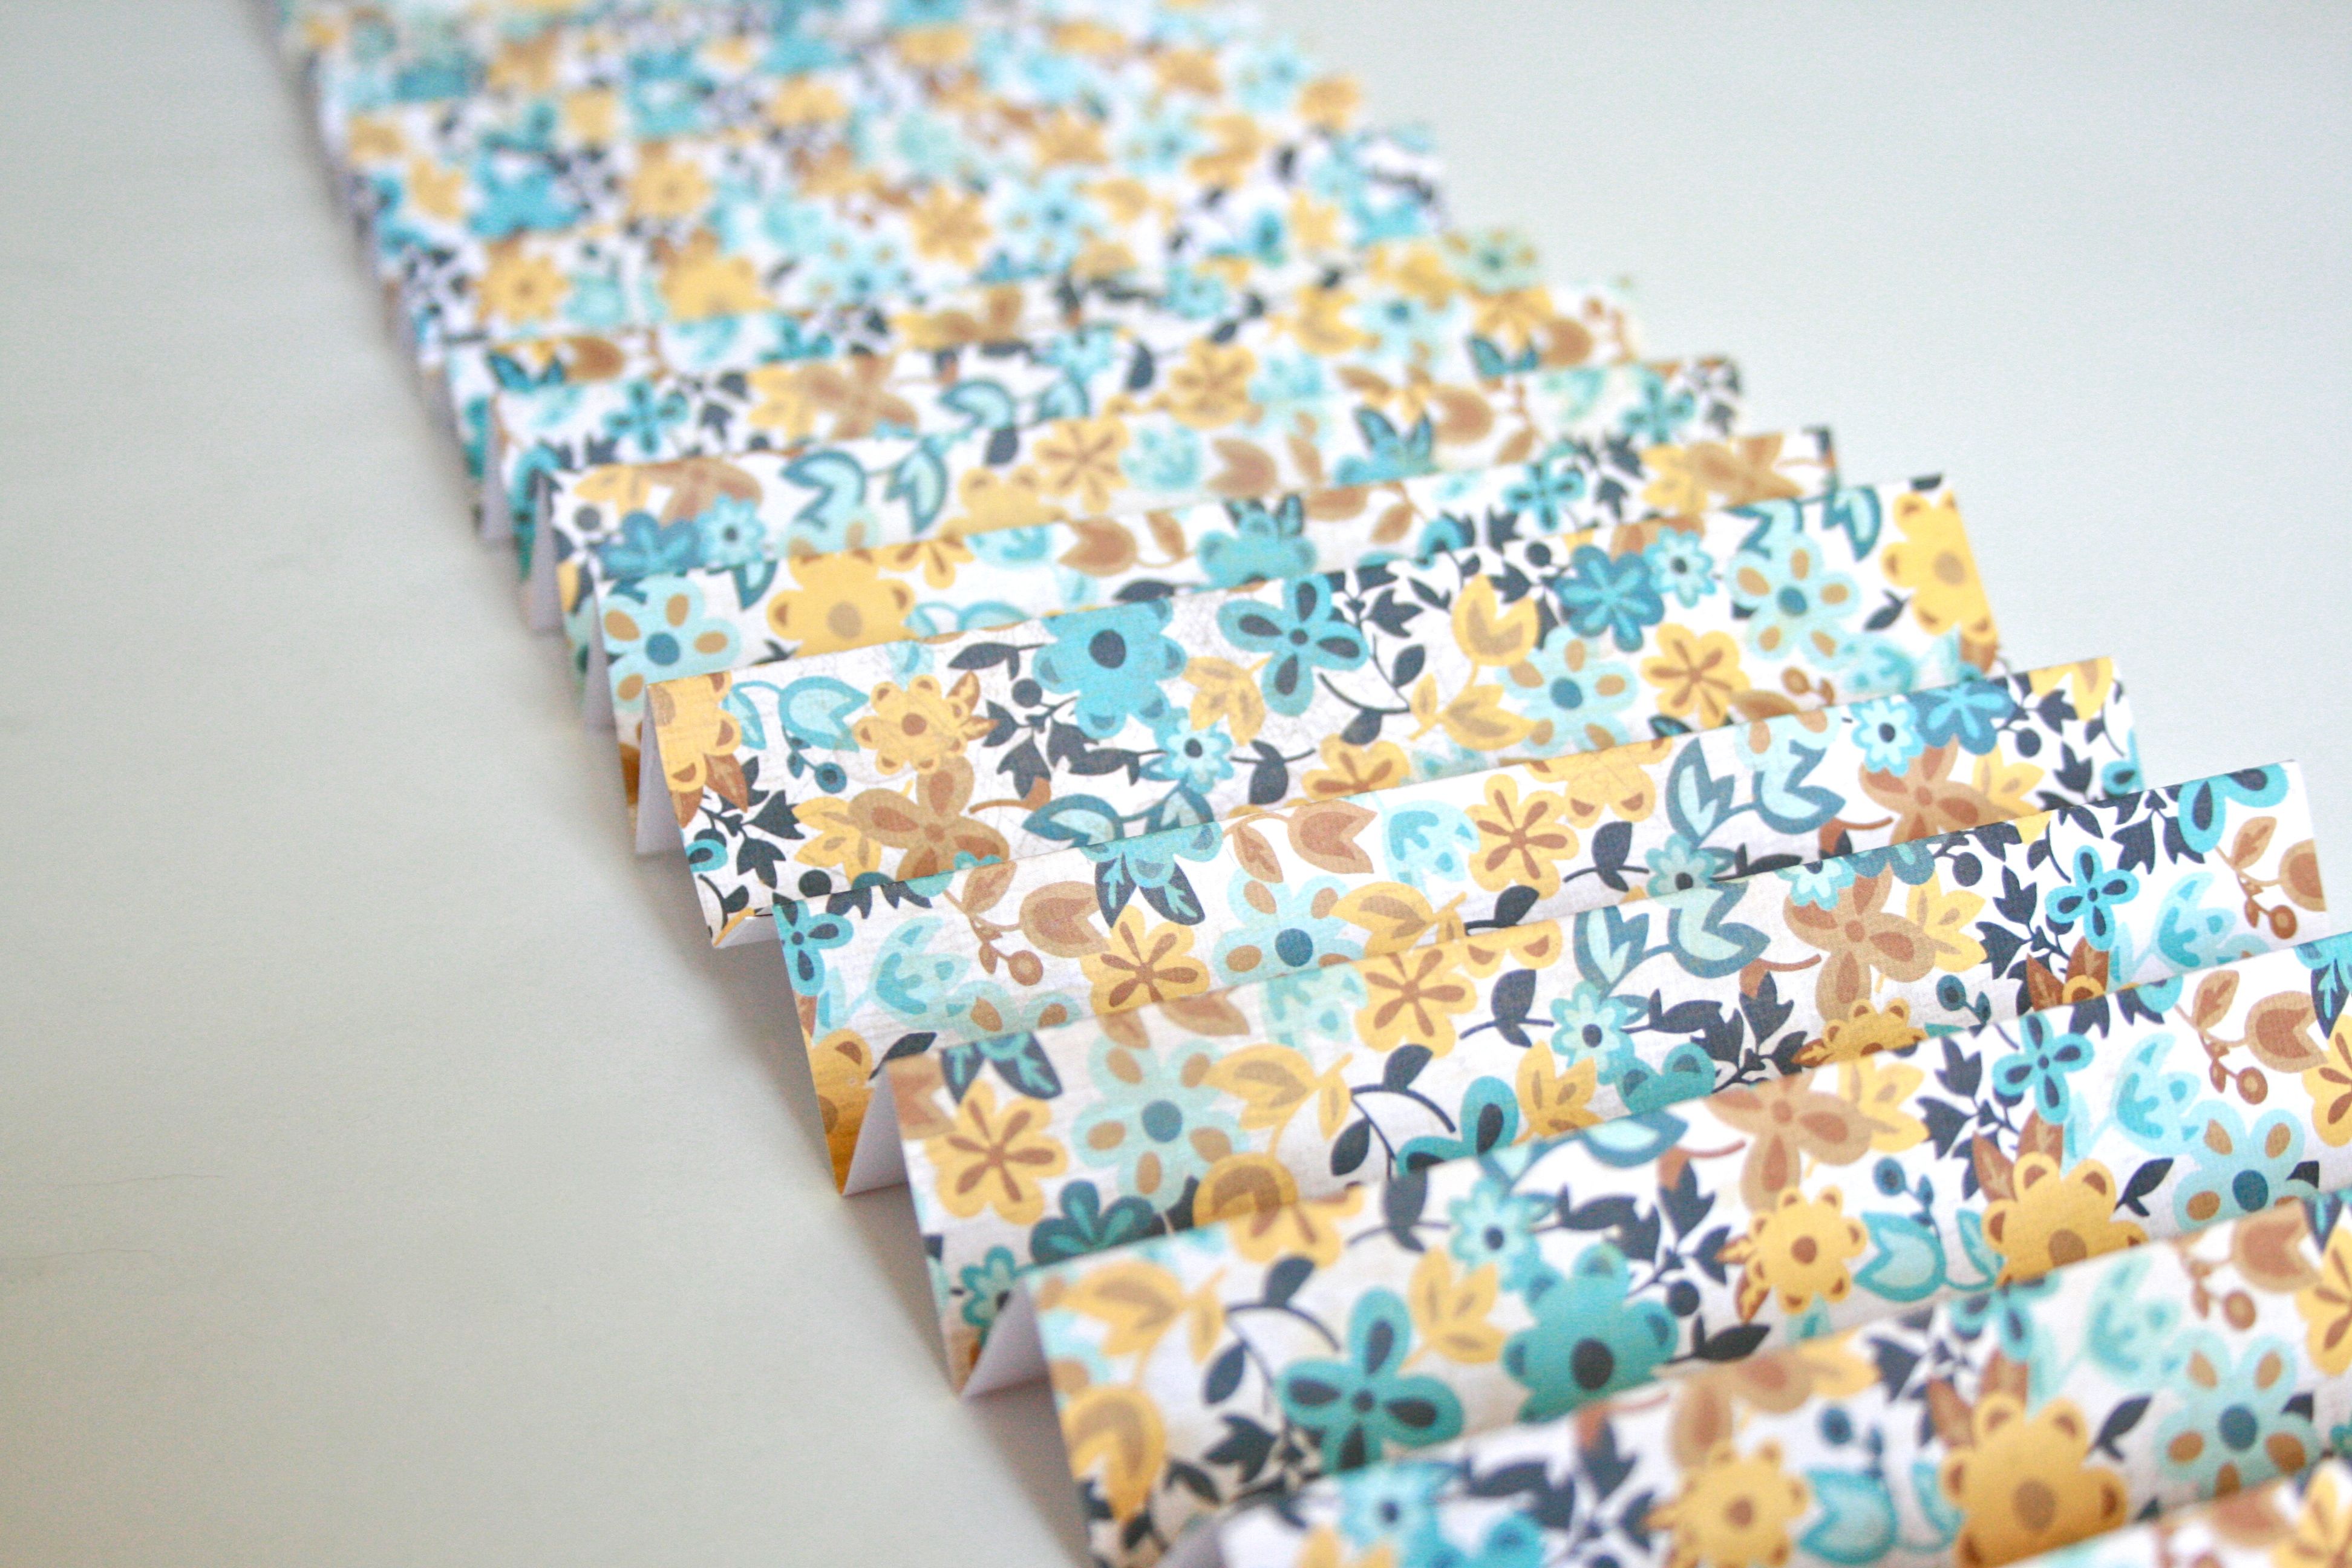
5. This is the moment that everything starts to take shape. Grab the two ends of your paper accordion and bring them together to create your pinwheel’s final rounded silhouette, and staple together like you did before. Although I made sure to demonstrate how it would look nicely just below, your pinwheel will probably look more like the shot 2 photos down.
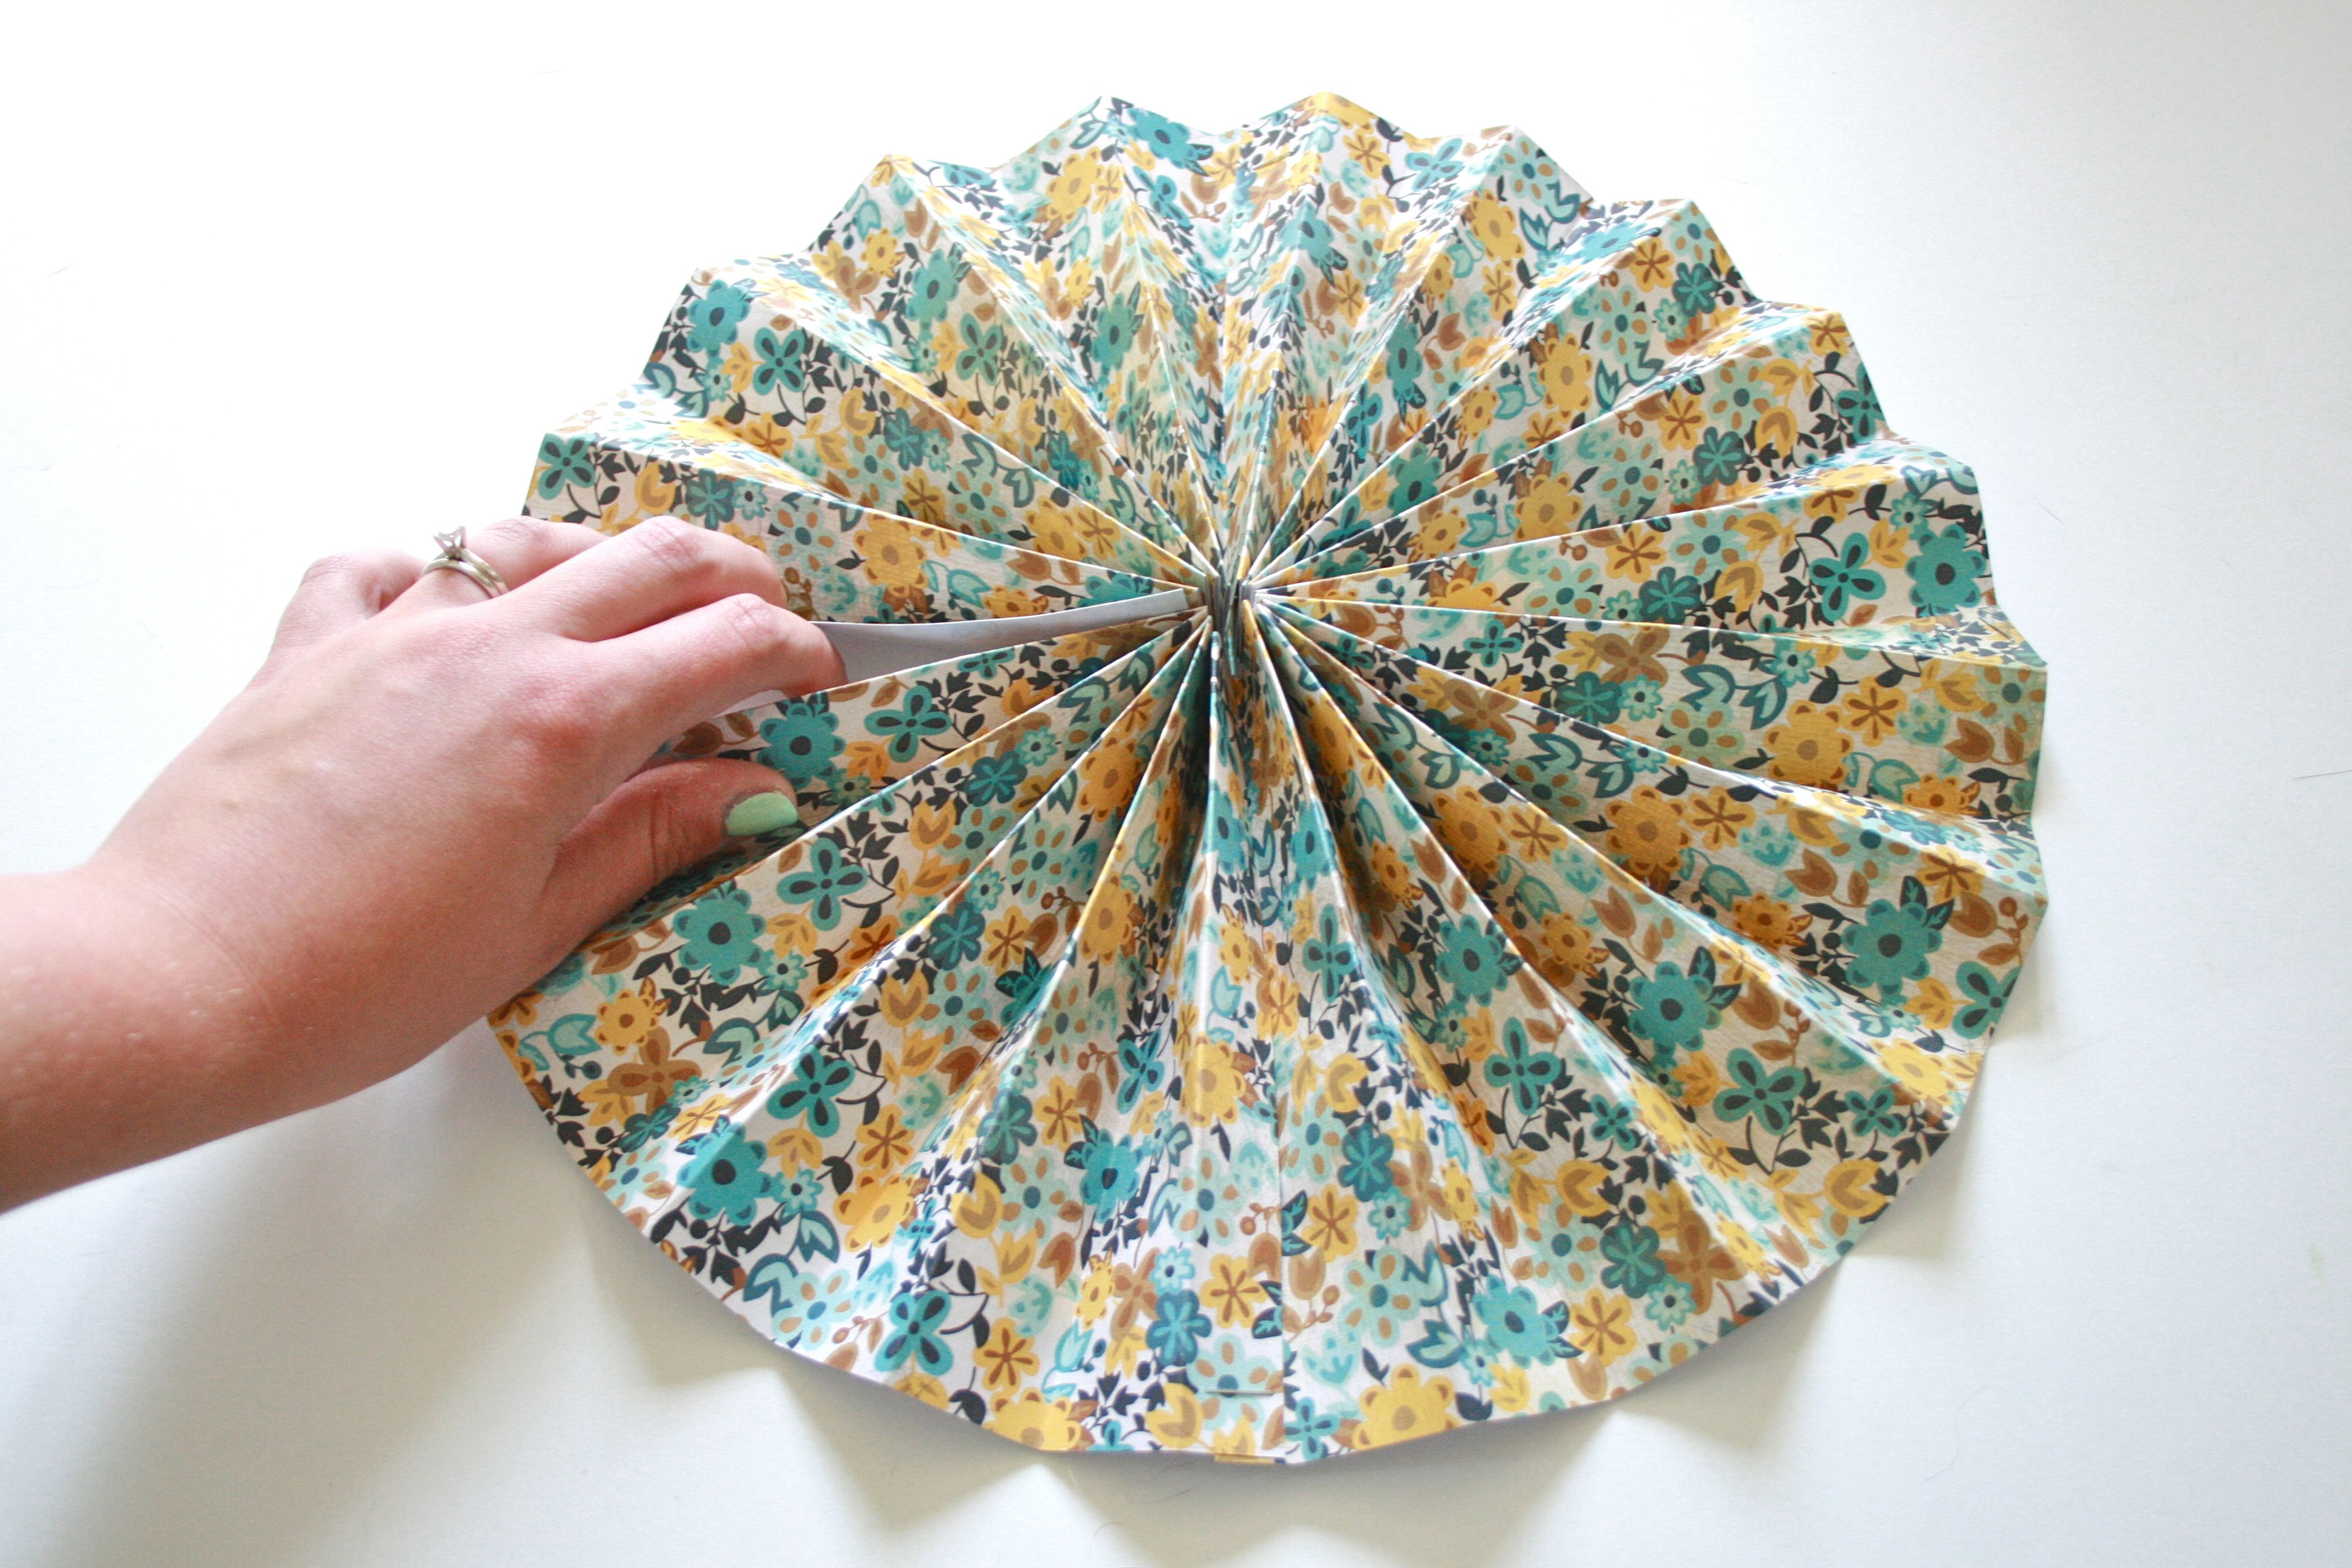
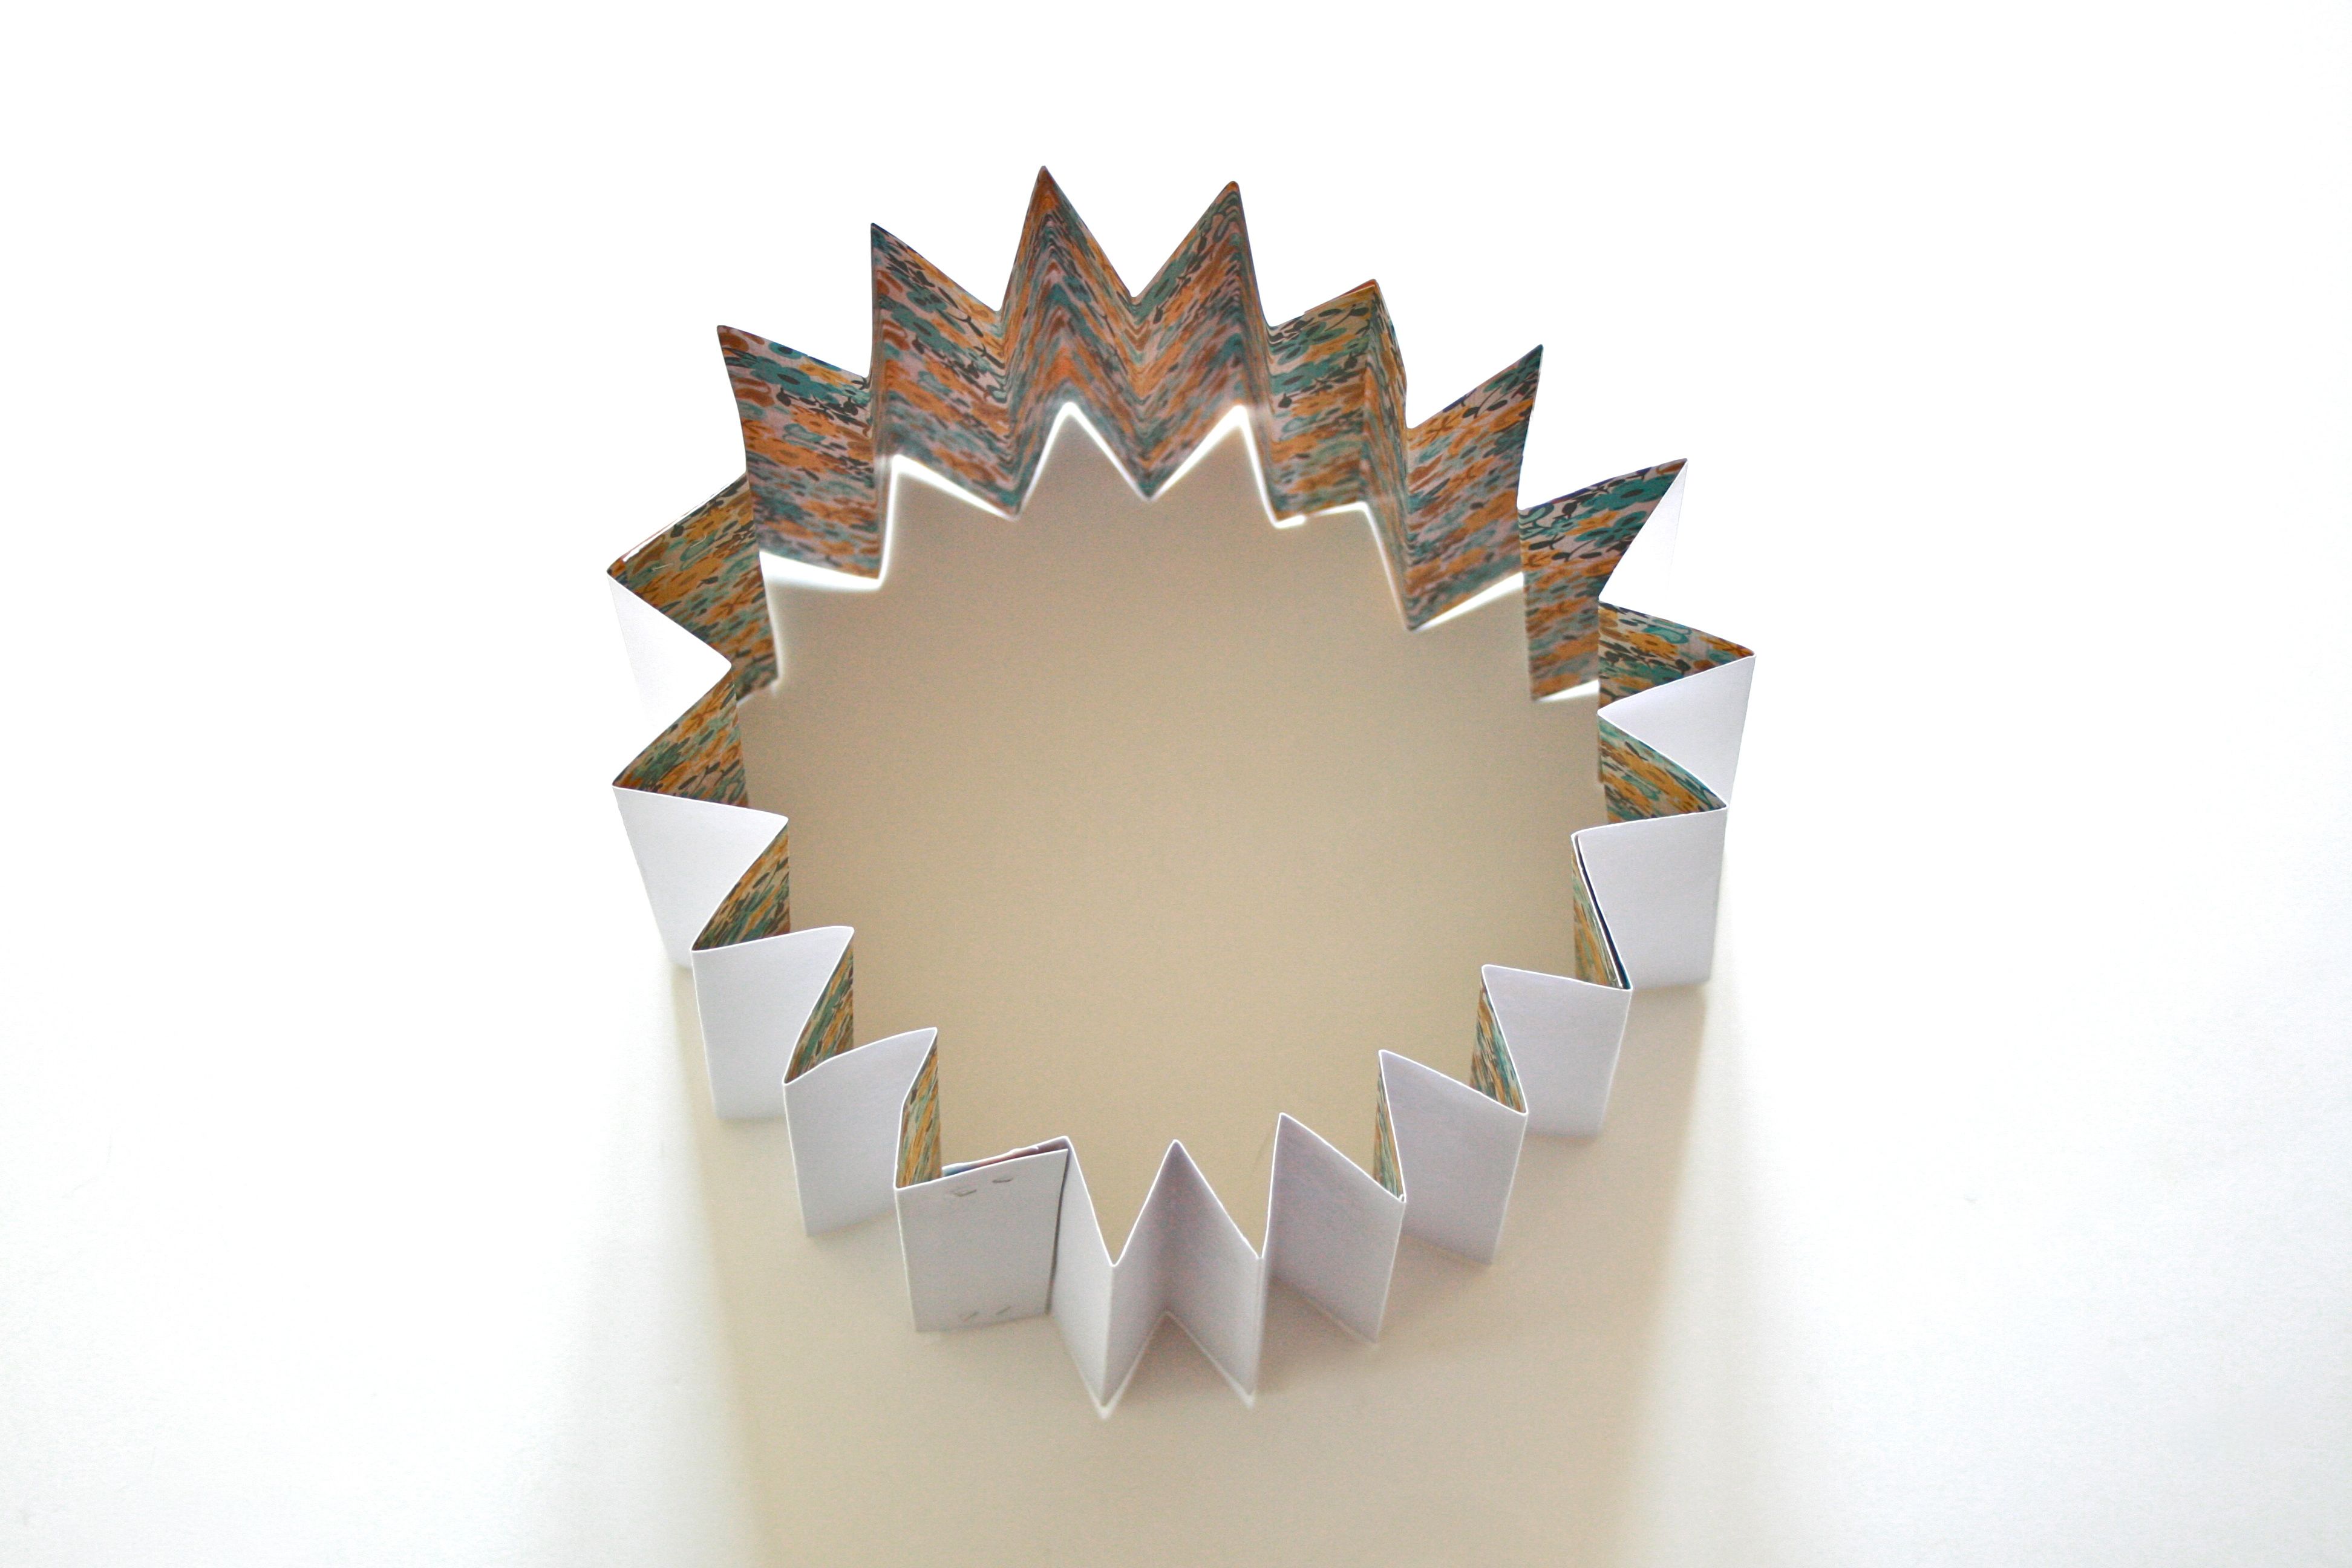
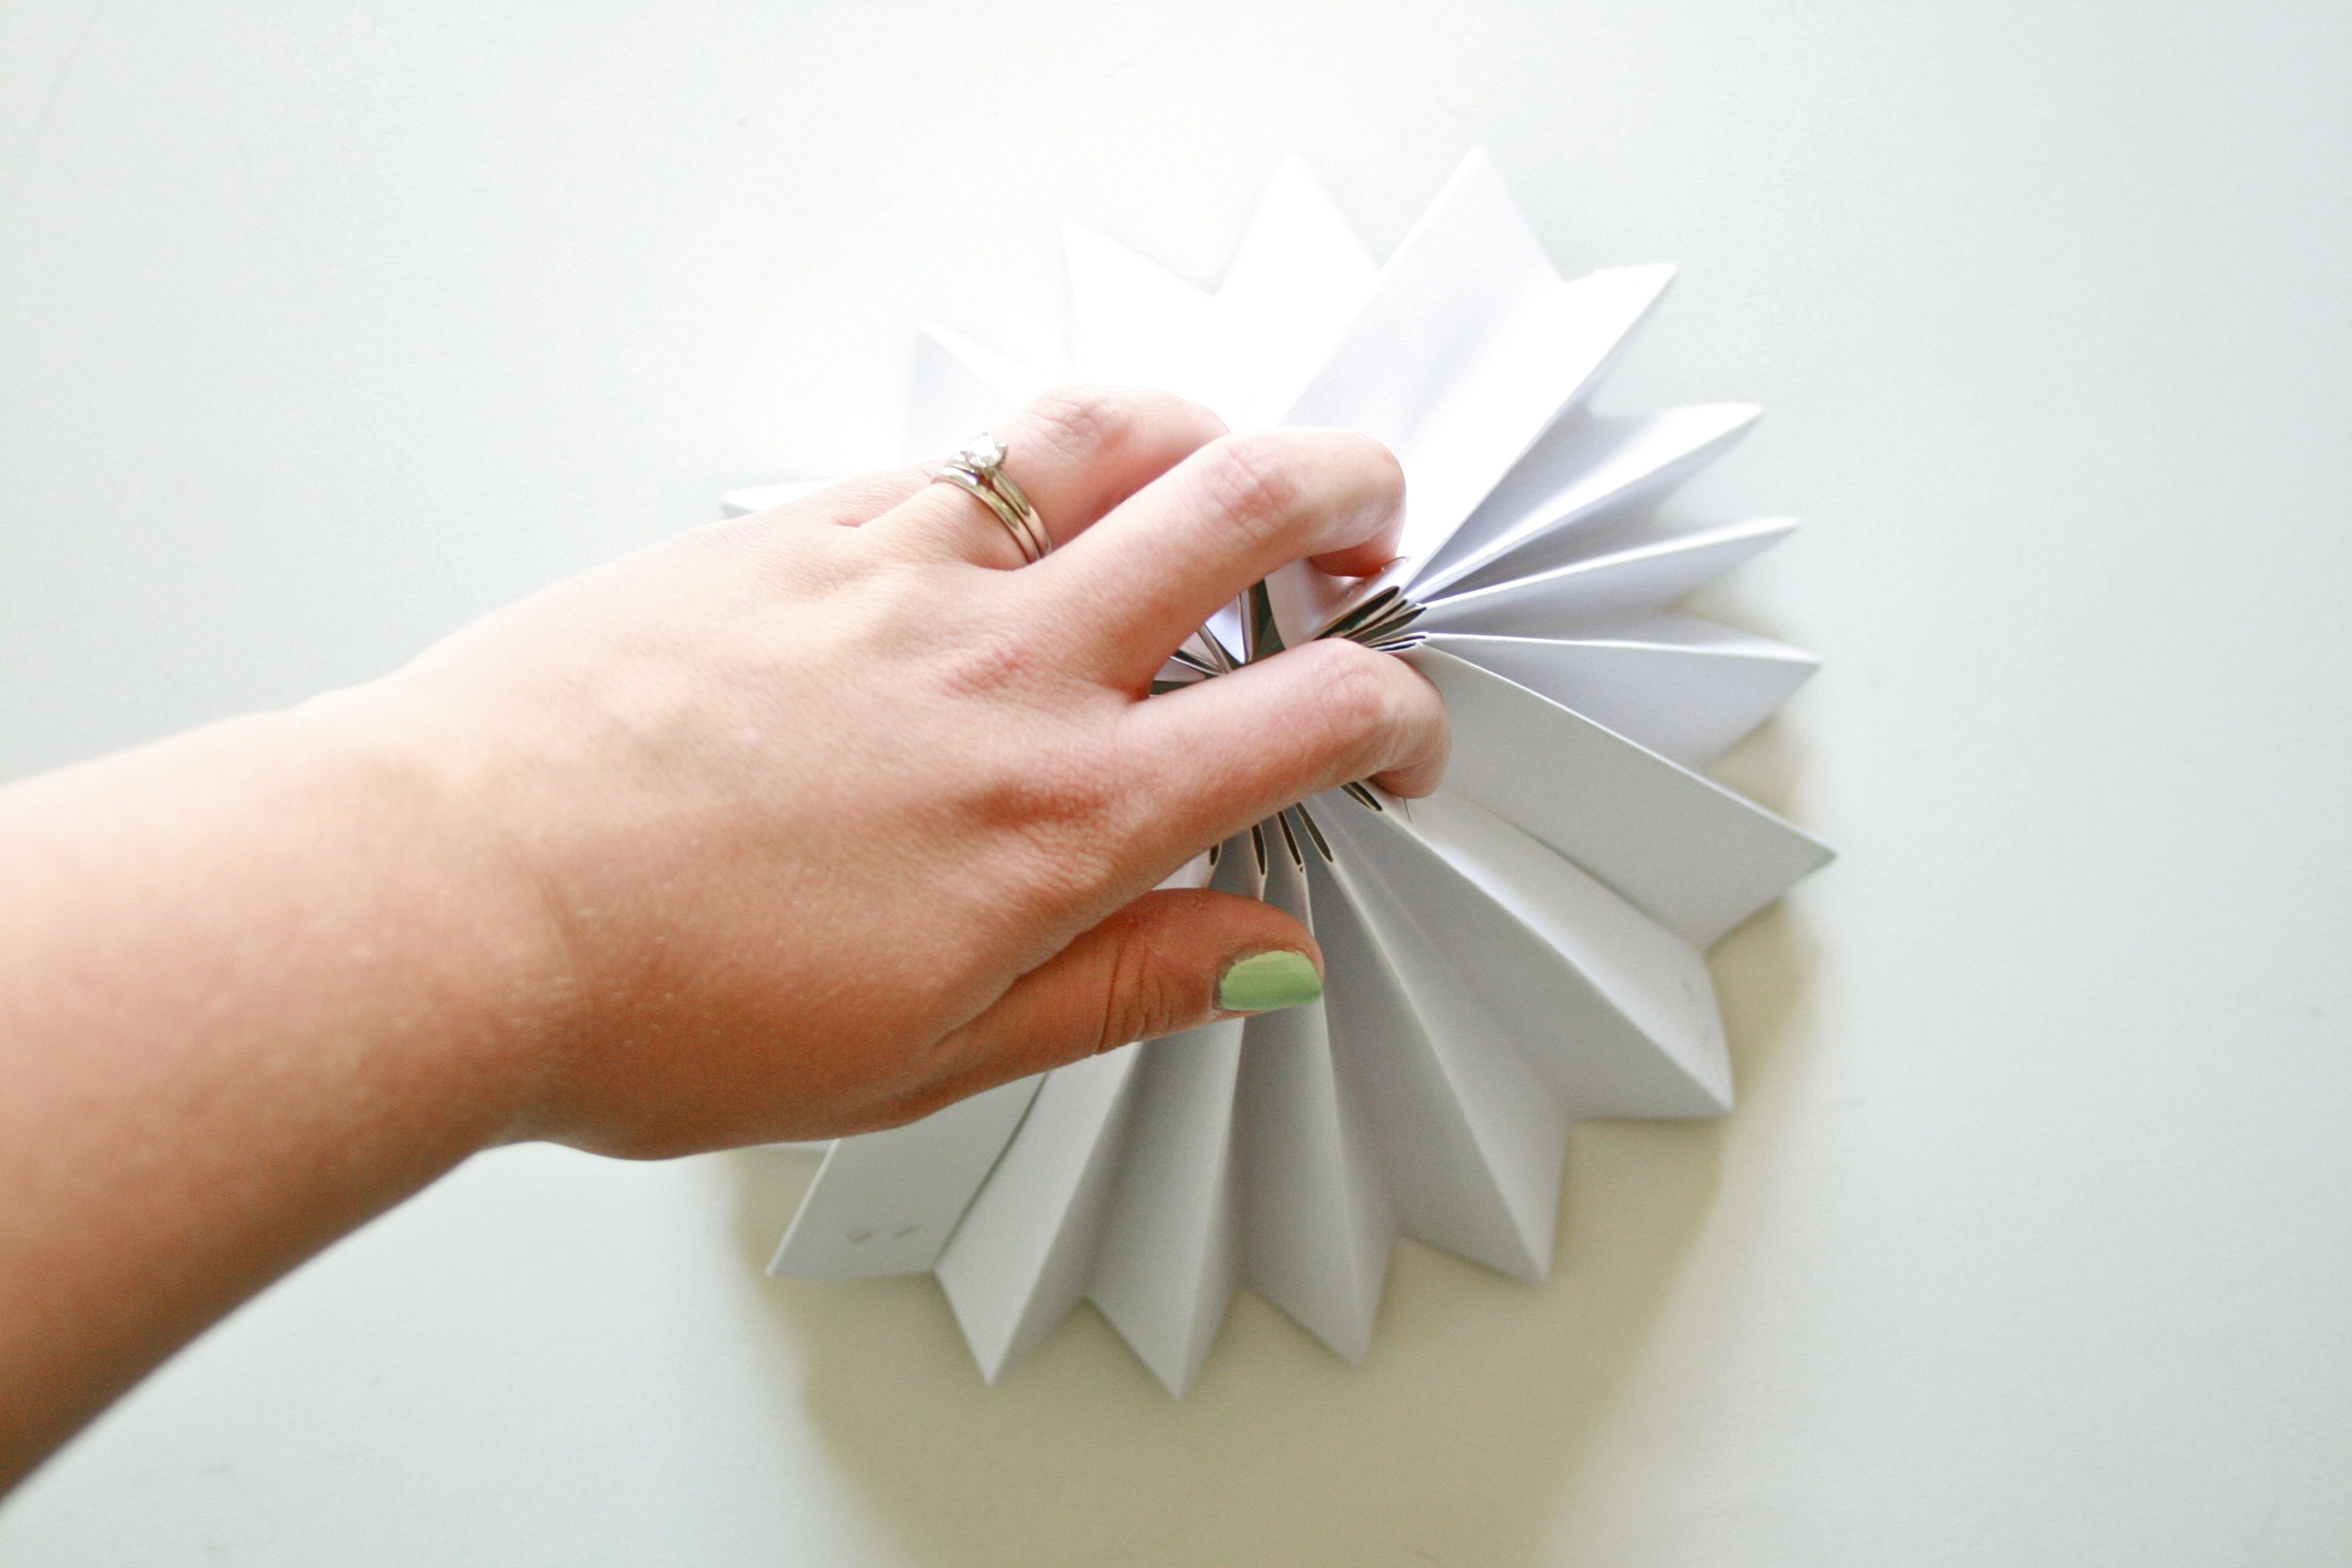
6. Once stapled together, the darn thing will NOT want to stay down – Instead, it will try to sit up like some kind of weird pyramid or cylinder. To fix it, grab the end sticking up into the air and clasp together in the middle, then gently push down, forcing the bottom edge to fan out. Now you’ll have the blank underside exposed.
7. To keep the pinwheel sitting flat, squeeze a generous line of hot glue down the middle section of the folds (it doesn’t matter which sections you choose) and put the wooden dowel rod in place while the glue is still hot.
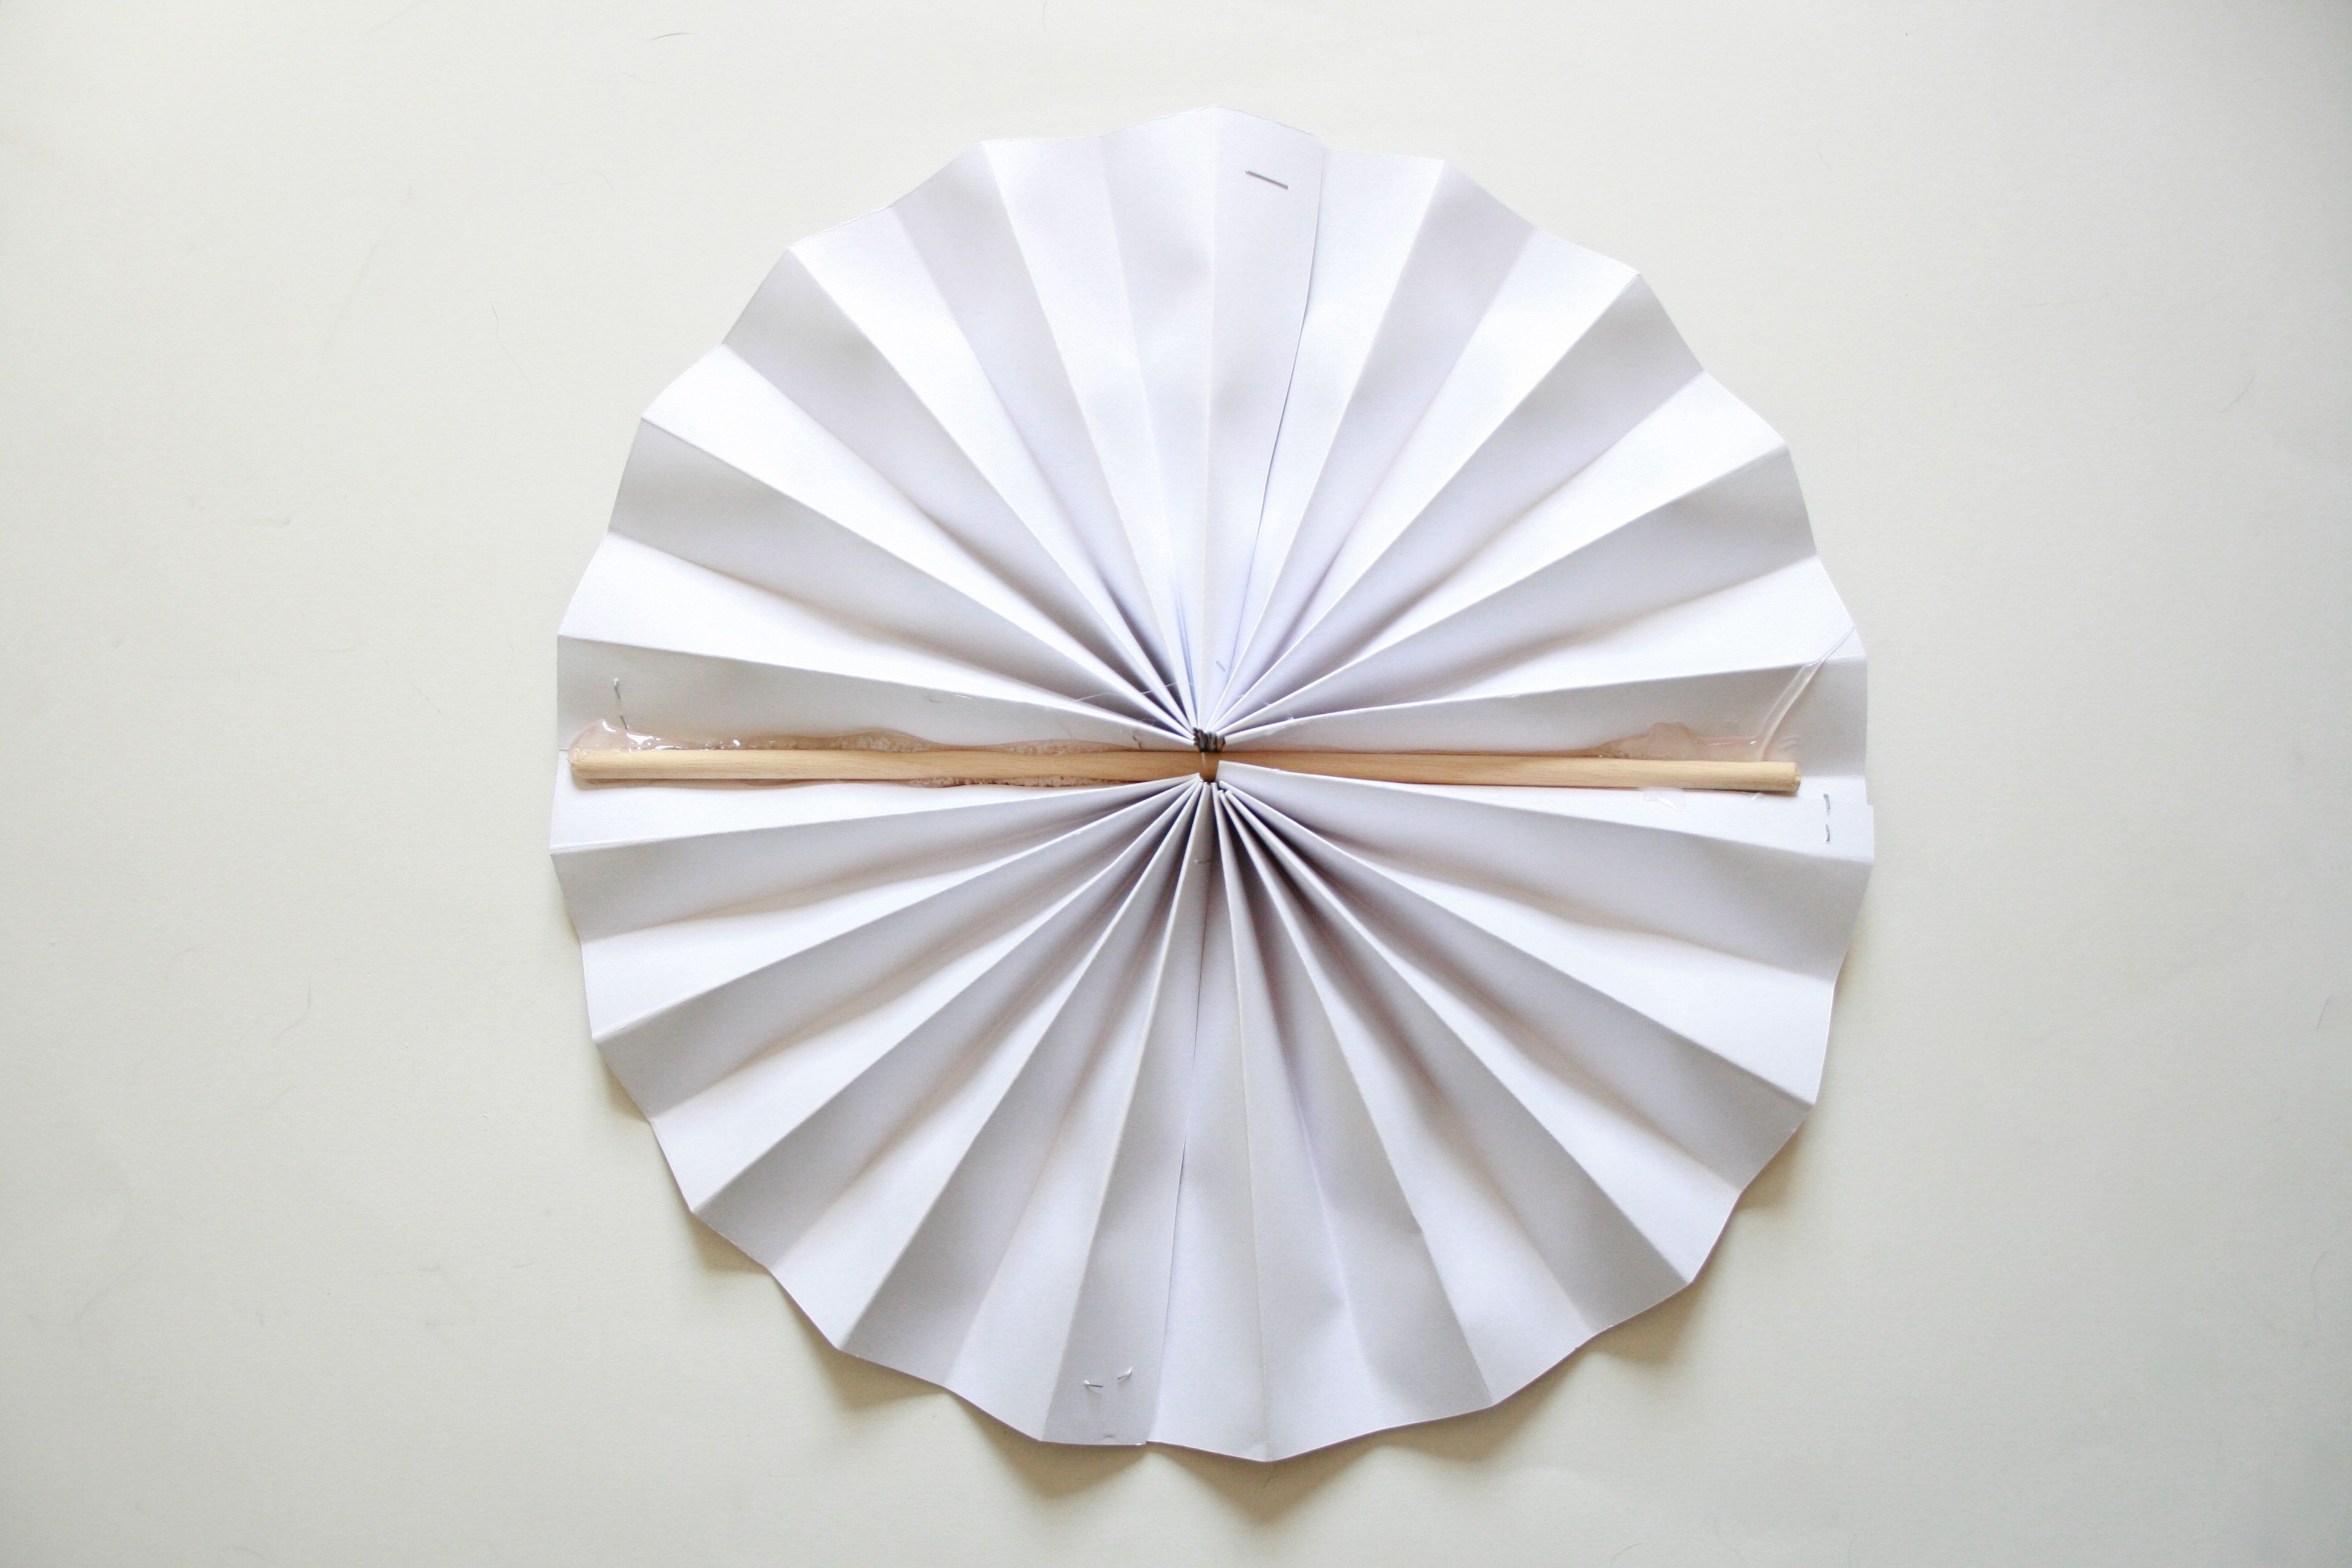
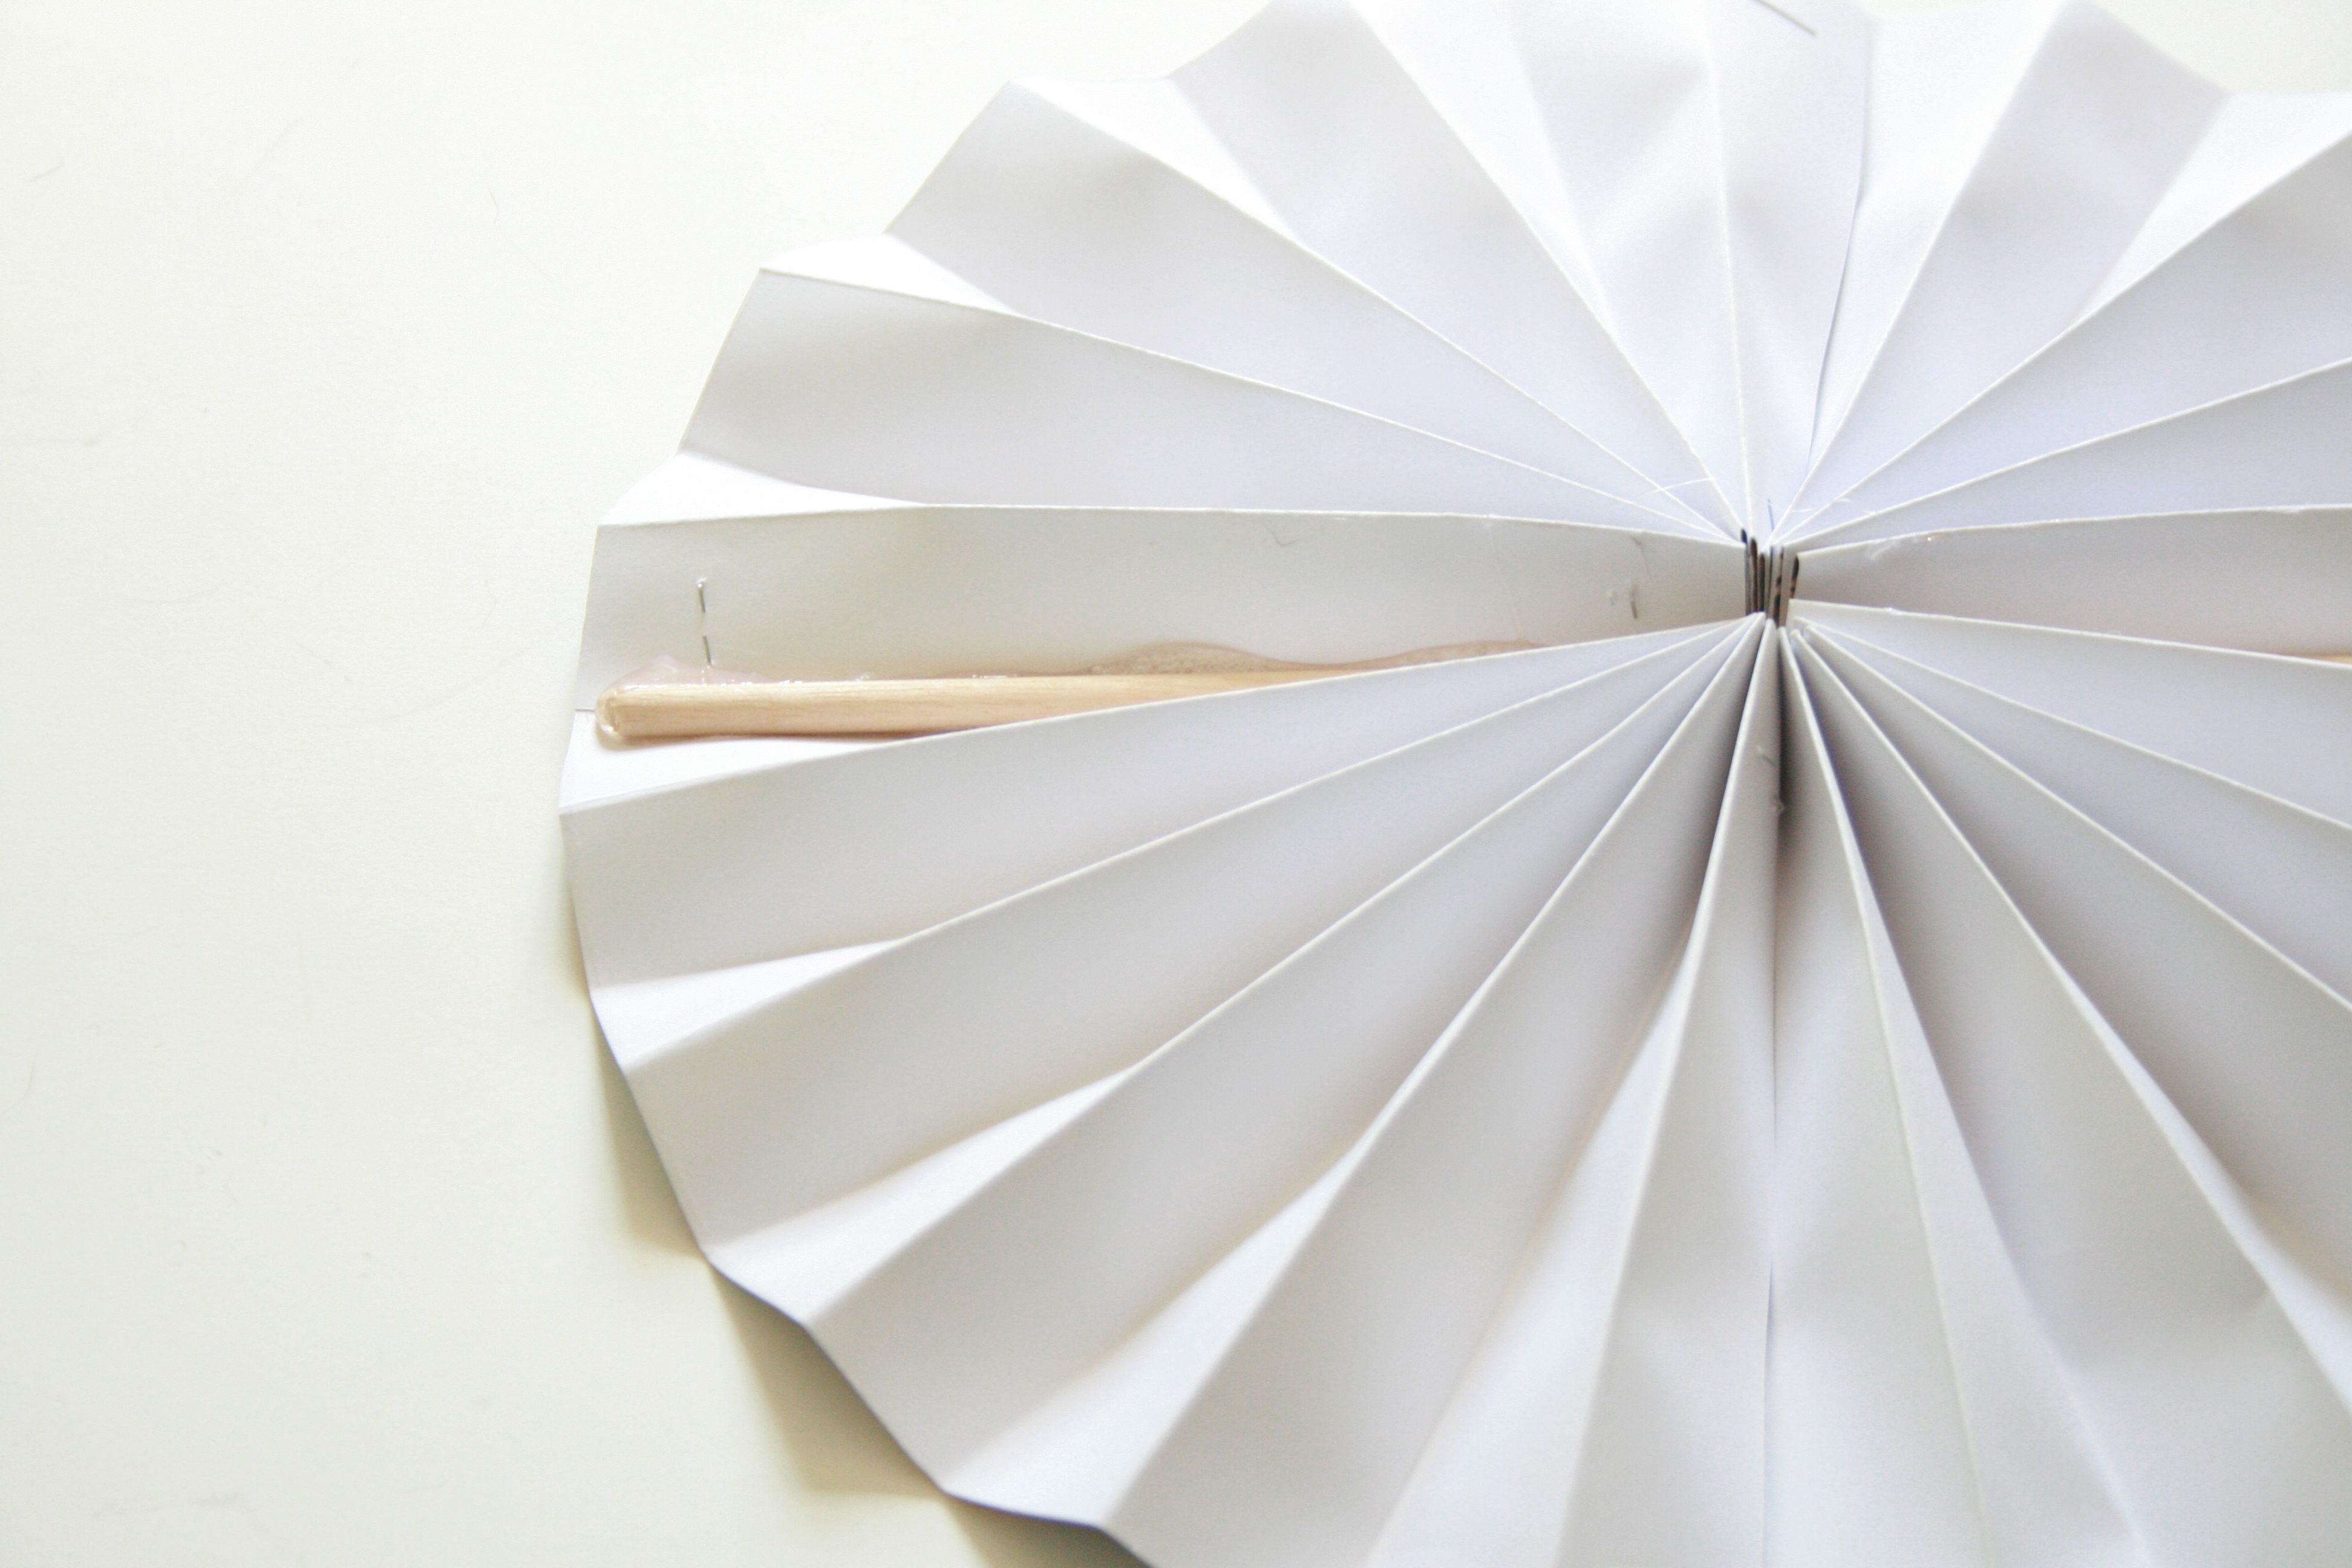
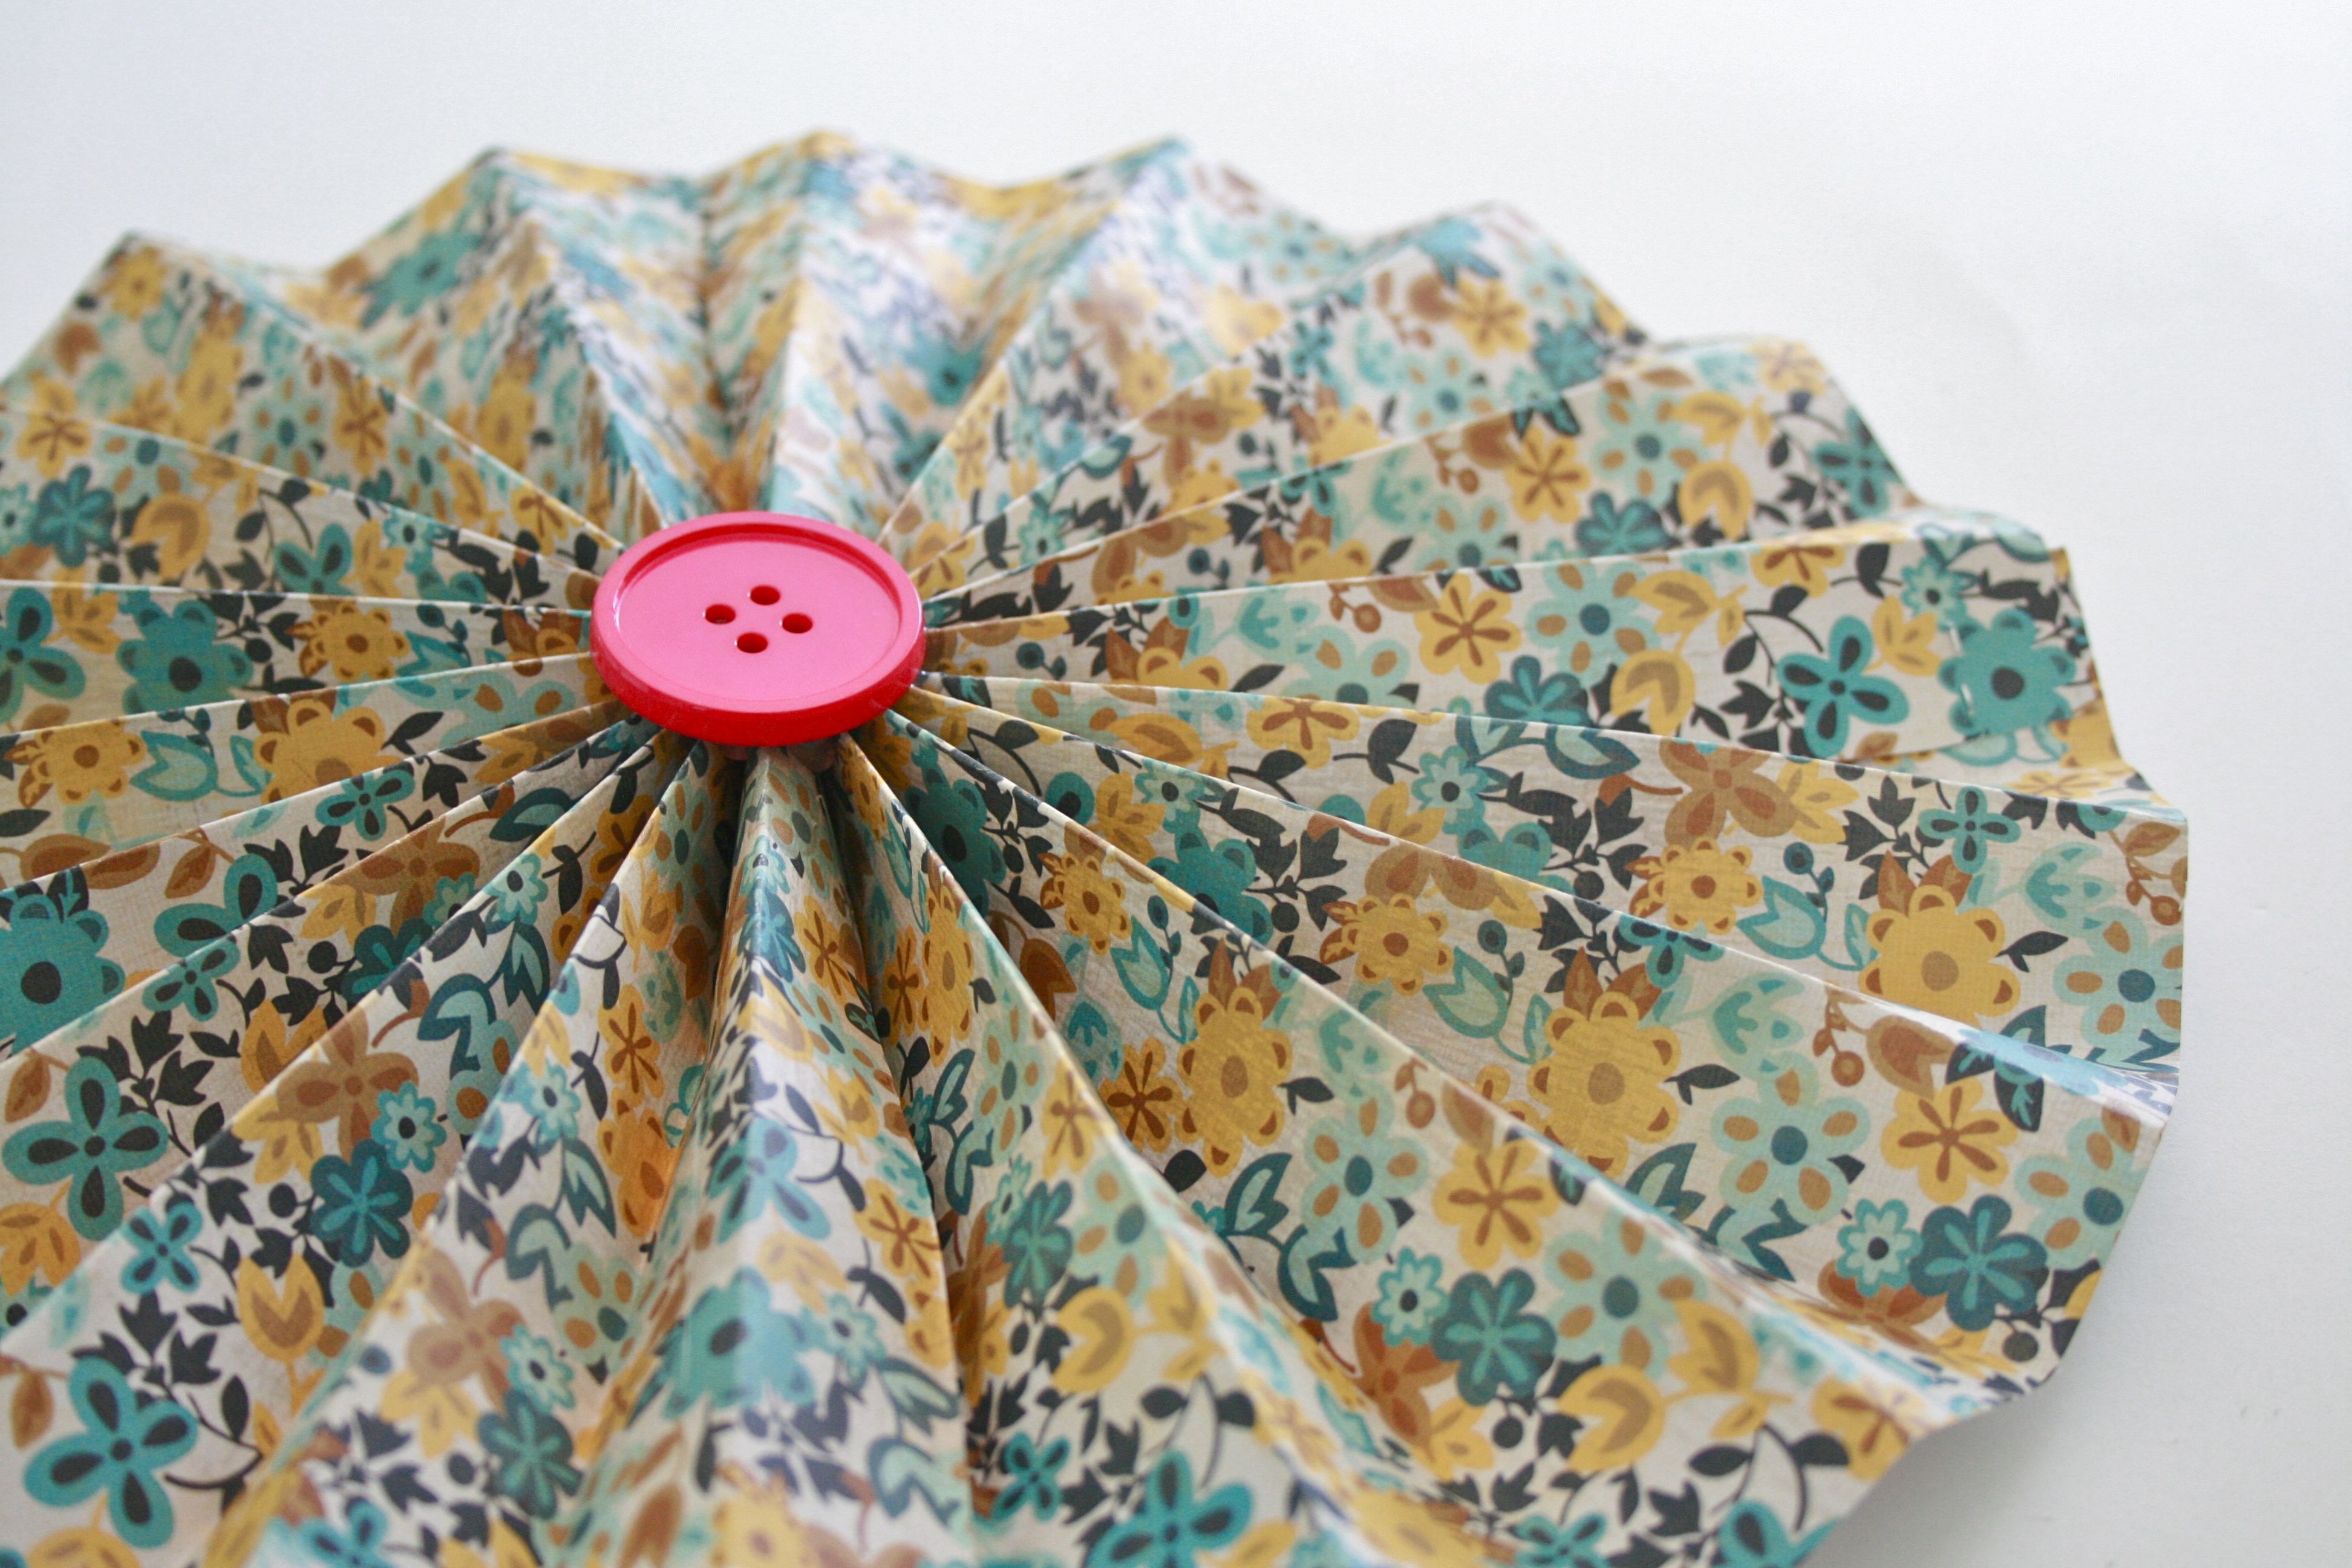
8. Finally, flip the pinwheel over and squeeze another generous amount, this time JUST in the center of the pinwheel, and push your button into the glue while it’s still hot.
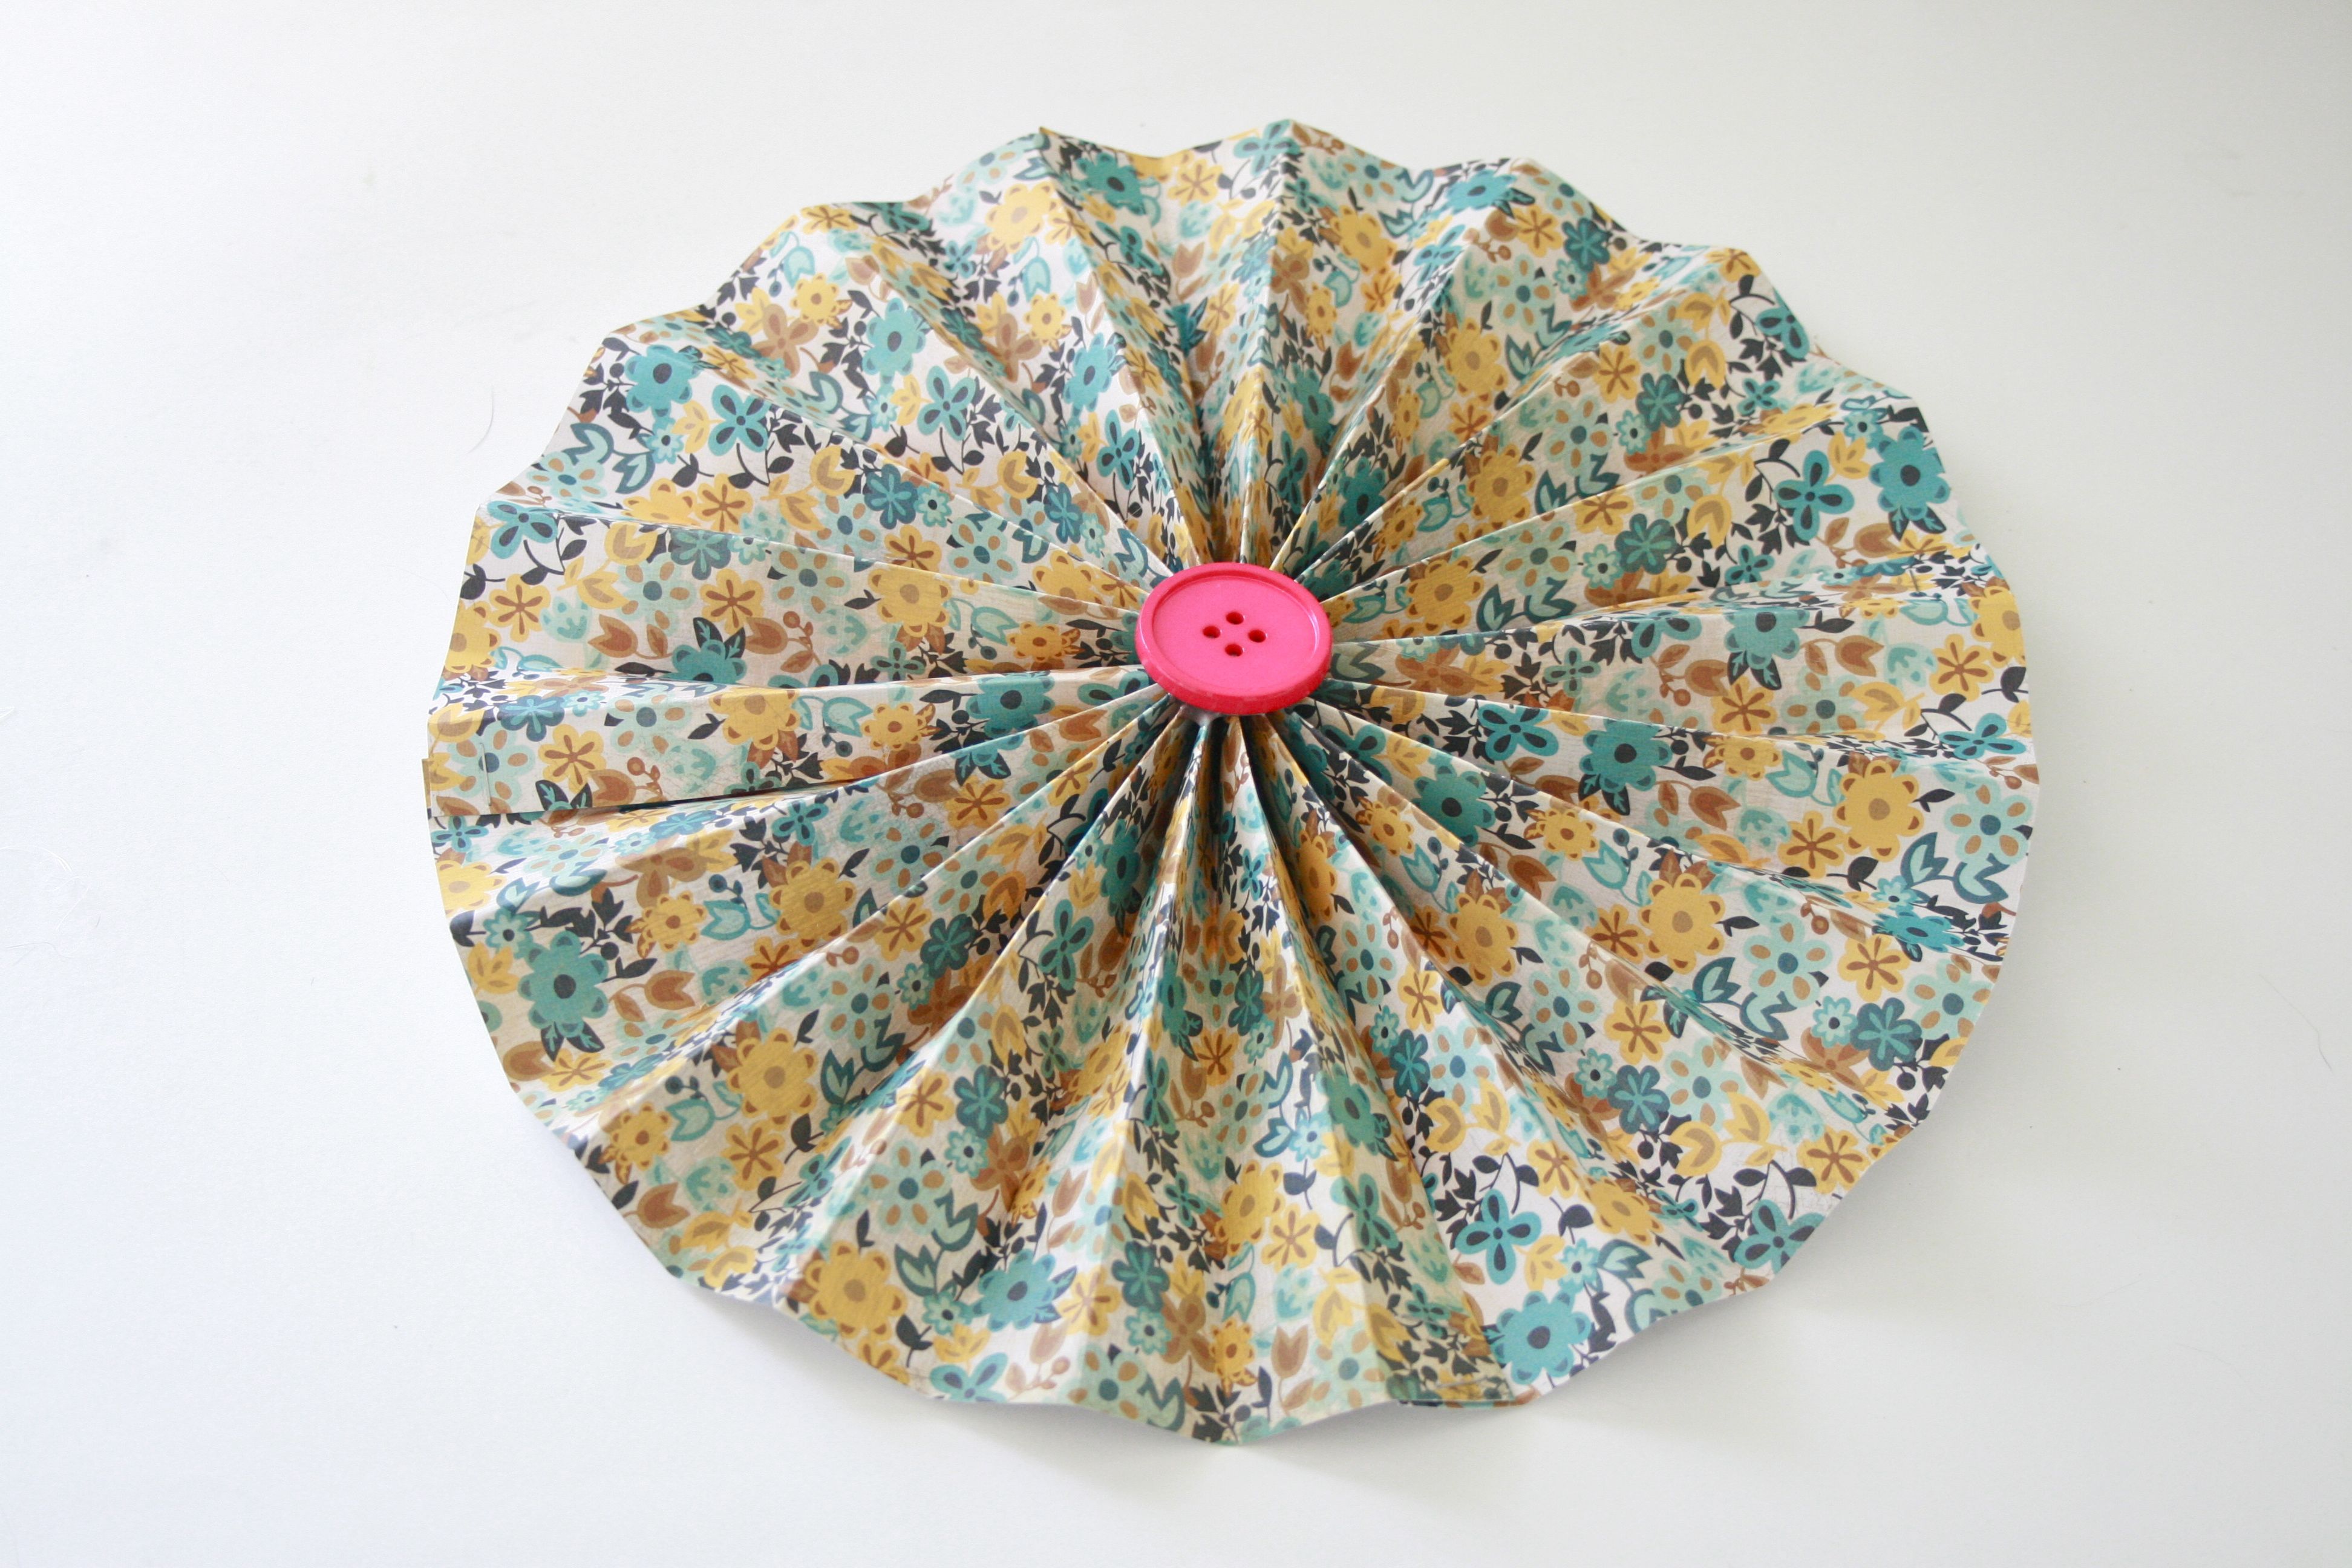
And that’s it! In about 5-10 minutes, you’ll have your very own pinwheel to show off. Pretty simple right? If you have any troubleshooting questions, just leave a comment below or email me anytime. Once you get the hang of it though, you’ll be a pro and ready to impress your friends with your new craft talent. Host a fun pinwheel making party, if you like!
That’s actually exactly what we did right before the wedding – My mom and I invited a large group of family friends to the house, and we made a big pile of paper pinwheels, factory style, to be hung at our wedding reception. Click here for the final look.
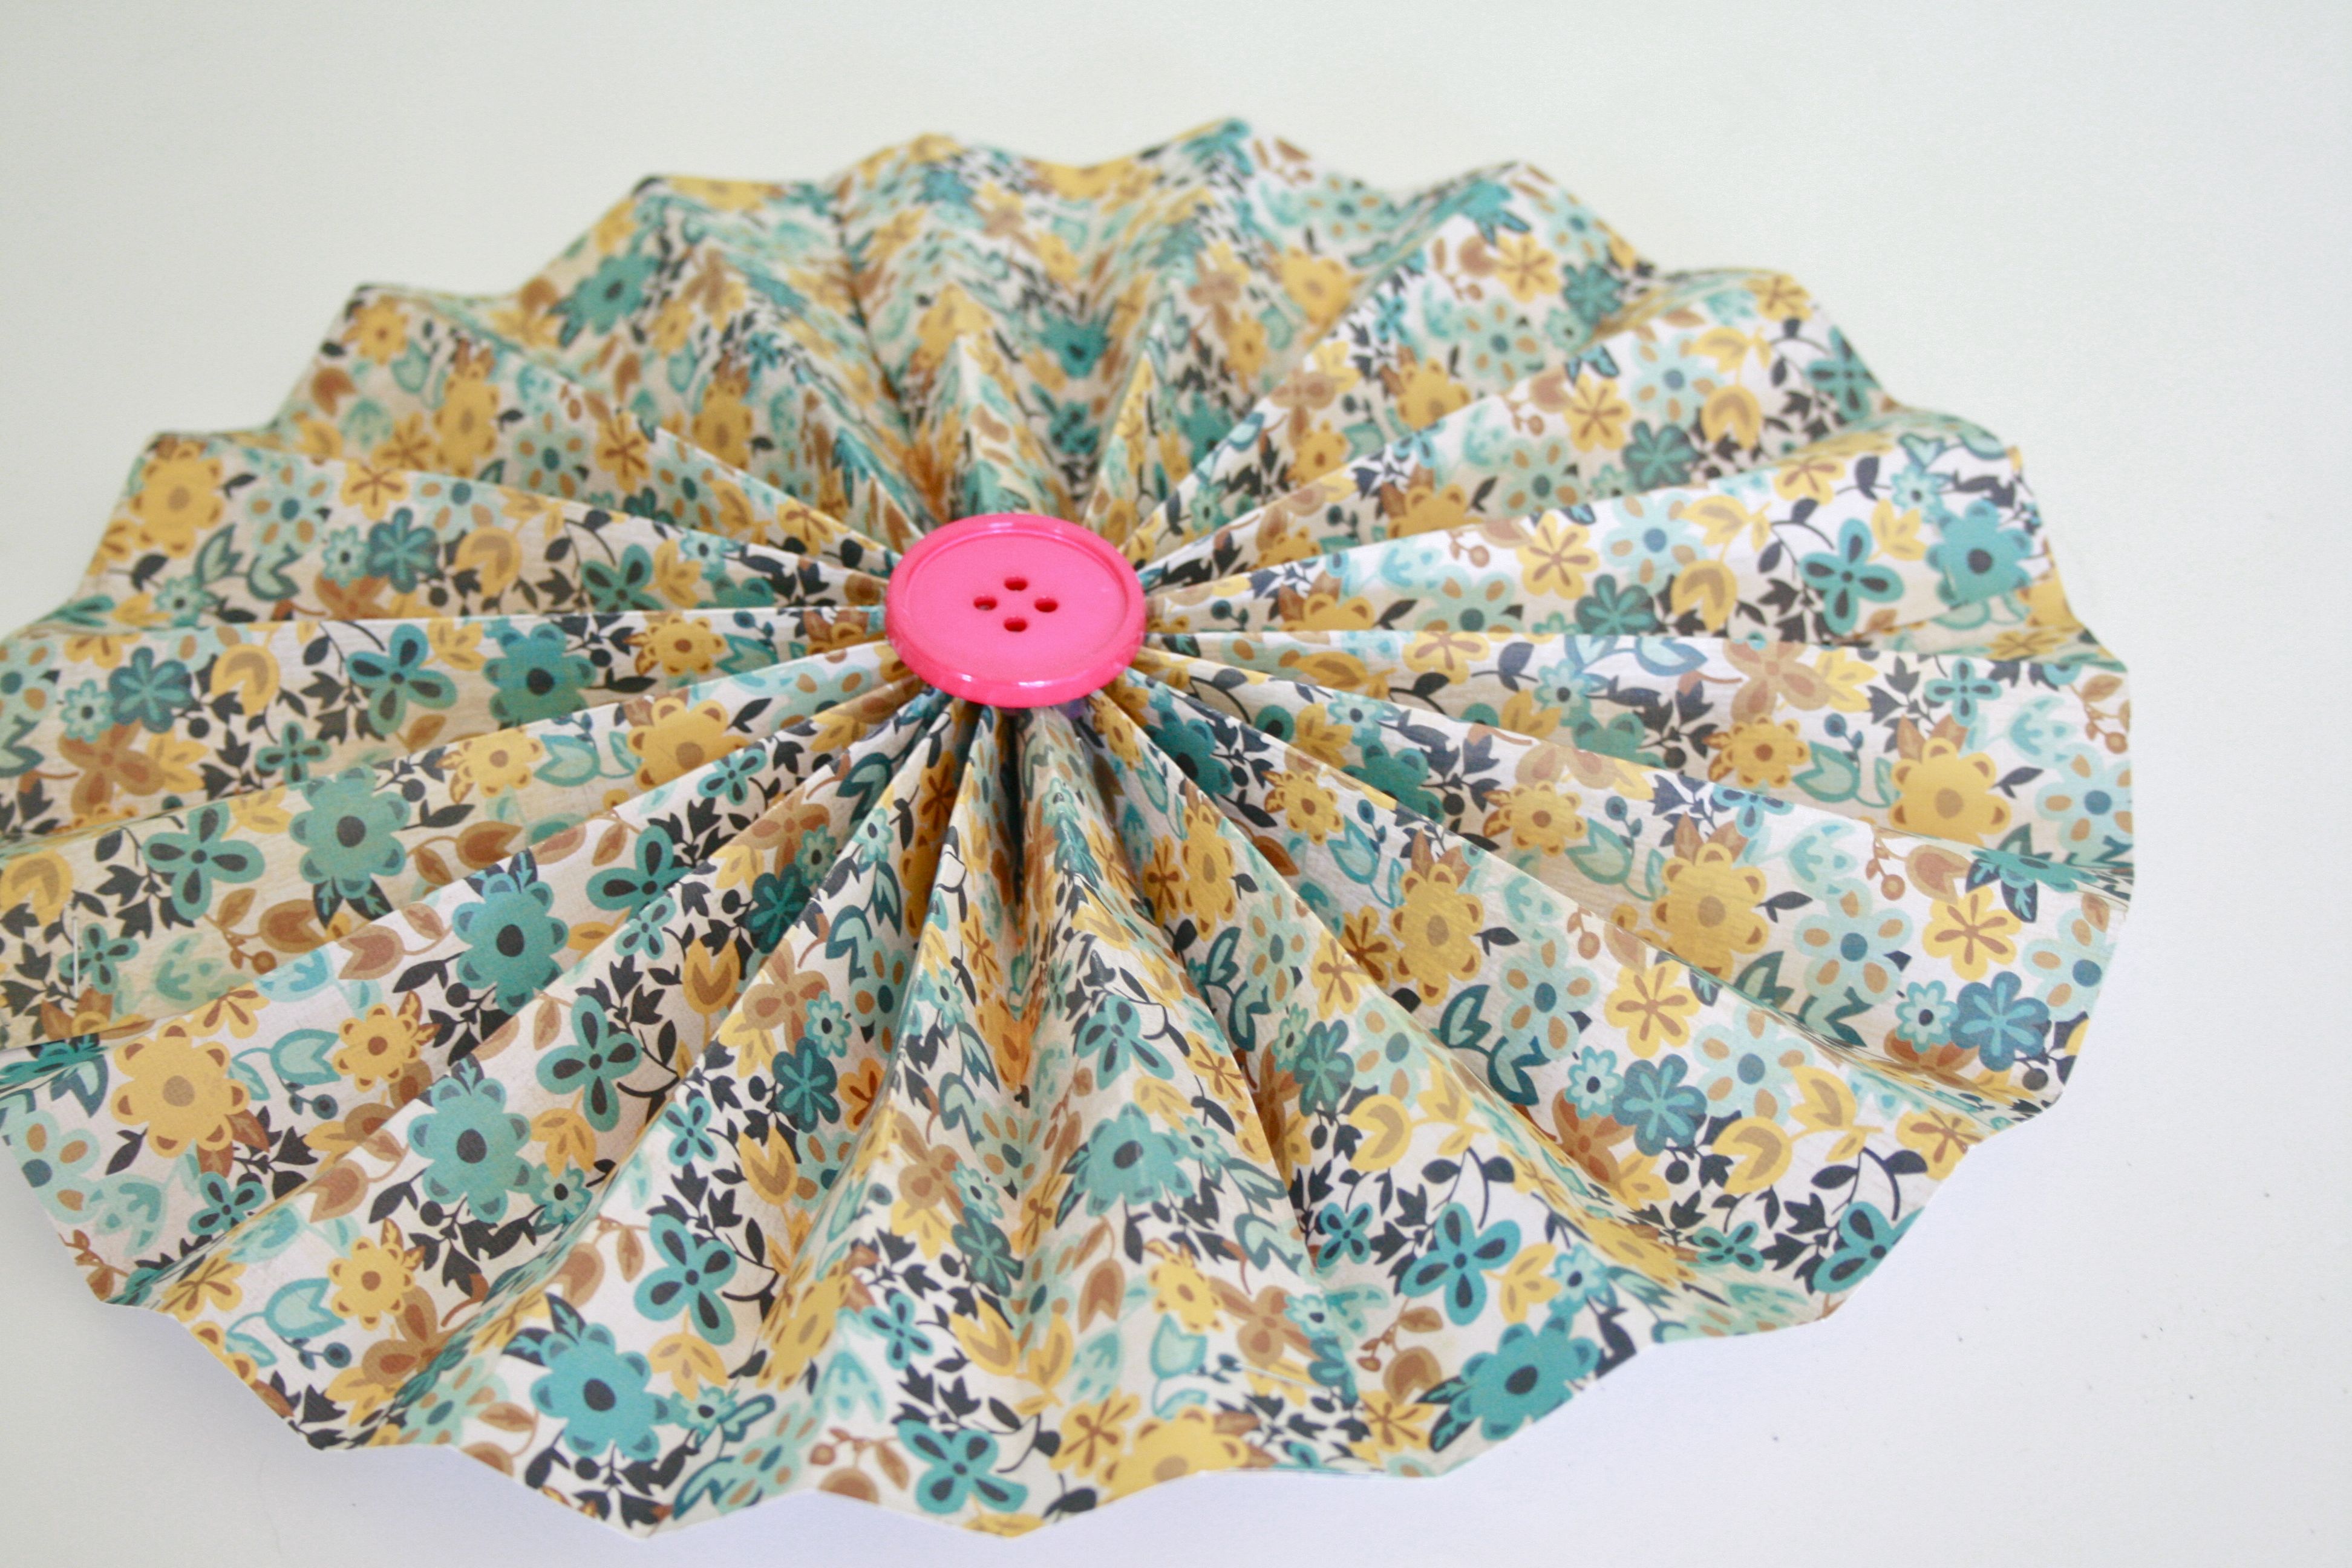
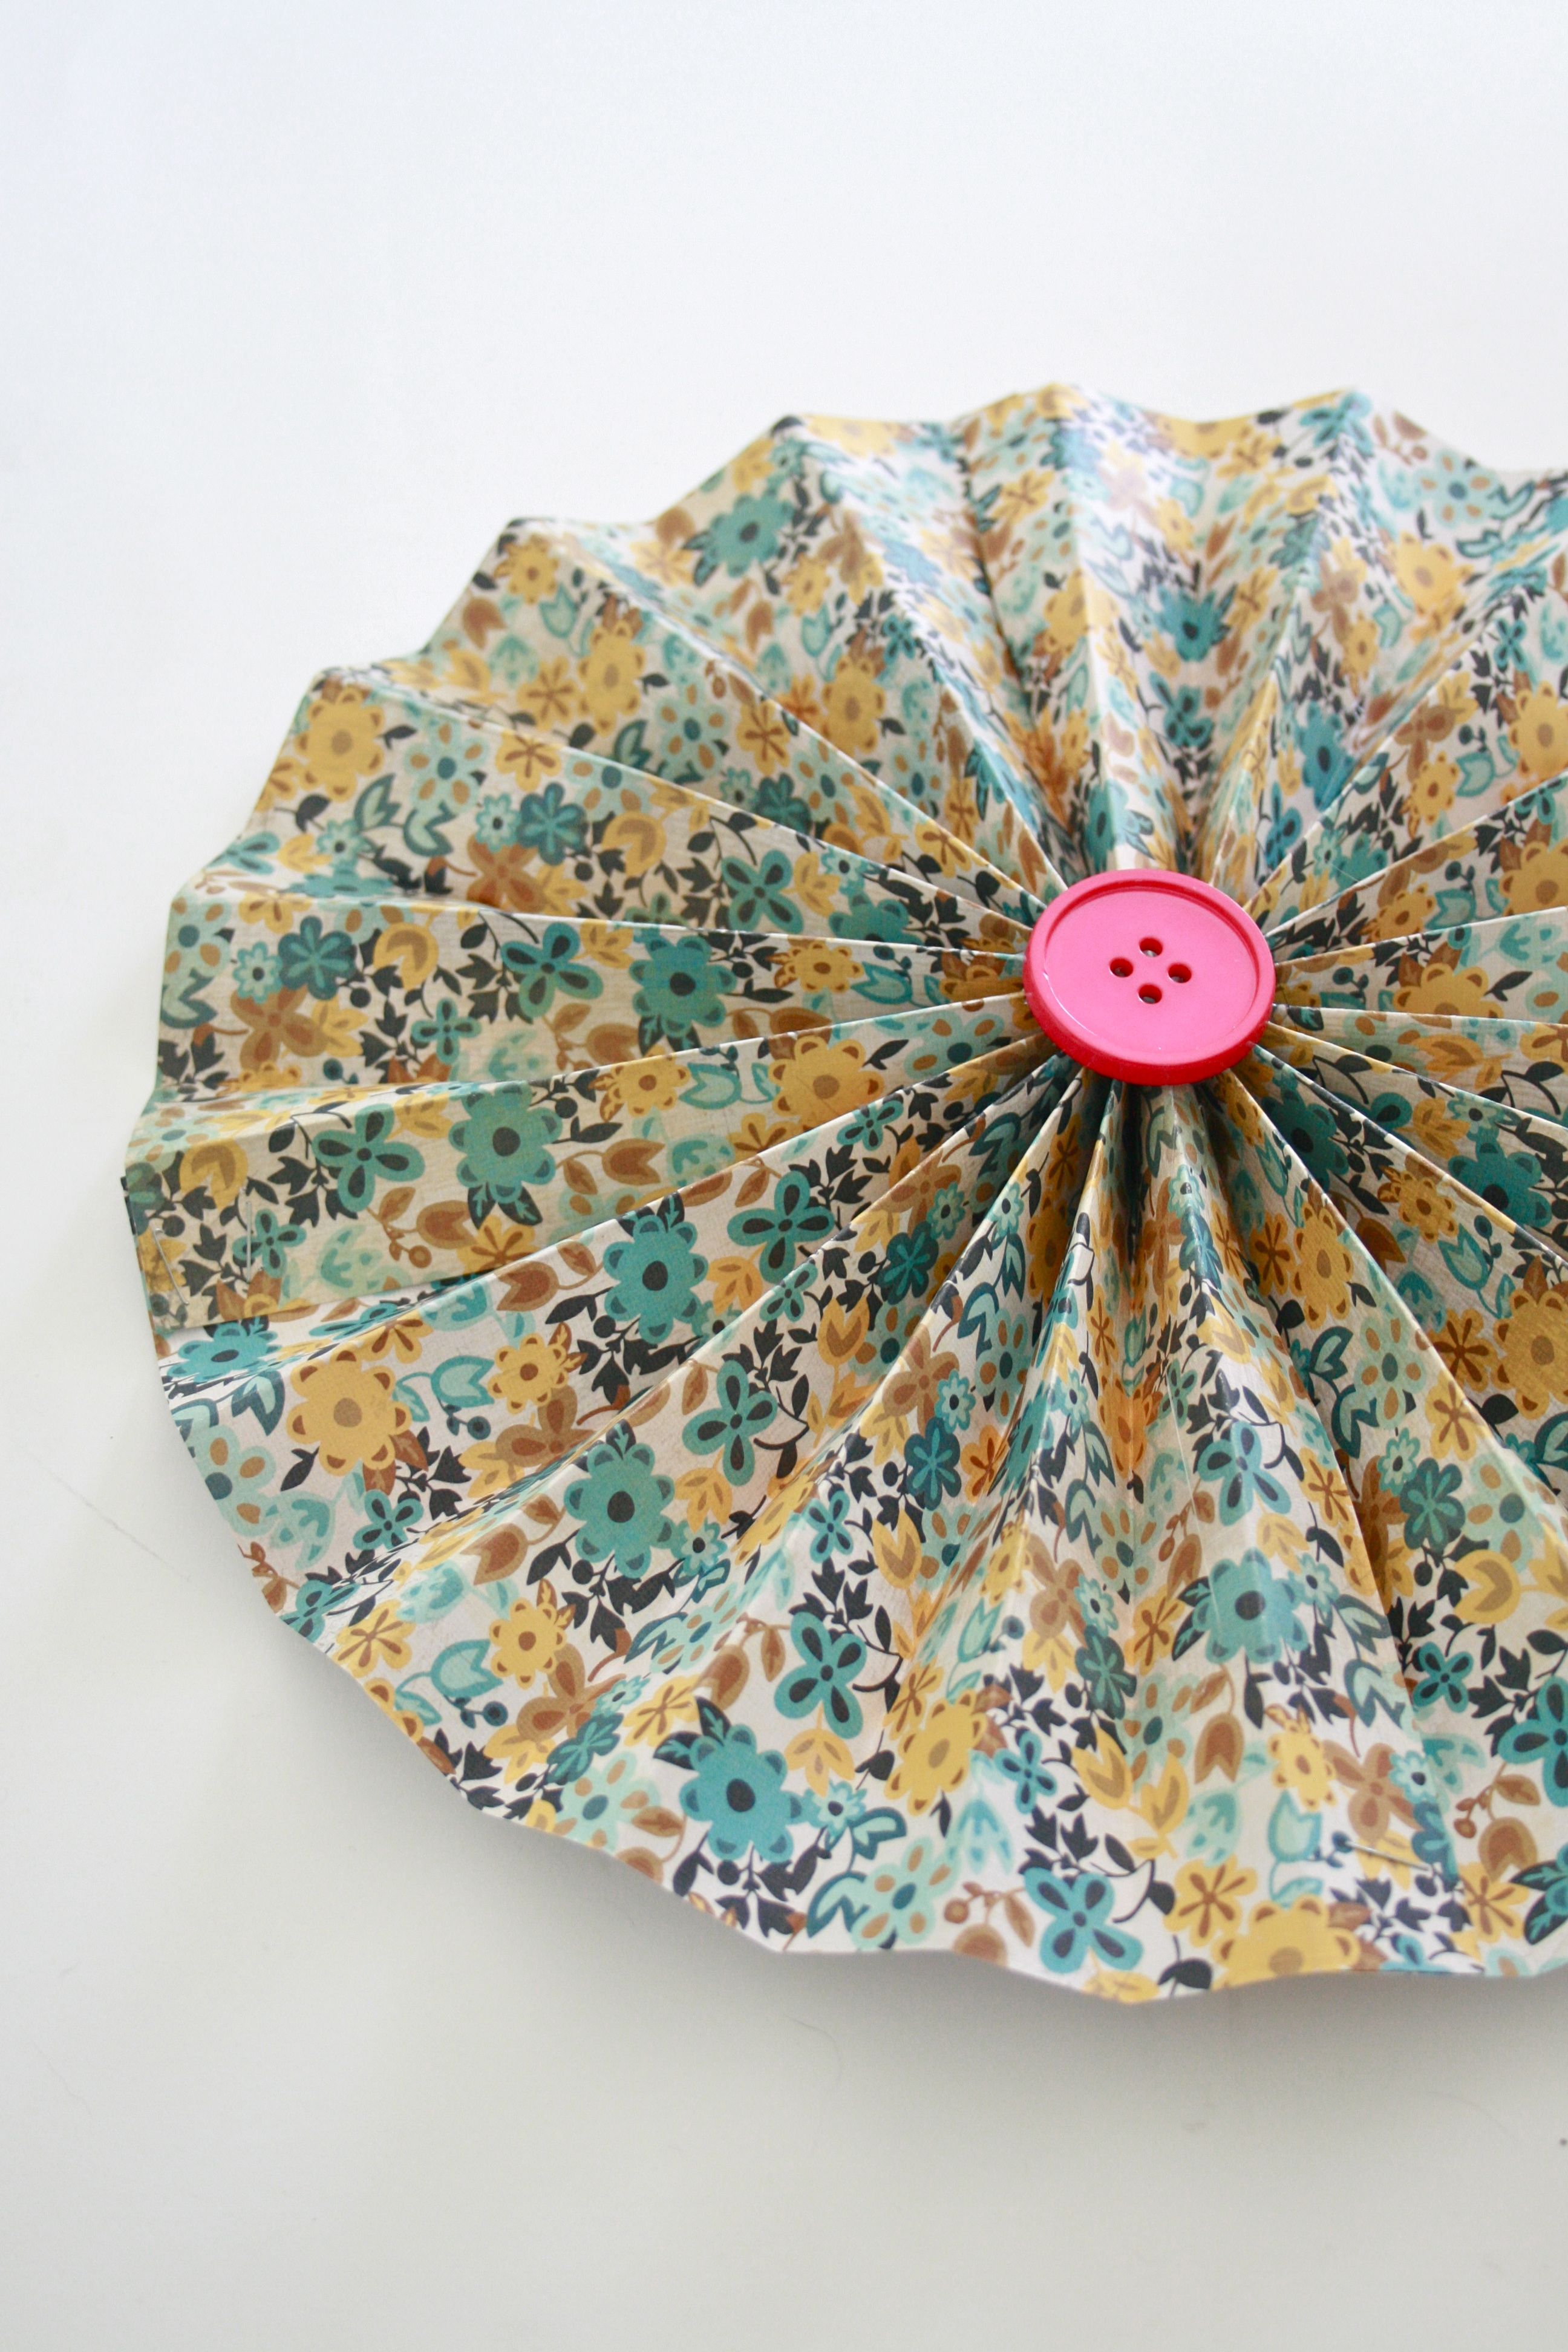
My favorite thing to do with pinwheels is to combine unlikely colors and patterns. There is absolutely no hot pink in the pattern of scrapbook paper that I chose for this tutorial, but the contrast between the muted pattern in the paper and the neon in the button is what makes it so eye-catching – At least in my opinion!
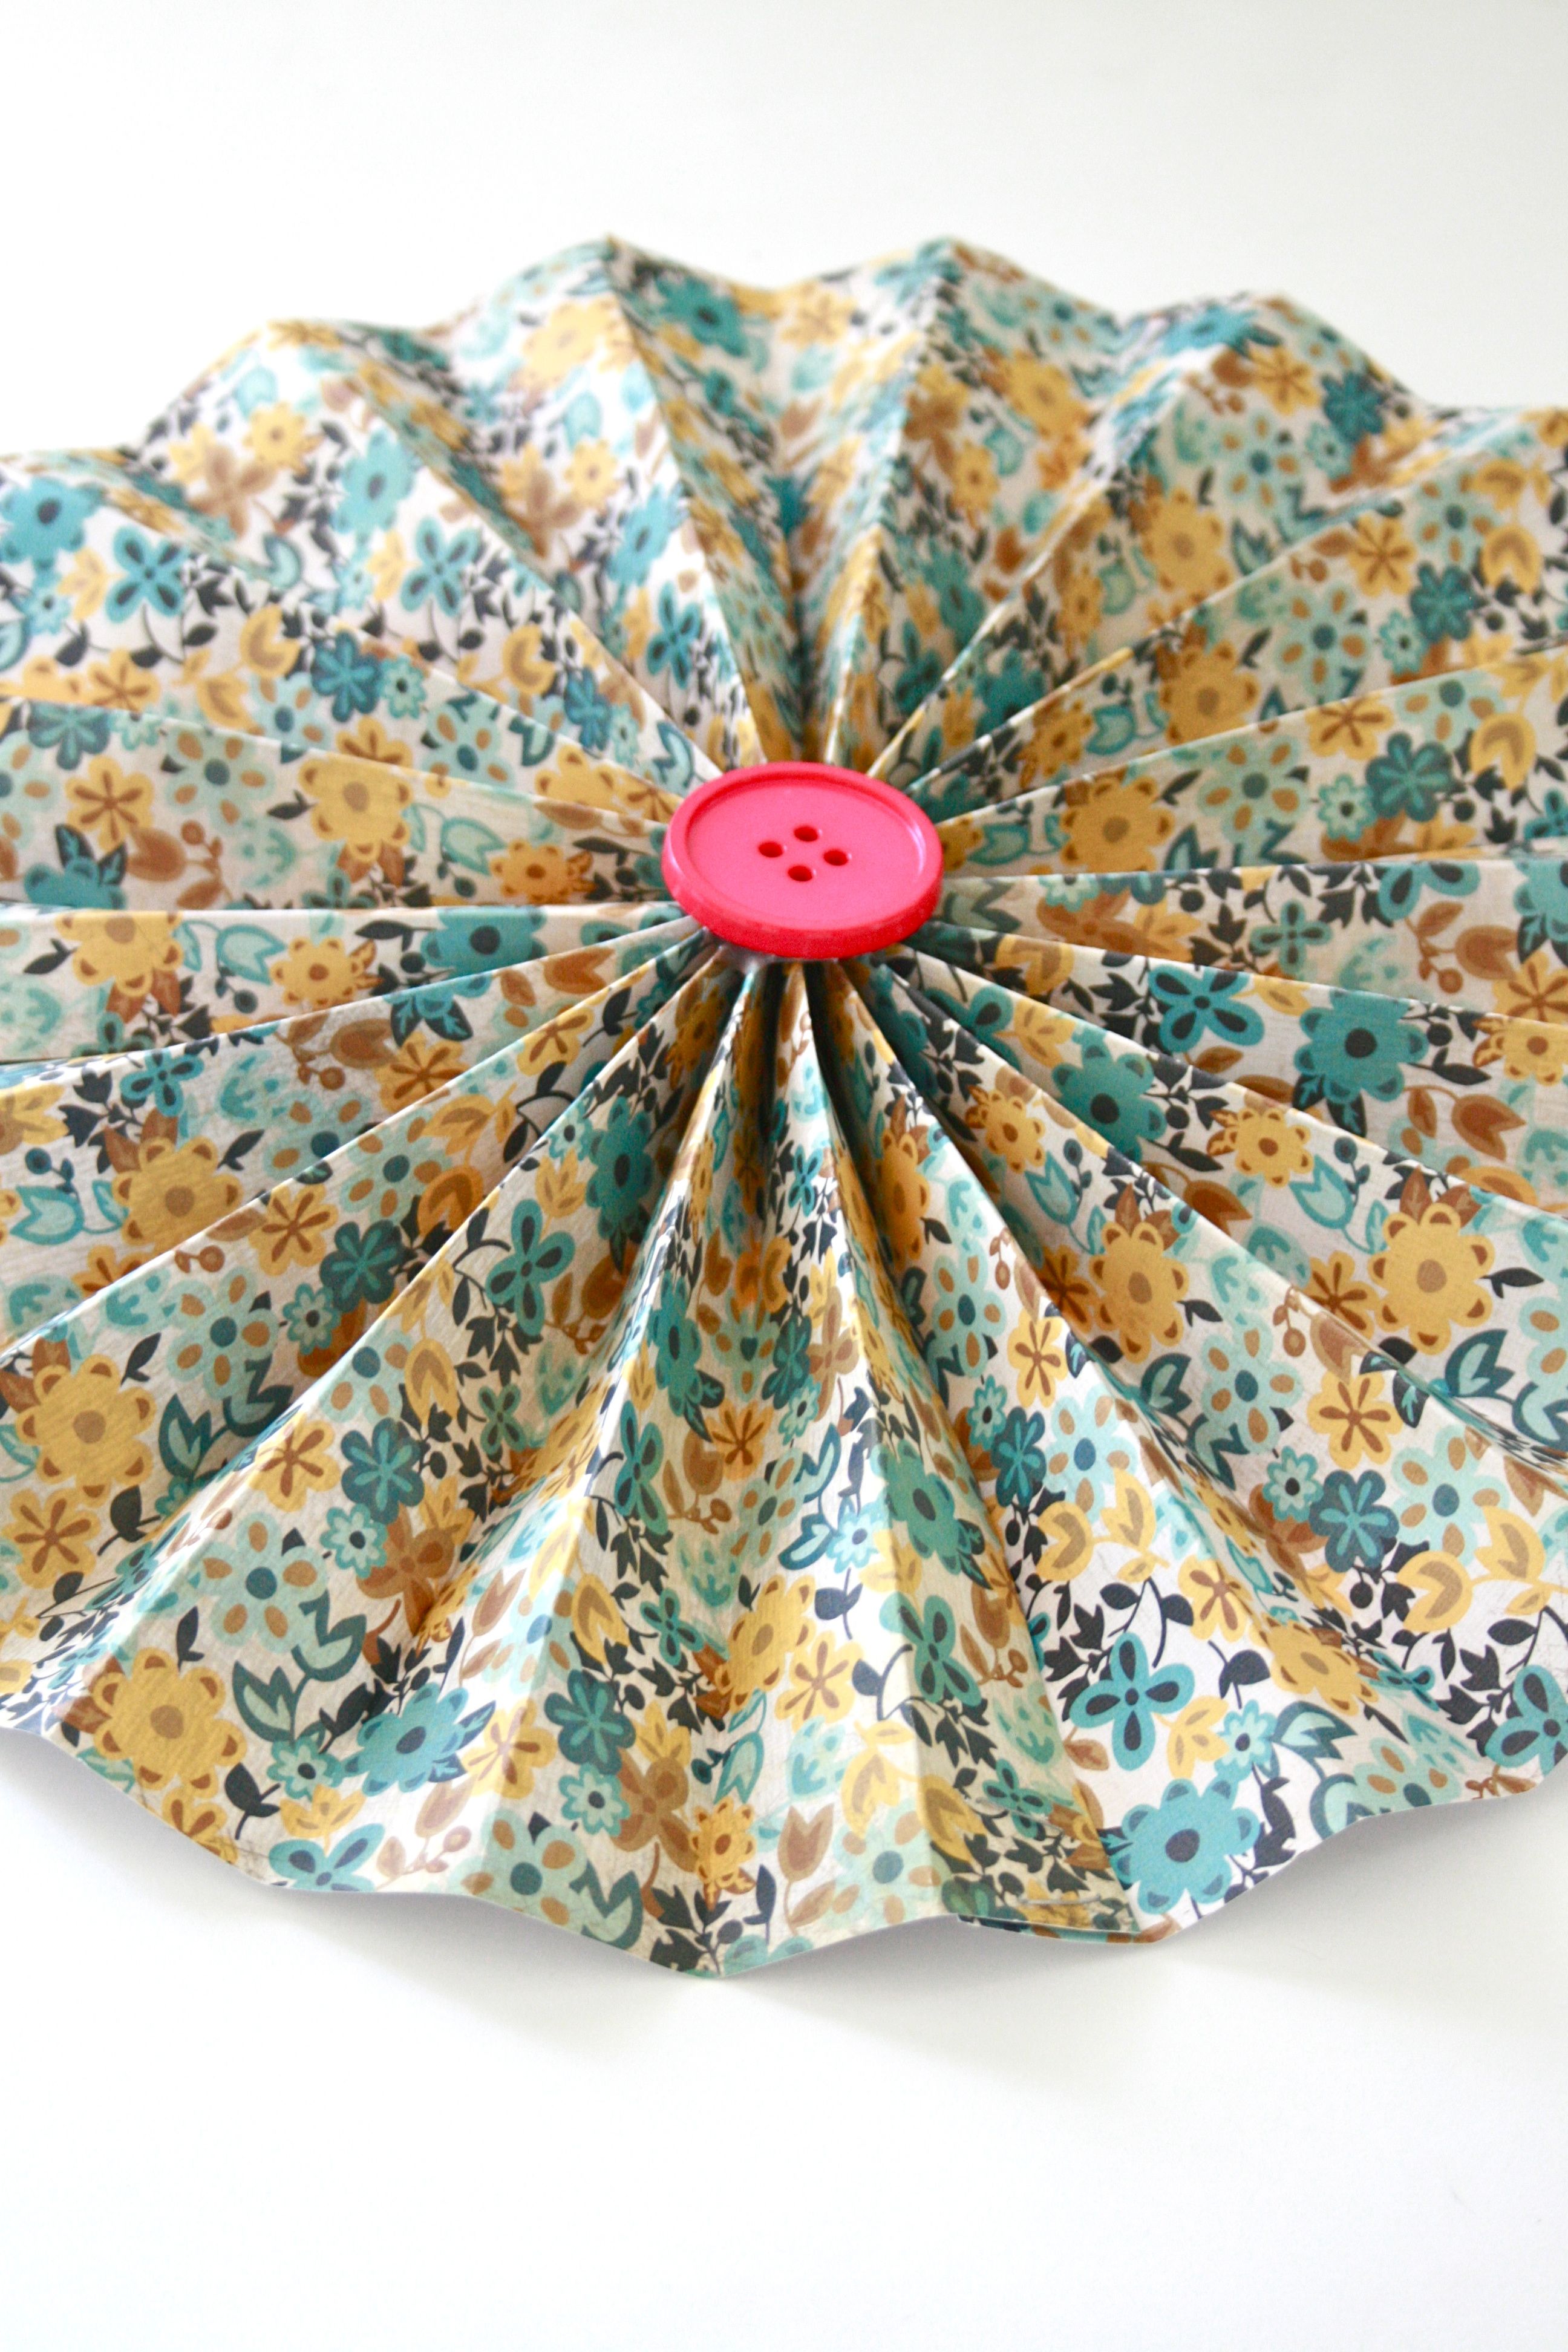
And, although you see that I did a collection of full size pinwheels below, you can do half sized pinwheels too – Just keep cutting your scrapbook paper in half until you get the size you’d like. I’ve even seen them made into a mini size perfect for cupcake toppers before.

Where would you hang or display your paper pinwheel collection?
UPDATE: Here’s a quick printable tutorial in case you can use it for your craft night at home!
.jpg)


