It’s time to unveil the finished product of a weekend’s-worth of work in our master bathroom! As I explained on Monday, I spent Saturday and Sunday slapping up three coats of Olympic paint in our bathroom (“Aloe Vera” in case you want the paint name) and then I spent the next ensuing days styling the place up with a few simple DIY tricks. I’ll explain as I go – Beware, this post is photo-heavy…But then again, when are we NOT photo heavy?
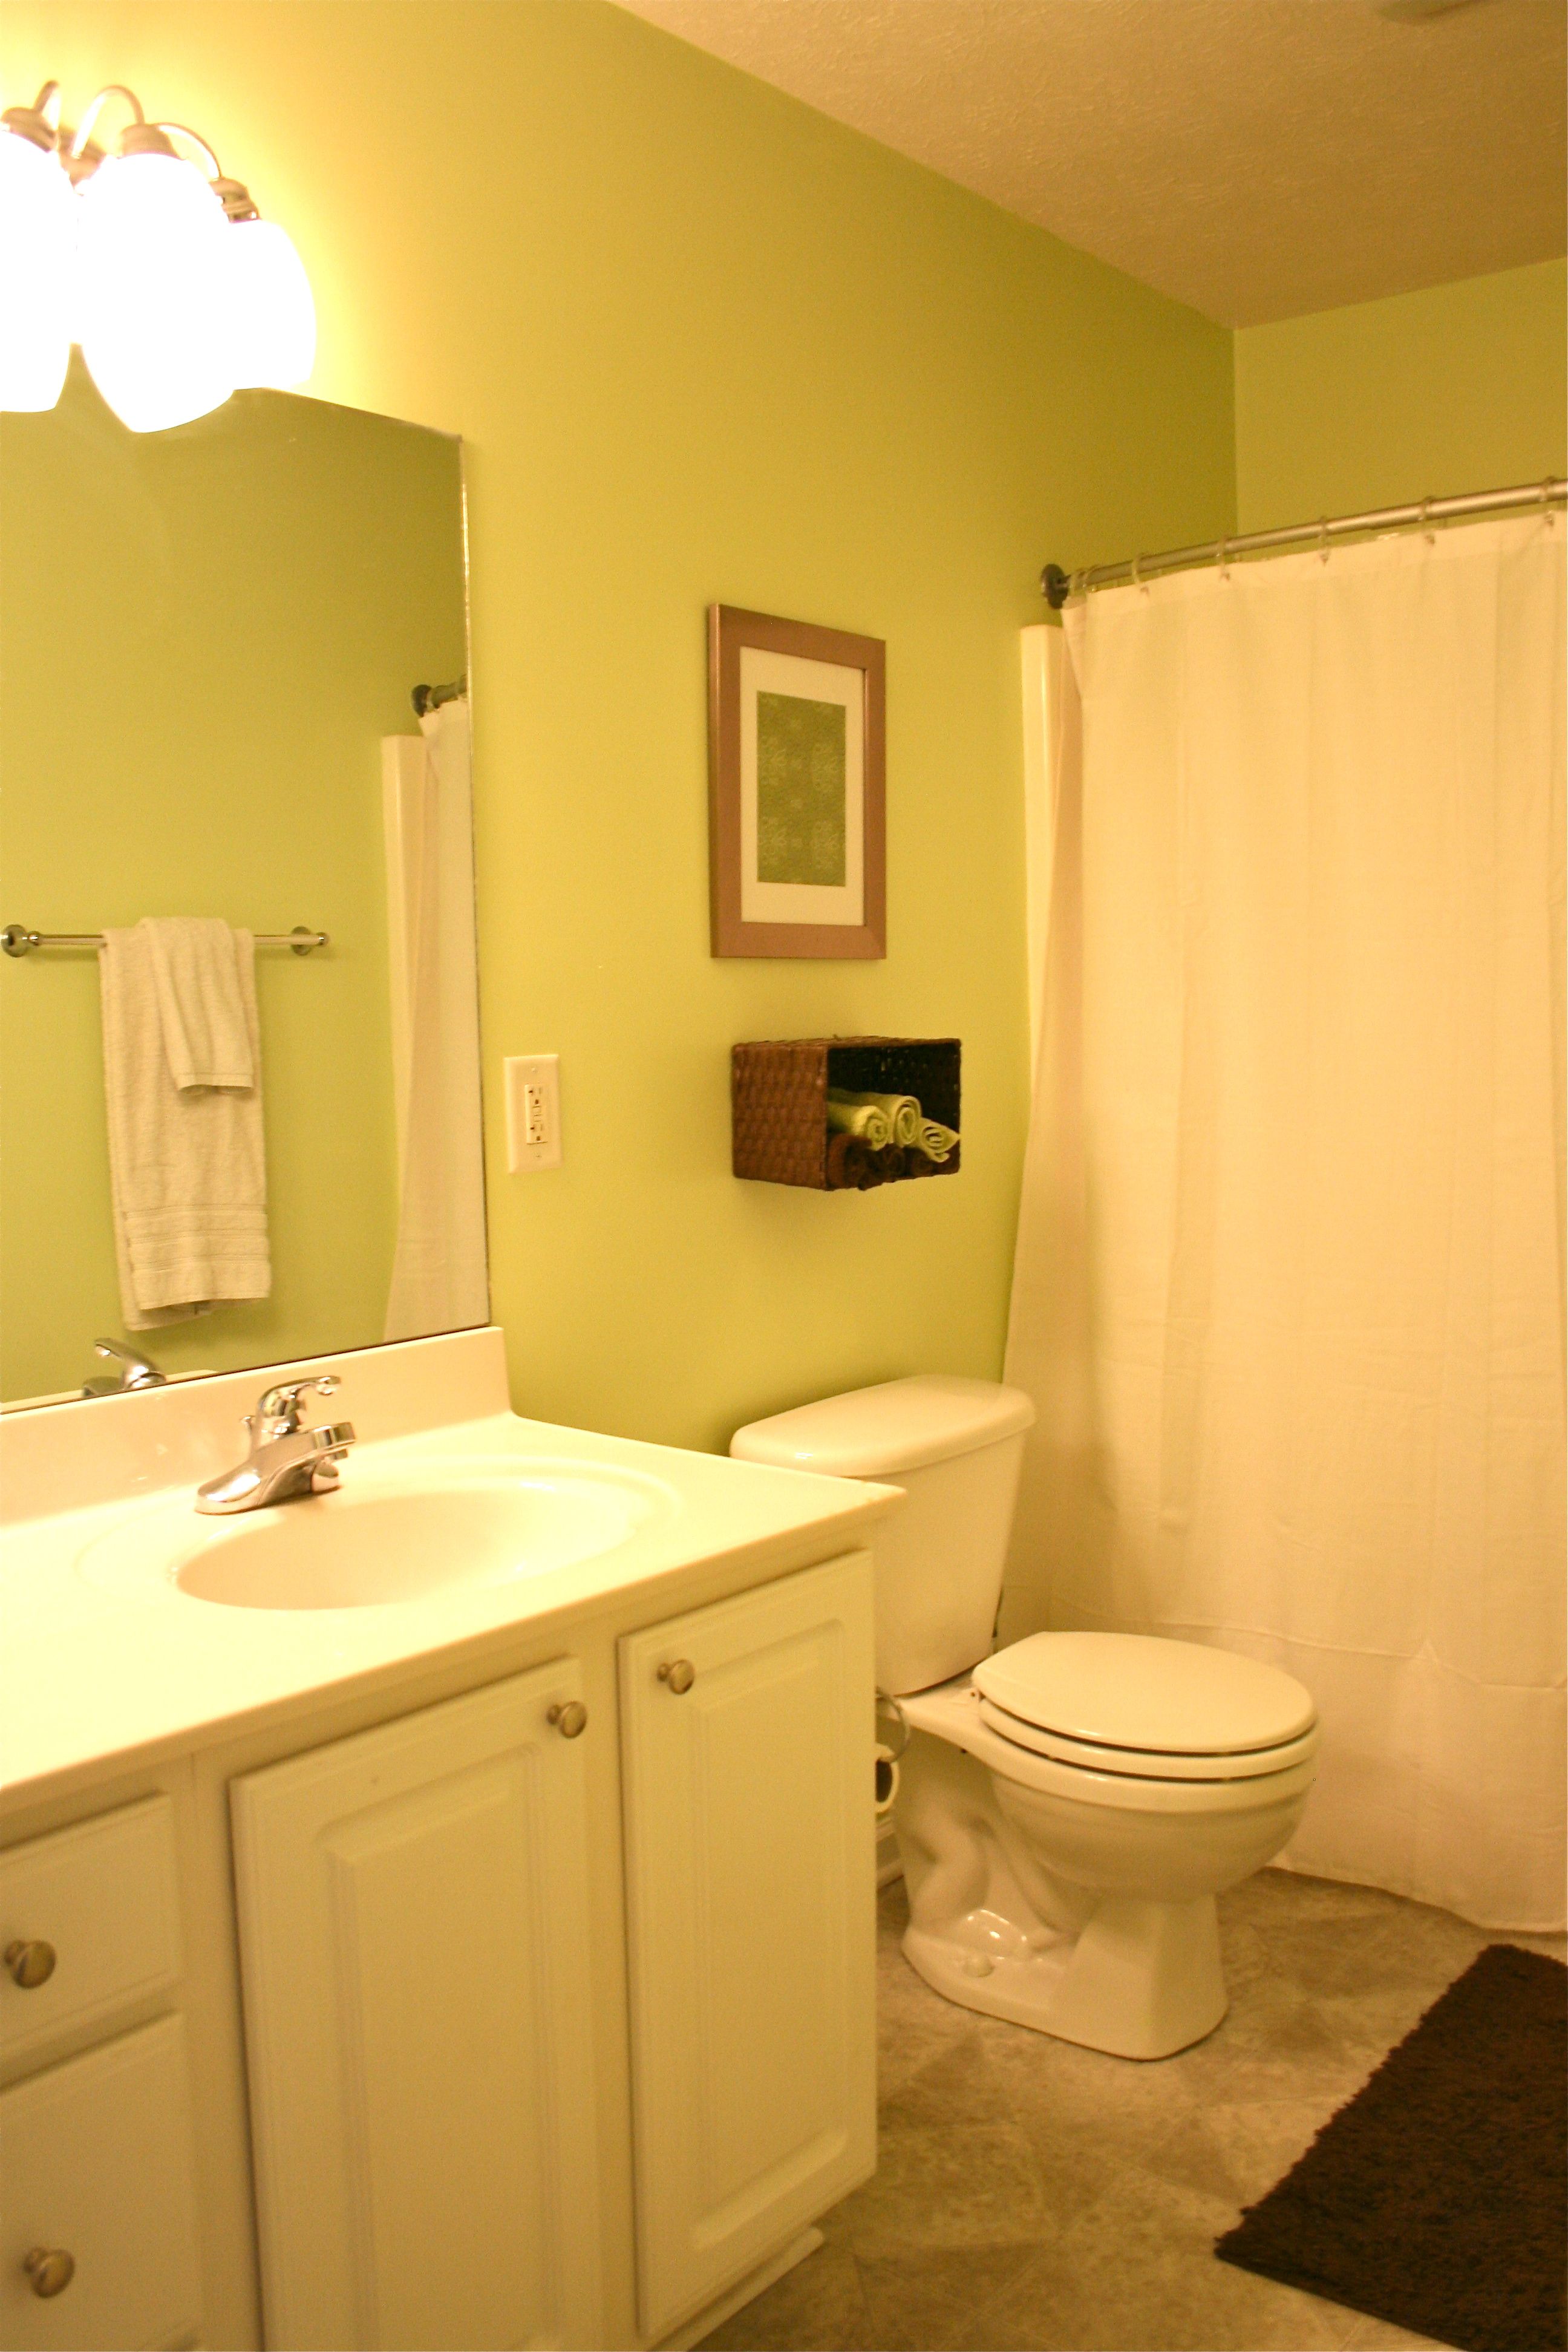
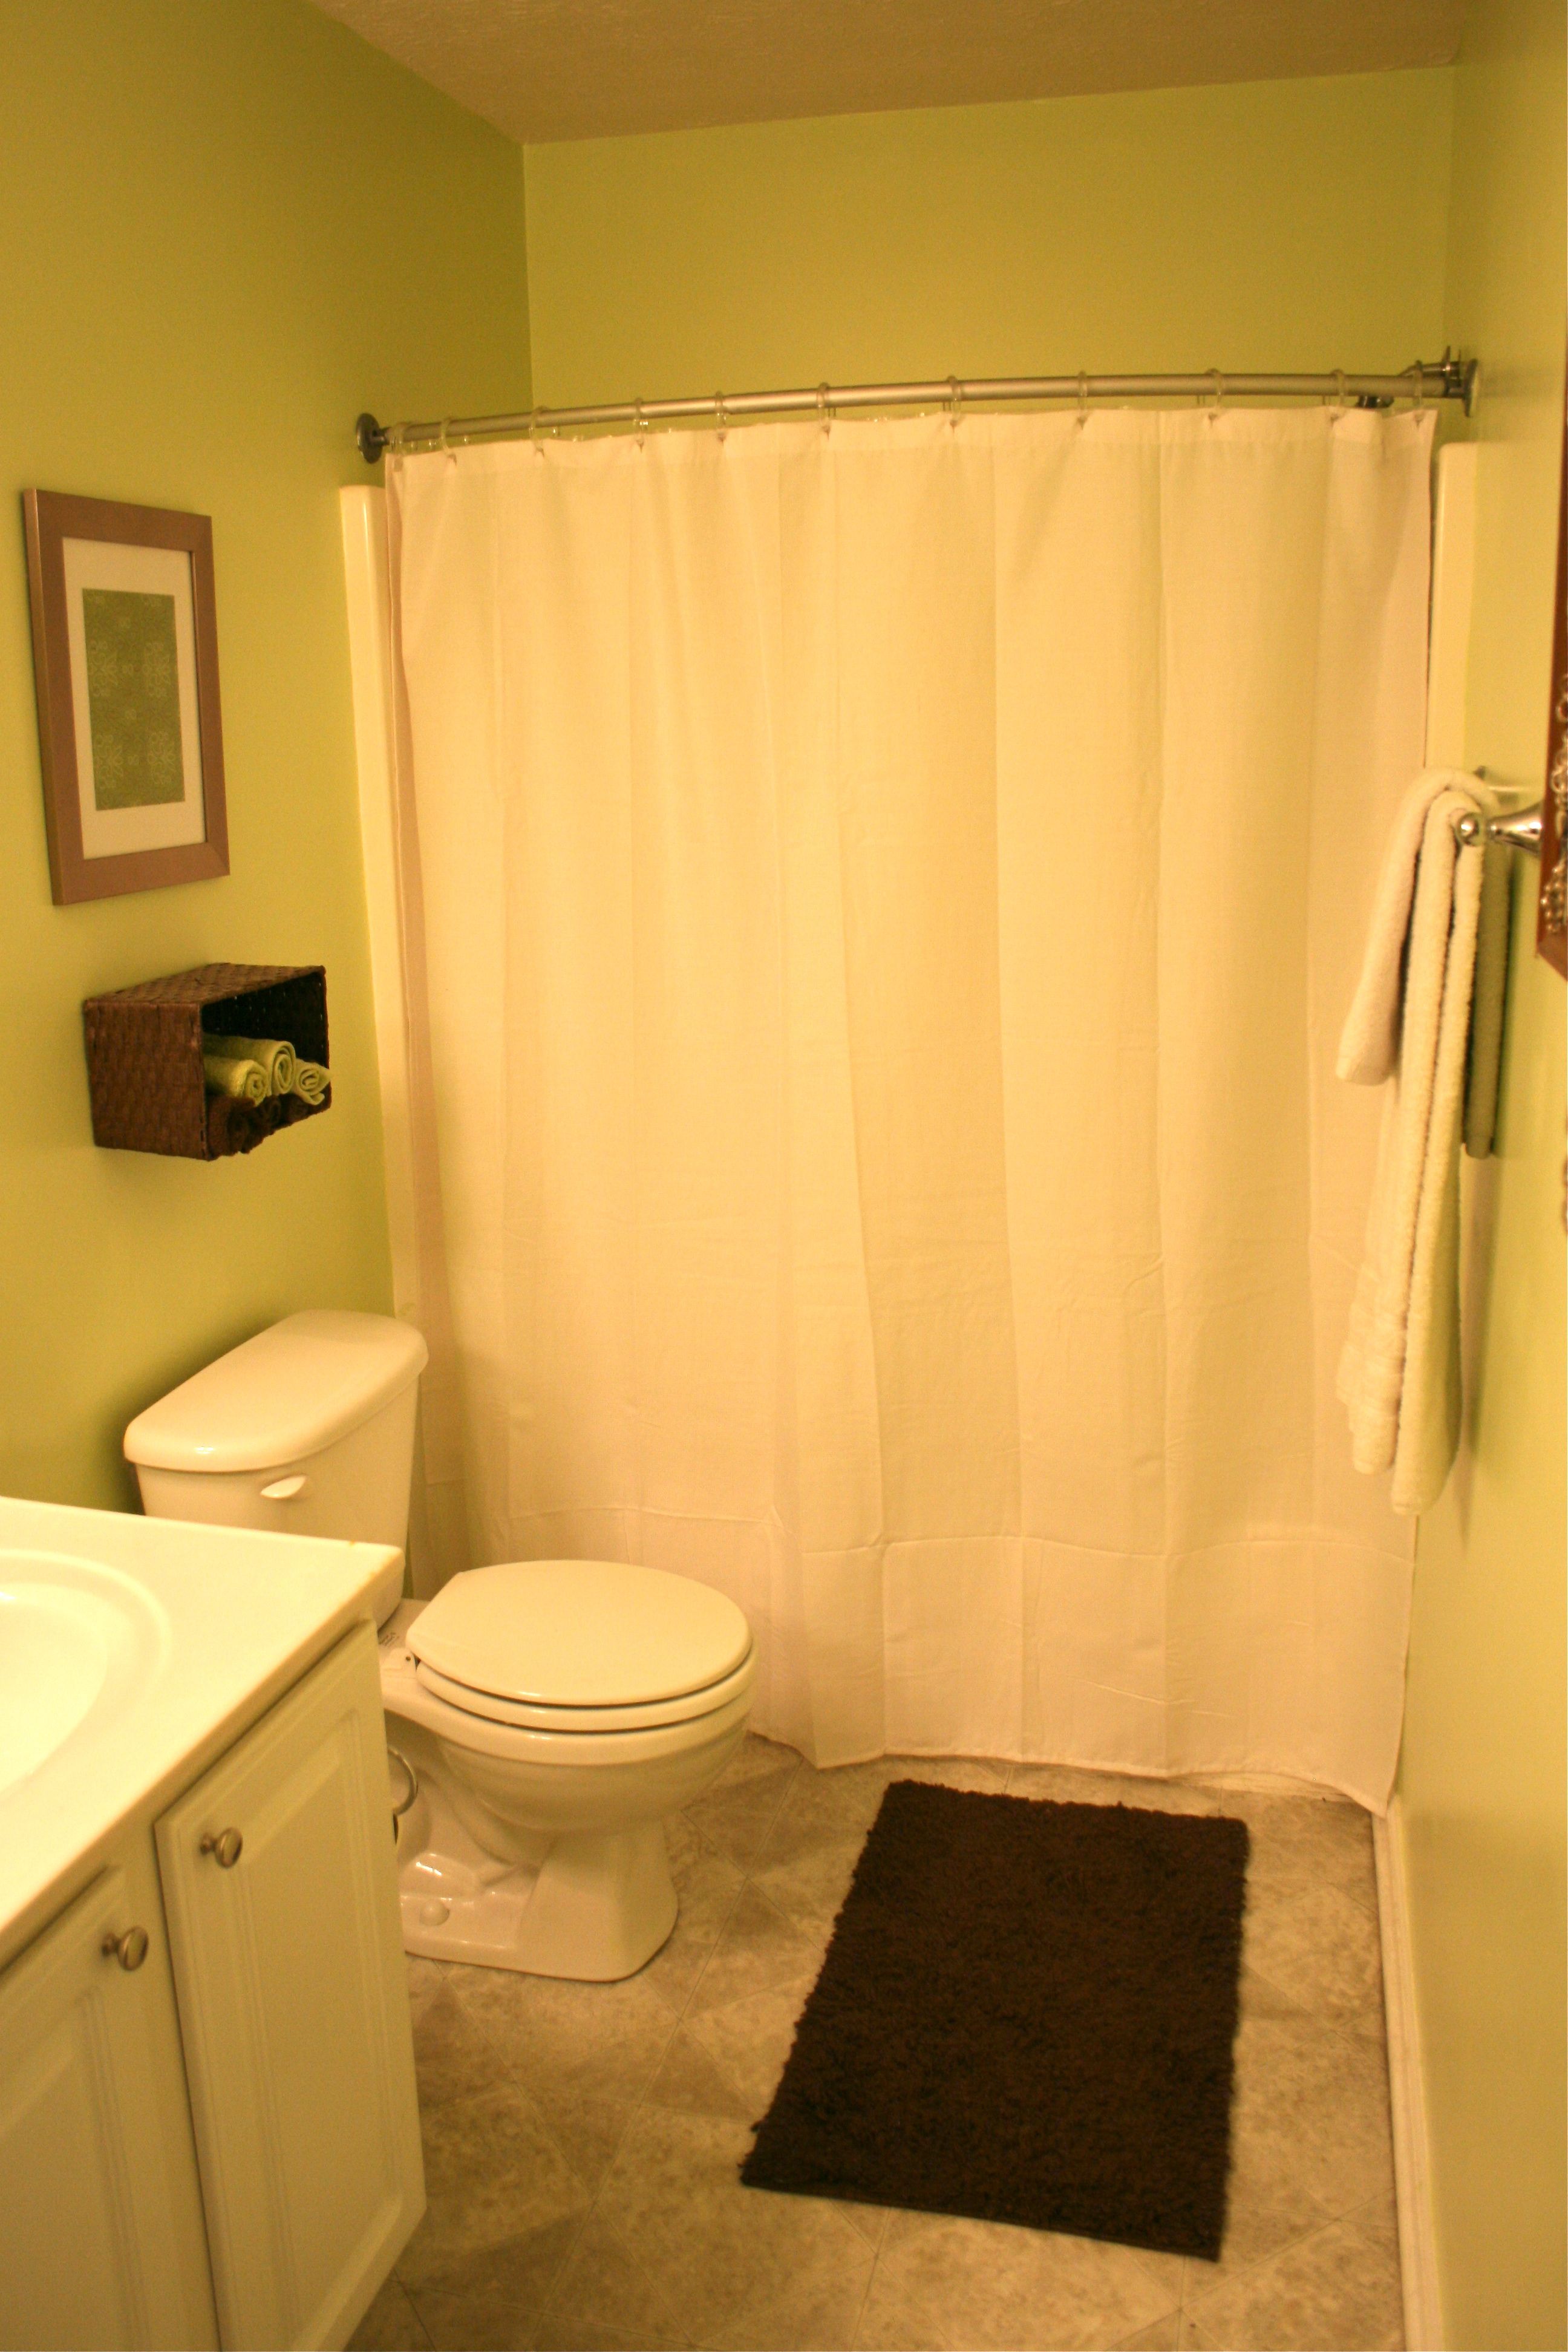
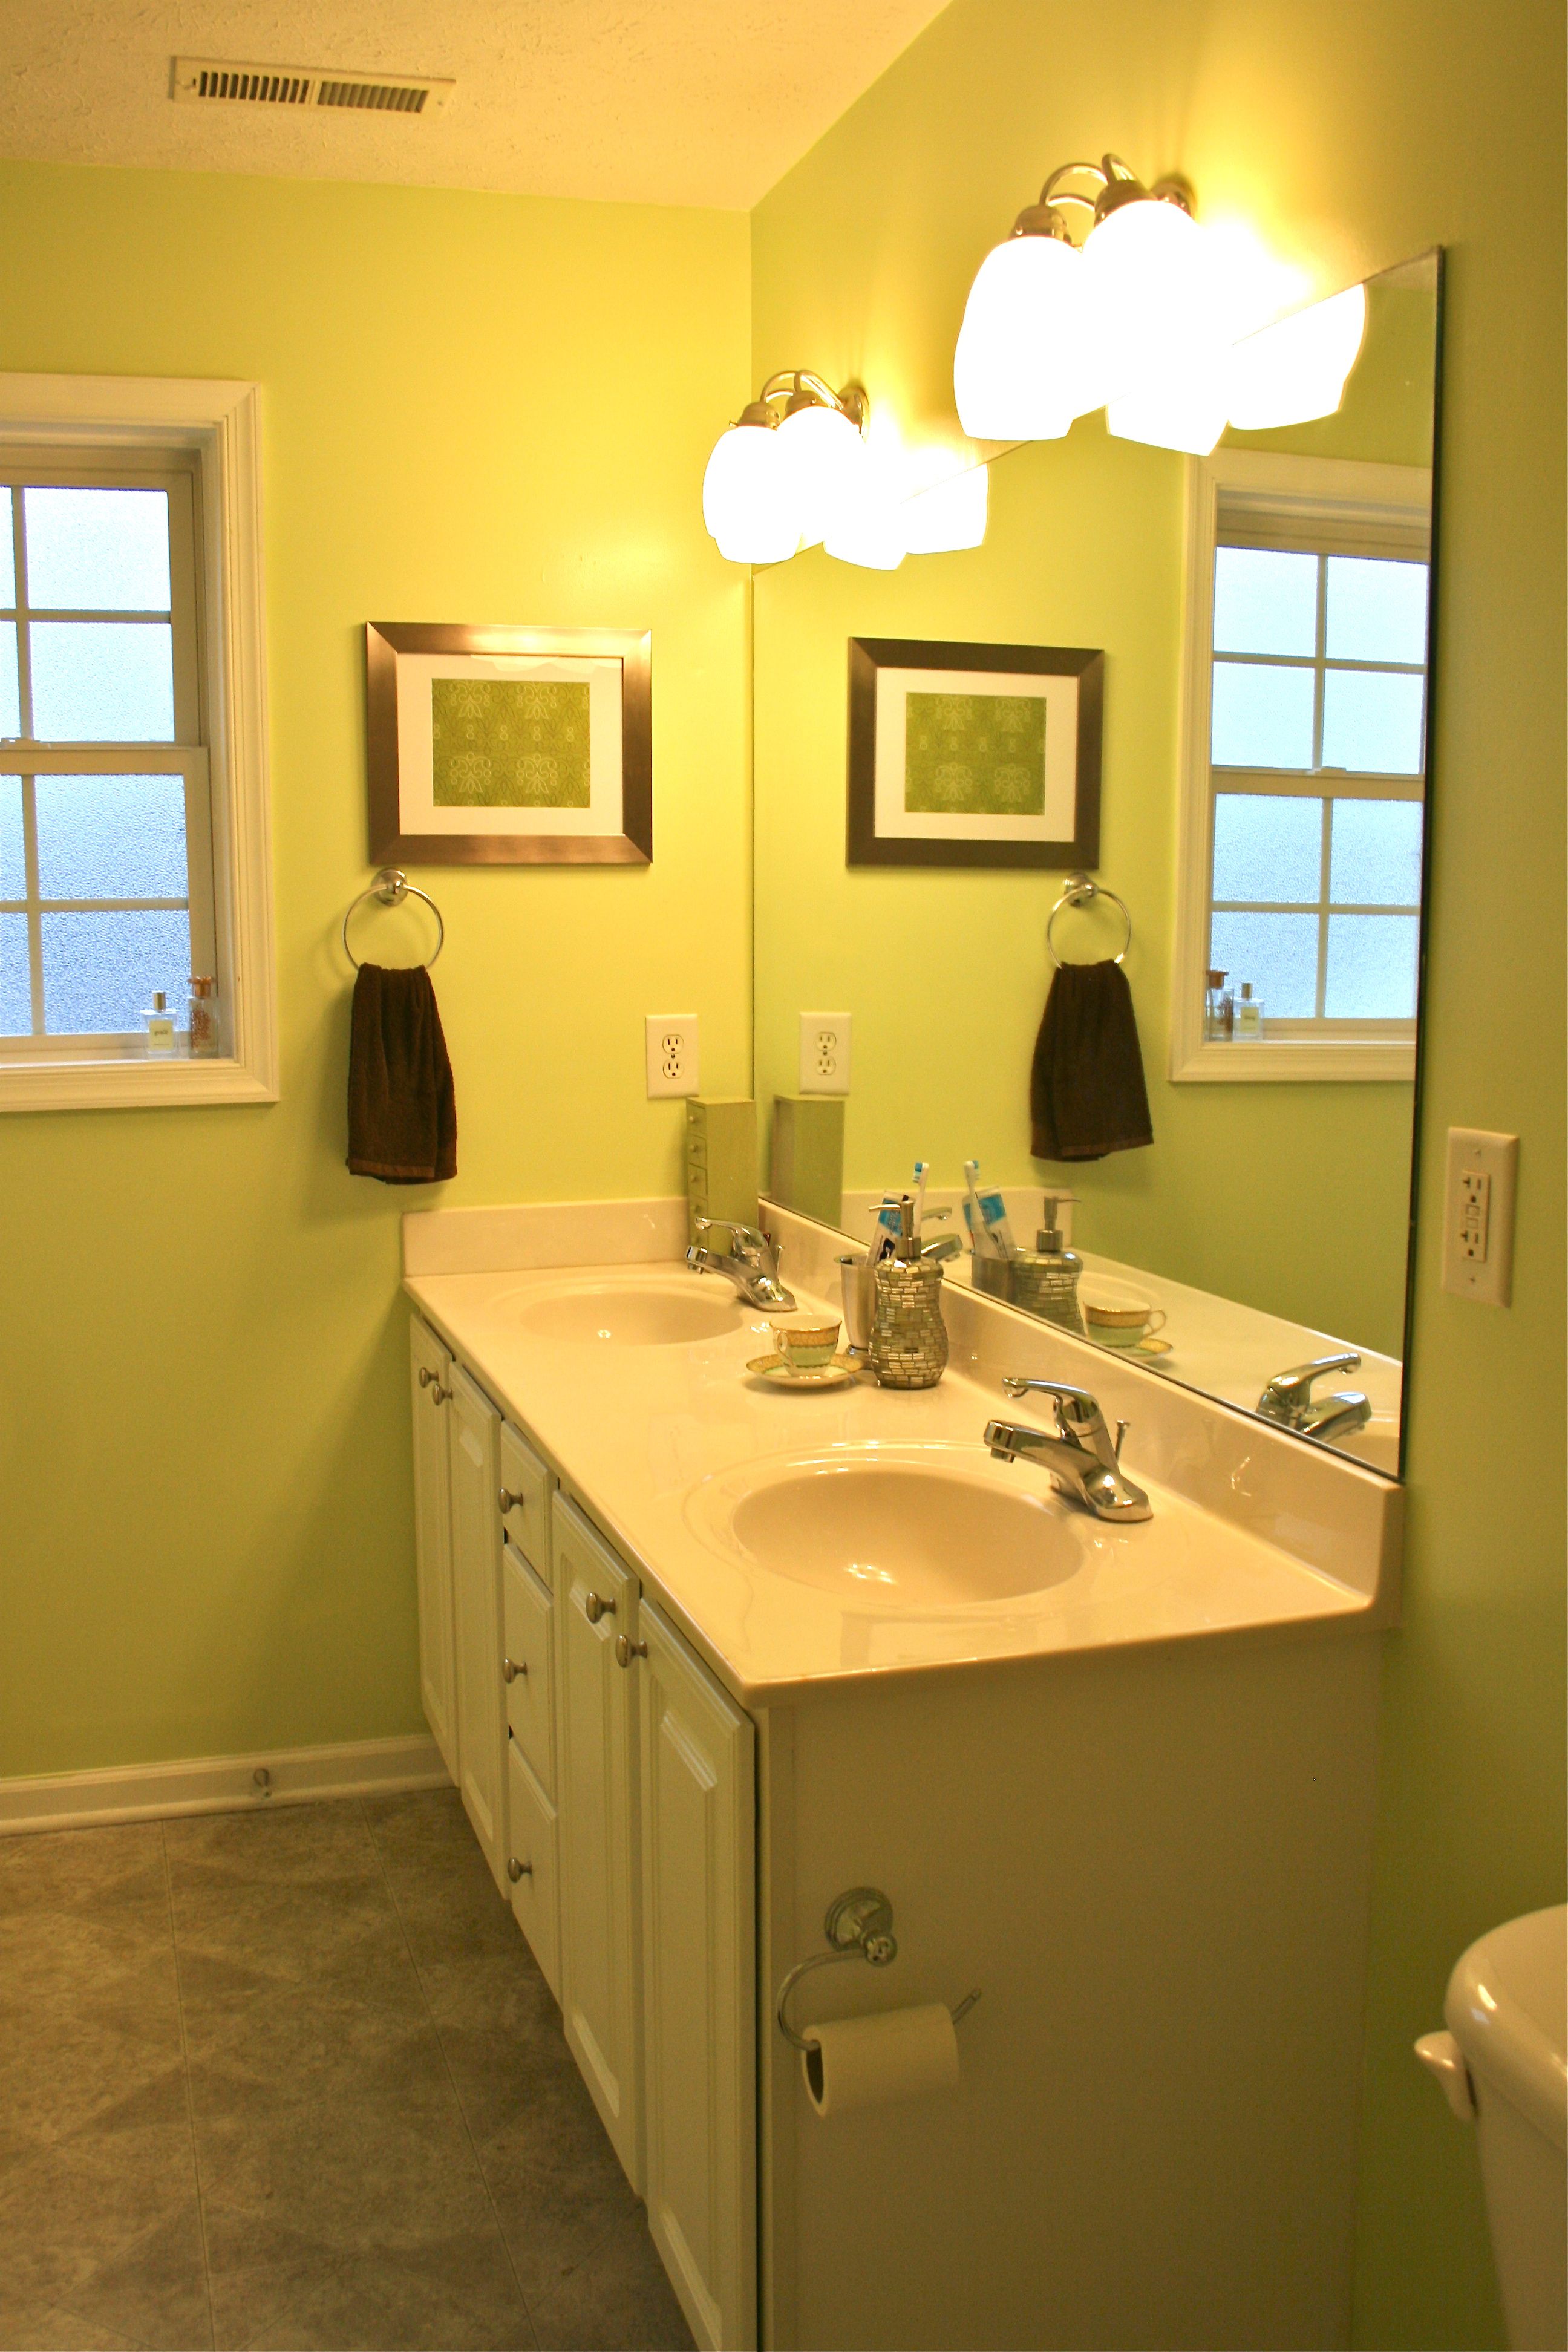
Here’s our shiny new green gem:
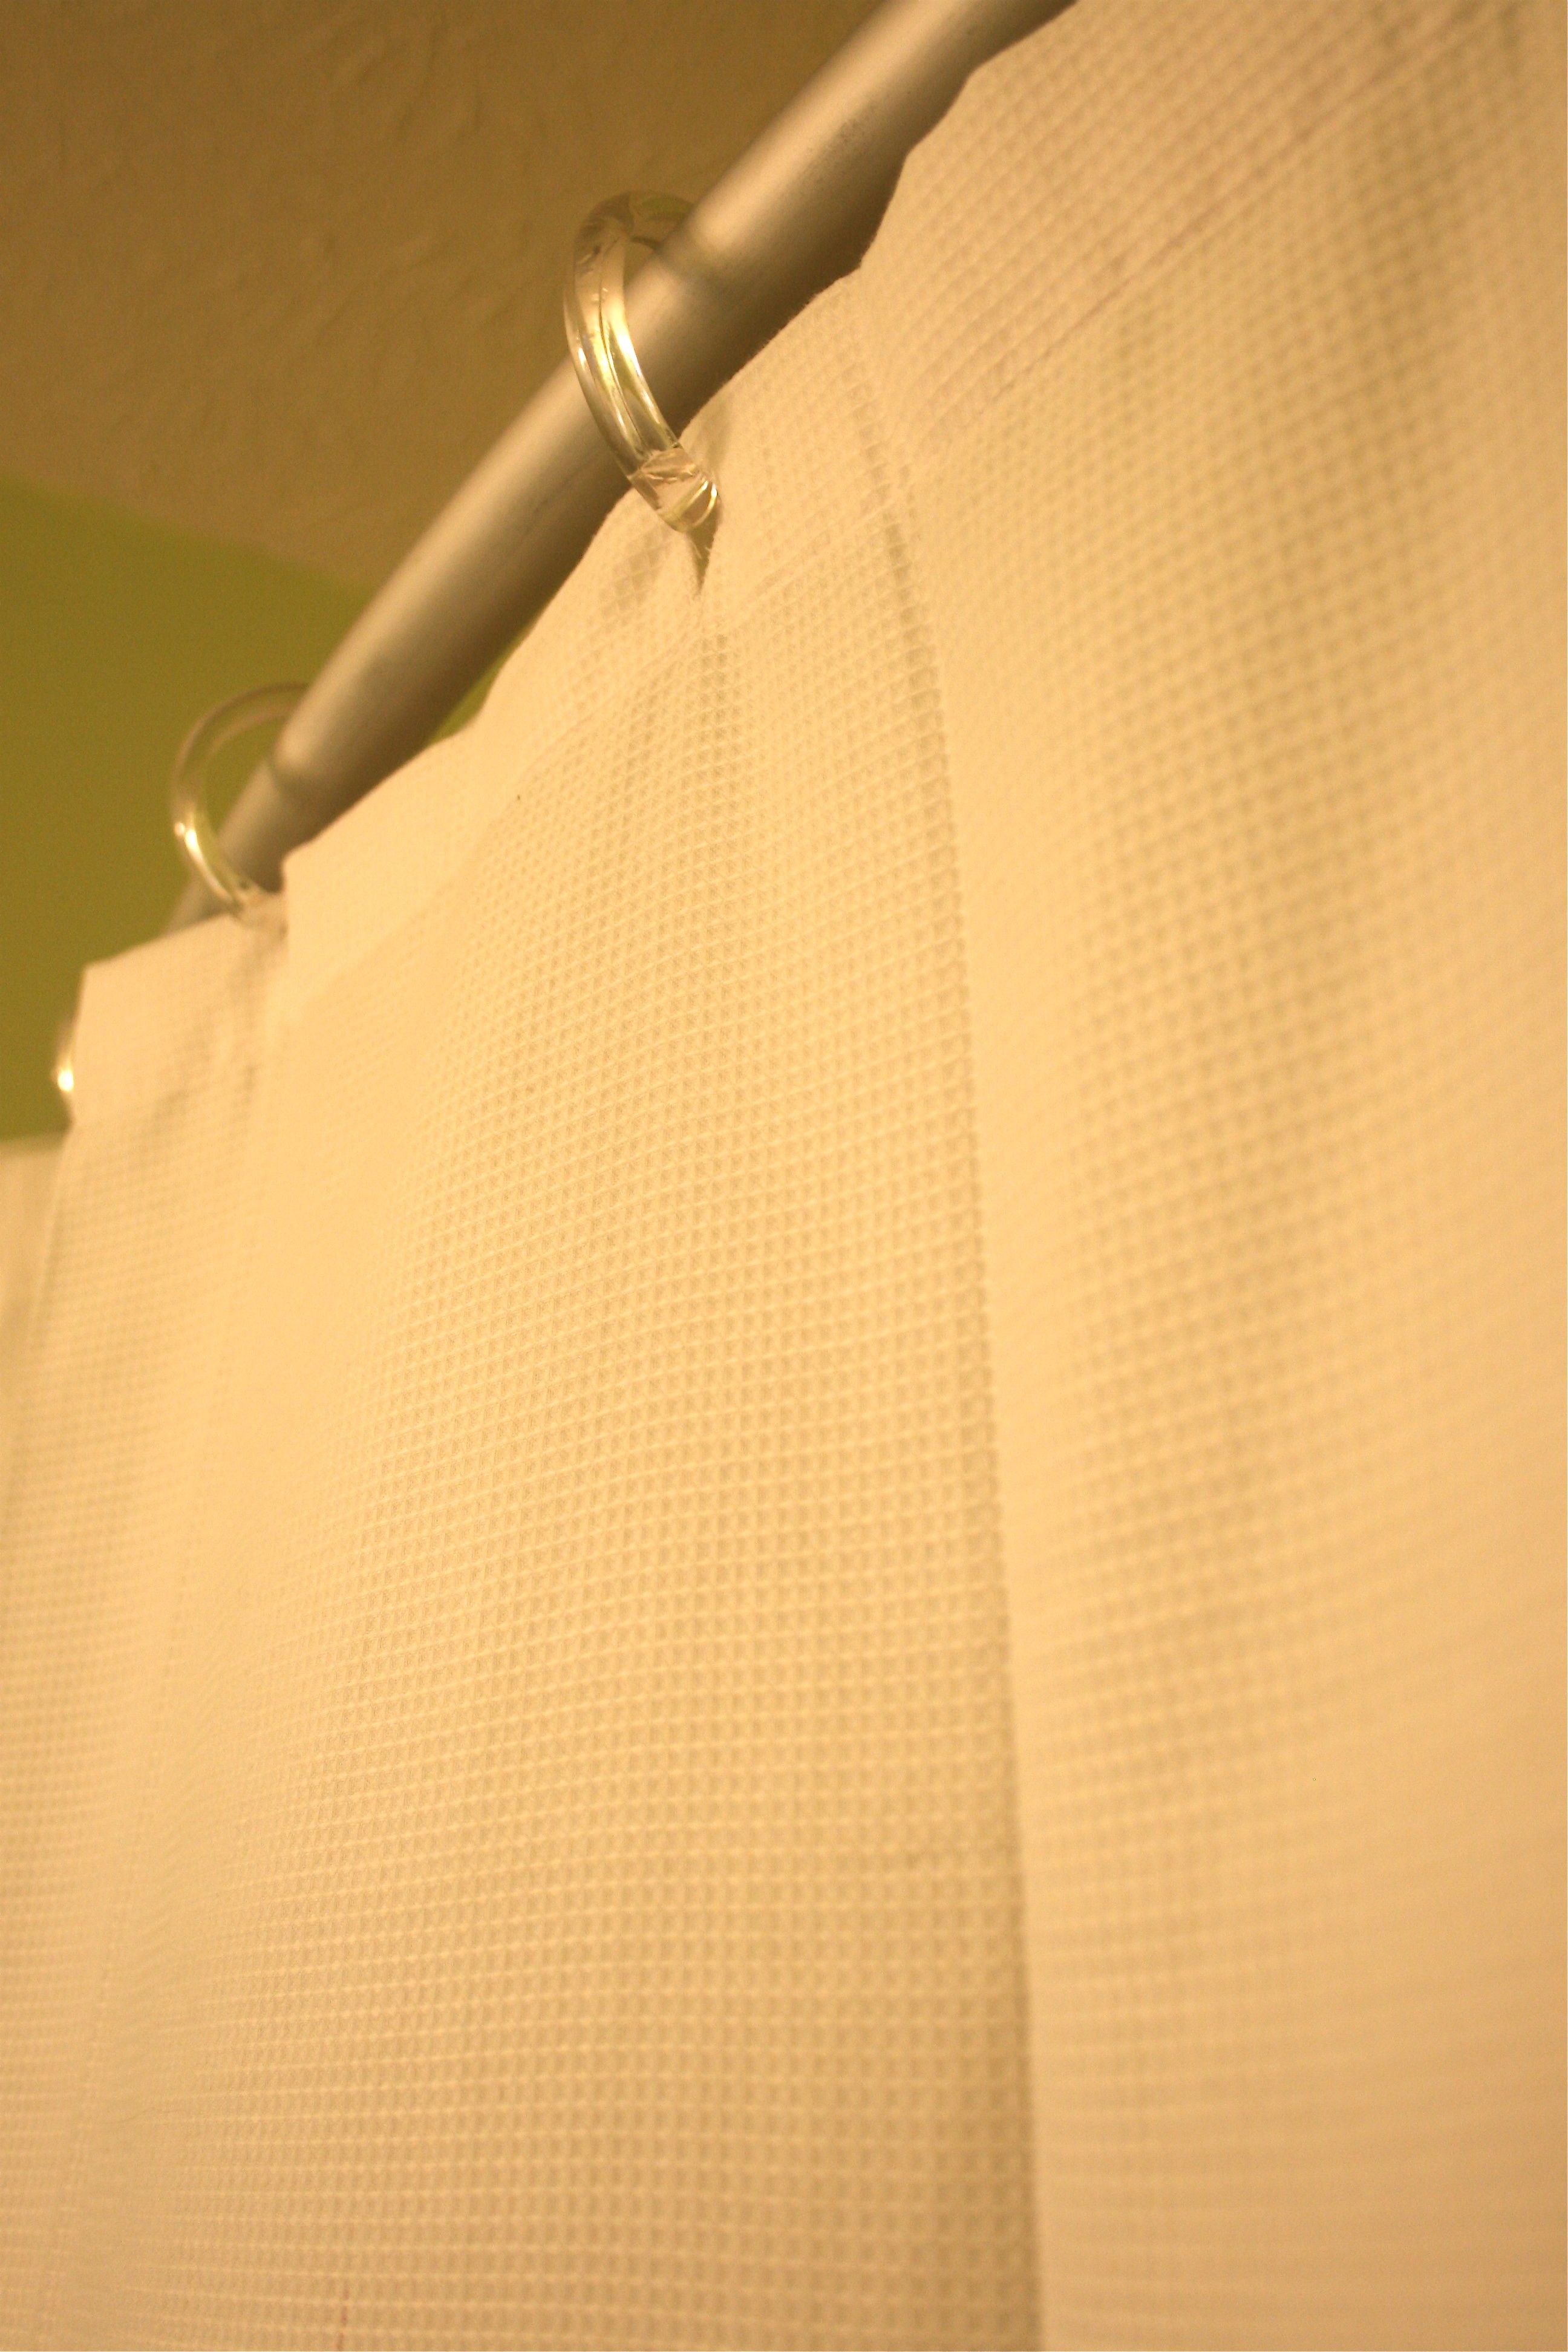
We officially graduated to a plain waffle texture shower curtain in crisp white – As much as I like pattern, I’m glad we decided on this simple look. It reads “fancy hotel” to me and I’m a-okay with that. I’d like to replace the plastic shower curtain rings with pretty brushed silver ones, but I’ll have to wait until next month’s paycheck for that – Stupid budgeting… 😉
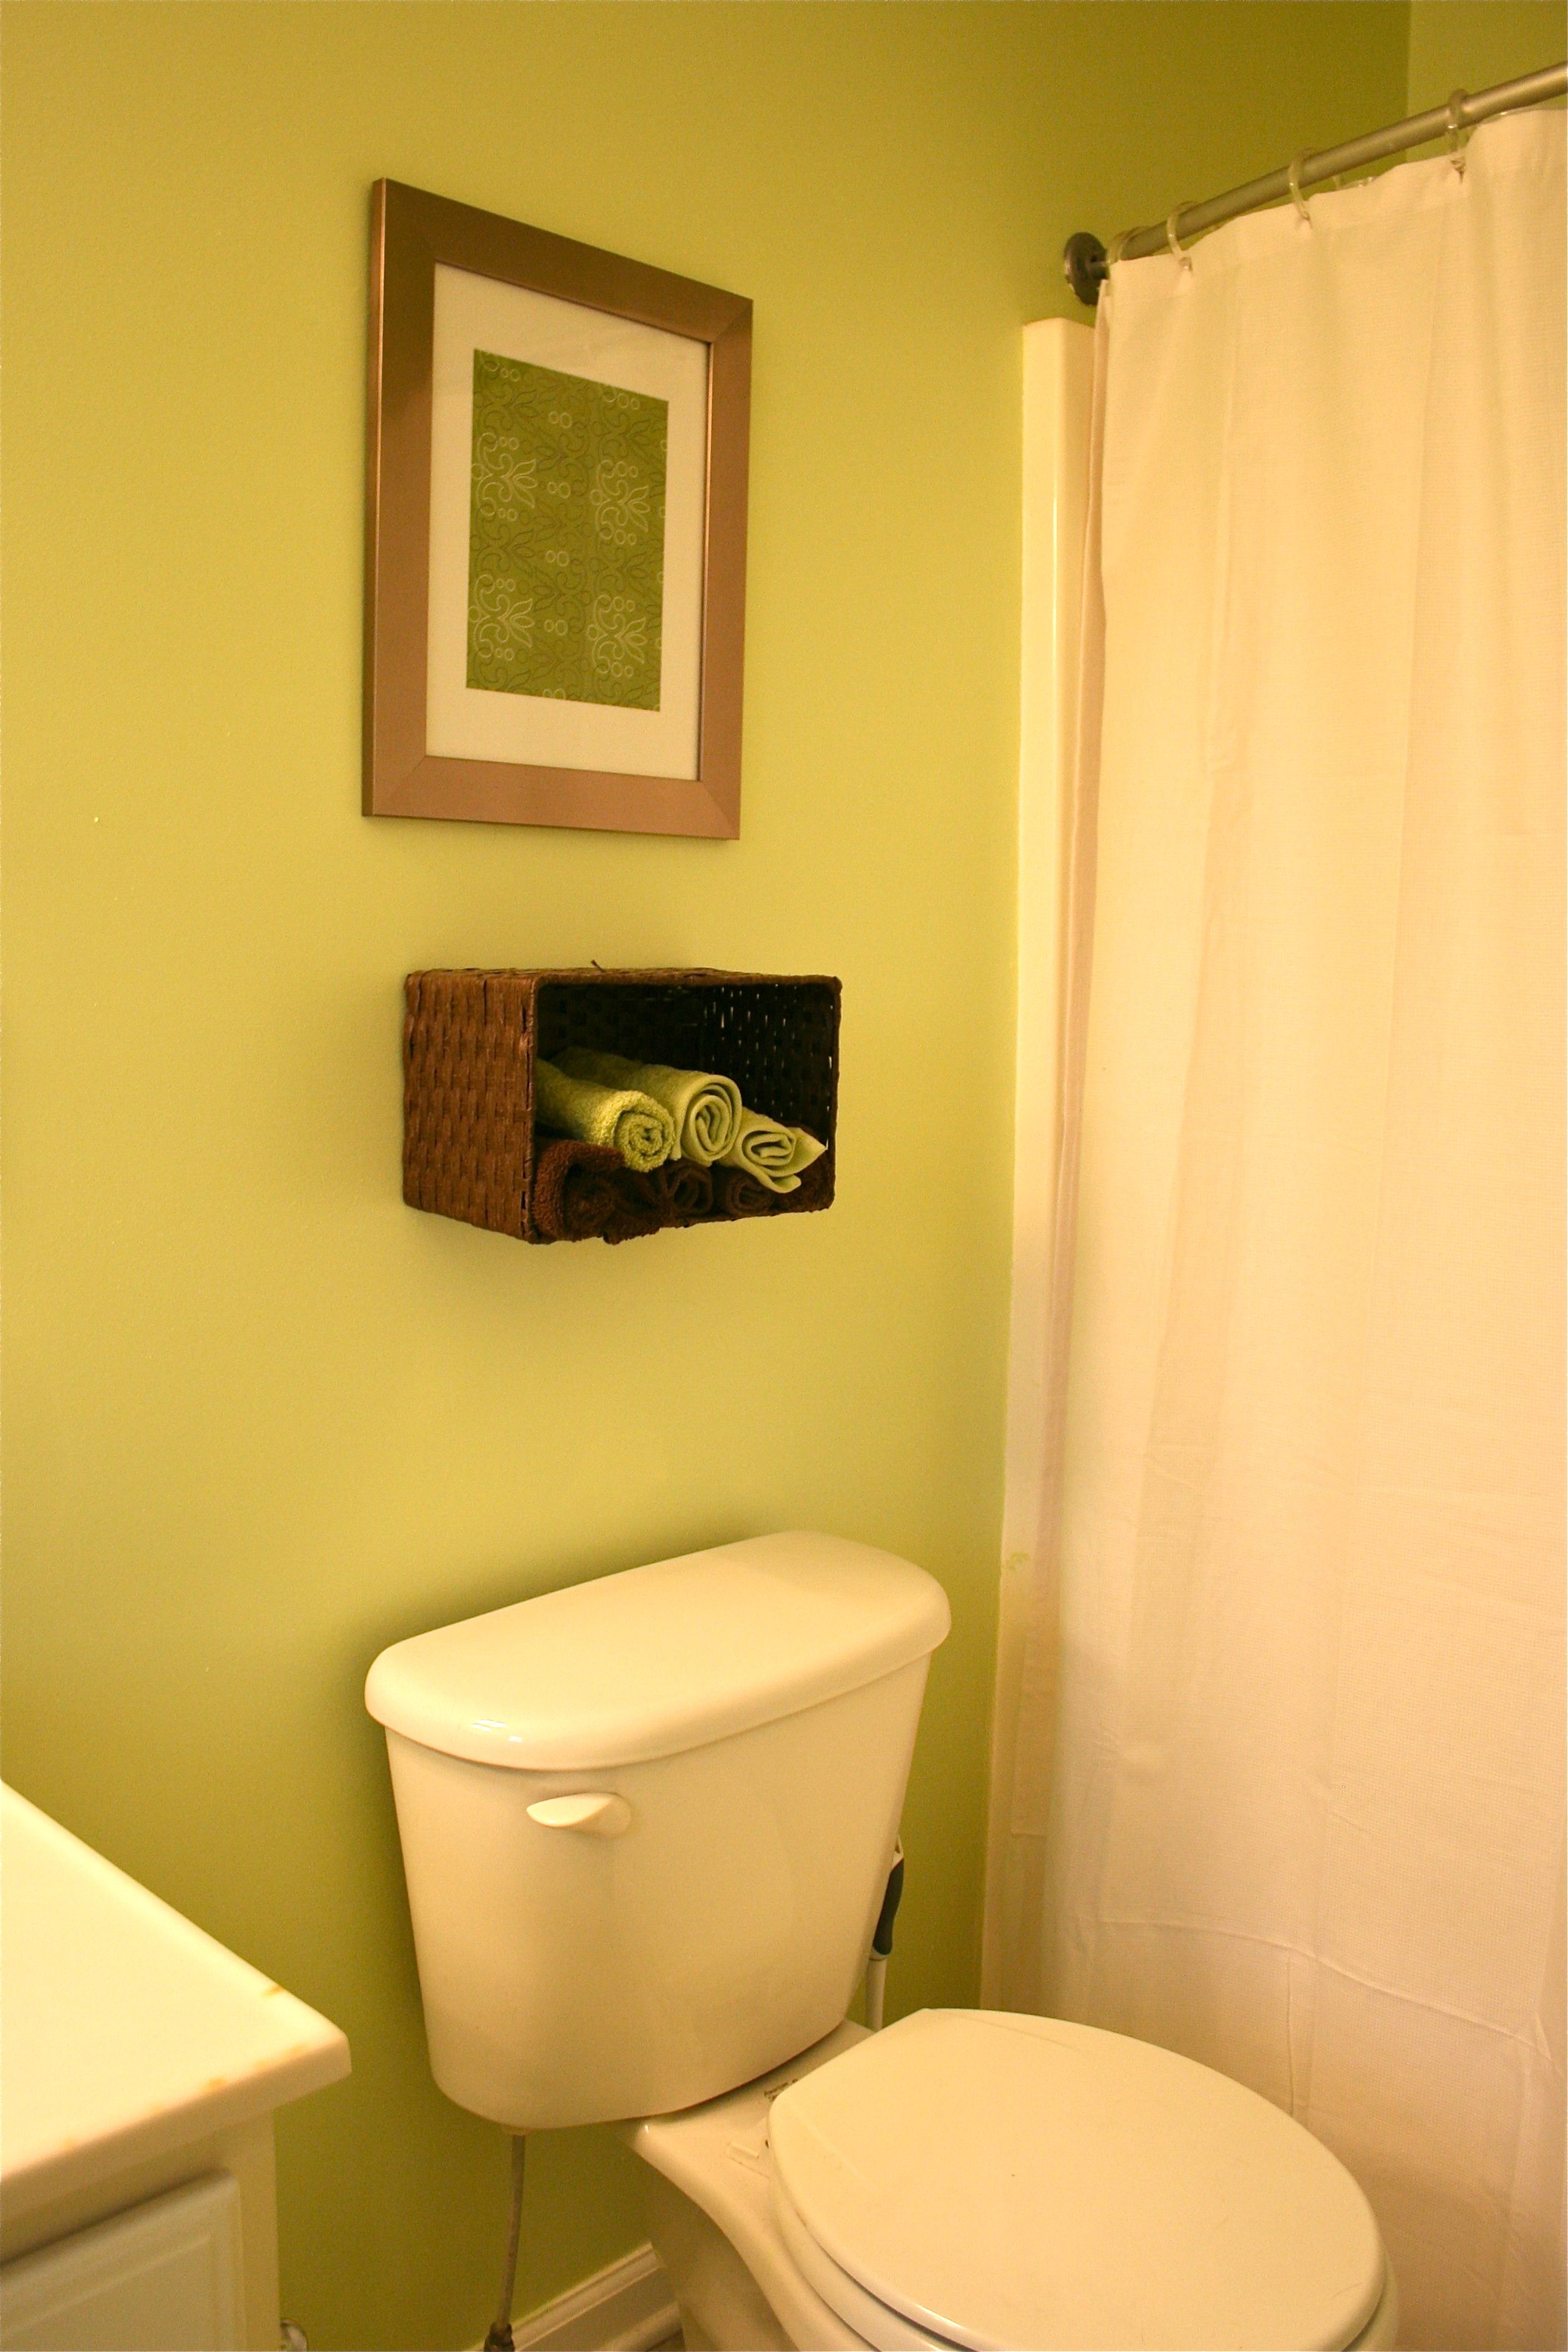
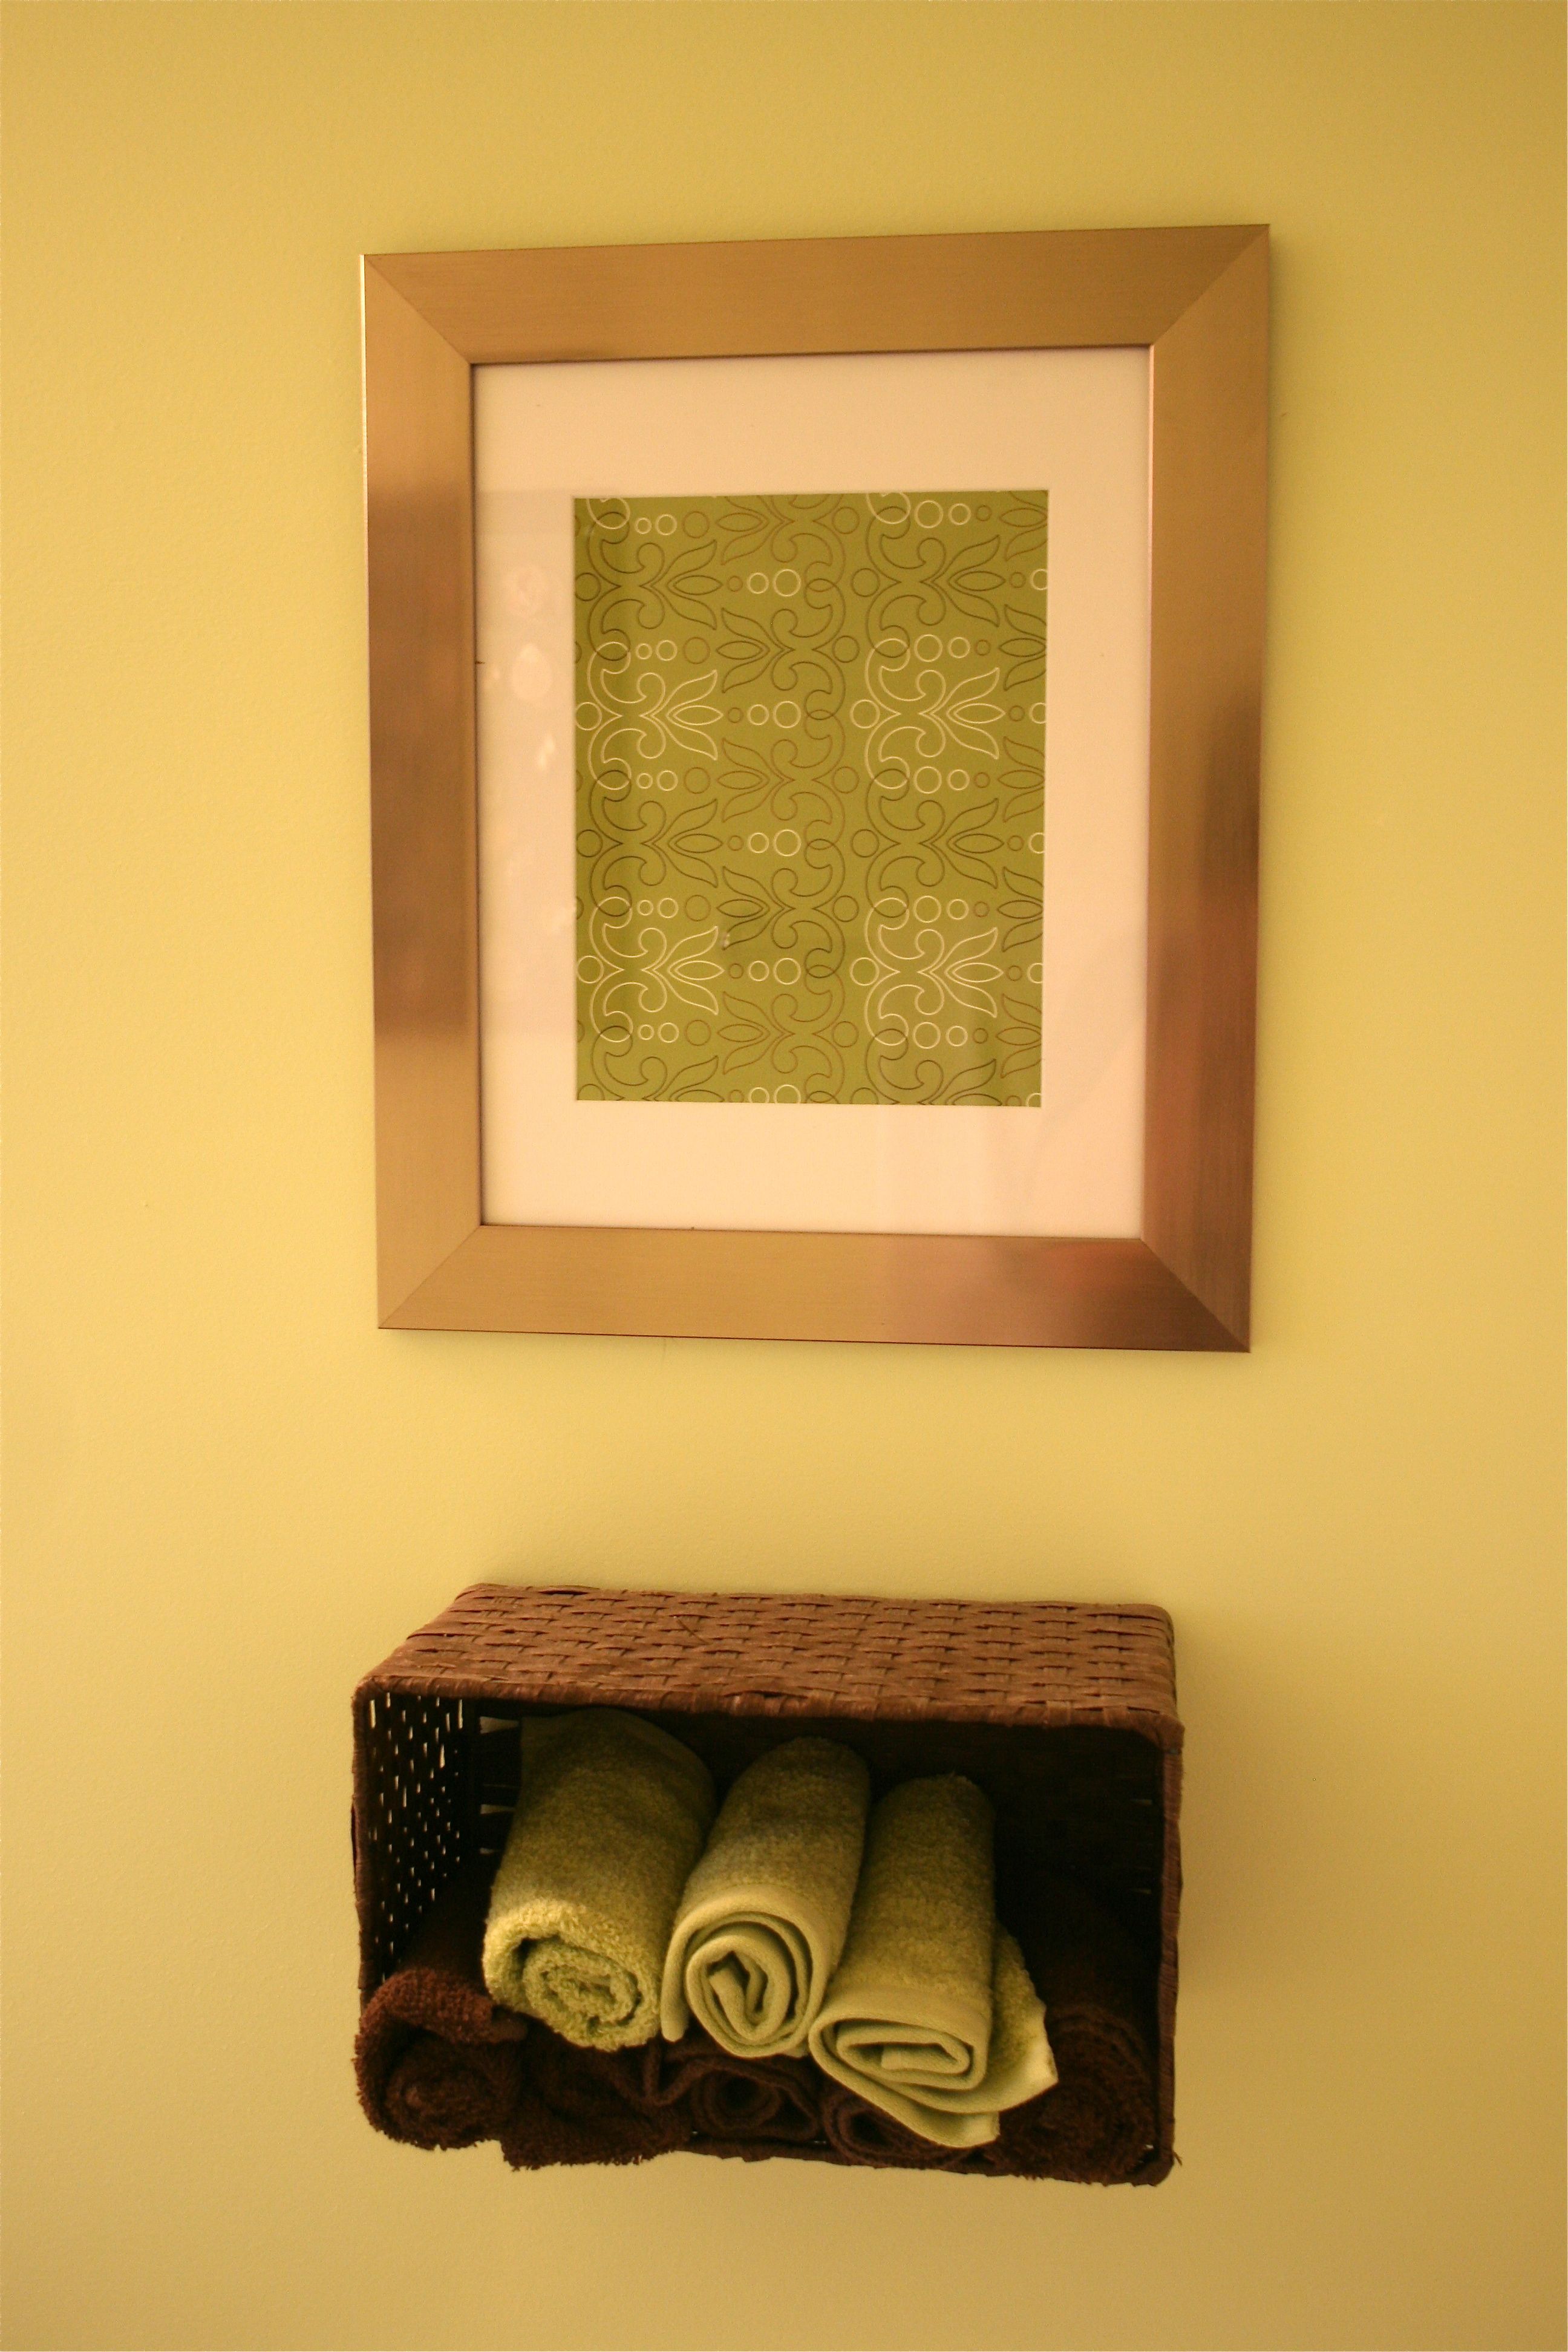
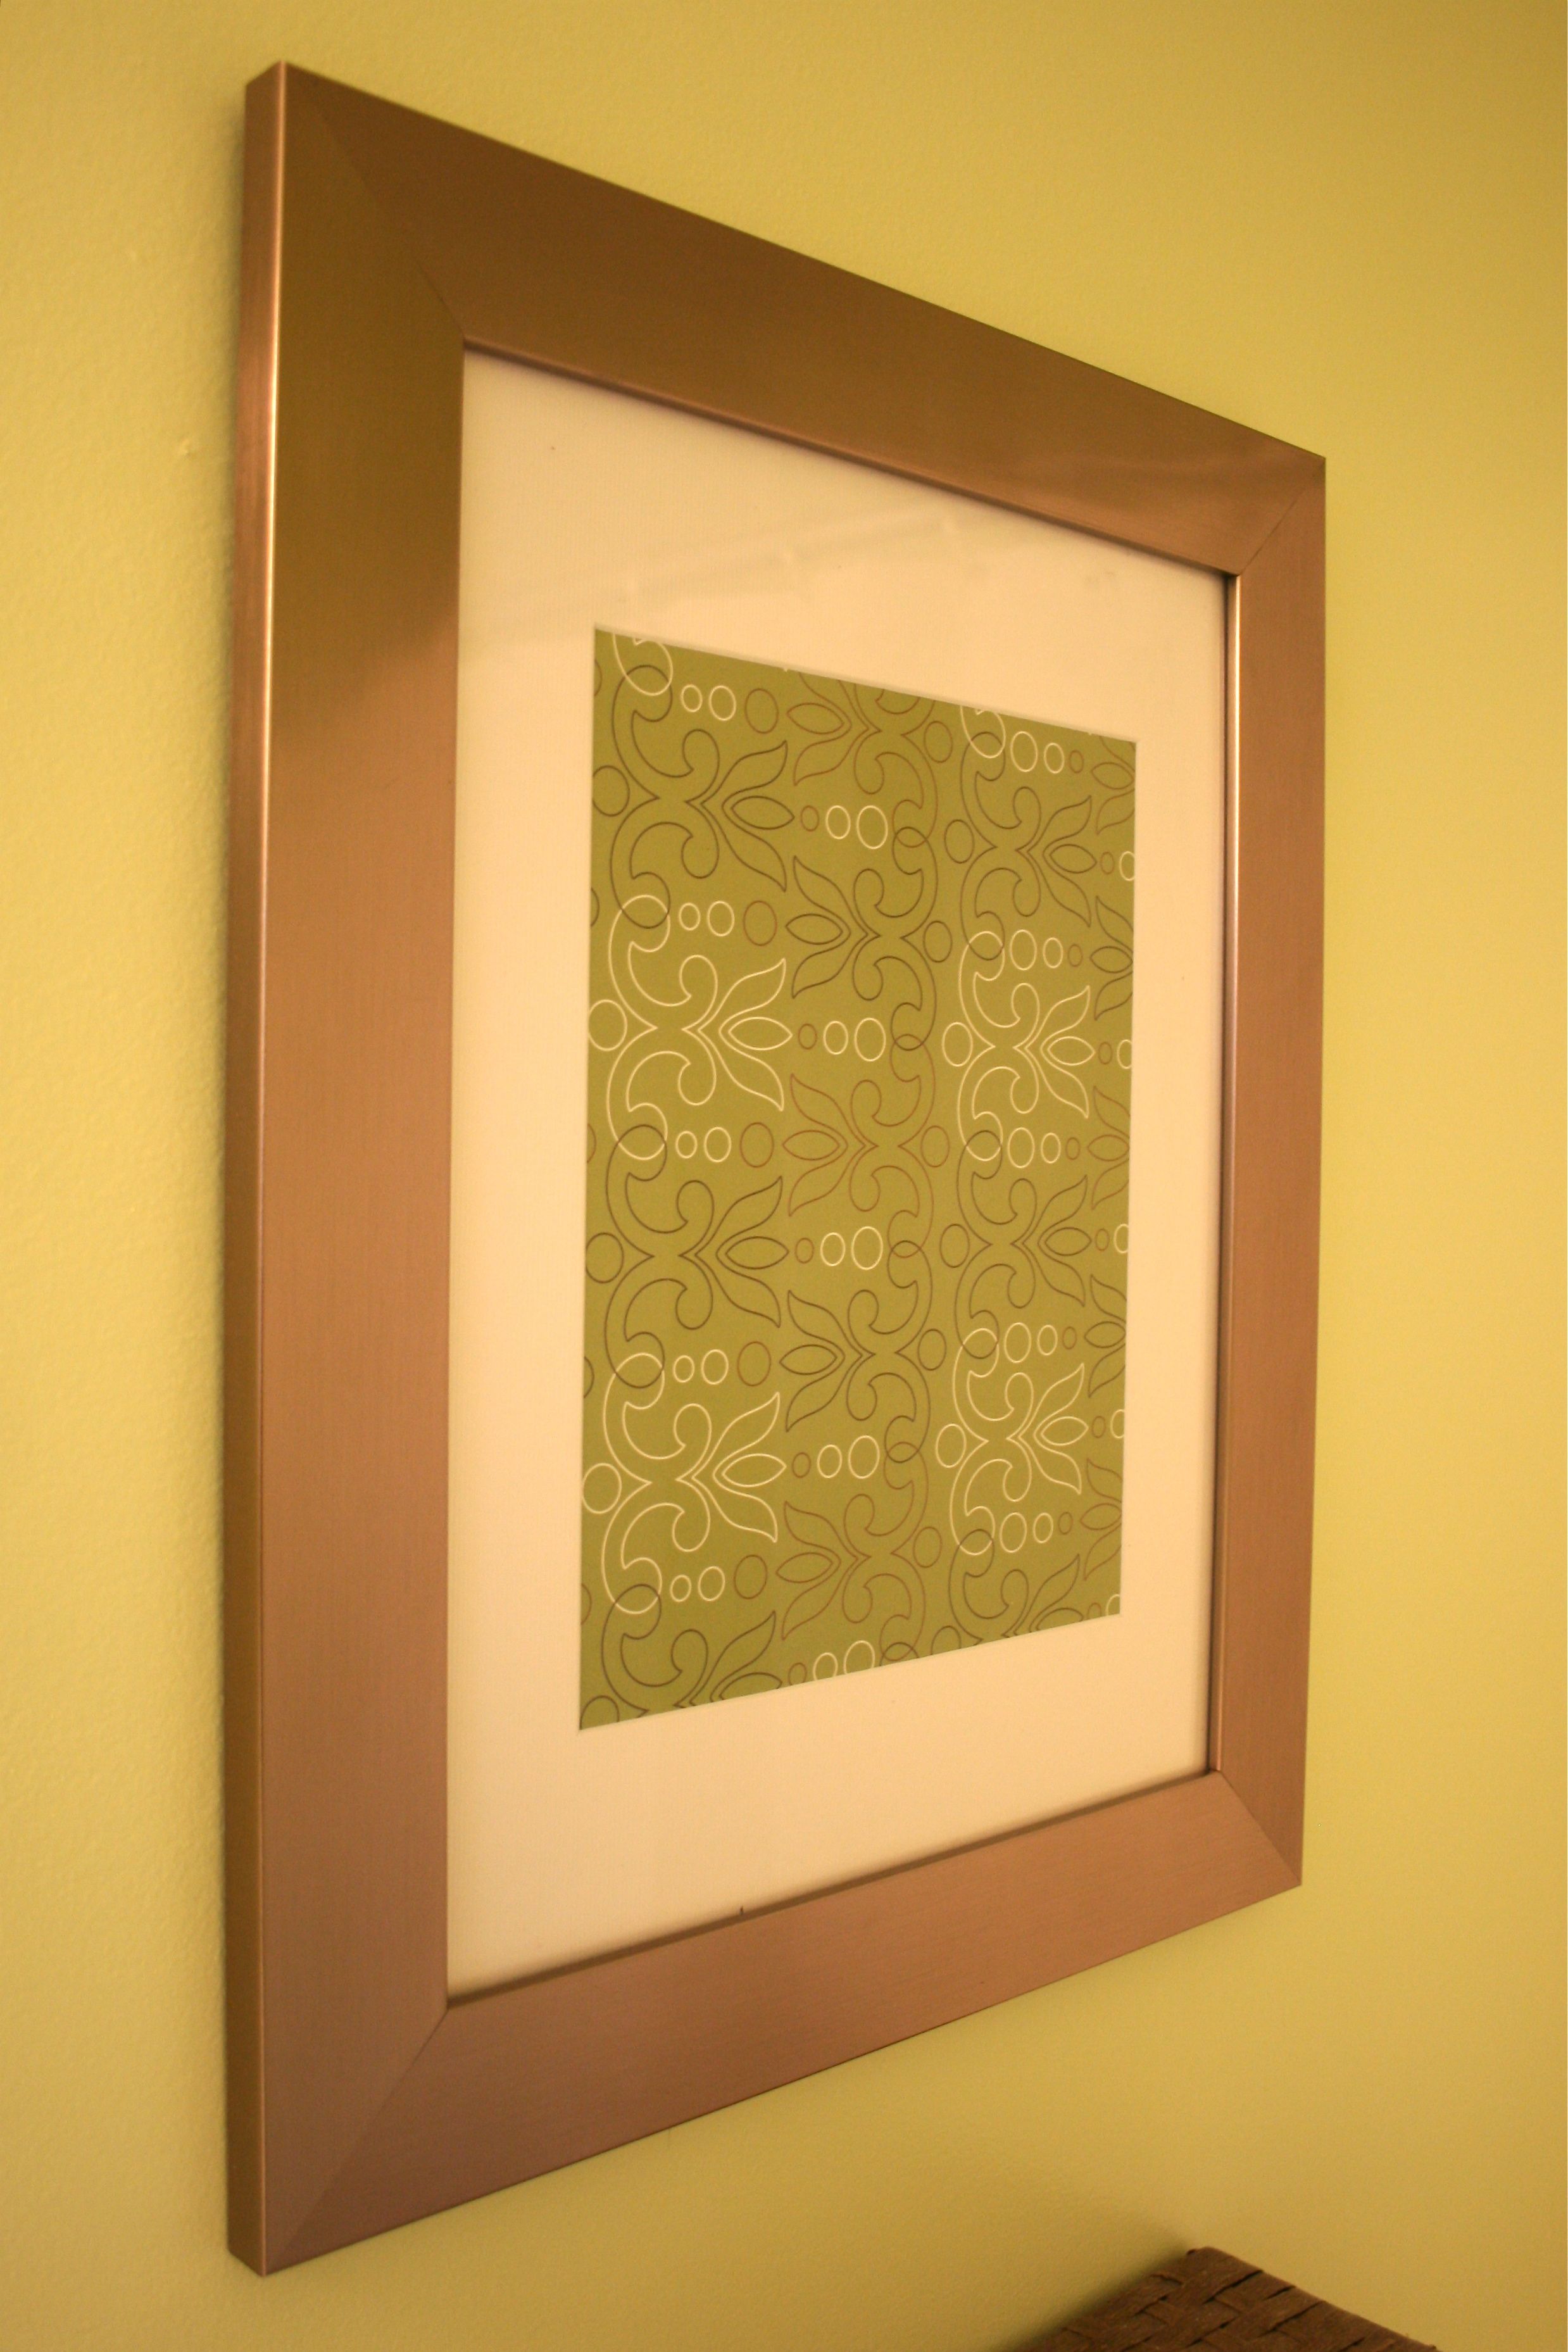
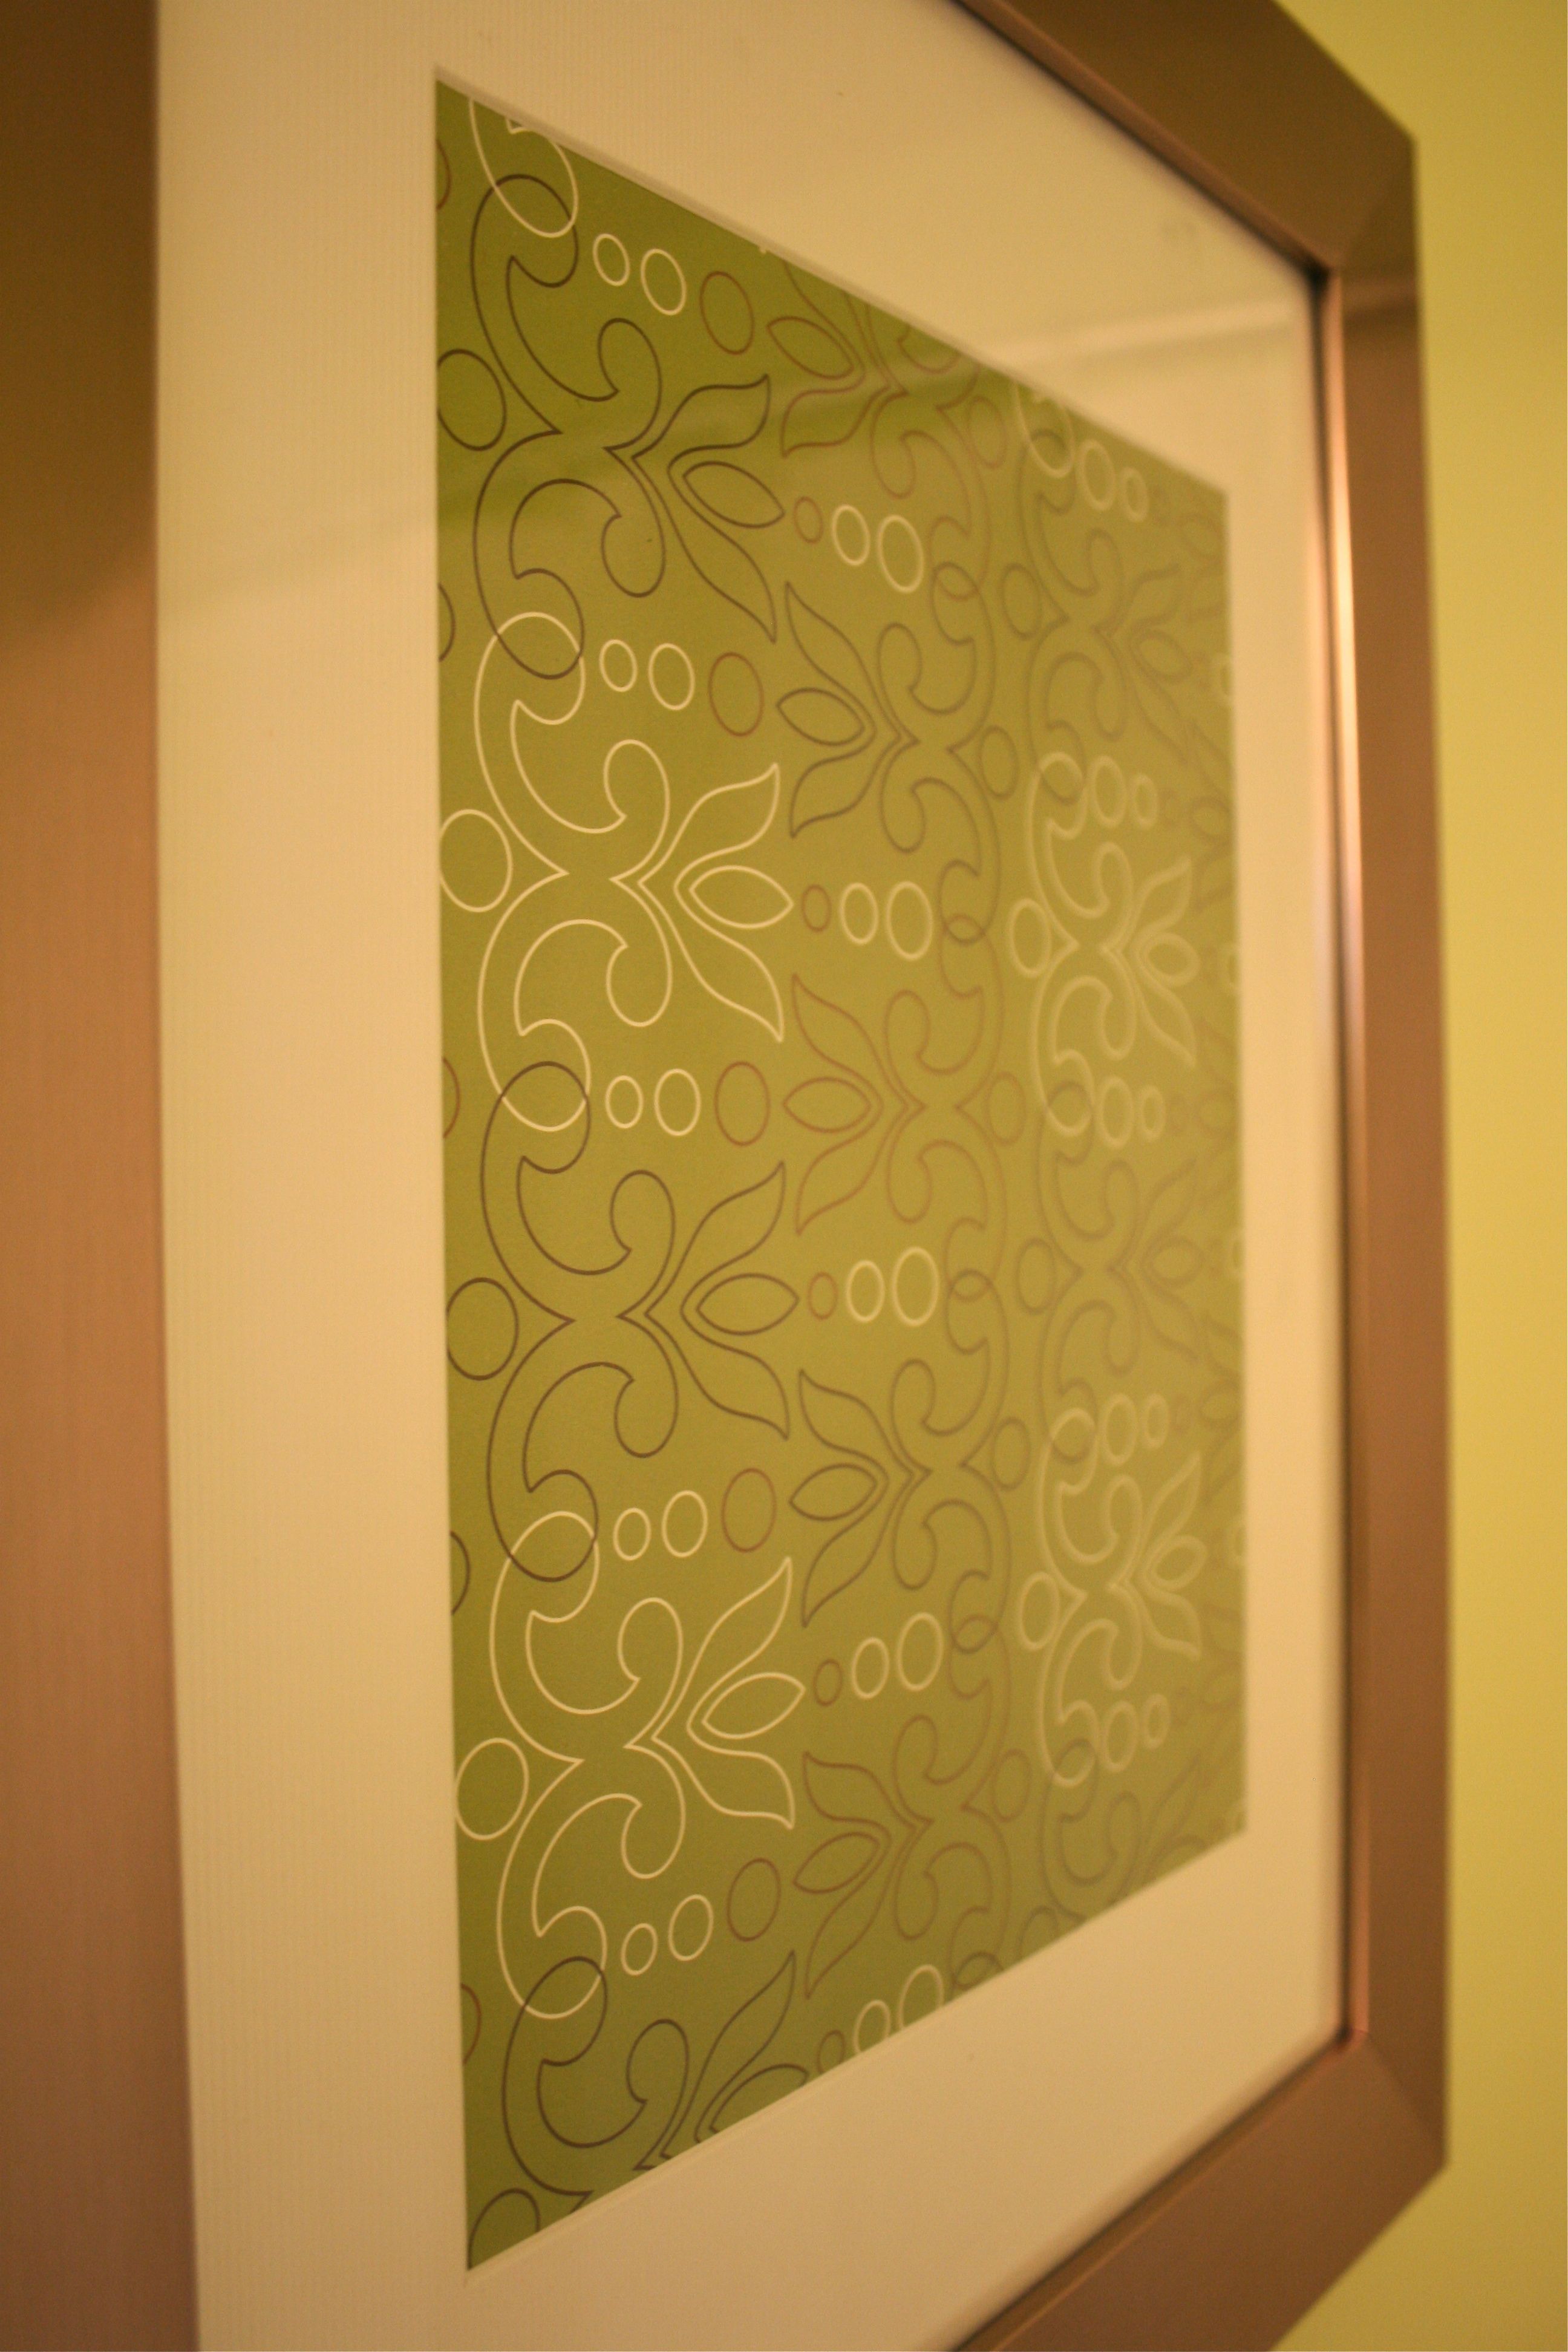
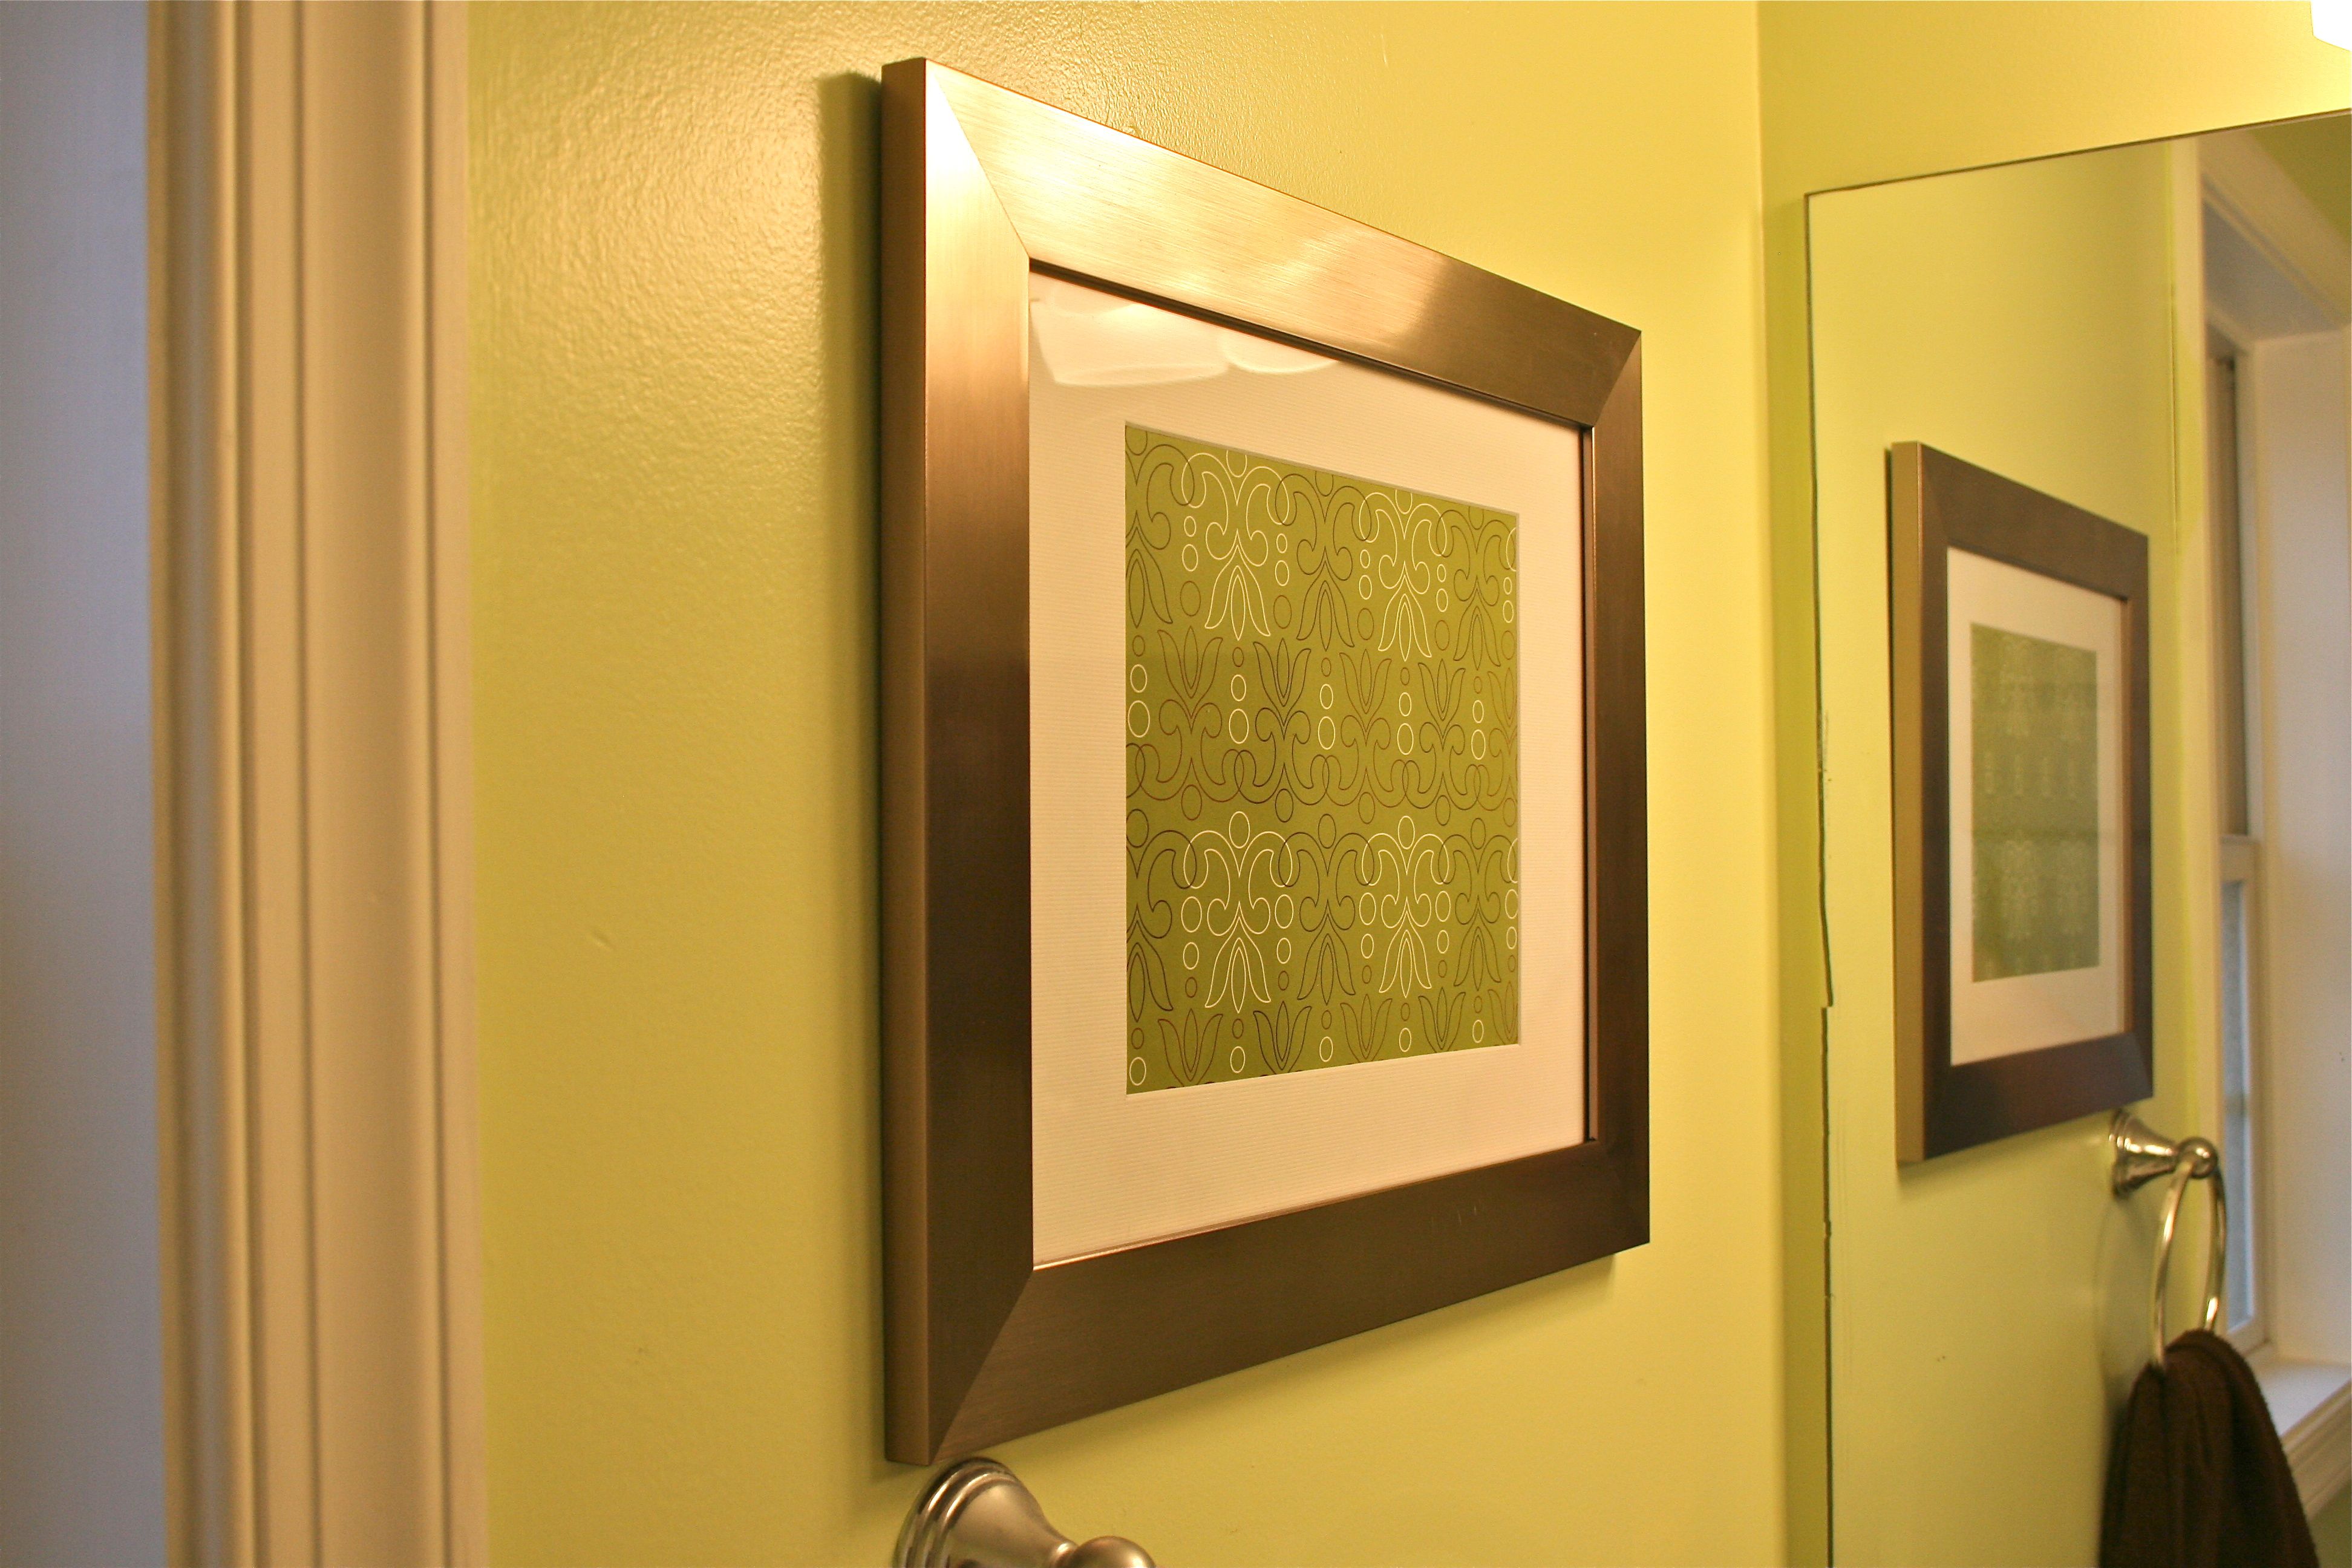
For the art above the toilet, I picked up an inexpensive metallic frame with a white mat that I filled with a sheet of patterned scrapbooking paper. The whole piece of art cost less than $10! And the basket-turned-towel-holder you may recognize from way back when – I just added some green hand towels to coordinate with the wall color.
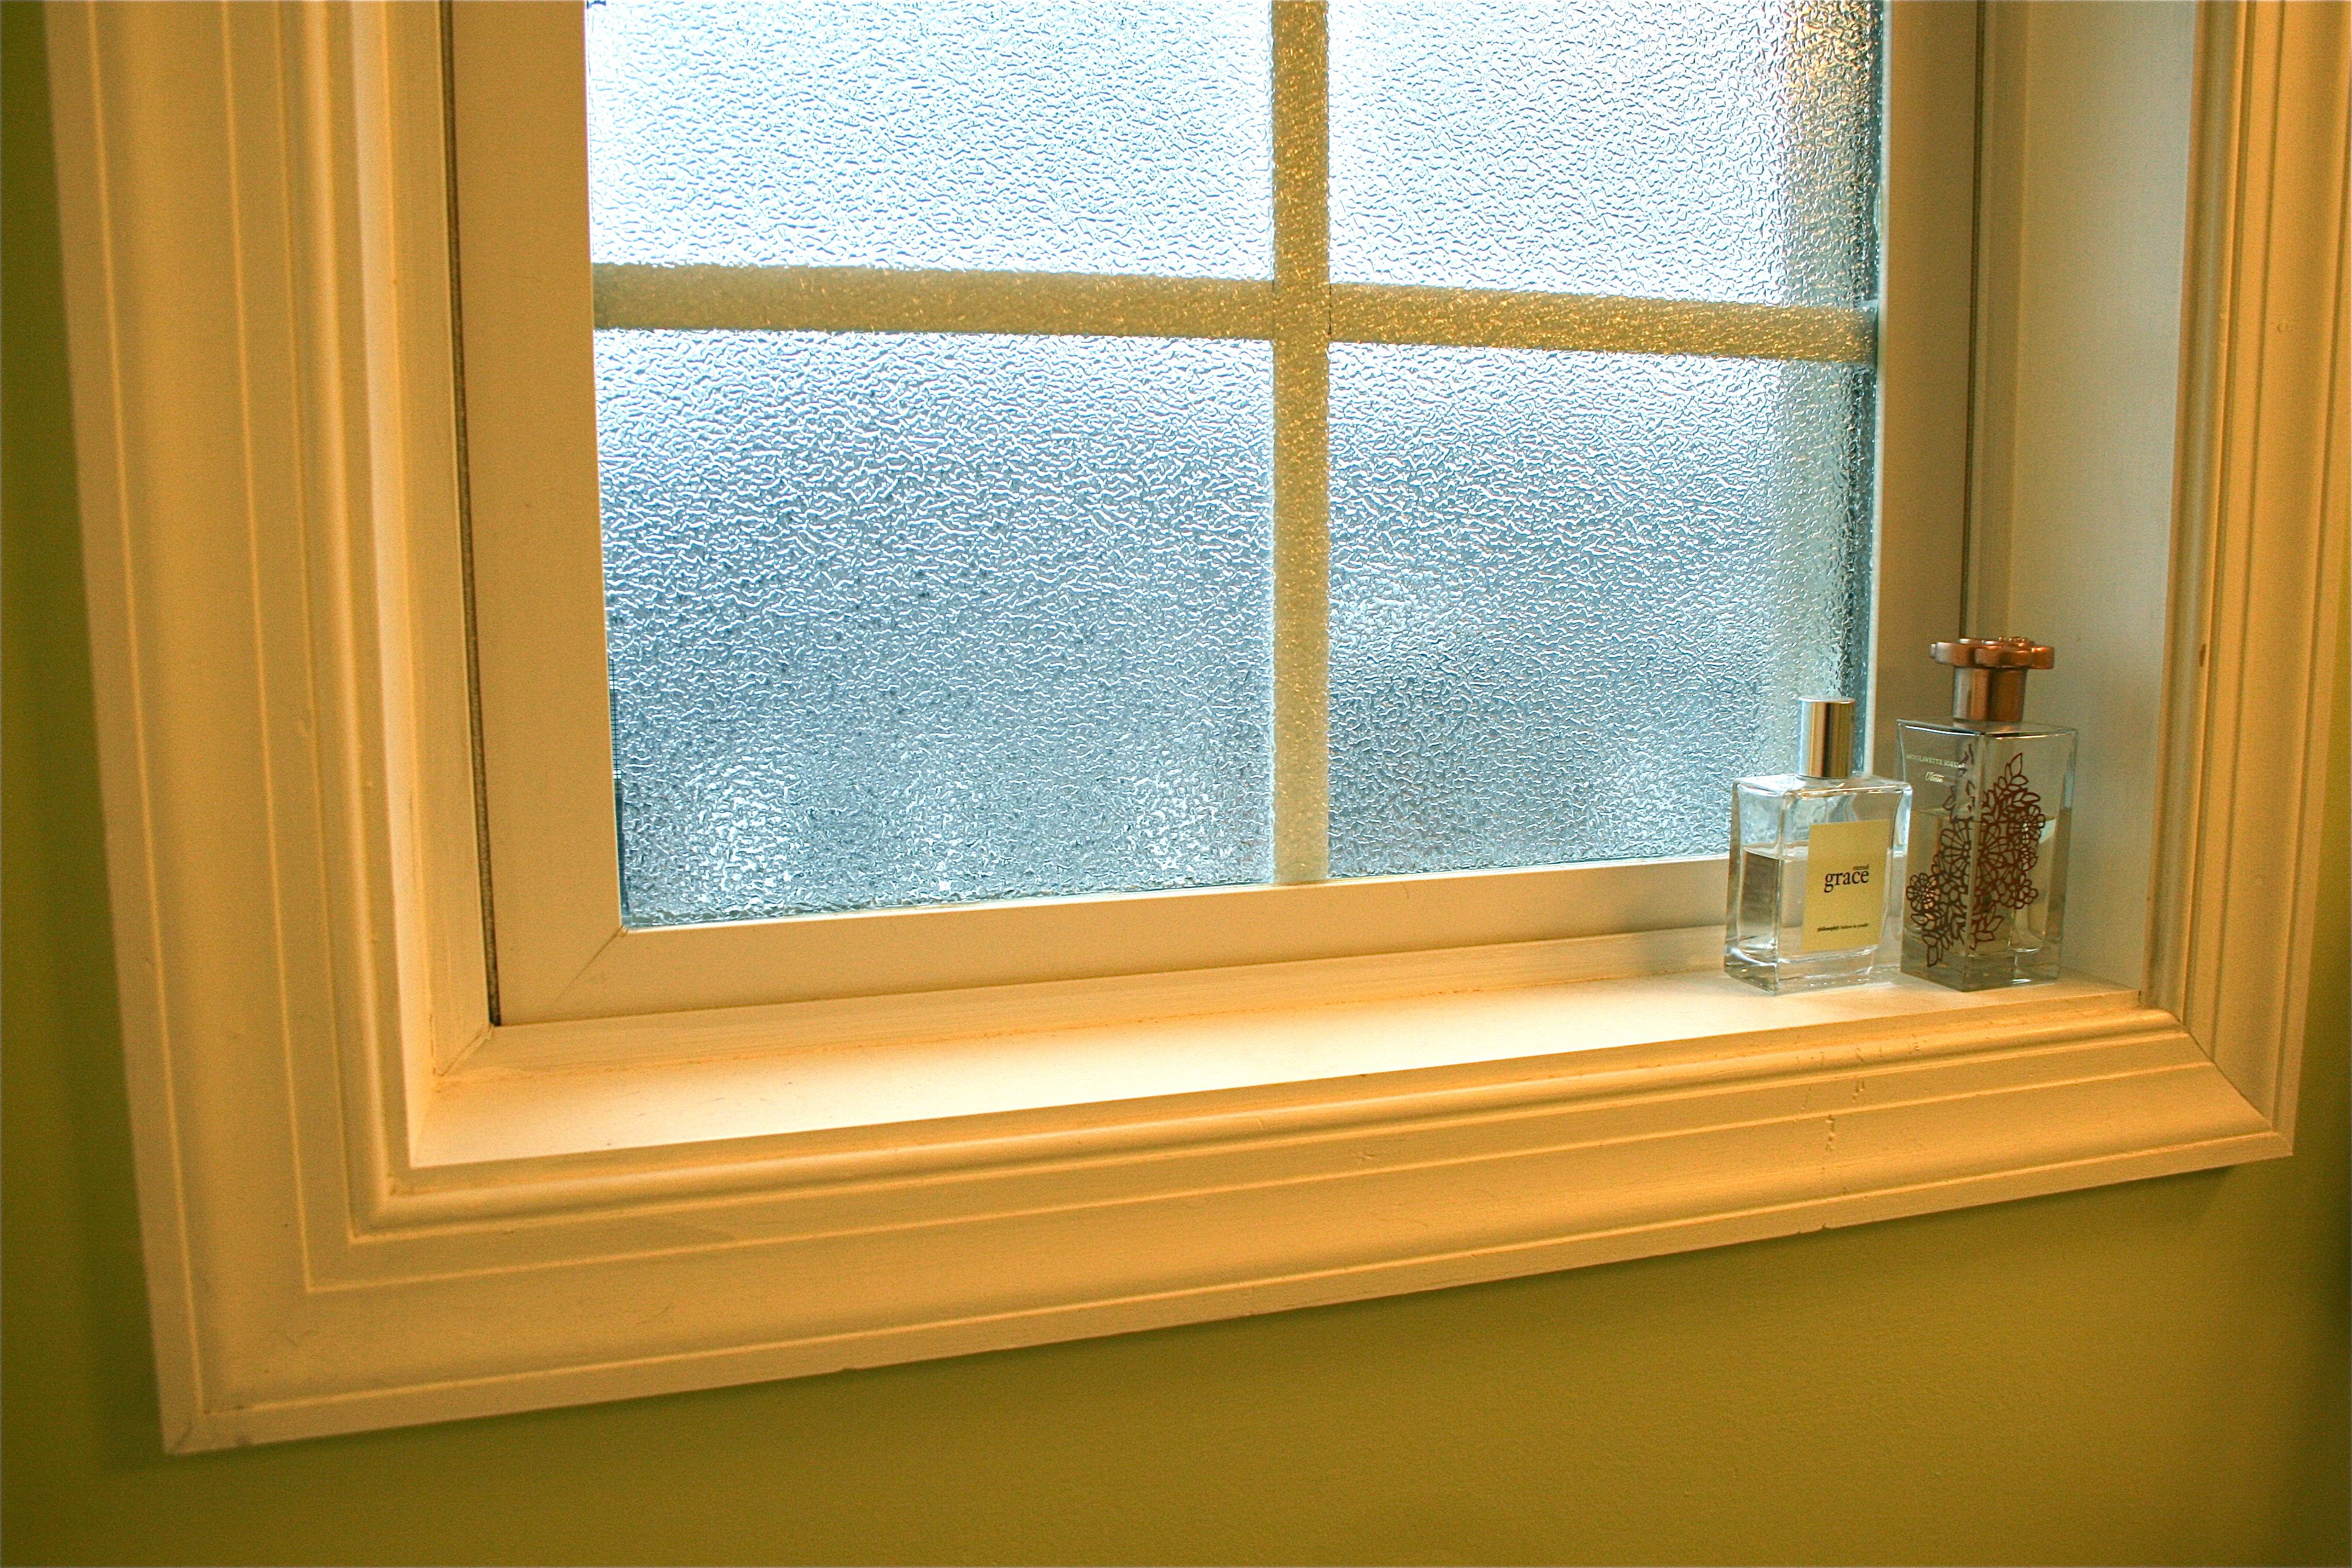
Instead of leaving the window sill unused, I went ahead and made the most of the fairly wide ledge to hold my perfume bottles. I could easily place some more toiletries here or a framed photo if I wanted to. Even though our bathroom is pretty big by most standards, I’m glad I was able to utilize every square inch.
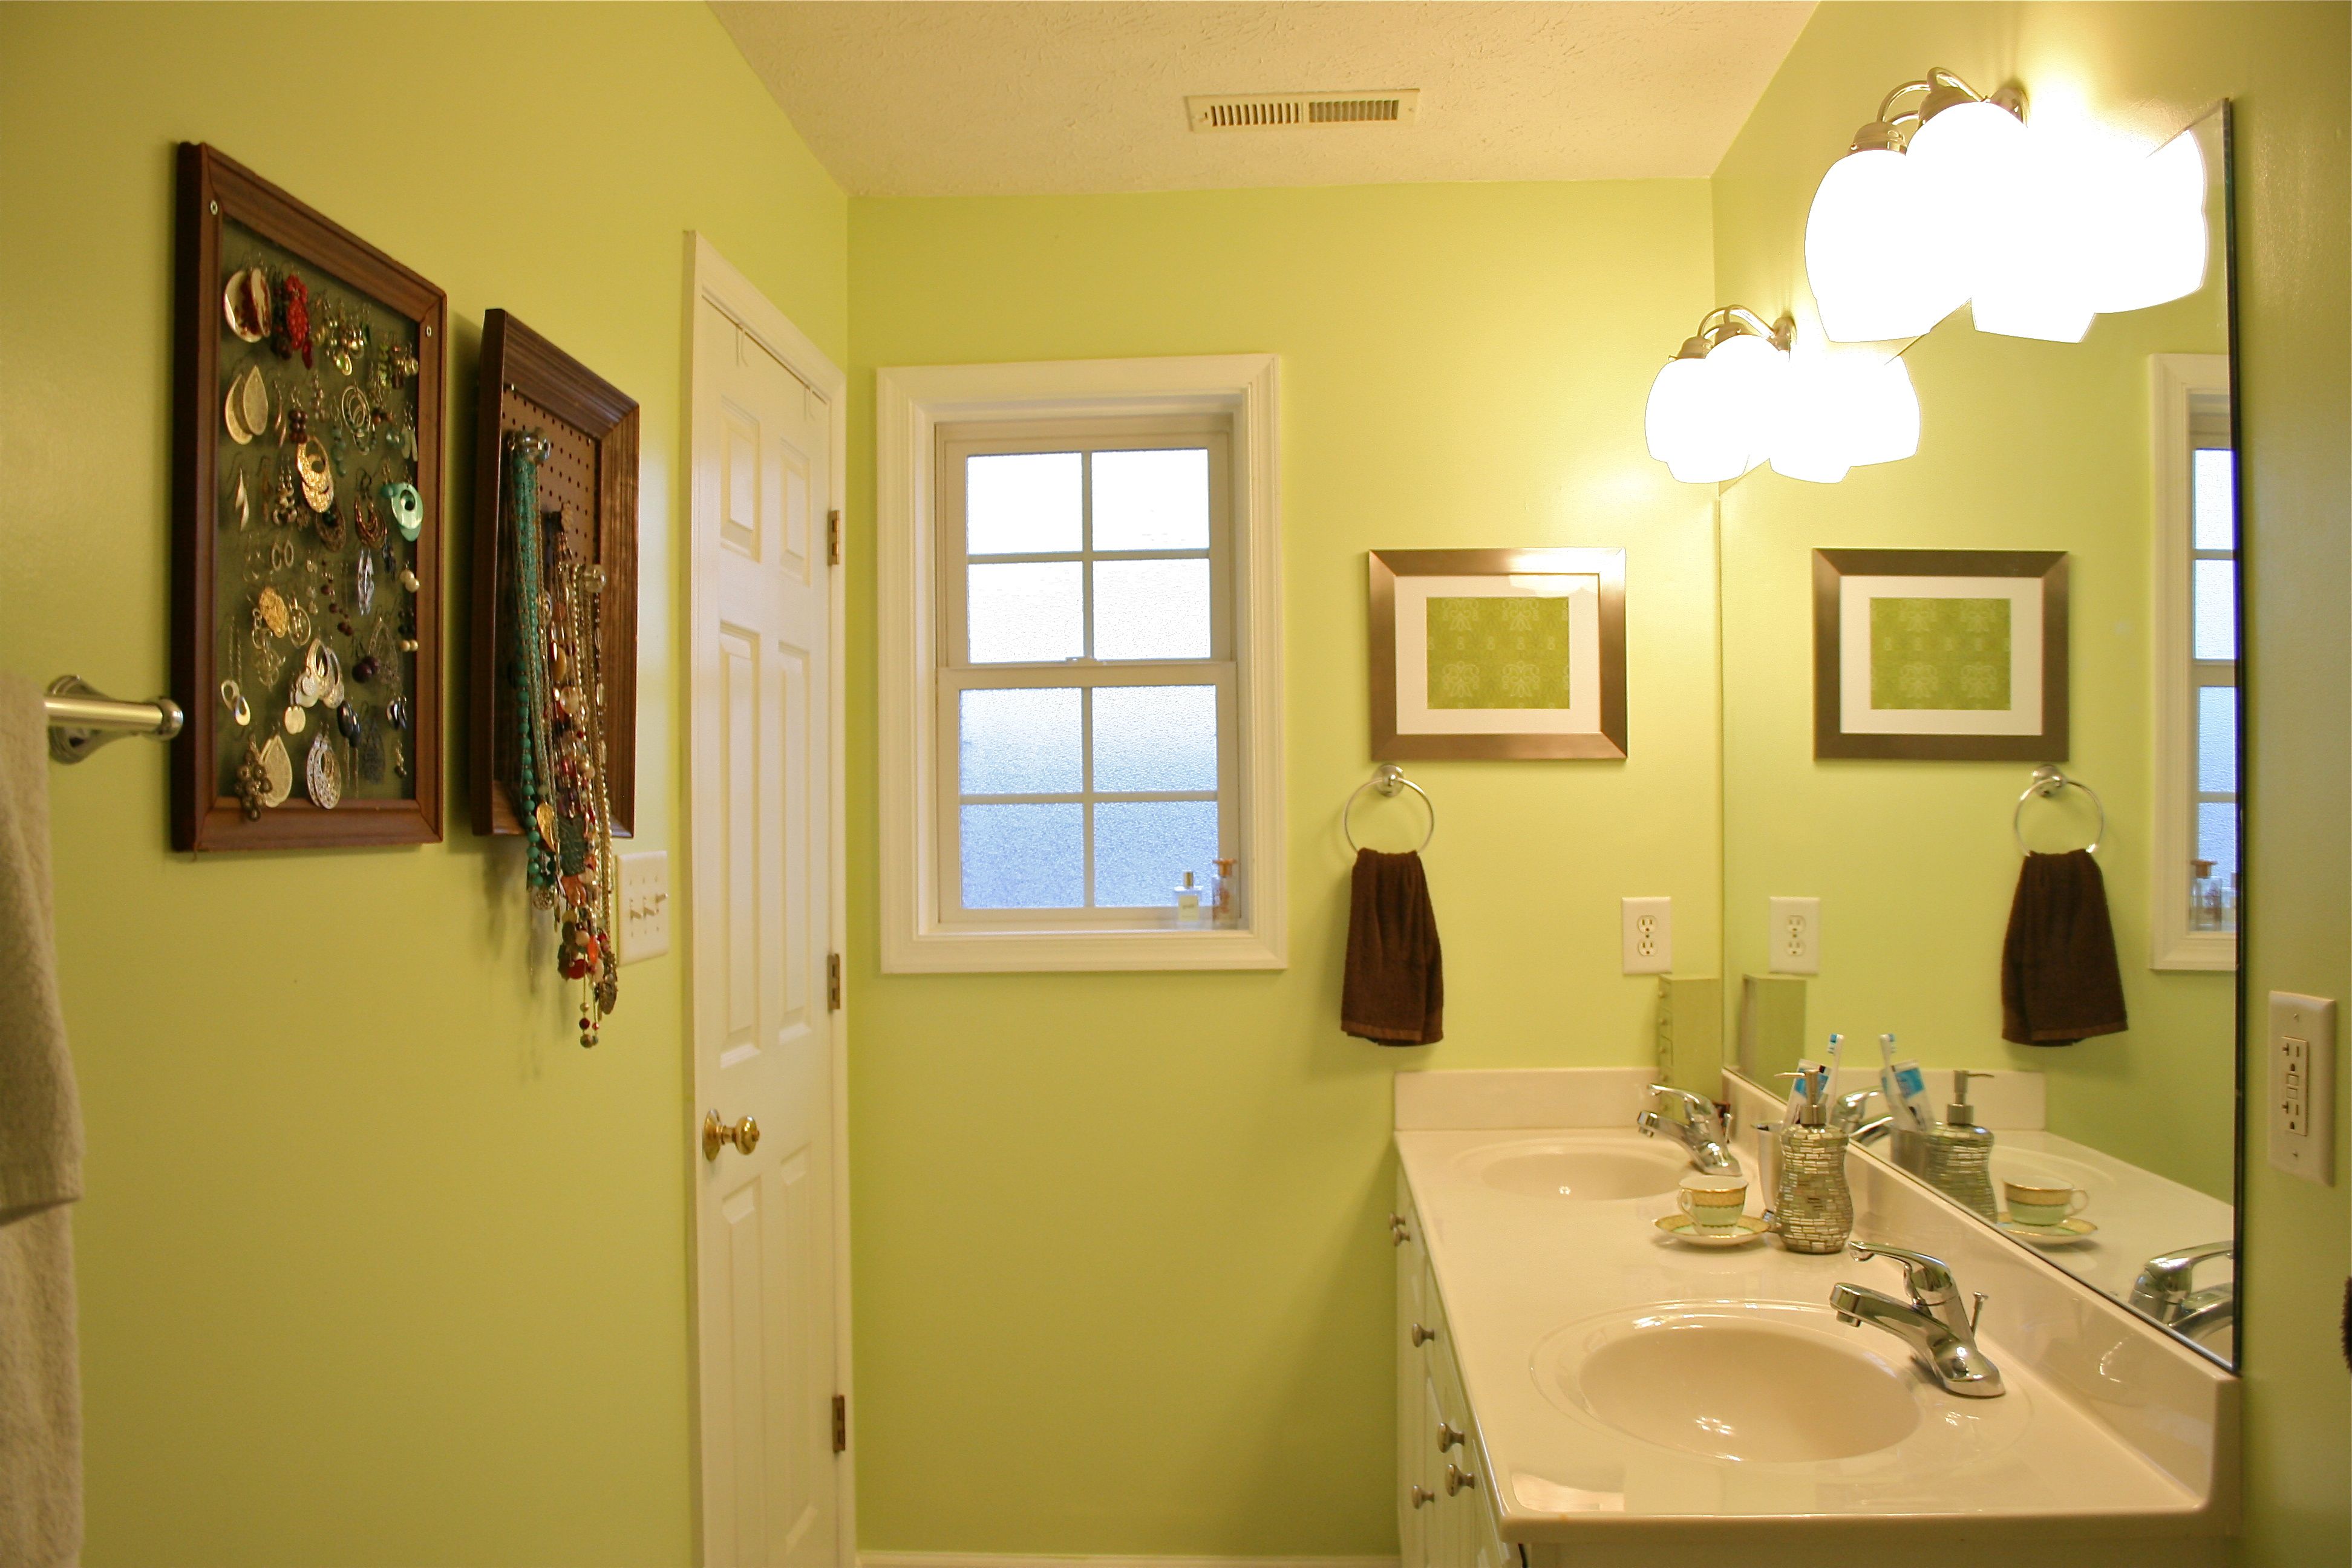
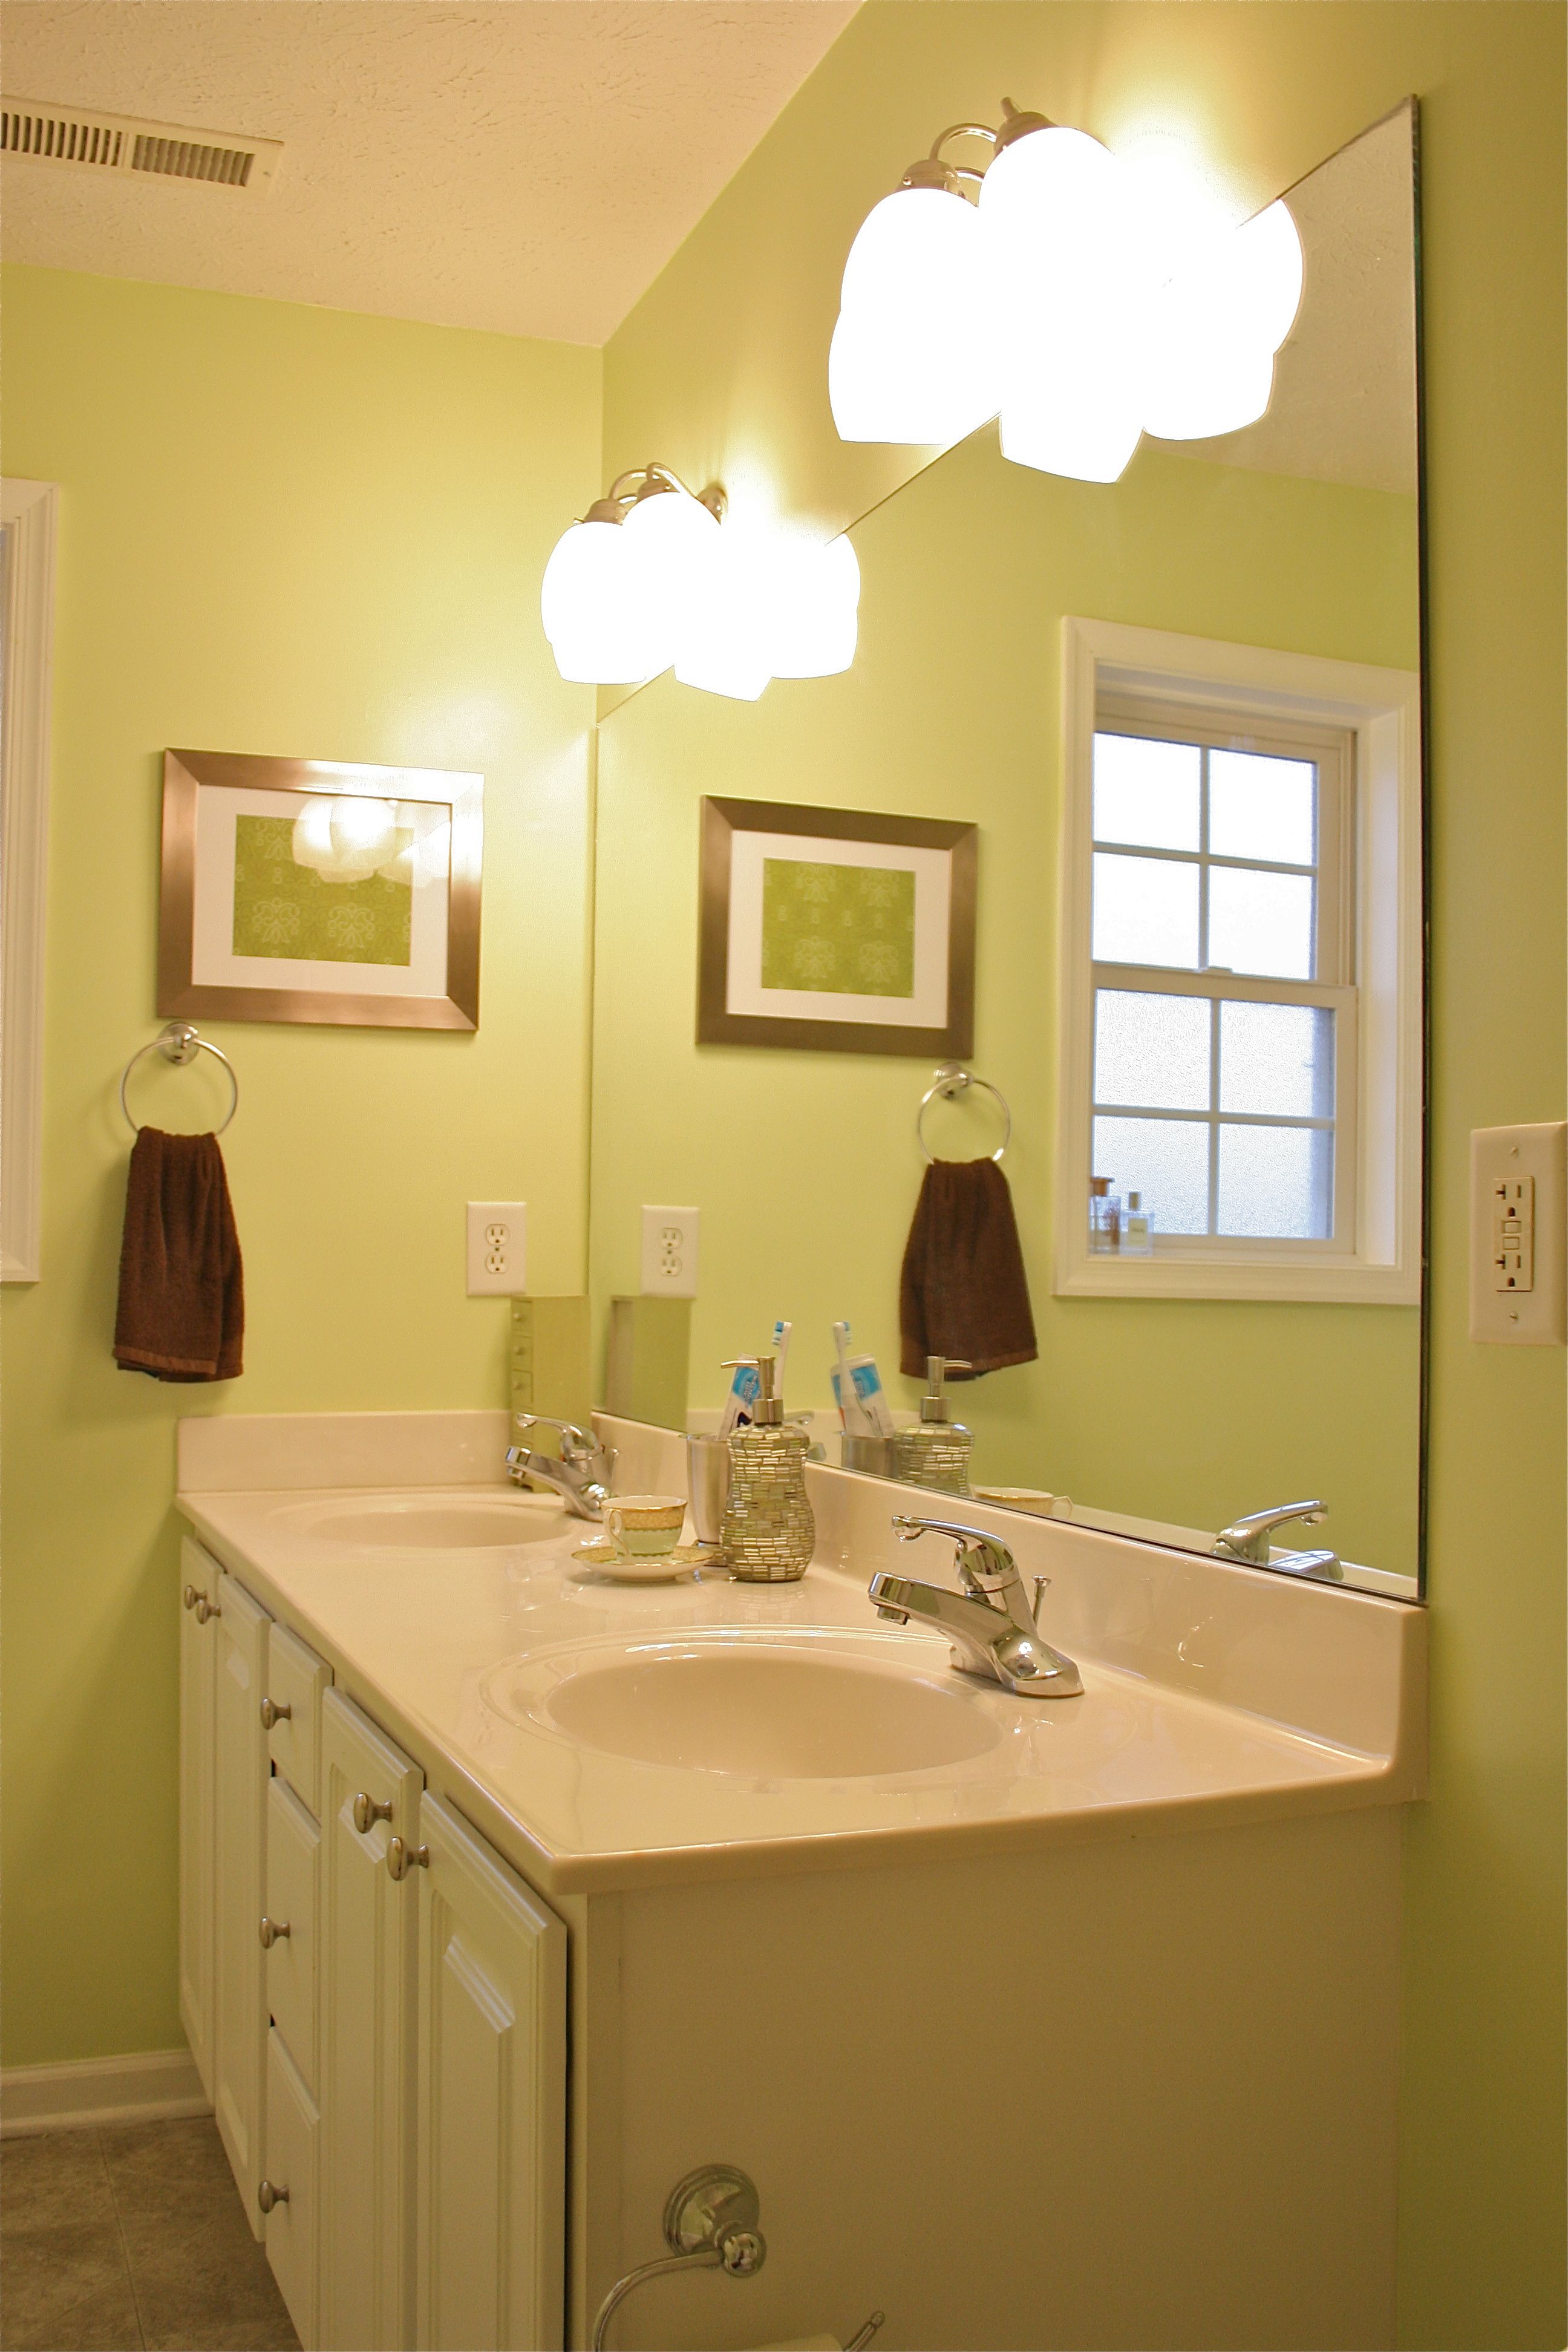
I put a matching metallic frame on this side of the bathroom with the same patterned scrapbook paper, just turned in the “landscape” position. The twin artwork sort of bookends the sink/countertop area and brings it all together.
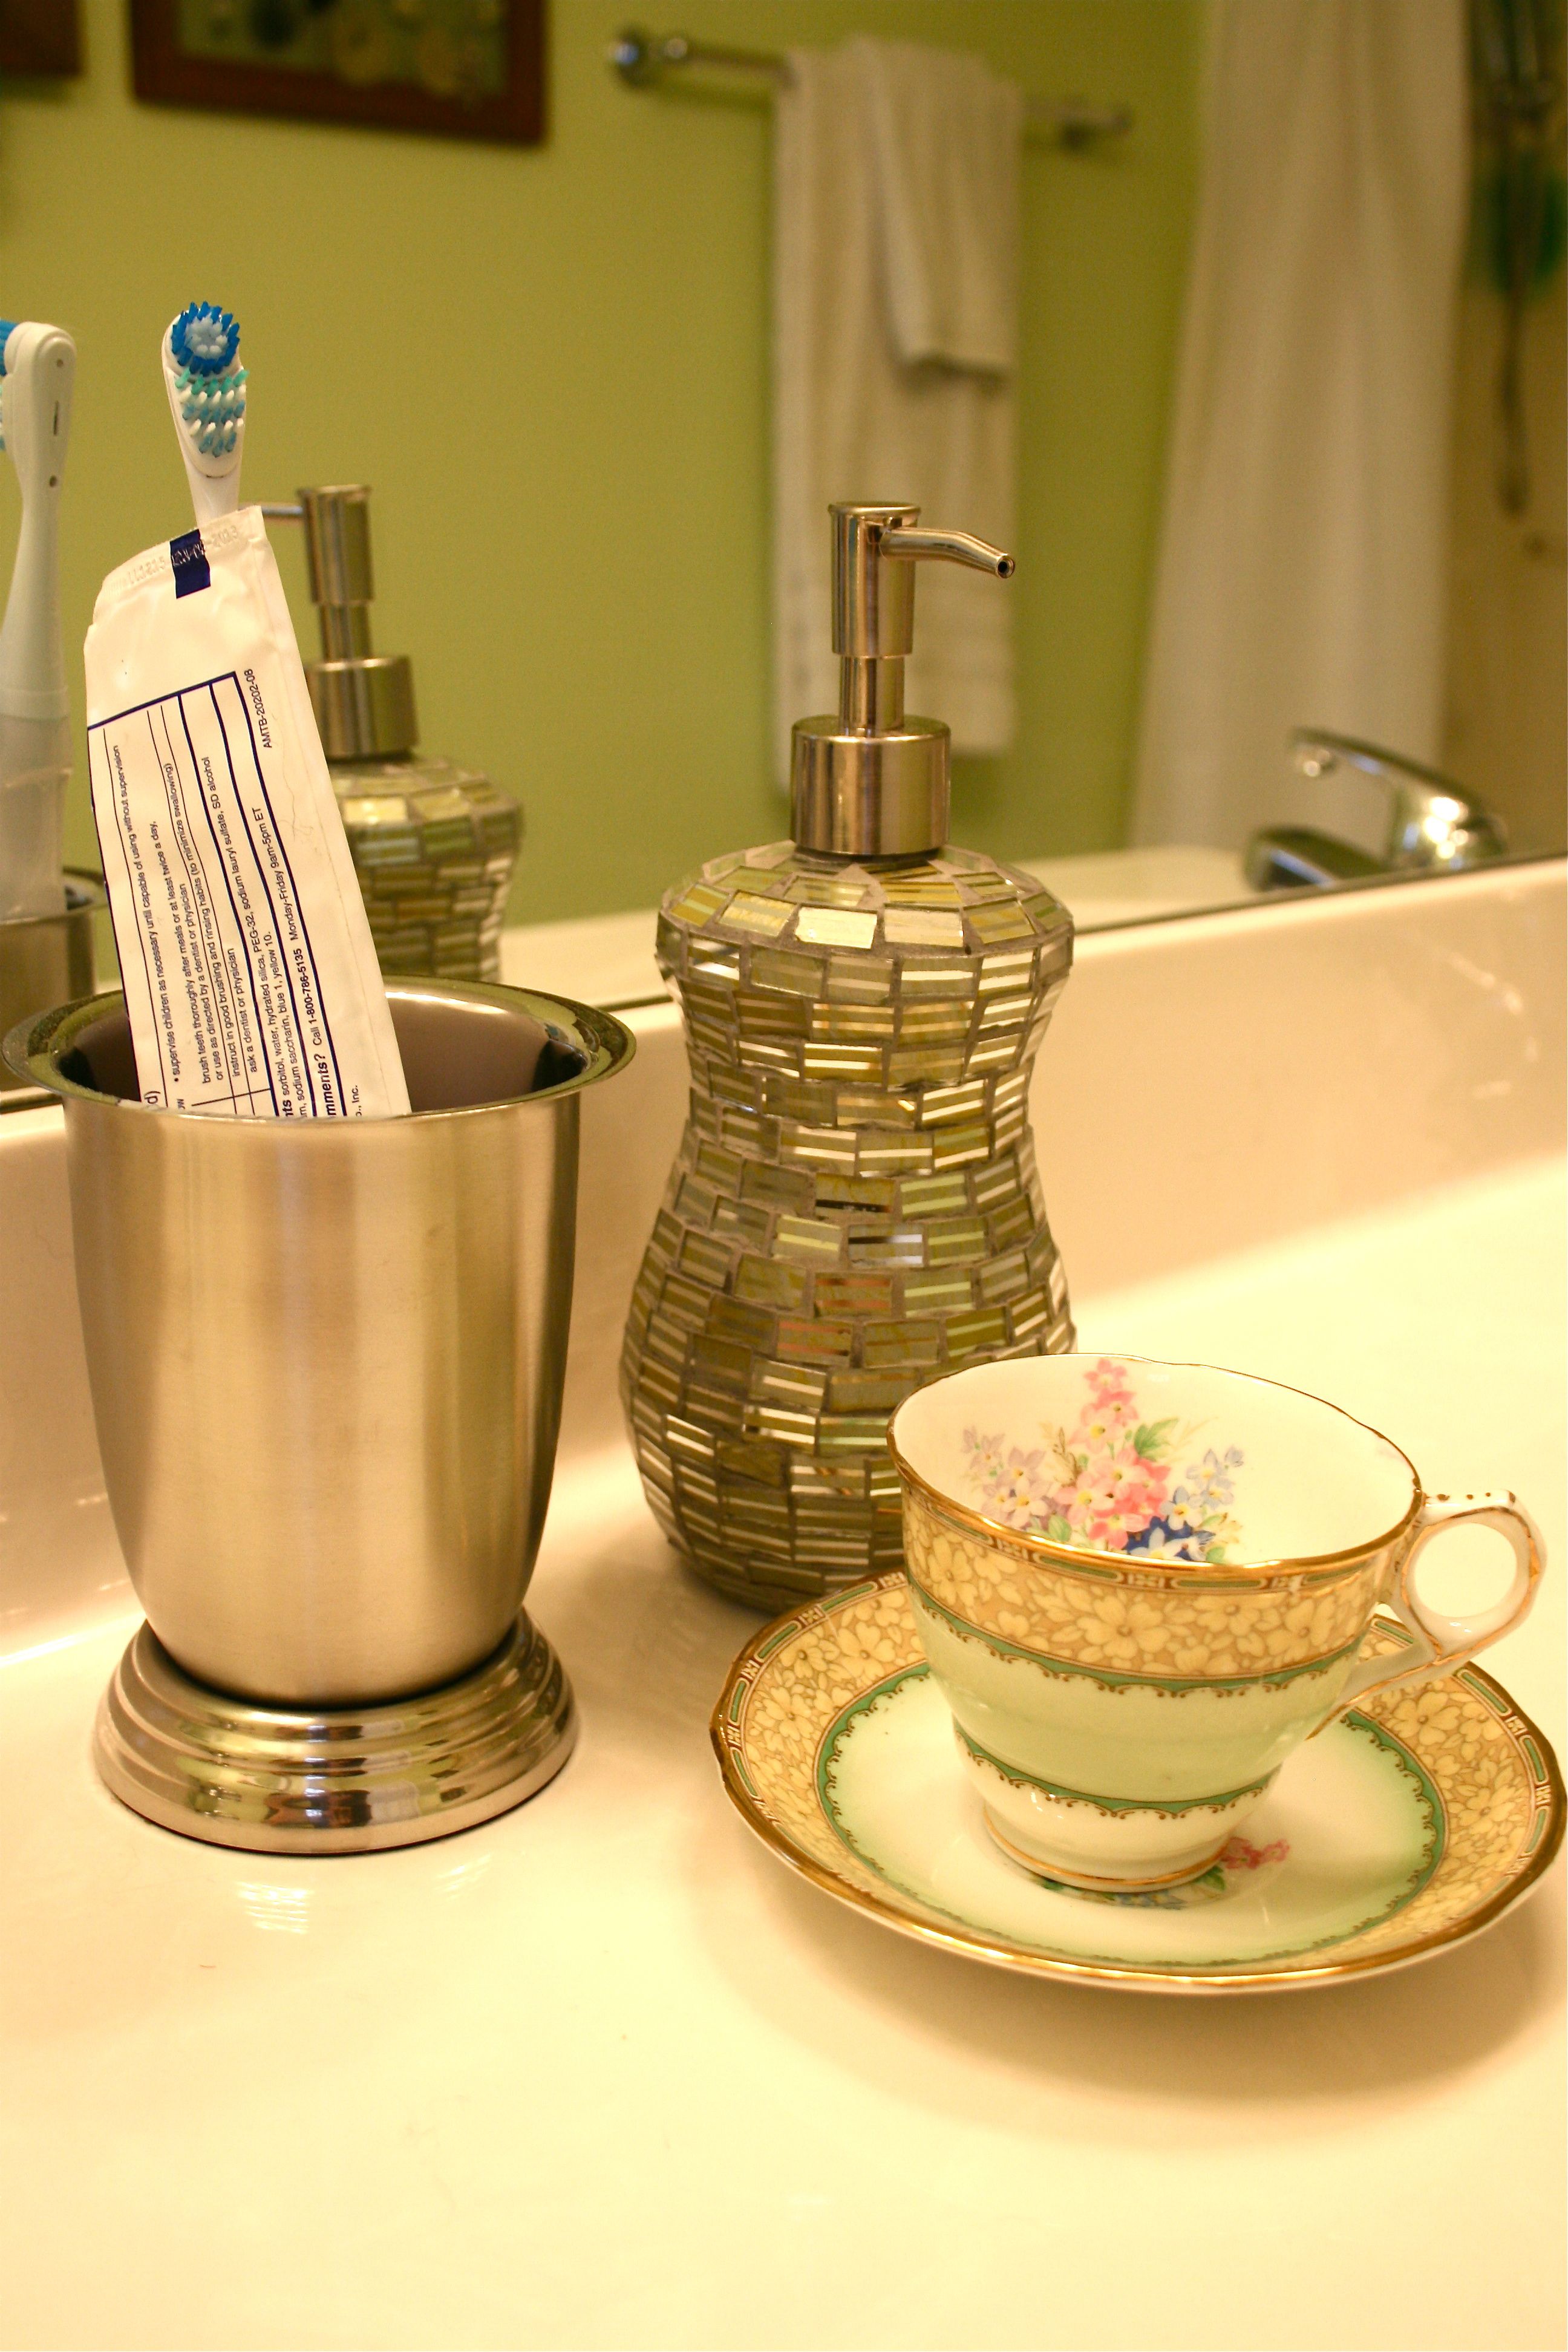
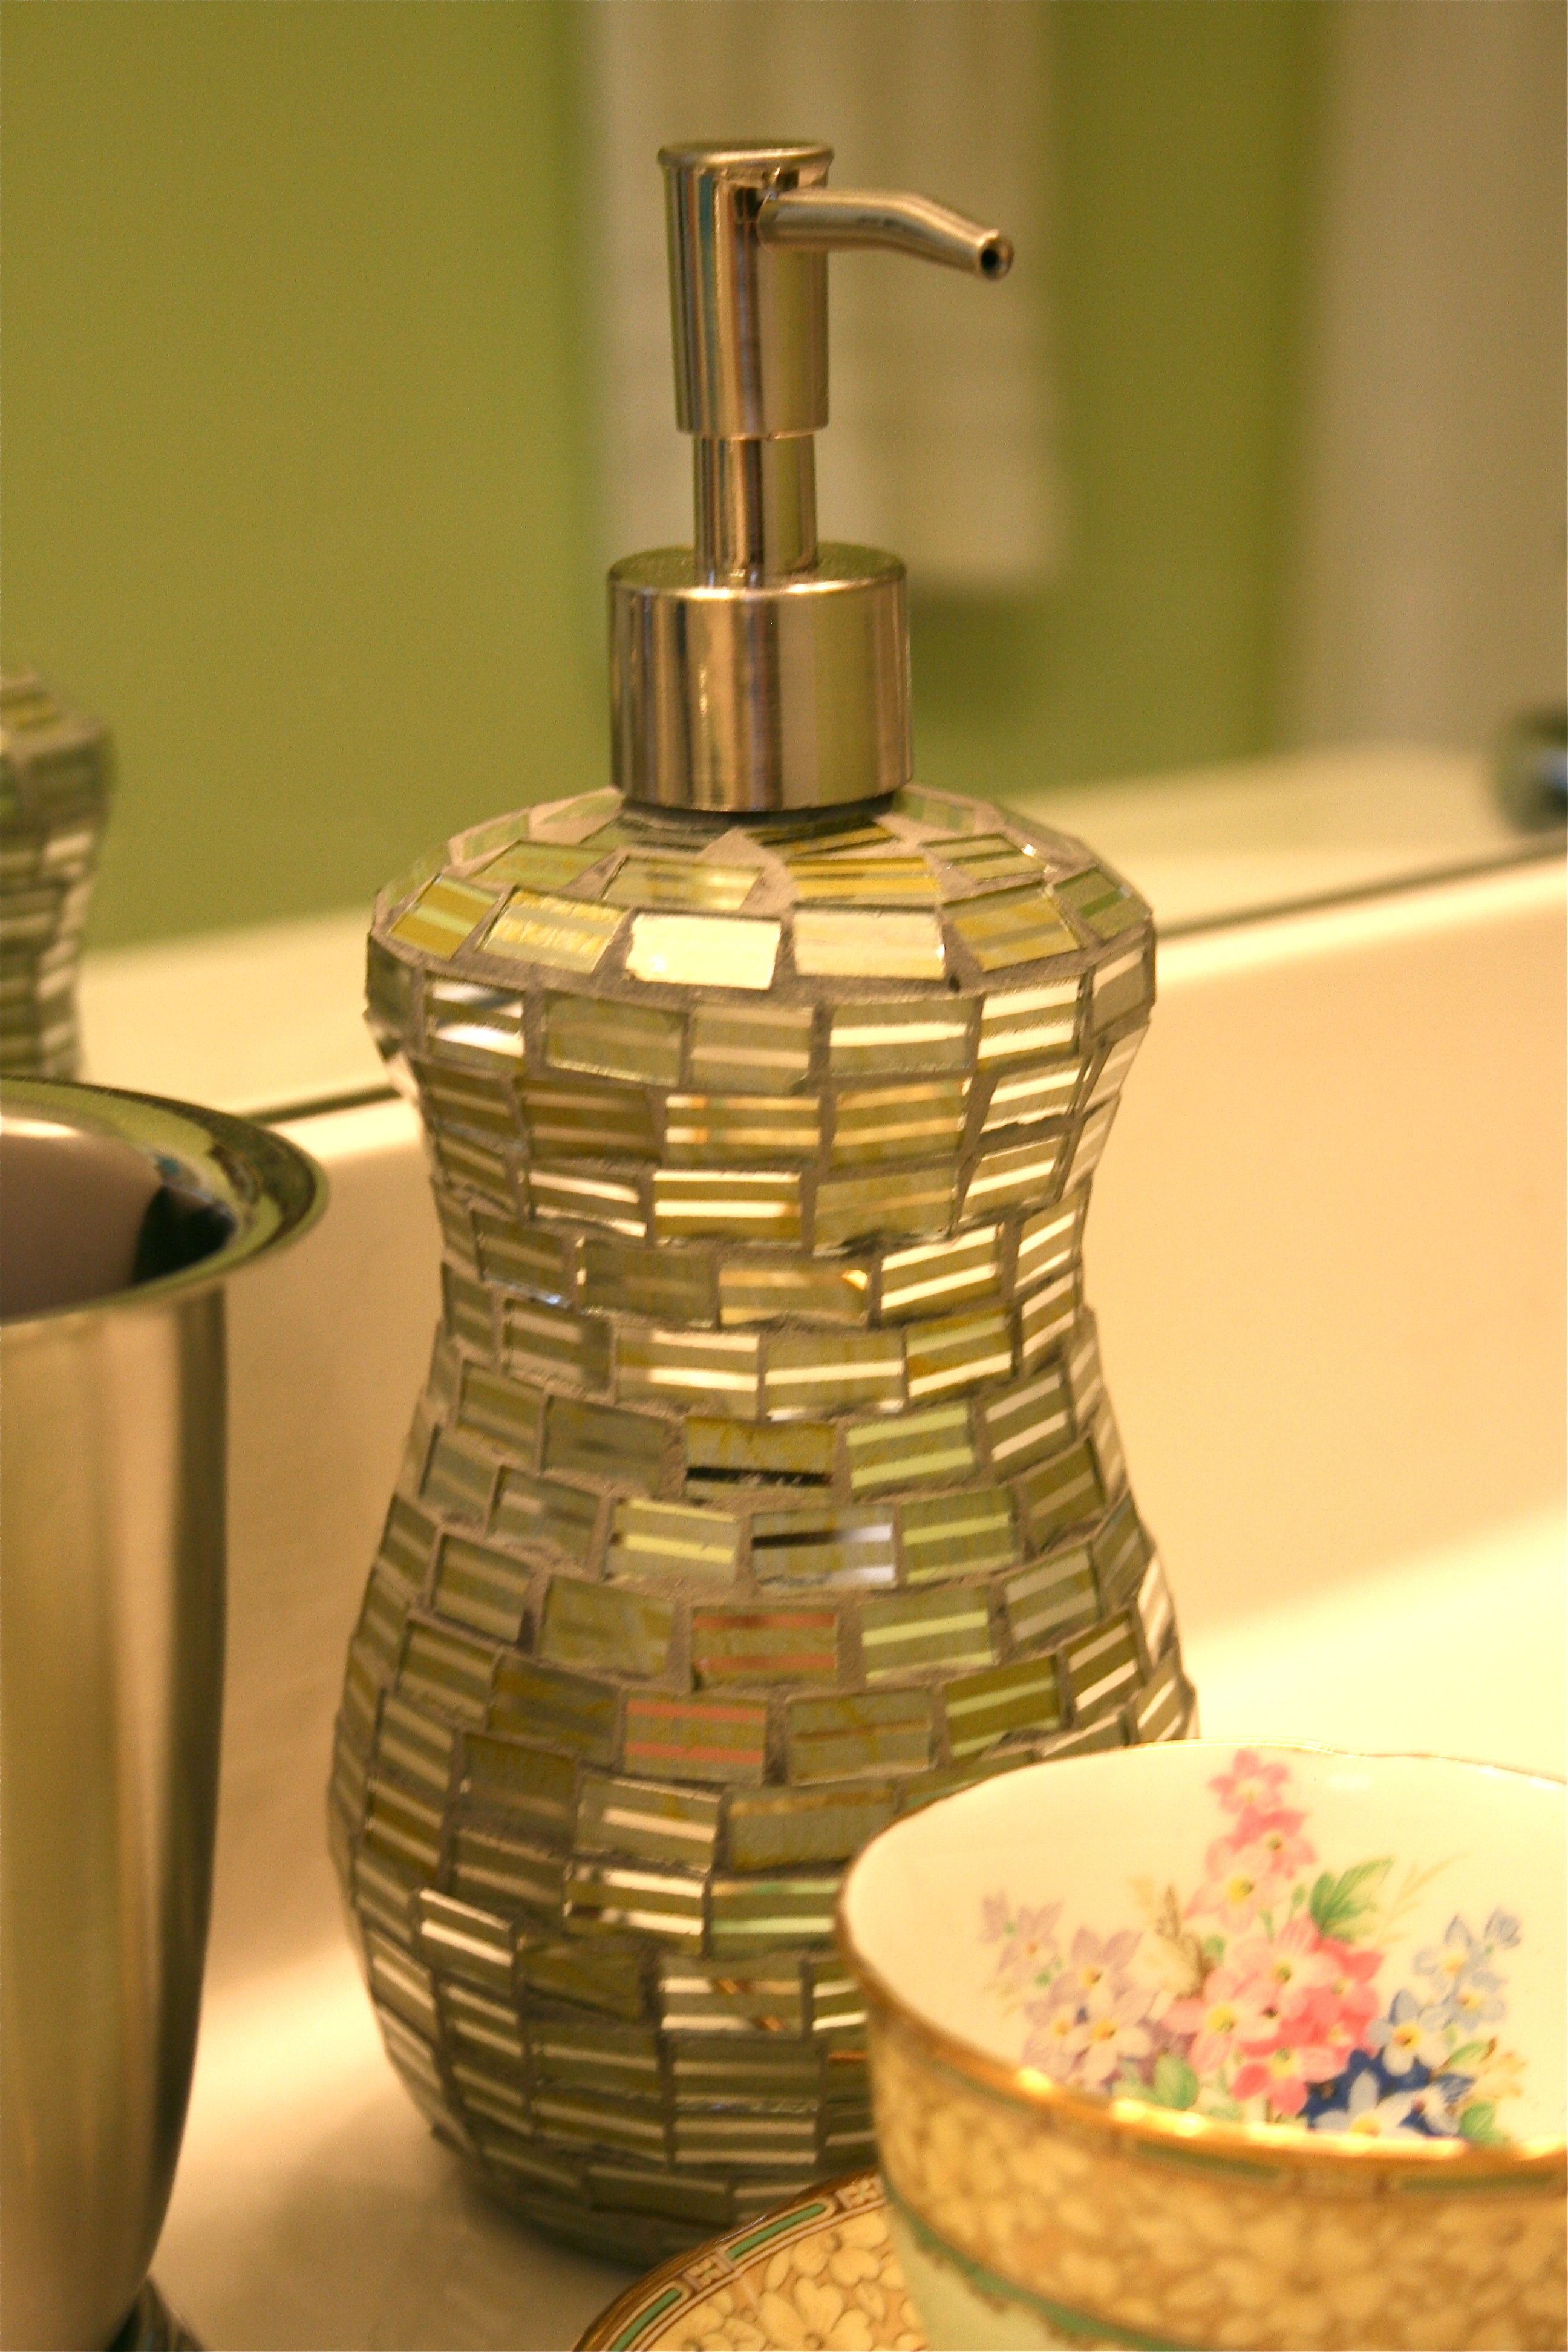
For the countertop, I wanted to add a touch of style so I placed a stainless steel toothbrush/toothpaste holder between the sinks along with a new tiled soap dispenser – I recently grabbed the tip from Yellow Brick Home to use a reusable soap dispenser to gain back those minutes loitering in the plastic soap pump aisle trying to find one that looks okay but also has sweet-smelling soap to boot. I’m pretty sure I’ve wasted enough time on that decision…I’ve taken the guess work out with this pretty green dispenser (that was on super clearance at the store and cost about as much as the ugly plastic guys you’ll end up throwing away – WOO to the WOOT!).
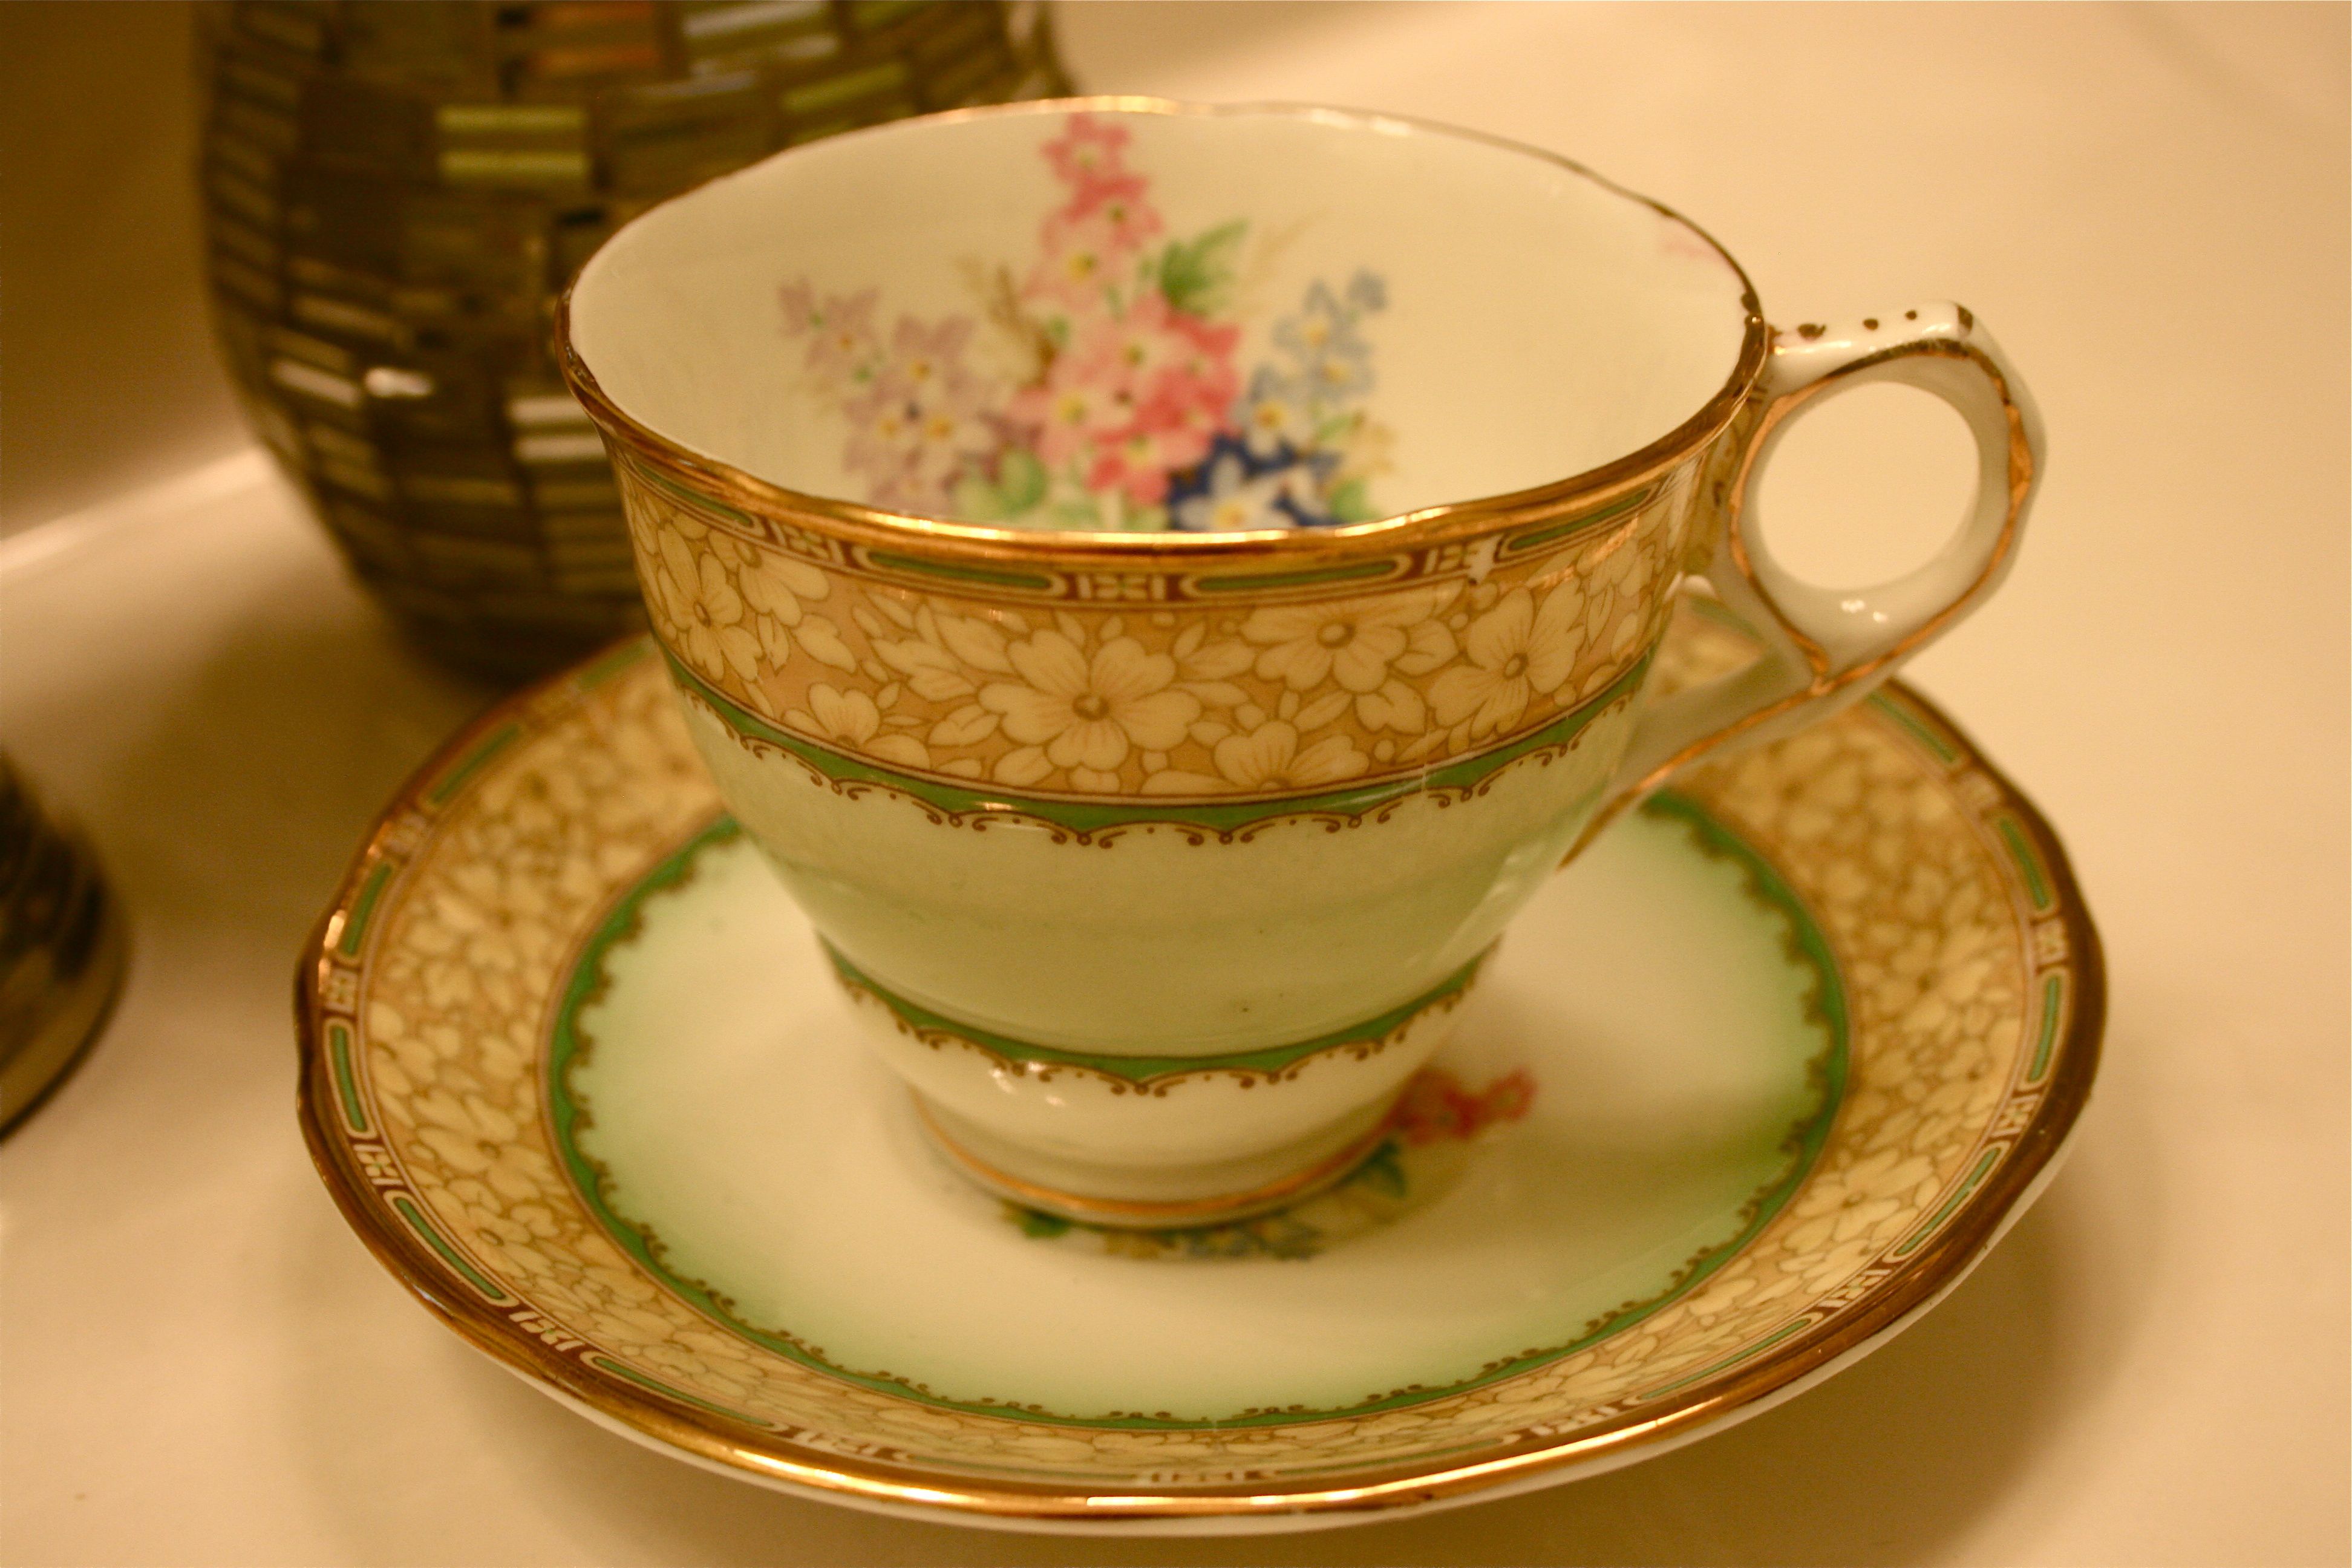
You may be wondering about the tea cup…Well whenever I have a headache and need to gulp down a pill (happens more often then I’d like) or just need a drink of water in the middle of the night, why not have a pretty decorative vessel to swig from?? This one was a gift from my grandmother and looks sweet as ever sitting in the matching green room.
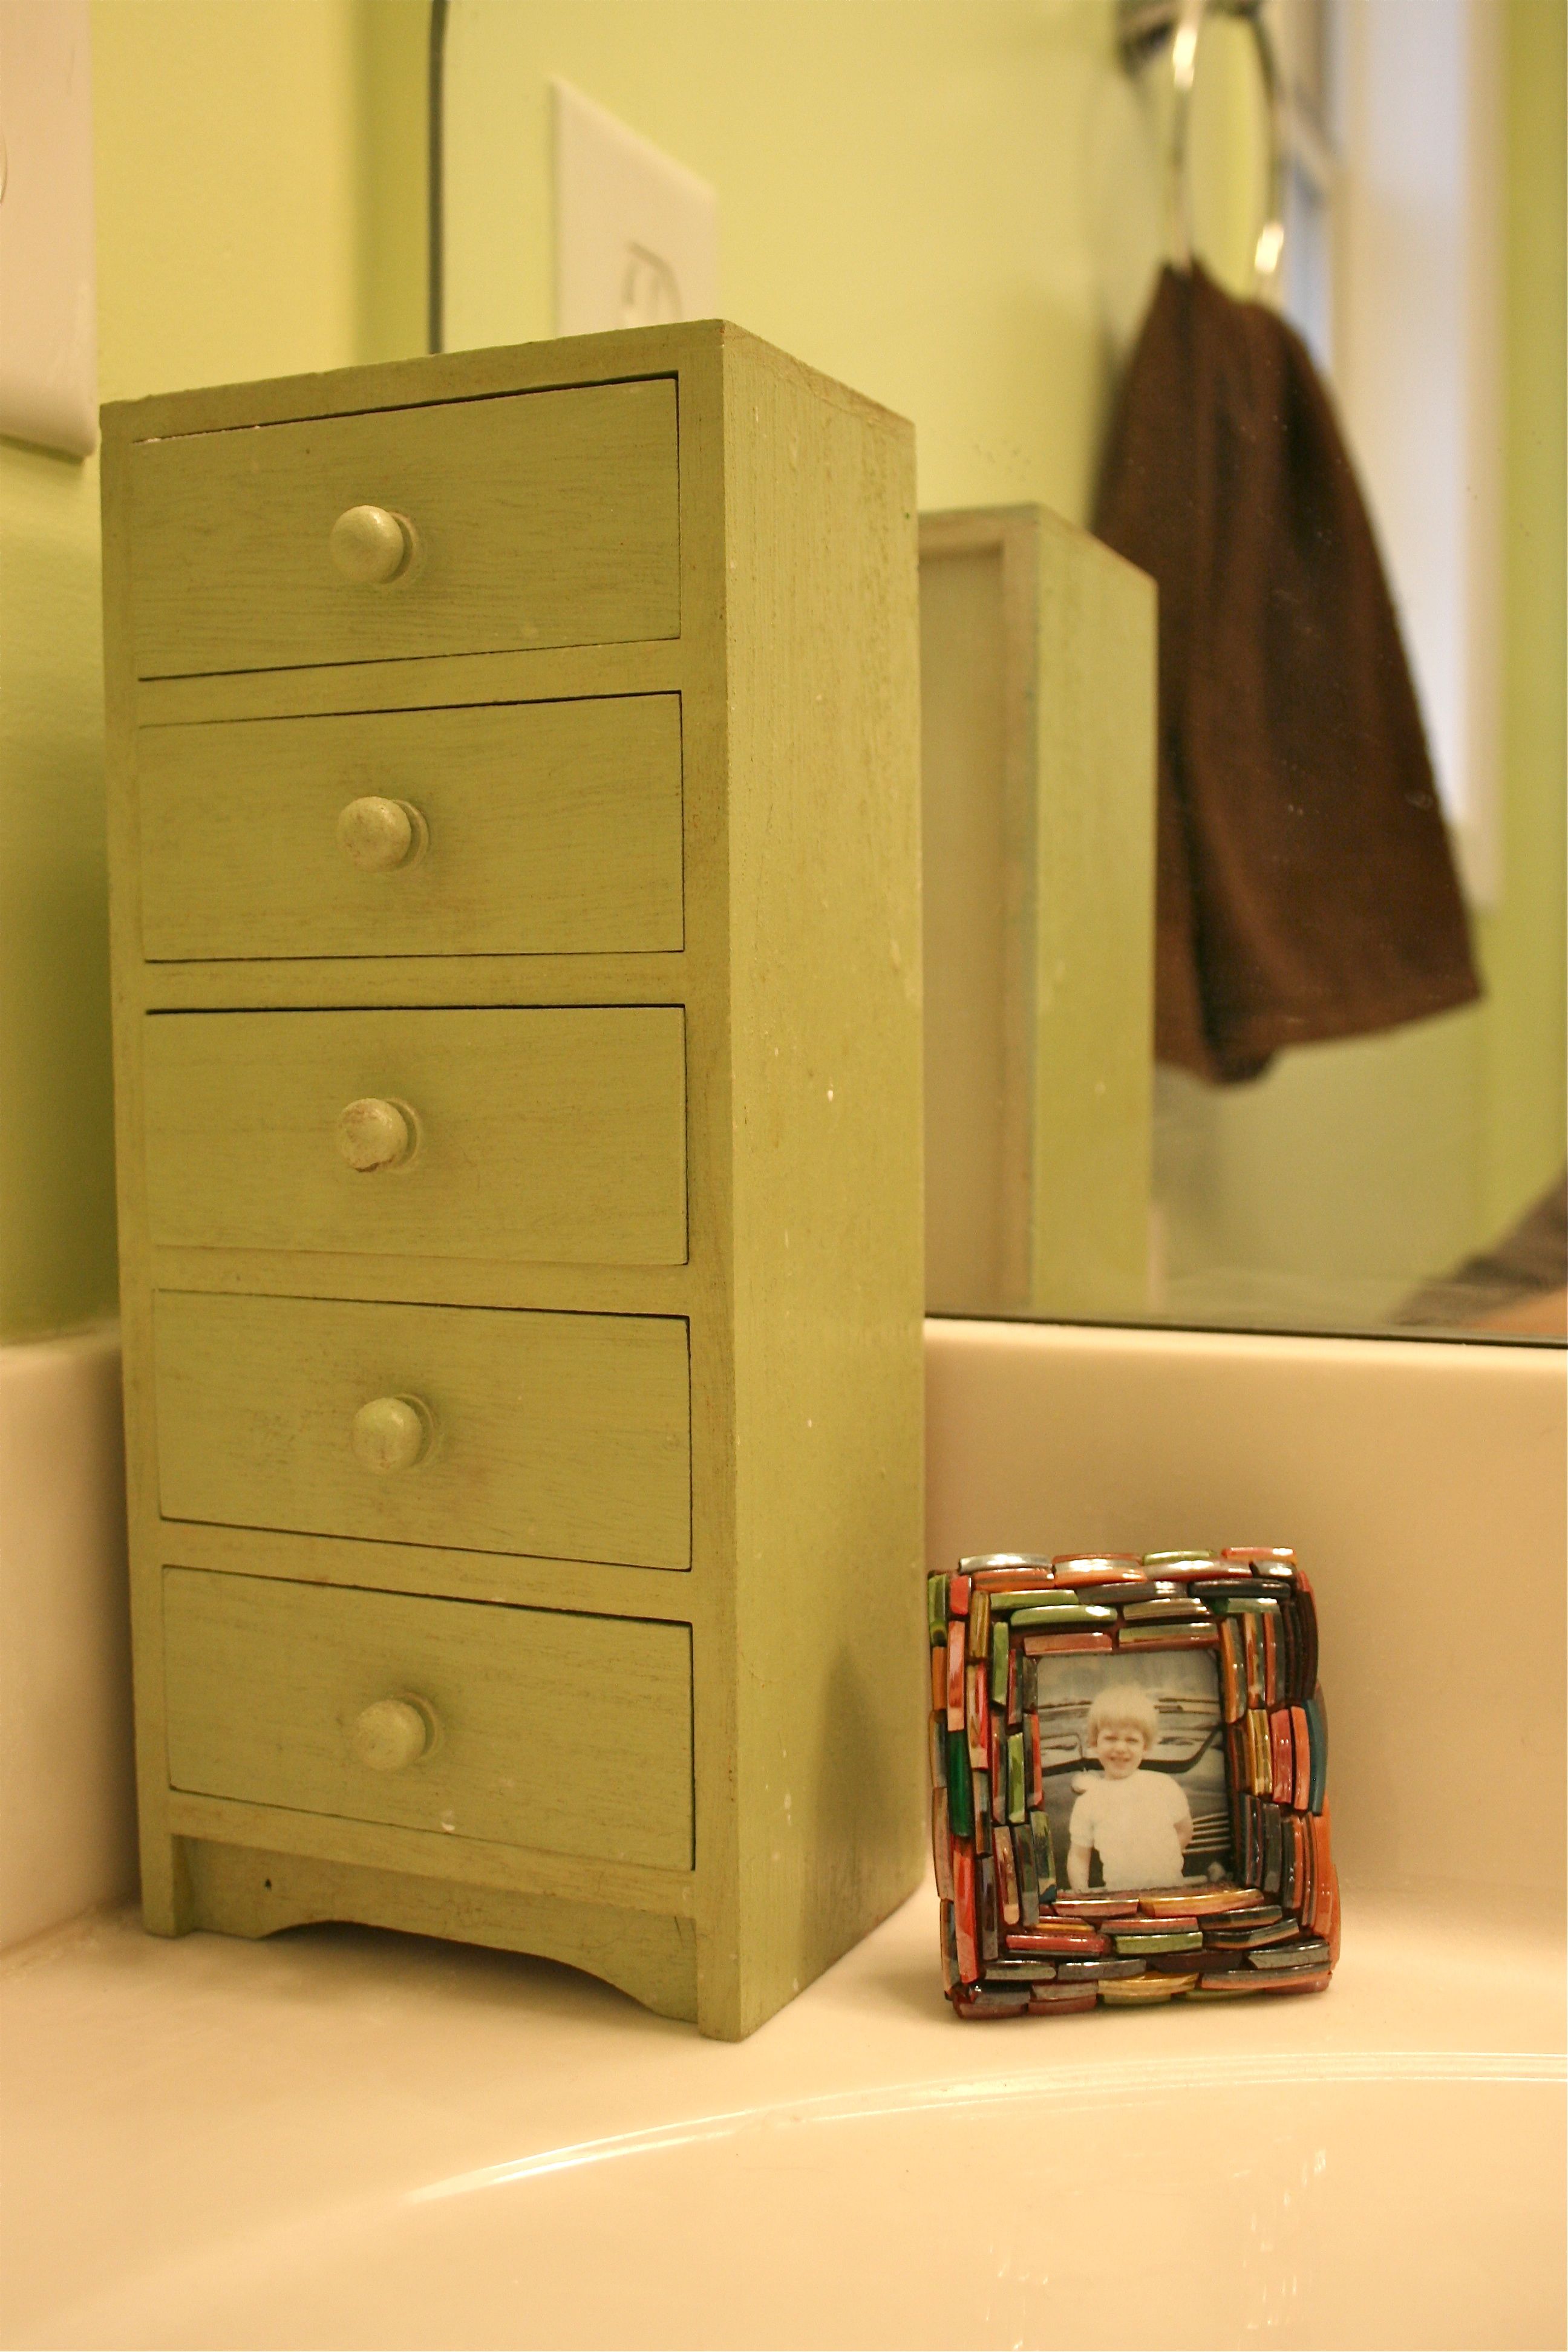
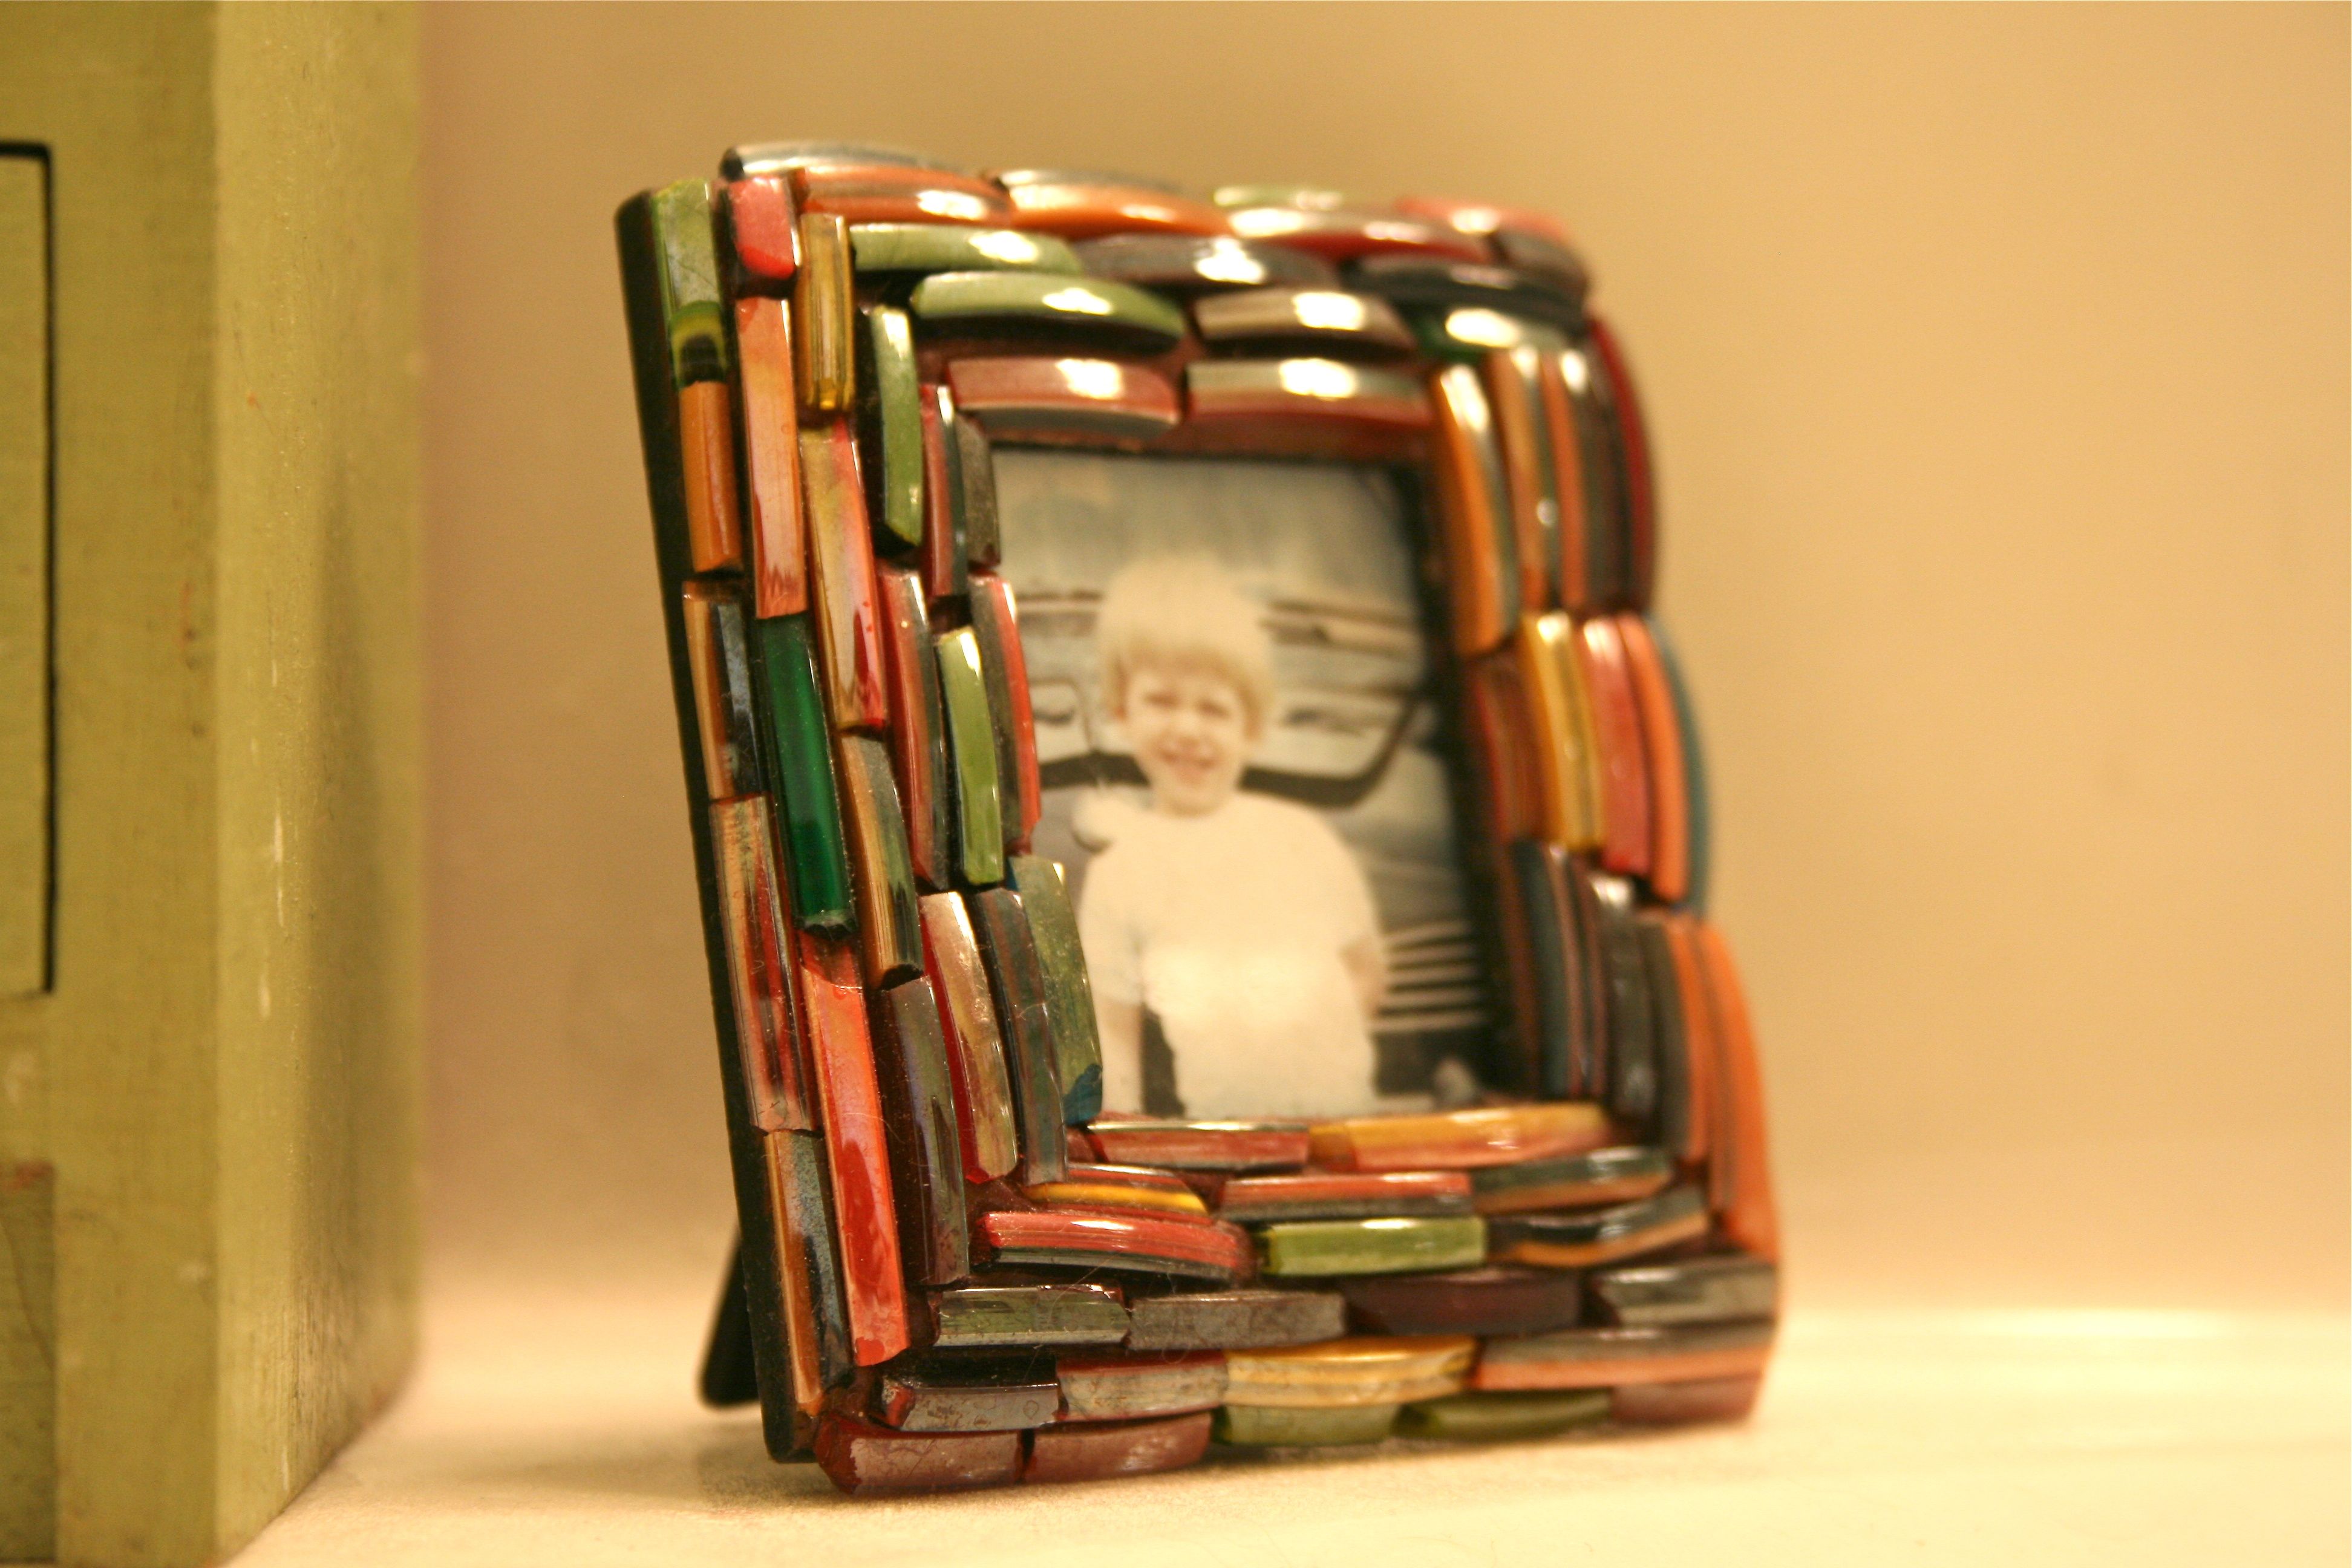
The only other things on the counter are my ring organizer (a wooden box with drawers I picked up from a craft store a couple of years ago and painted green) and a little framed photo of John when he was a kid. His mom sent the picture to me in the Spring and I’ve been looking for a place to display it – This was JUST the spot! The frame was also a gift from his mom, so it seemed doubly fitting.
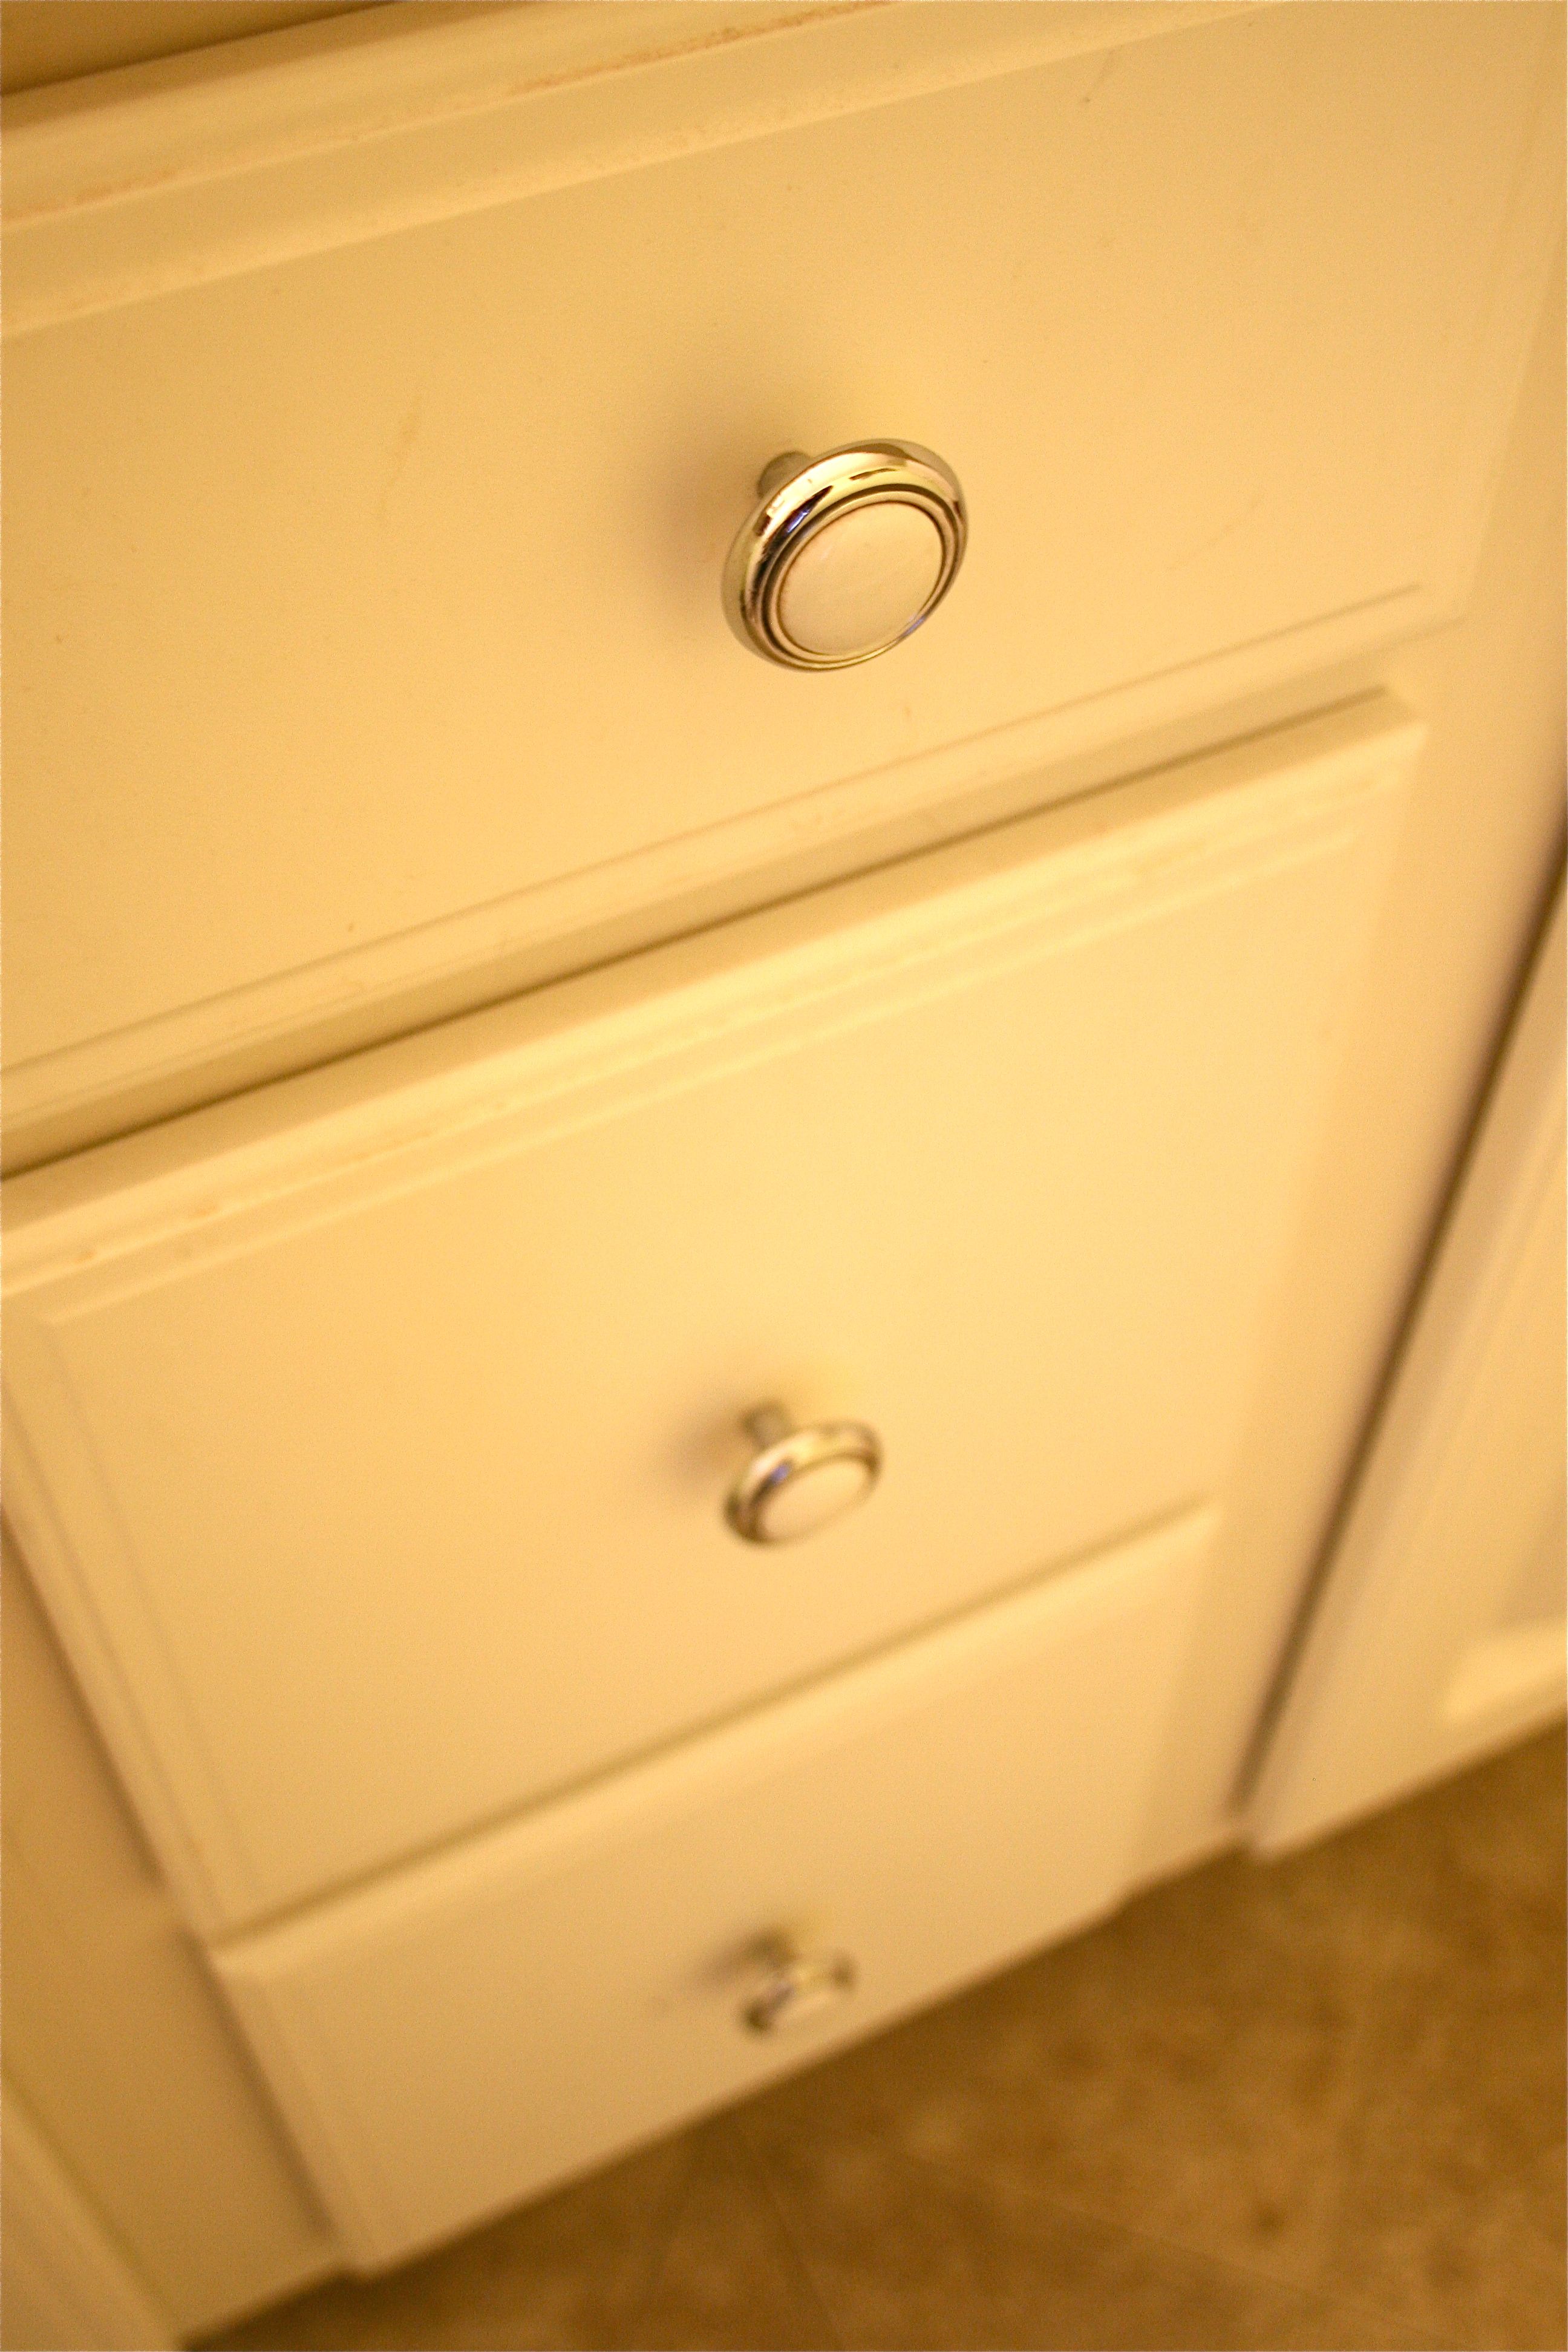
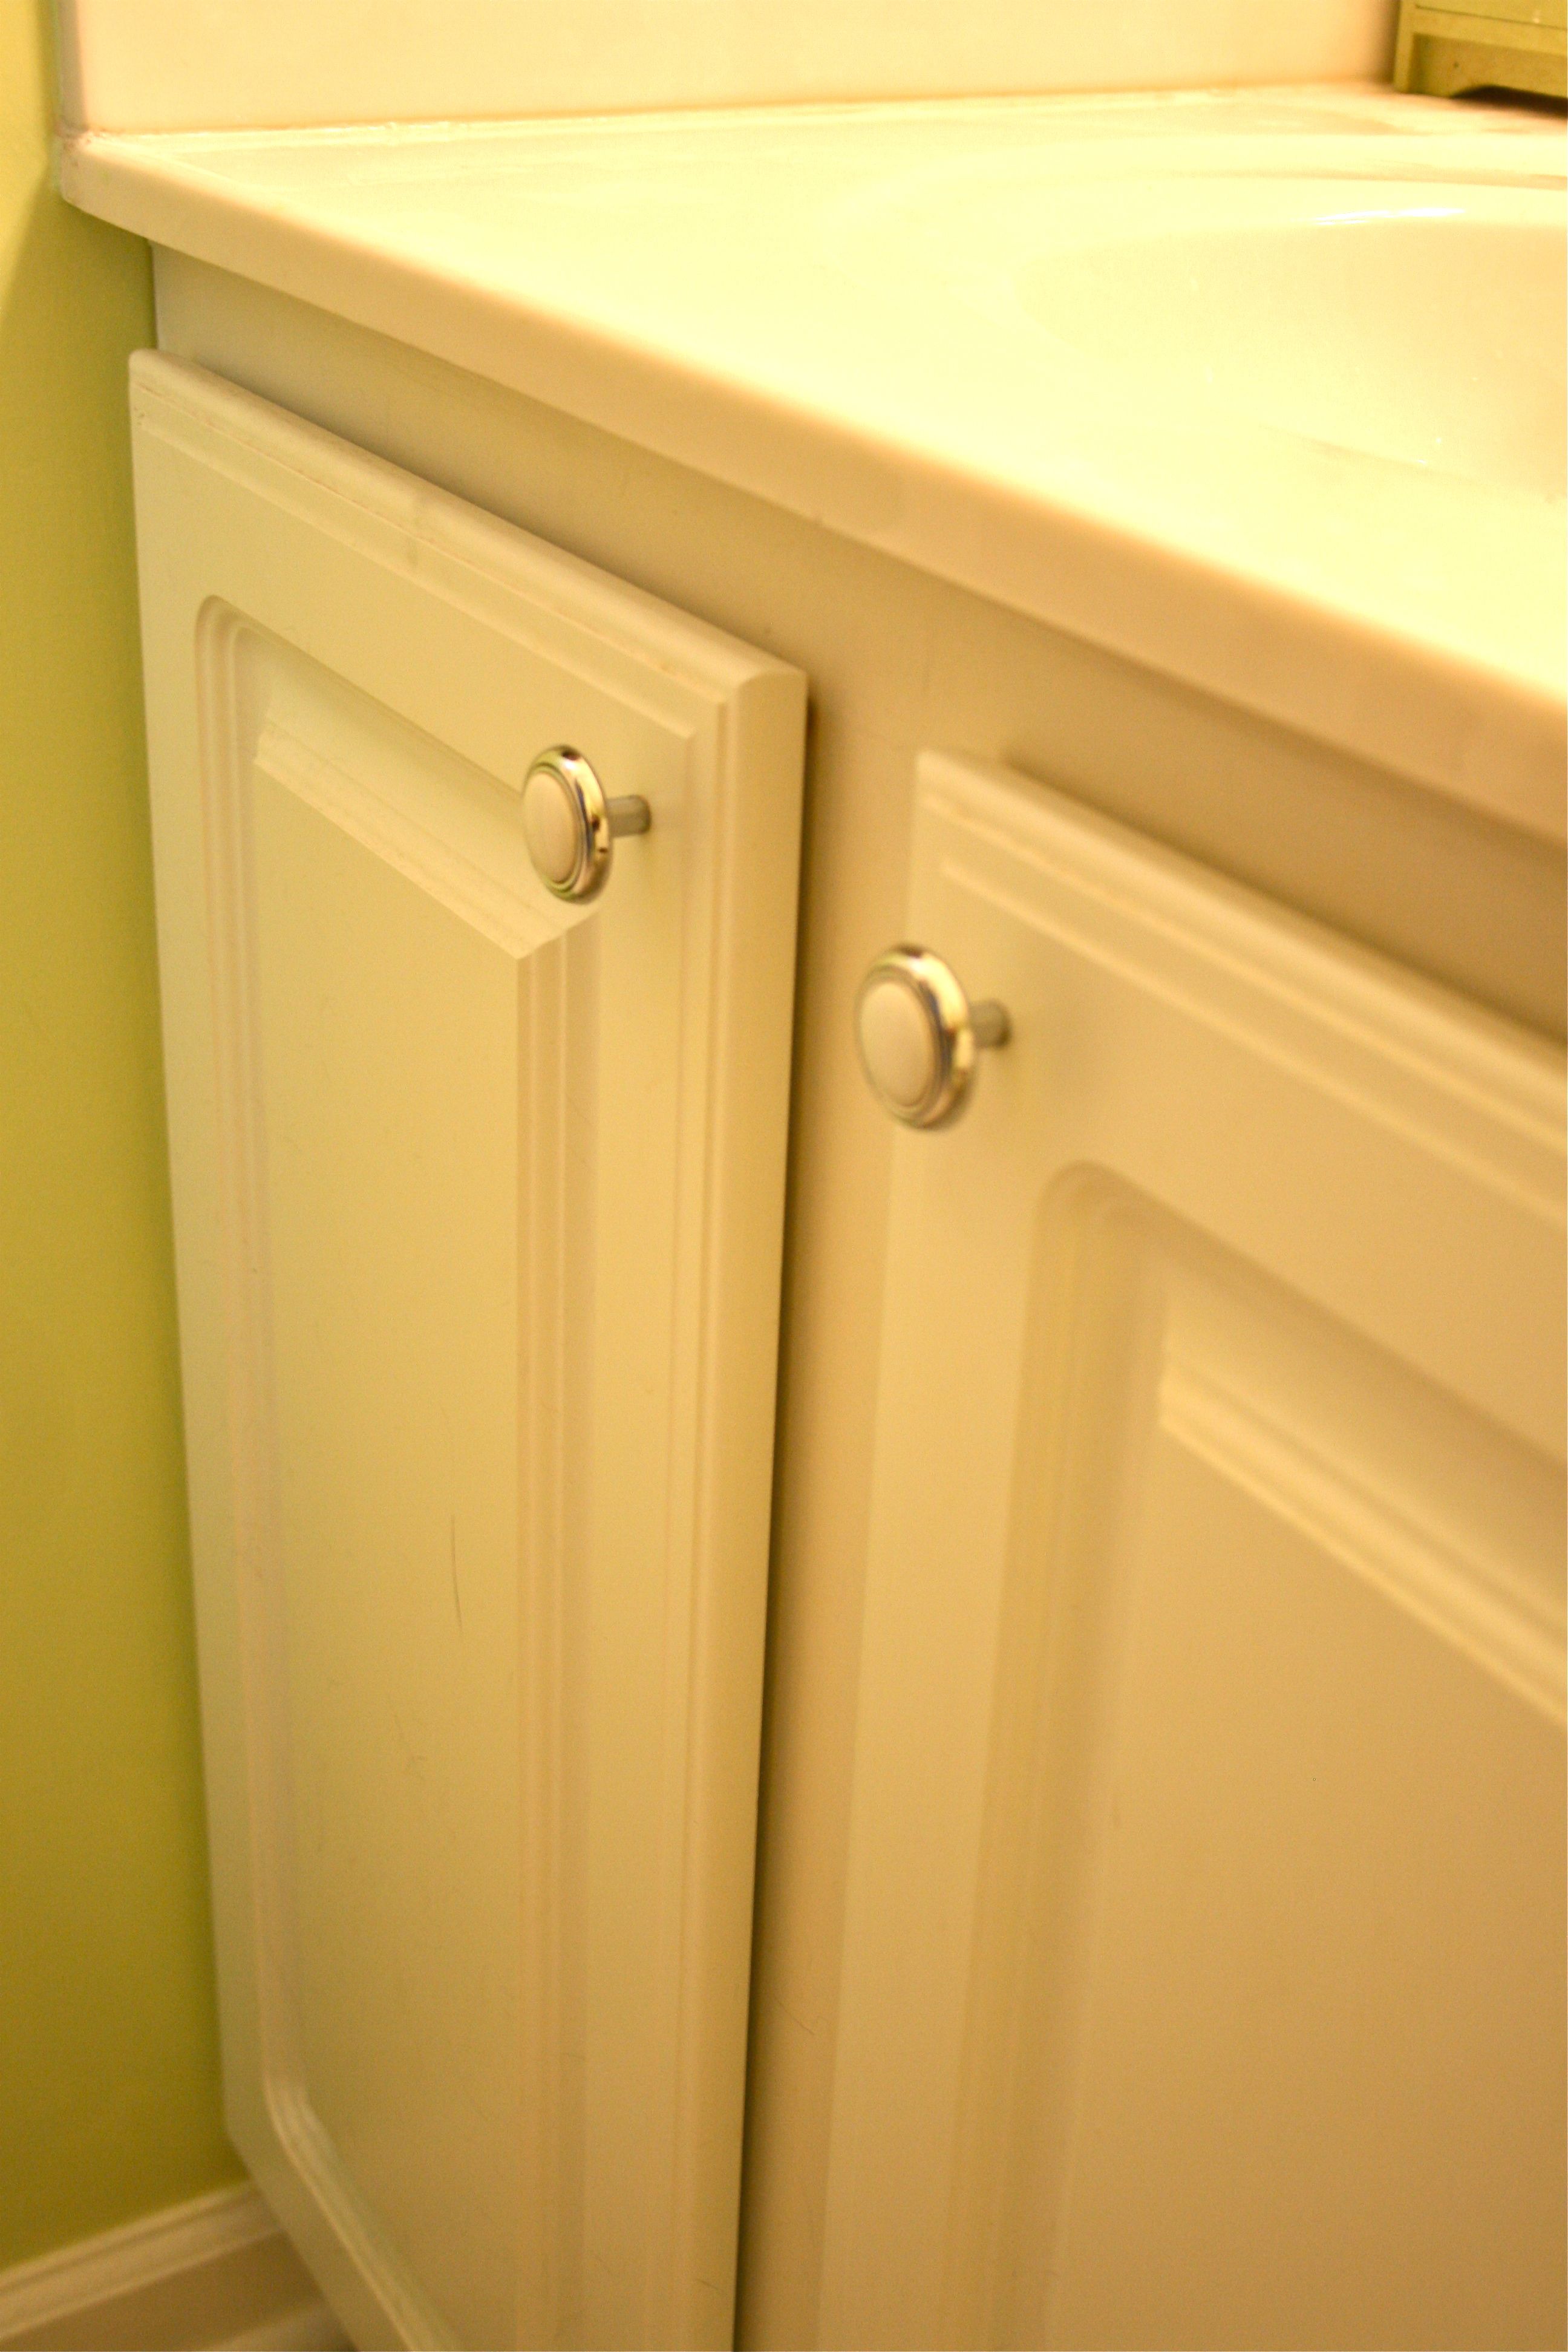
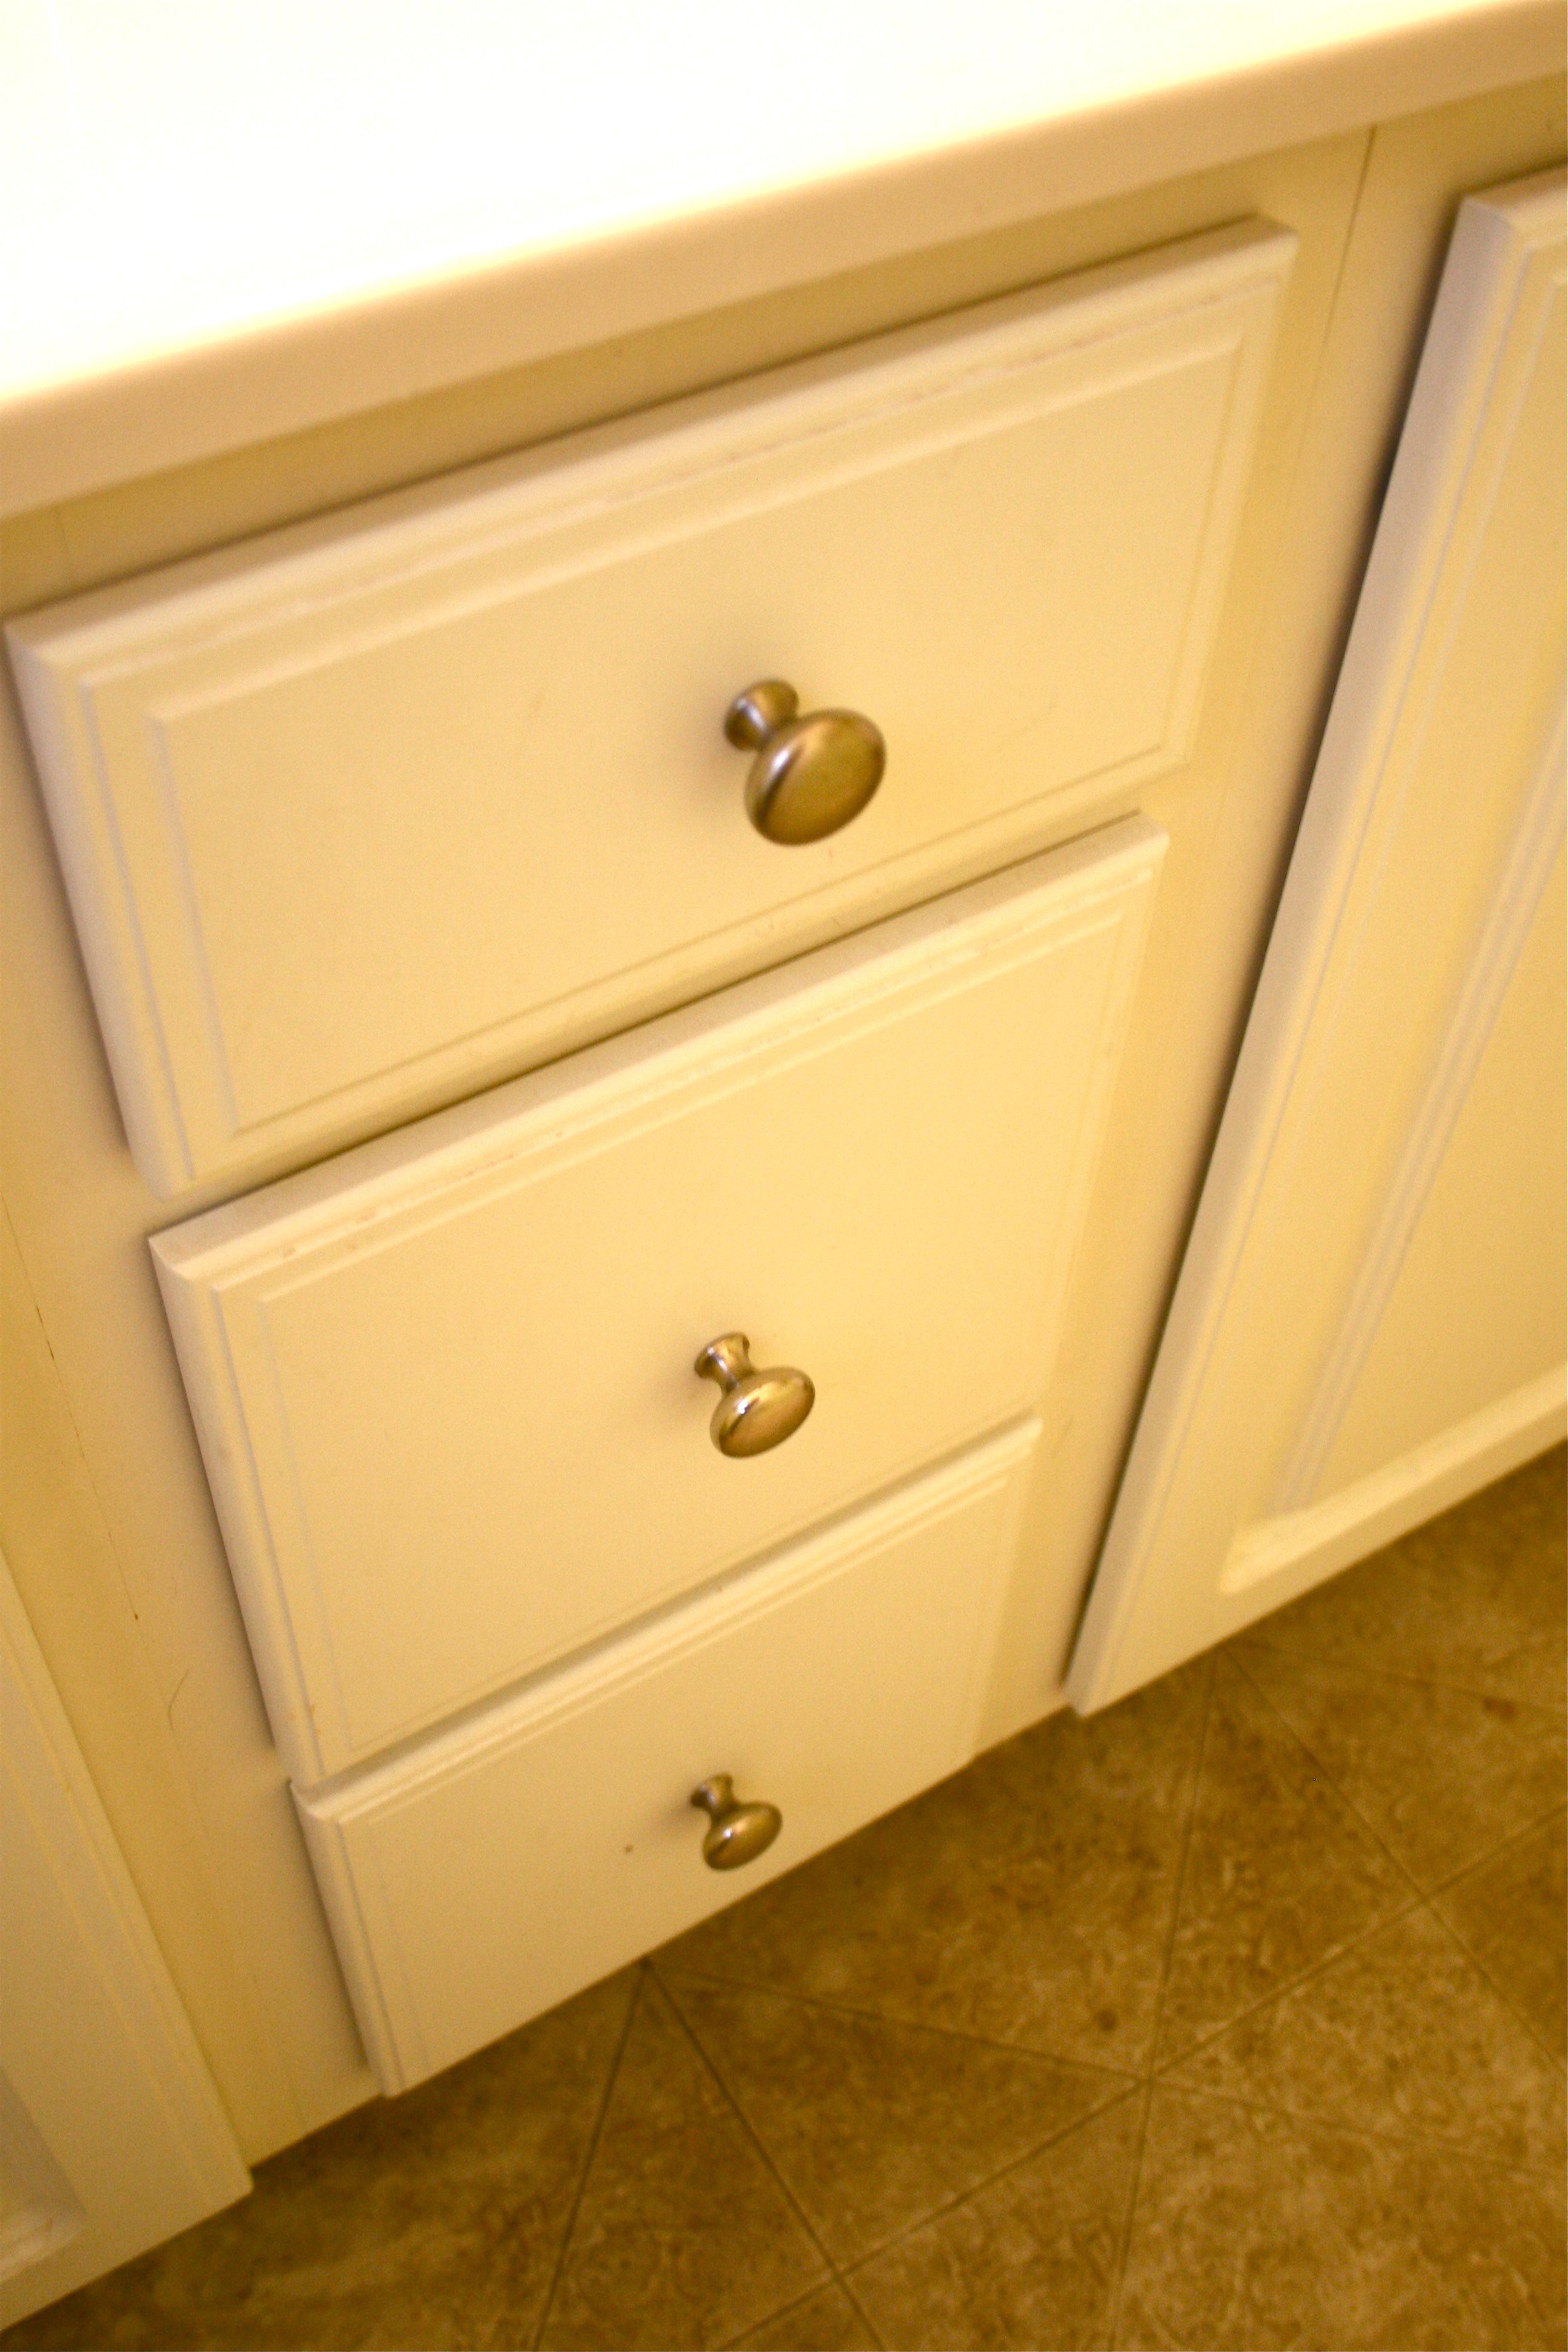
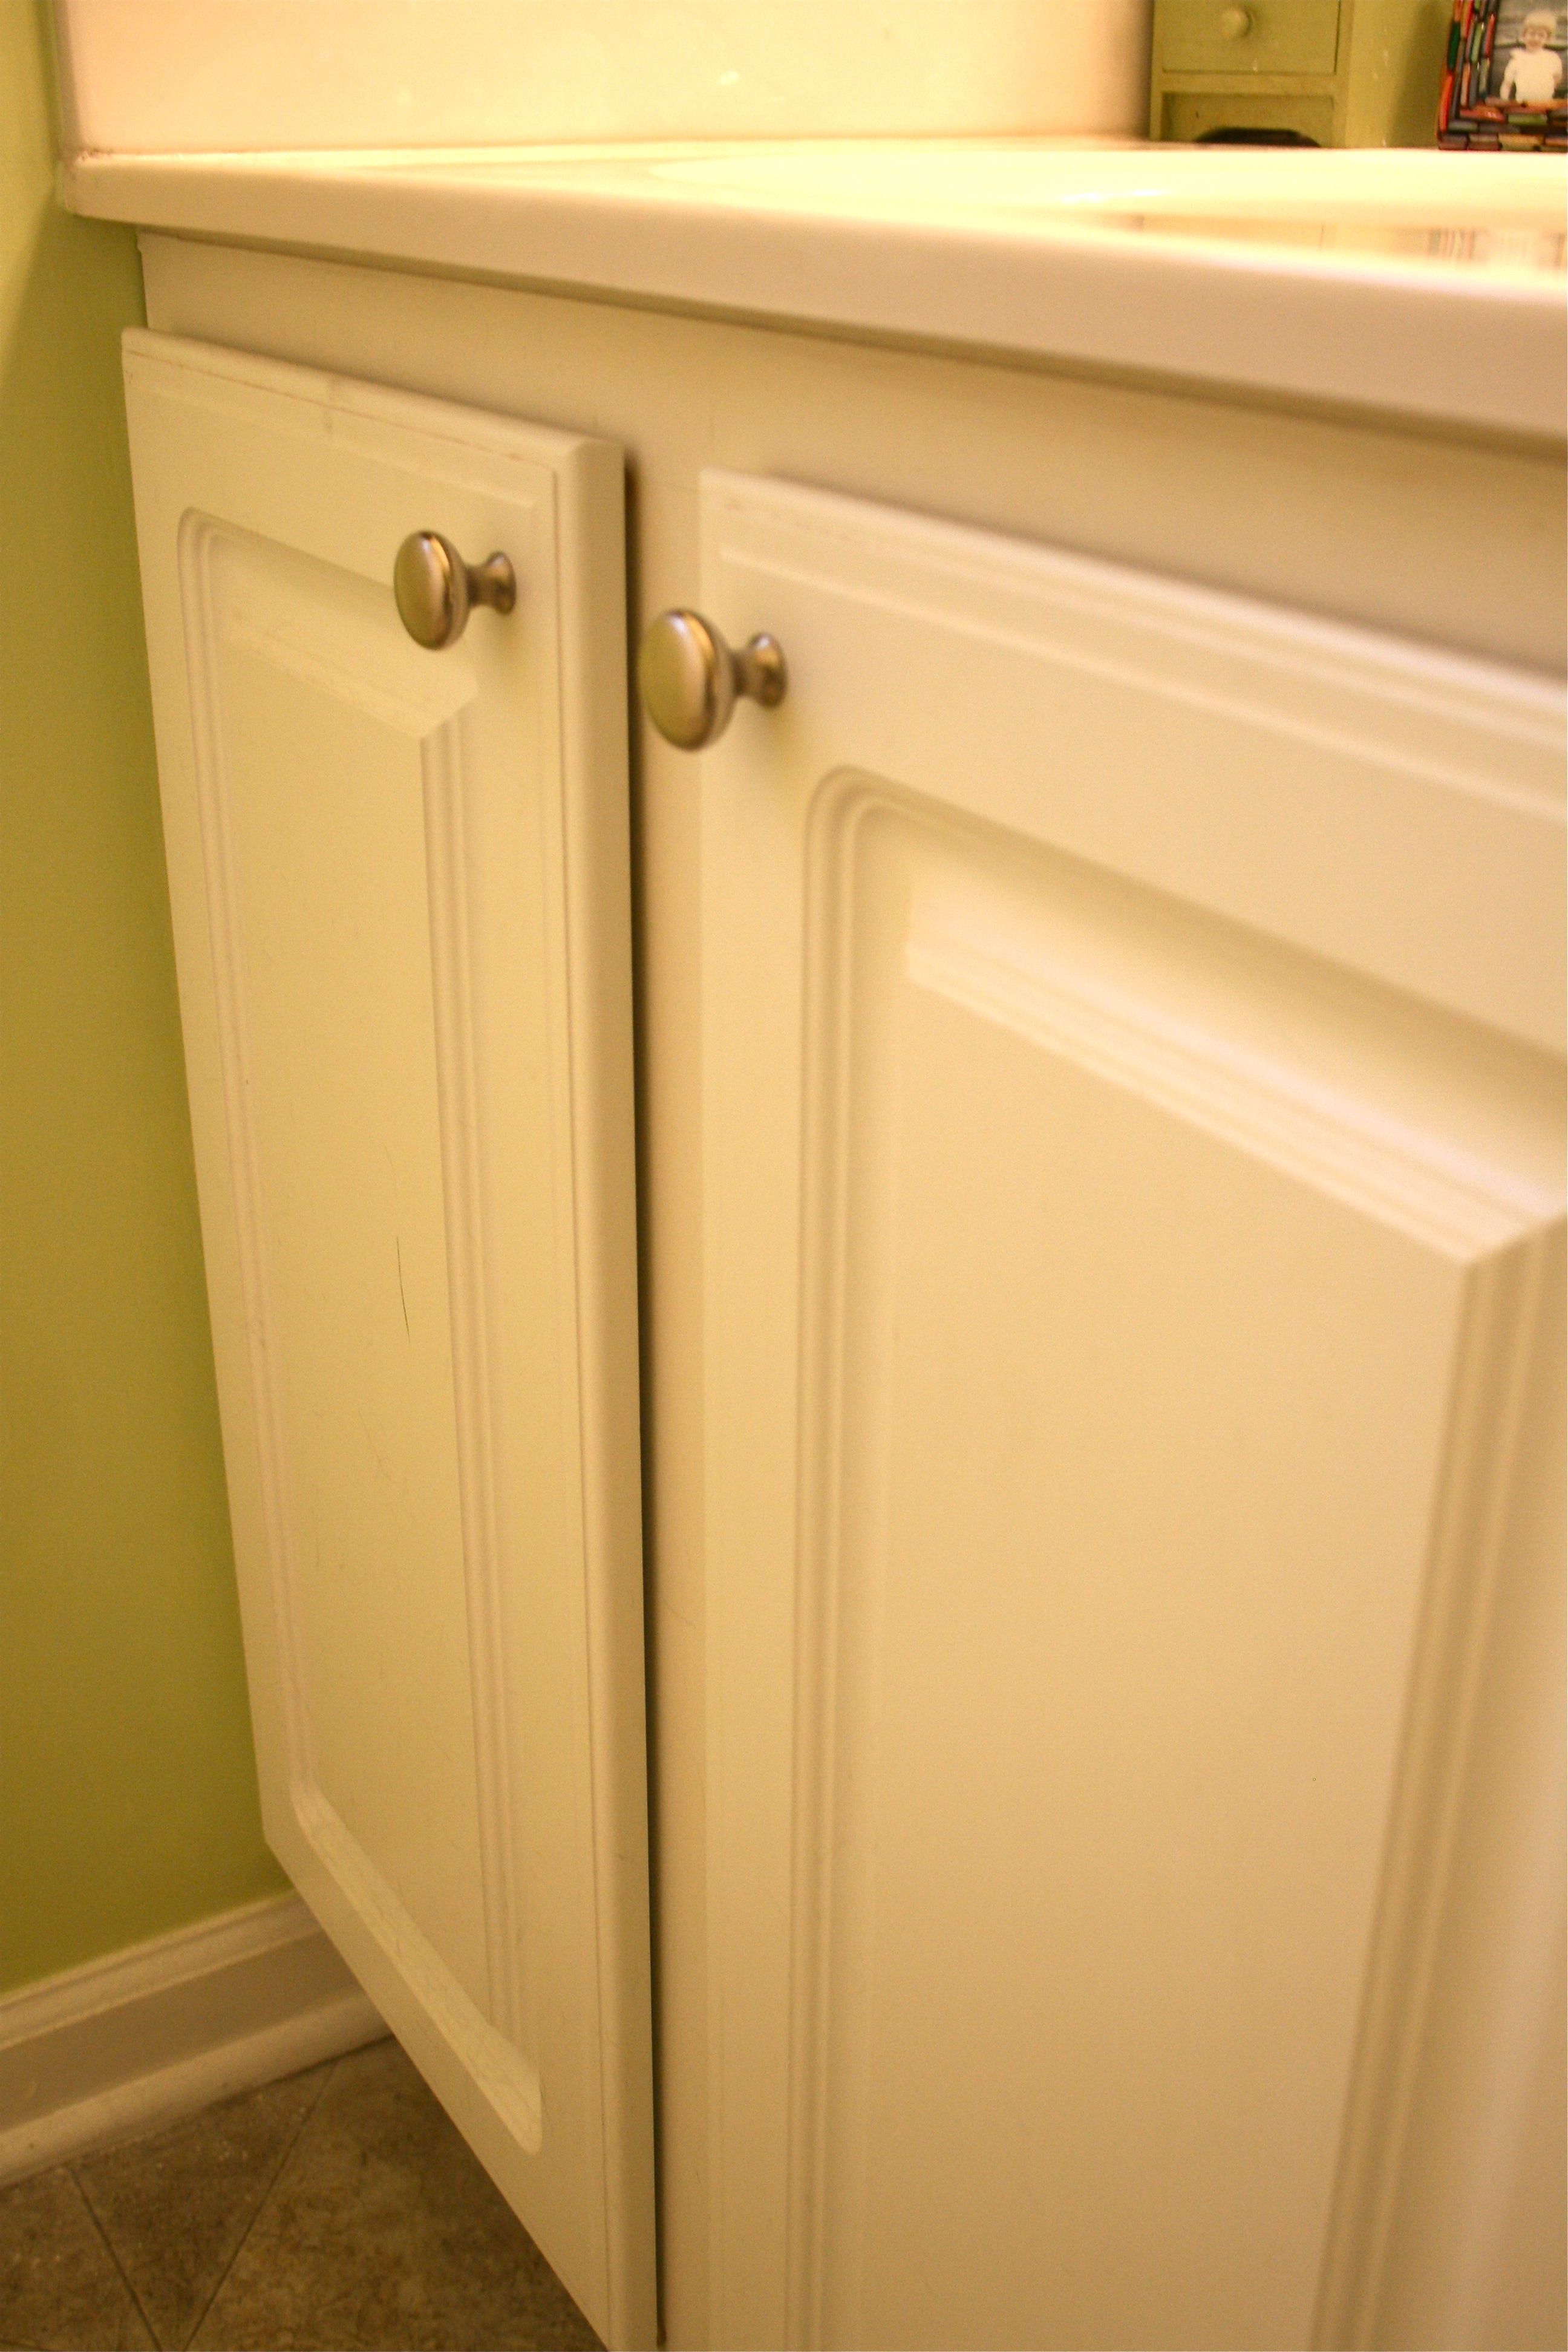
The last update was the hardware – Before, the drawer and cabinet door pulls were a little traditional for our tastes…Luckily we are gearing up for a big kitchen overhaul and already have new hardware to replace what’s in there now. The current cabinet pulls in the kitchen are a PERFECT update for the bathroom though, so I grabbed a few and brought them upstairs to bring the bathroom into the 21st century.
Here are the pulls before:
And now “After!”
Well there you have it! Our bathroom is feeling much brighter, more invigorating and definitely more stylish…And you won’t believe the final breakdown:
- Paint: $18
- Hardware: free (already had)
- New light fixture globes: $60 for 6
- Scrapbook paper for the artwork: $2
- Accessories (soap dispenser, 2 frames and toothbrush/toothpaste holder): $28
- TOTAL: $108
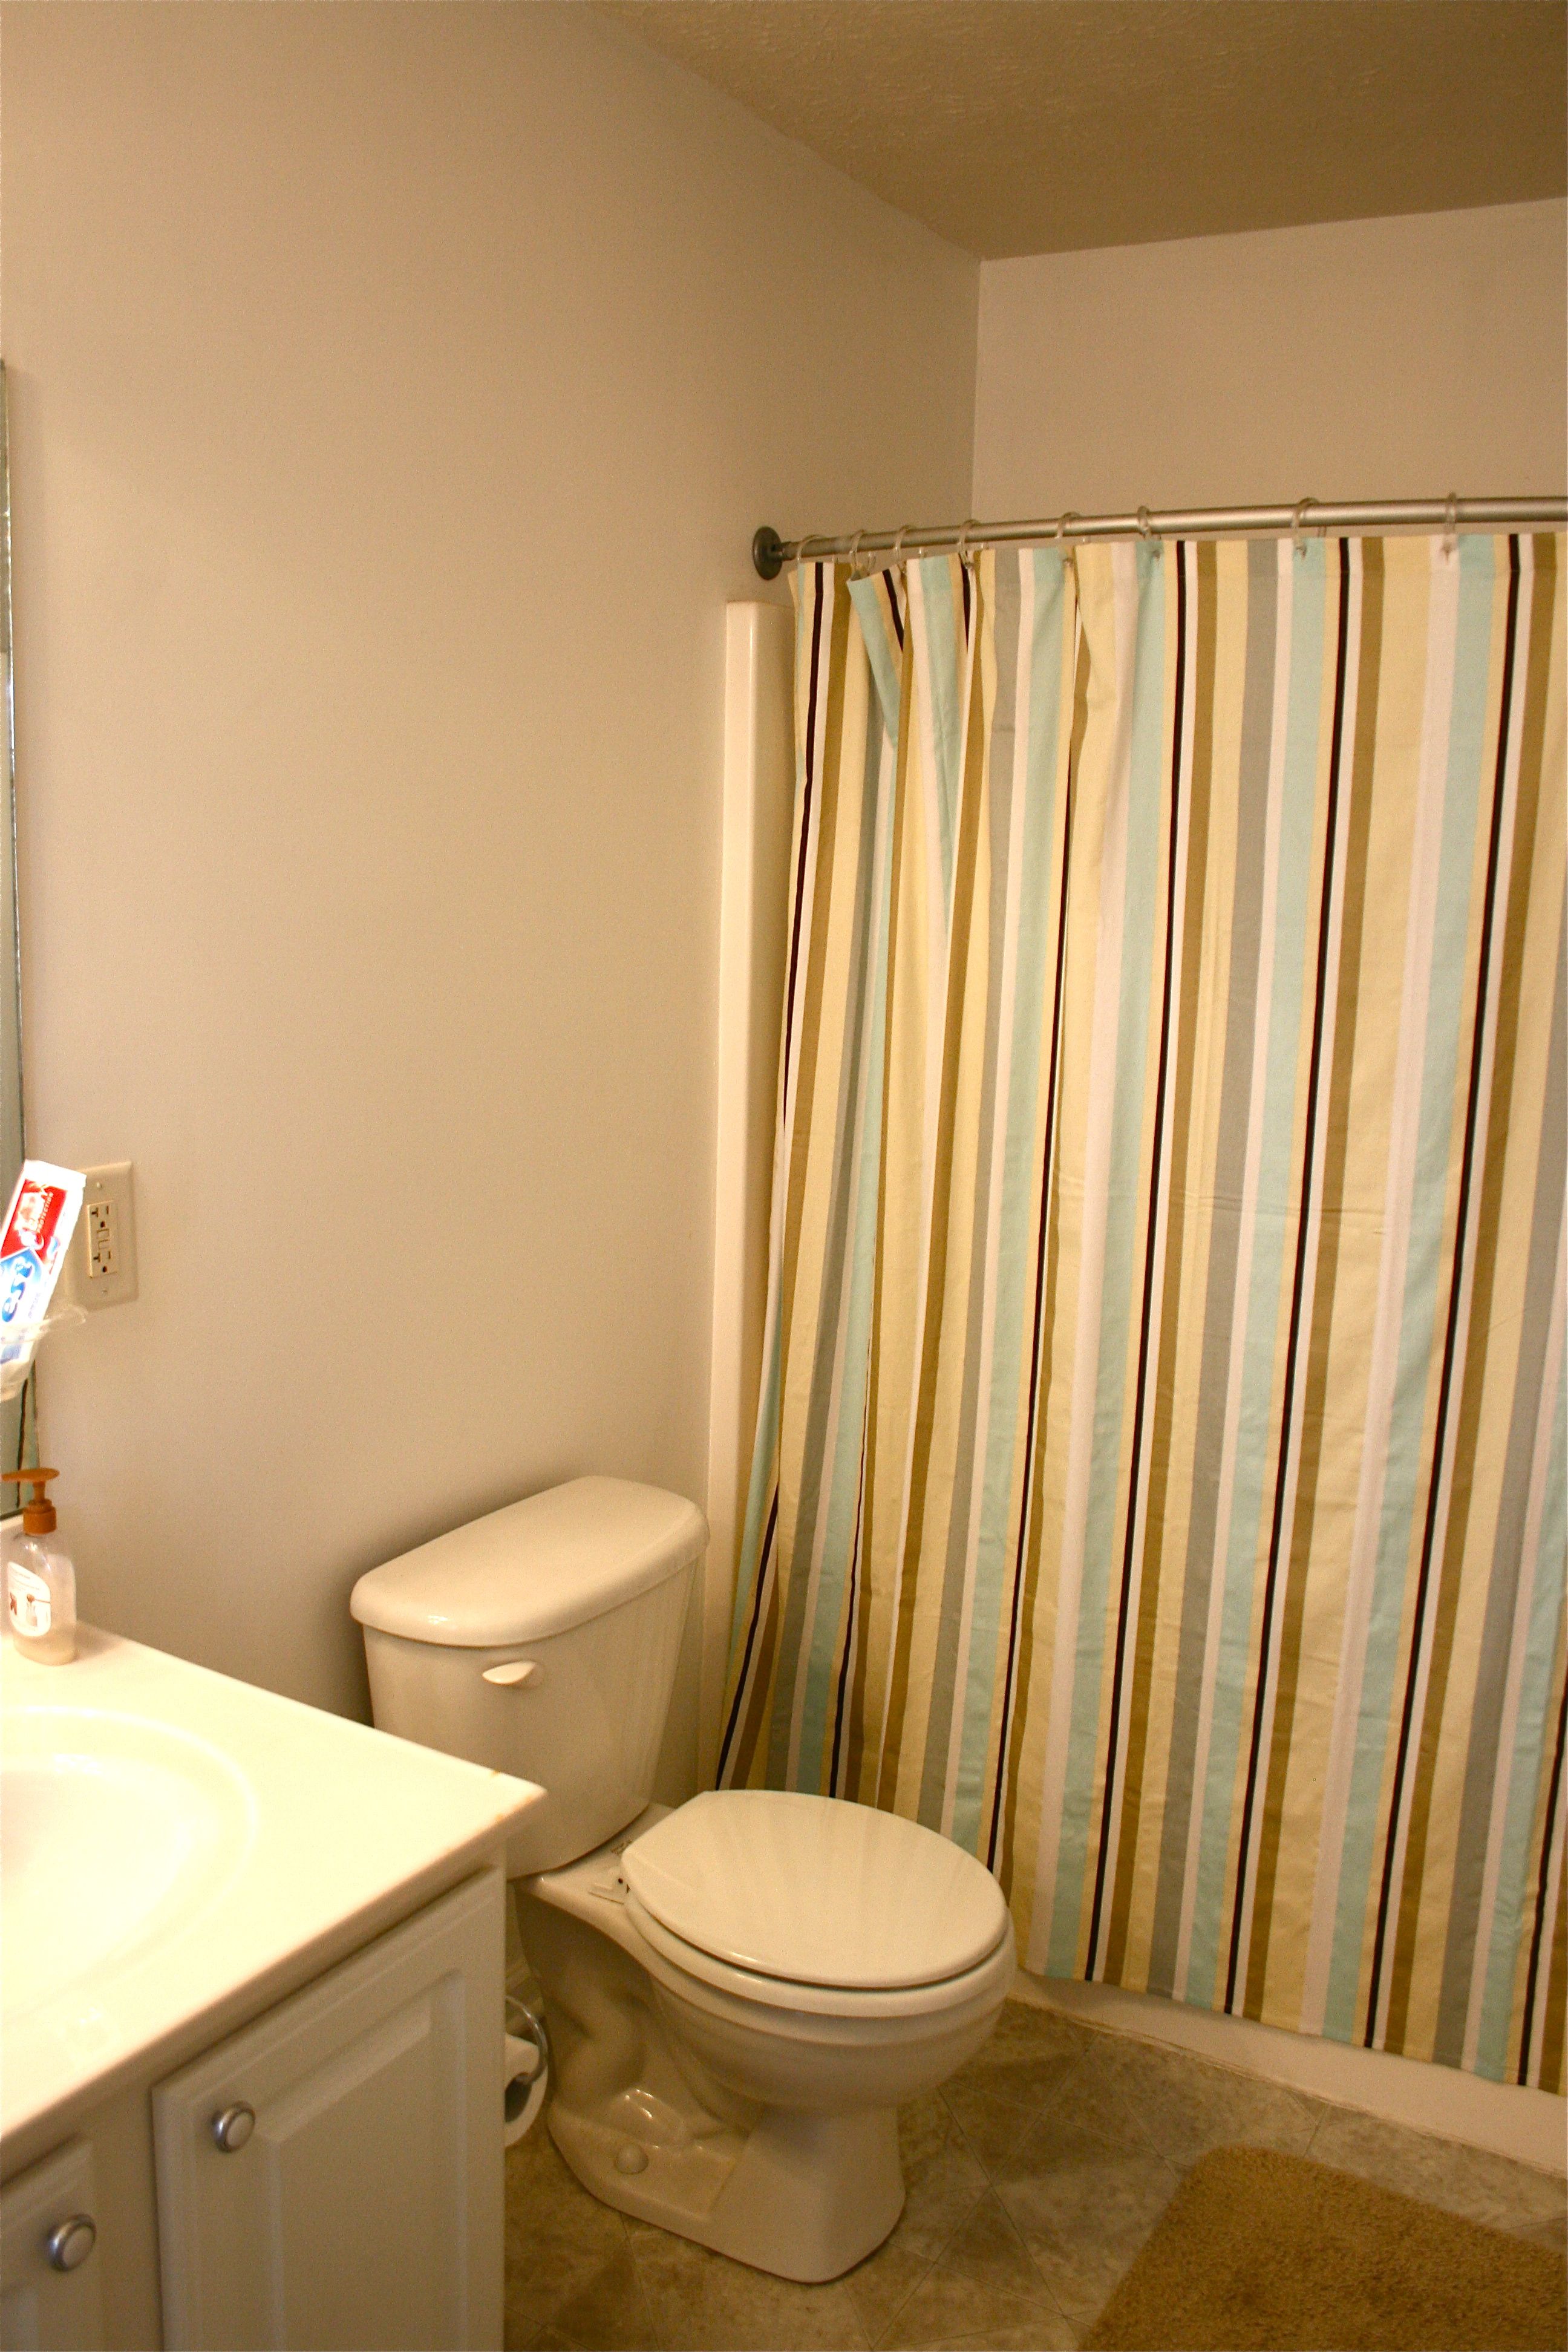
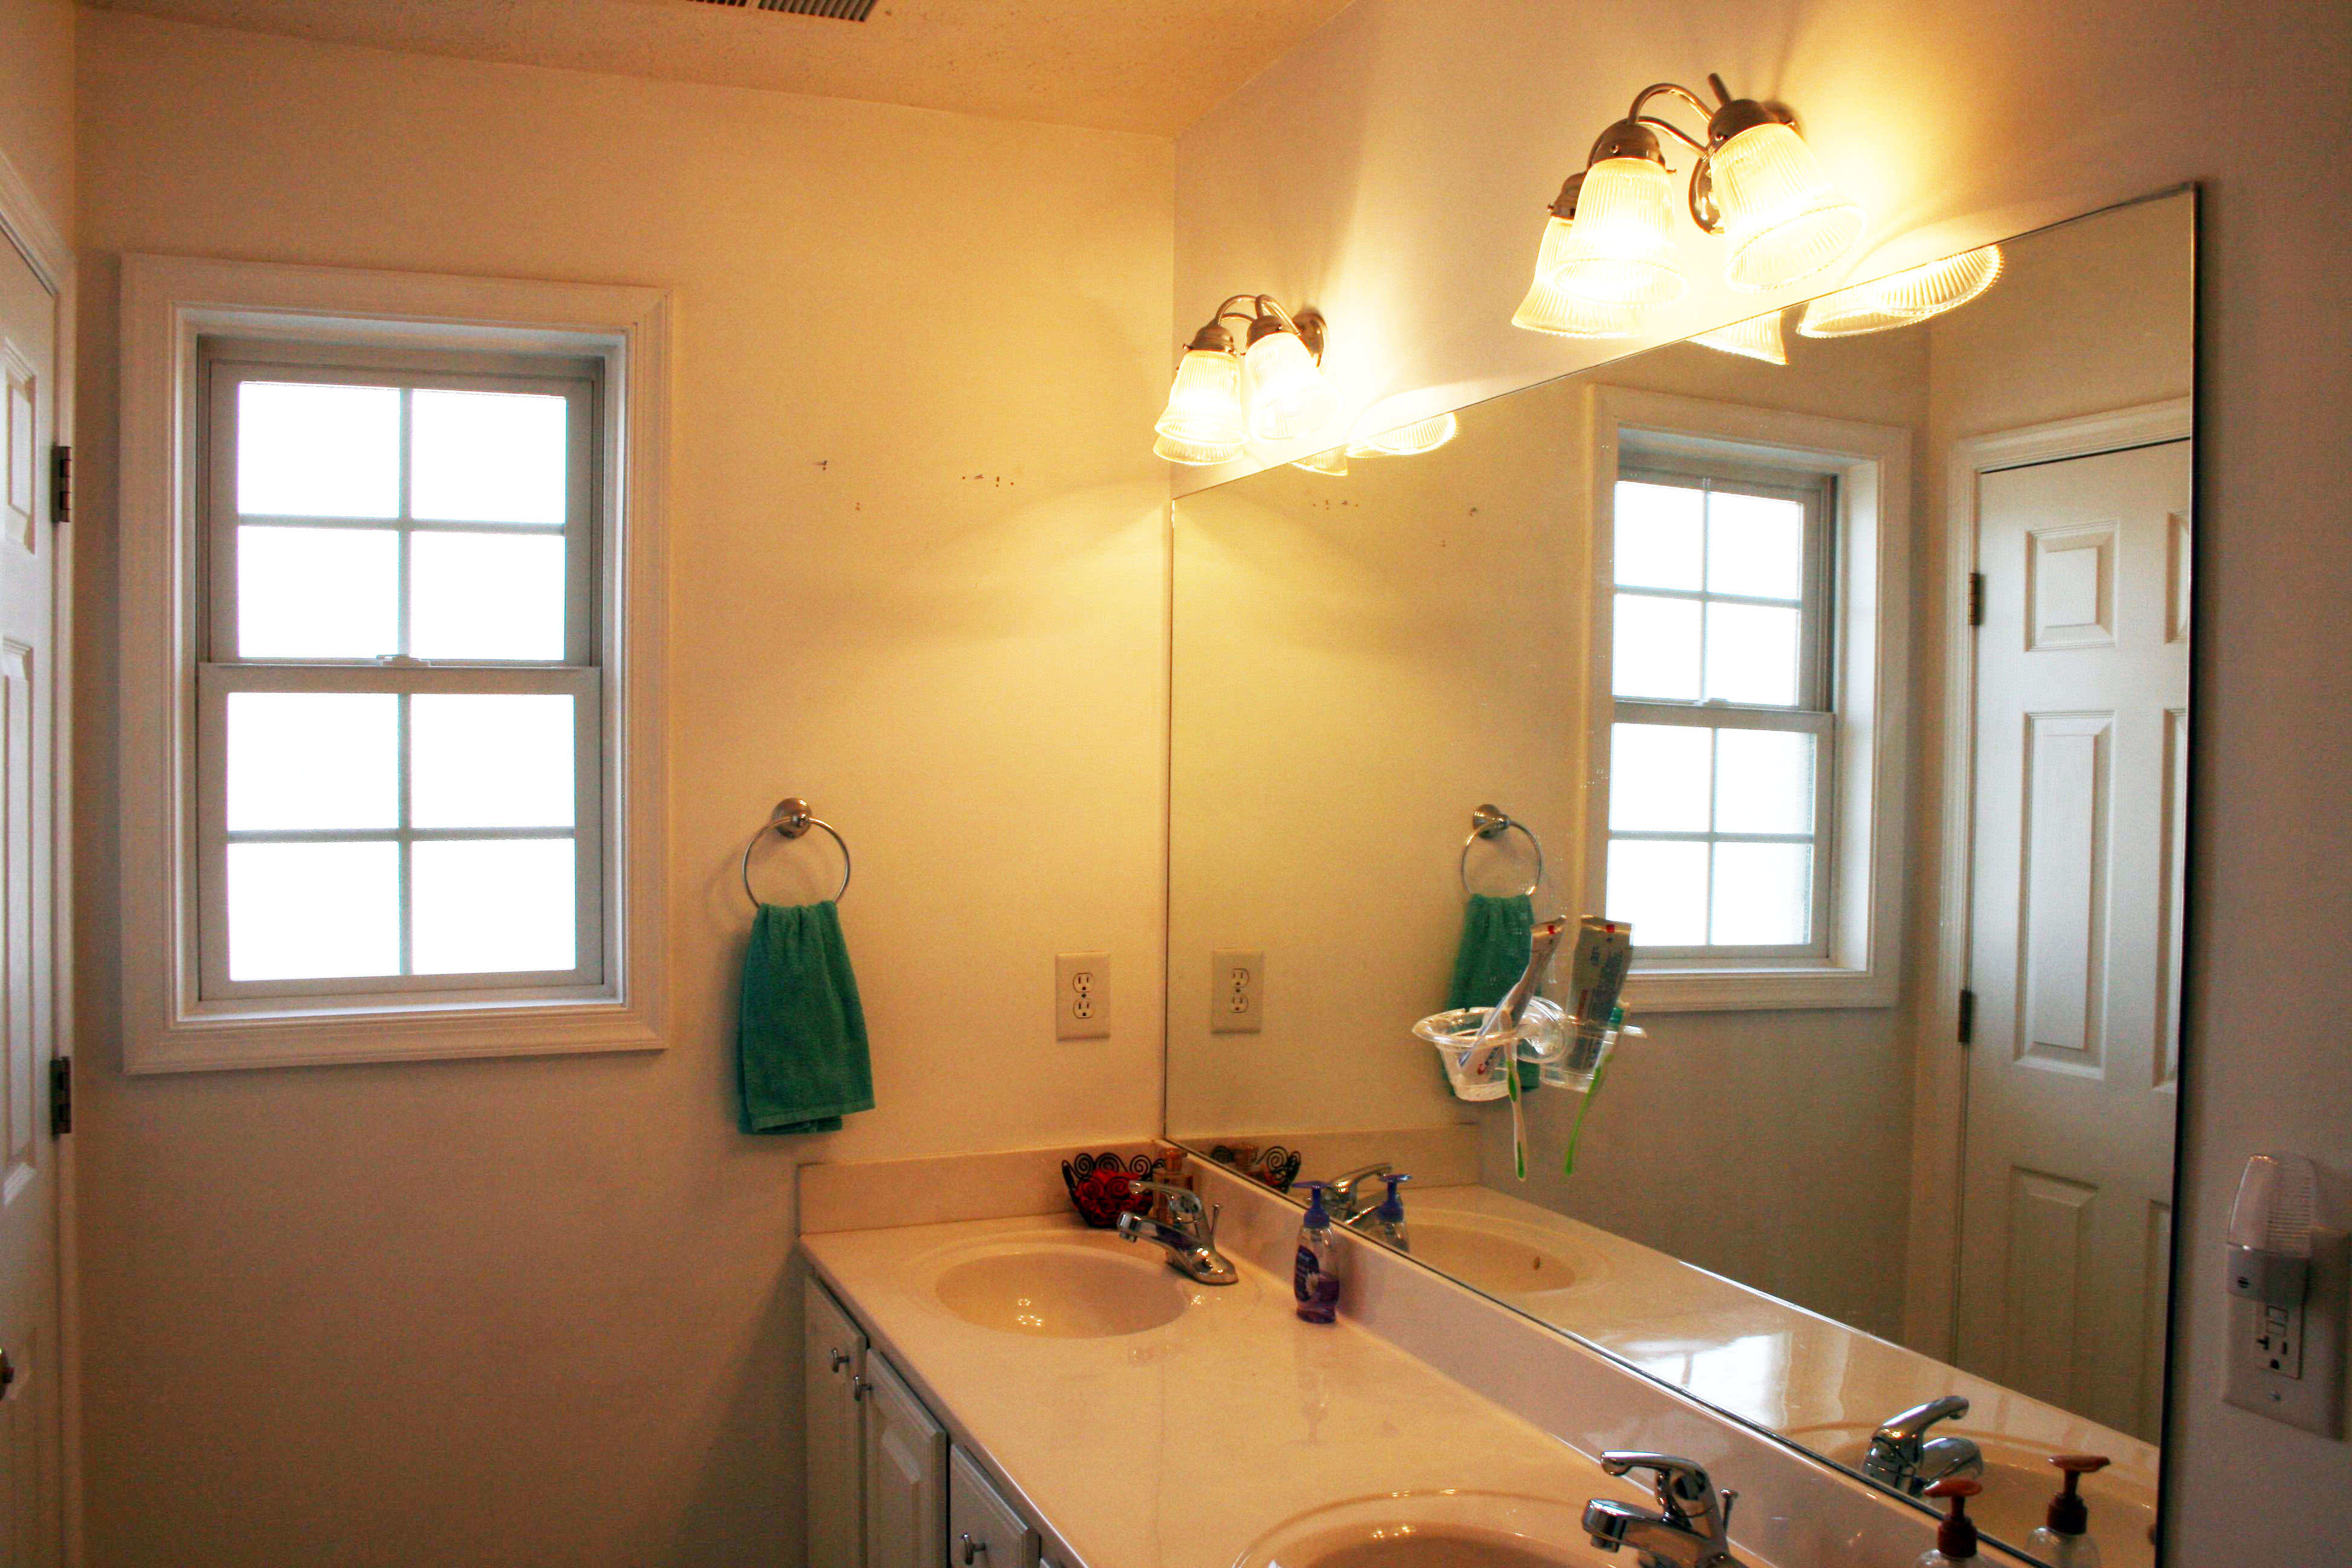
I’m still blown away myself that it cost that little to totally transform the bathroom. Here are a couple of “Before” shots to remind you of how far we’ve come:
And now today…
MUCH better. Now only one more bathroom in the house to revamp!!! I think we’ll wait until the Spring for that one though…

