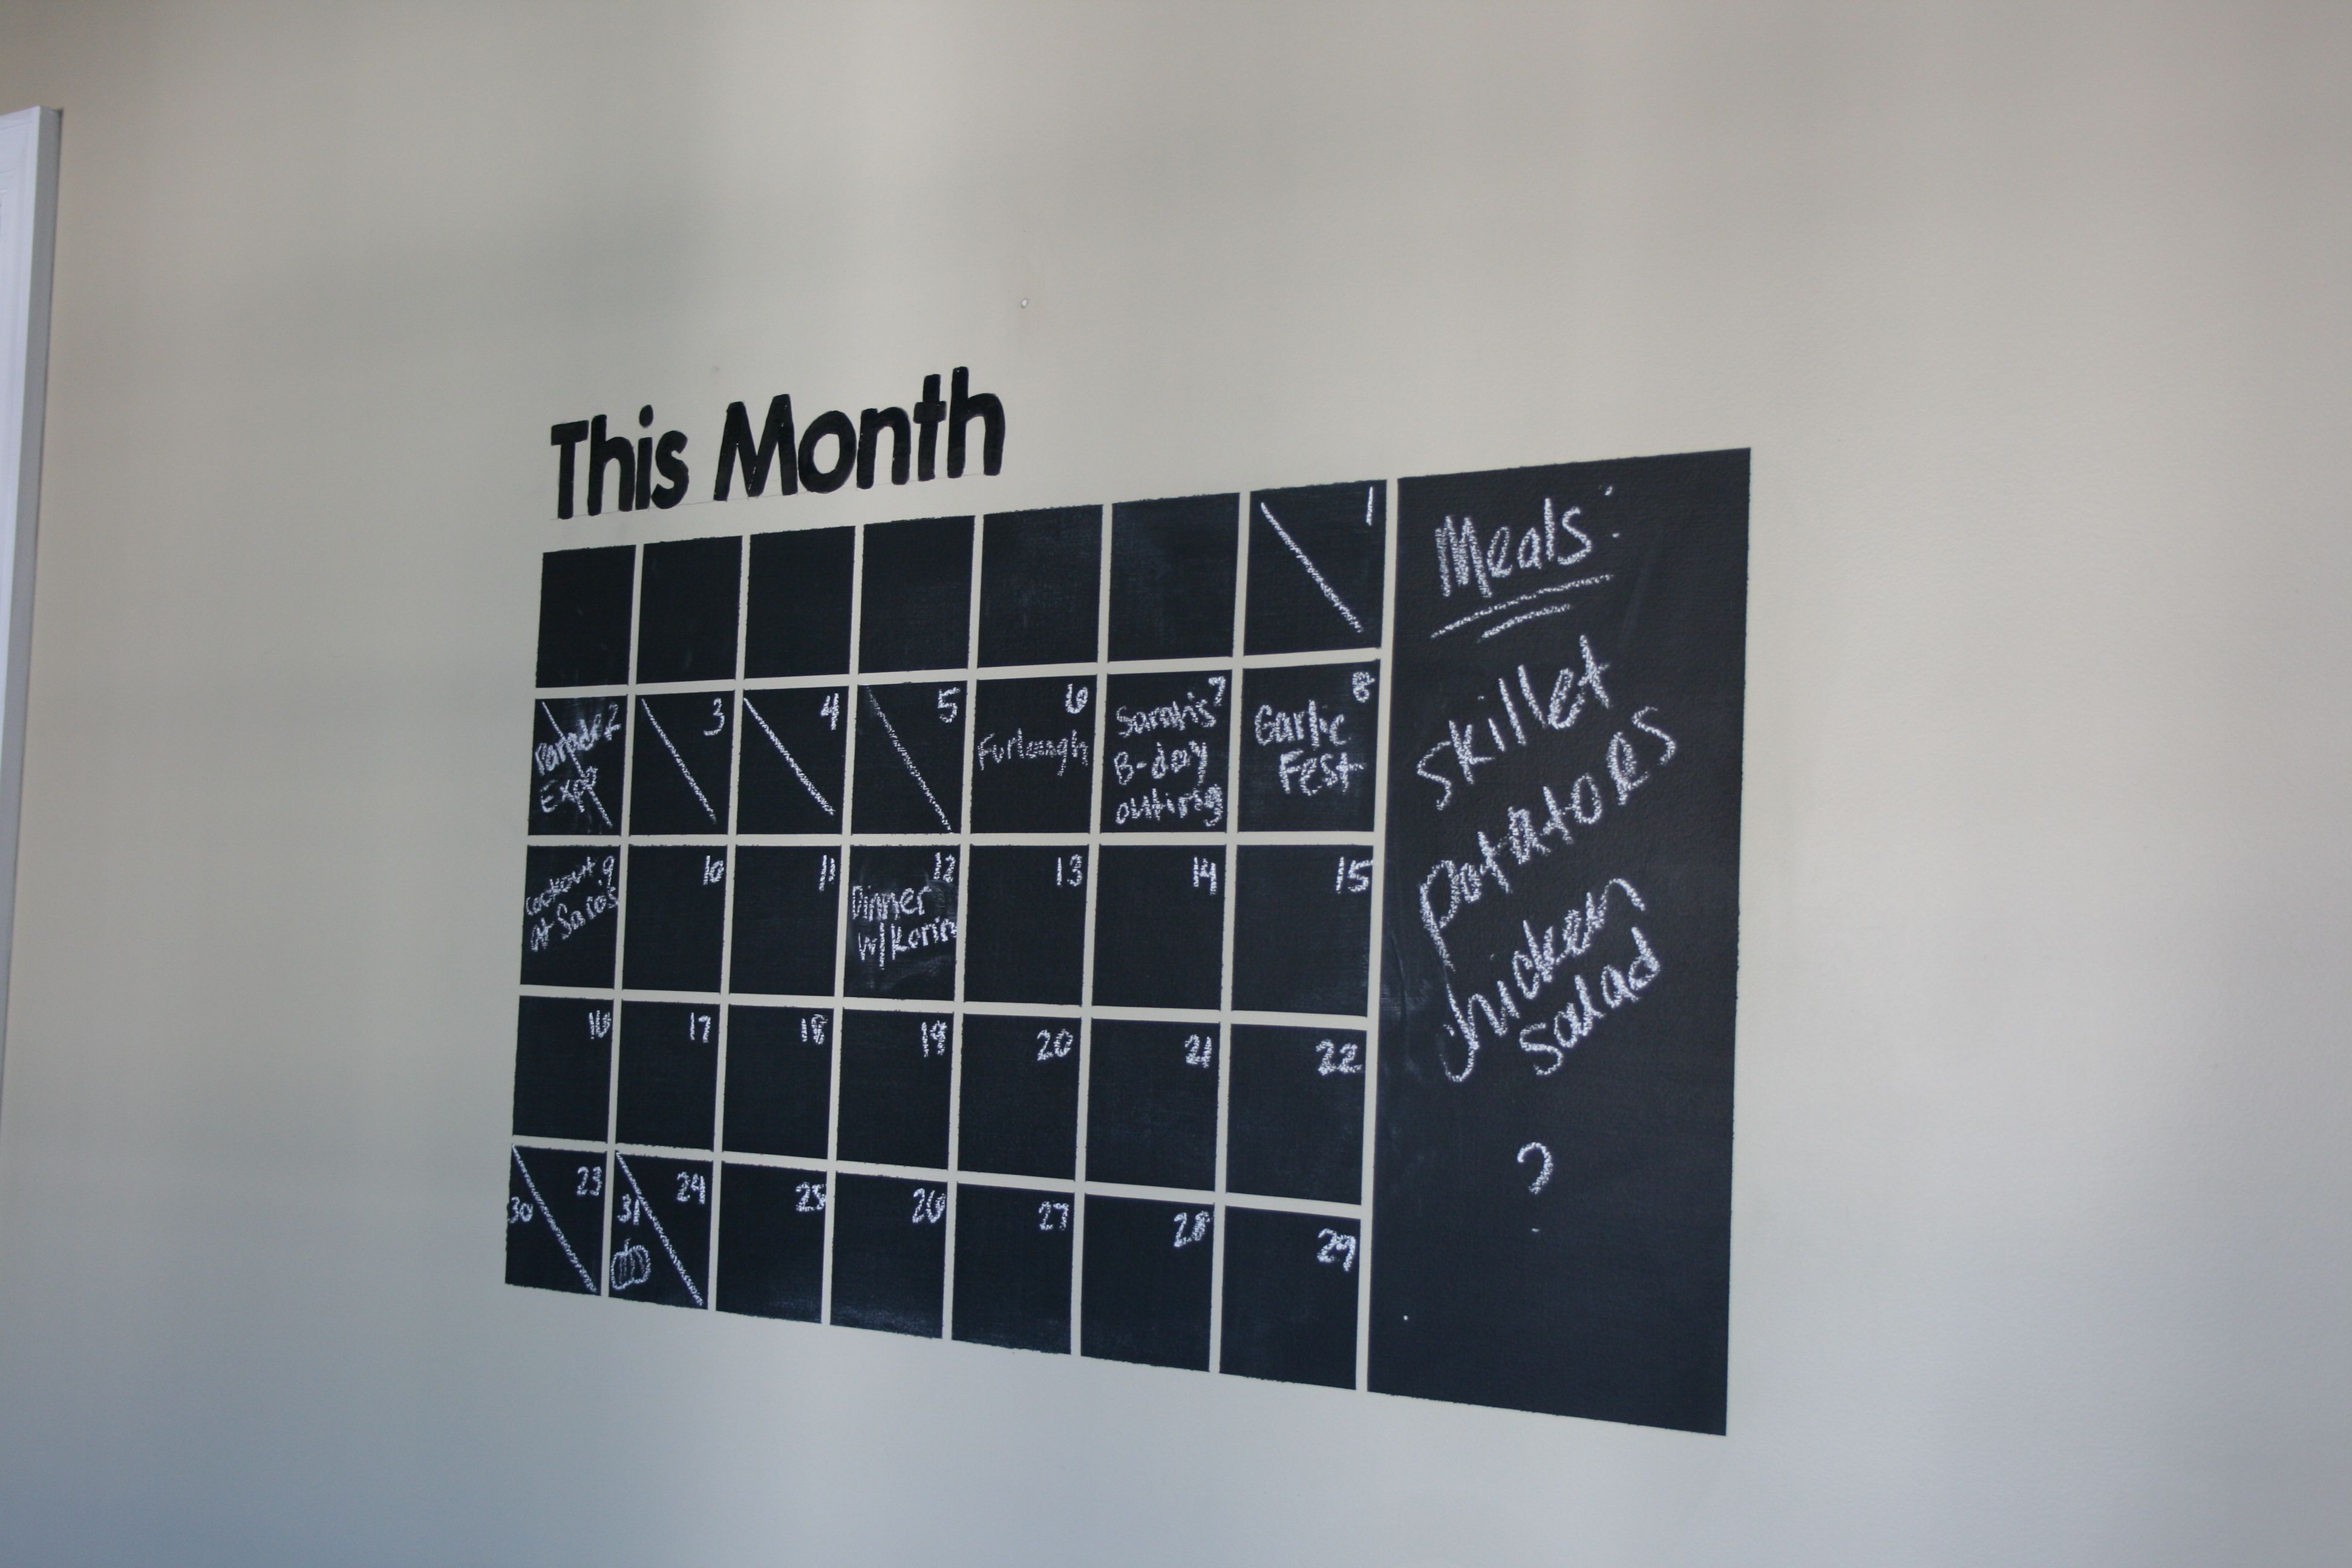
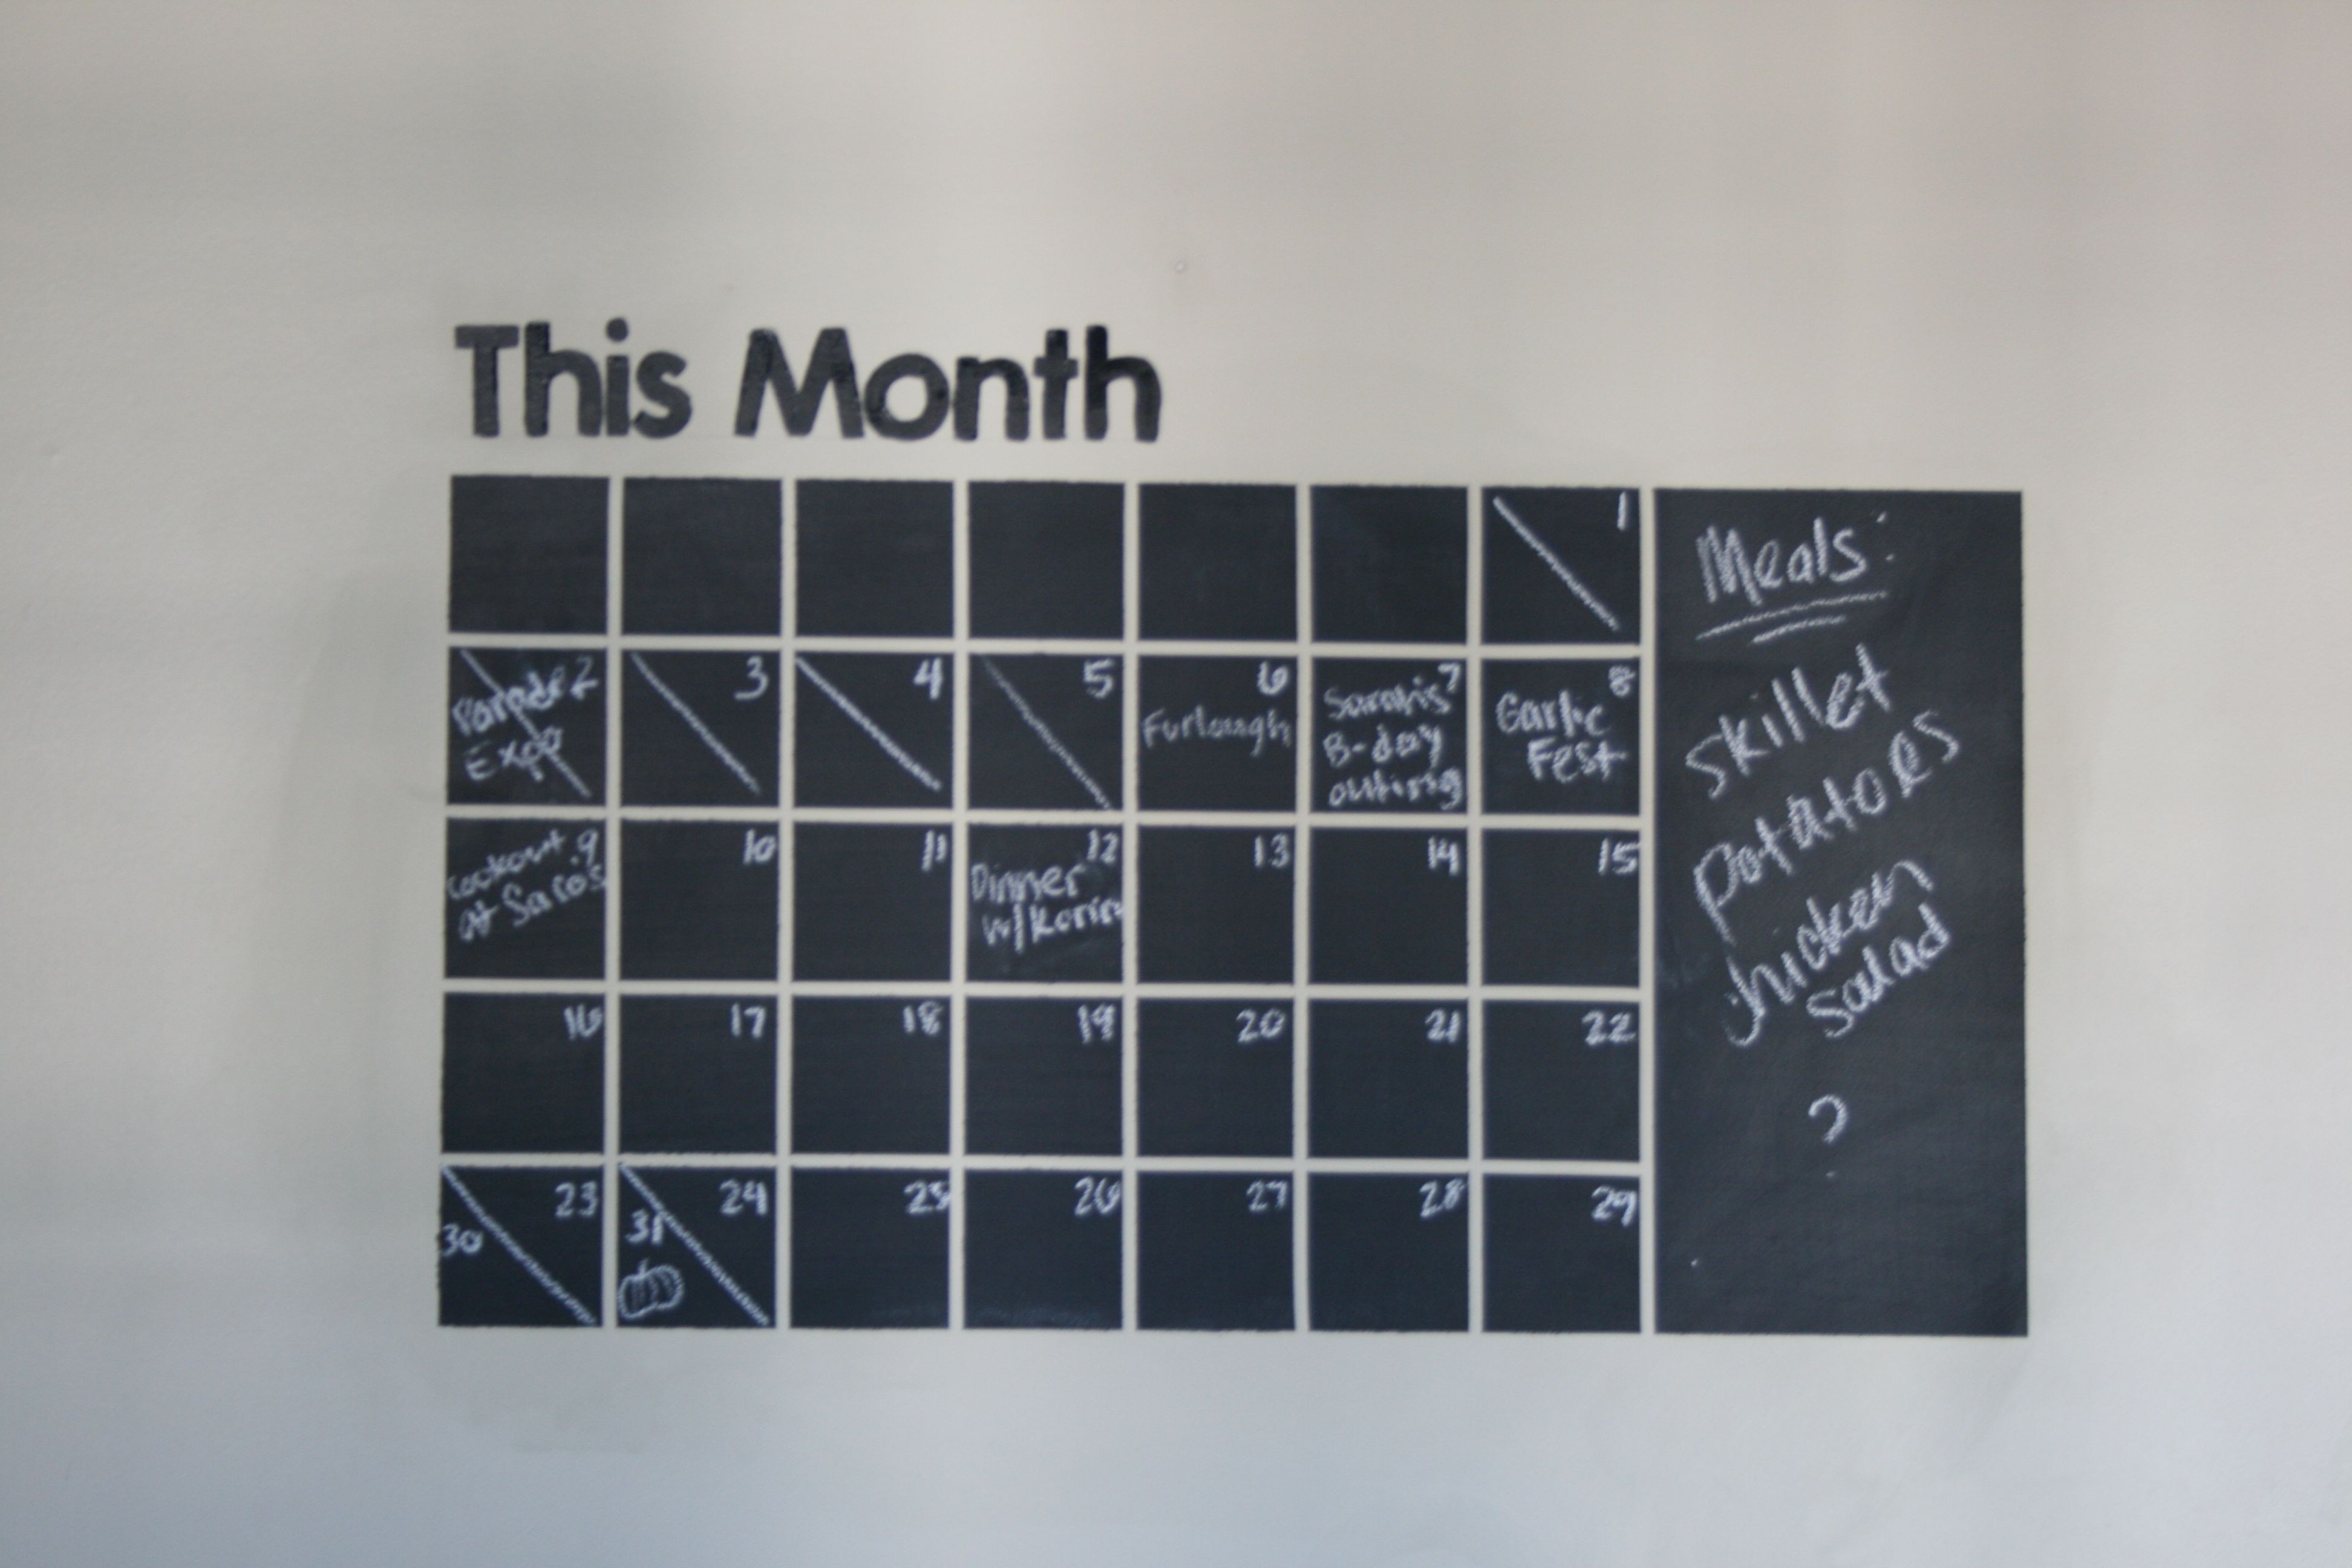
Yup, 182.
That’s how many days it’s taken me to finally get around to finishing this project…Terrible, I know. But I guess it was just one of those finishing touches that wasn’t all that big of a deal to me!
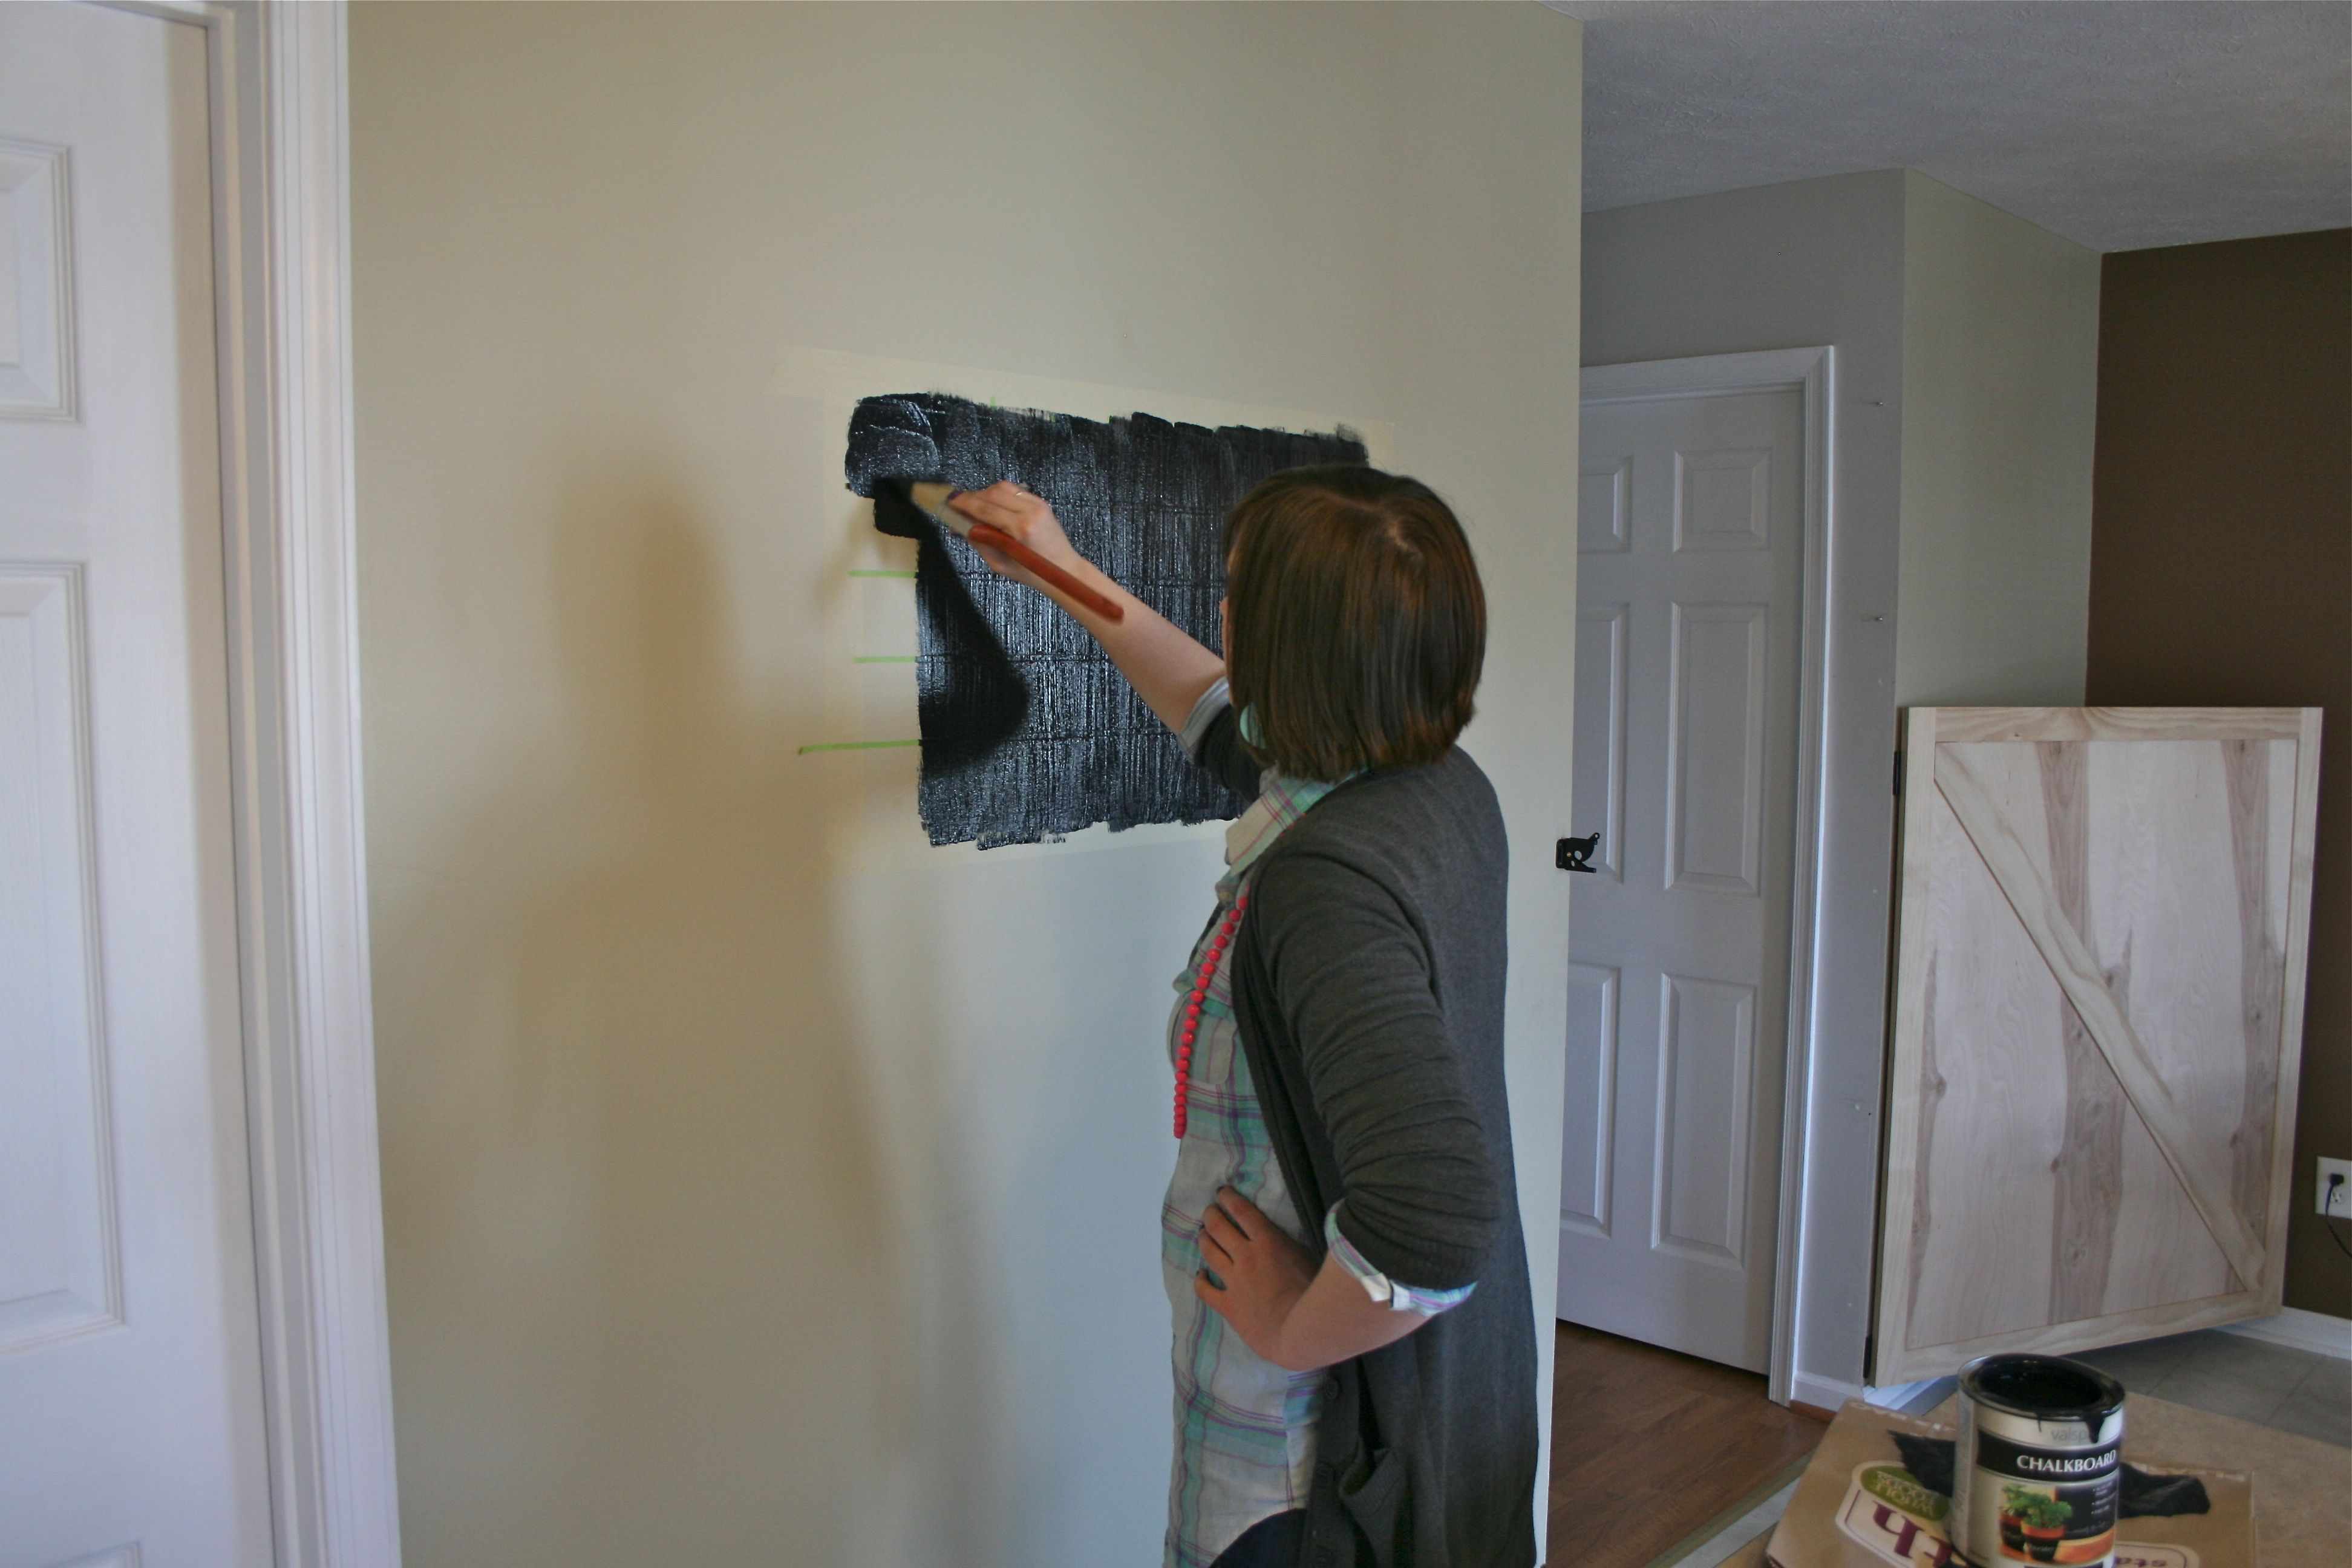
For those of you who are just tuning in, we started this project last April. The idea was to create a chalkboard calendar on the wall in the kitchen with a larger memo section off to the side. I had seen it on Etsy one day during my many wasted hours browsing the website and decided that I wanted to try it out for myself (see the listing for the product here). So, with a roll of SUPER thin (and hard to track down) automotive tape and a quart of chalkboard paint, John and I took one morning to paint it on the wall. John did the measuring since he’s the precise one in this relationship, and I took over the painting.
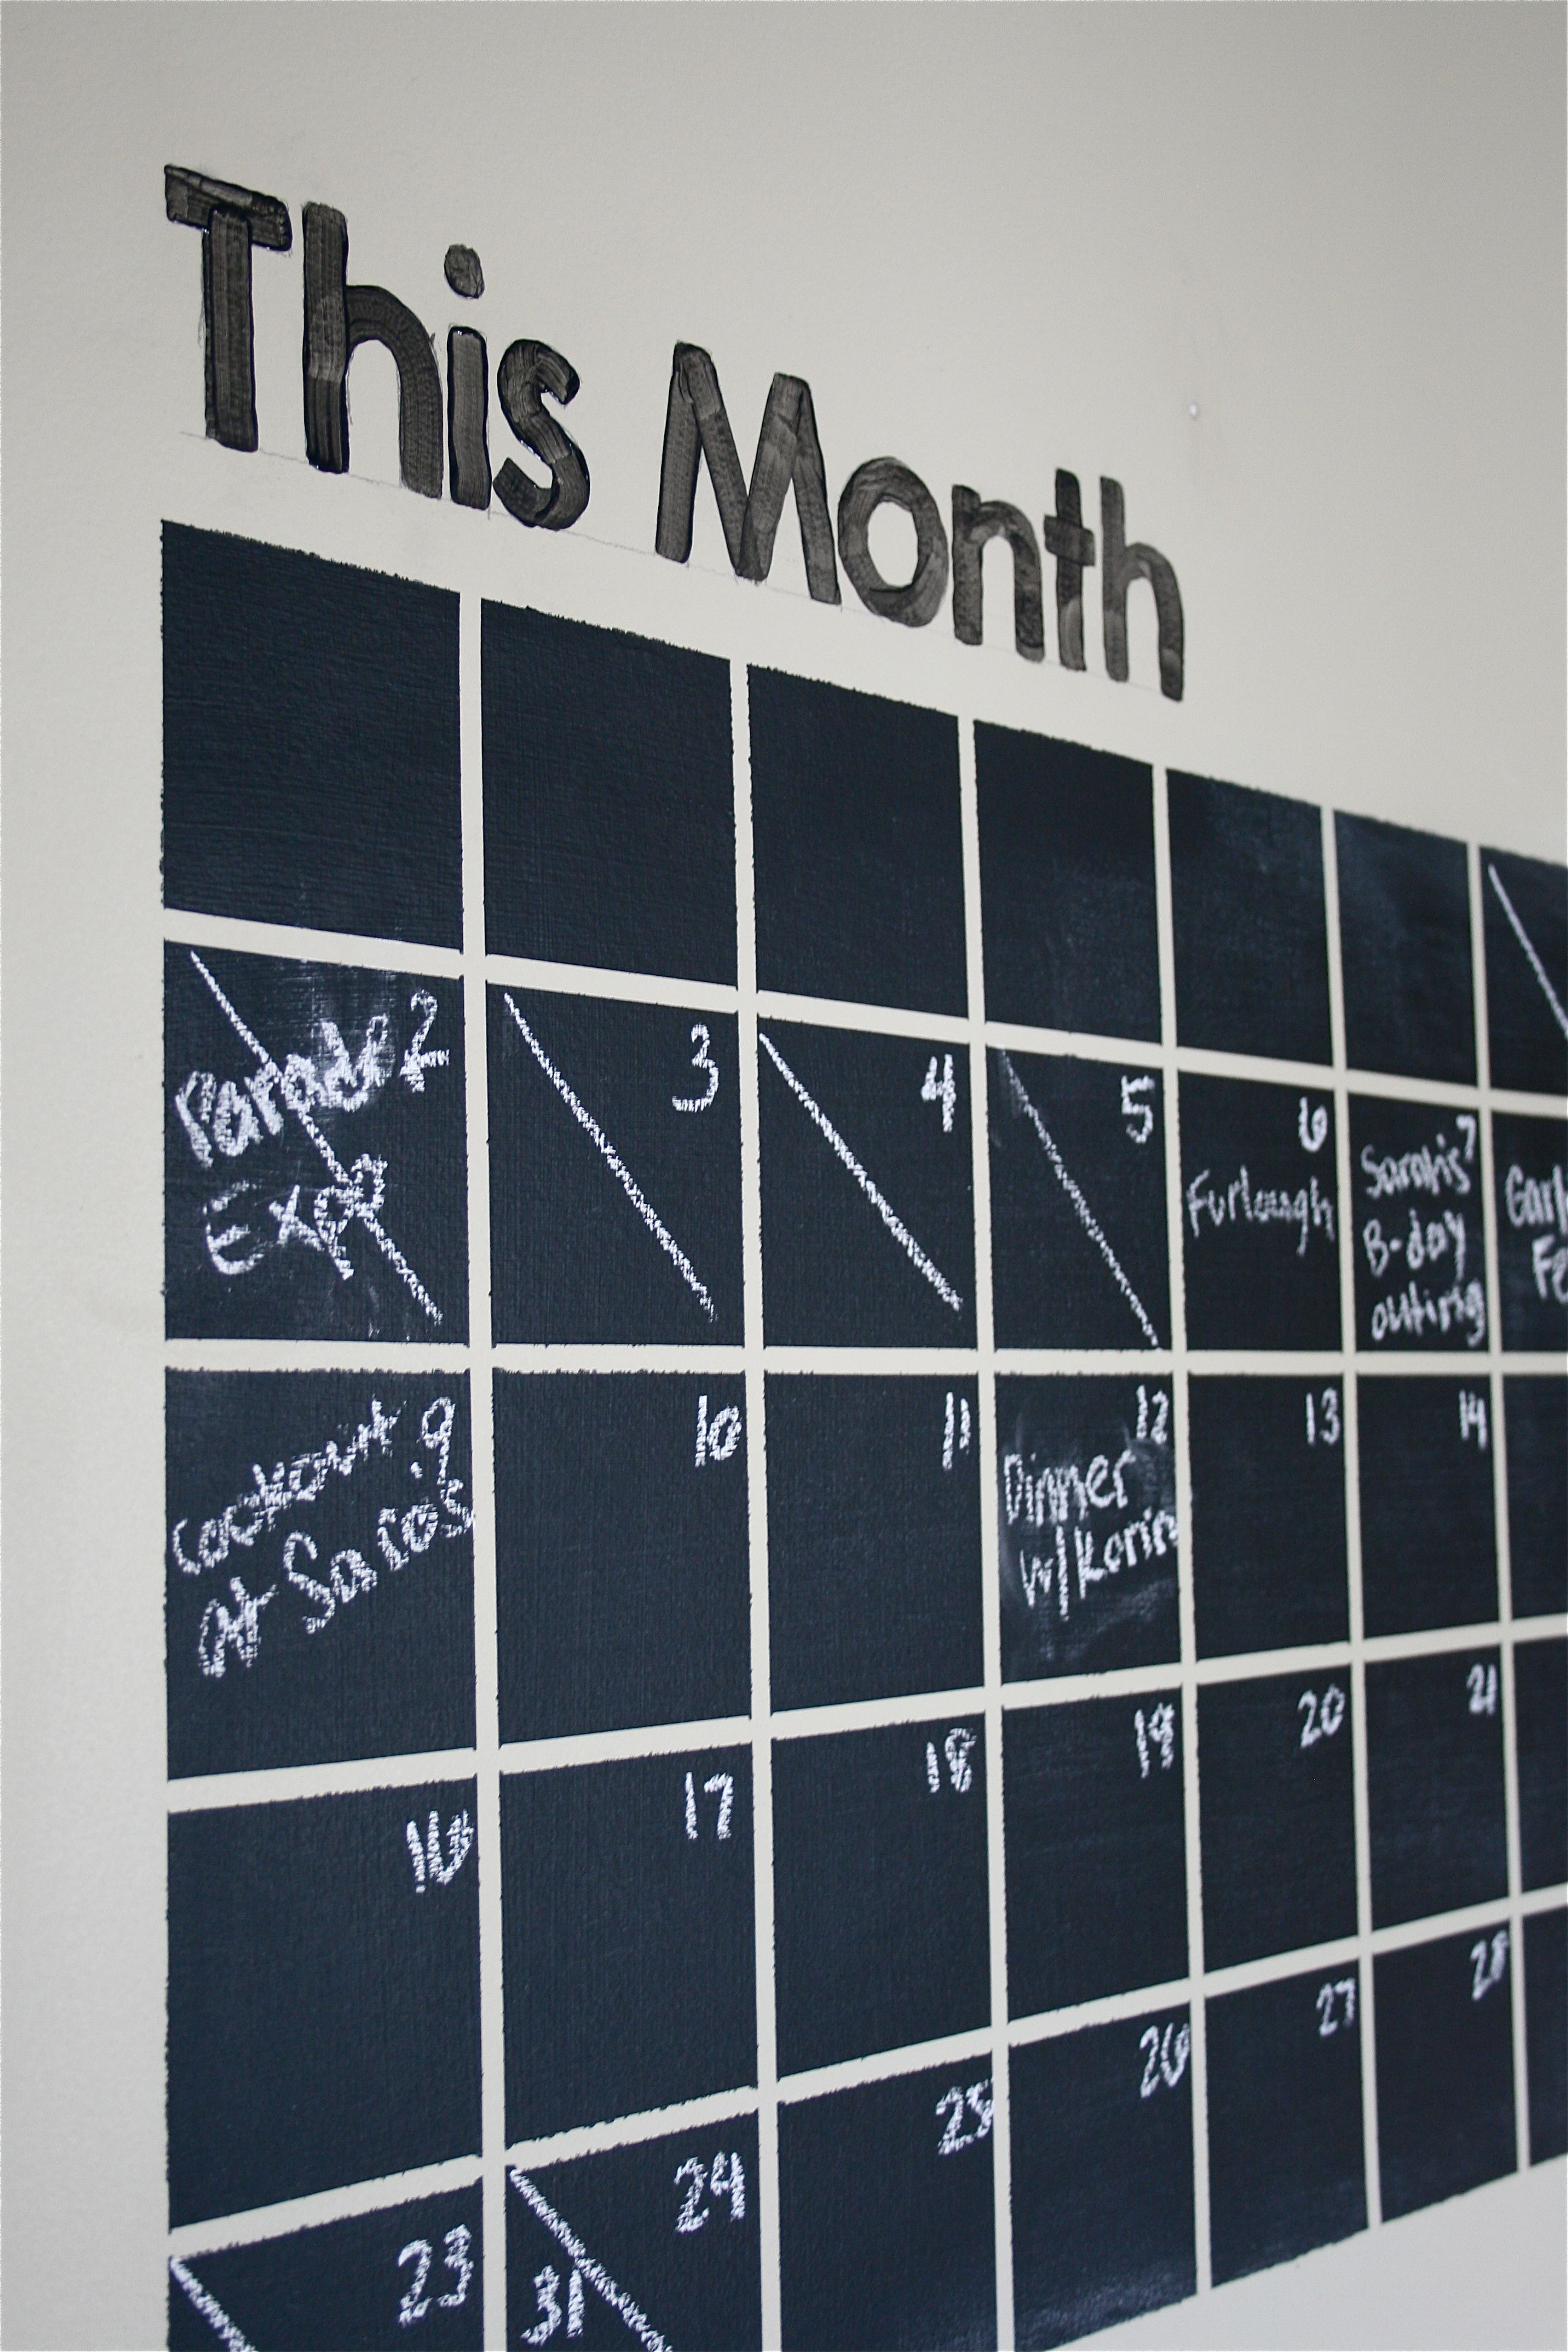
After two coats and a few days to let the paint REALLY set up, we were left with this nice little DIY-ed calendar! The only part it was missing was some kind of title or header…
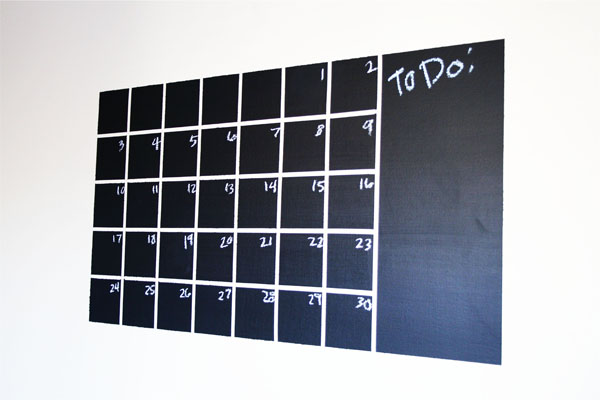
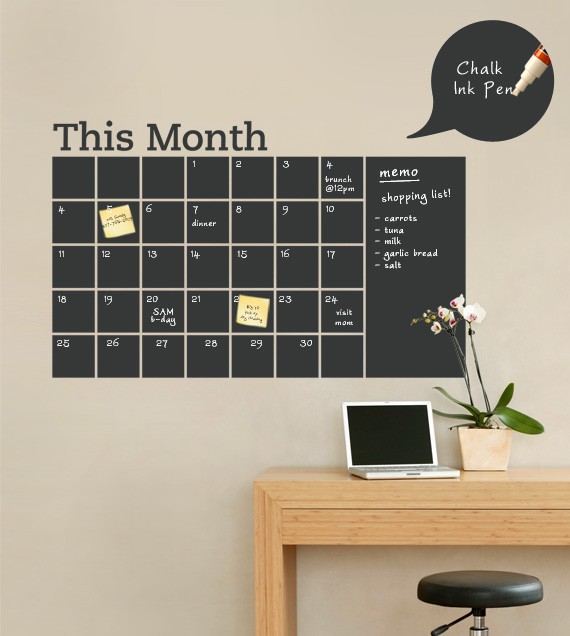
As you can see from my inspiration image, the calendar had “This Month” written above it – My feeling was that it kind of finished off the look of the mural.
But, as I have mentioned, it took me quite some time to ACTUALLY get around to that step. I guess the words were really just for show and served no purpose other than visual cohesion, so I just kept putting it off.
There was one little moment of hope for finishing up the project once and for all when I tried purchasing ready-made letters from Amazon. I was doing my best to avoid hand-painting the letters on the wall, so I thought some sticky black alphabet letters would do the trick! Unfortunately my “sticky” letters were really more like post-it notes, only having adhesive at the top. They looked a little silly up there, and the “S” fluttered to the ground almost immediately.
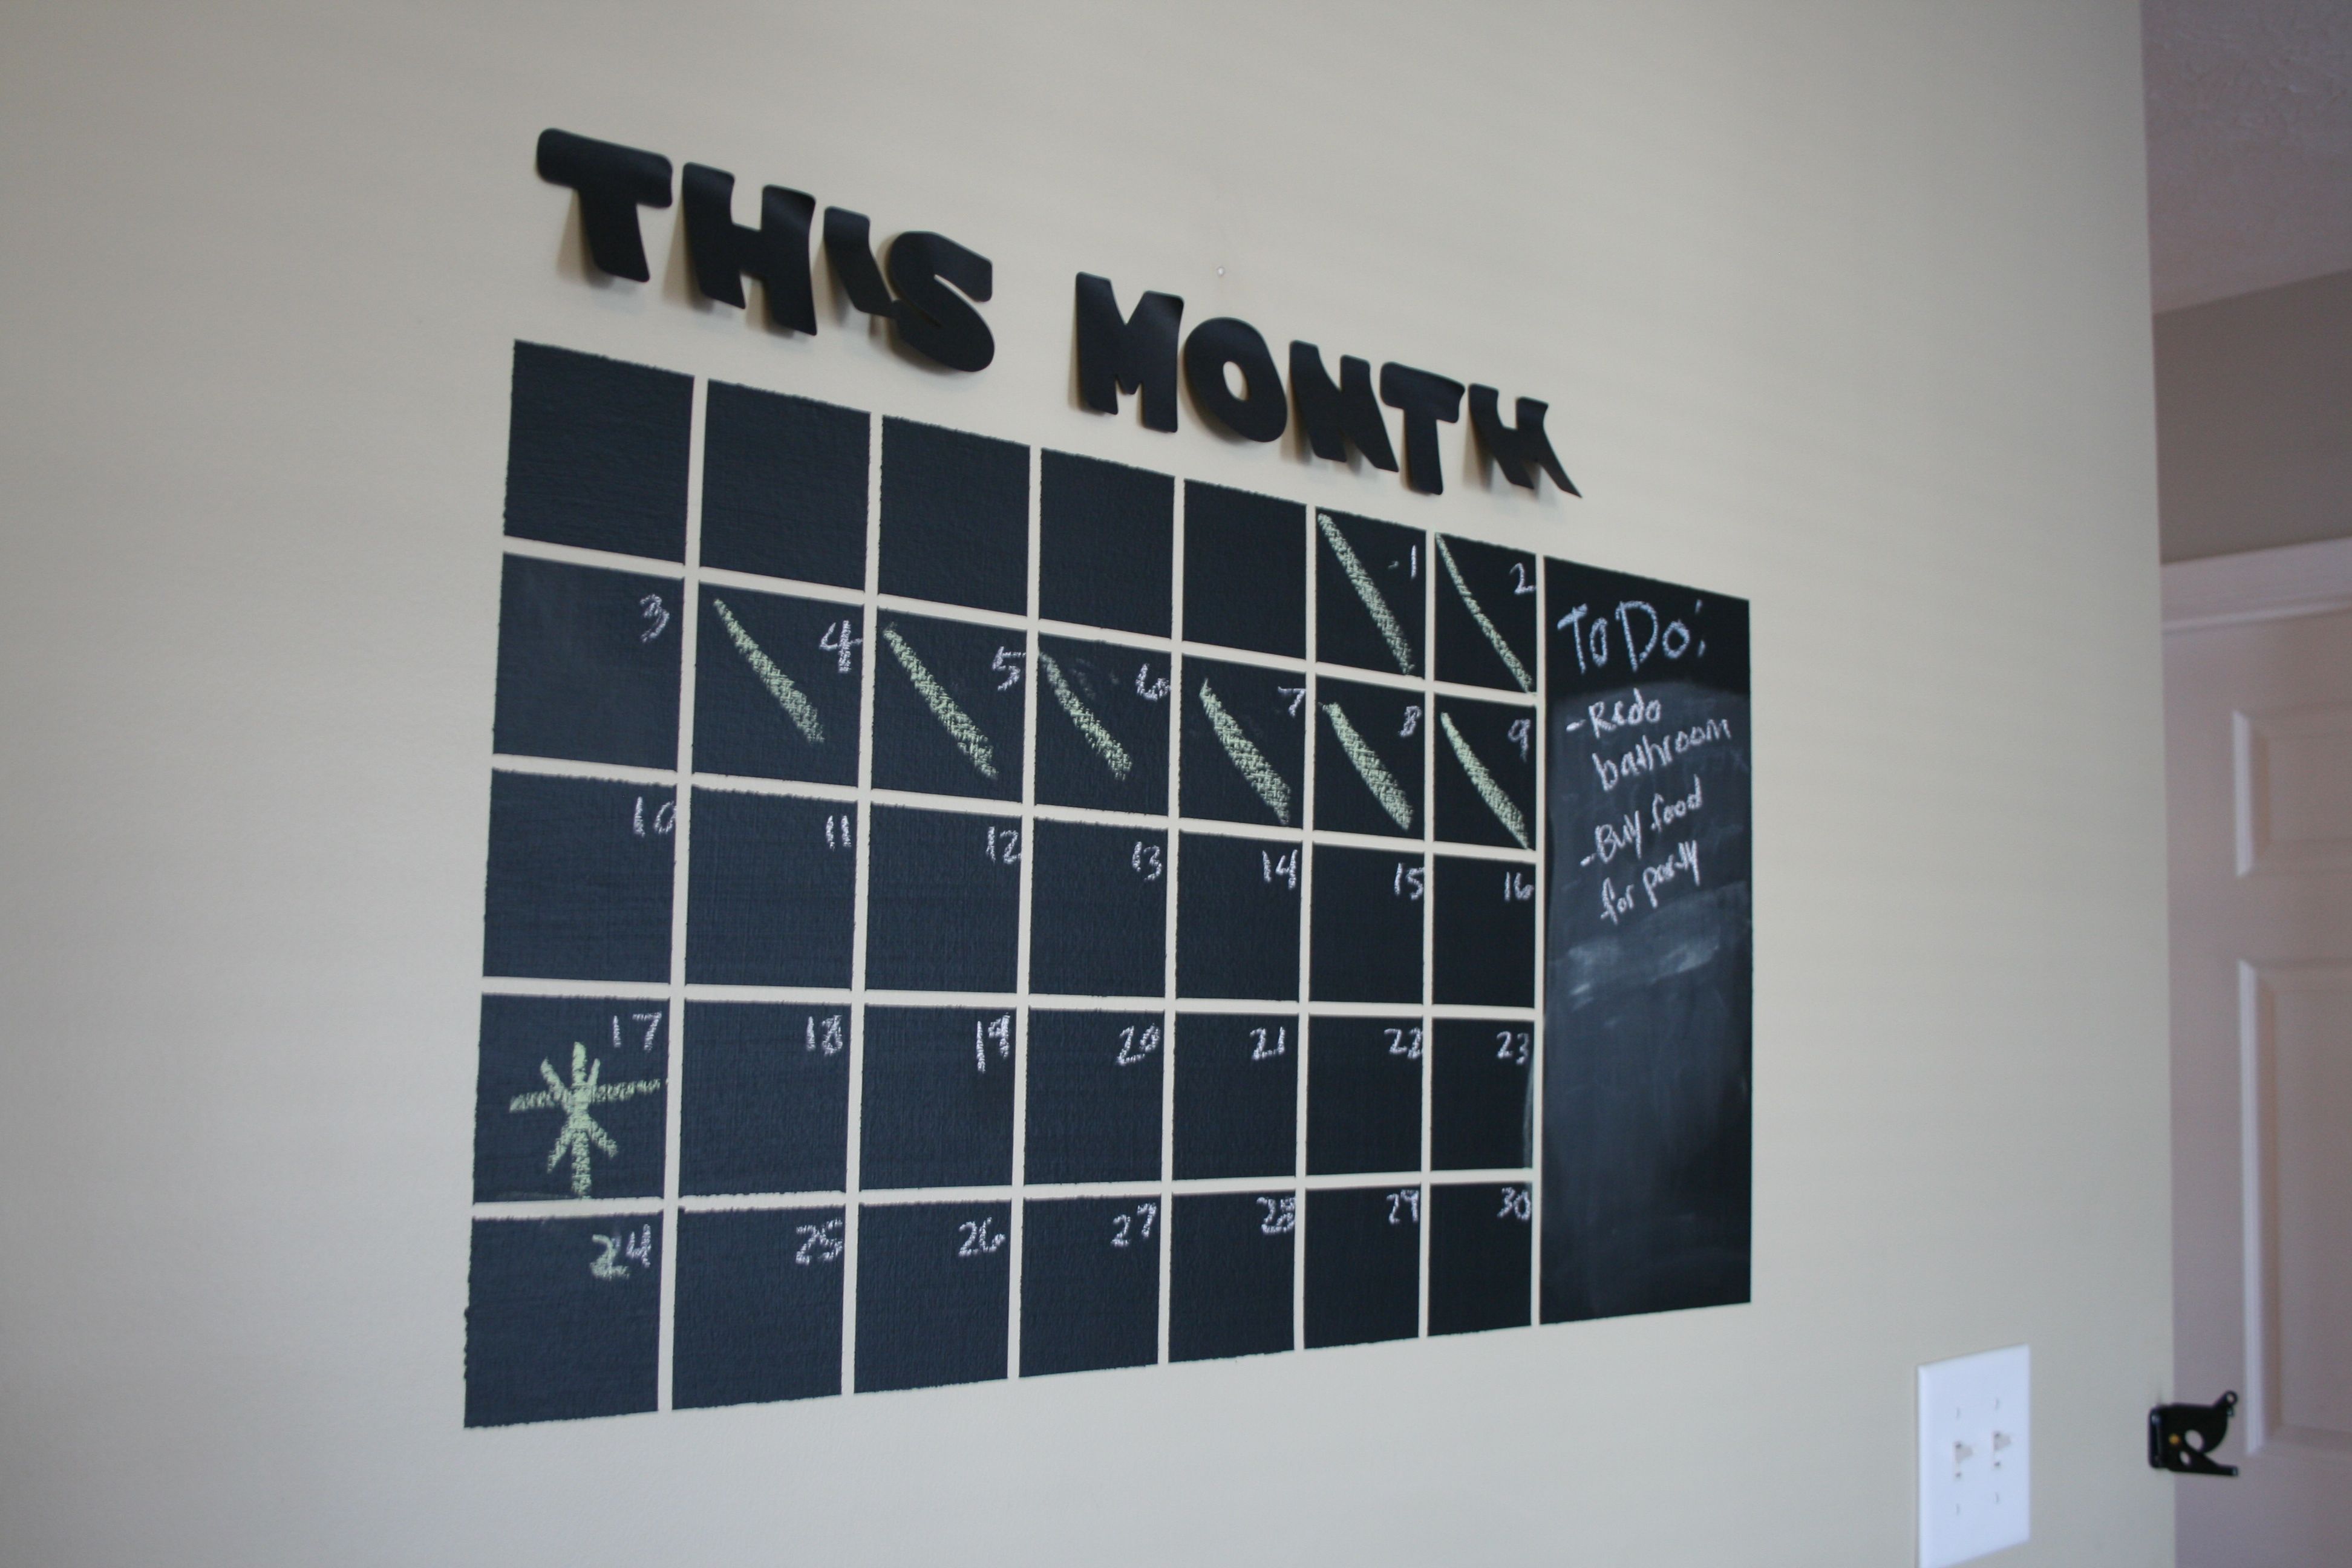
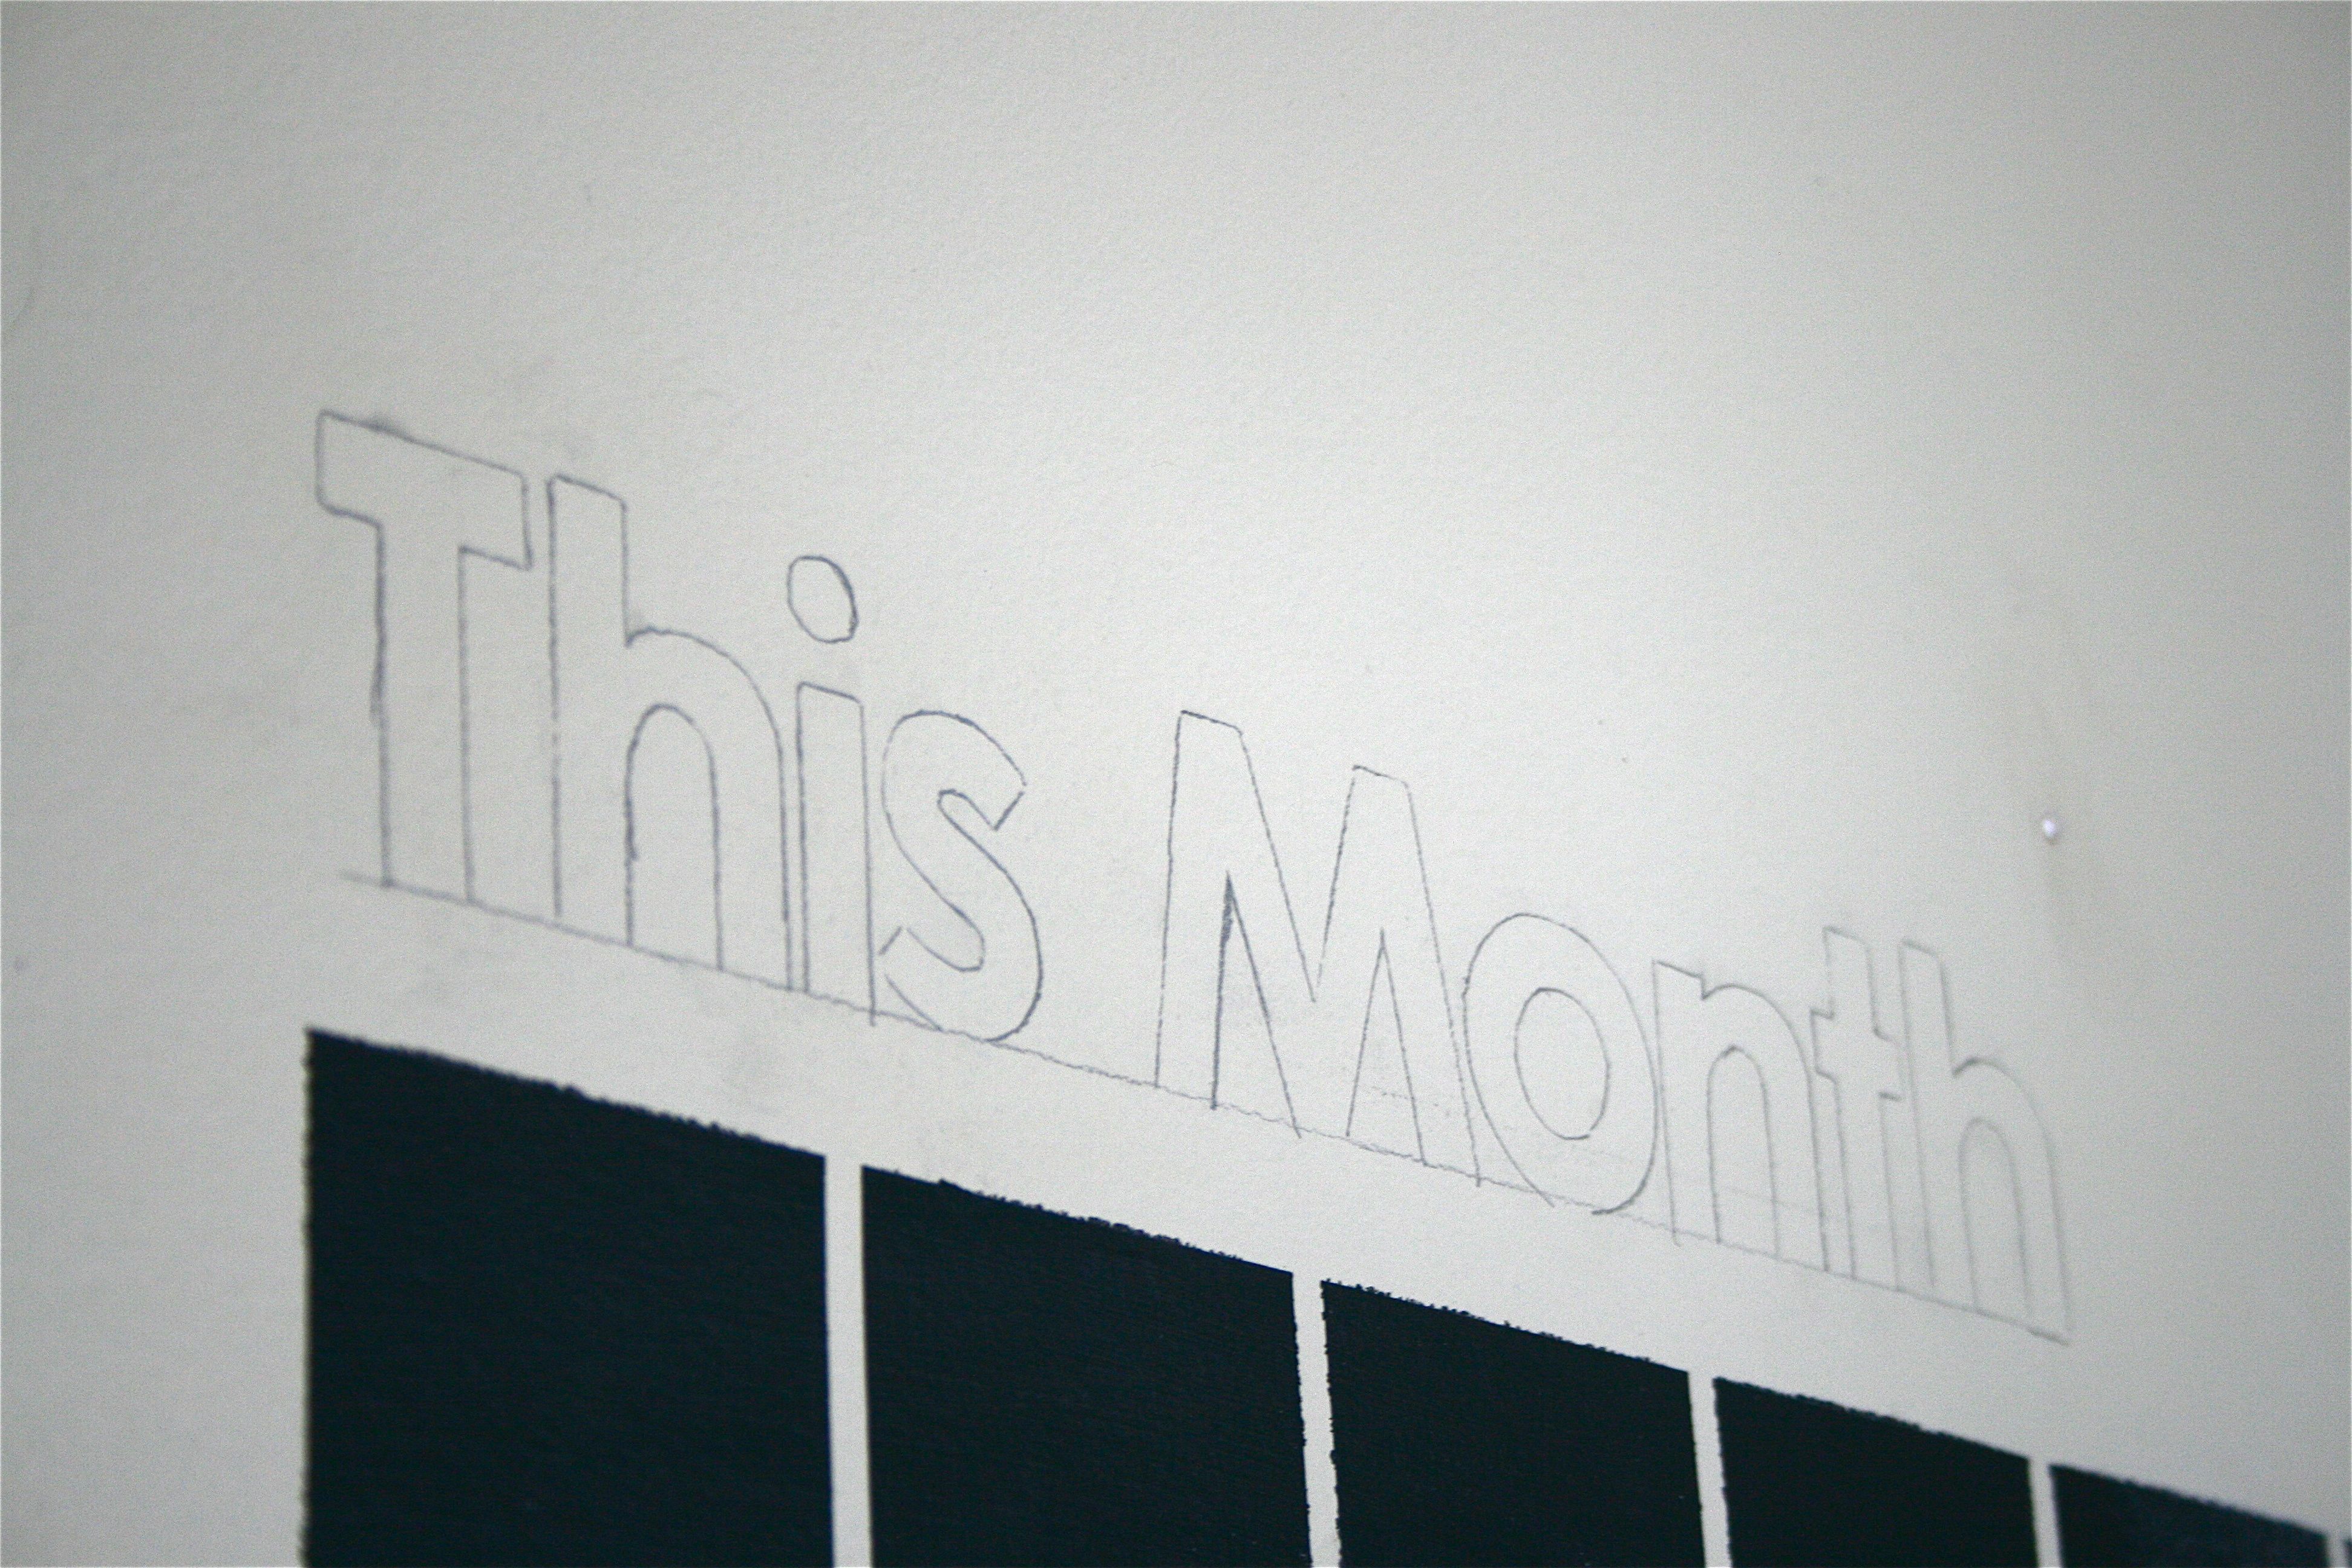
At this point, I was pretty much over the whole header idea…But while I still had a LITTLE bit of motivation after failed attempt #1, I went ahead and printed and cut out the letters for tracing. I knew by this point that it was my only option to go by hand.
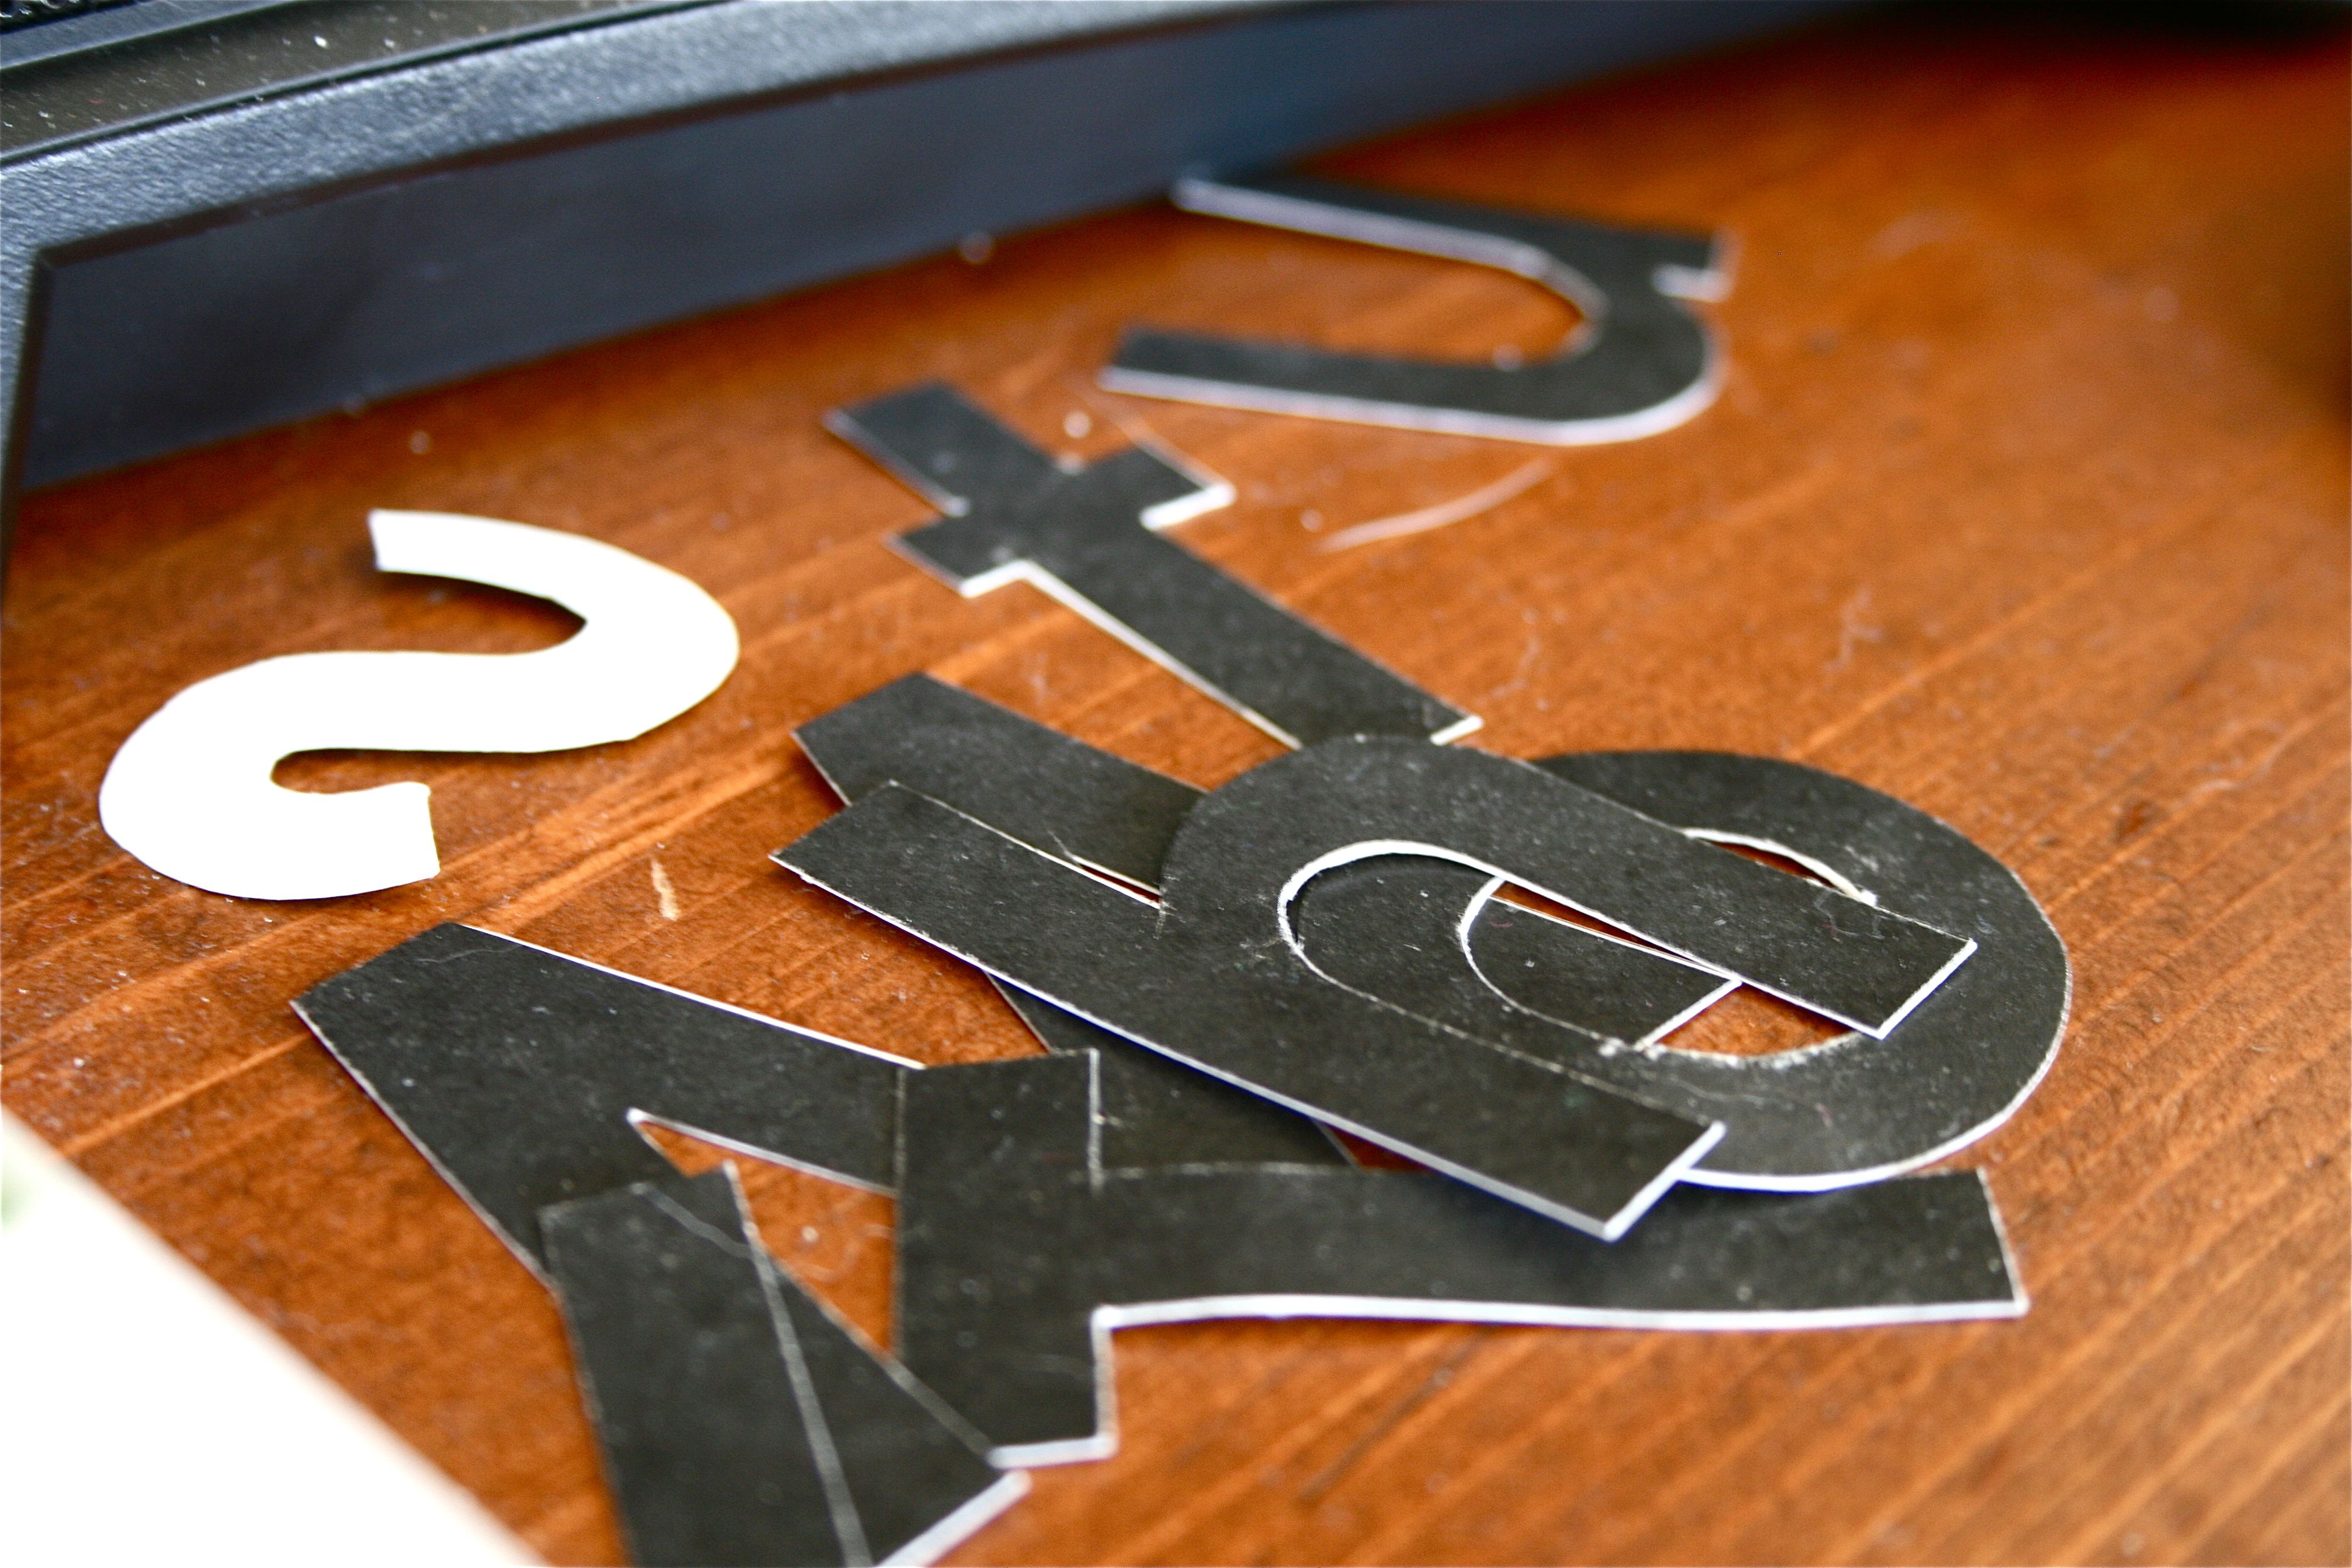
This is when I lost all traces of gas power and the project sat dormant on the kitchen shelf for 182 days.
But then recently John had his best friend over and the three of spent some quality chit-chat time in the kitchen, giving me the perfect excuse to put the last menial little step out of the way, once and for all!
Turns out that all it needed was about thirty minutes of tracing and painting using the same chalkboard paint I’d been using all along (and for this project too). It was so simple that I was kicking myself for not having just done it way back when…But oh well! It’s done now and that’s all that matters.
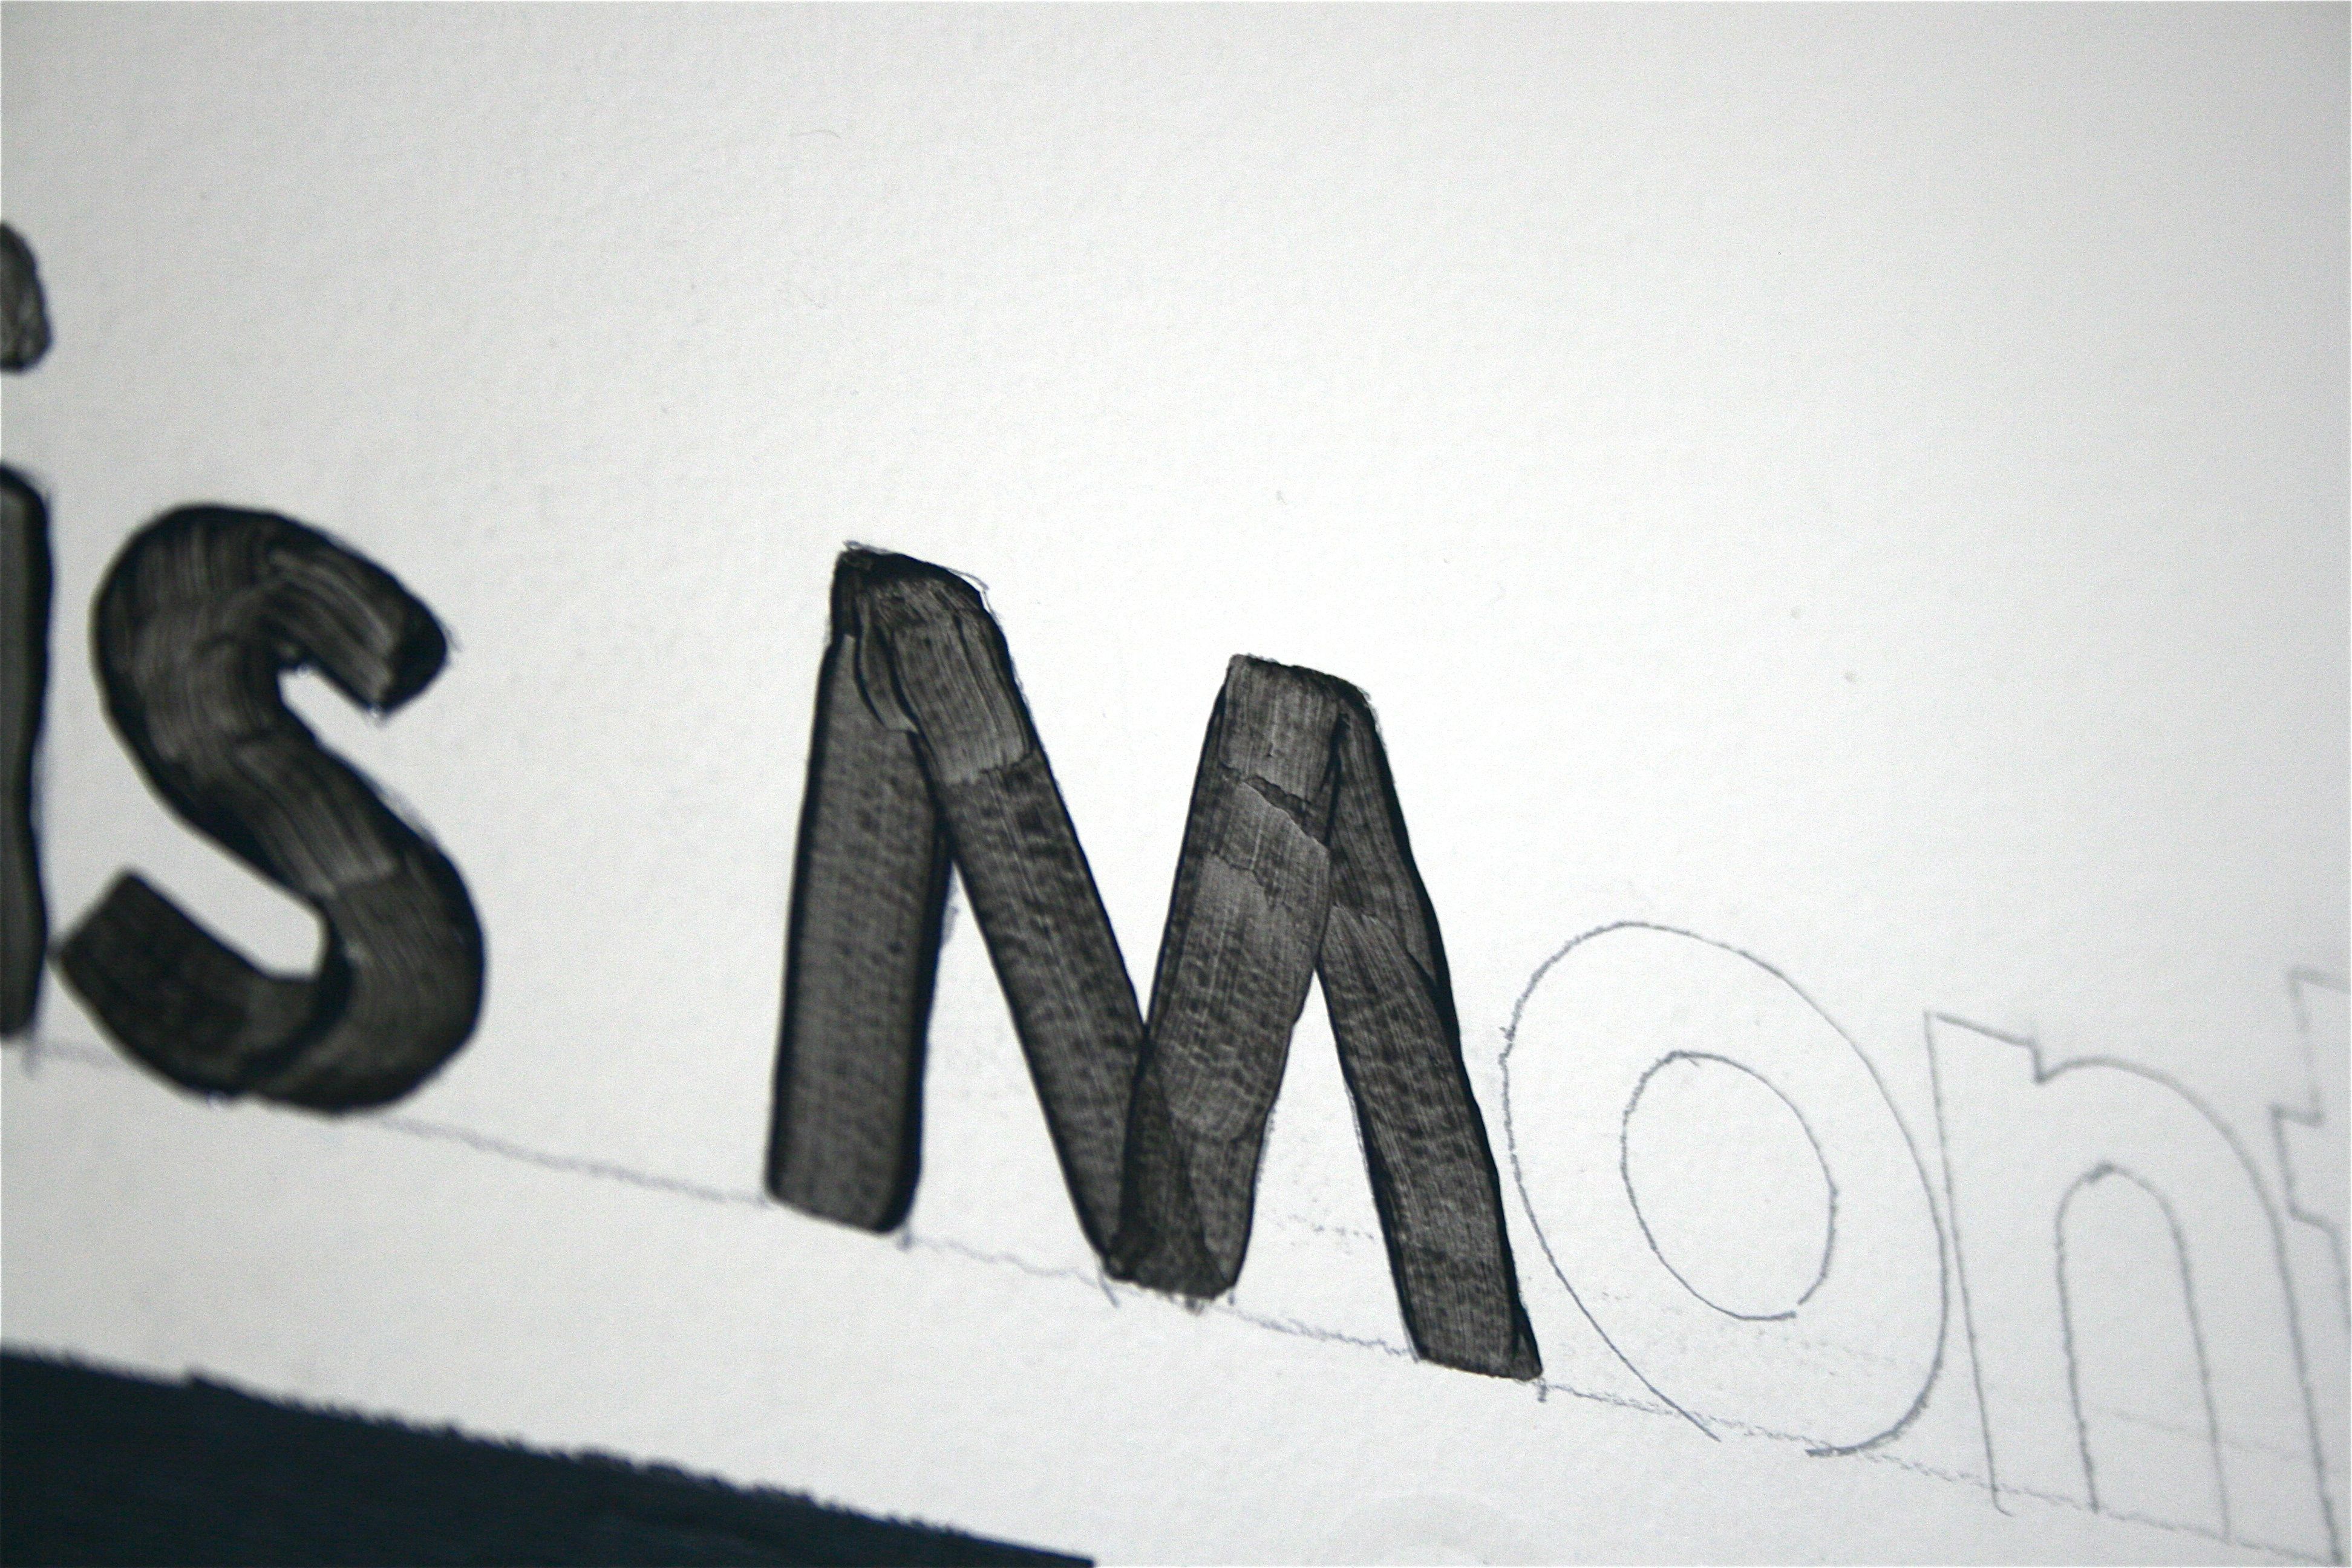
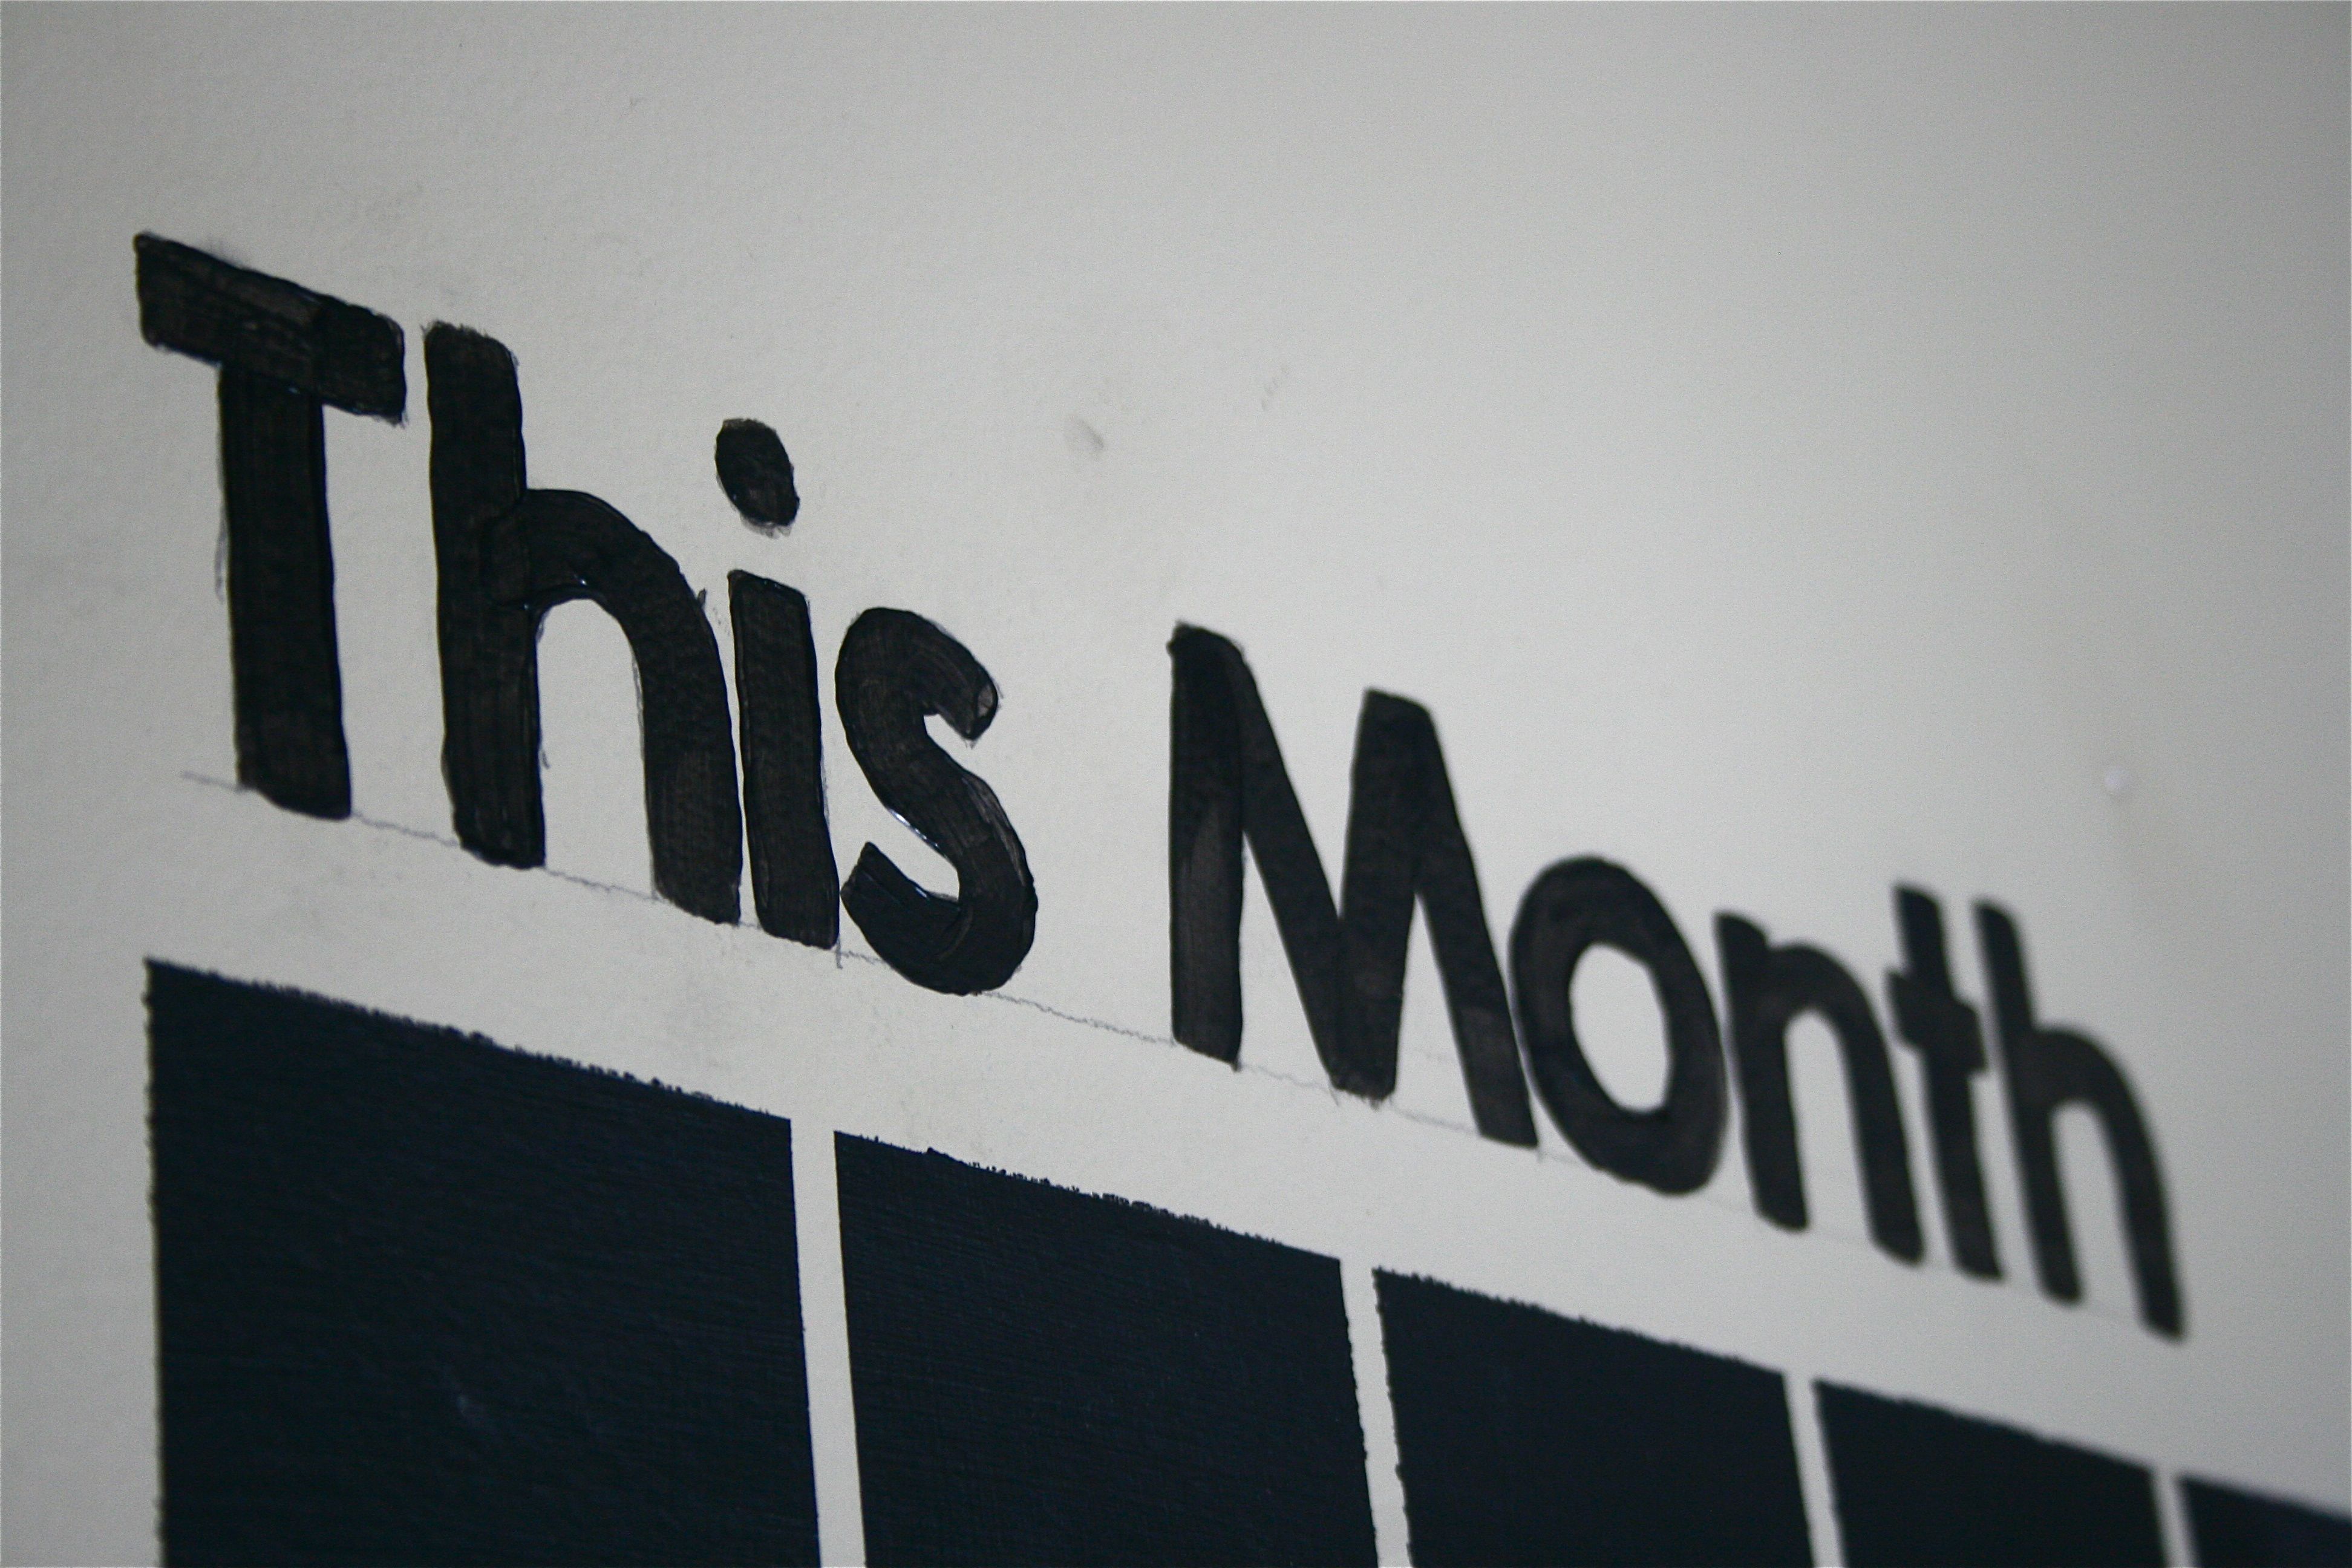
First, I used a level to get a nice straight and even line. Then I just traced the pre-cut letters onto the wall.
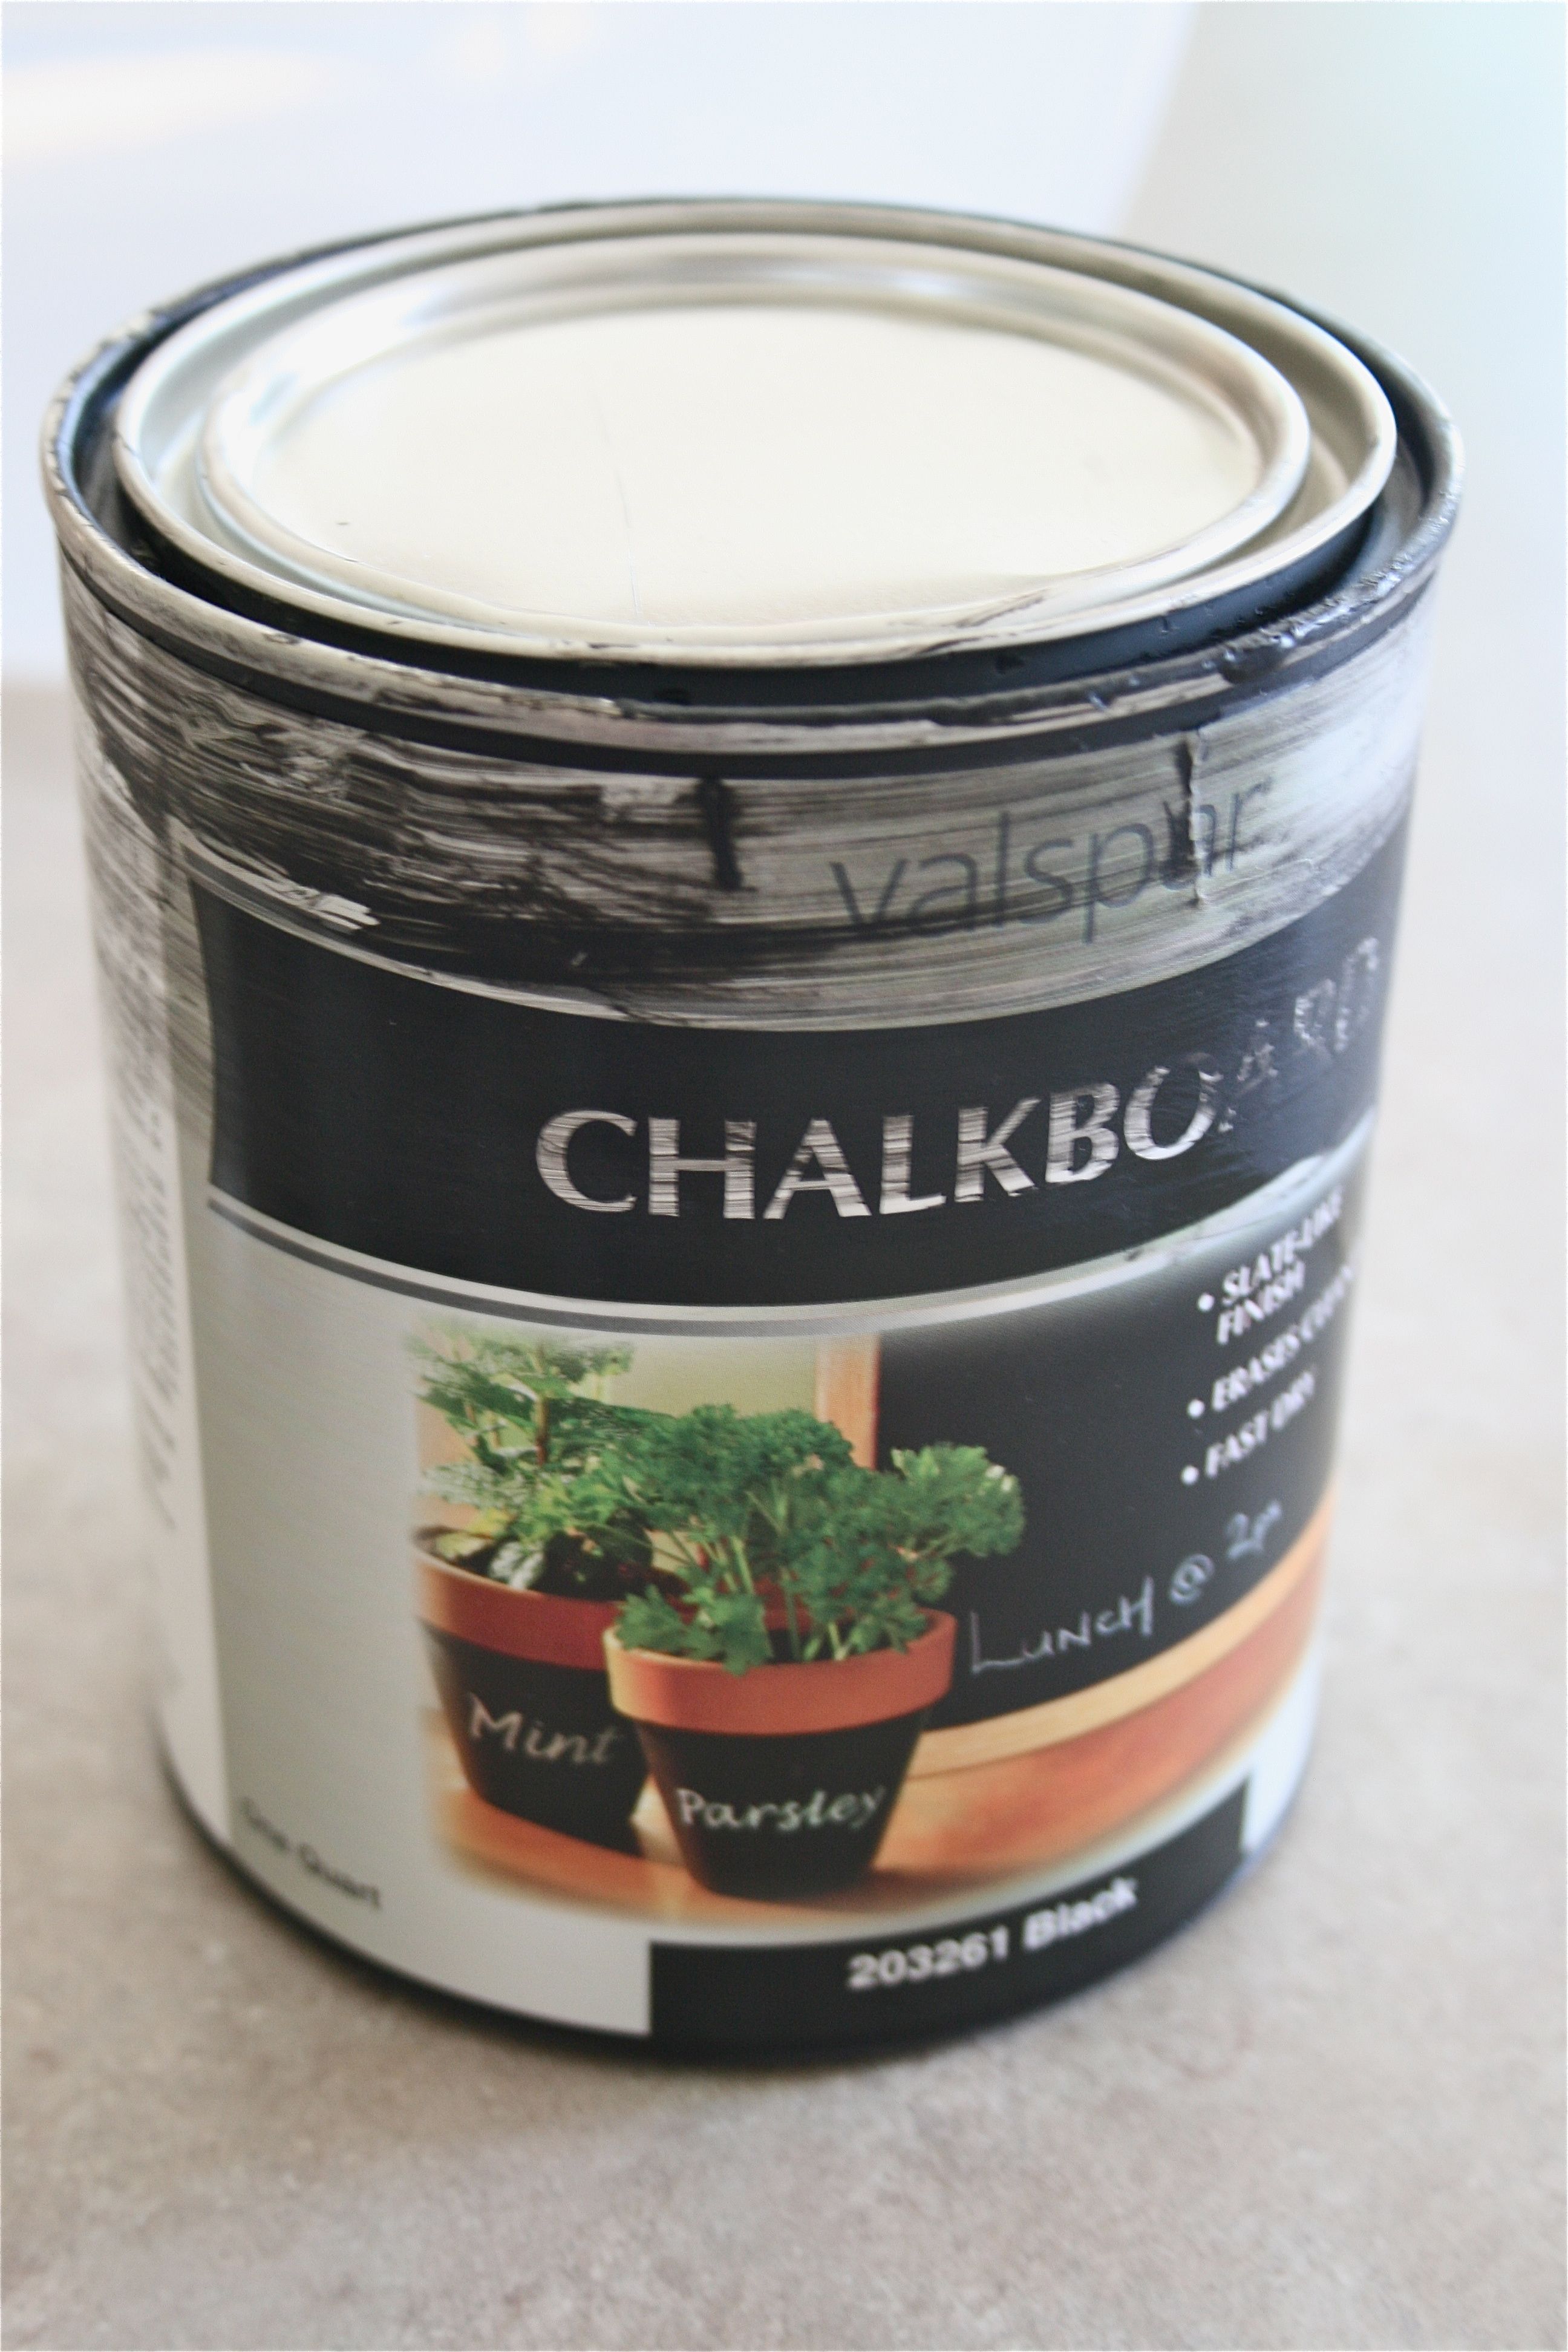
Here’s our trusty old can of chalkboard paint:
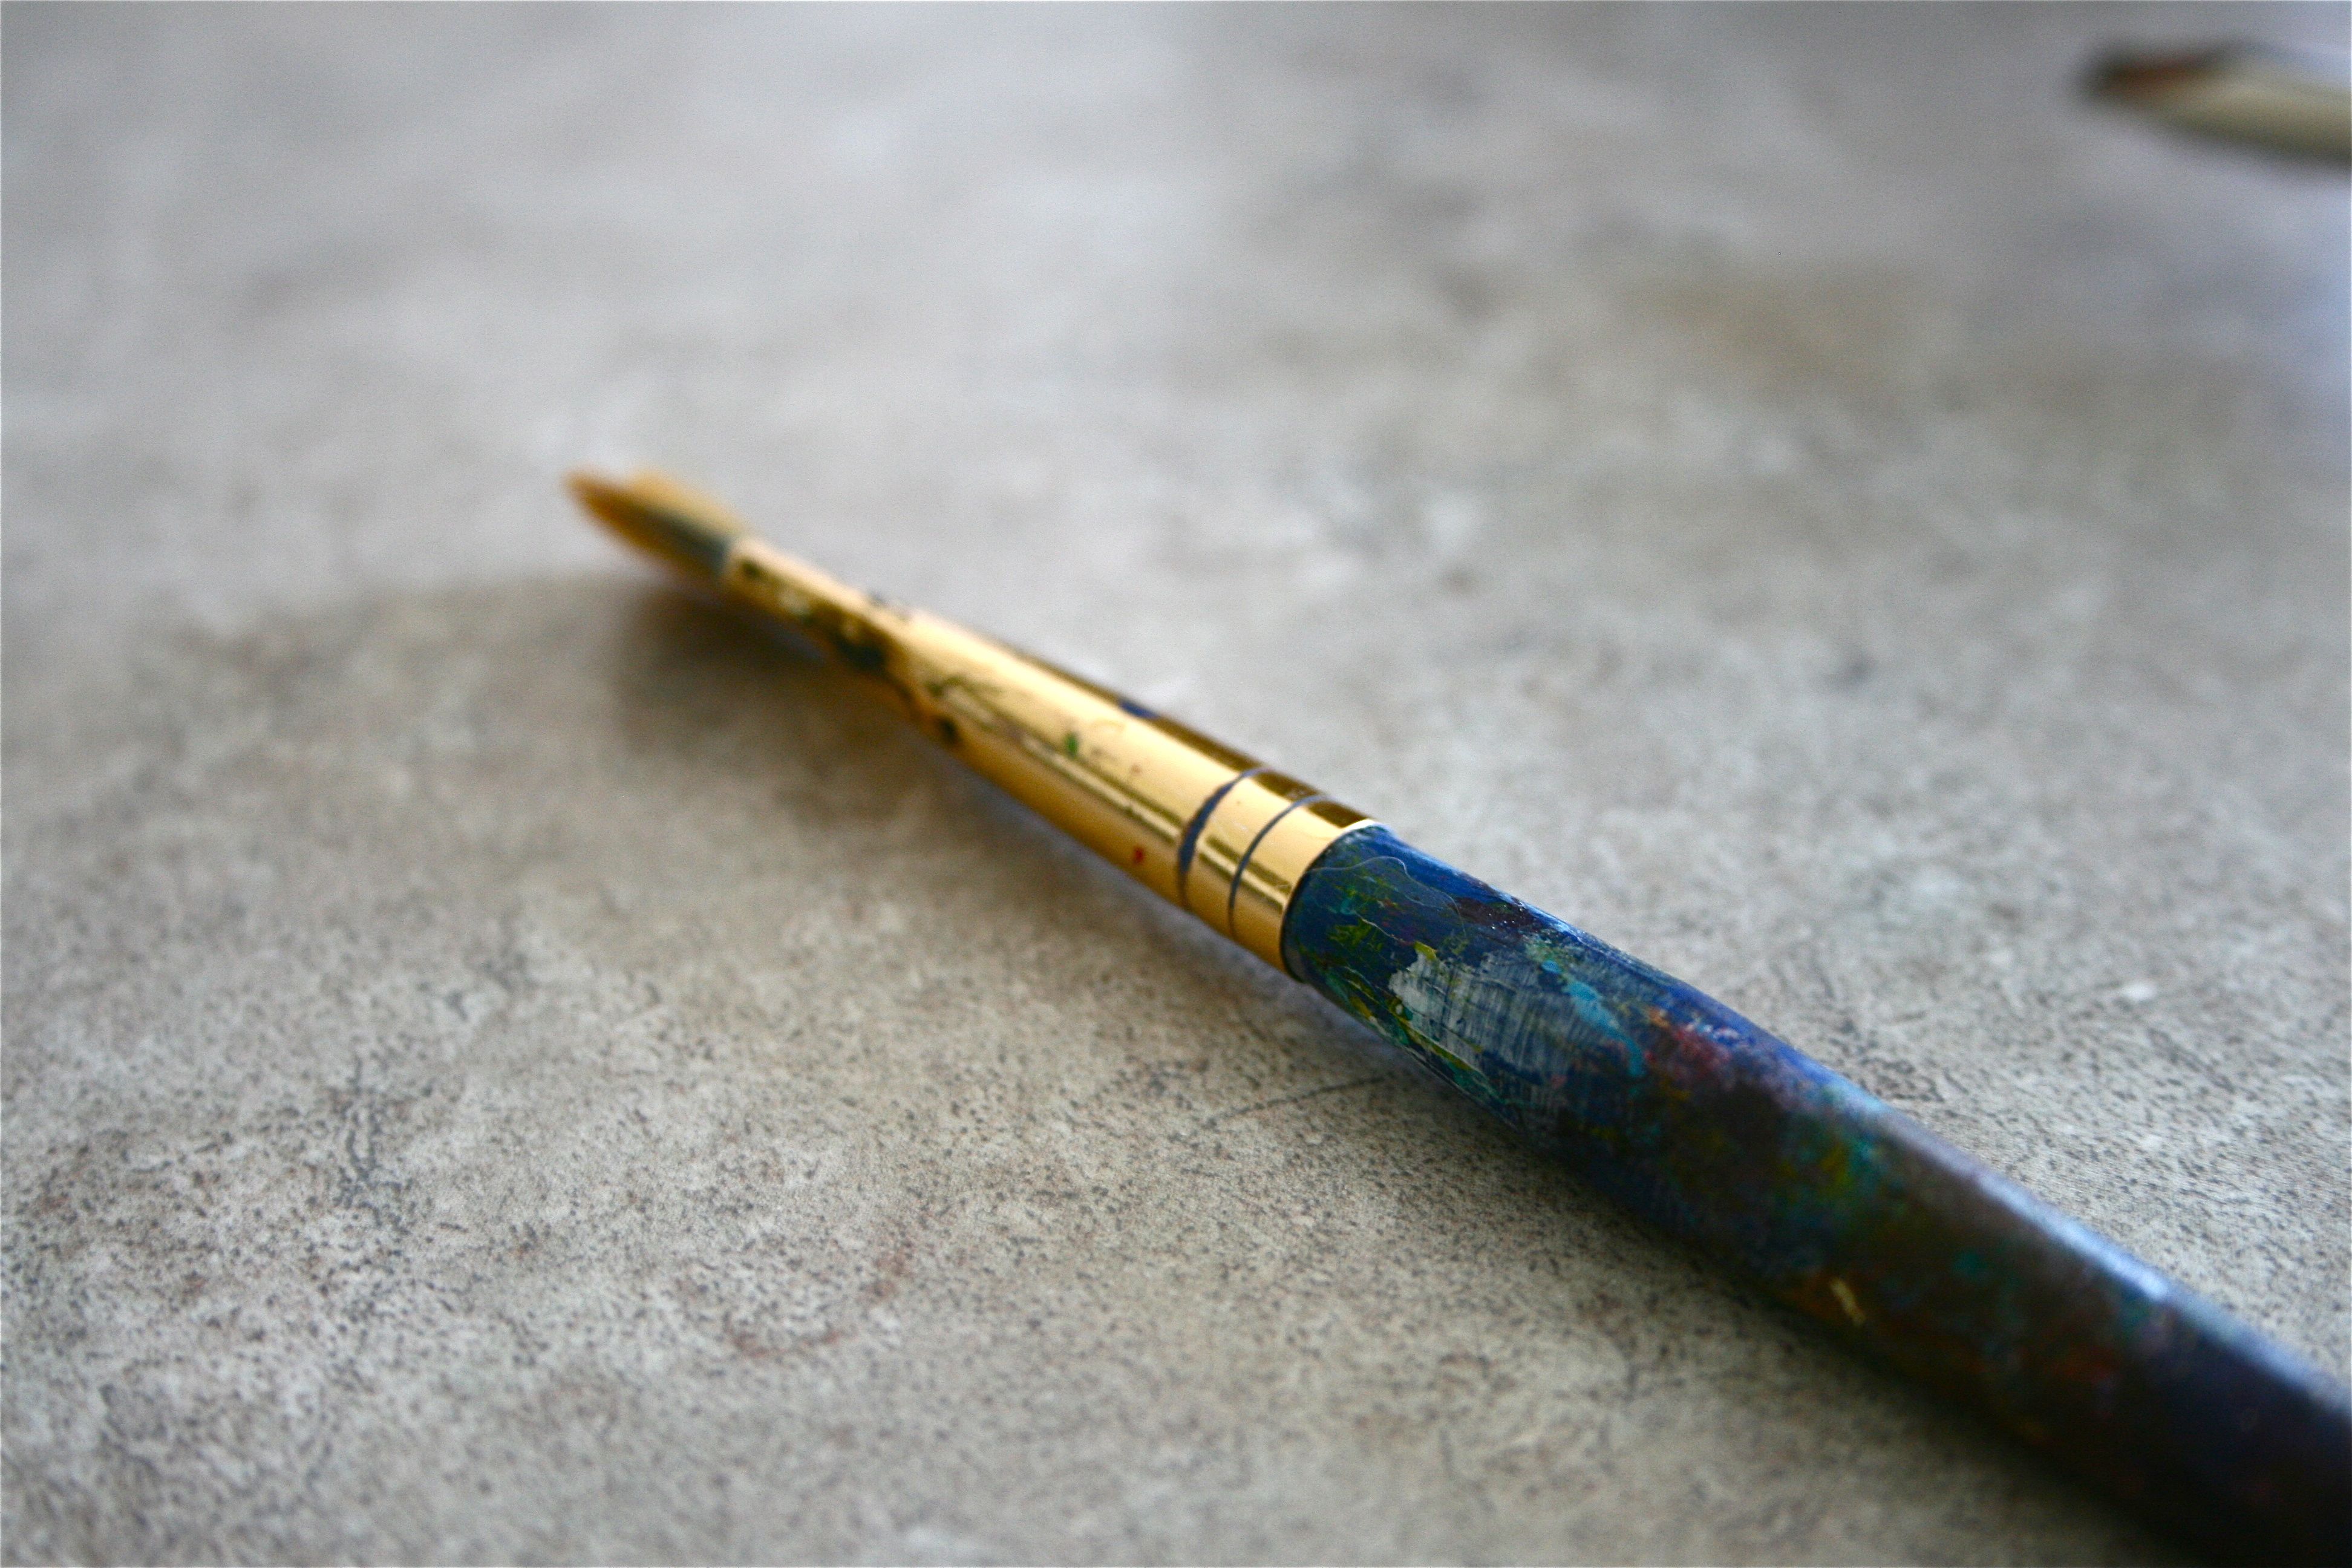
…and a thin paint brush to get into all the little curves of the letters:
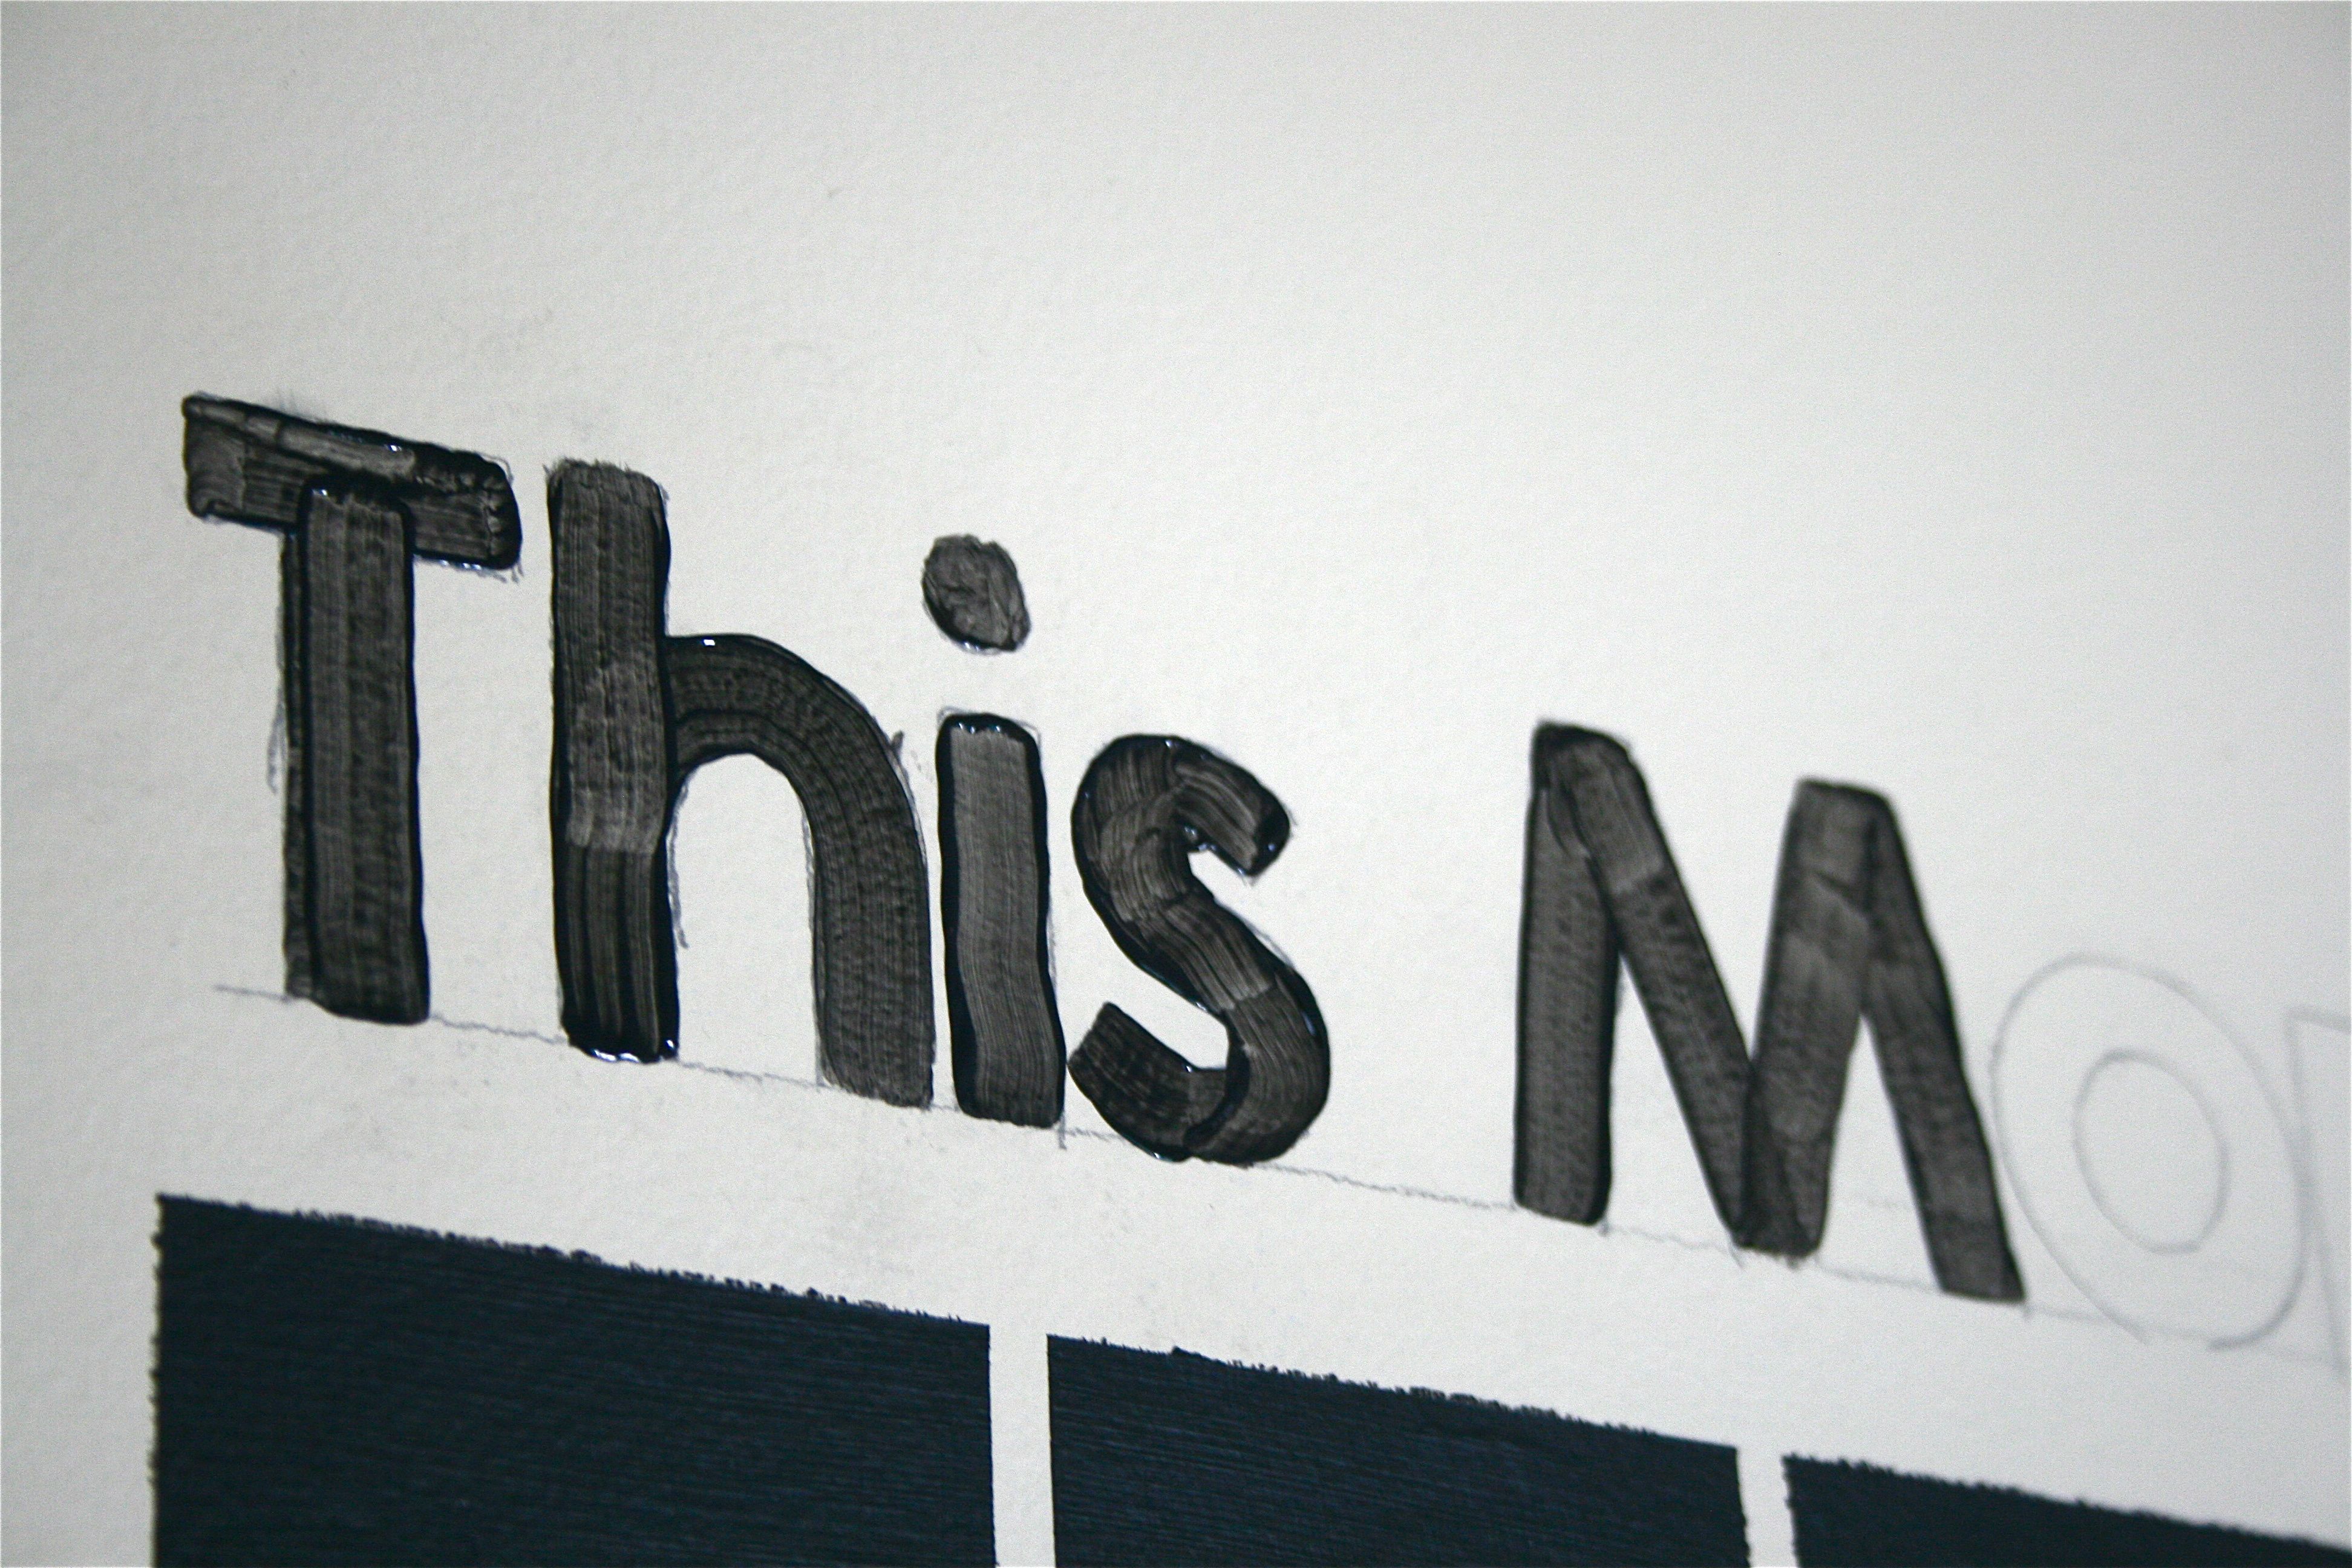
In no time at all, we had a first coat up on the wall! A nice steady hand and thin coats of paint were key.
Coat #1 all done:
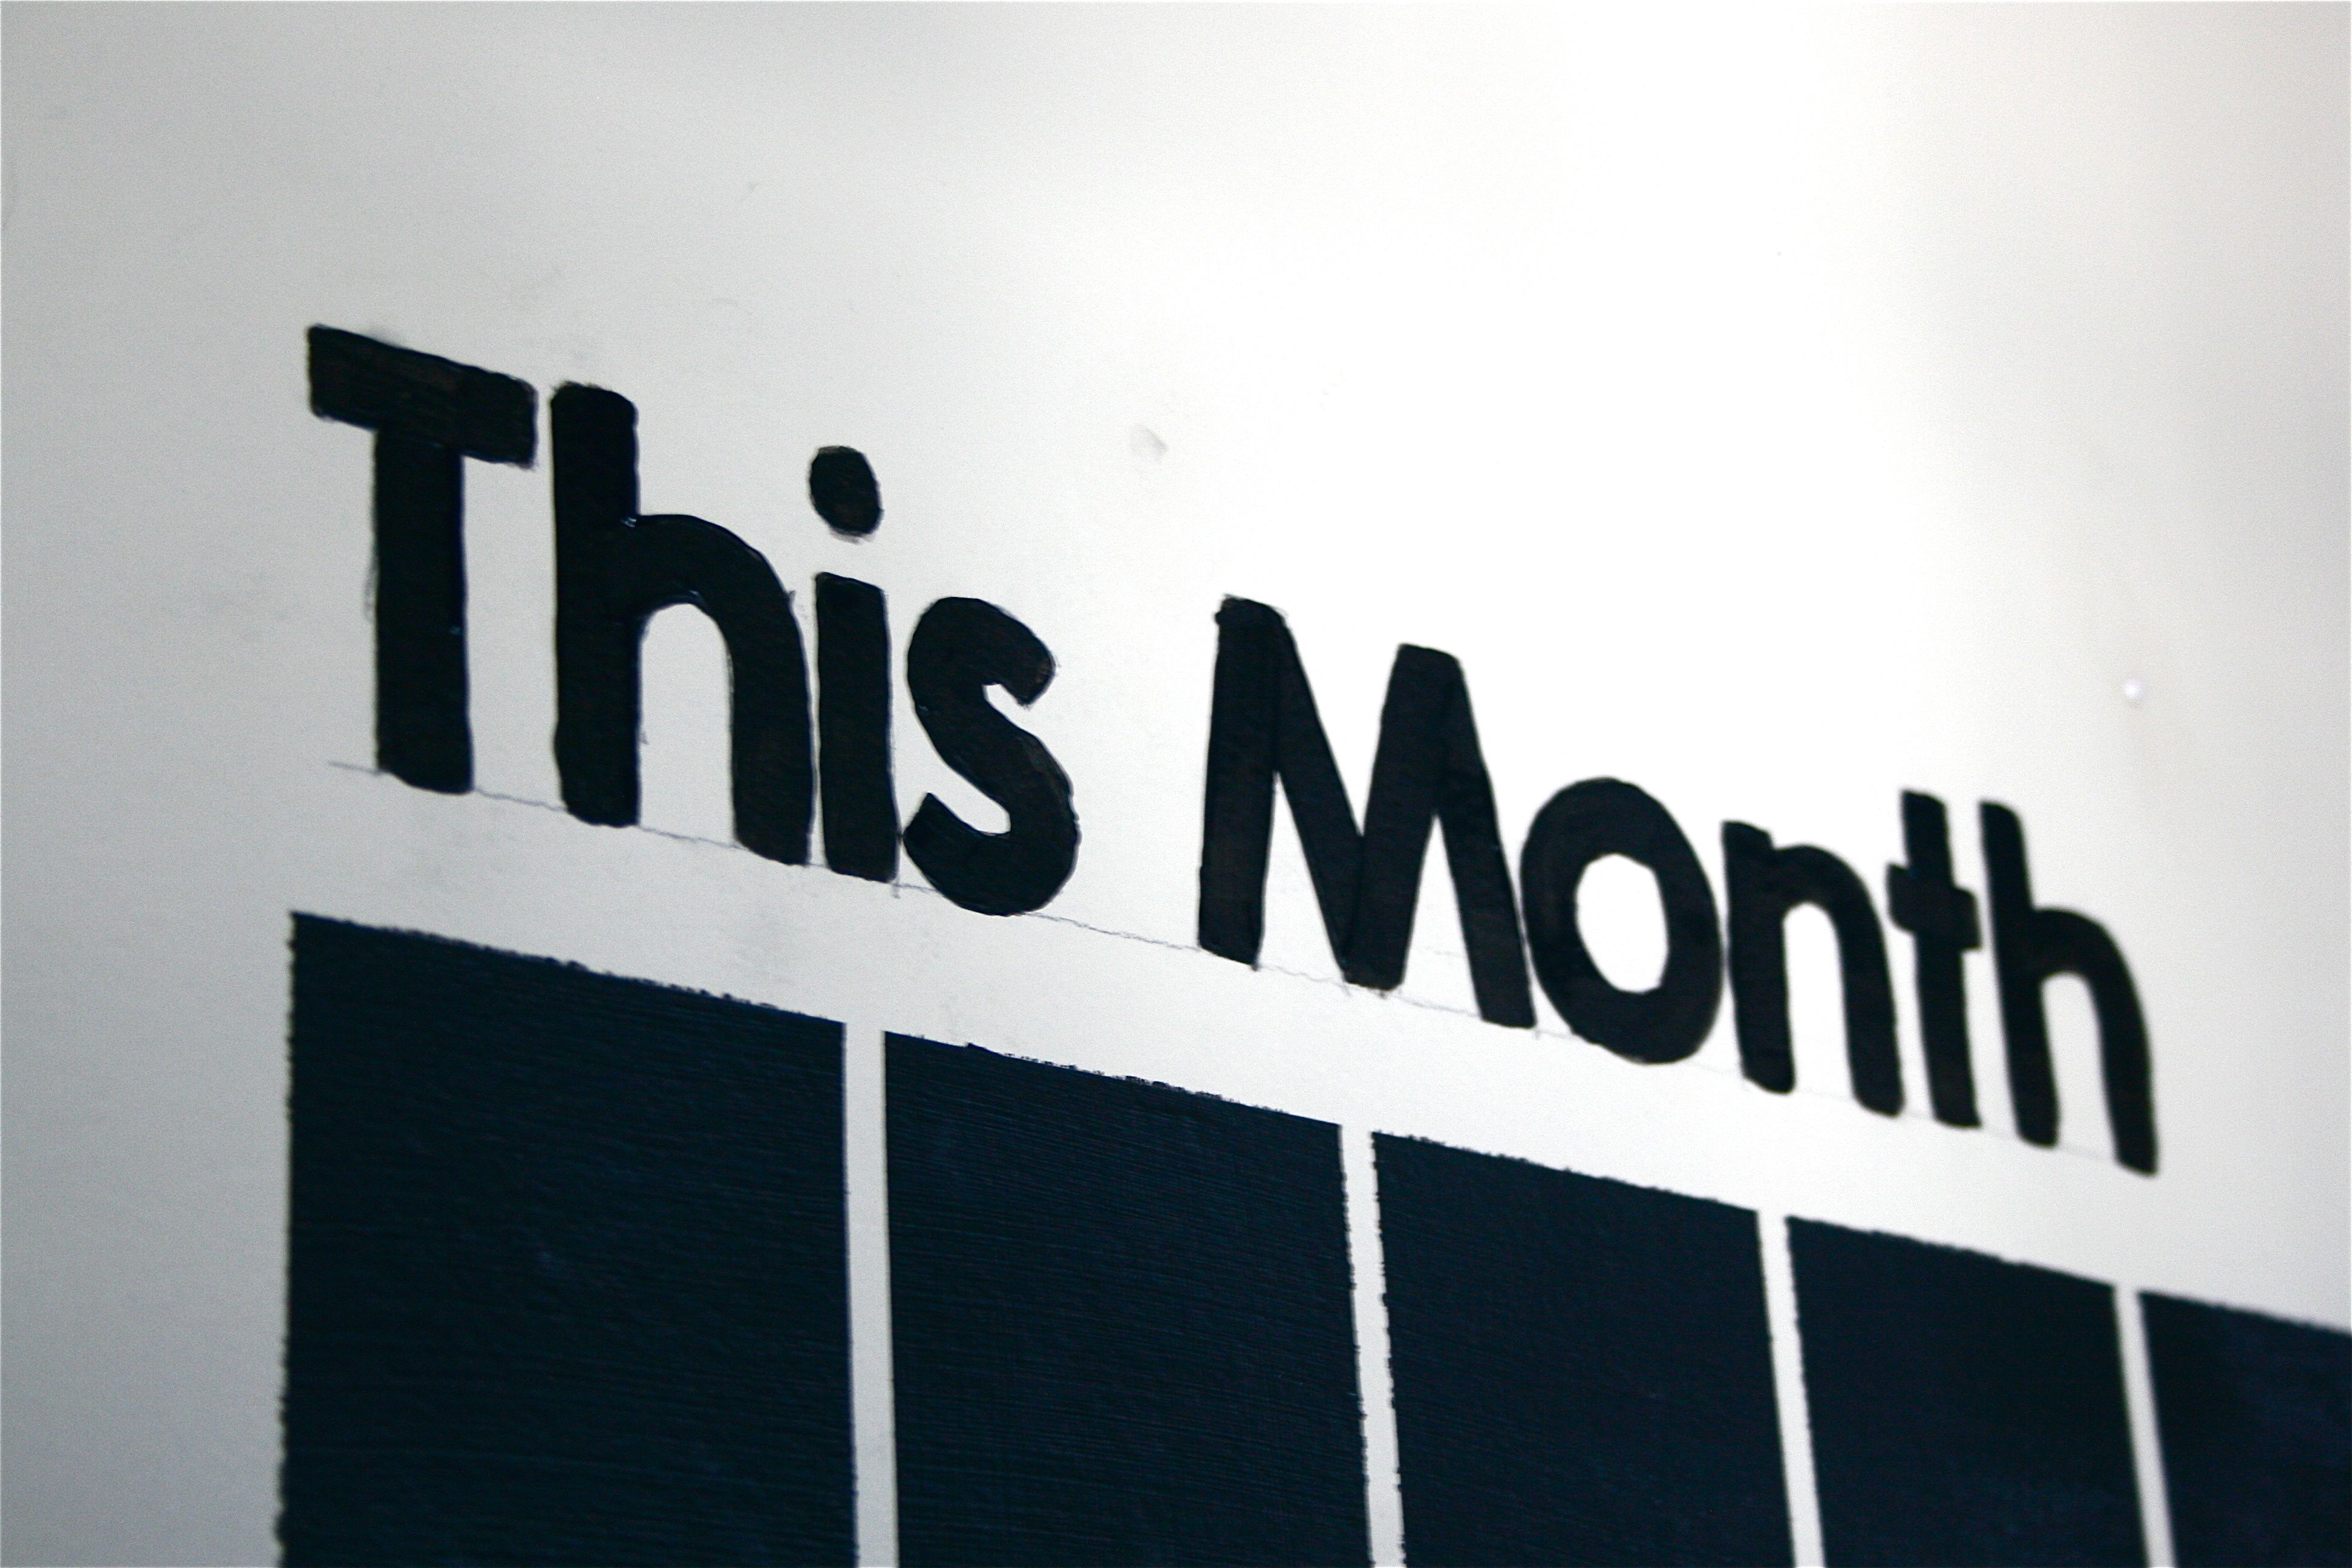
Coat #2:
And, finally, coat #3:
I am really pleased with how it turned out and how the simple header really DOES finish off the piece.
And for comparison’s sake, here’s the inspiration image again…
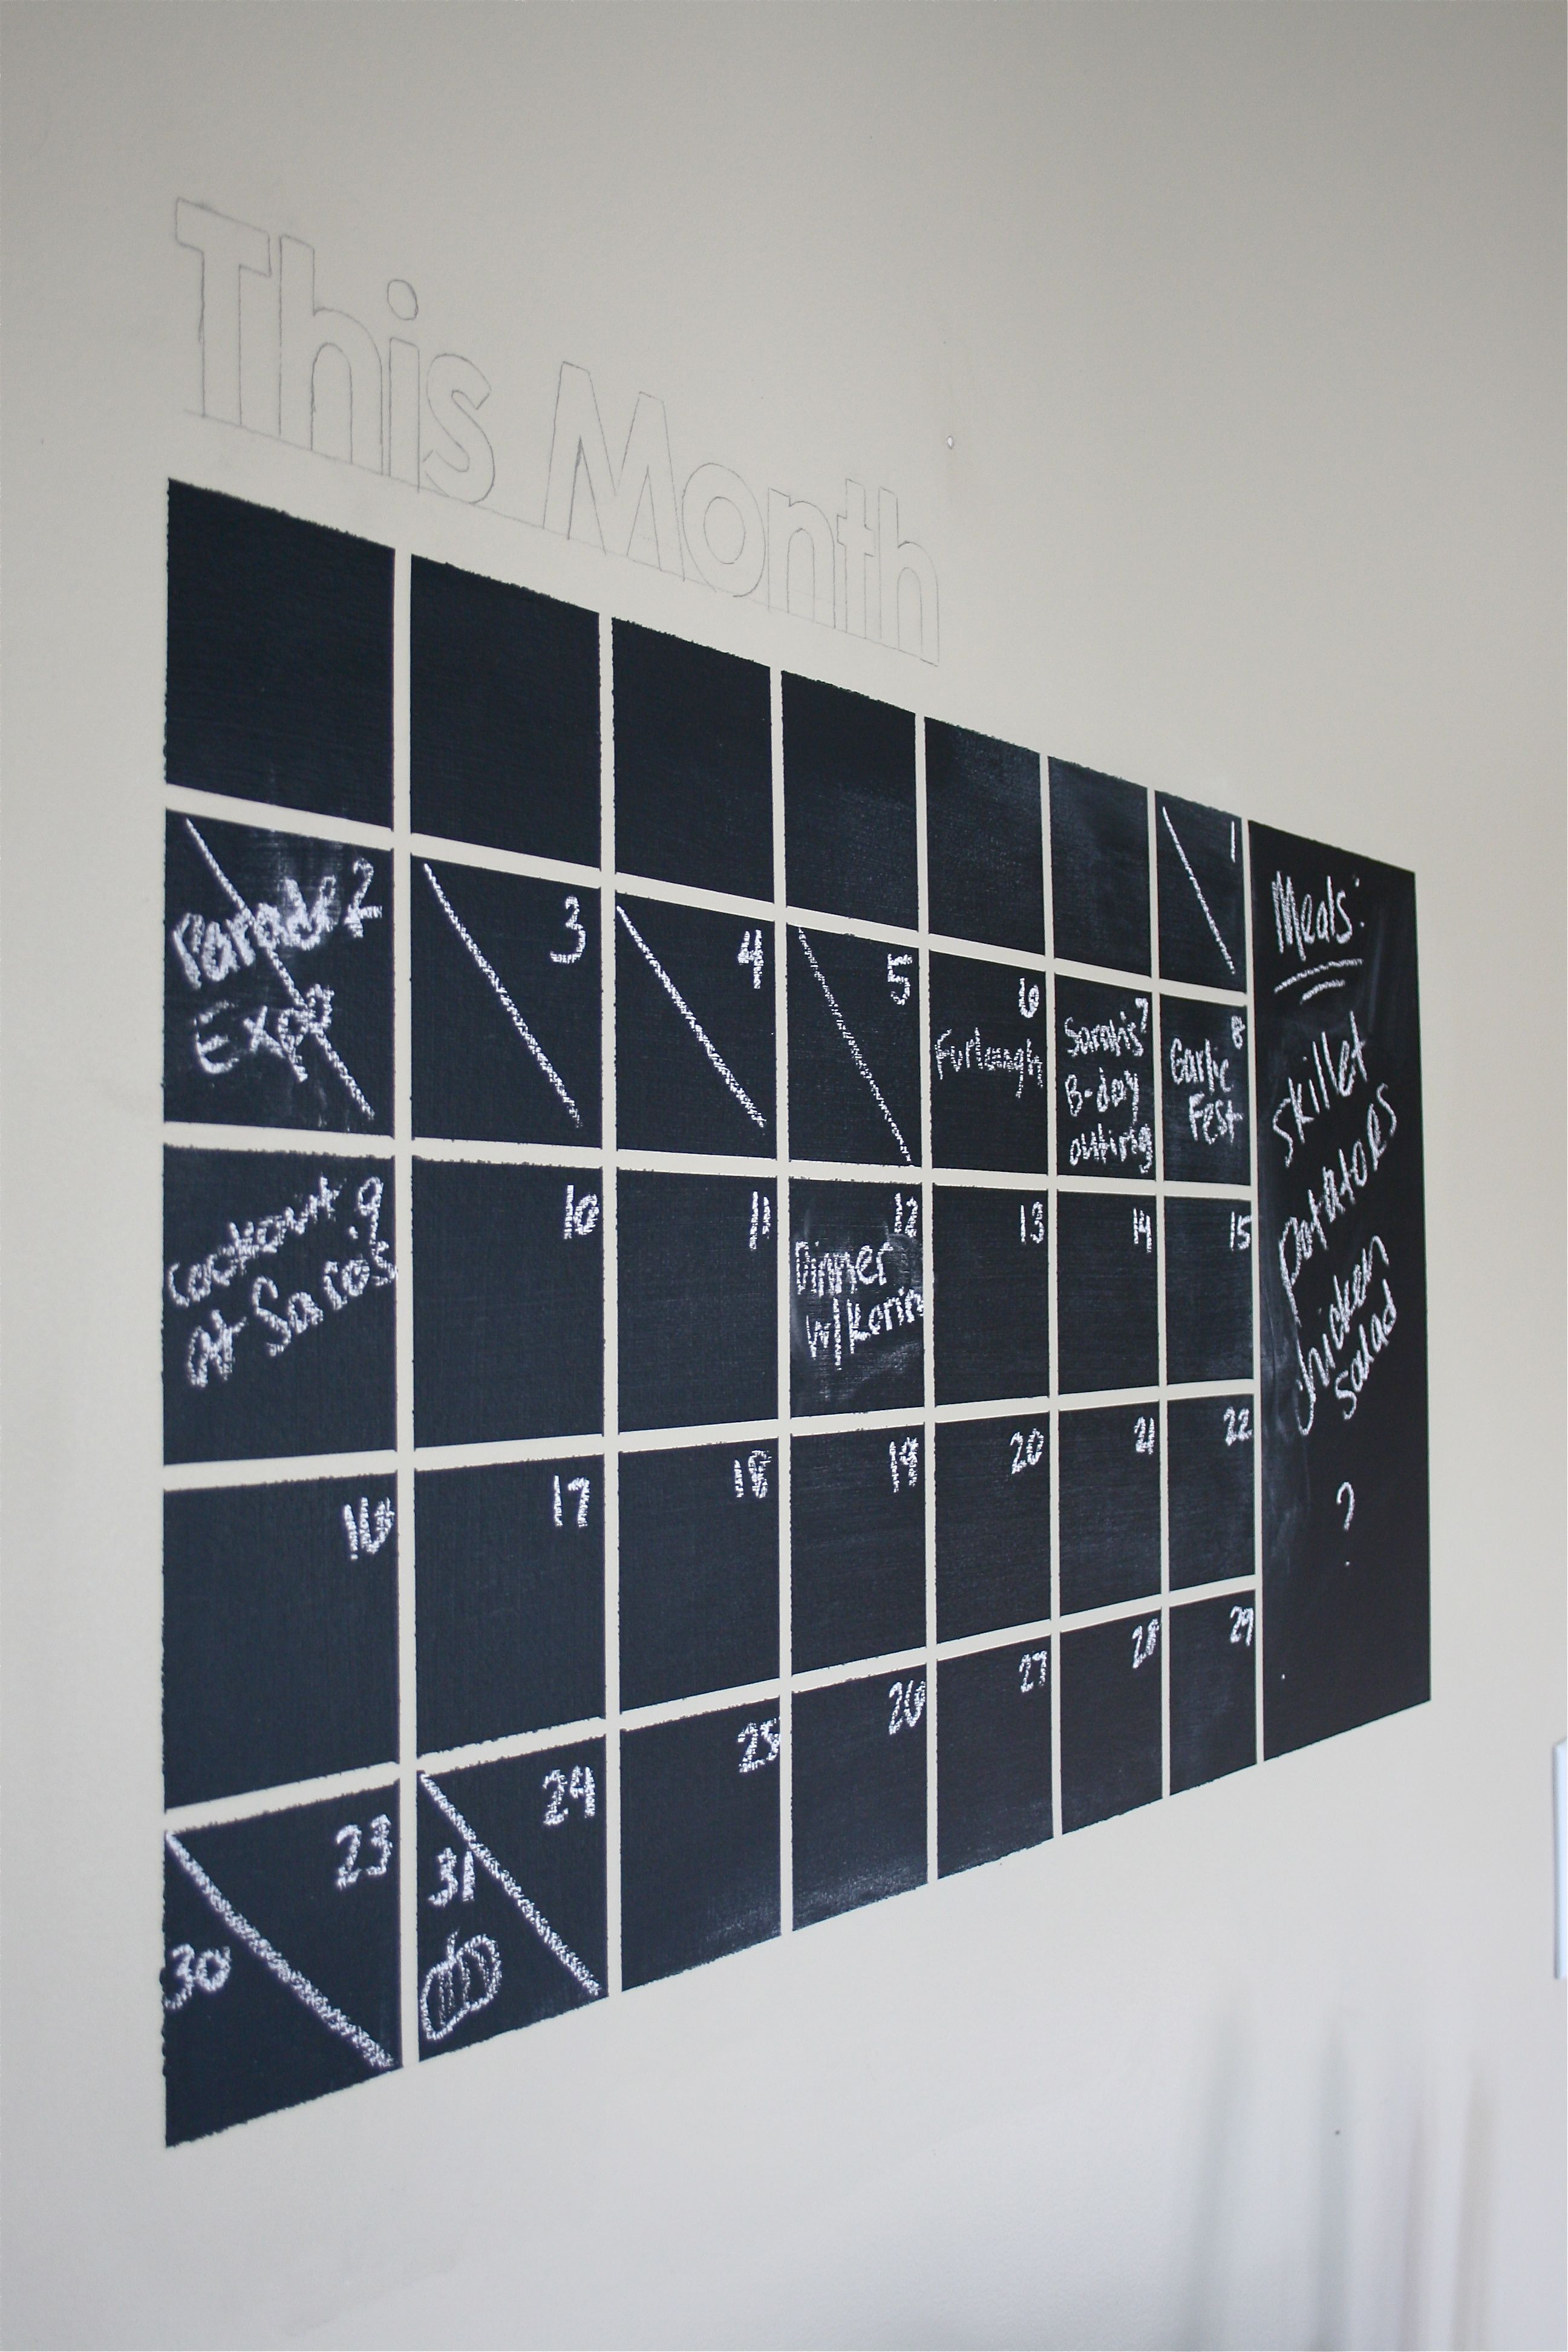
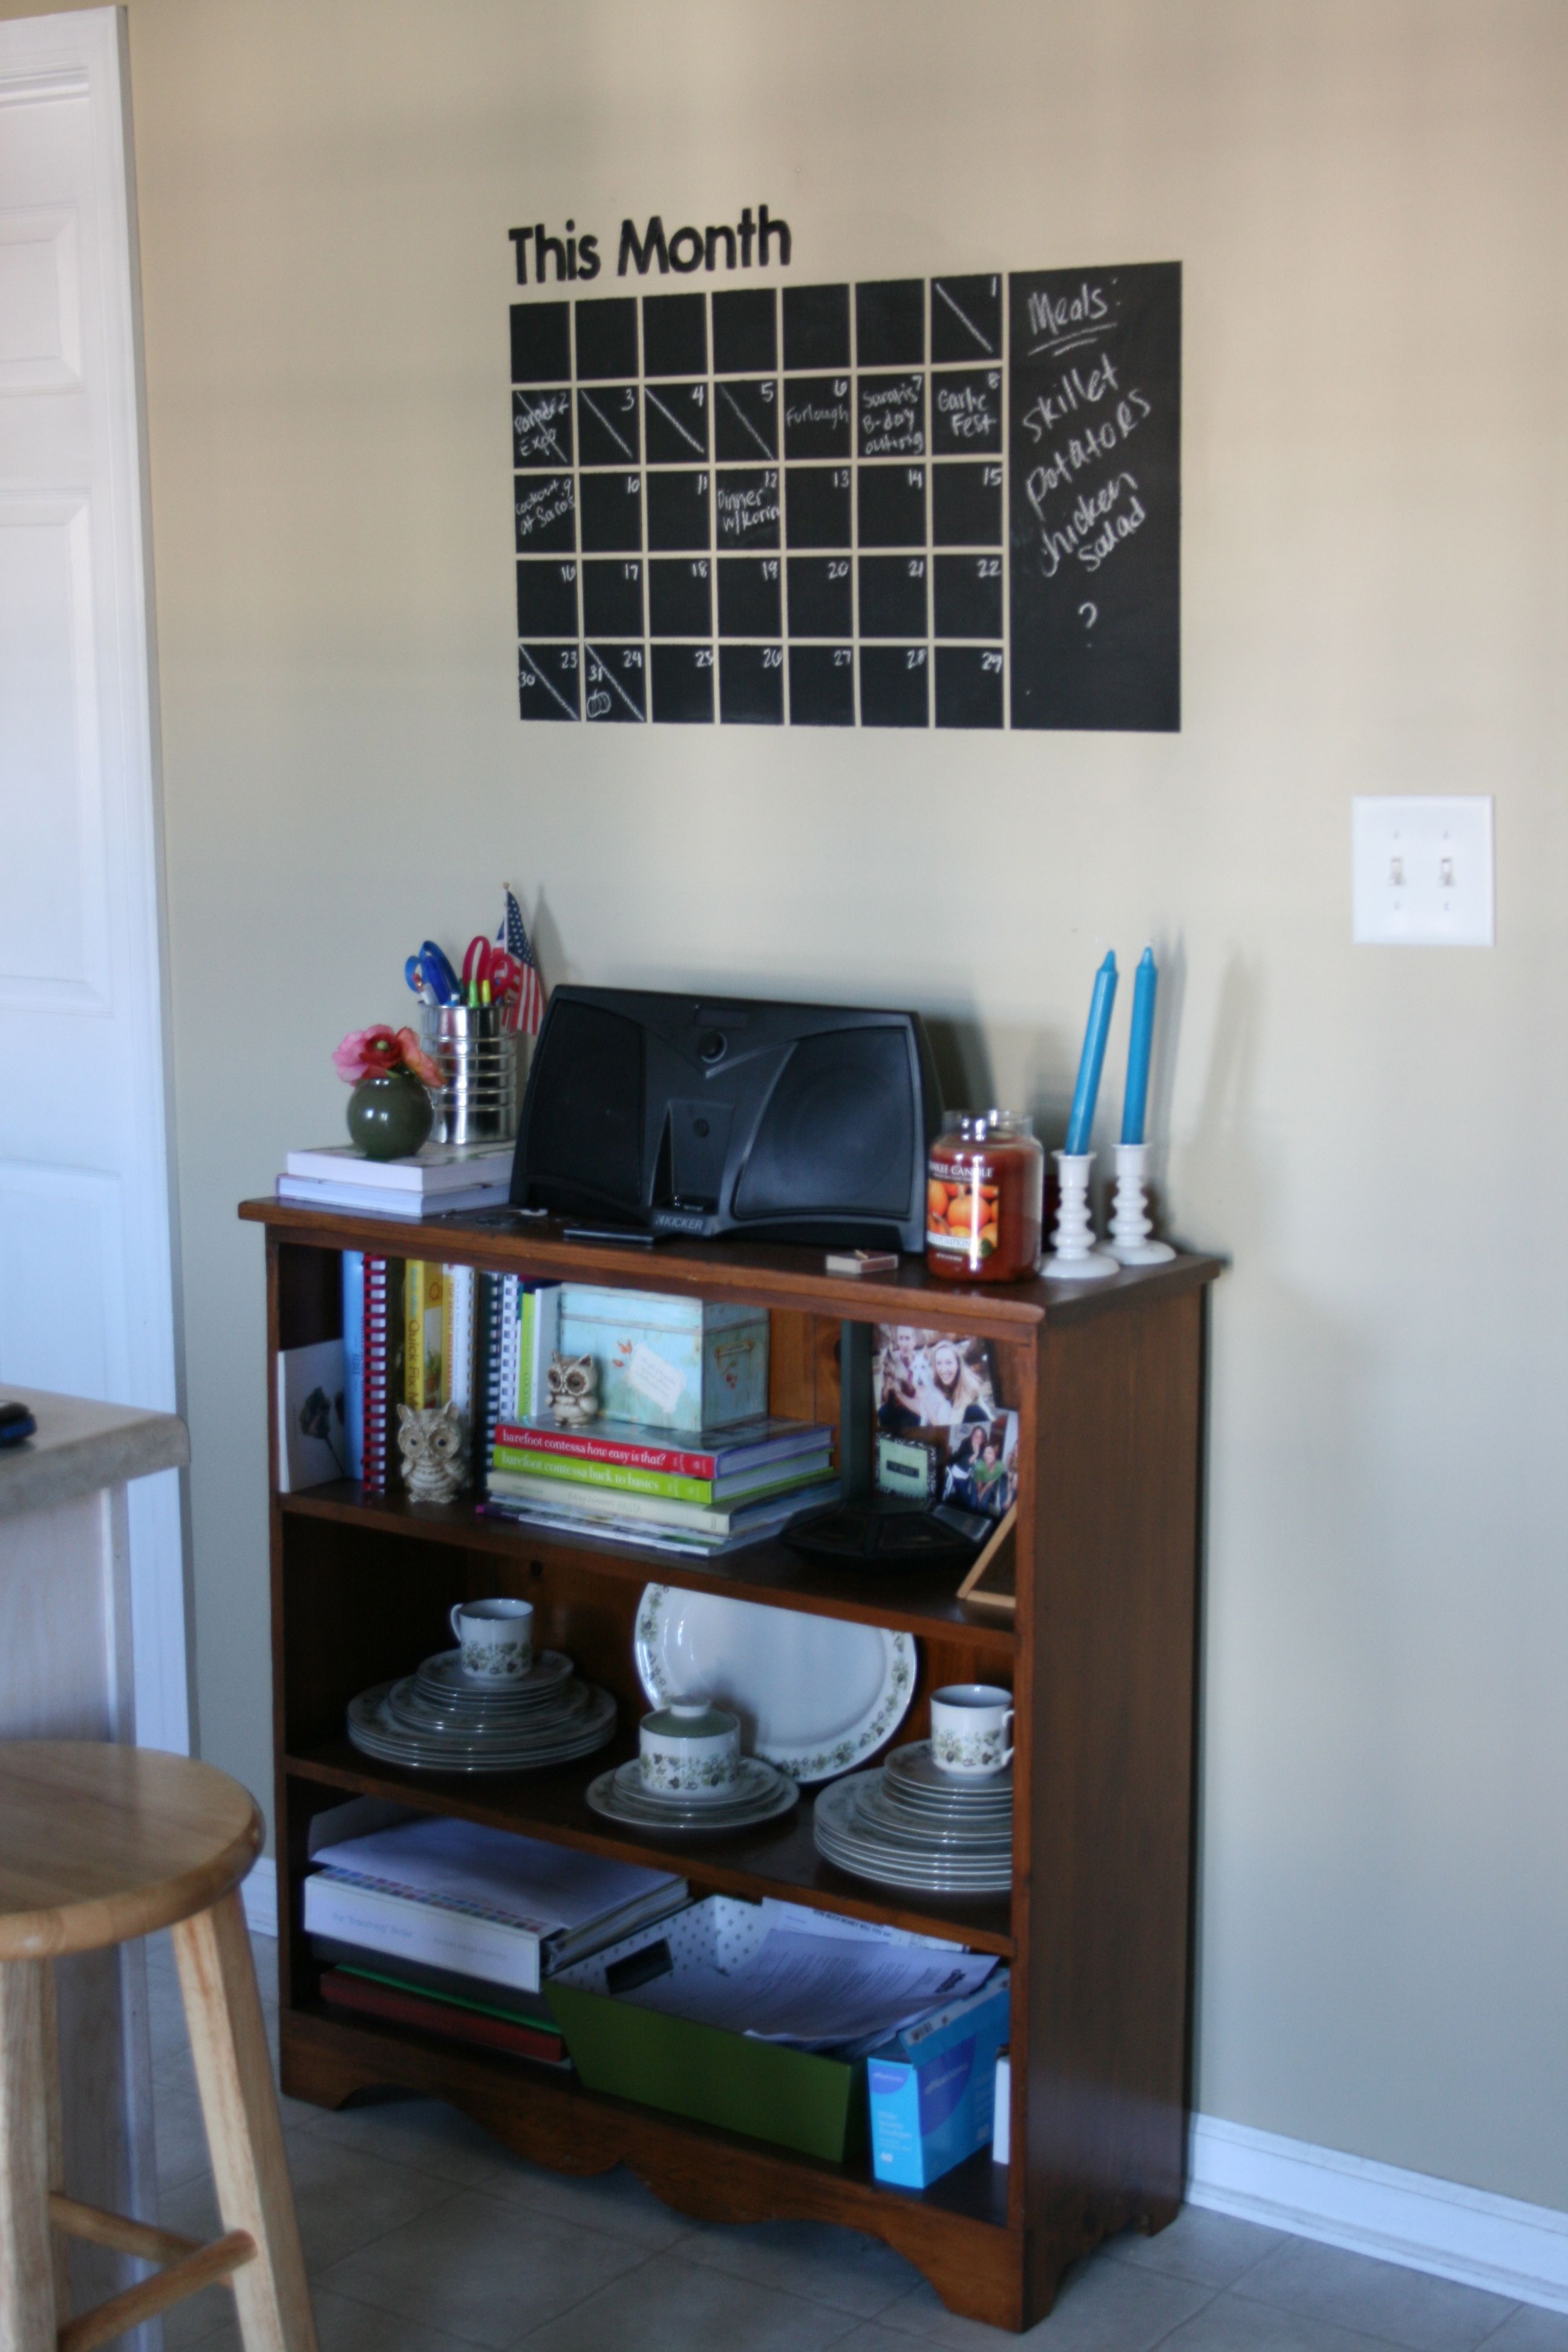
And our finished product! (though a little blurry…Sorry, must have been excited 🙂 )
Not bad for costing only $14 (which comes to over $50 less than the store-bought inspiration)!!! But if you don’t want to go through the hassle we did, I would definitely recommend going with the Etsy product linked to at the beginning of this post – I can safely say that you will use it constantly if you’re anything like John and I when it comes to planning, whether you order it off the internet or DIY it yourself. As you can see, we have a busy month ahead of us! Sarah’s birthday this weekend, the Garlic Festival, a cookout at Savannah’s house, dinner with Korin, Halloween…The list goes on 🙂
Hope you guys enjoy whatever YOU’VE got planned for the weekend ahead!

