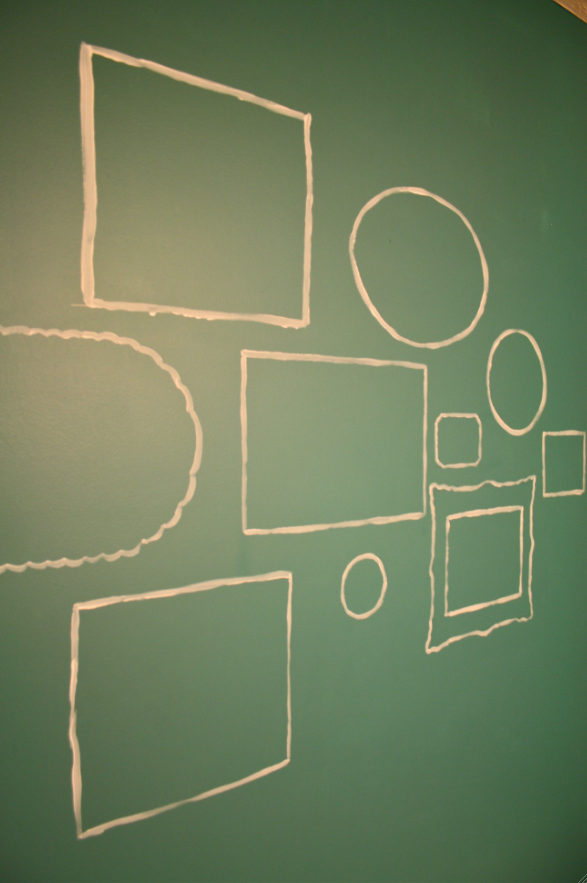
I think it’s safe to say that we all have that little spot, corner or wall in our homes that is foiling us – One particular place that is blank, poorly lit or we just can’t decide what to put there. Well sometimes the best way to tackle these pesky zones is to just experiment.
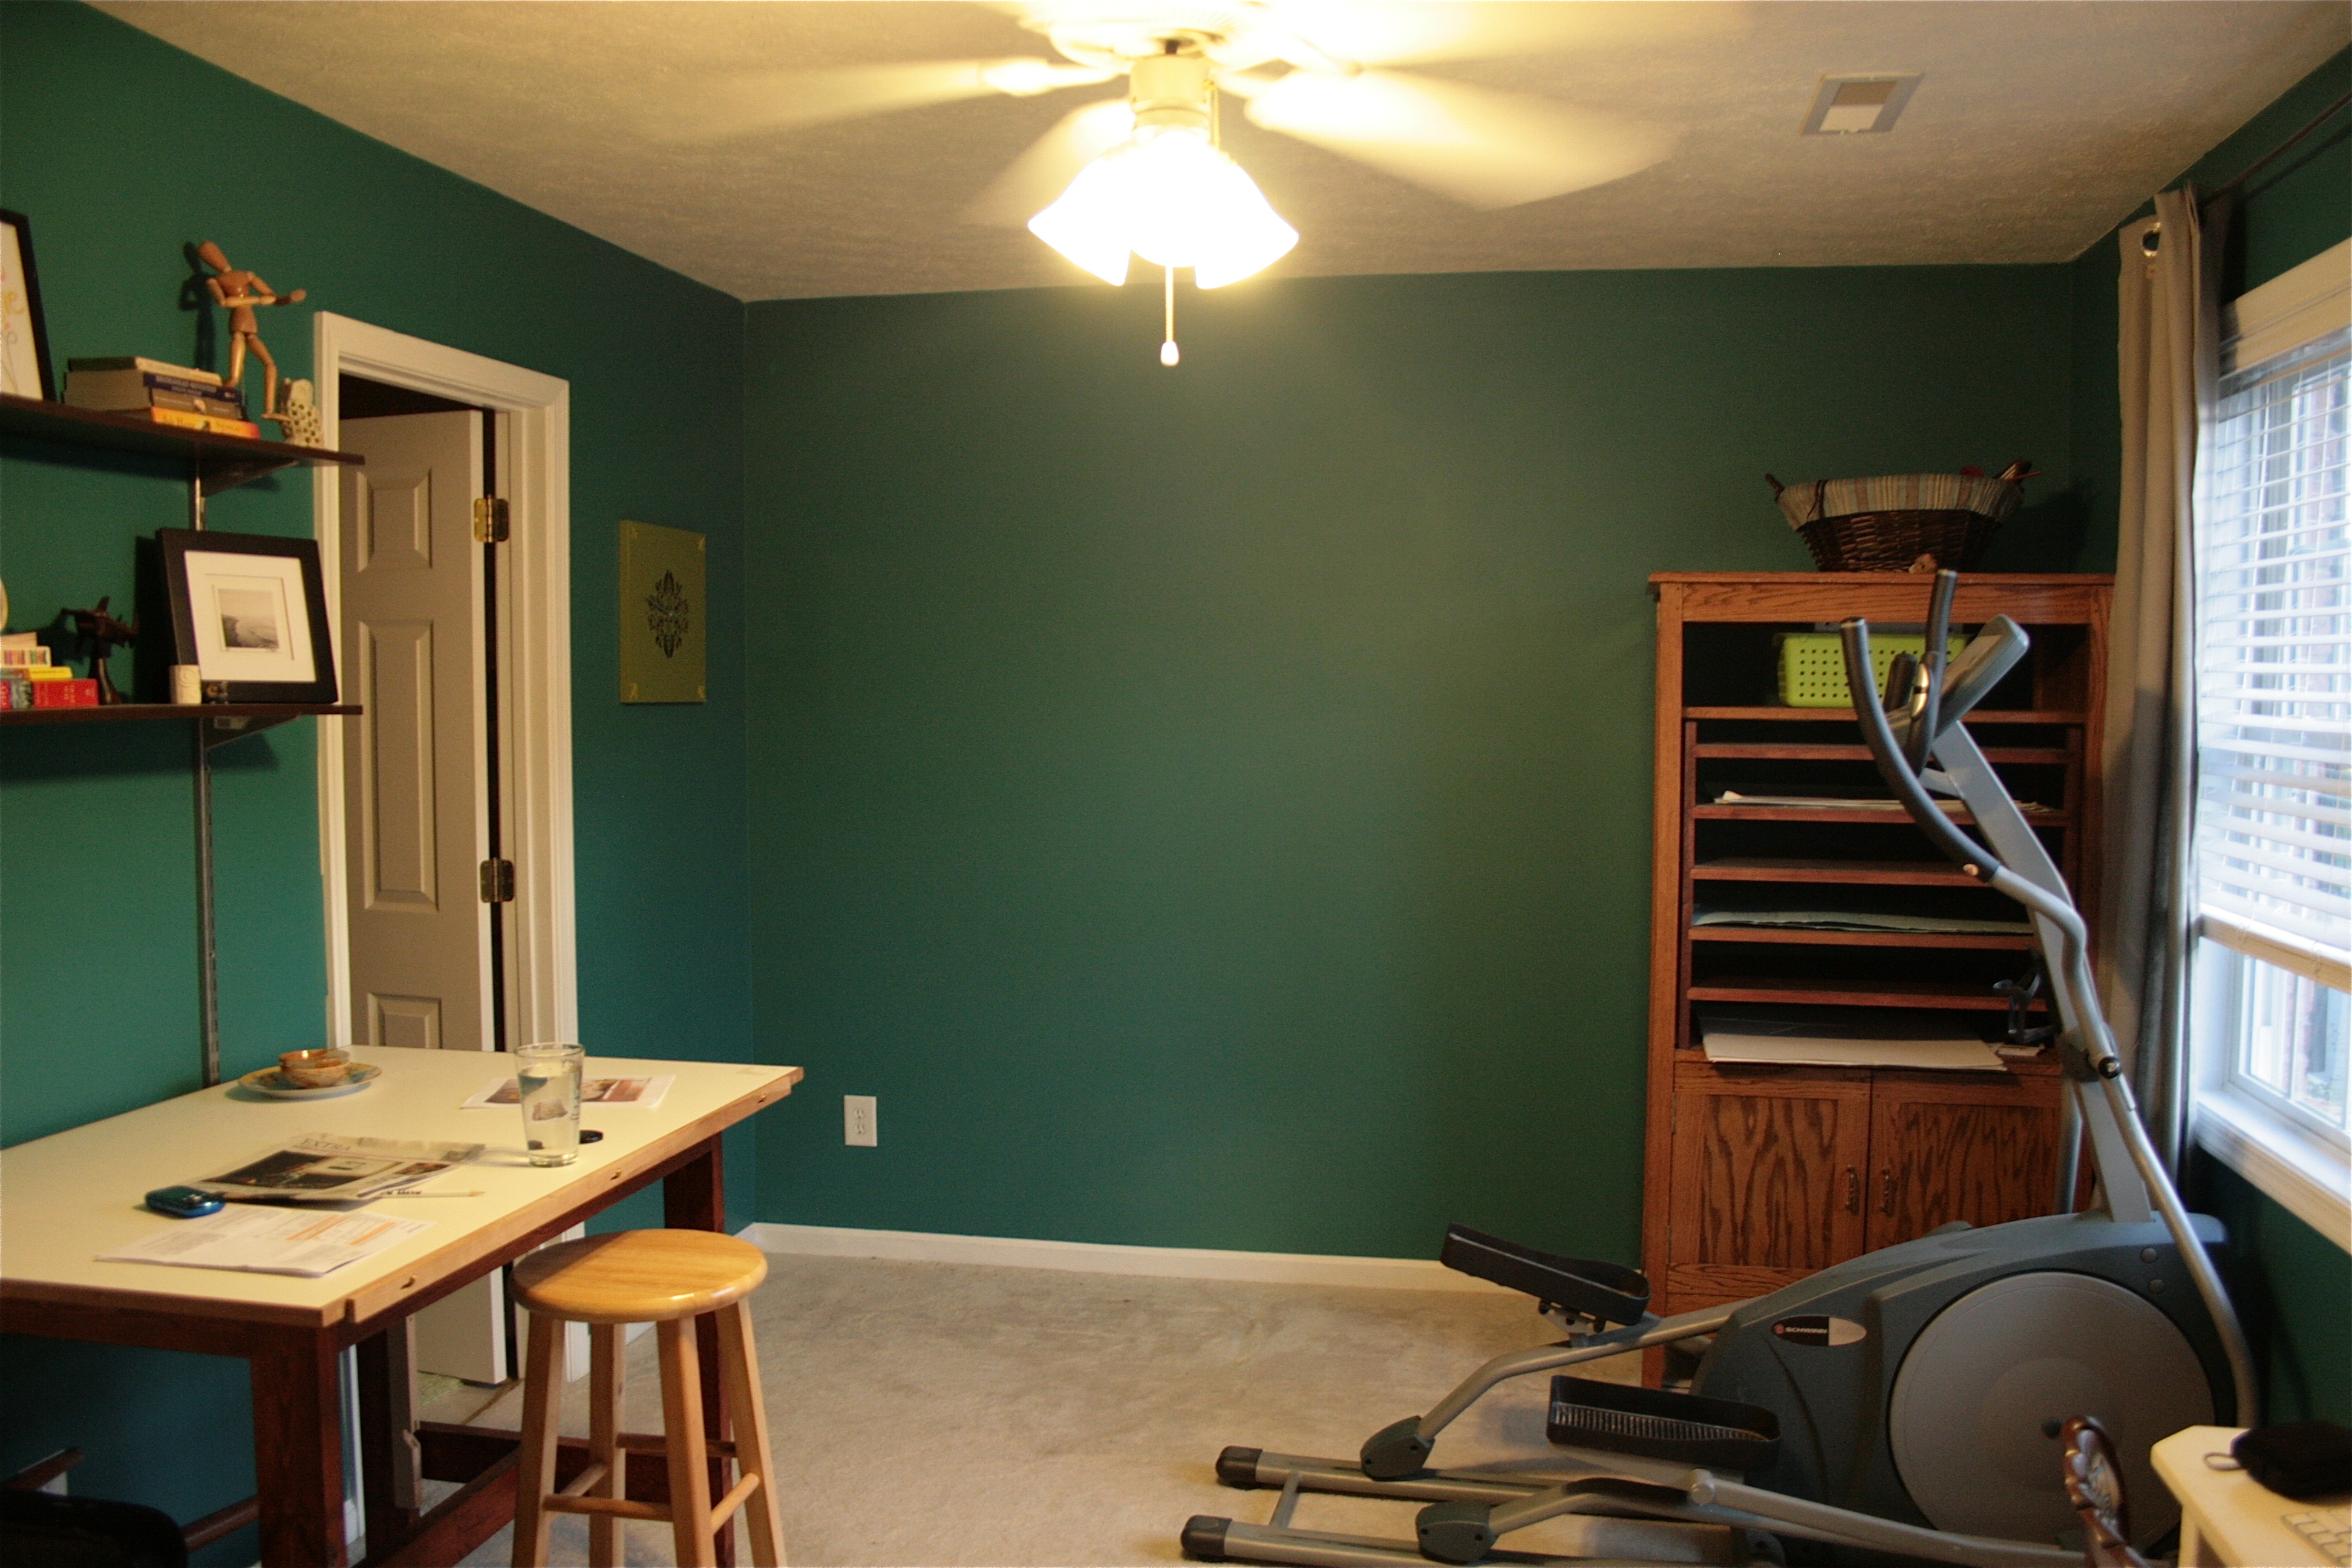
The spot in our home that continuously gets the best of me is an empty wall up in the studio. There’s usually a bulky elliptical machine in front of it (John nicely moved it out of the way for me last night so I could have access to the wall, as you can see in the photo below), and no art. Blankedy blank blankkkk…
It was killing me.
Thankfully, I randomly got the inspiration I was searching for while flipping through a design magazine at Barnes & Noble. I think I must have been perusing the pages very quickly, because it ended up that I didn’t actually see what I thought I saw.
Allow me to explain…There was one particular page that I was about to flick aside when I happened to notice a photo on the bottom right hand corner. It was a gallery wall, but not just any gallery wall – The frames were painted directly onto the wall! Upon closer inspection, it was just a normal gallery wall (the frames must have just been very thin and crooked) but the seed was planted in my mind and I had a vision.
The idea was to create my own gallery wall on the blank space, but use white paint instead of nails and wood! I wanted it to be kind of uneven and wobbly-looking, almost like a designer’s rendering or sketch of a possible frame configuration.
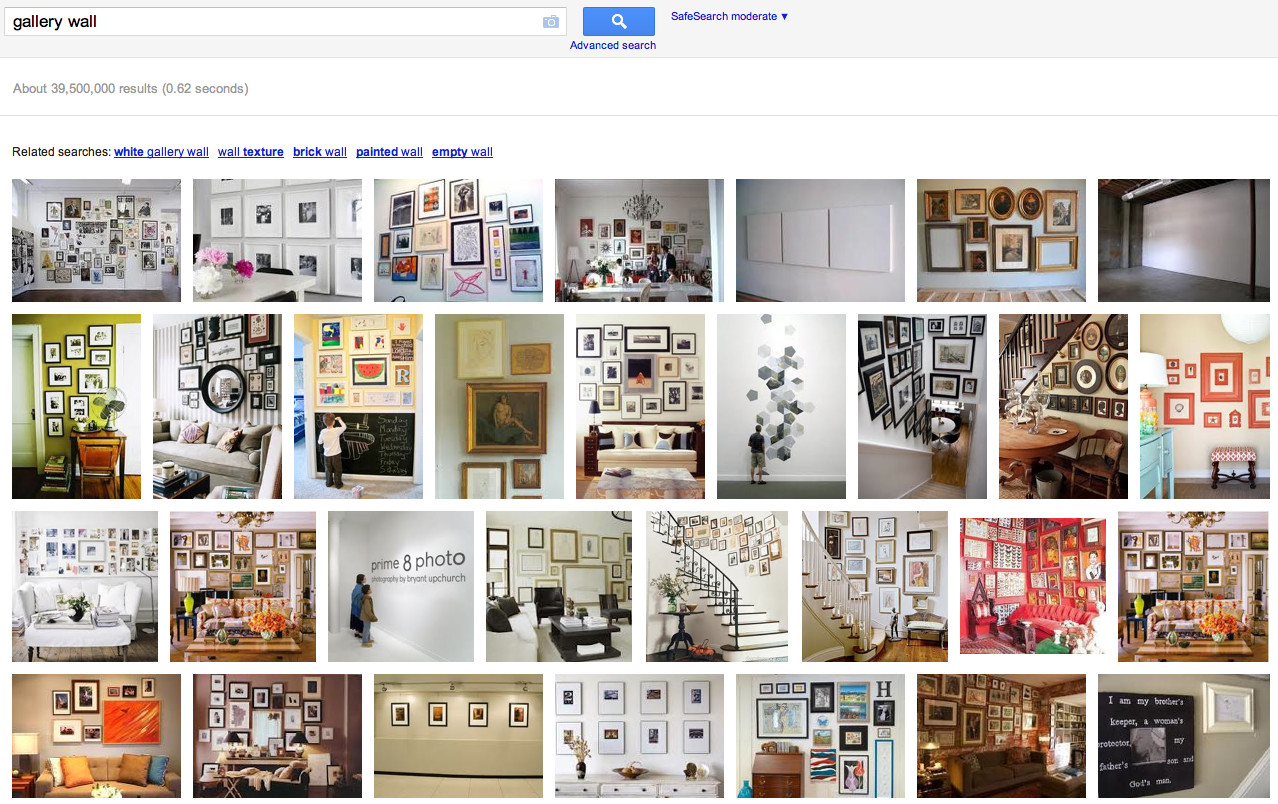
My first step was to find an arrangement I liked – I don’t like to go into an art project without something to go from. So I Googled “gallery wall” and came away with TONS of options:
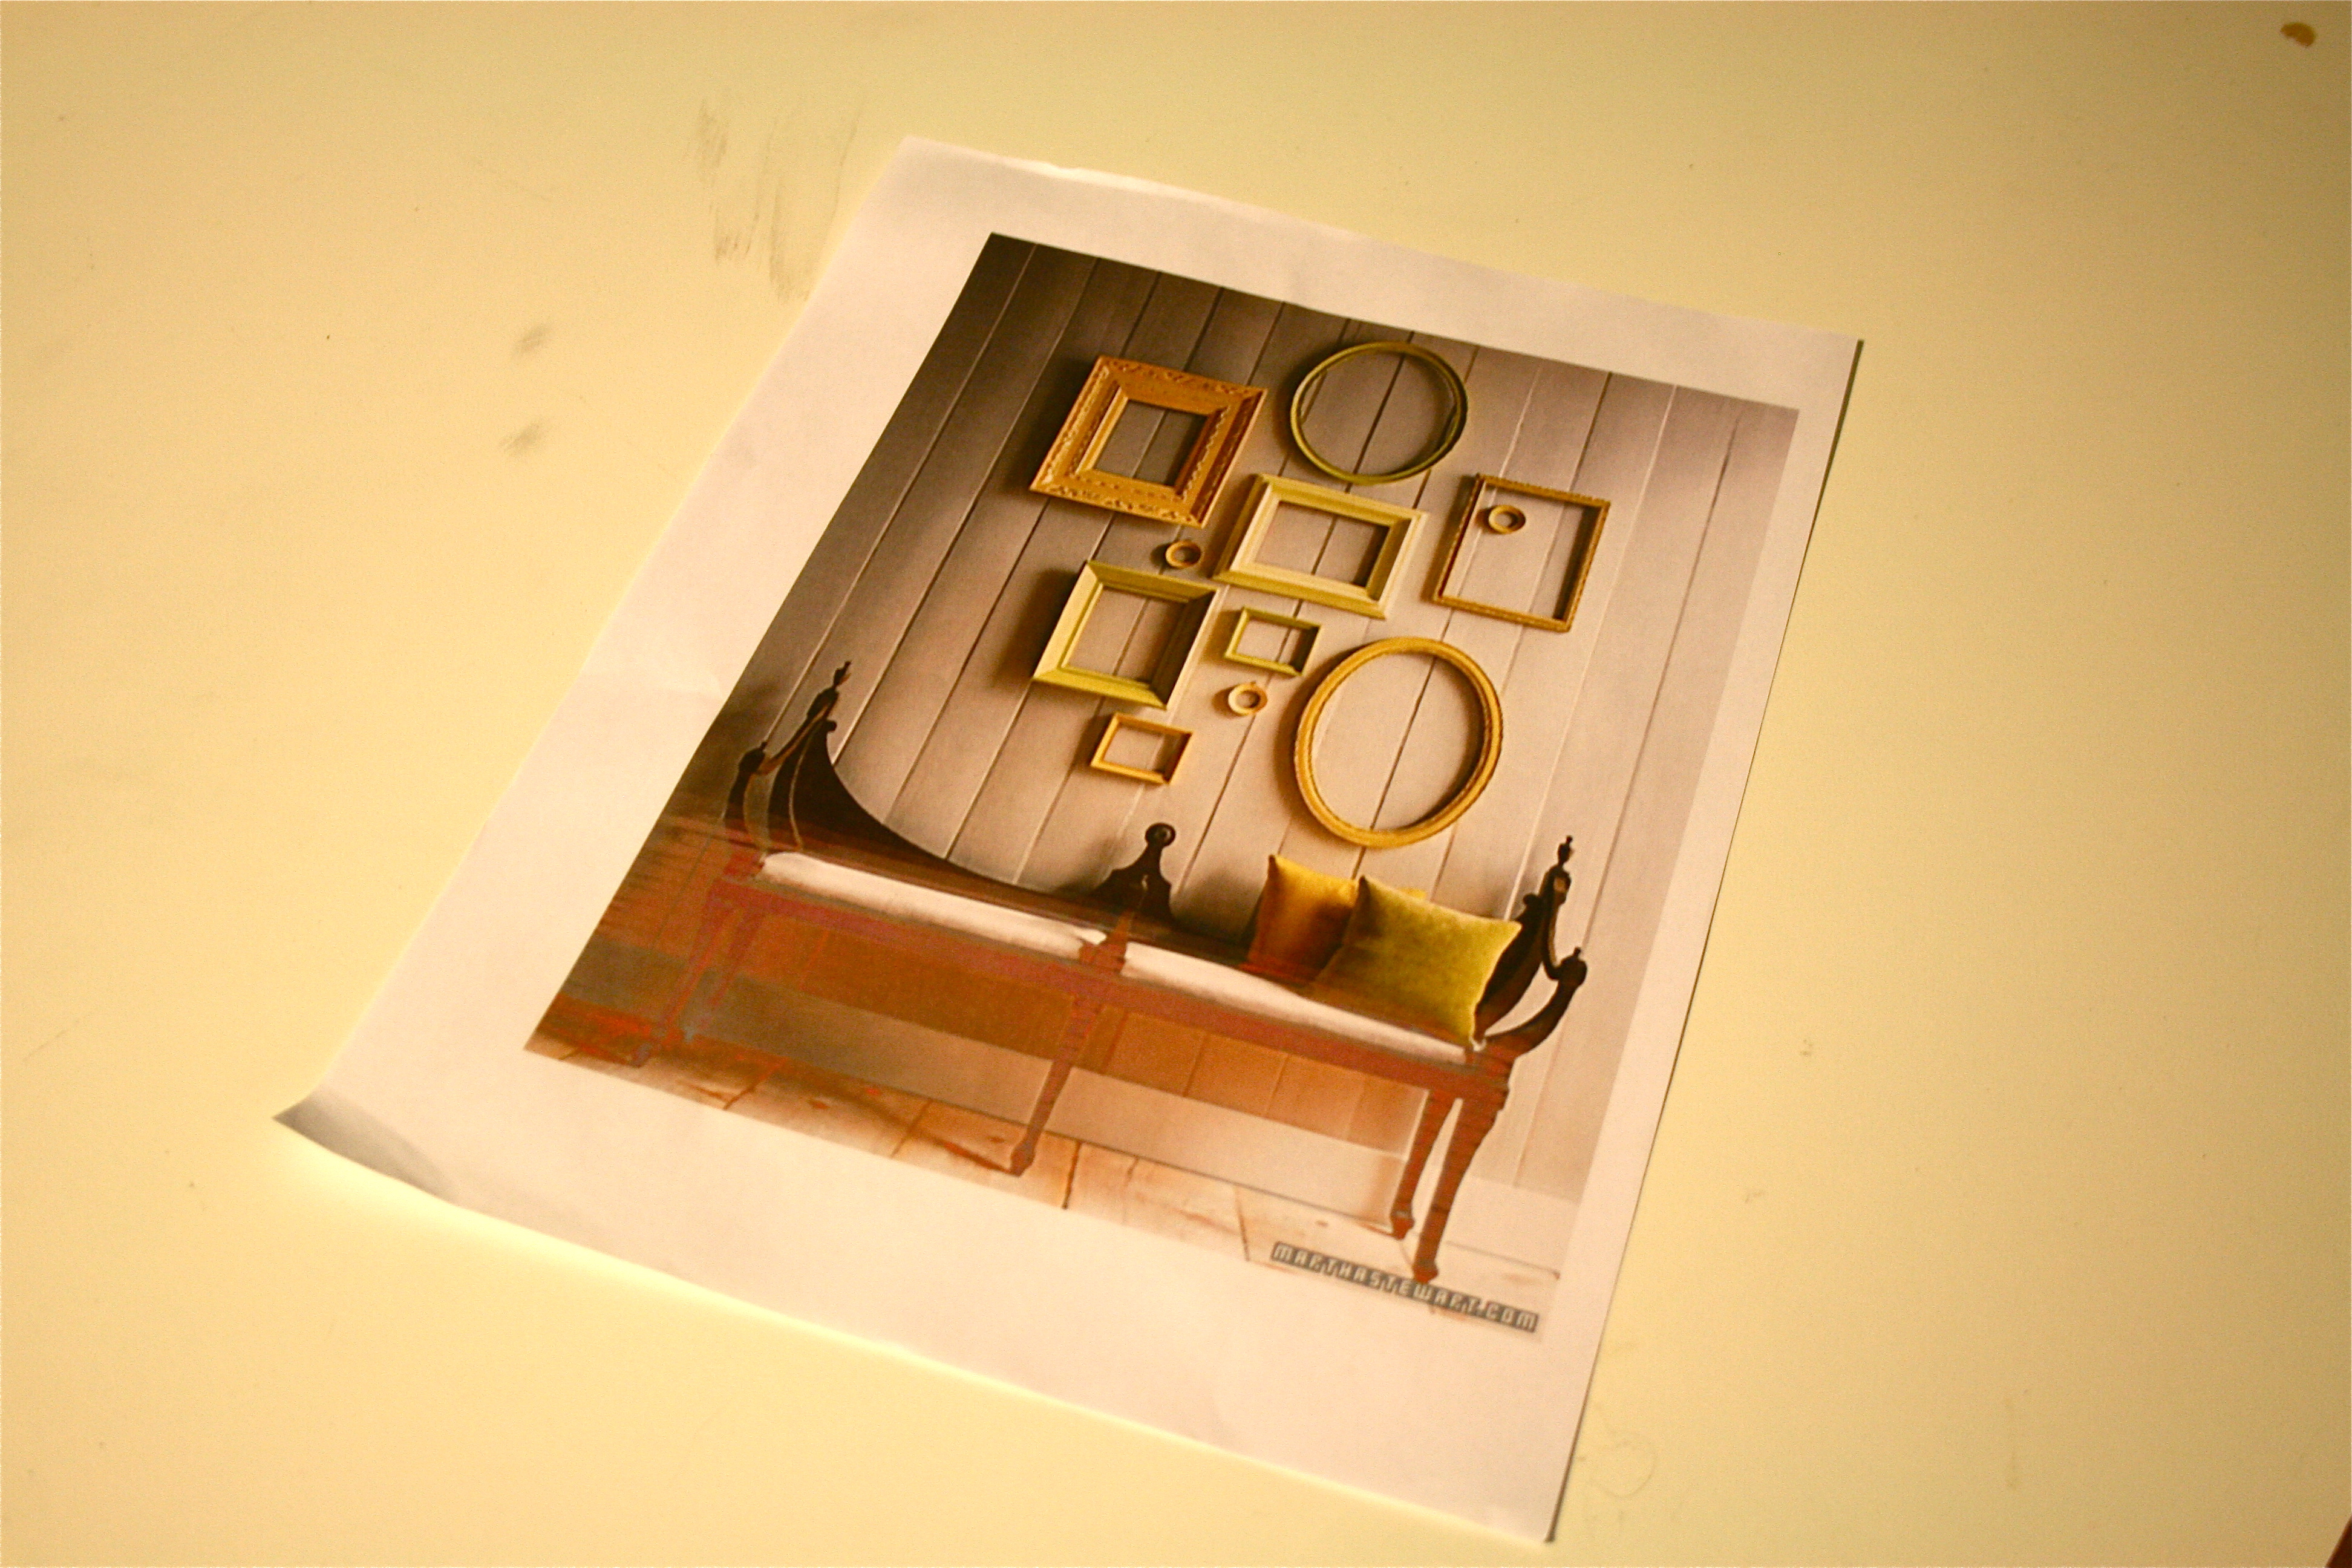
But in the end, I went with this one because I liked the stacked arrangement and the mixture of round, square and rectangular:
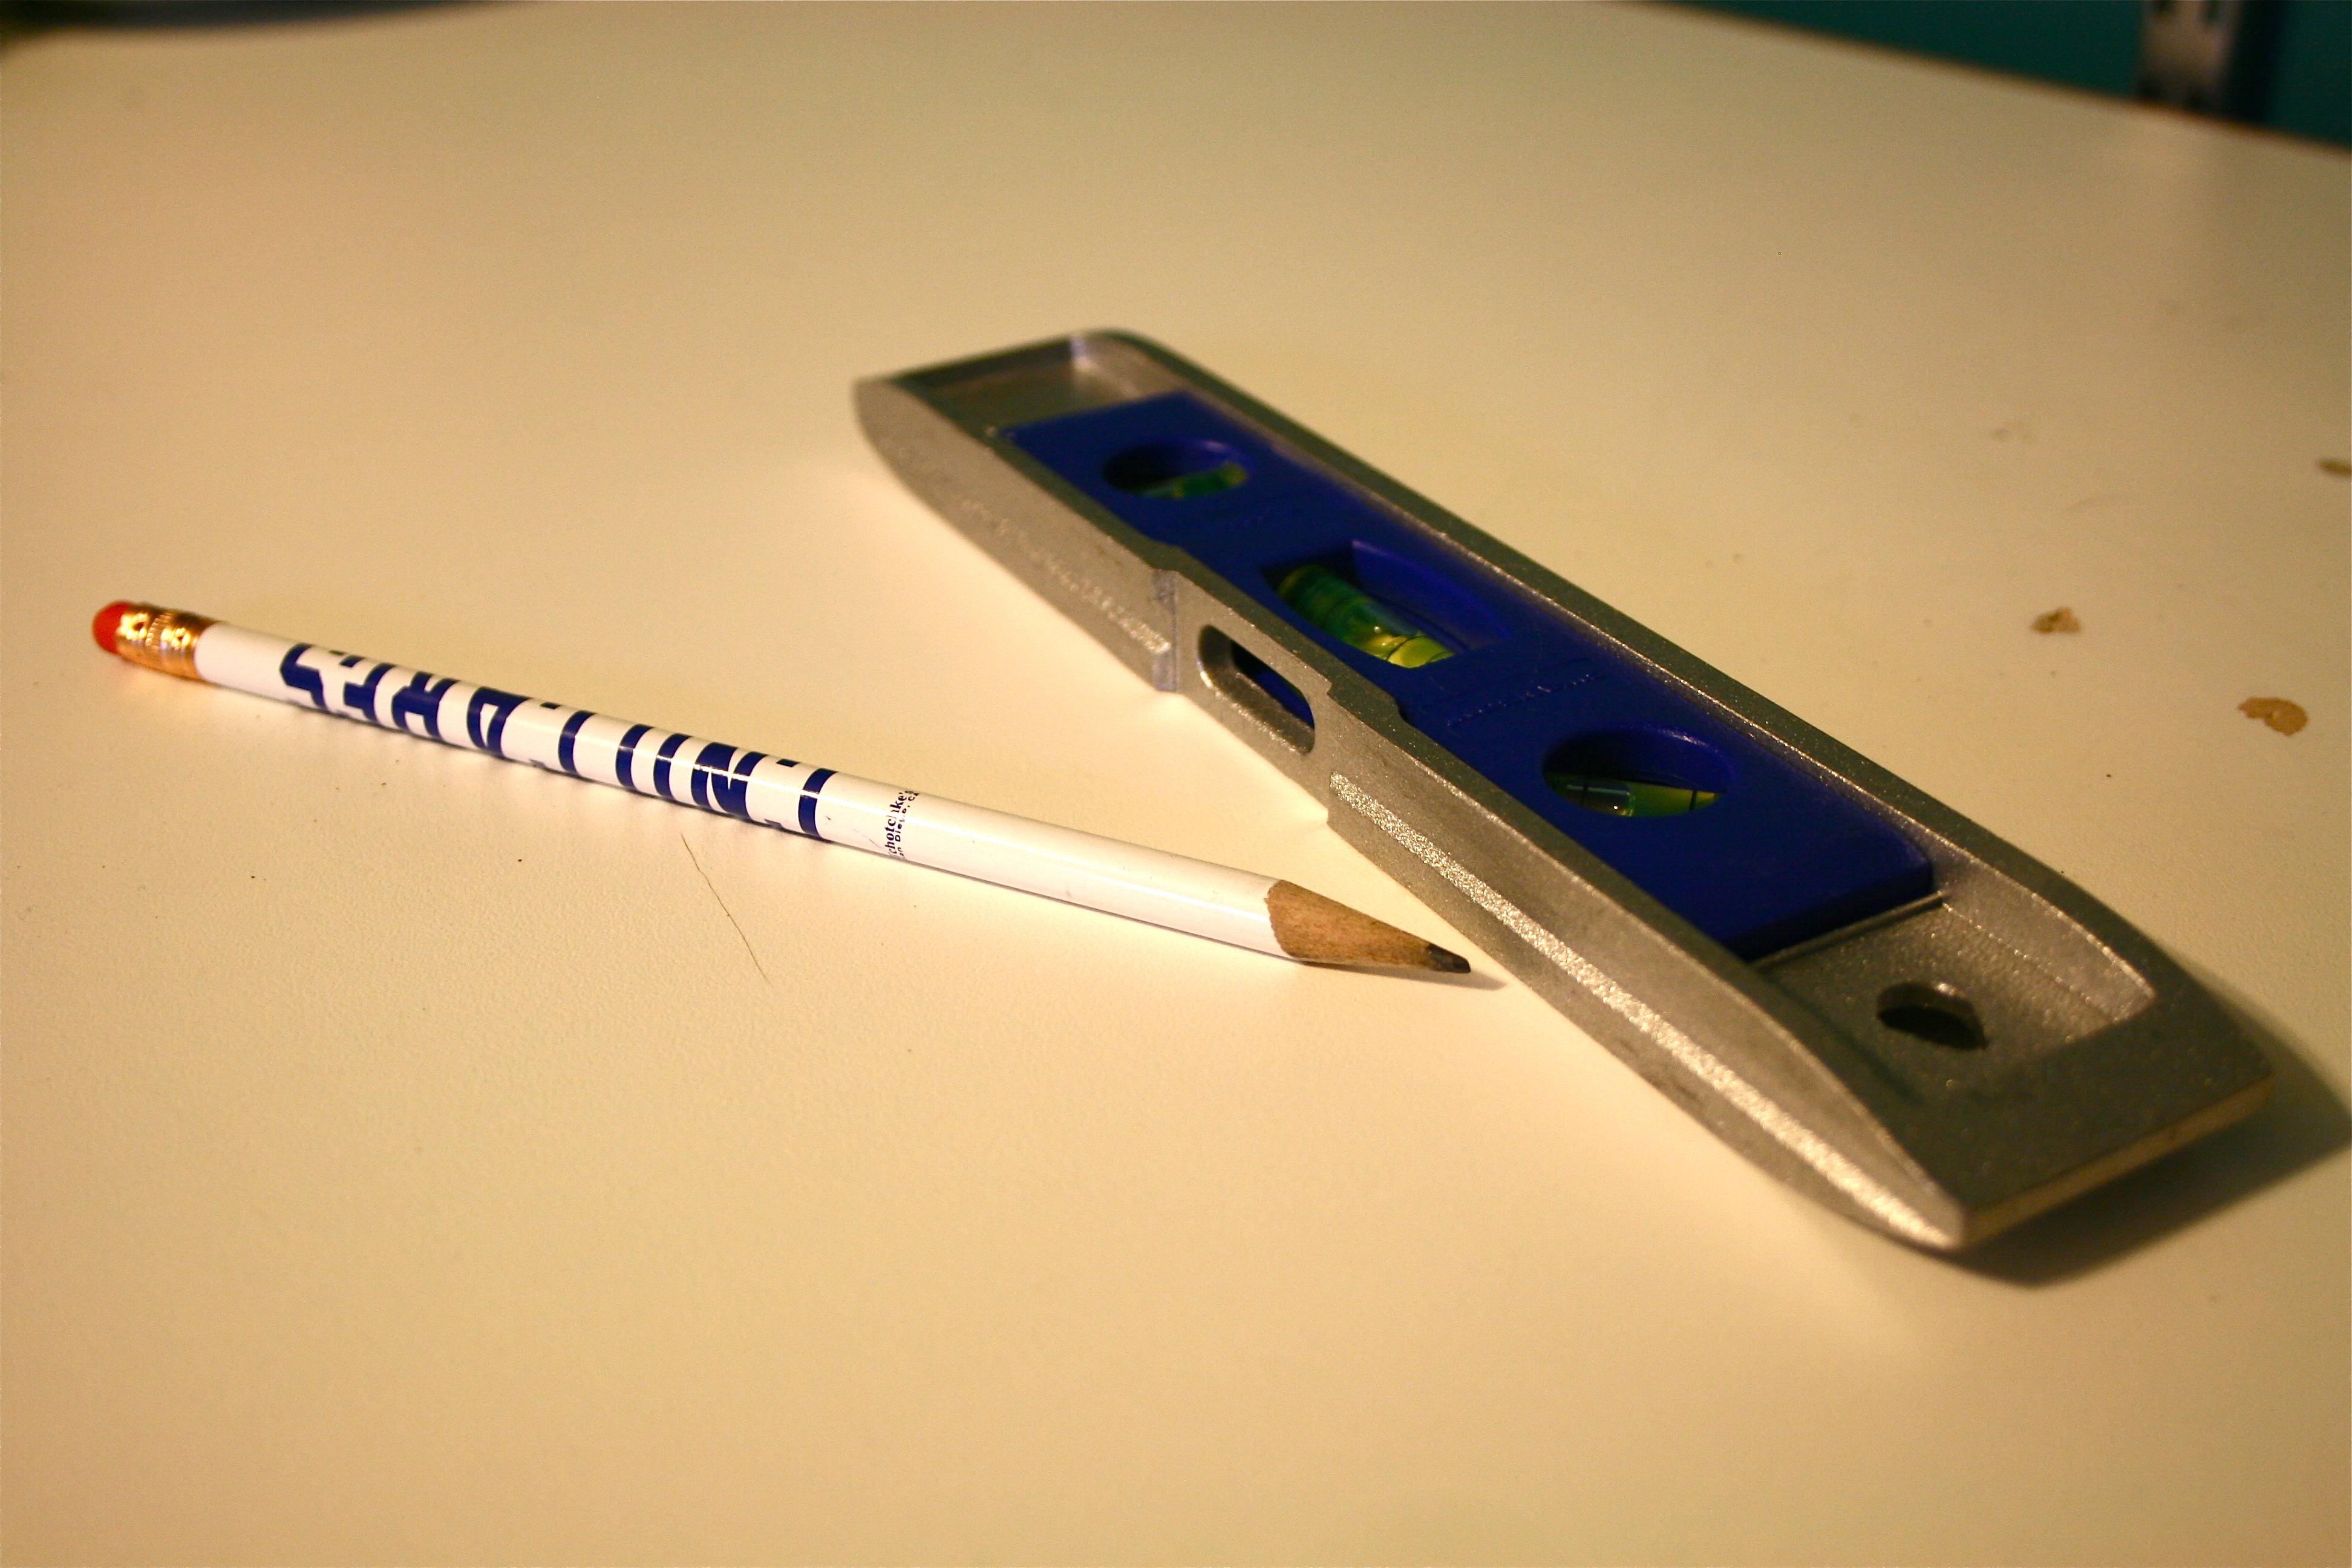
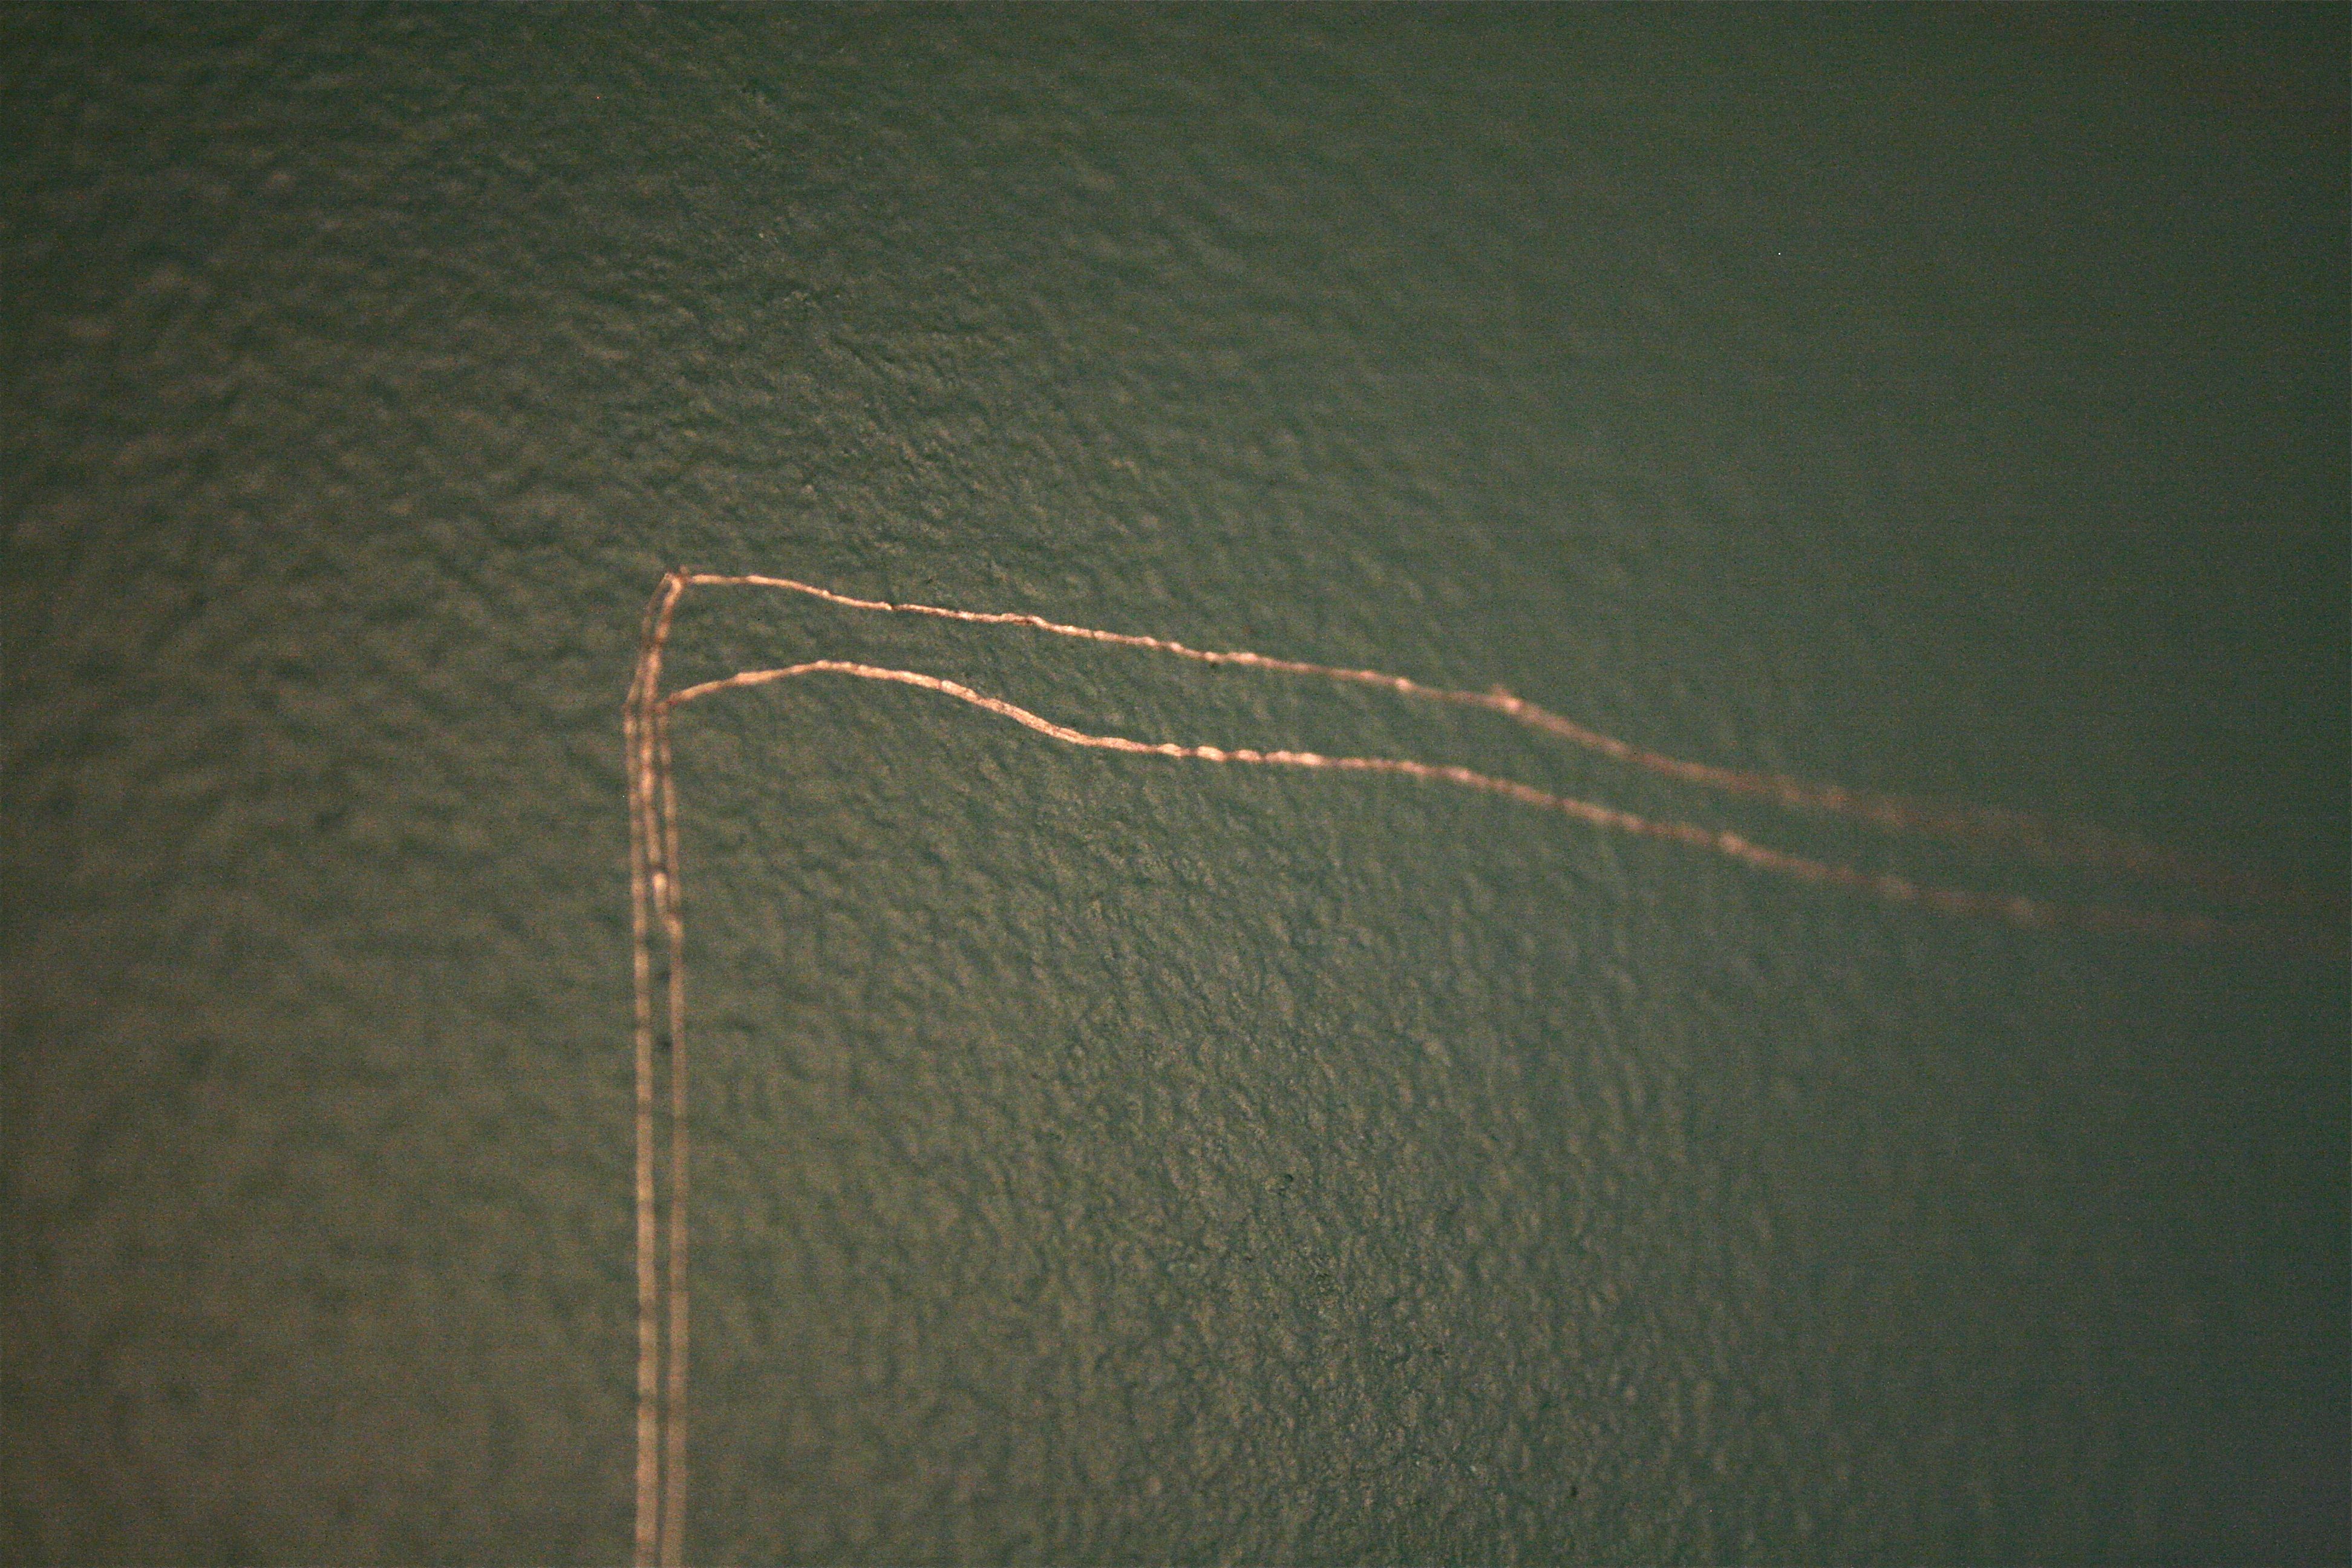
Next, I grabbed a pencil and level to sketch the frames onto my wall. I decided that I didn’t want the frames to be TOO askew because I would constantly feel the urge to straighten them (which would be impossible since they’d be painted on). So the level was used to keep my OCD from boiling over.
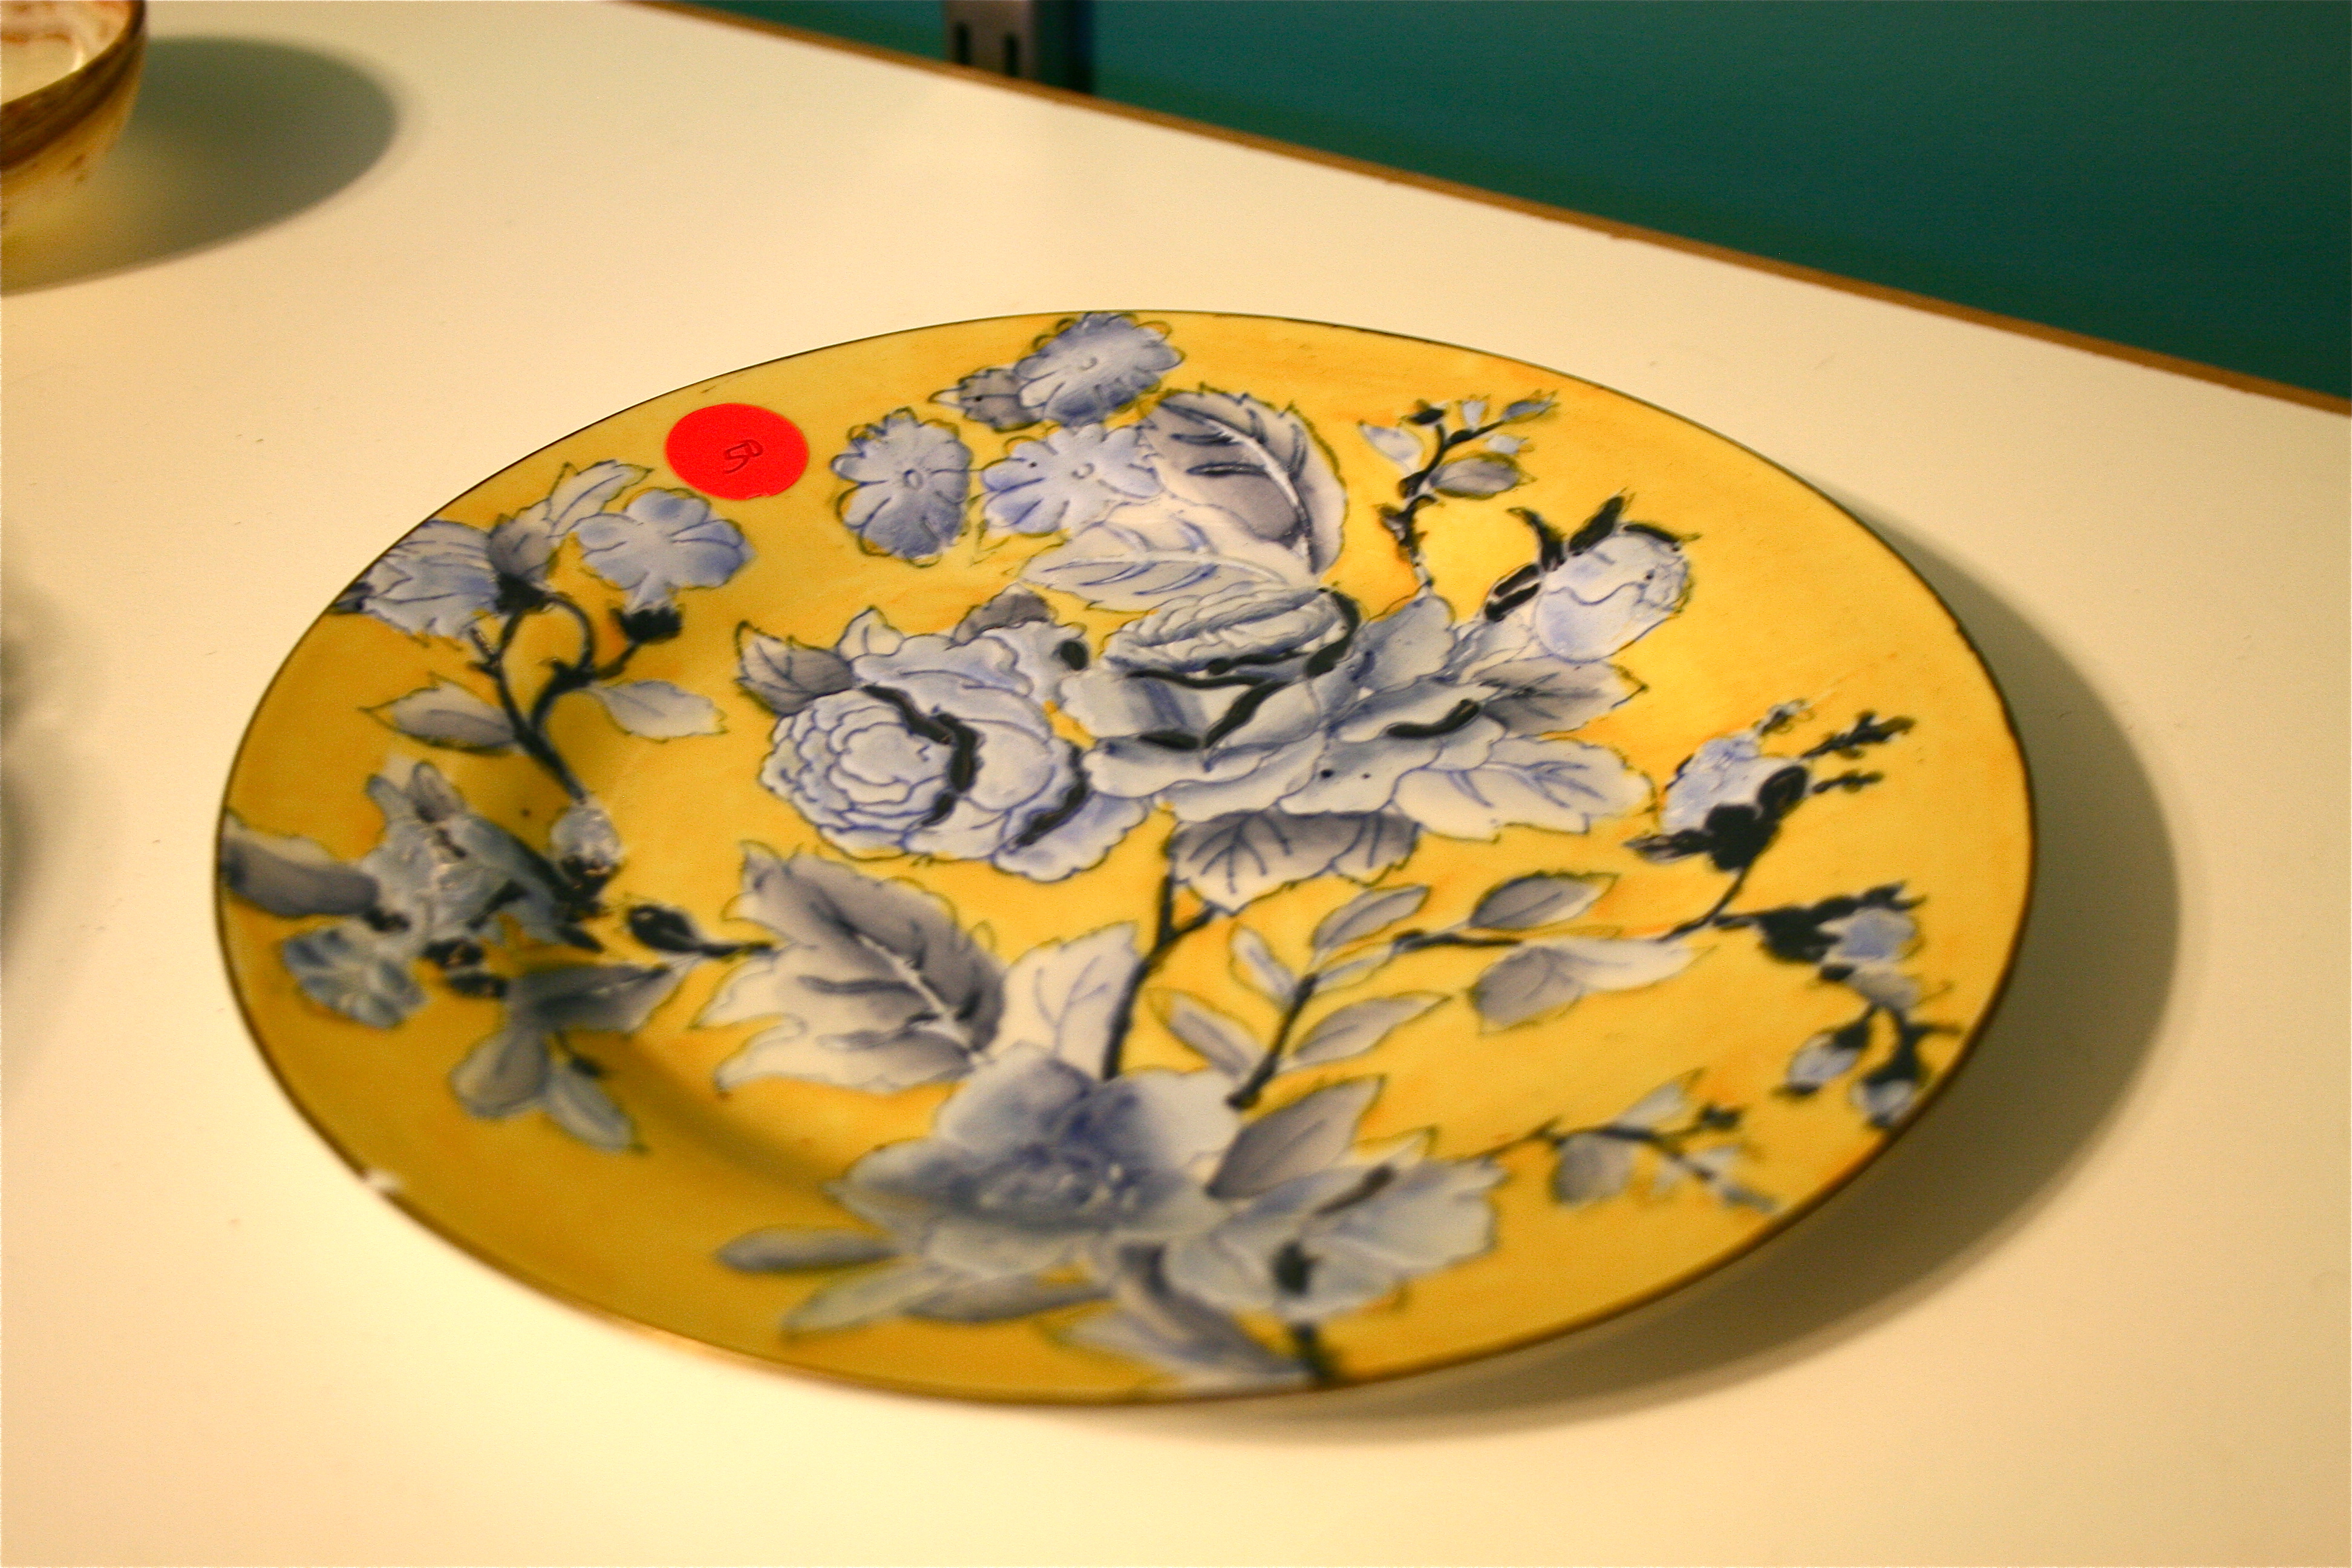
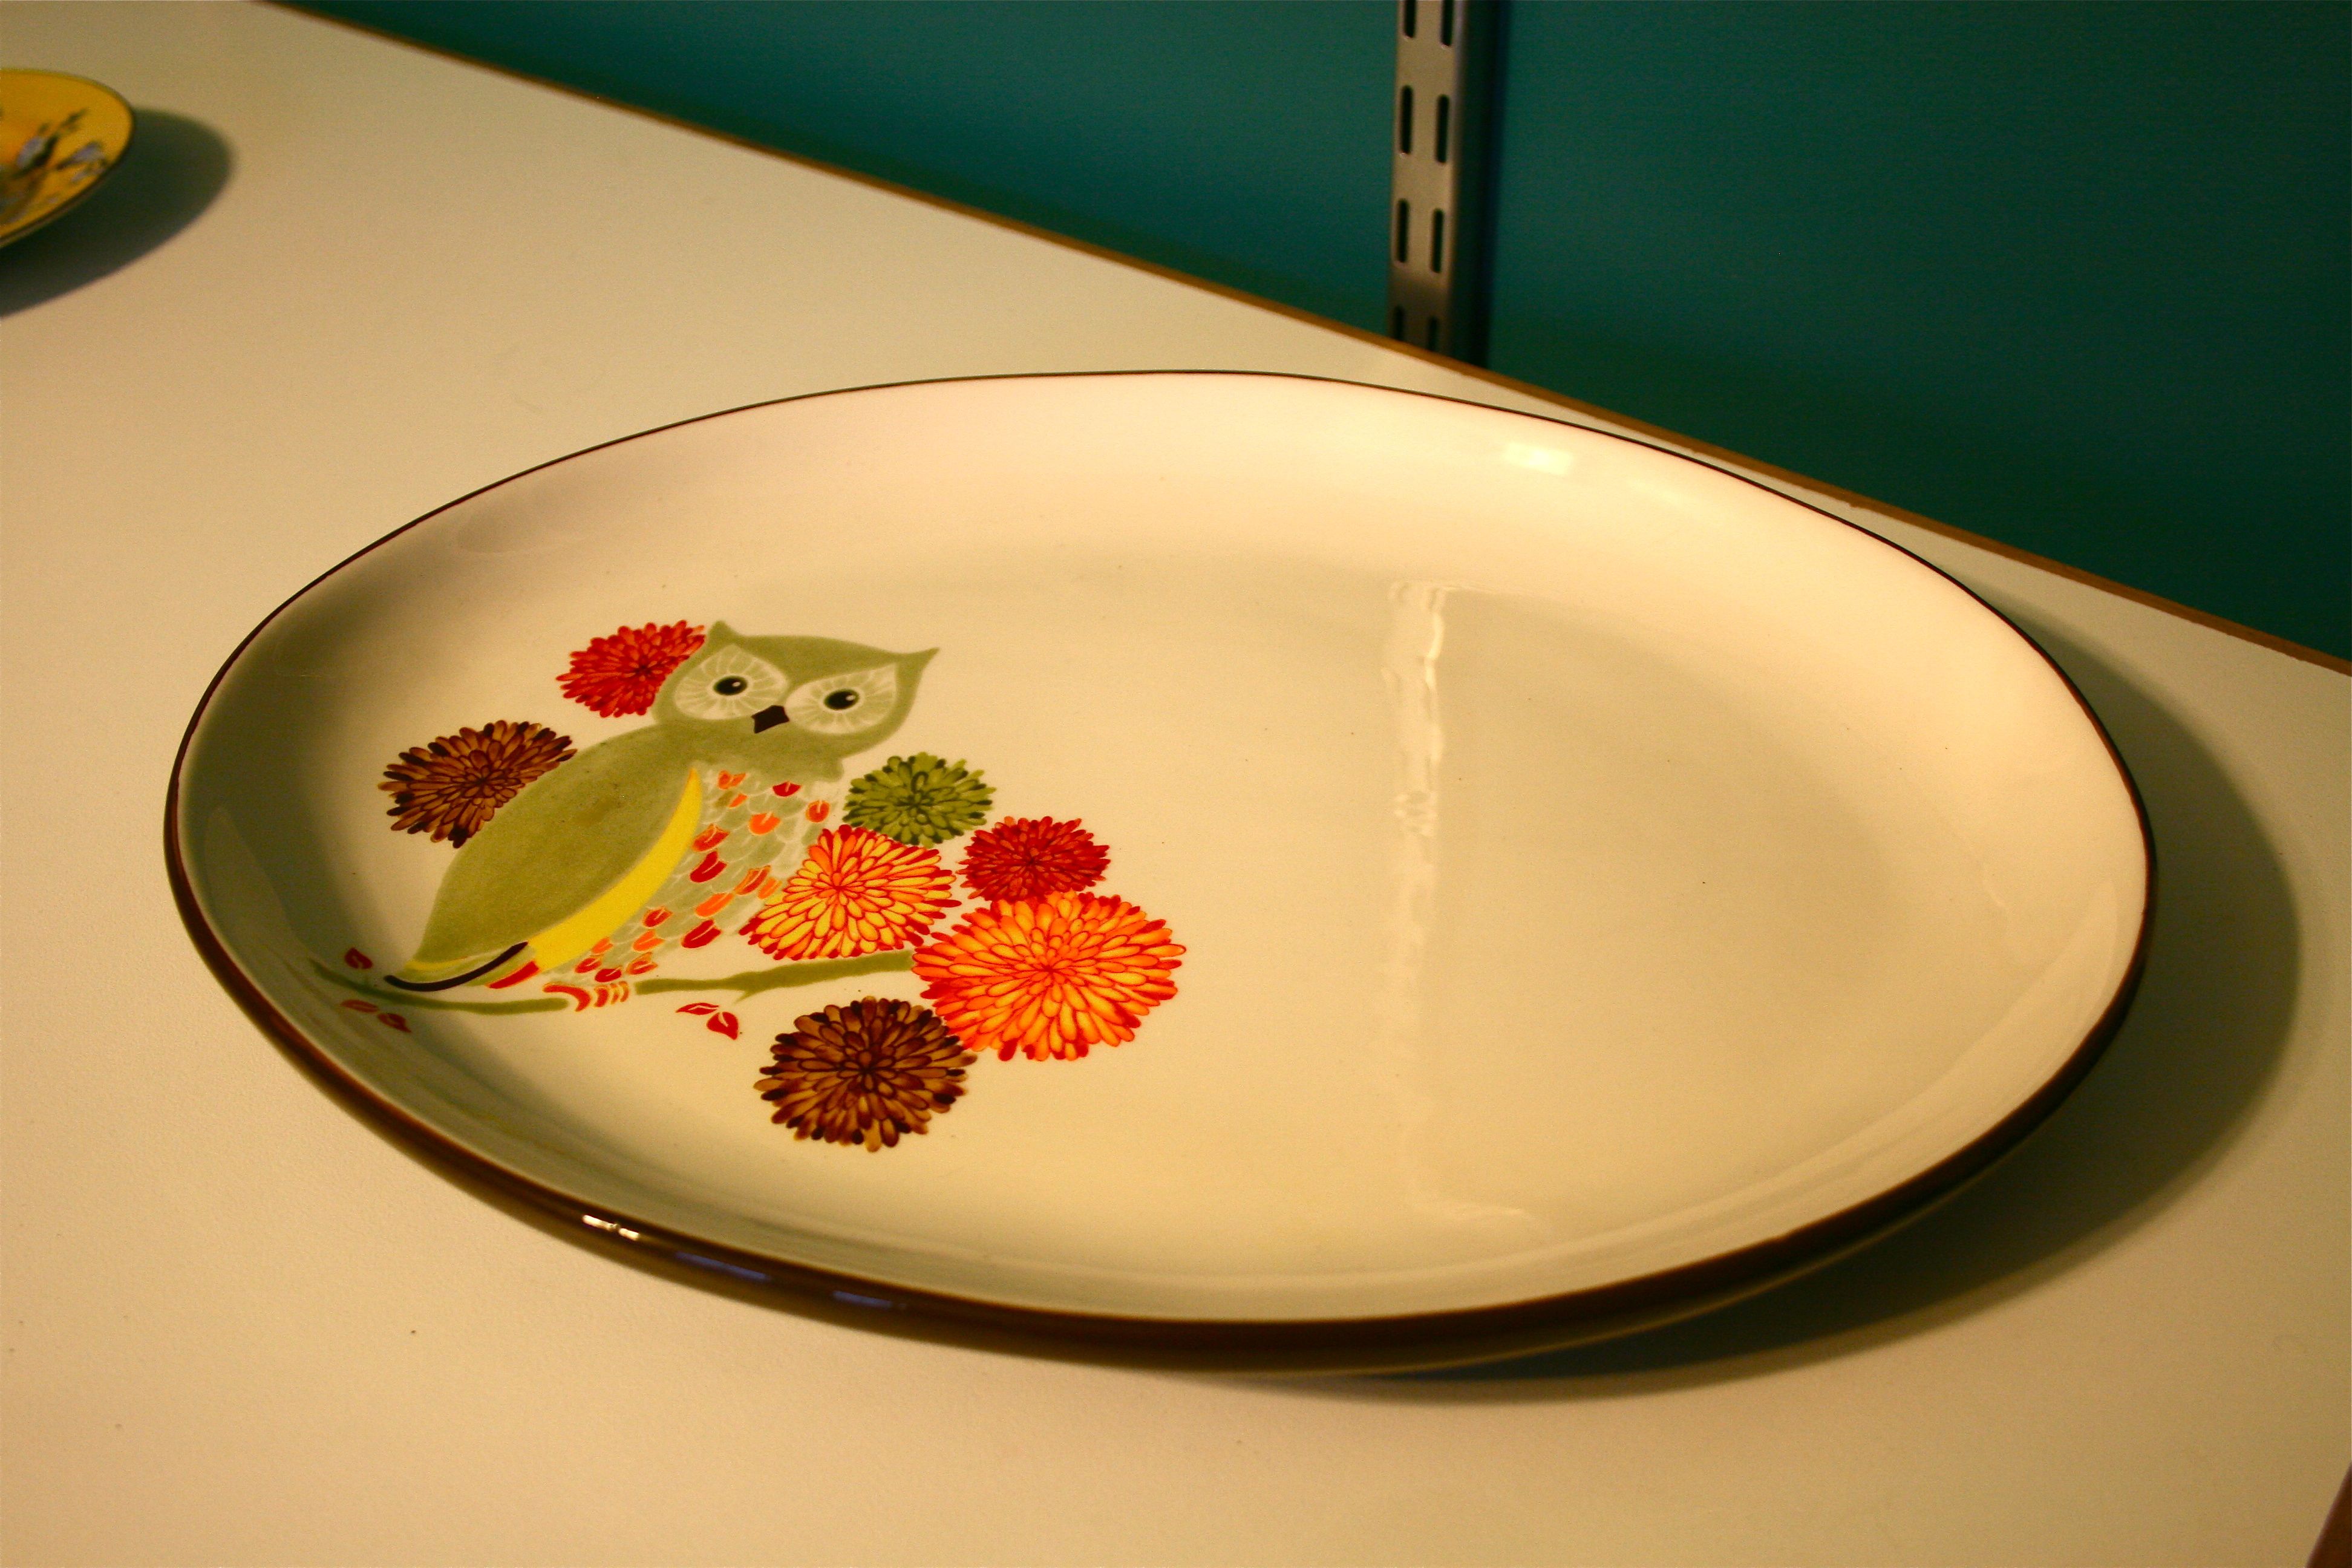
For the round, non-straight-edged frames, I used found objects throughout the house – Like a plate, an oval platter and the chalkboard platter message board I worked on a couple of weeks ago.
I tried to take some photos of the entire arrangement penciled out on the wall, but as you can probably imagine, the lines didn’t show up very well…This was the best I could do:
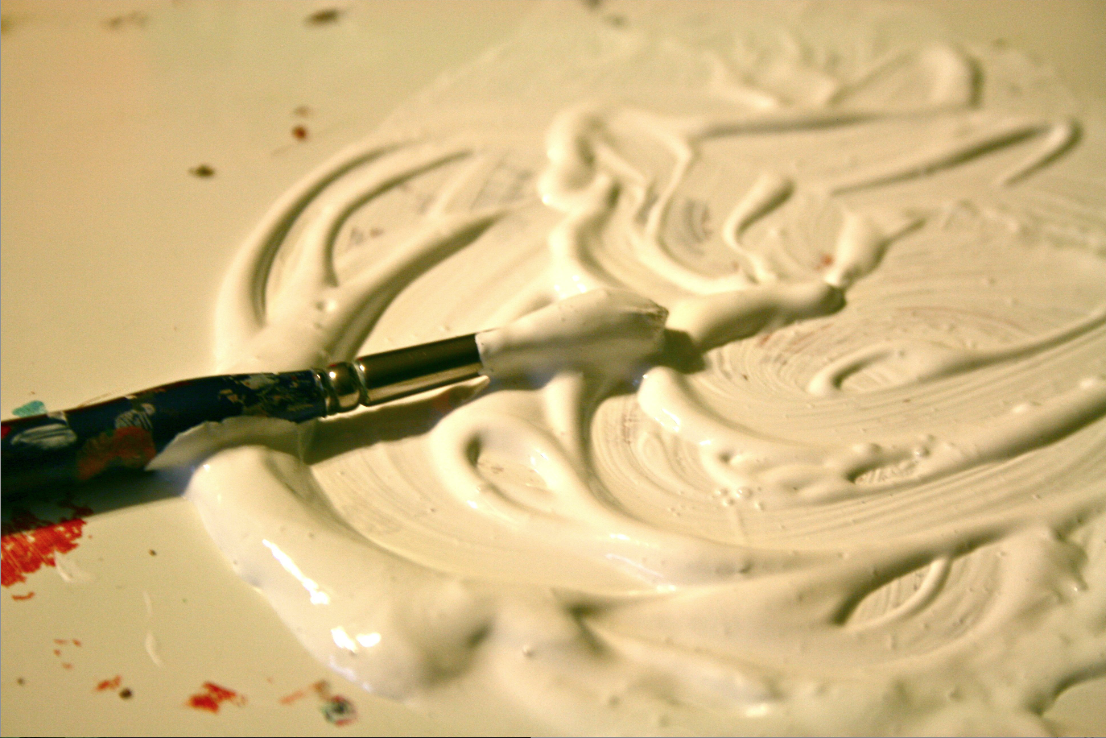
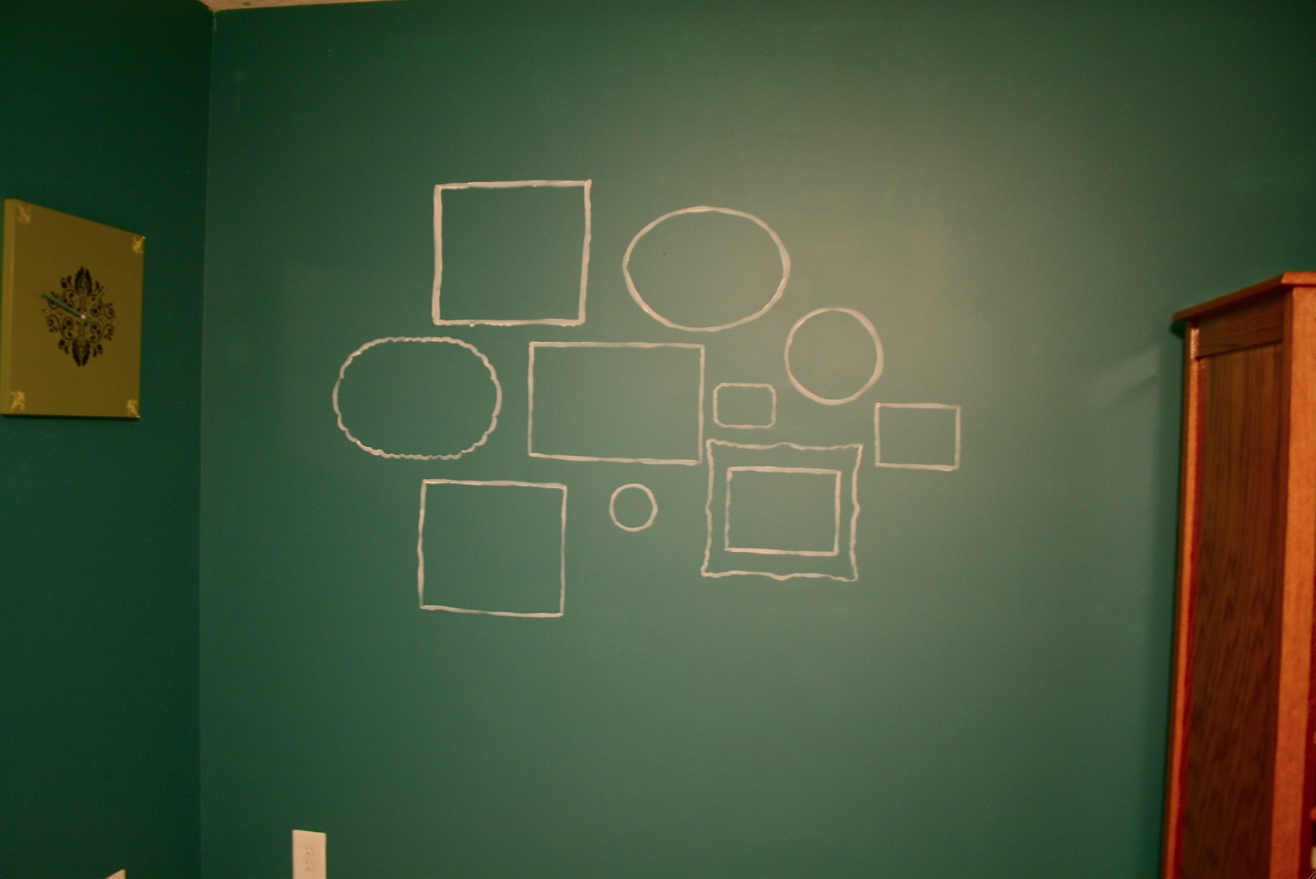
Time for the paint! I just squeezed out a bunch of white acrylic paint, added about a tablespoon of water to make it more workable/spreadable and got to work!
Here’s the first coat:
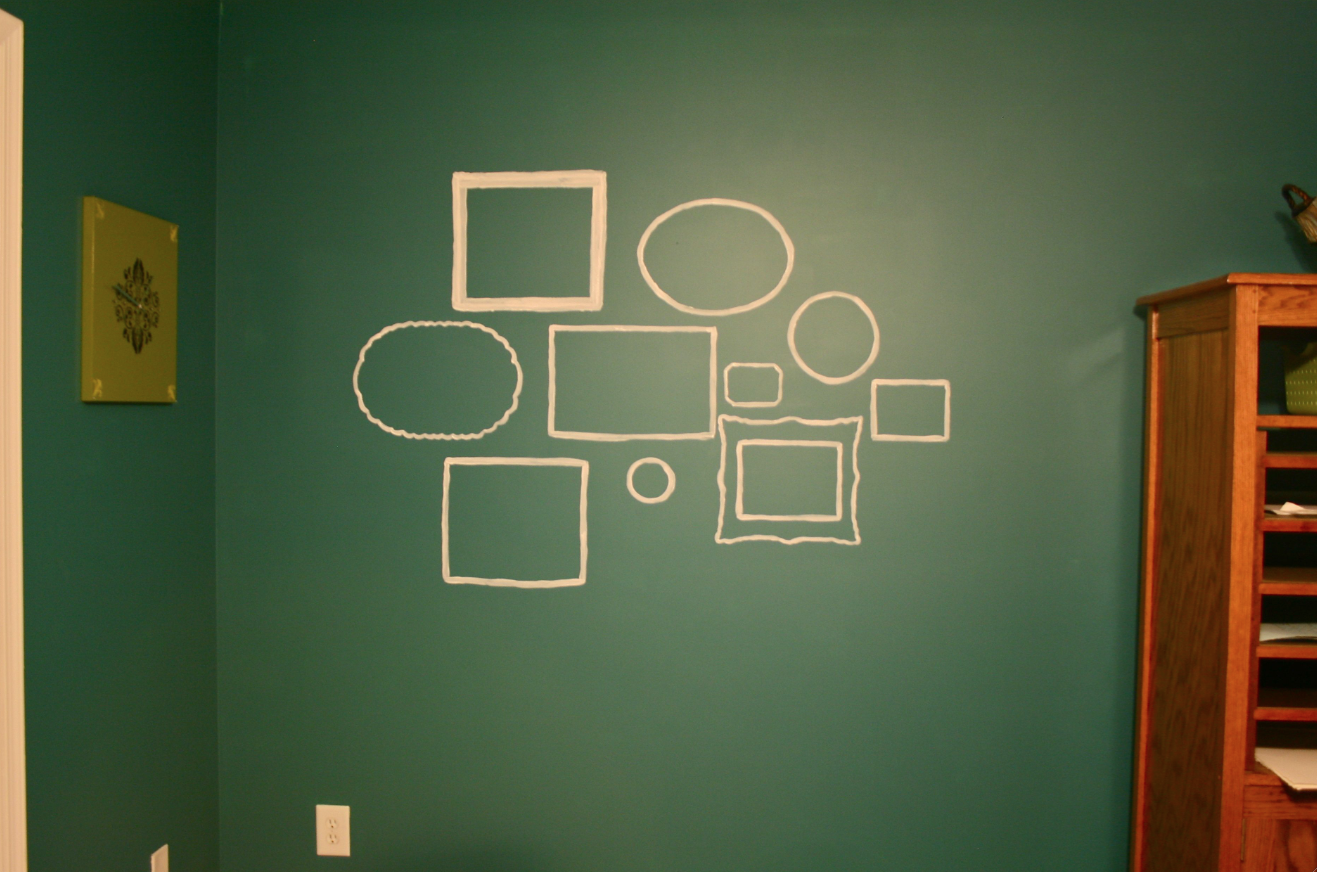
And the second:
I decided to make one of the frames a little thicker to balance the ornate/antique-looking one on the lower right.
Definitely very sketchy and unfinished-looking, but I think it will all come together once the art is added in.
Speaking of the art, you won’t get to see that until Friday, but I promise to show the final product then! I’m looking forward to seeing my vision come alive. This is definitely one of my more original (and odd) projects, and I’m very interested to hear what you guys have to say. Don’t judge it TOO much yet though, since it’s not finished 🙂
Cheers to crazy visions and make-believe inspiration!
Psst…You can check out the final look here!

