Usually, when I have a couple of big reveals from a weekend’s worth of work I try to space them out a bit throughout the week. But I am just SO excited about these two, first the stenciling project from yesterday and now today’s “Before and After”, that I’m giving it all away up front 🙂
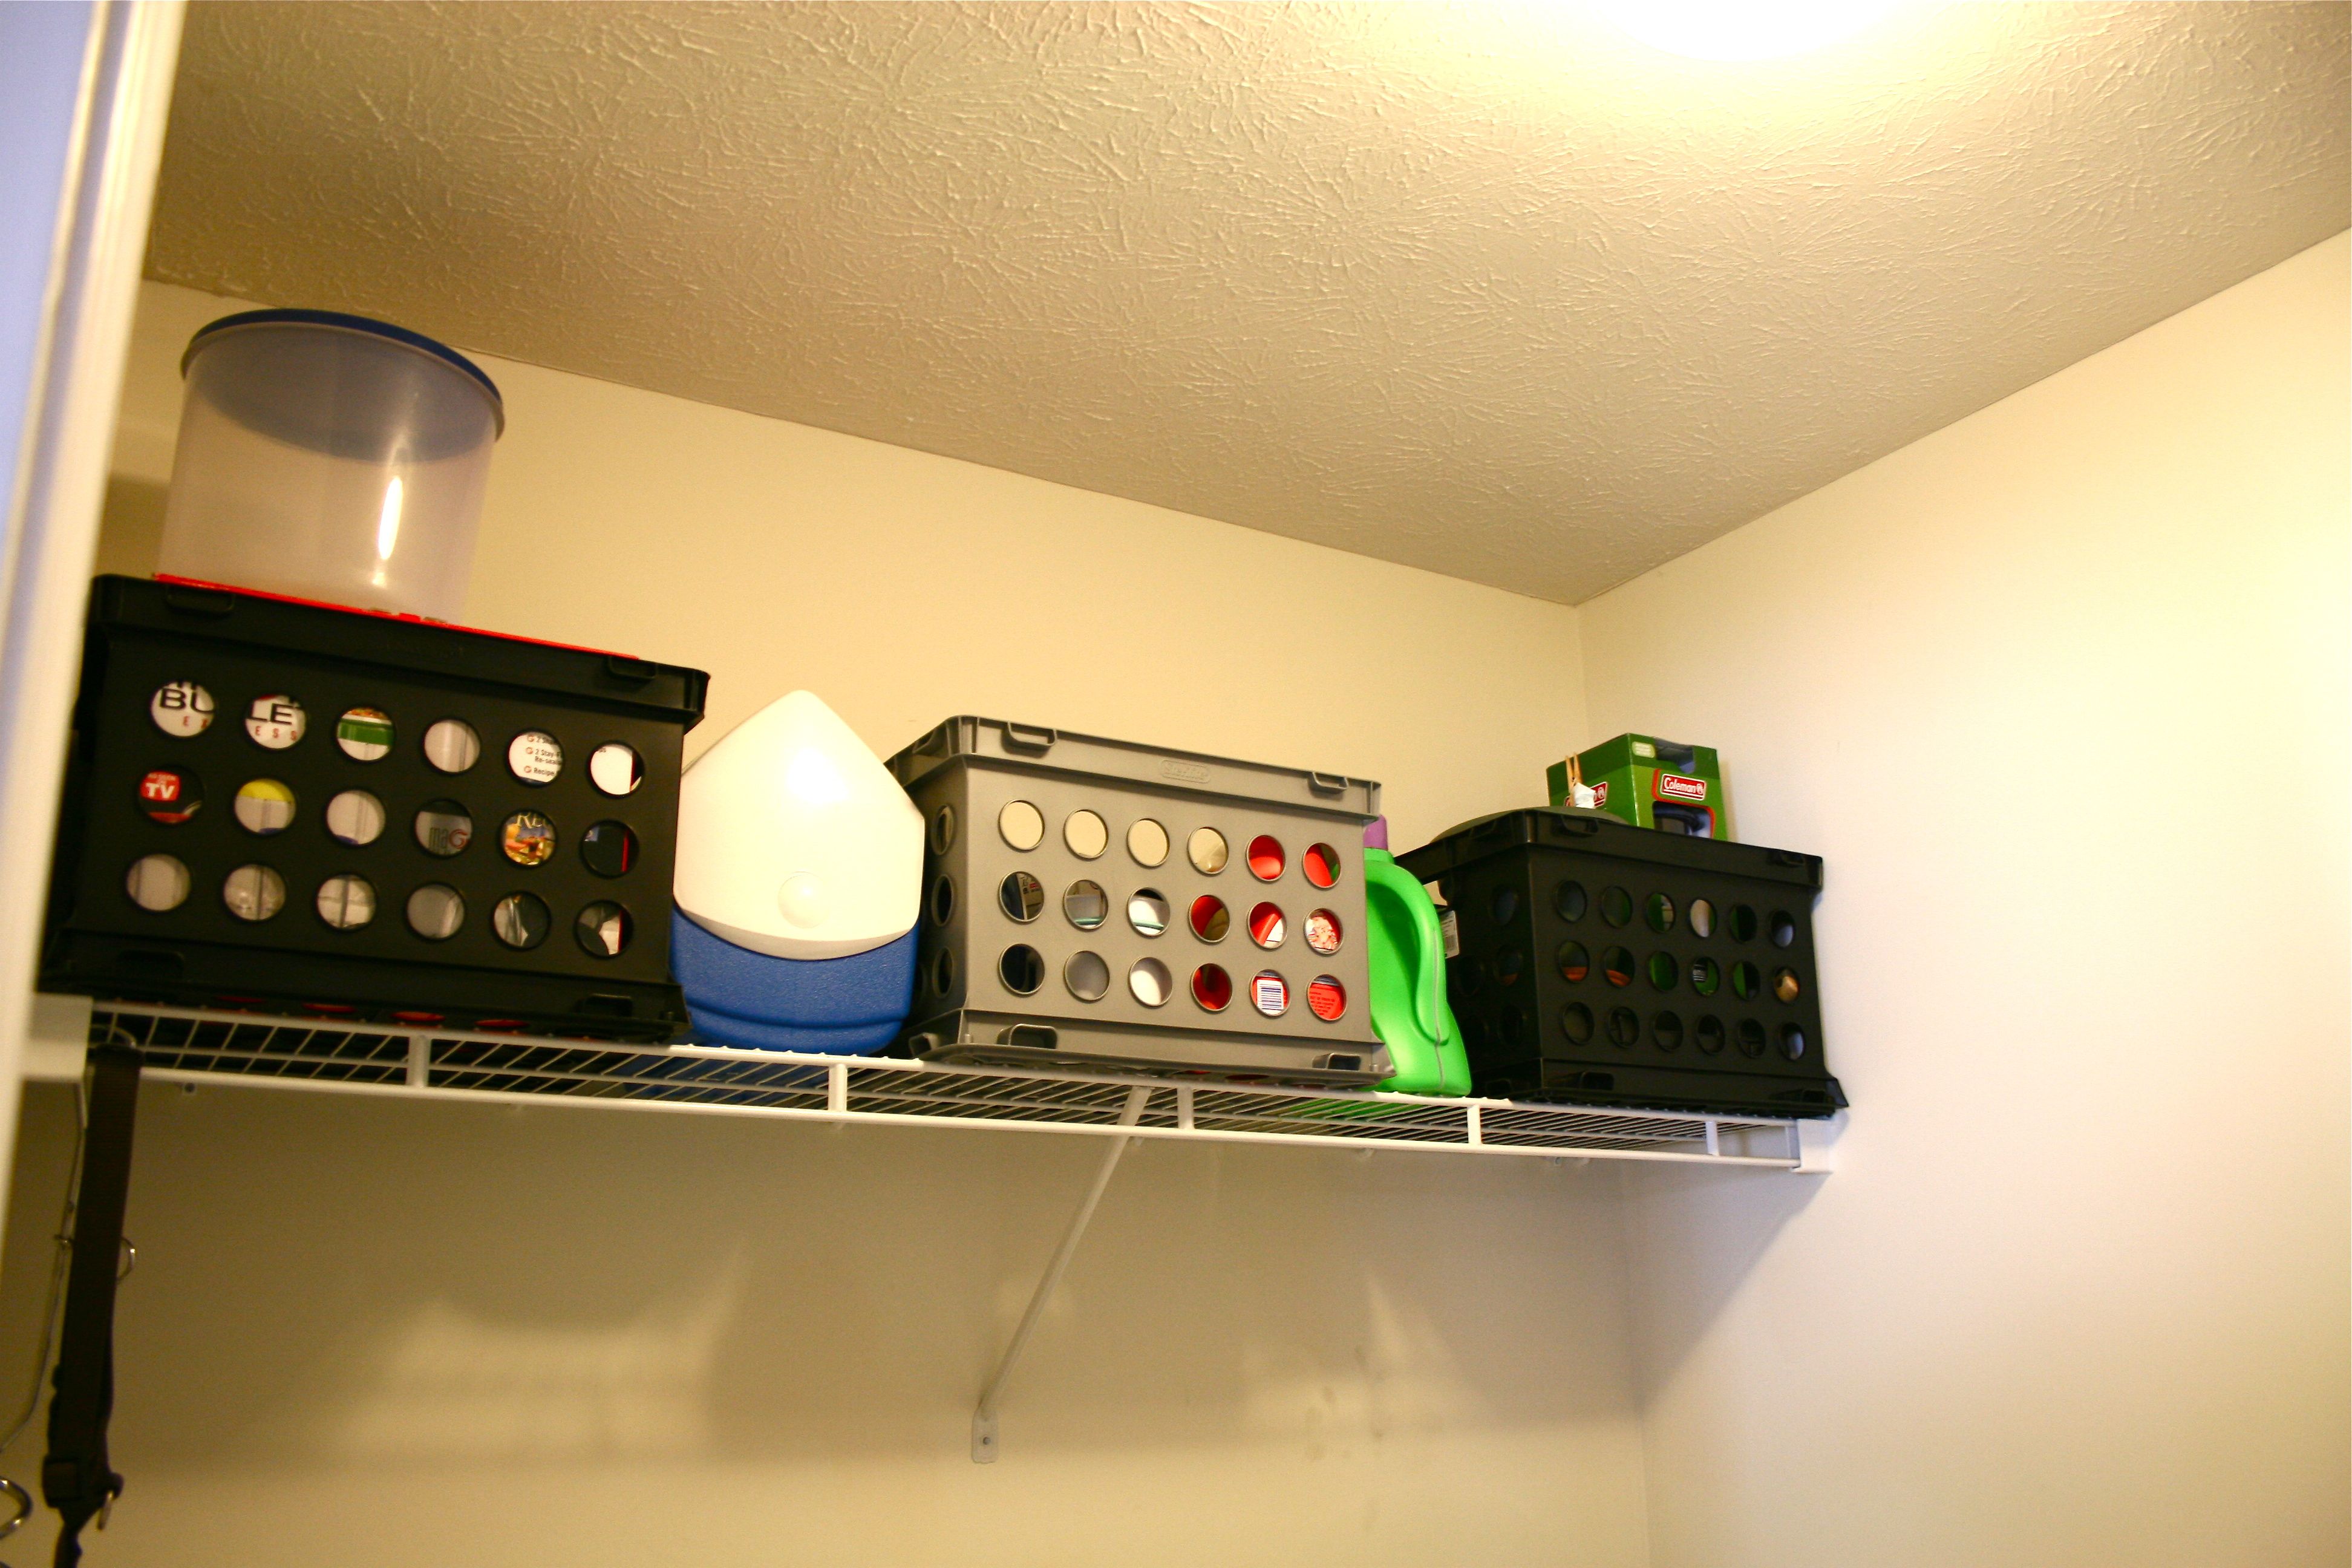
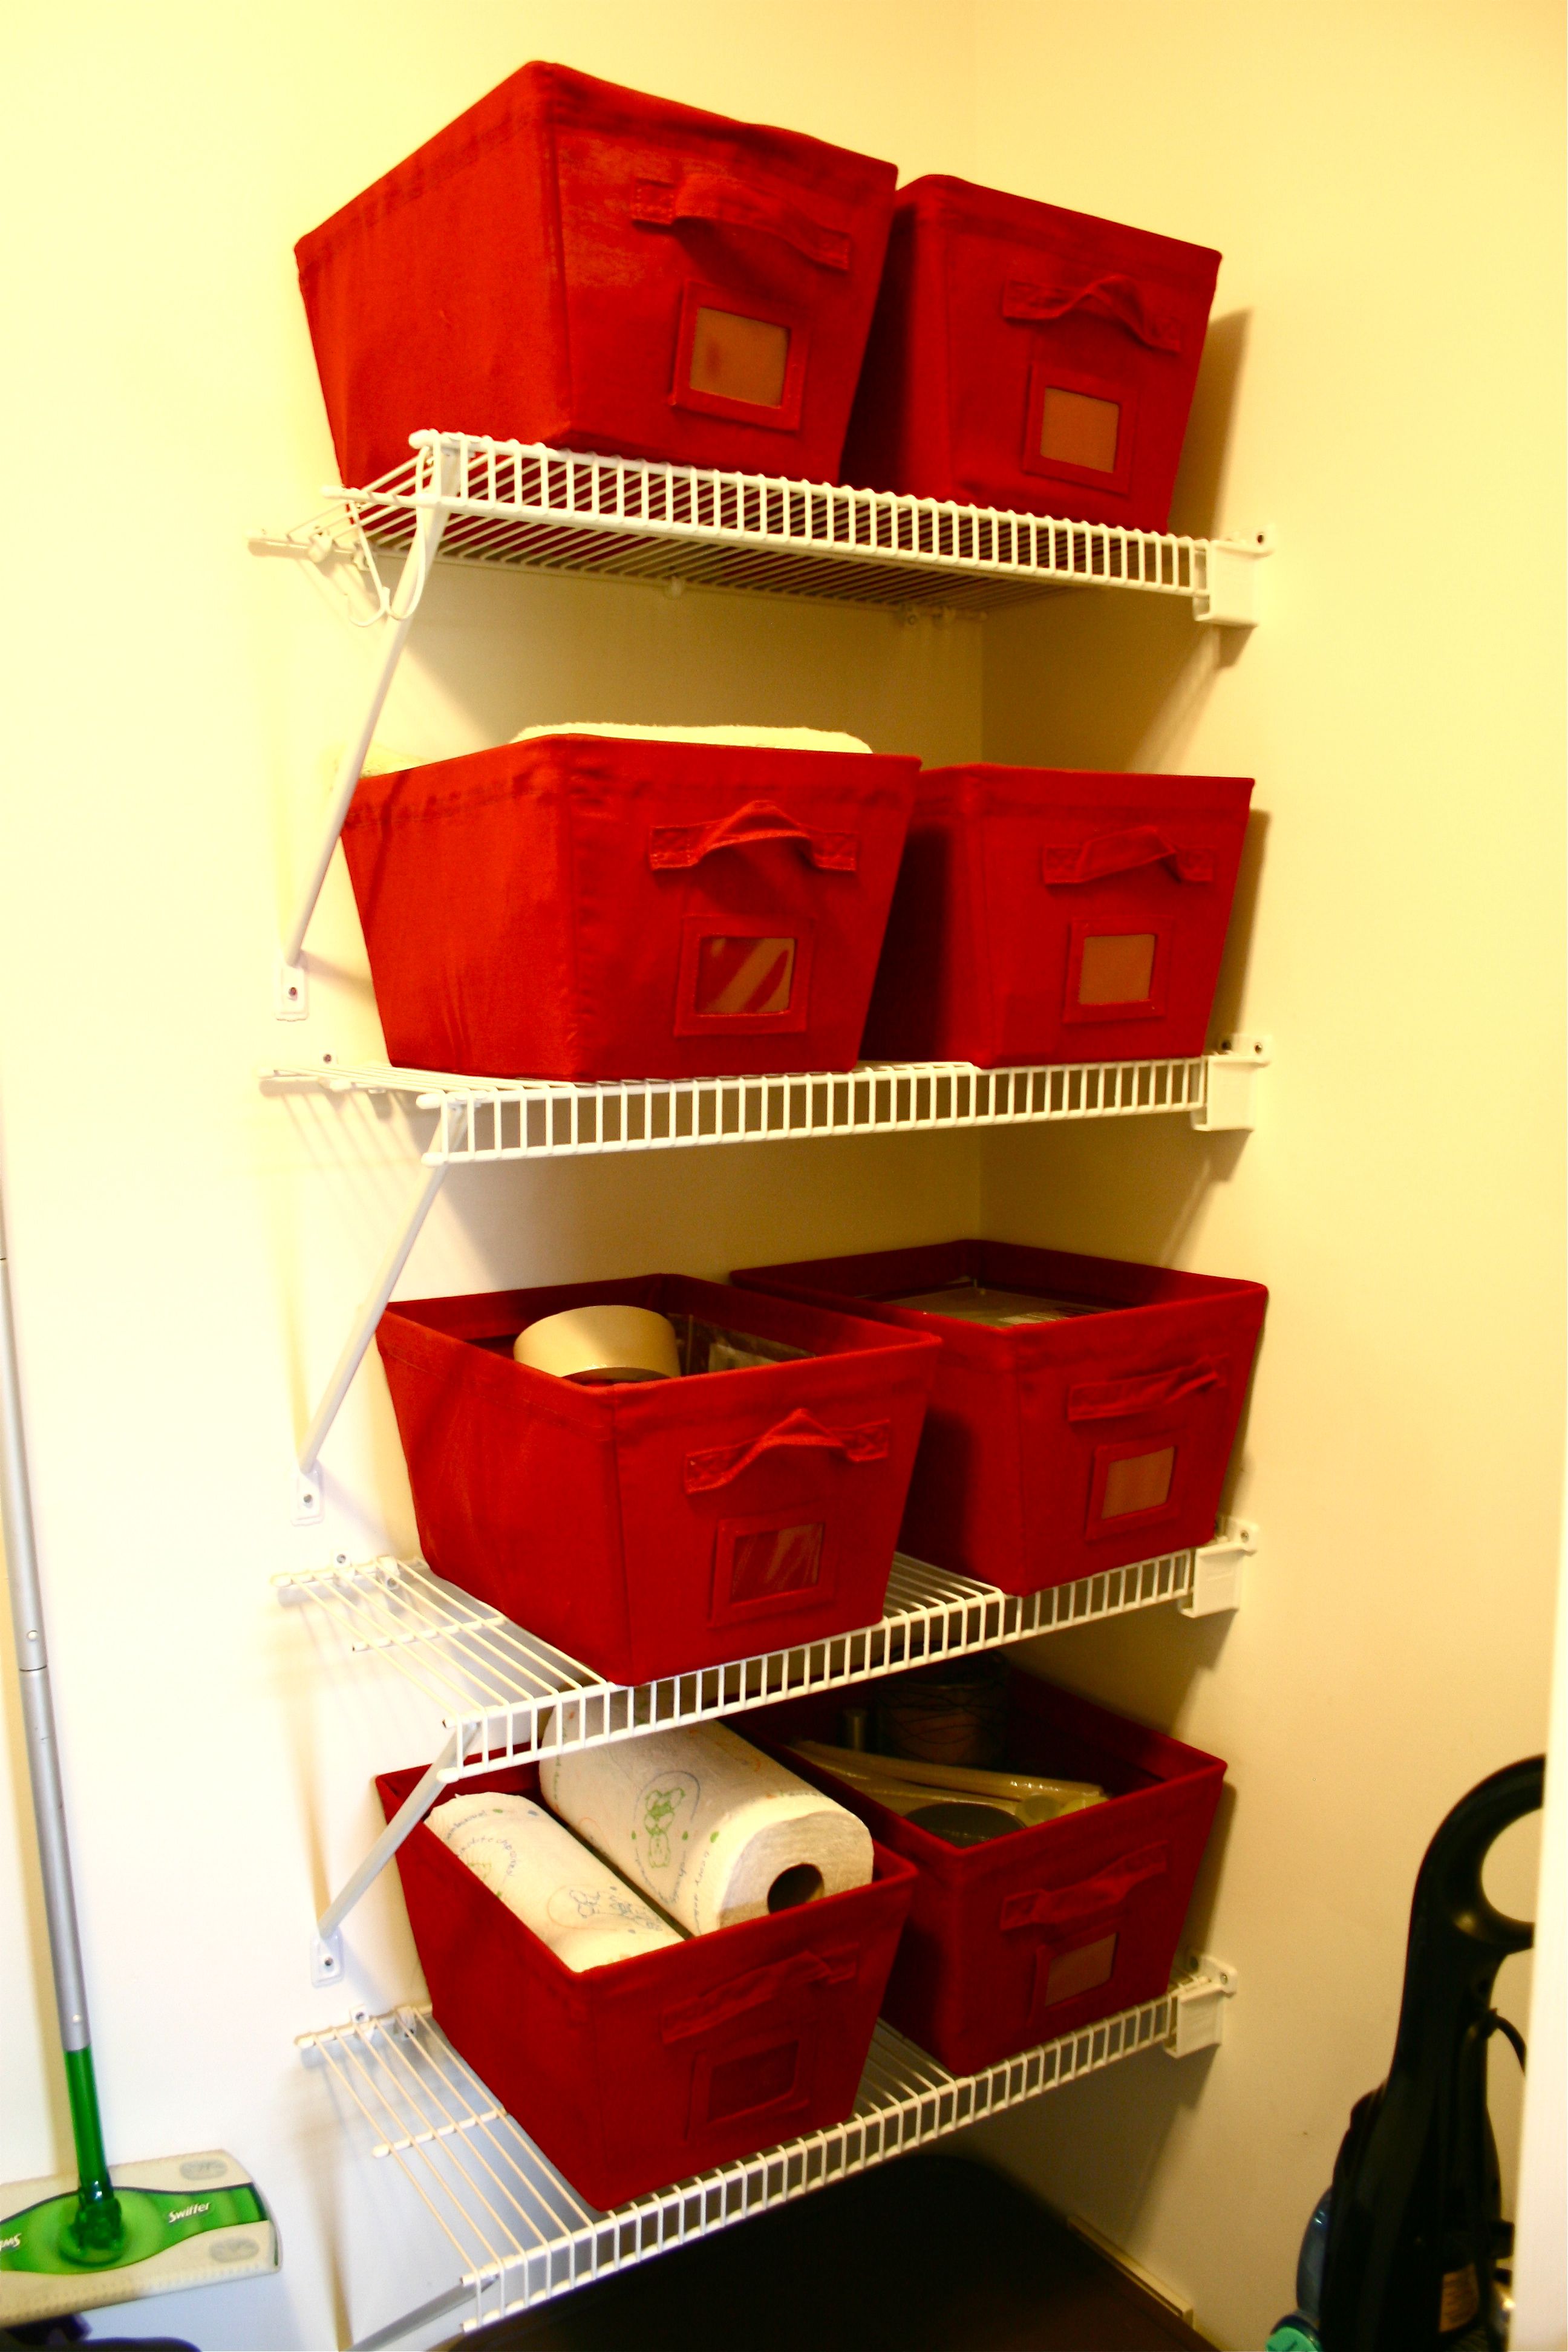
Remember last week when I showed you our laundry room in the midst of an organization overhaul? Well that was only the tip of the iceberg! This past weekend’s goal was to make it beautiful on top of its new functionality and neatness. Here’s how you last saw the shelves:


Very straight and clean, but definitely lacking some style…
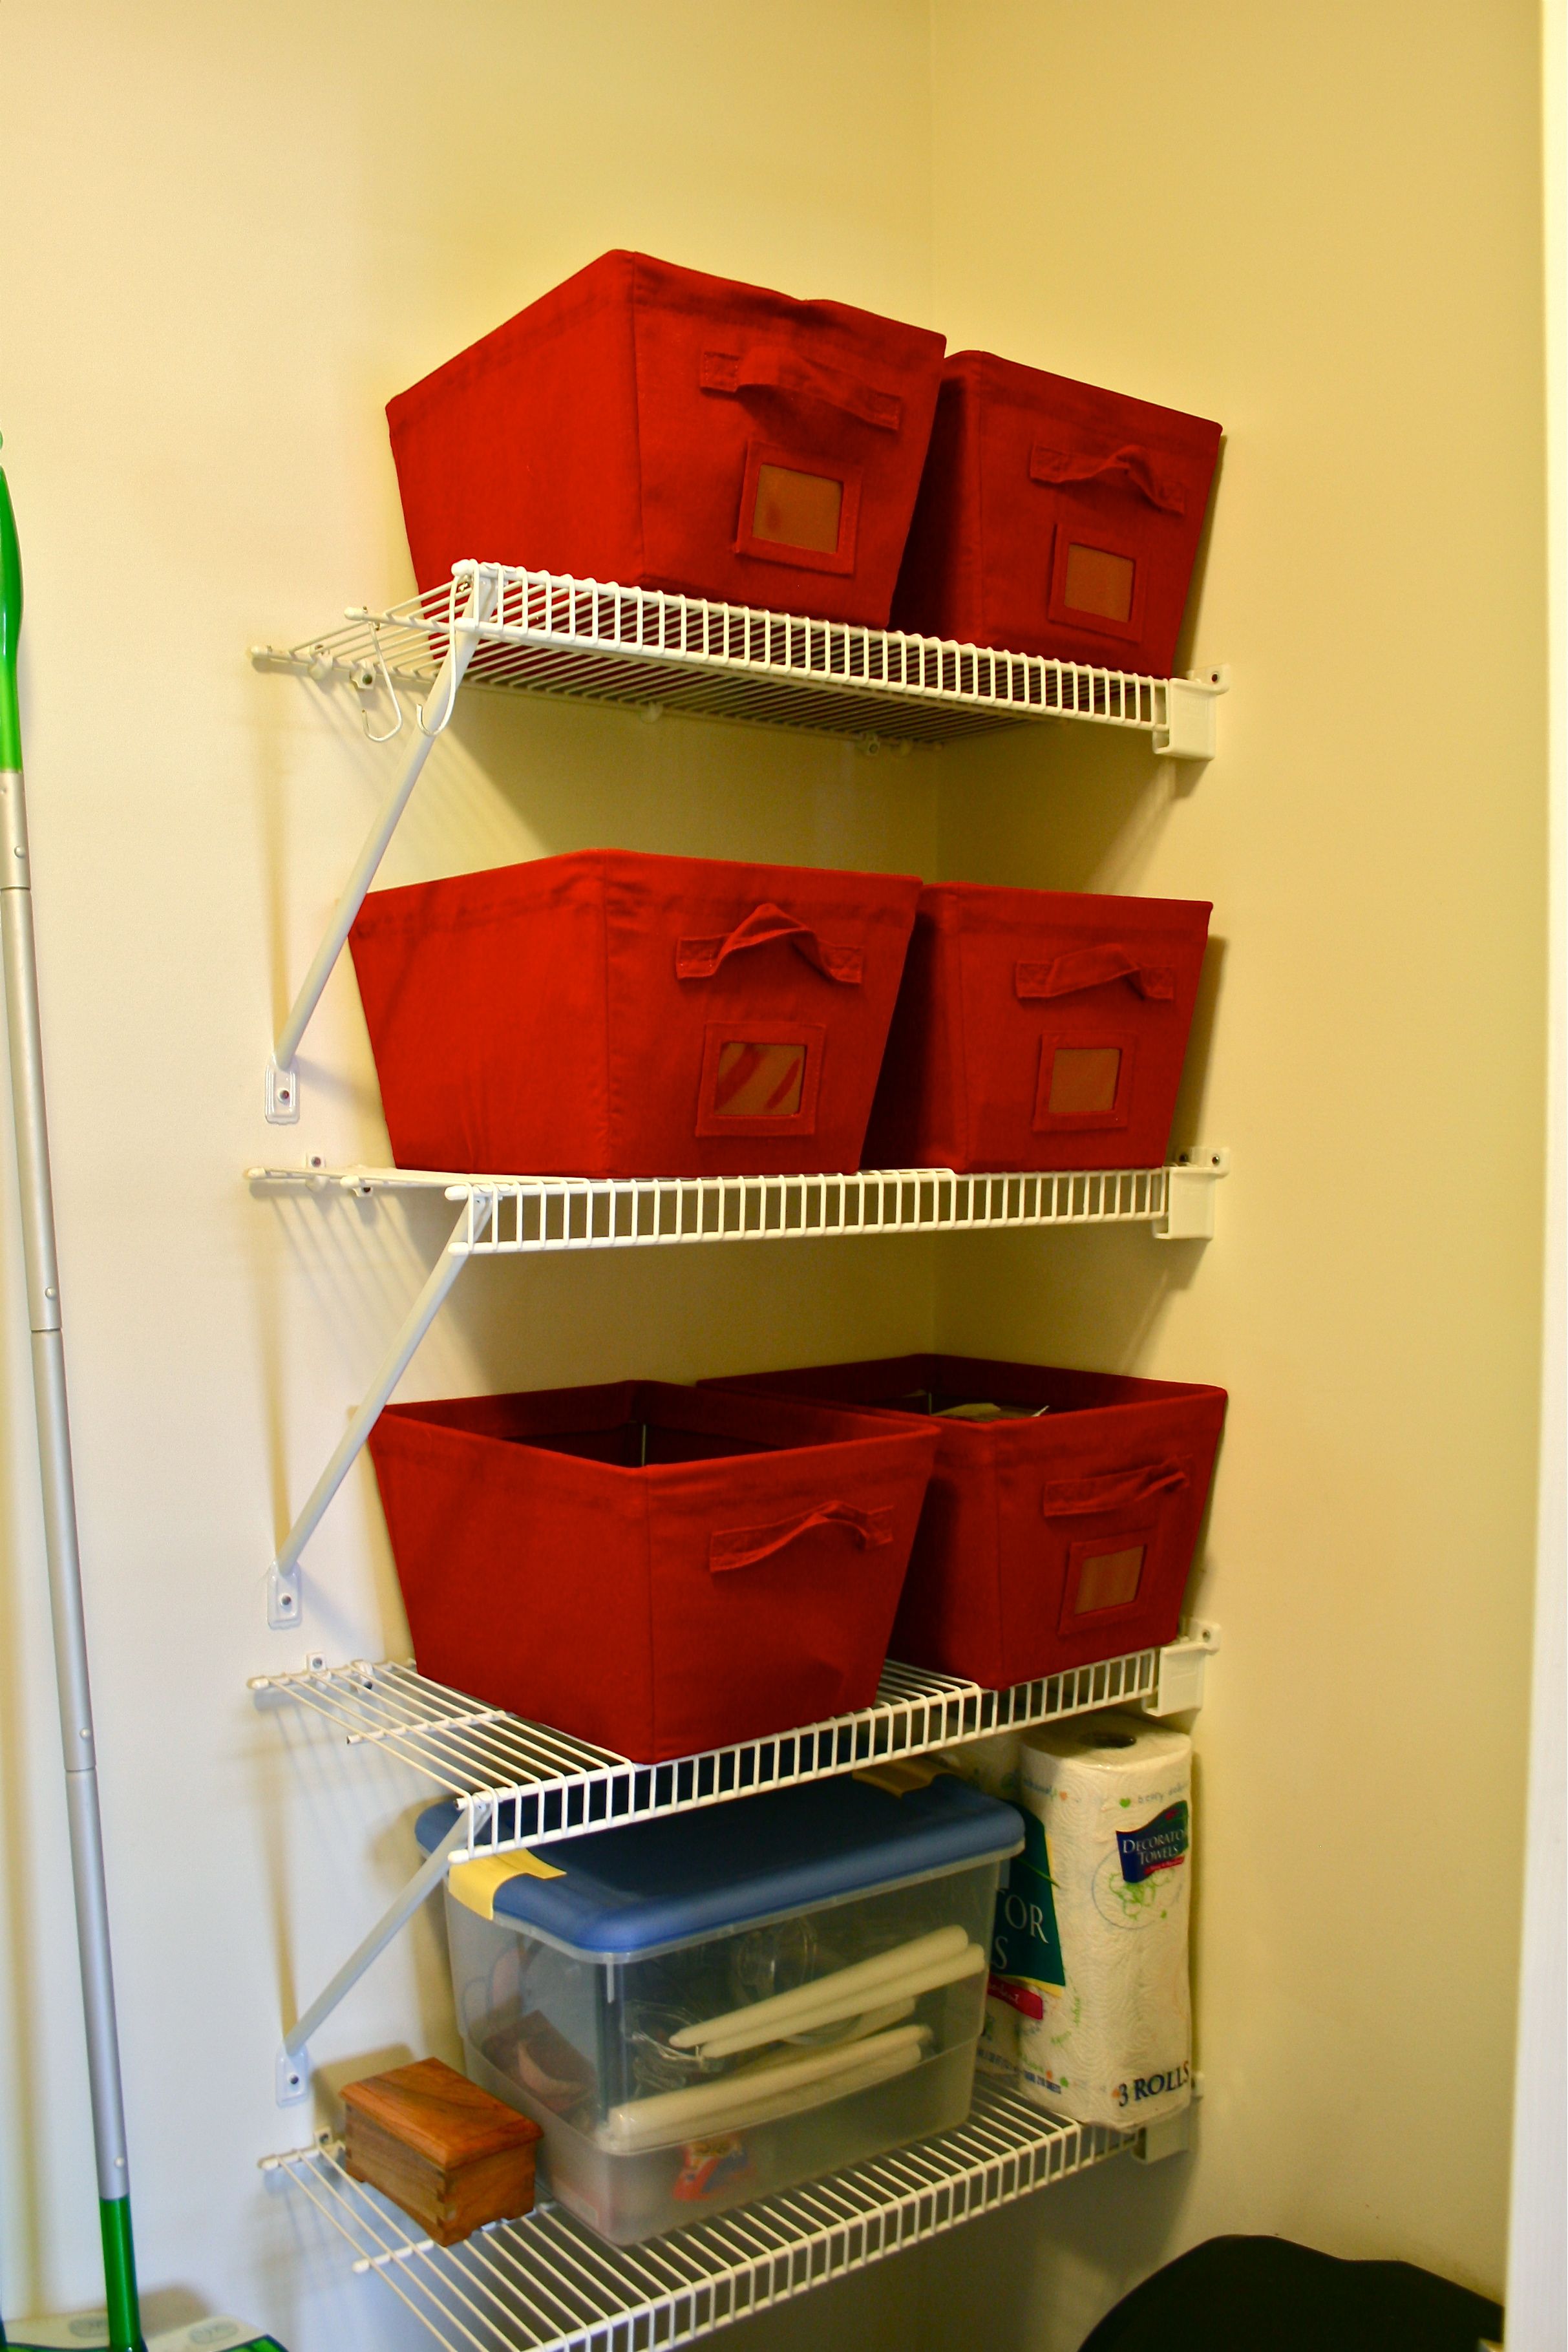
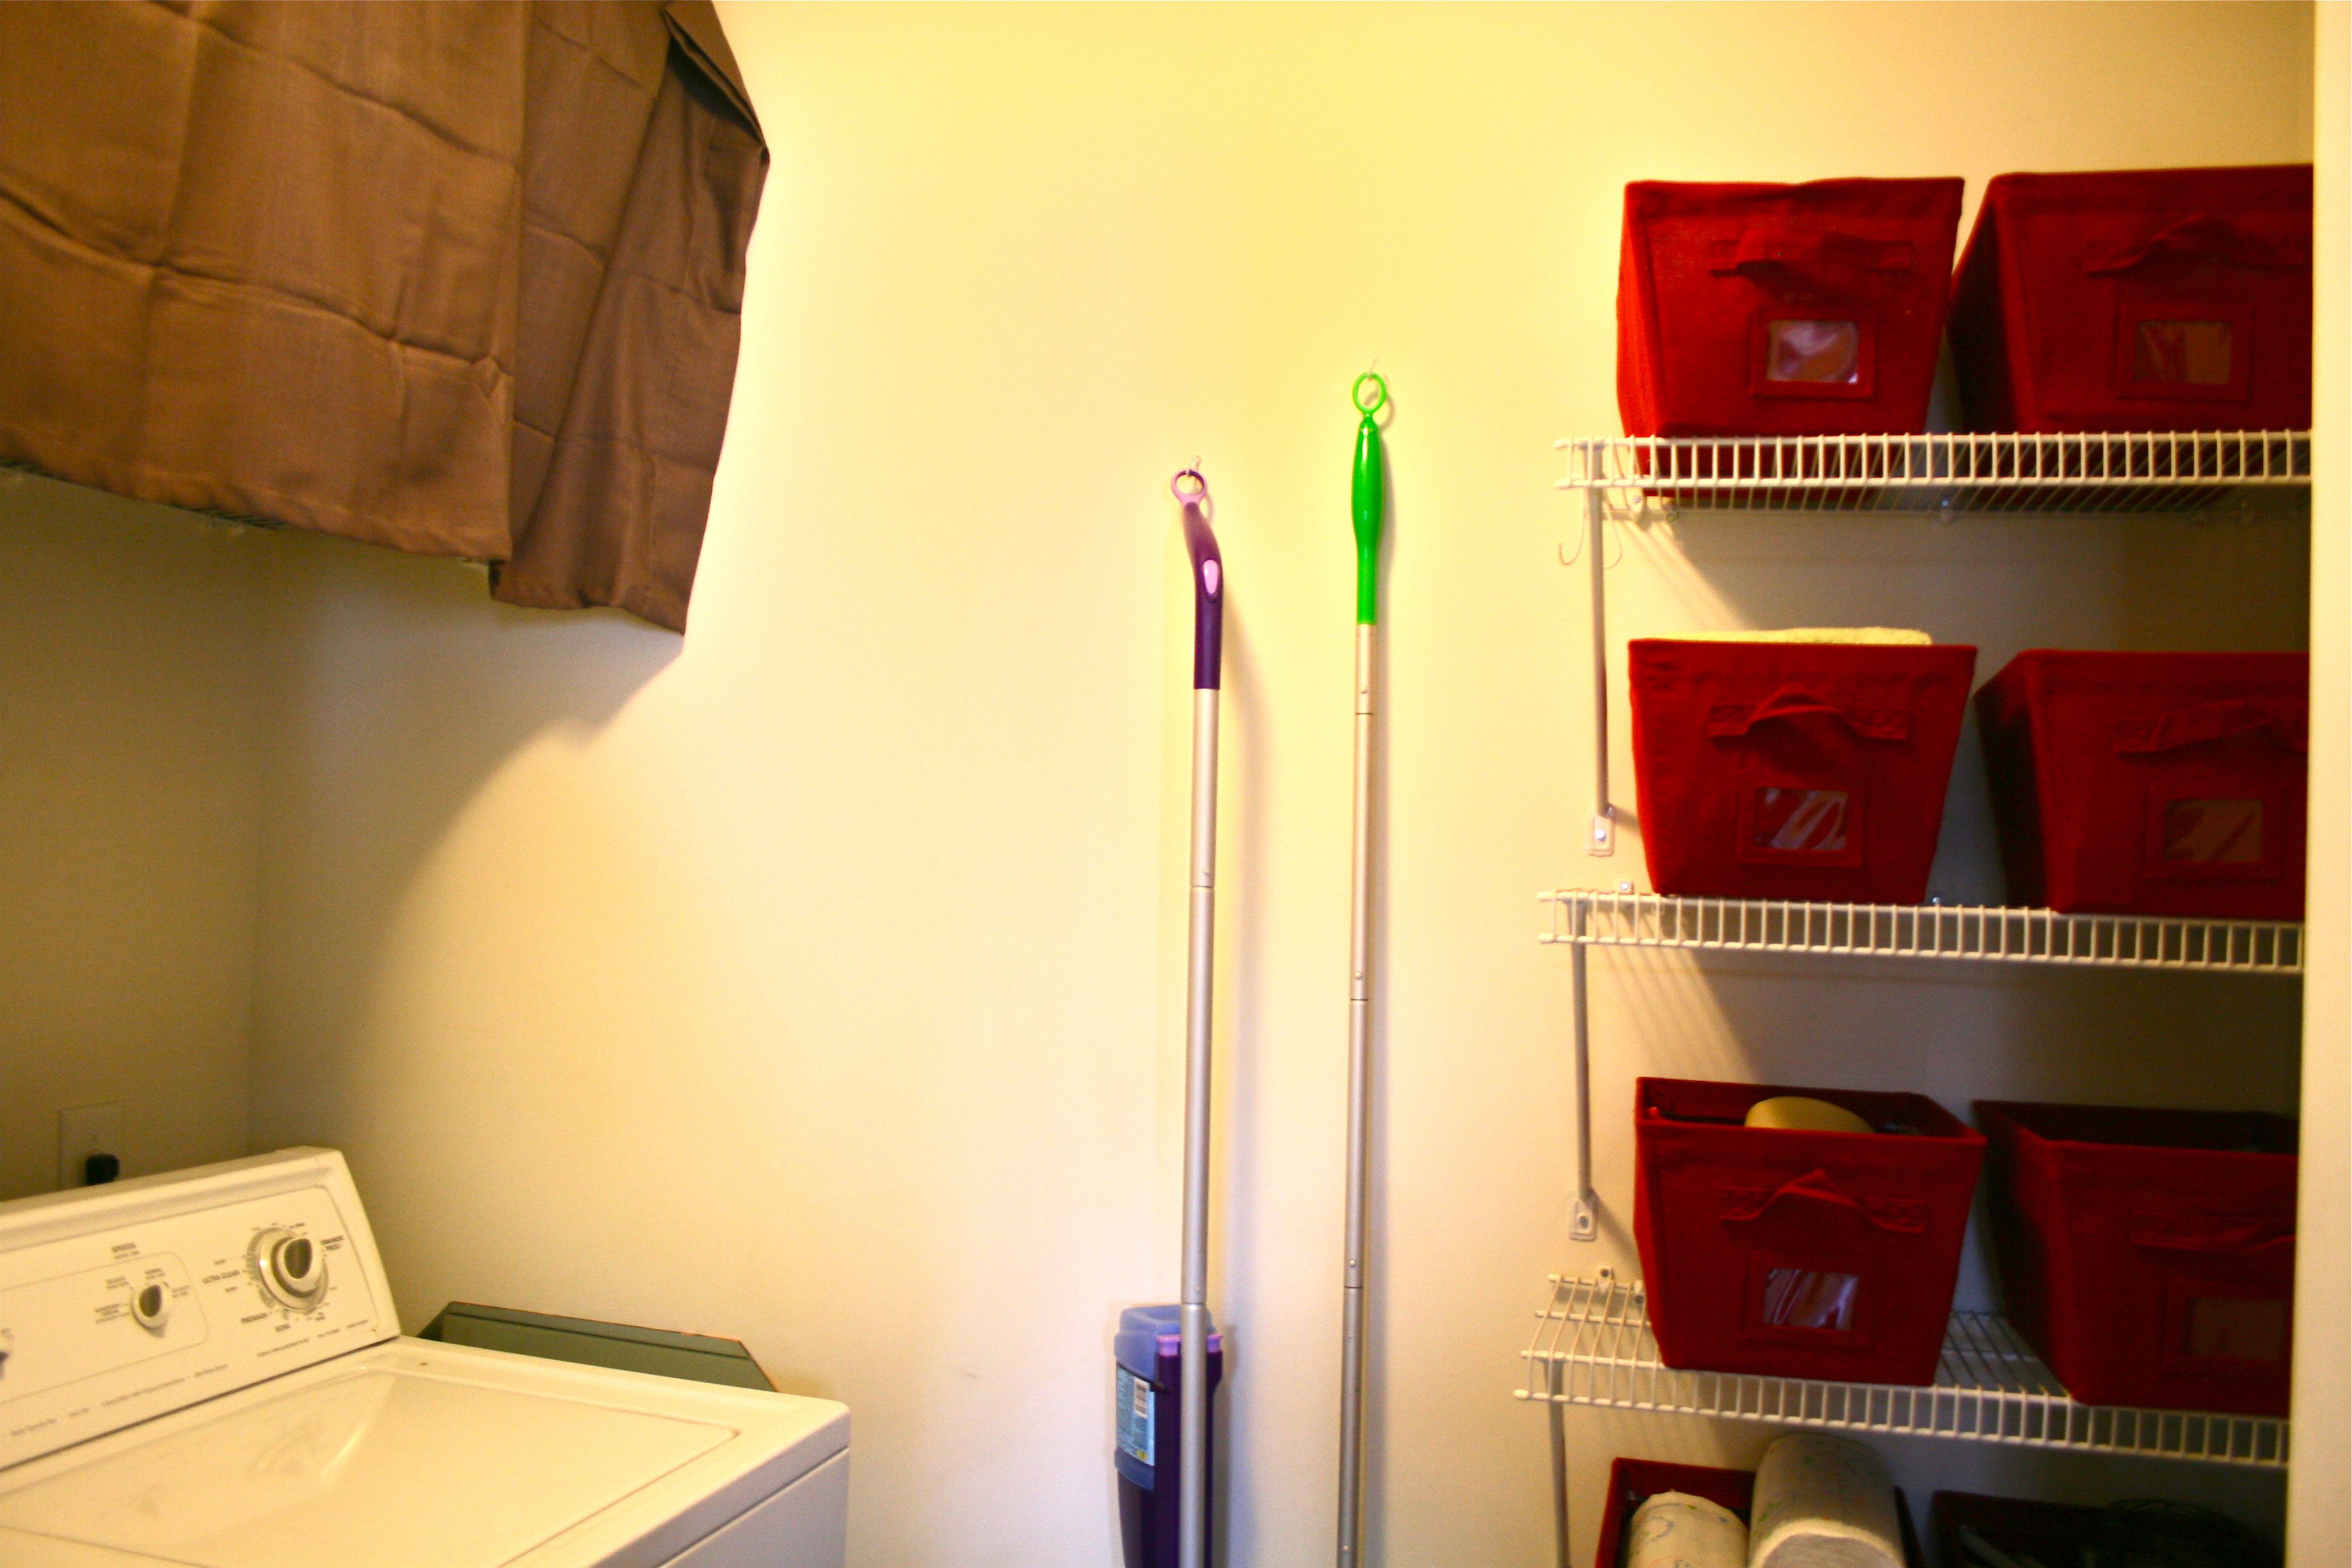
The first thing I did was go out and grab two more $6 red canvas boxes for that last shelf in the corner. Looking at the picture below reminds me that I still need to type up and print out some labels…But that will come in due time!

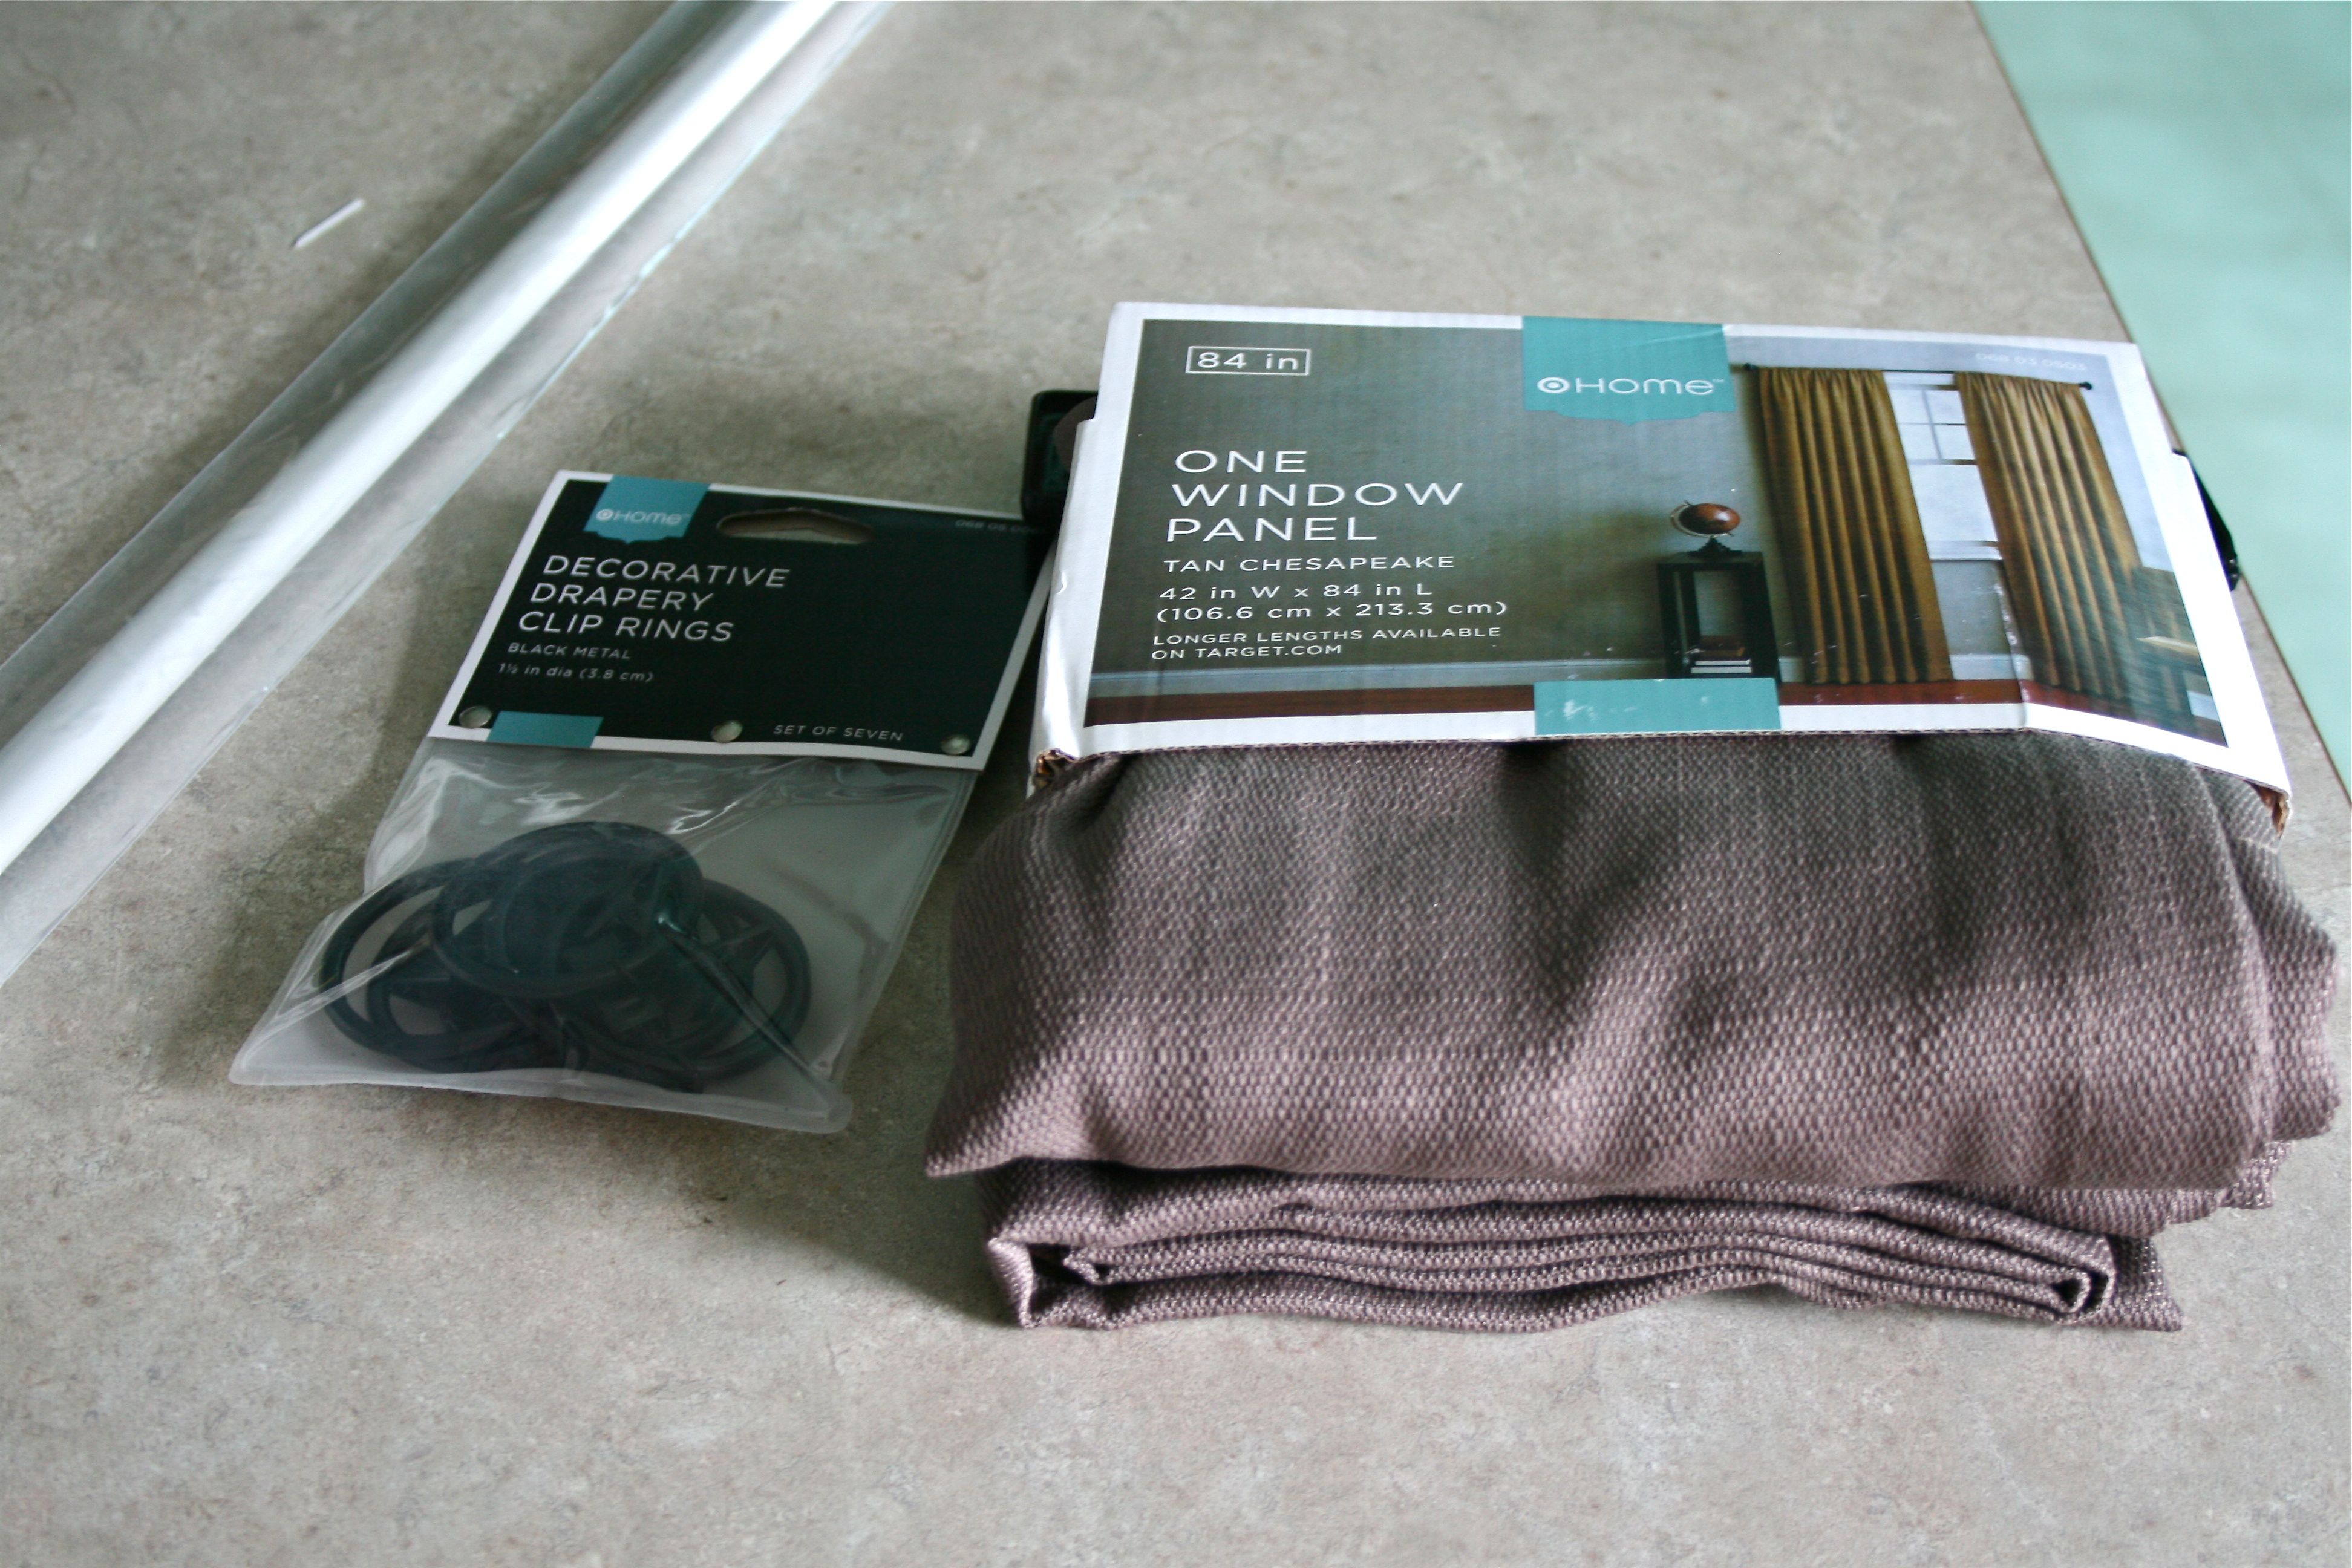
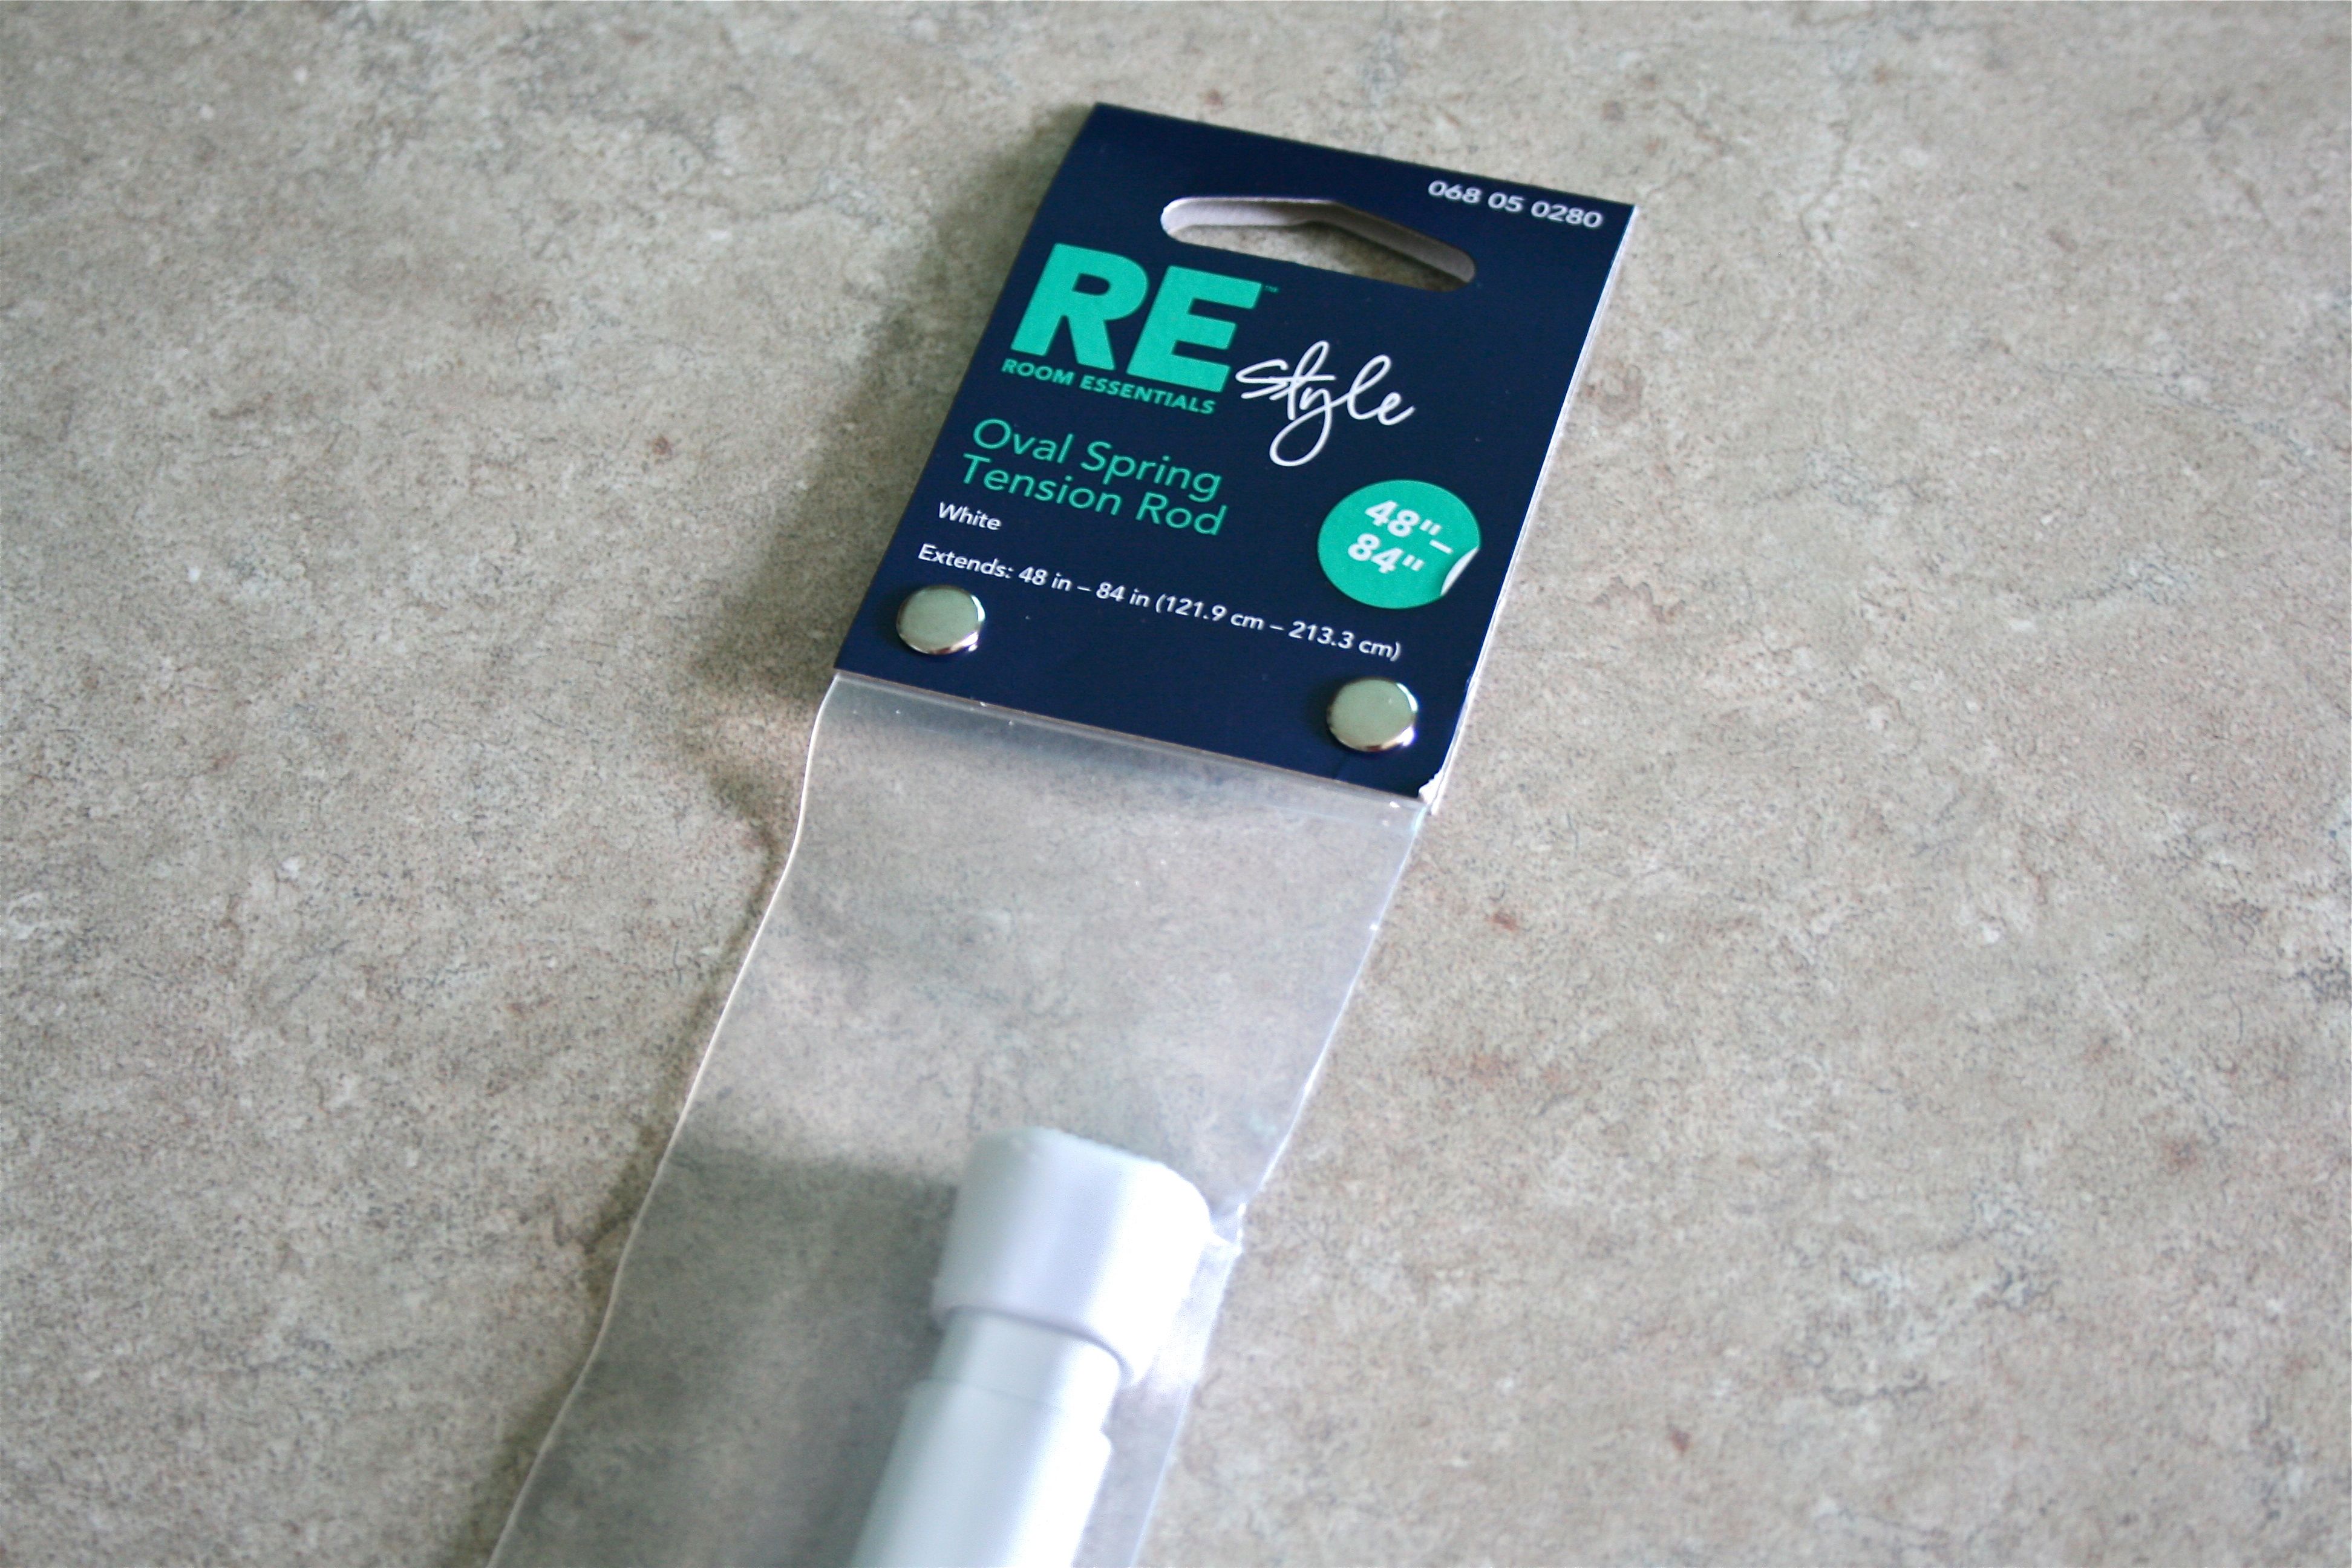
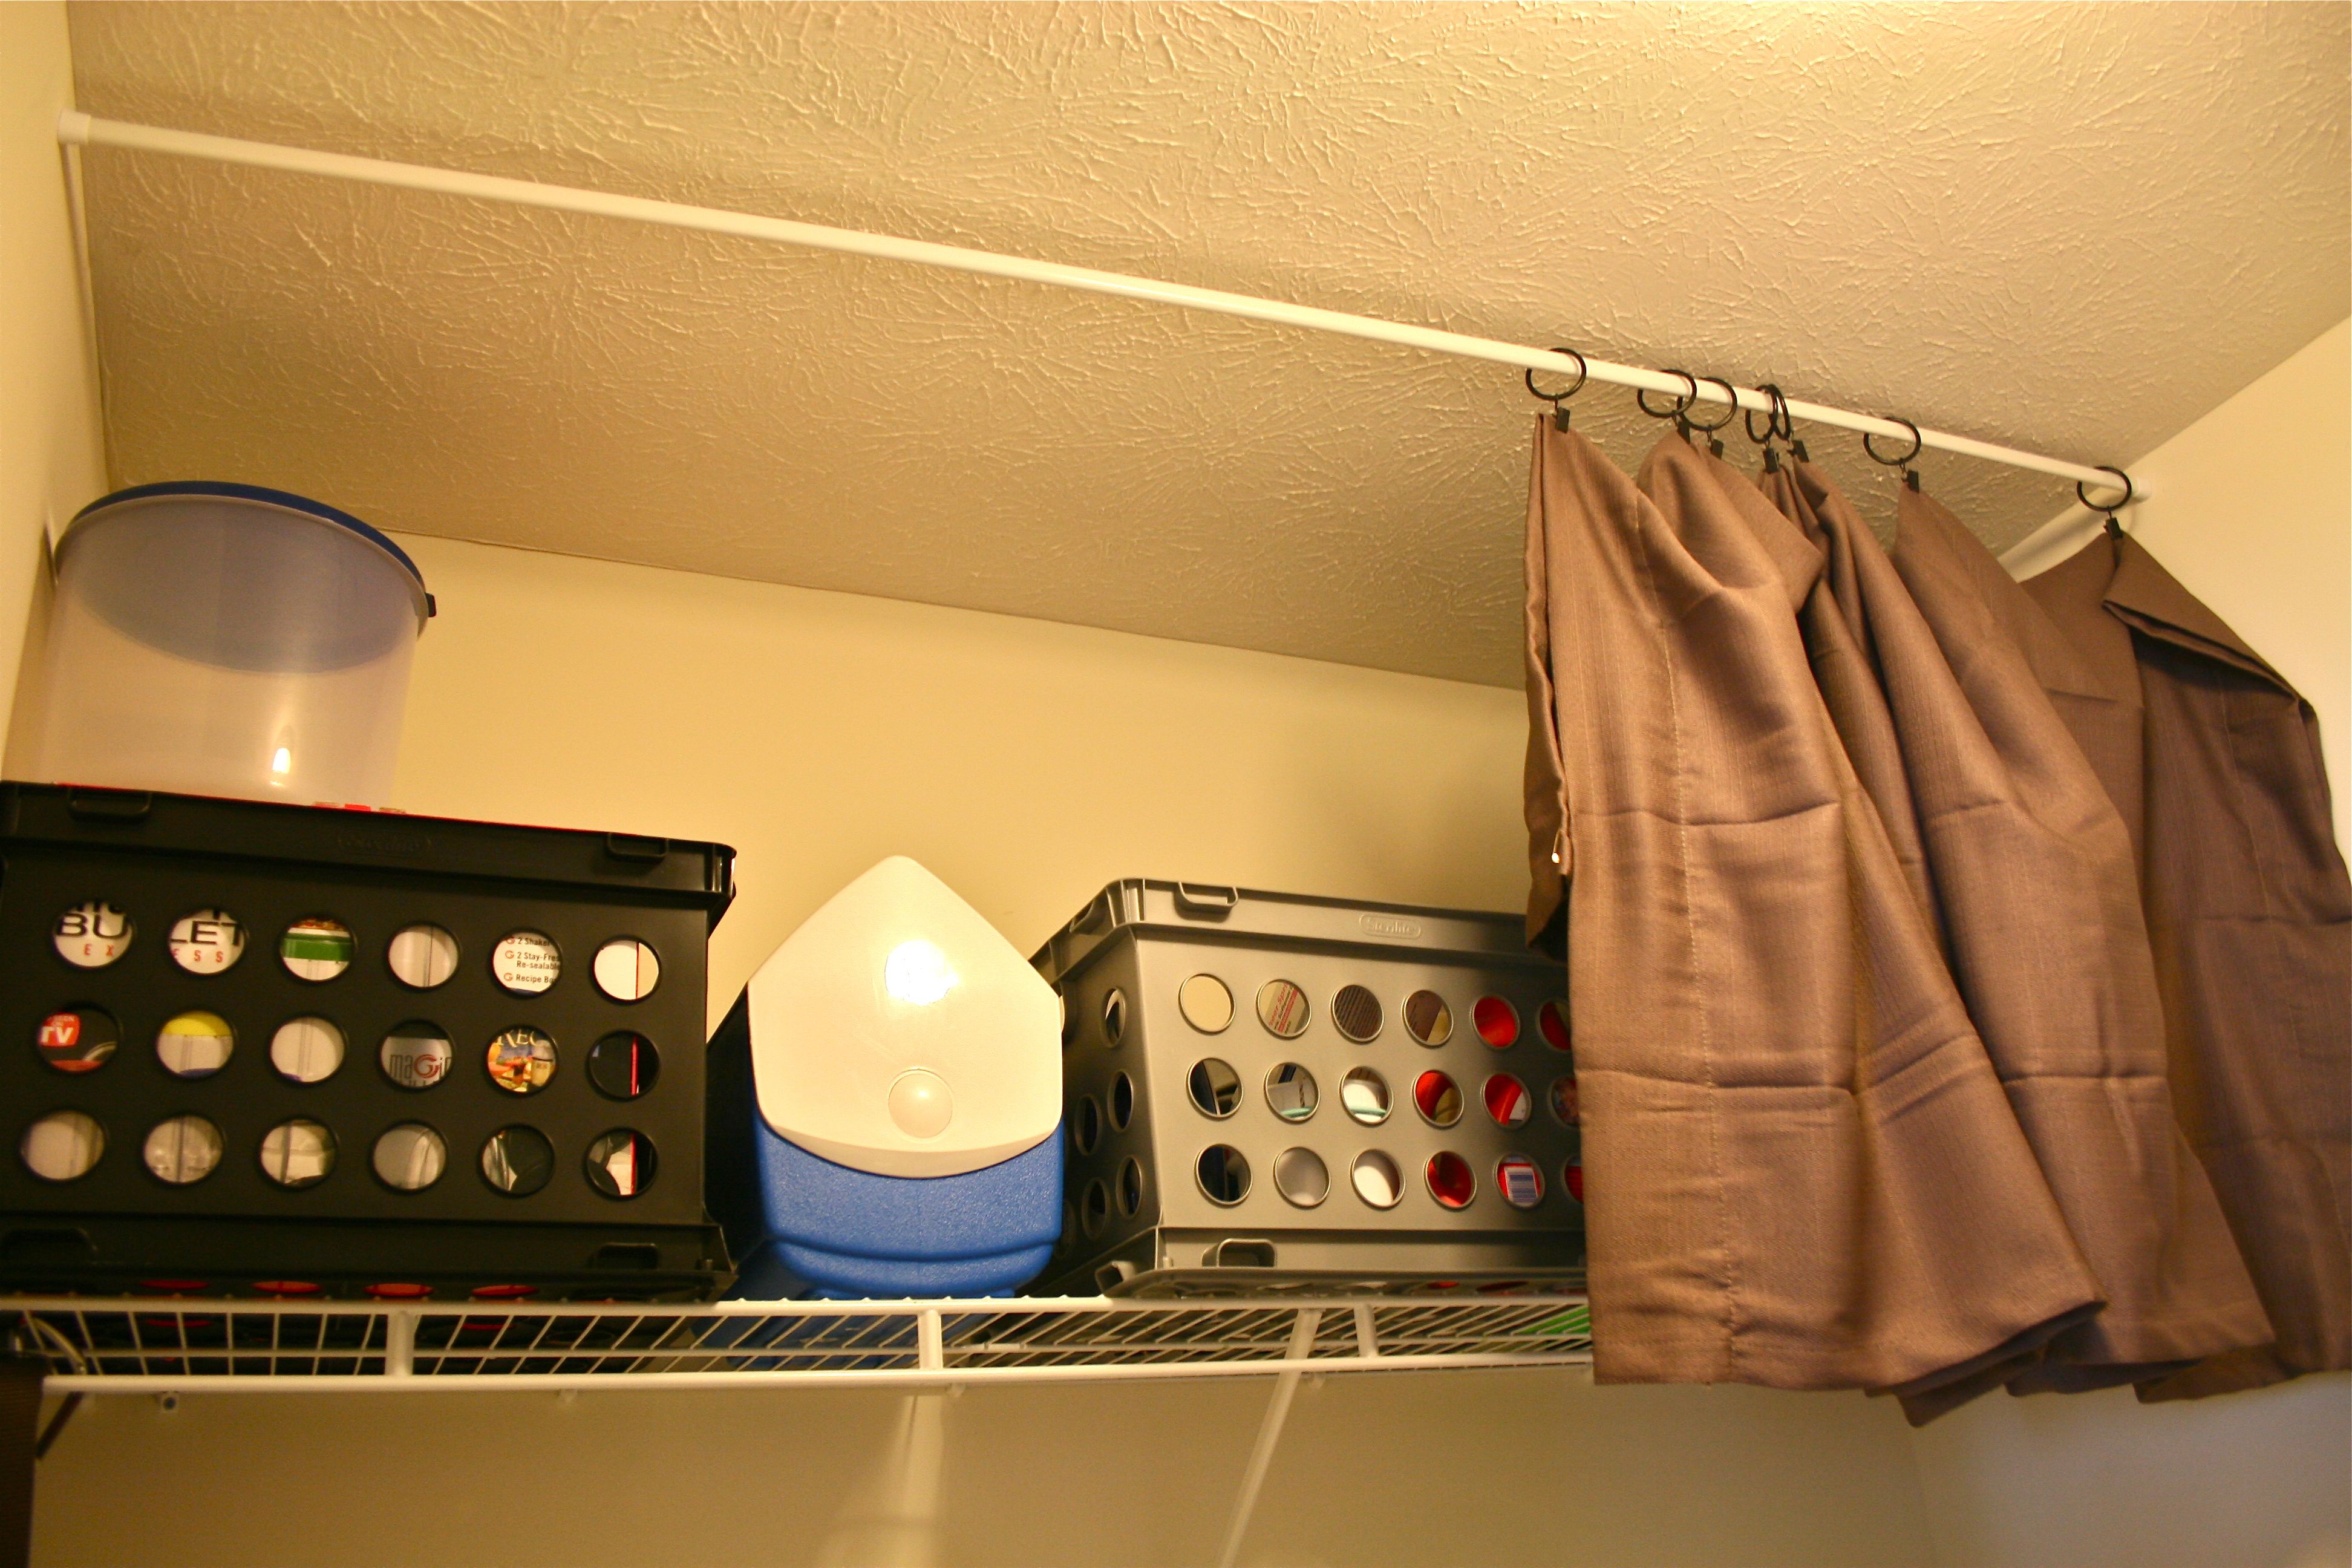
I also decided that the boxes over the laundry machines, the ones I thought would be stylish enough to leave as is, just weren’t cutting it in terms of look. So I thought maybe a curtain would fix the problem. We made a quick Target run and came home with a few supplies for my DIY curtain:
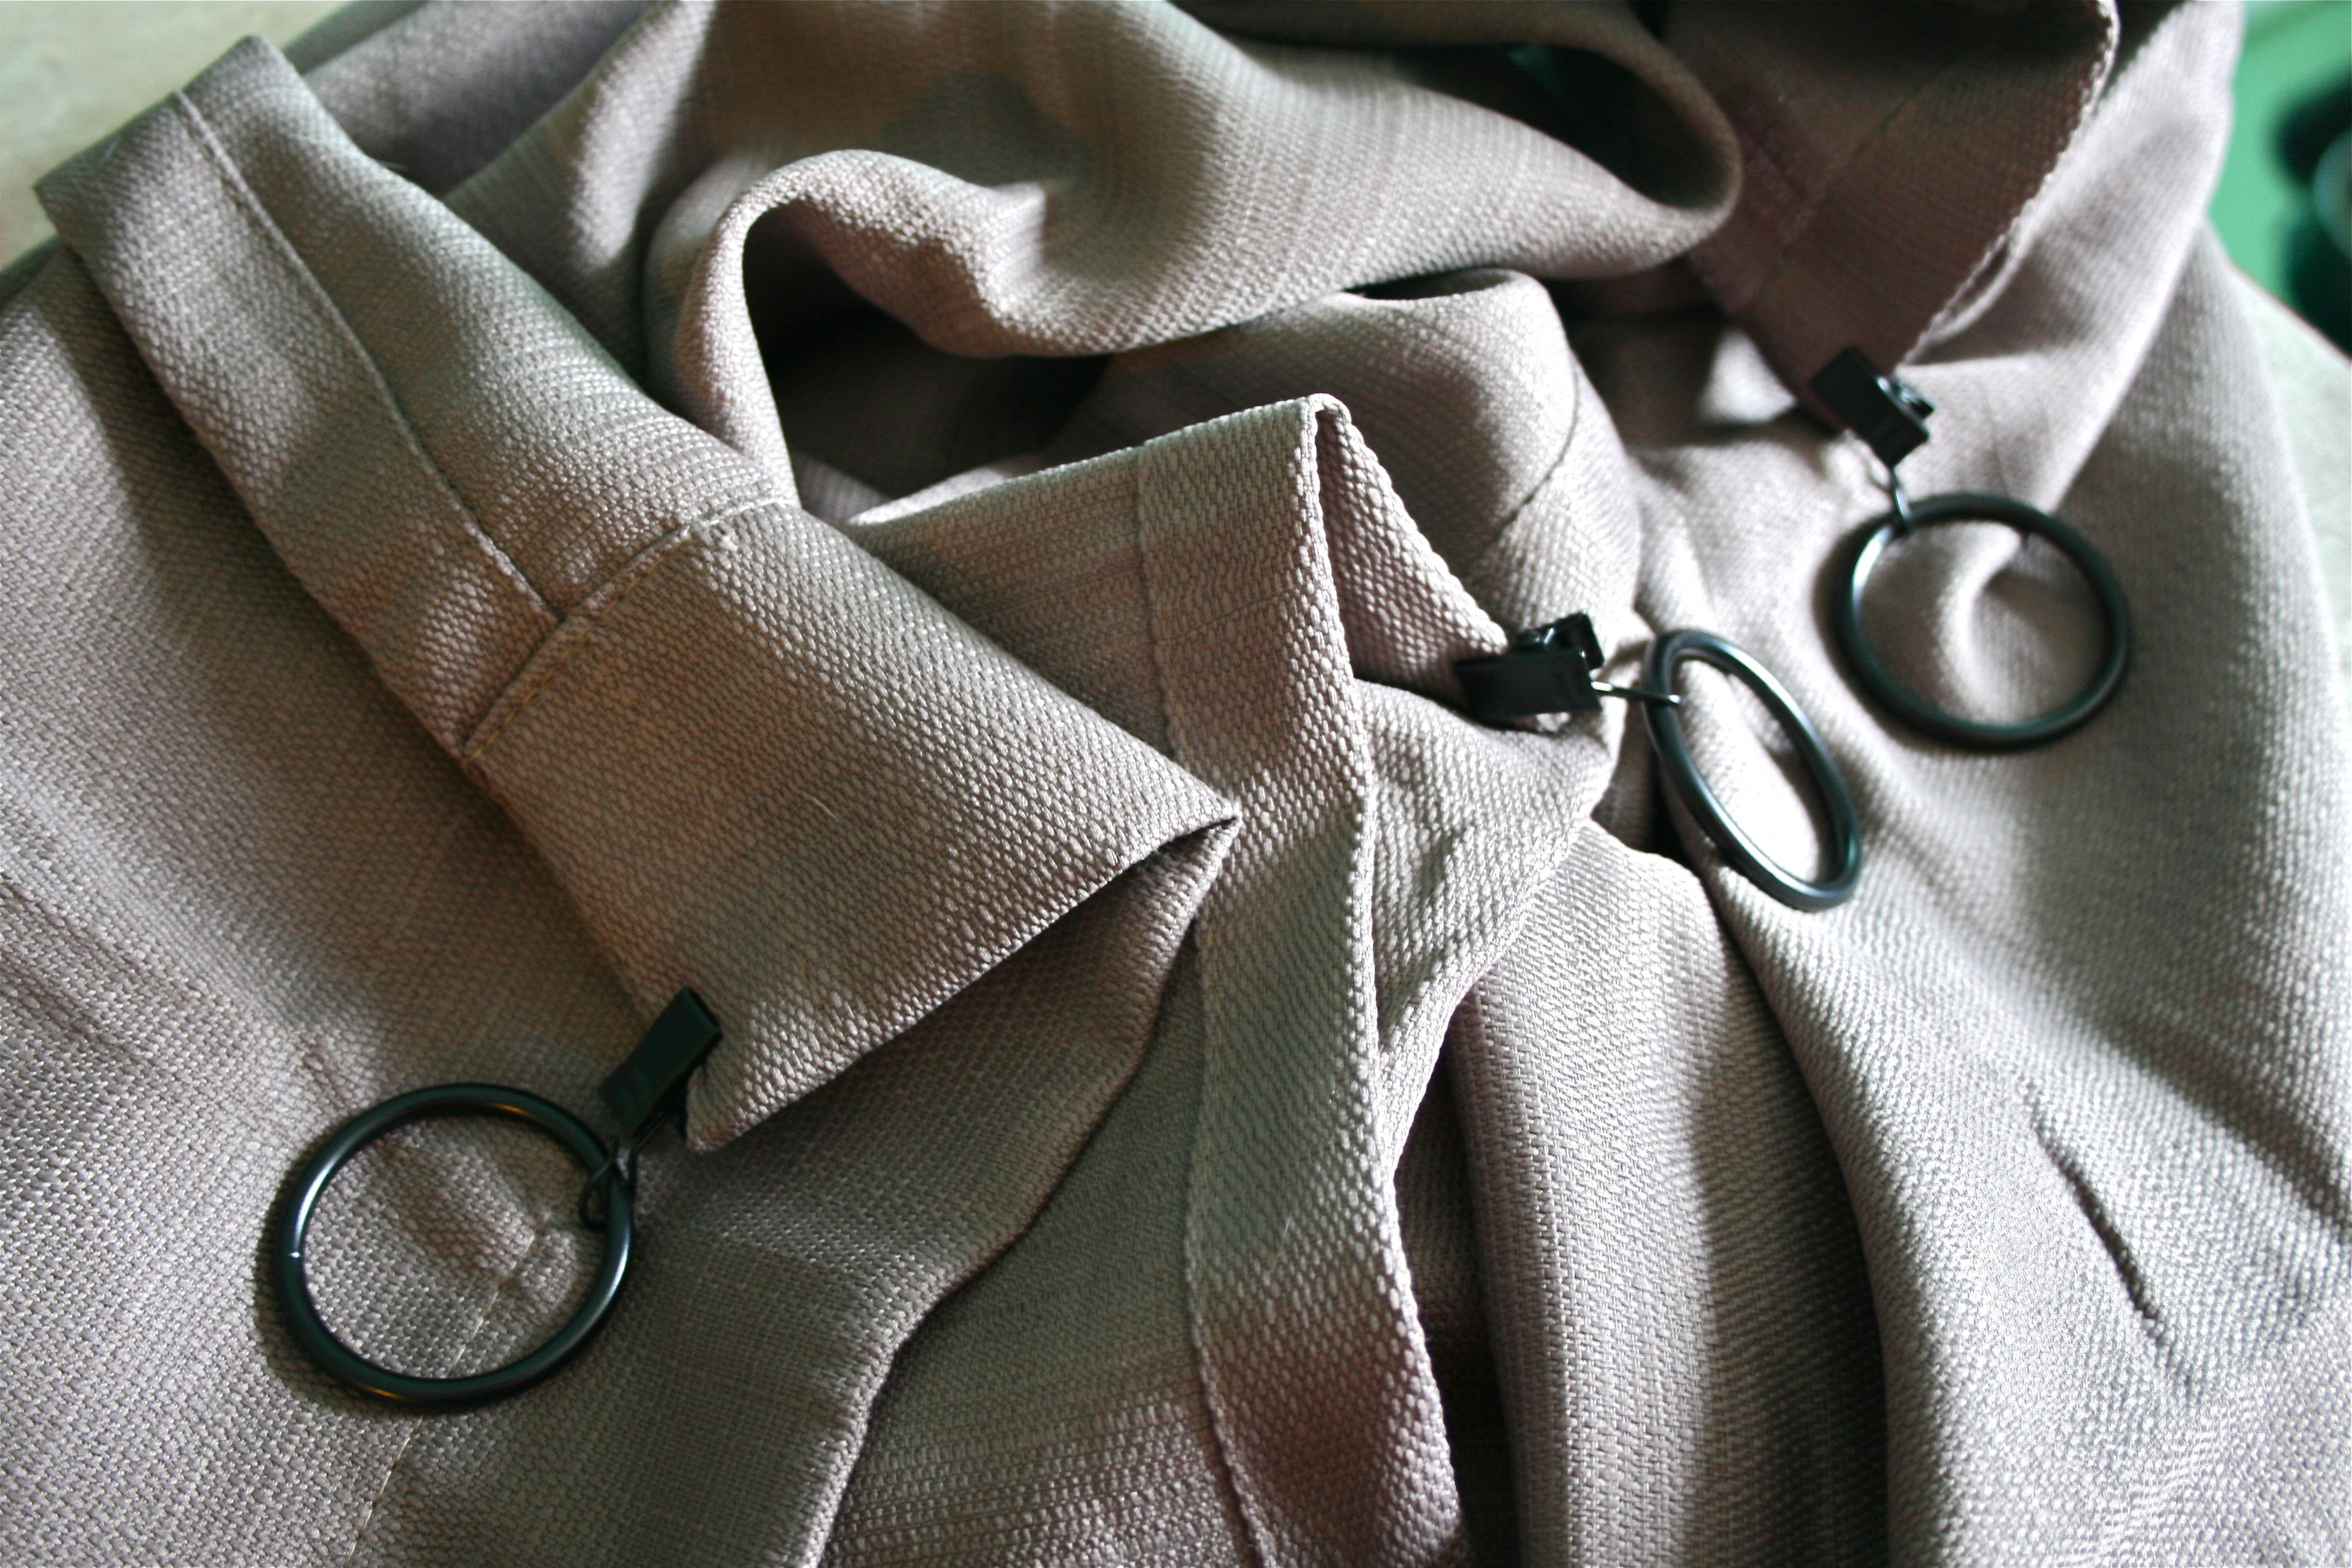
- A pack of dark espresso-colored curtain clips – $4.50
- One light brown curtain panel – $9.99
- An extension rod – $6.99
The panel is meant to be hung vertically and tall, but since we needed a horizontal panel to hide the shelf in the laundry room, I just attached the hooks down the “side” of the panel and strung it on to the extension rod to serve our purposes. Luckily, it was hemmed nicely all the way around so you’d never know (except that I just spilled the beans).
Unfortunately, the panel was a bit too long…Solution? This one was allllllll John.
Me: “Craaaaaappppp. It’s too long….” (Eyes start to fill with tears)
John: “Oh? Hmmmm…Why don’t you just fold it?”
Me: (Eyes clear and snap to attention. Climb the step ladder and begin to unhook the curtain)
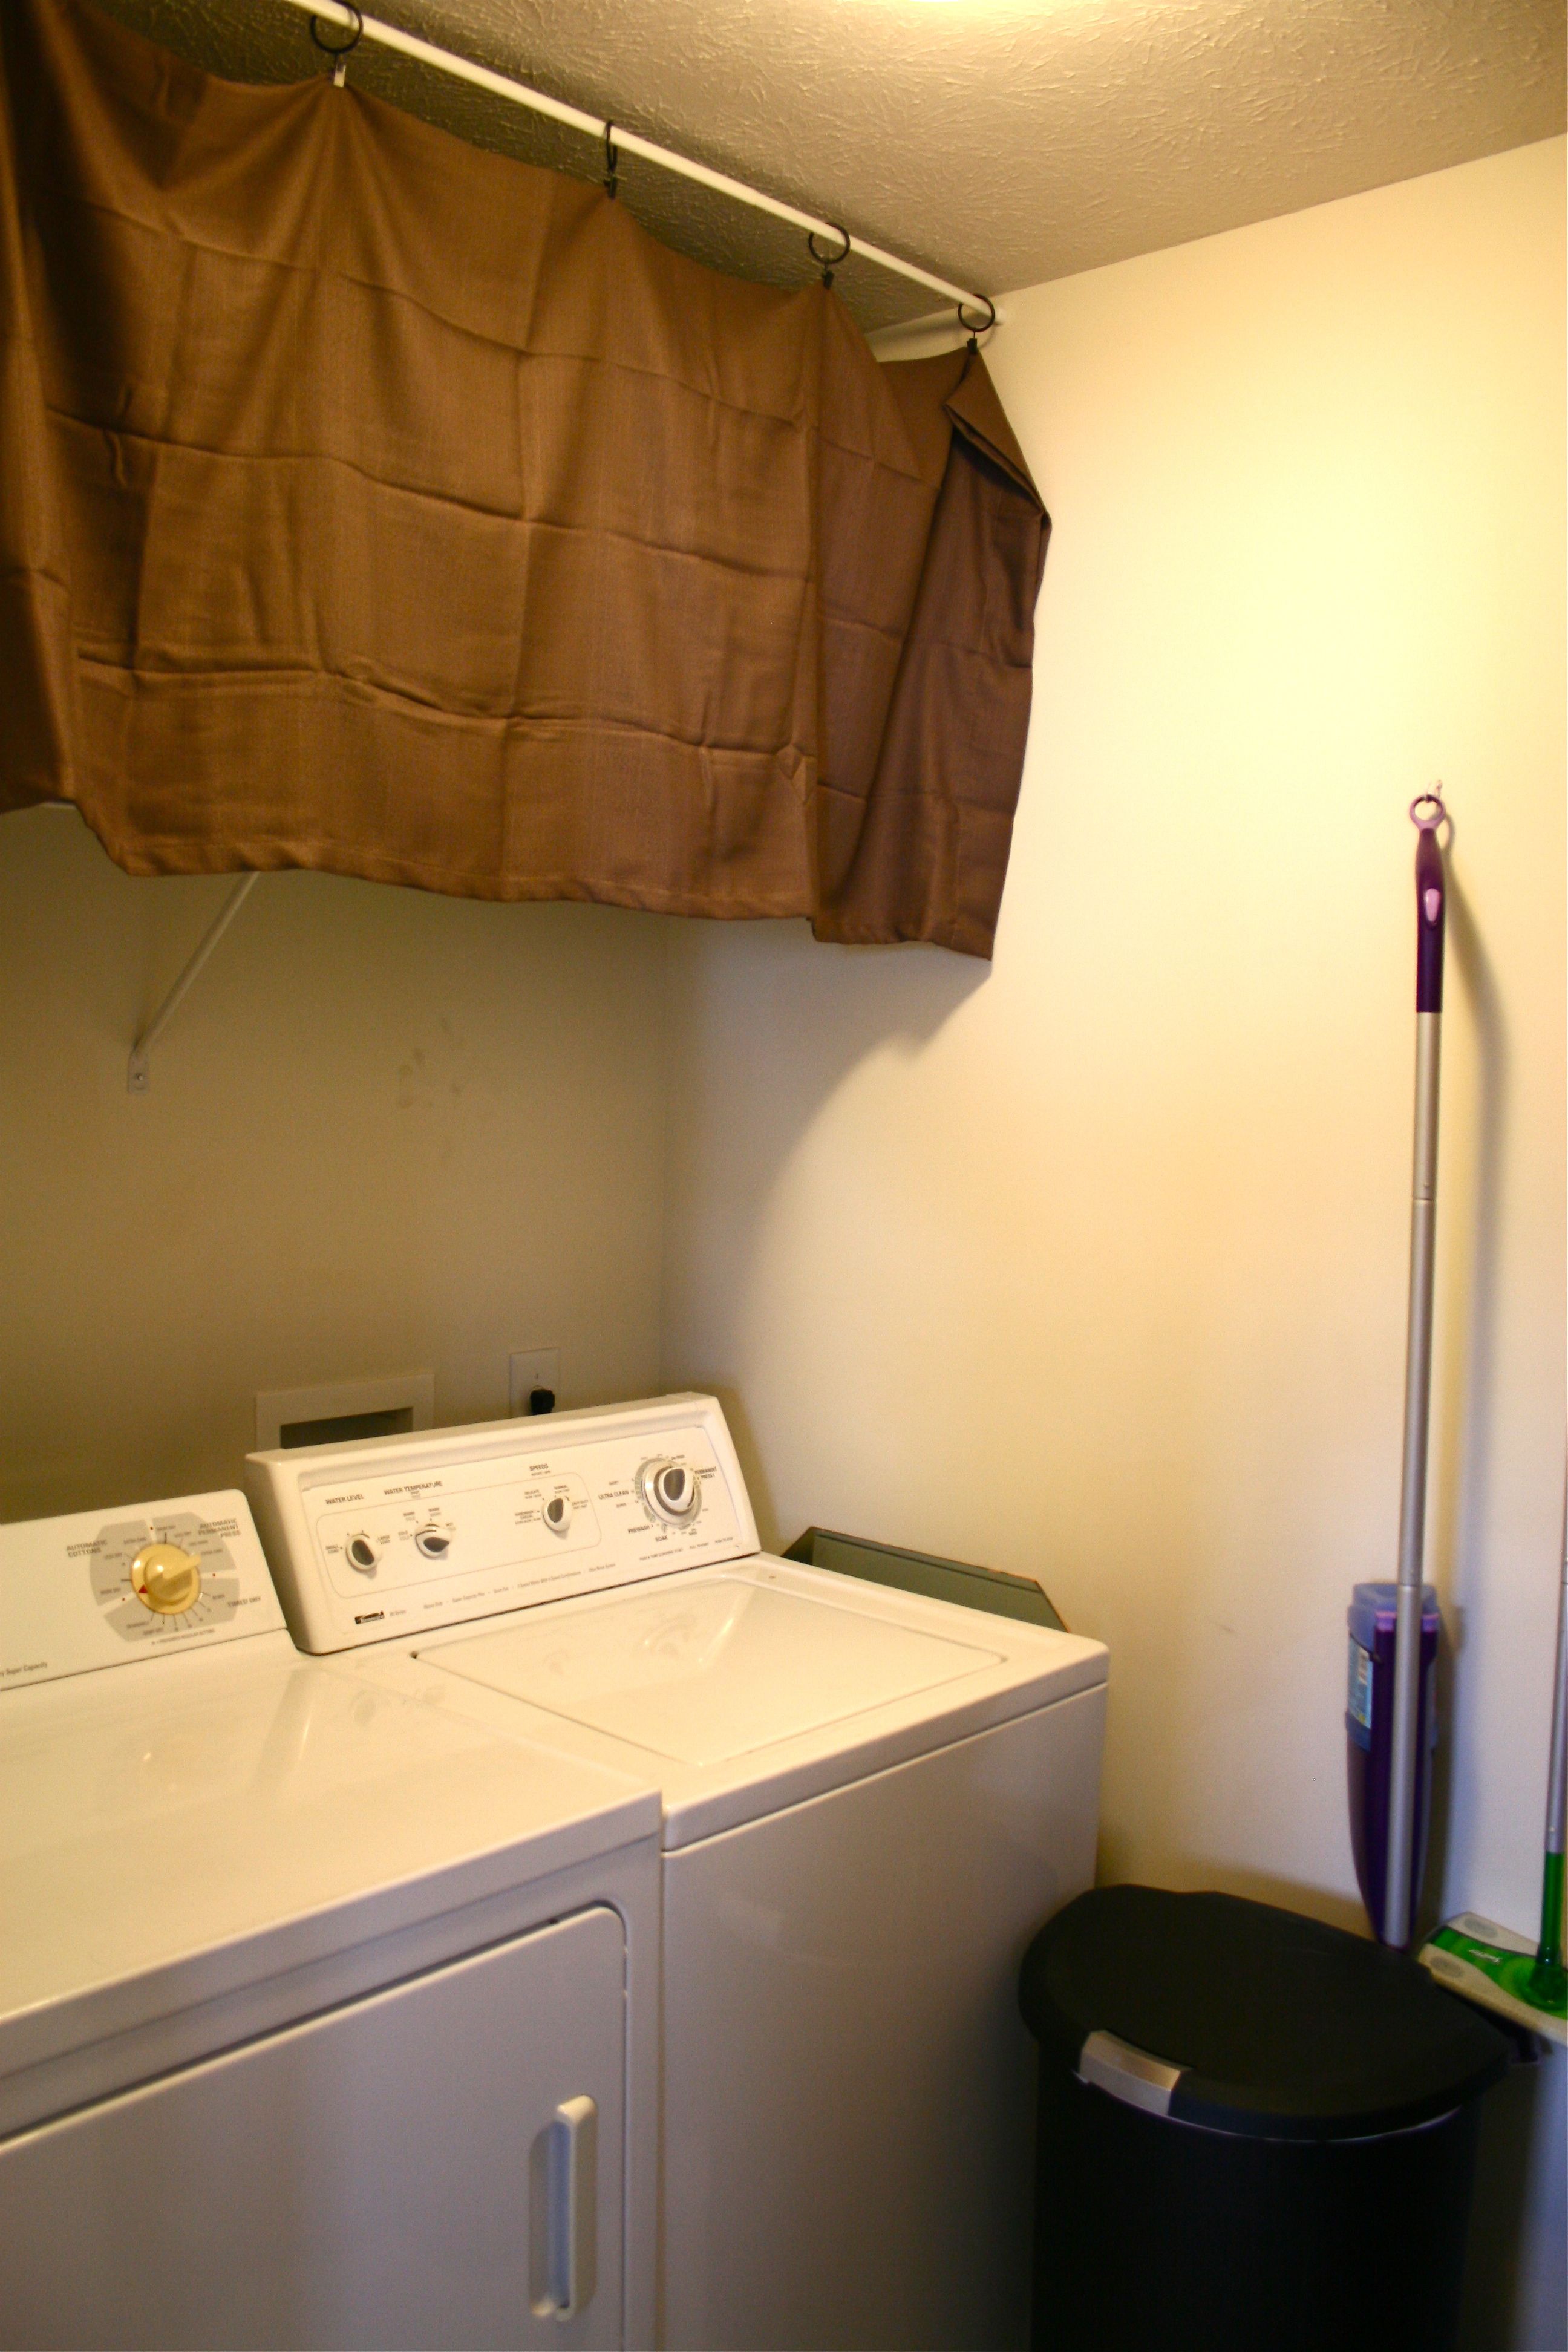
That’s just what I did! I took the curtain down, folded it along one of the pressed creases in the fabric from having been in the package for so long and reclipped it. Perfect!
Well…ALMOST perfect…
There ain’t NOTHIN’ pretty about that curtain. Functional? Yes! Stylish? Not yet…(And don’t worry, I know that the clip should be attached as far to the right as possible…I just quickly clipped it for photos before ripping it down again for the next phase of the project) First of all, you can definitely see the part that I folded over – Especially in the photo above.
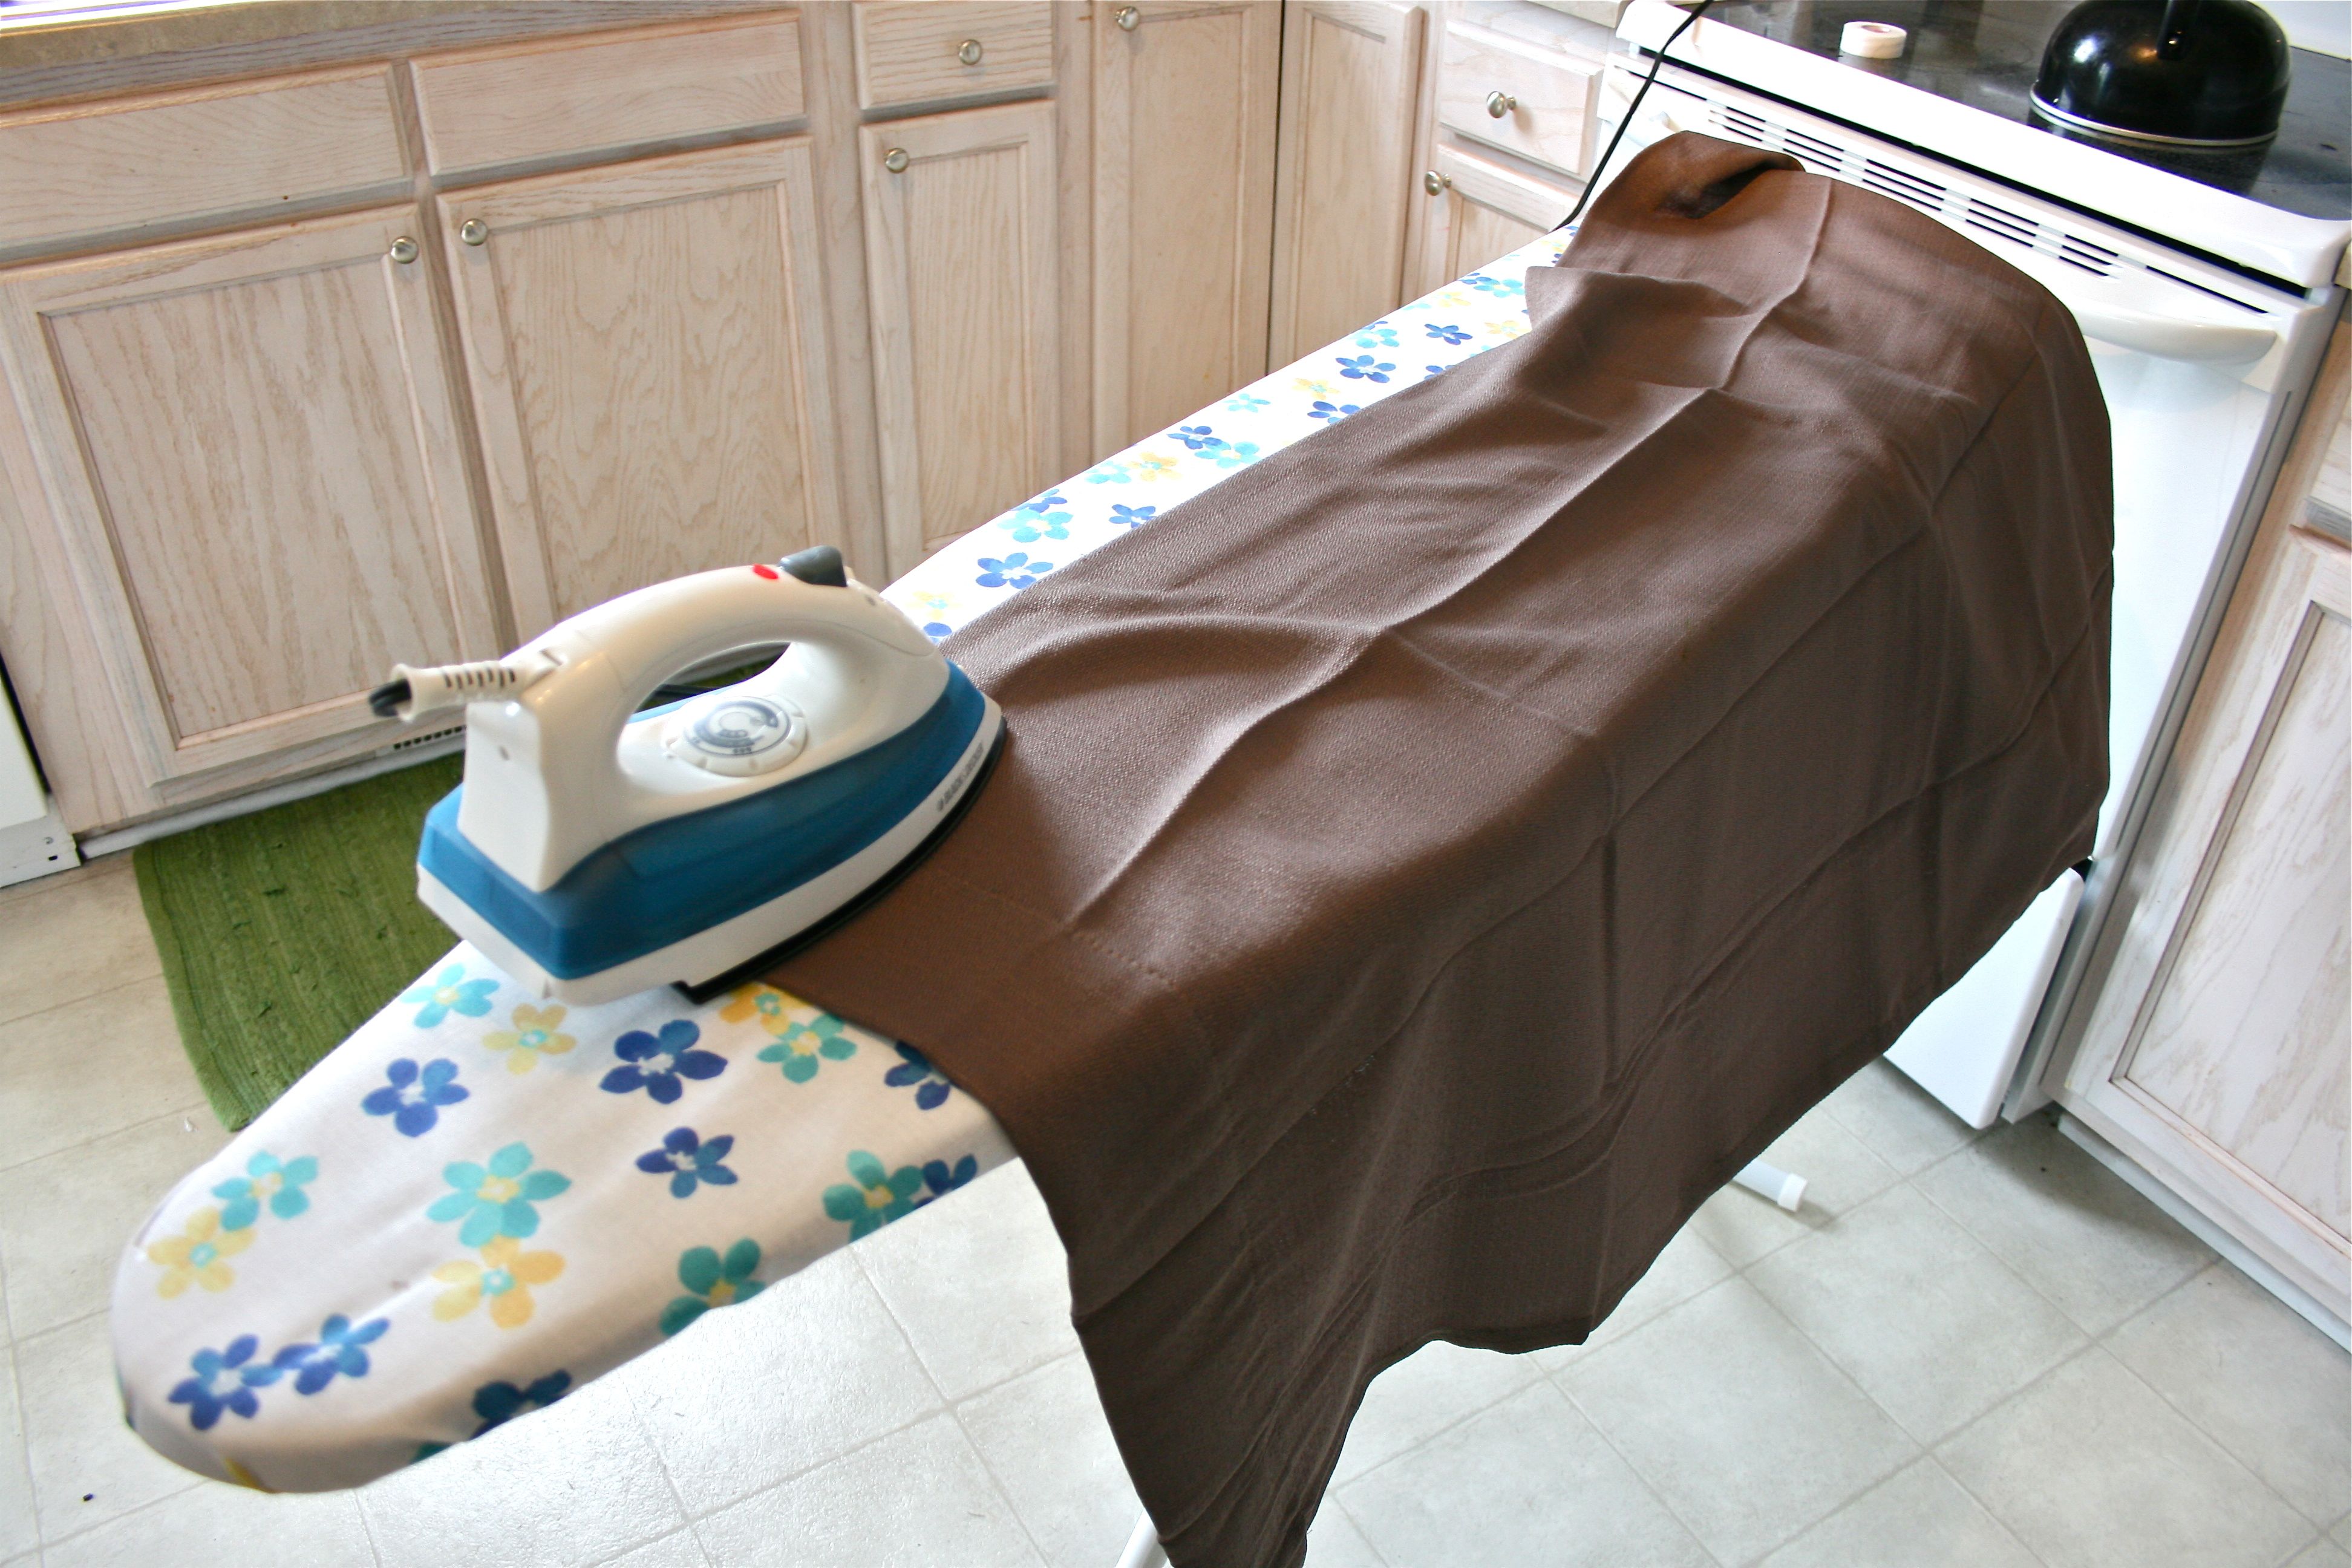
And also, ironing anyone??? Those very-obvious creases, although good for easy fold-overs, could DEFINITELY use a little attention.
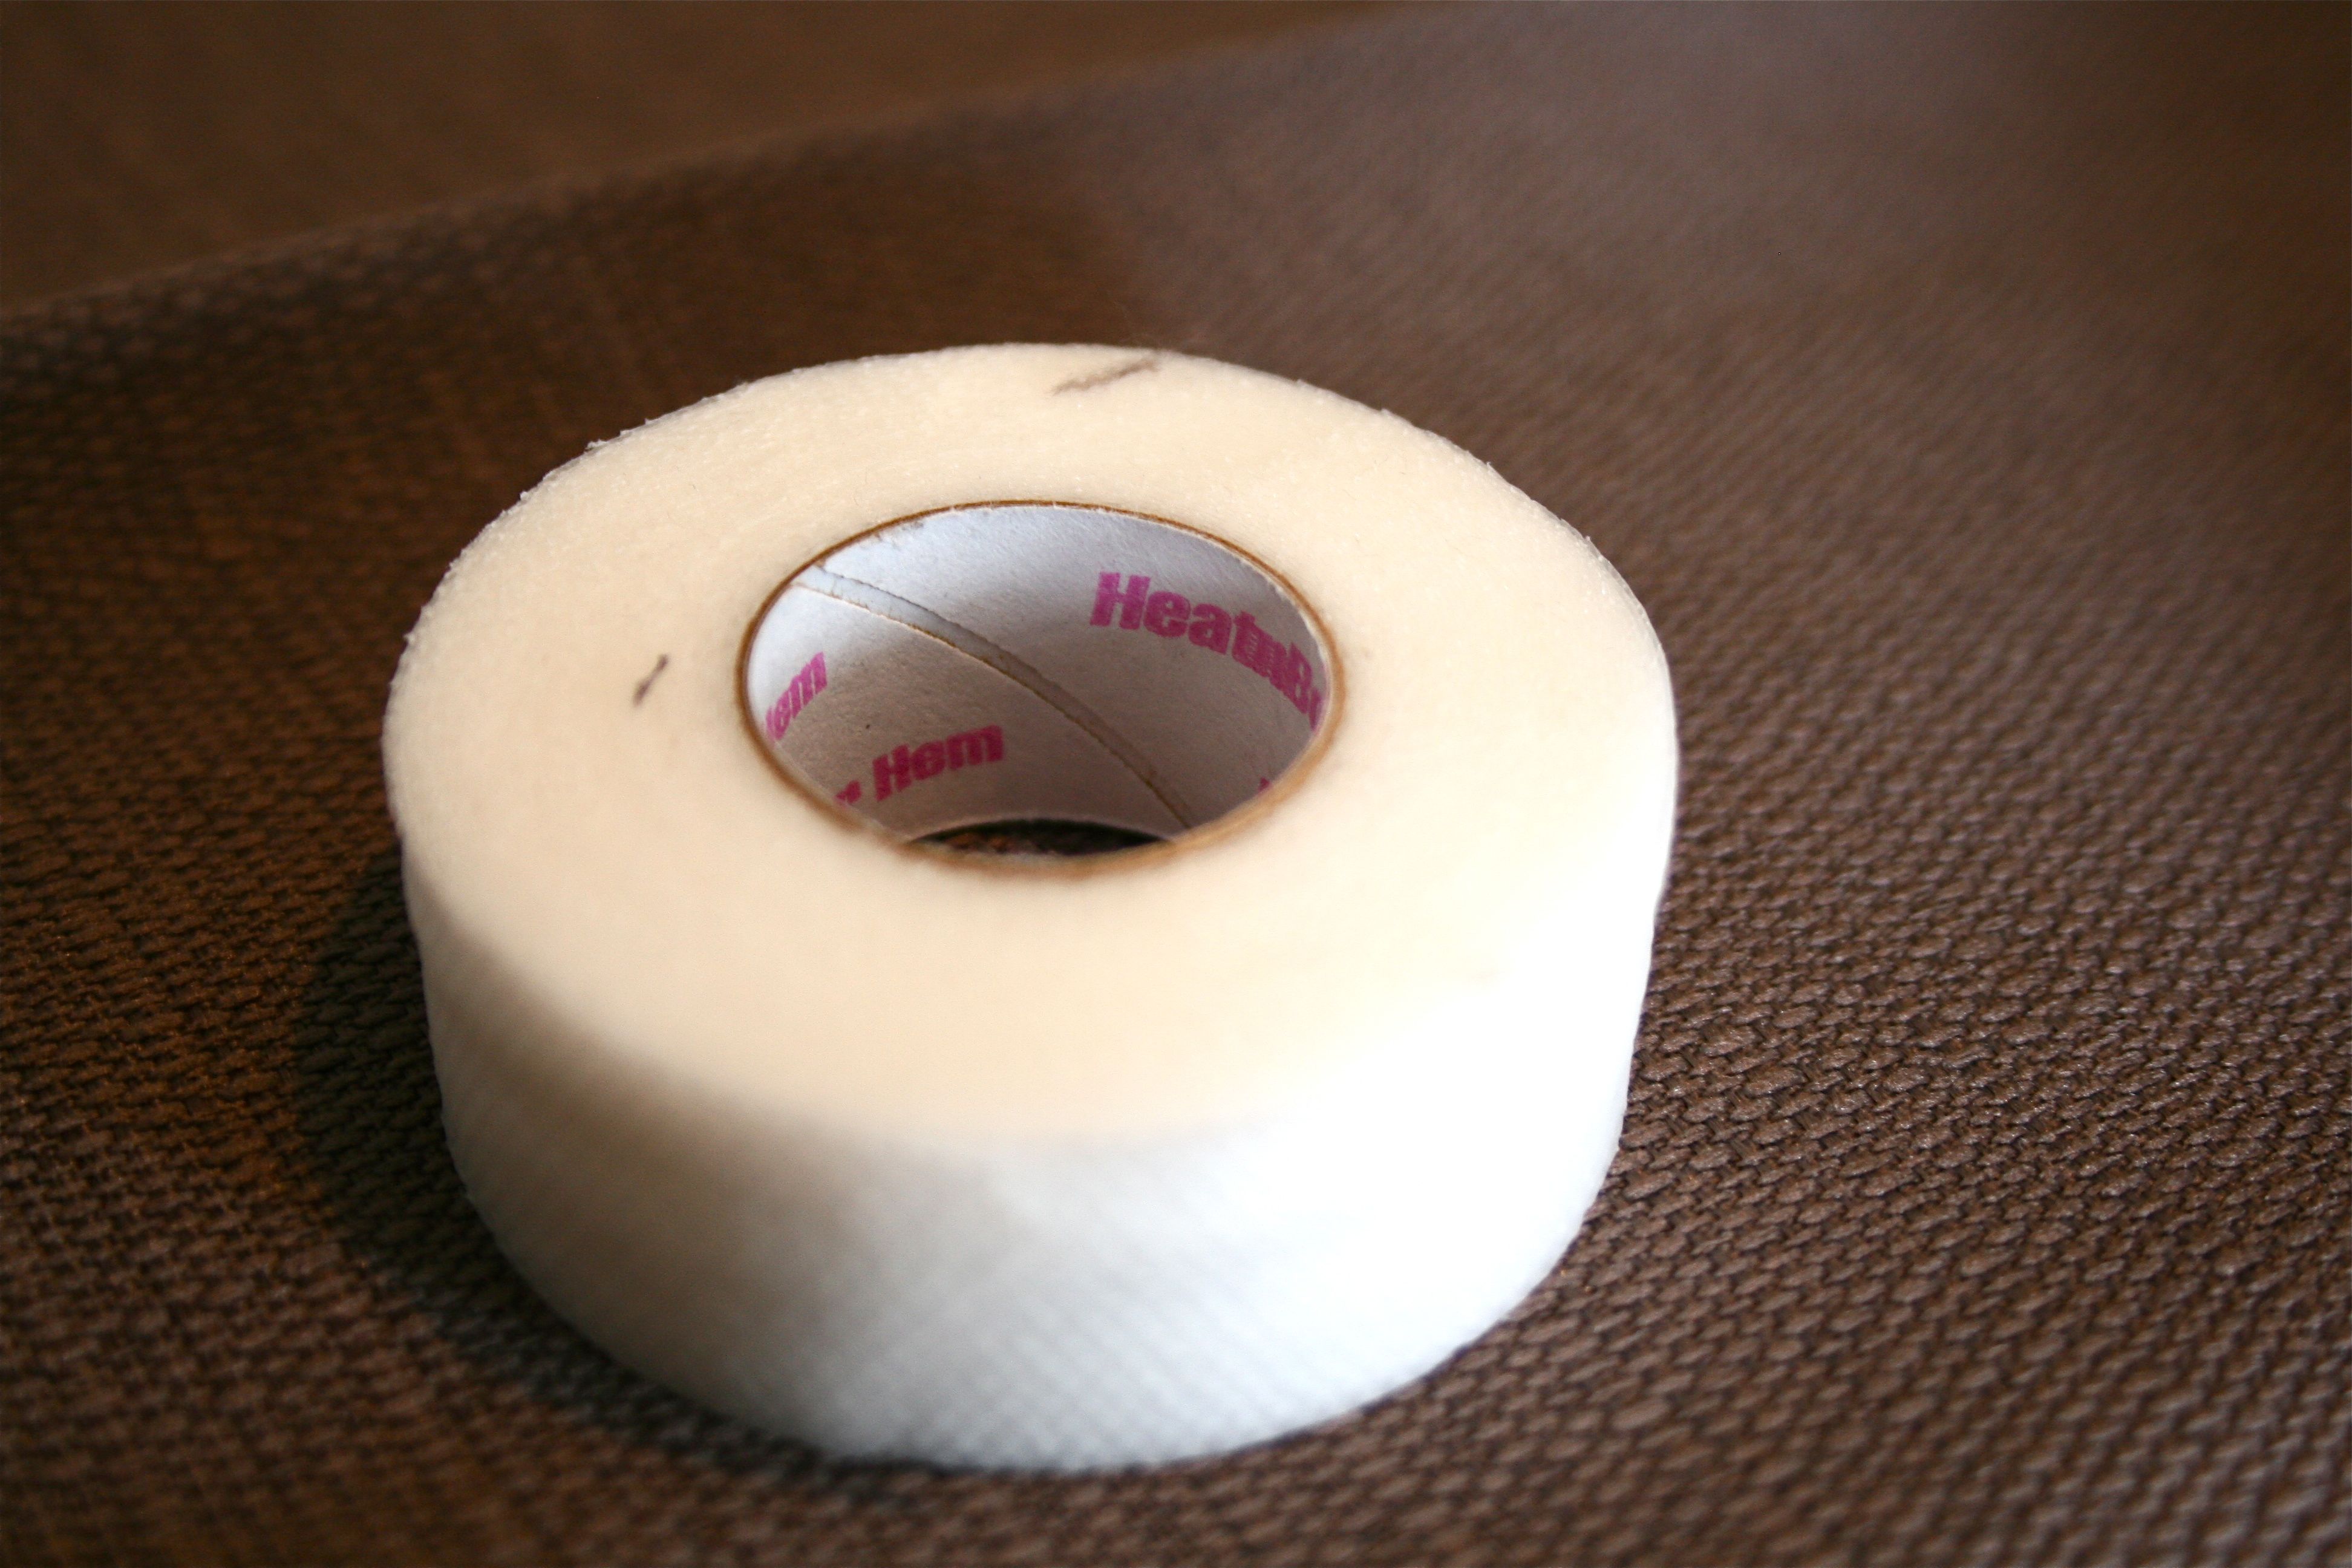
I also took this time to snip off the excess fabric. I don’t know how to sew (nor do I own a machine), but give me some no-sew hemming tape and this girl is in business.
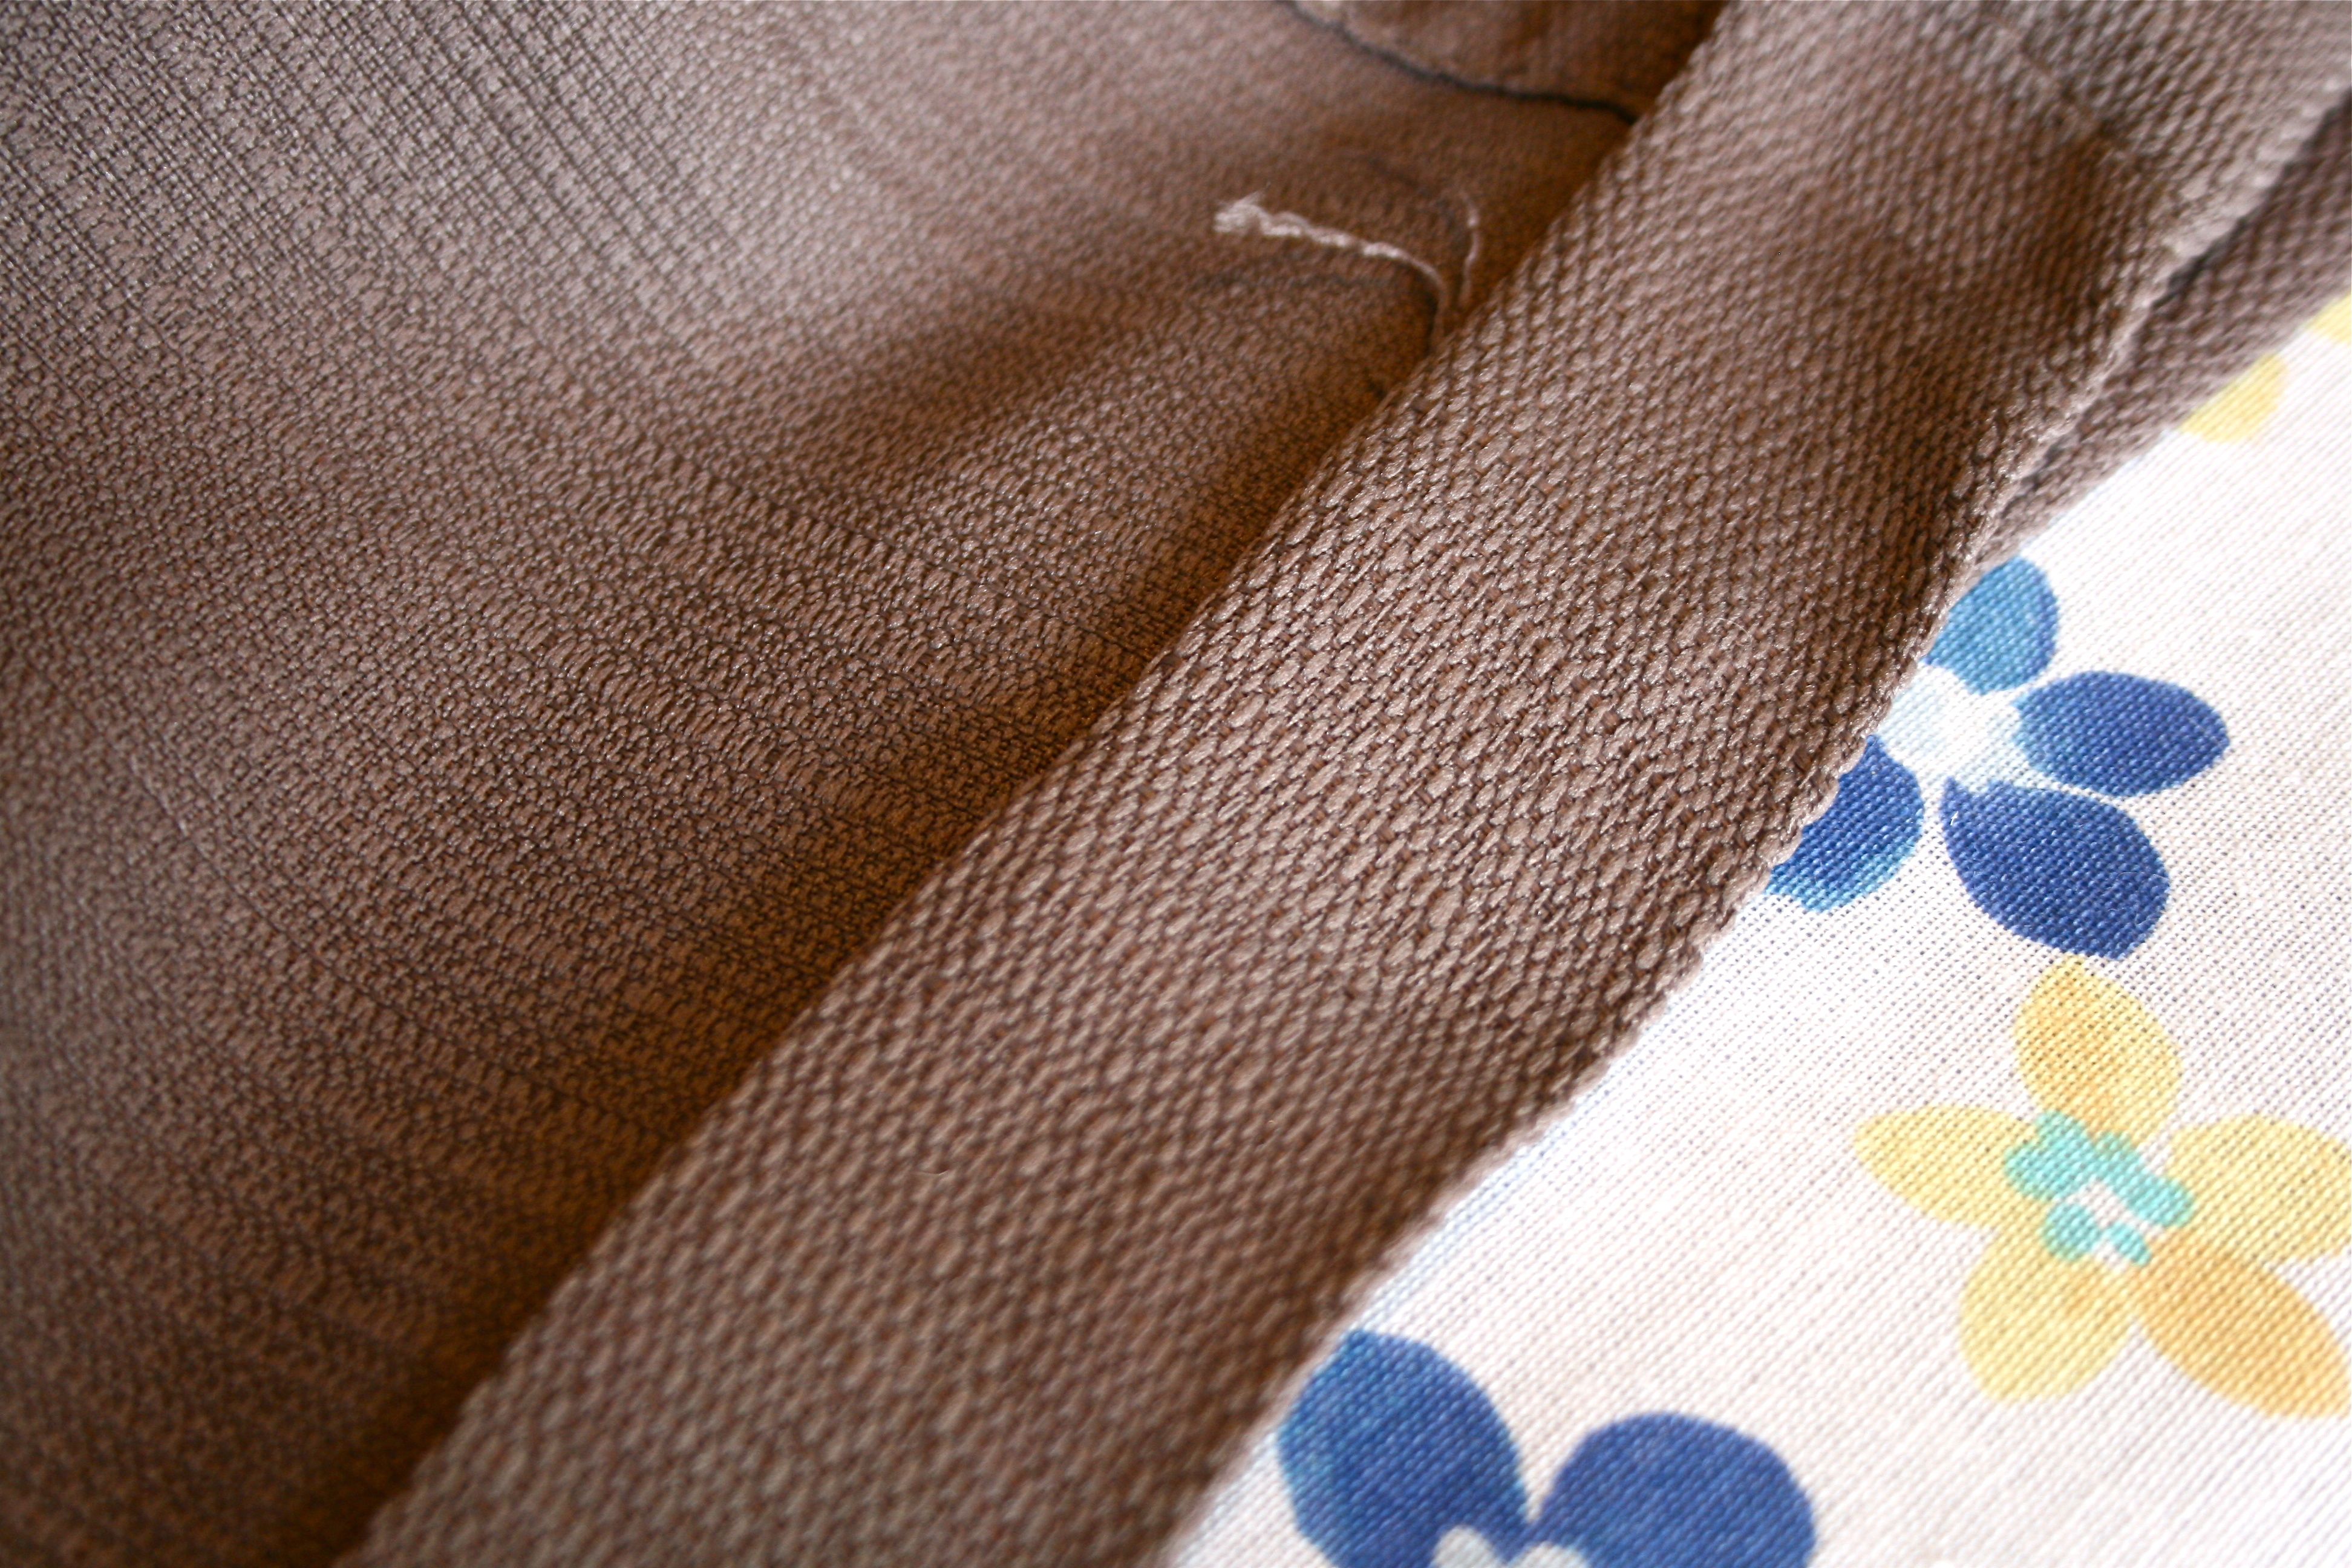
I folded the cut edge over once and then once more to hide the raw, sliced edge and got a nice clean look. I ran some hem tape beneath the fold and set the iron on top of the fabric, leaving it there for about ten seconds. I did that across the length of the curtain and then flipped it over and did the same thing to the other side.
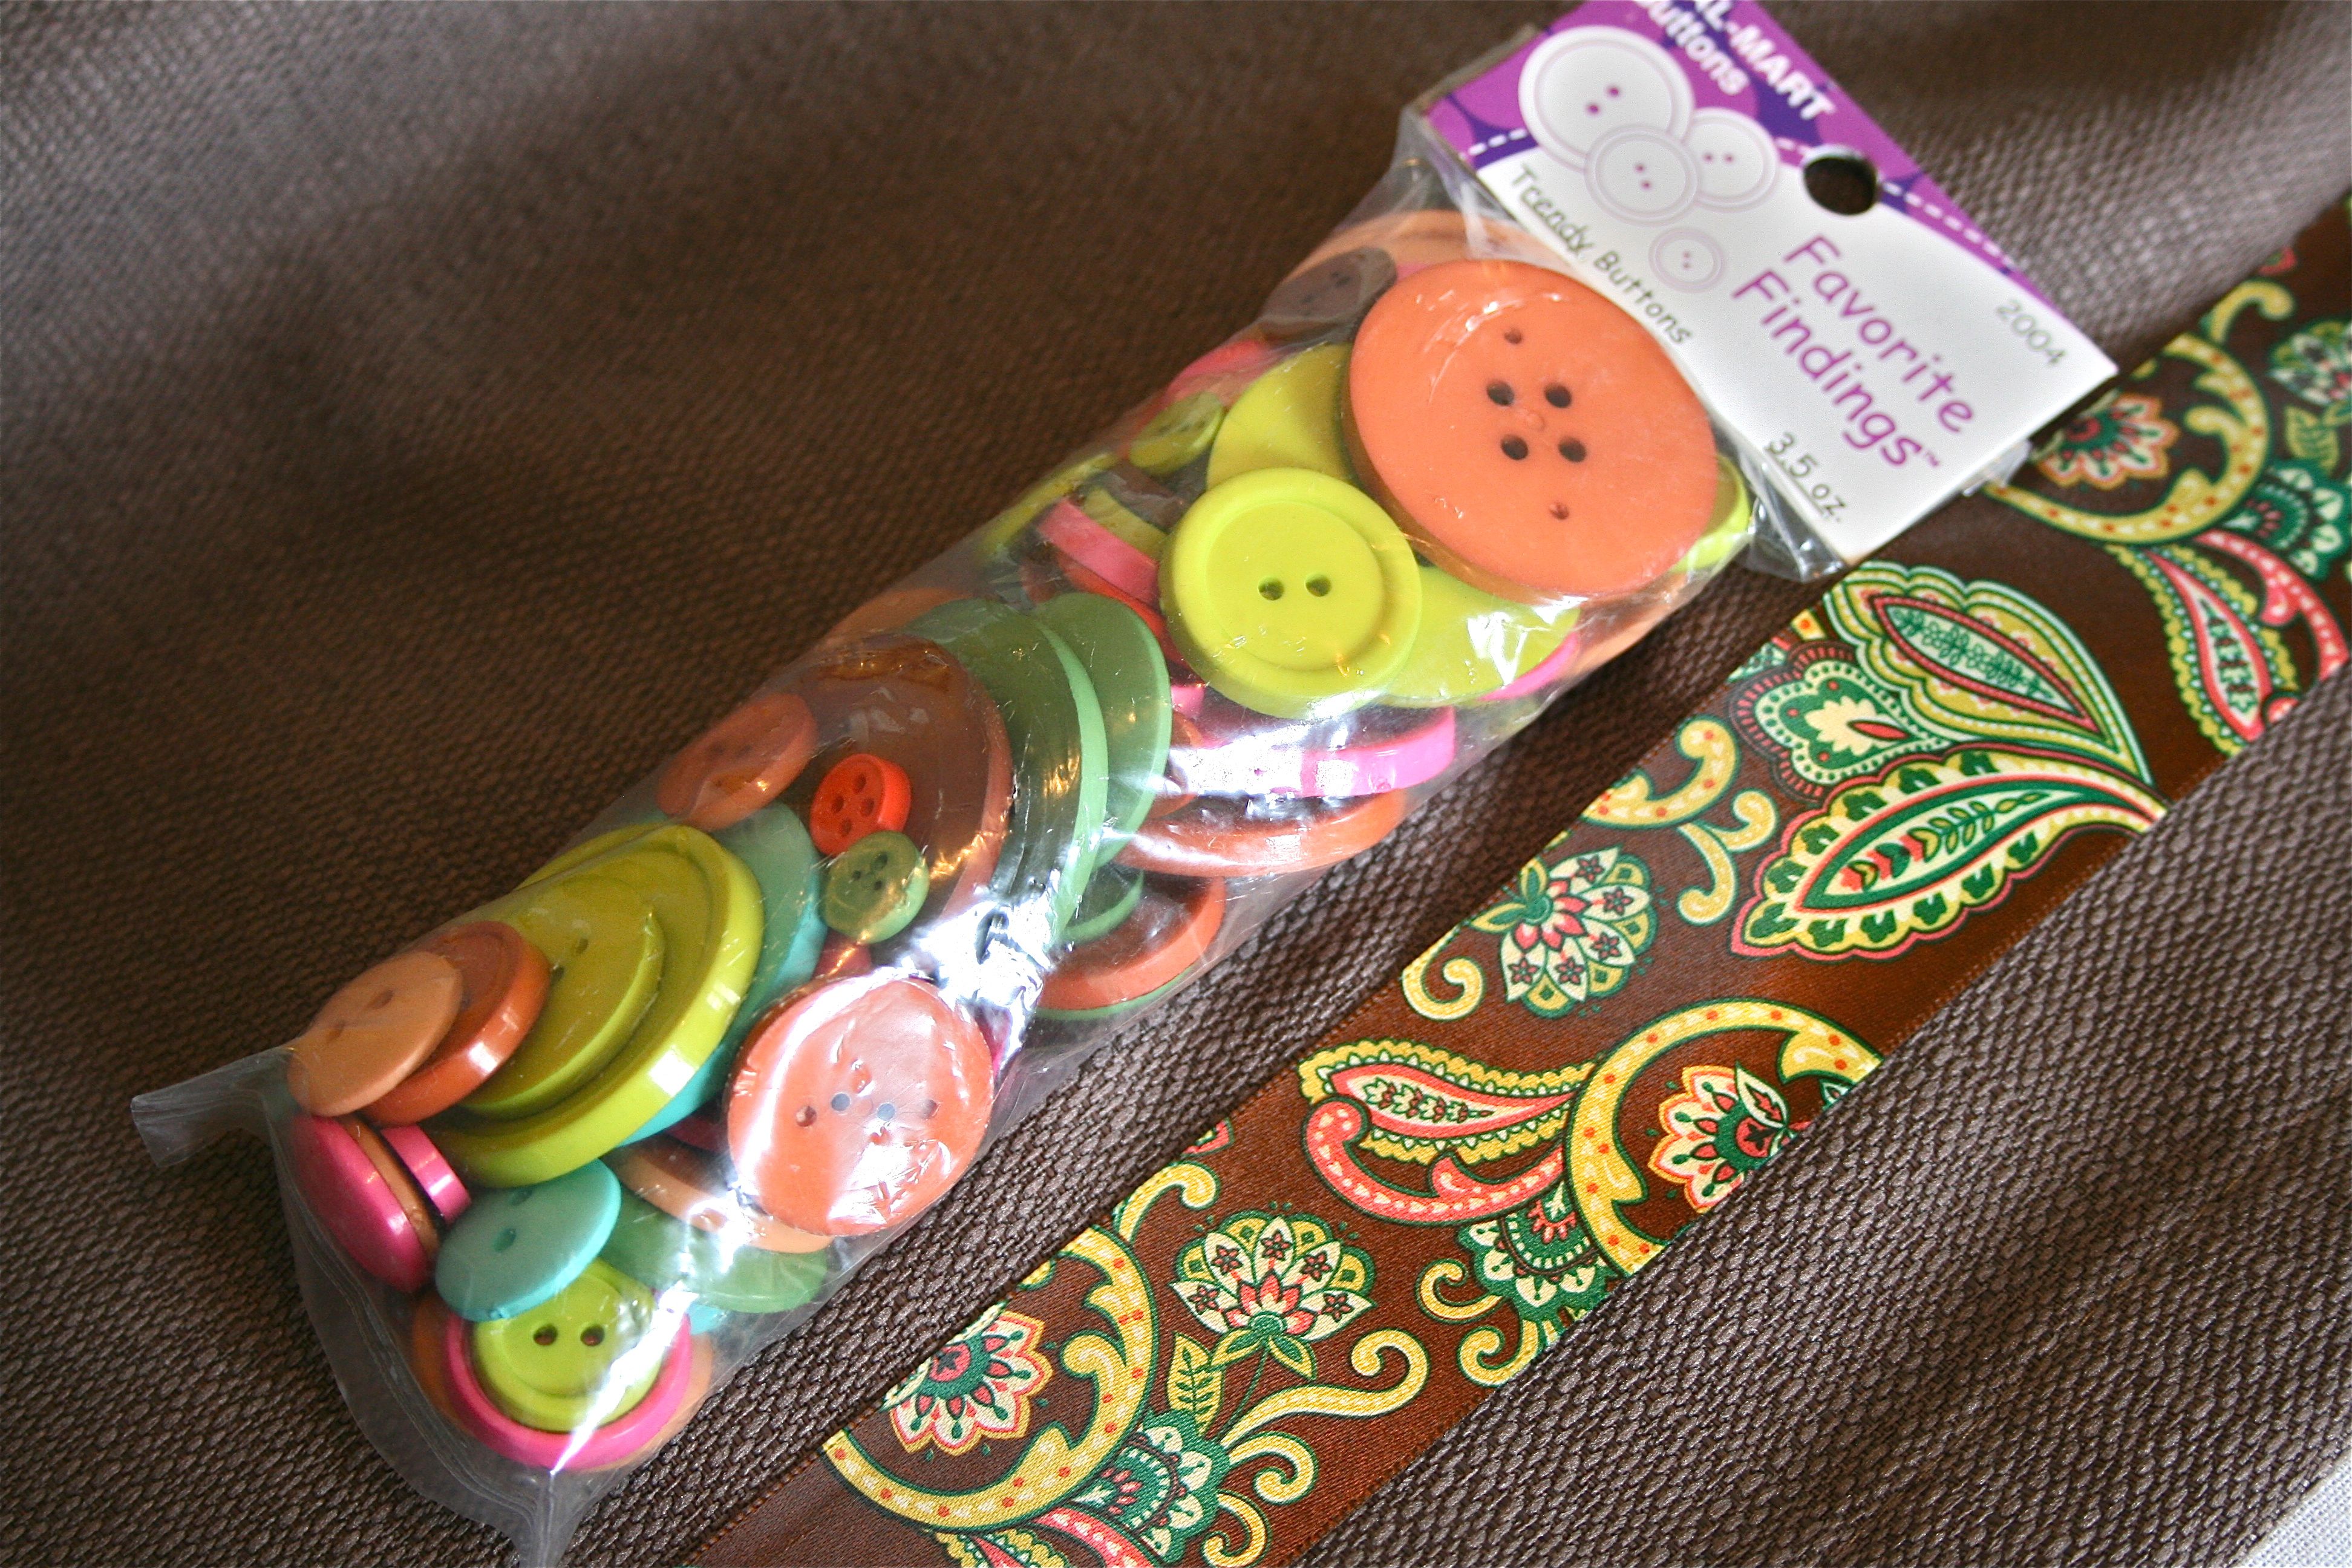
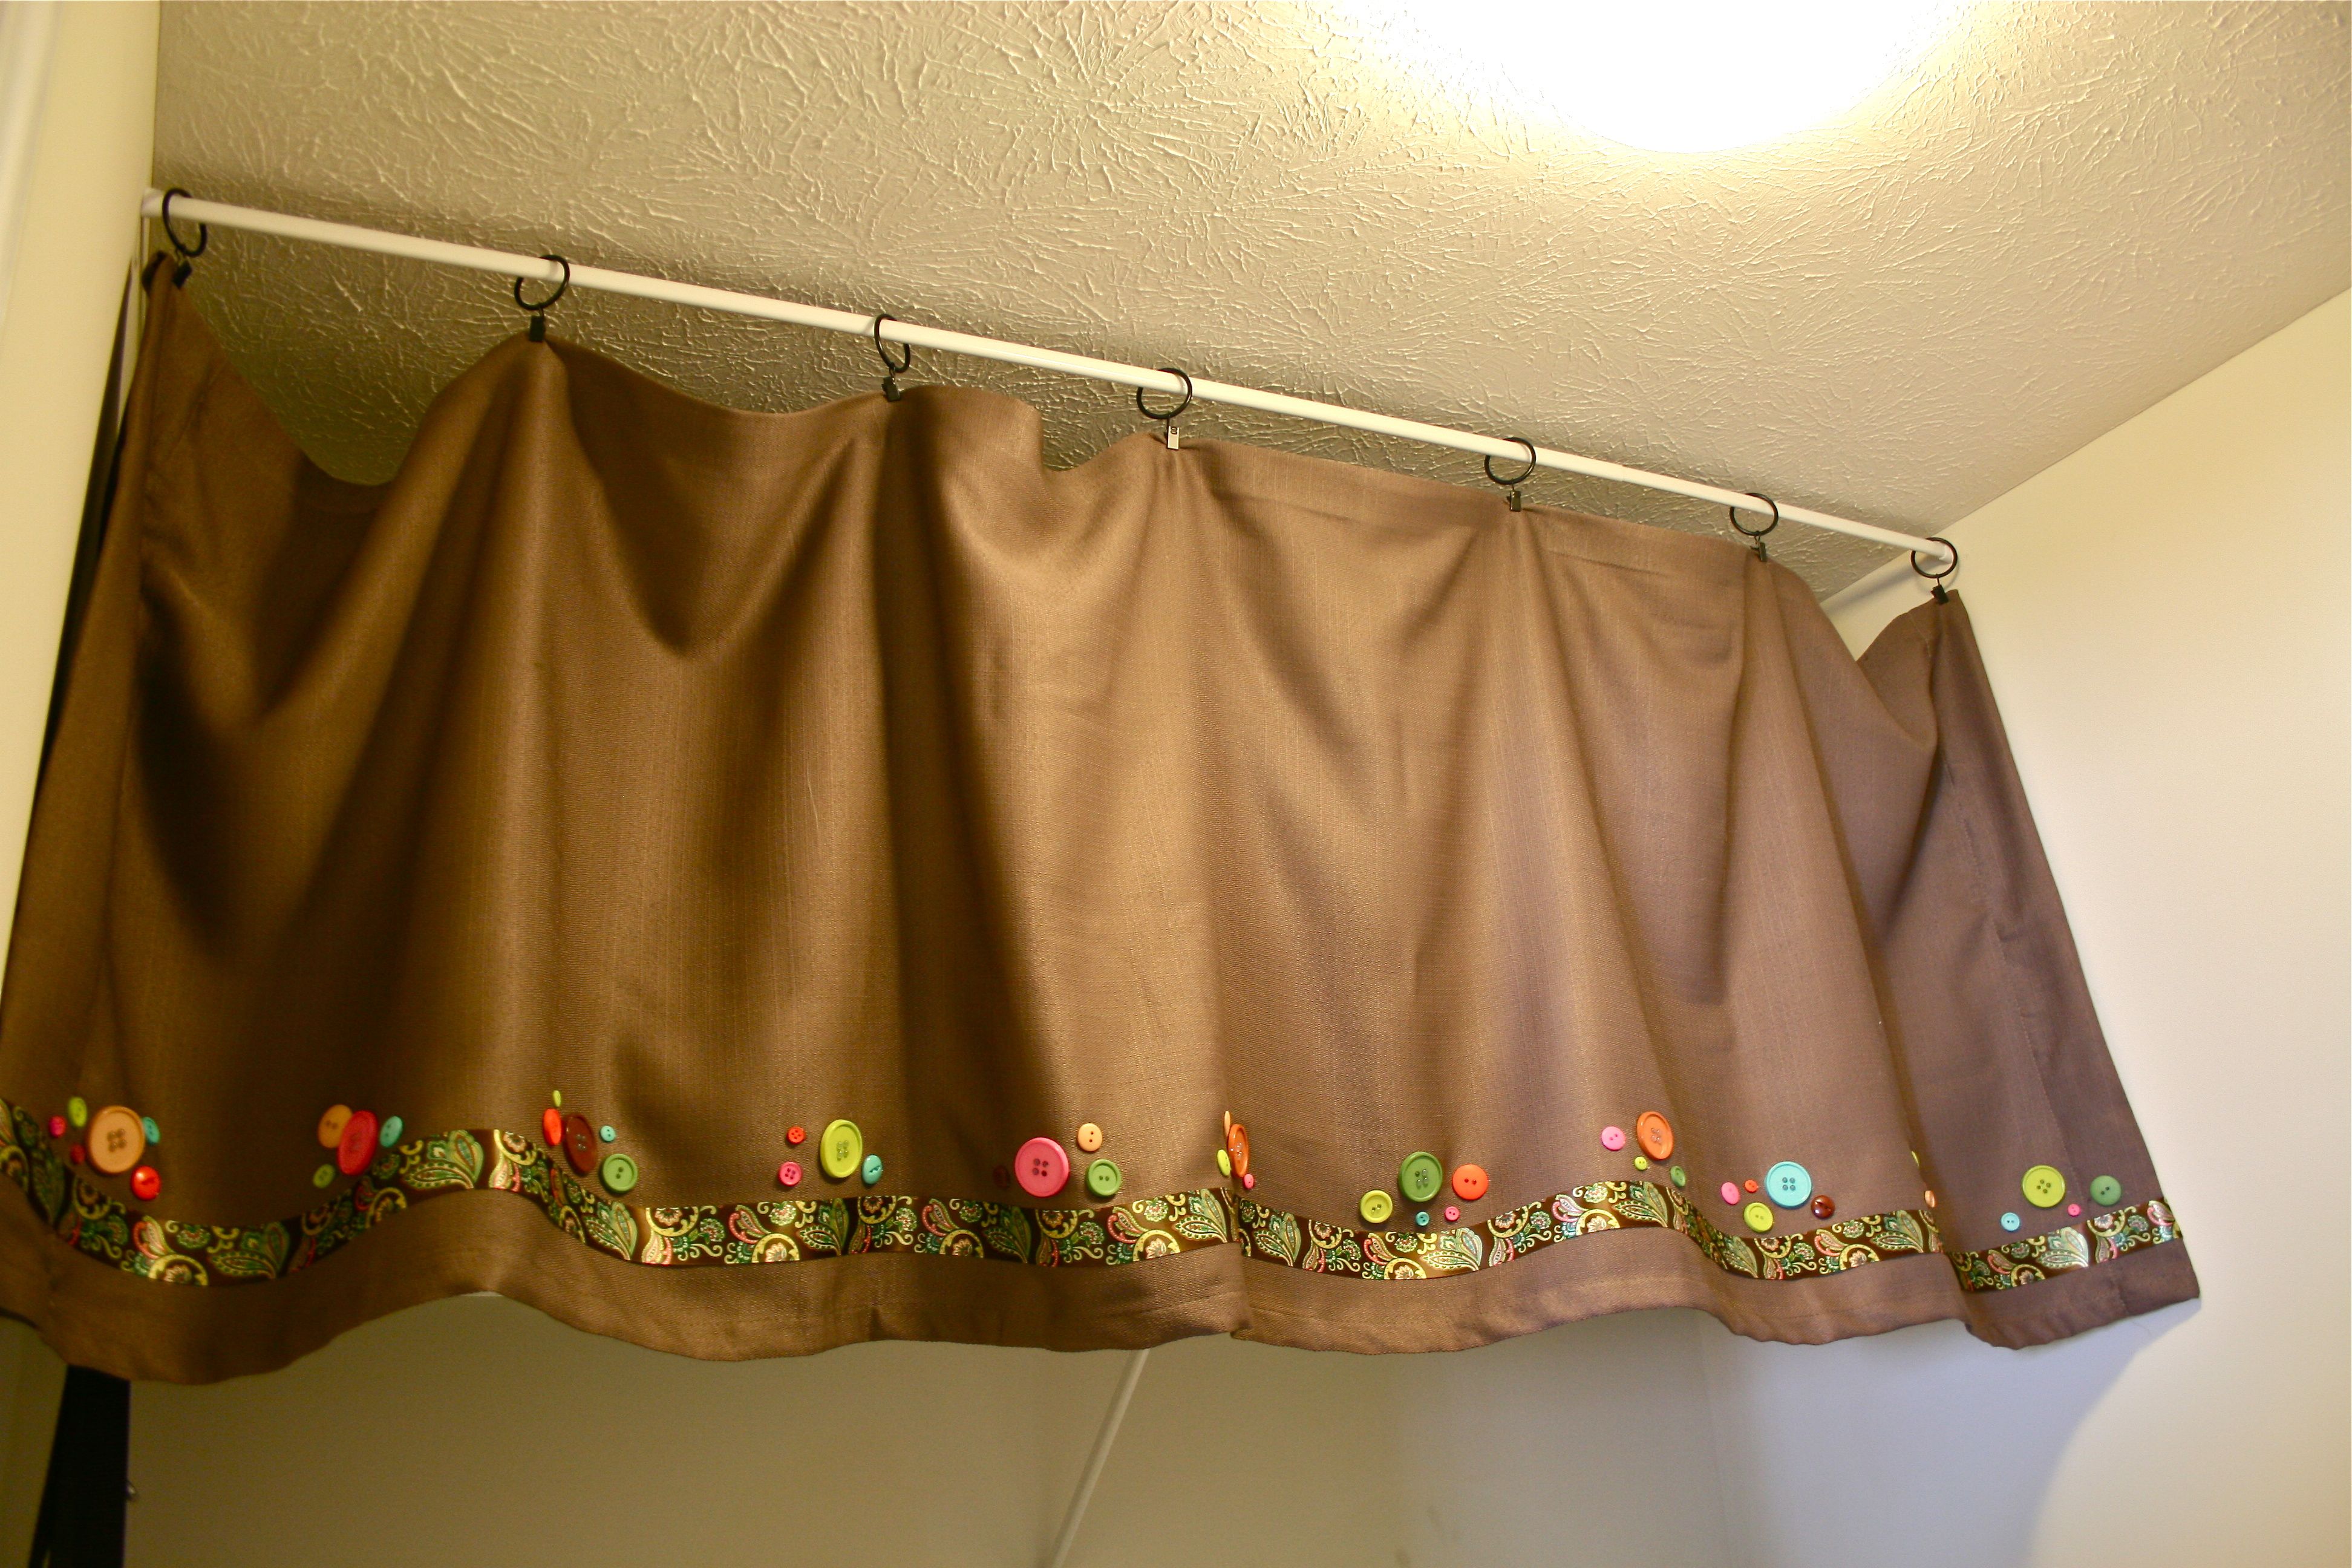
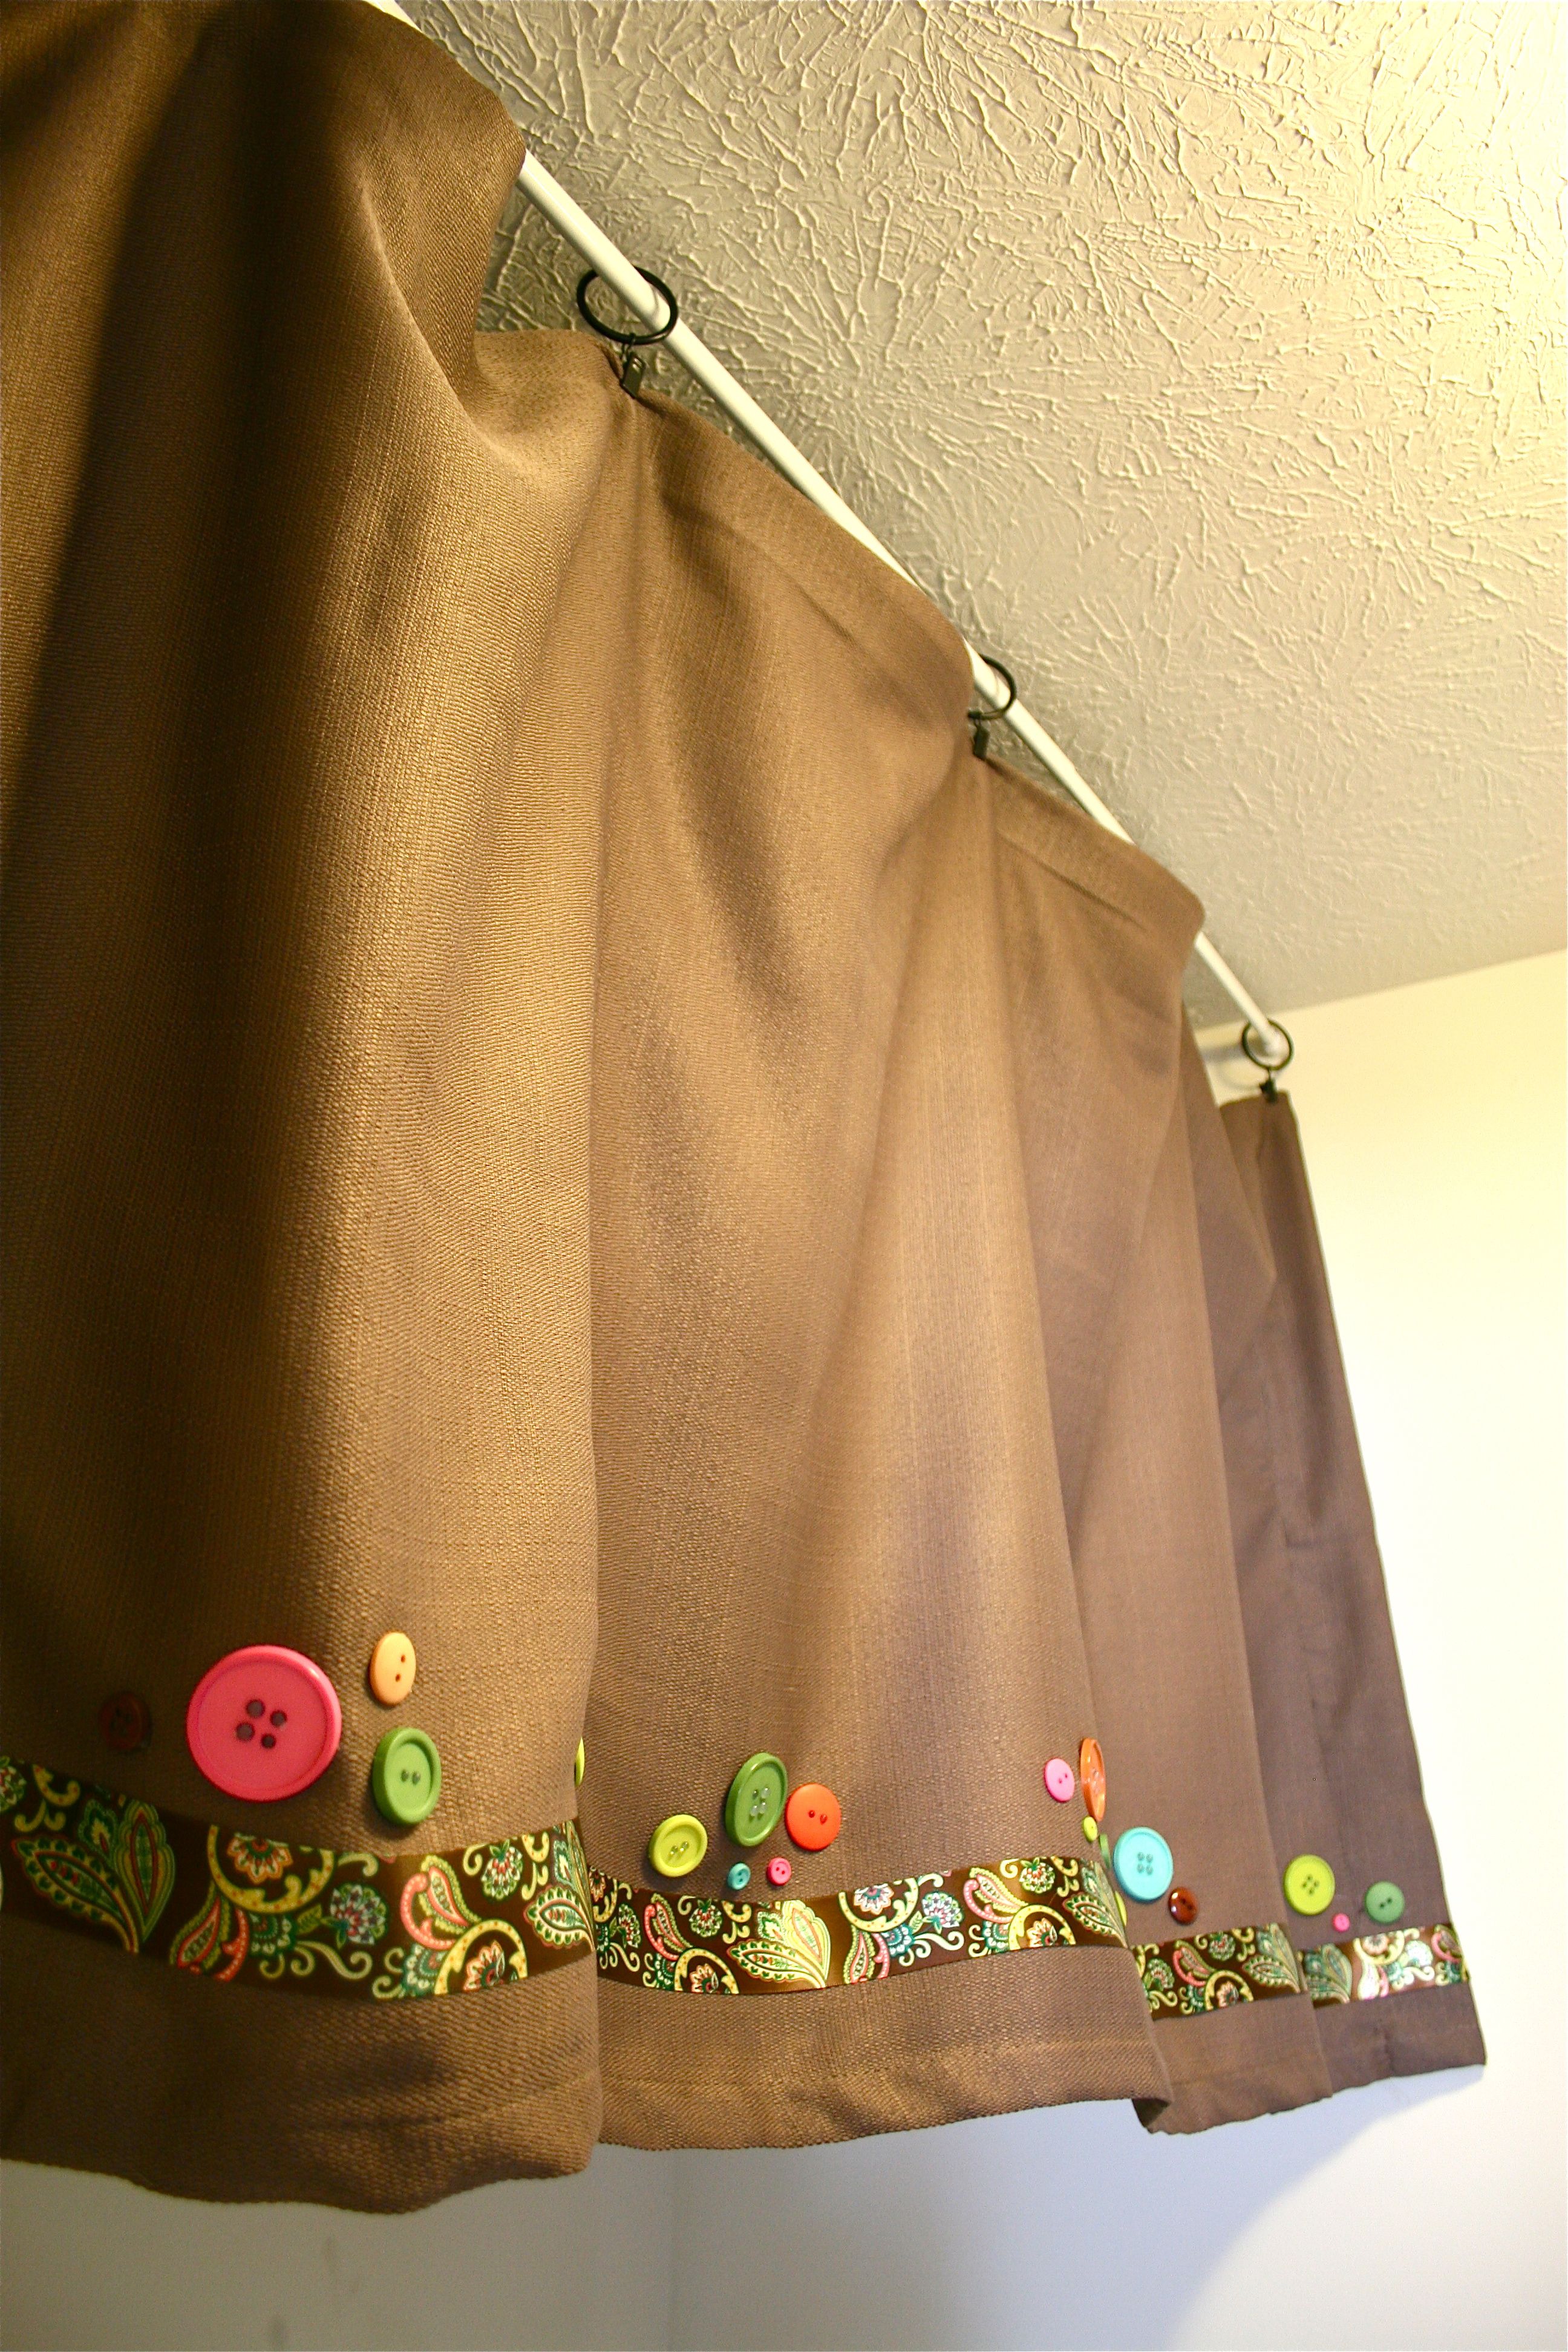
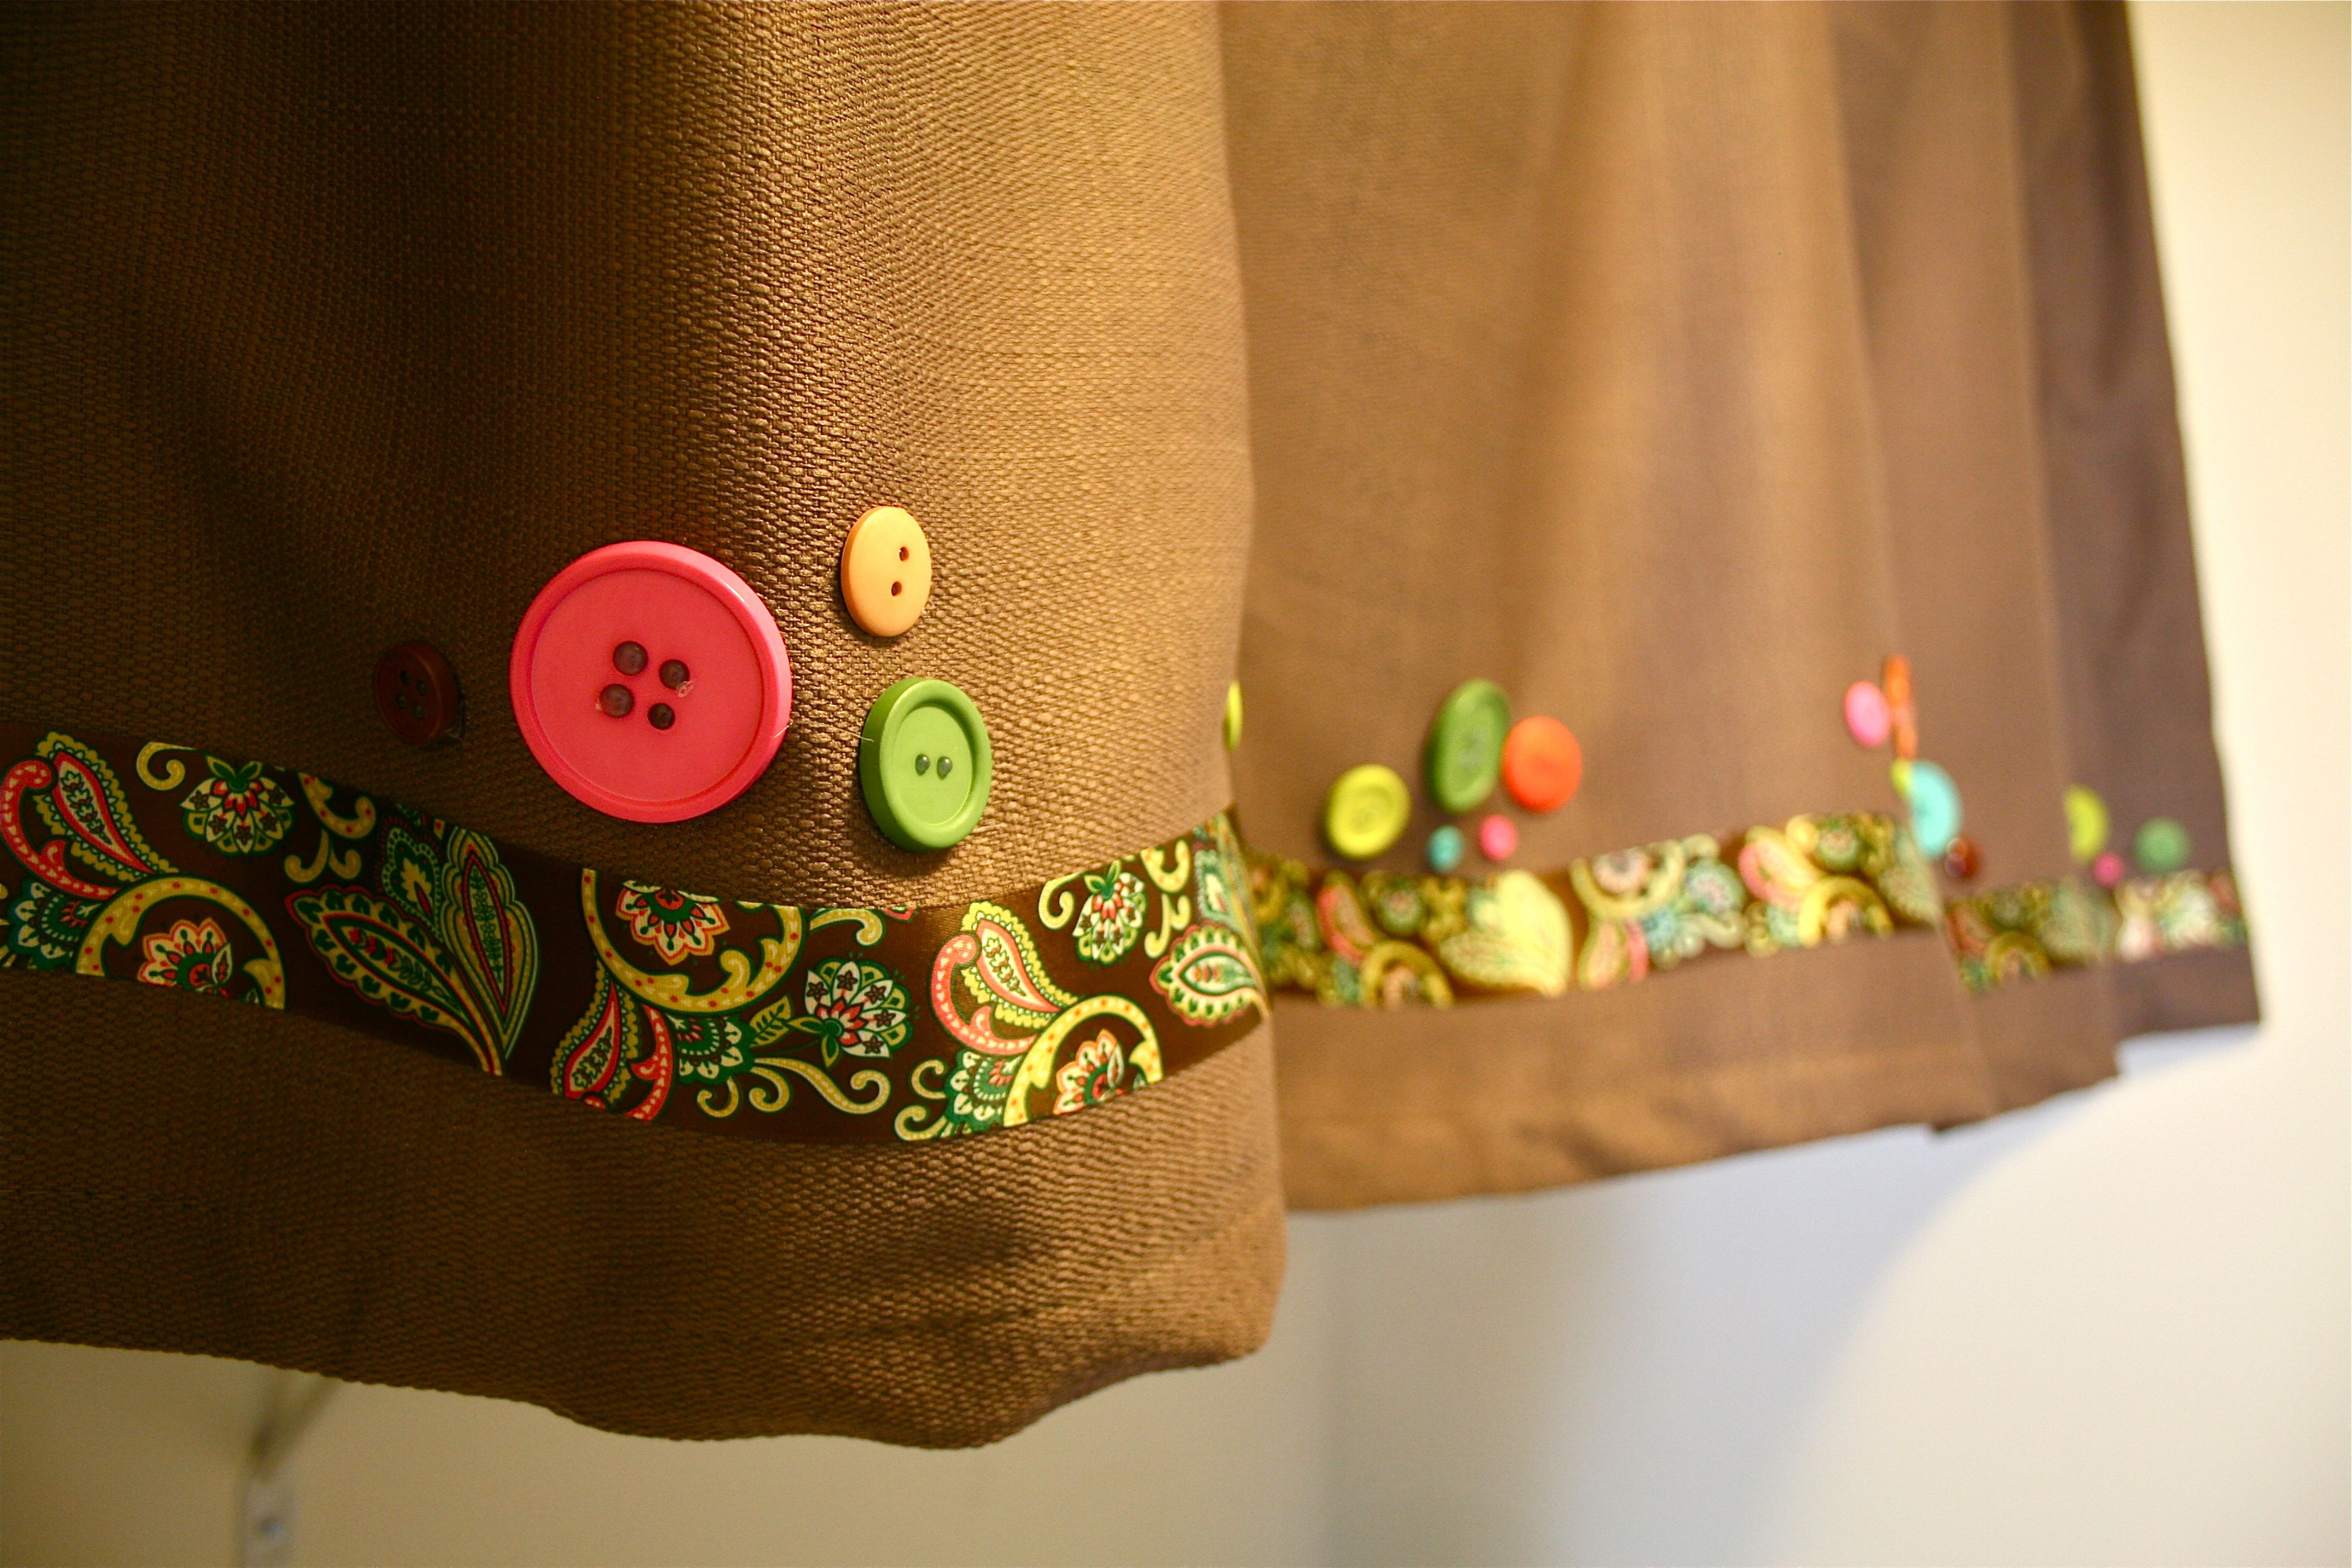
The next phase of this project was the glam…This curtain was okay, but there was nothing fancy about it. So I bought a big bag of buttons and a spool of paisley ribbon from Wal Mart when we went grocery shopping on Sunday and got back to work!!
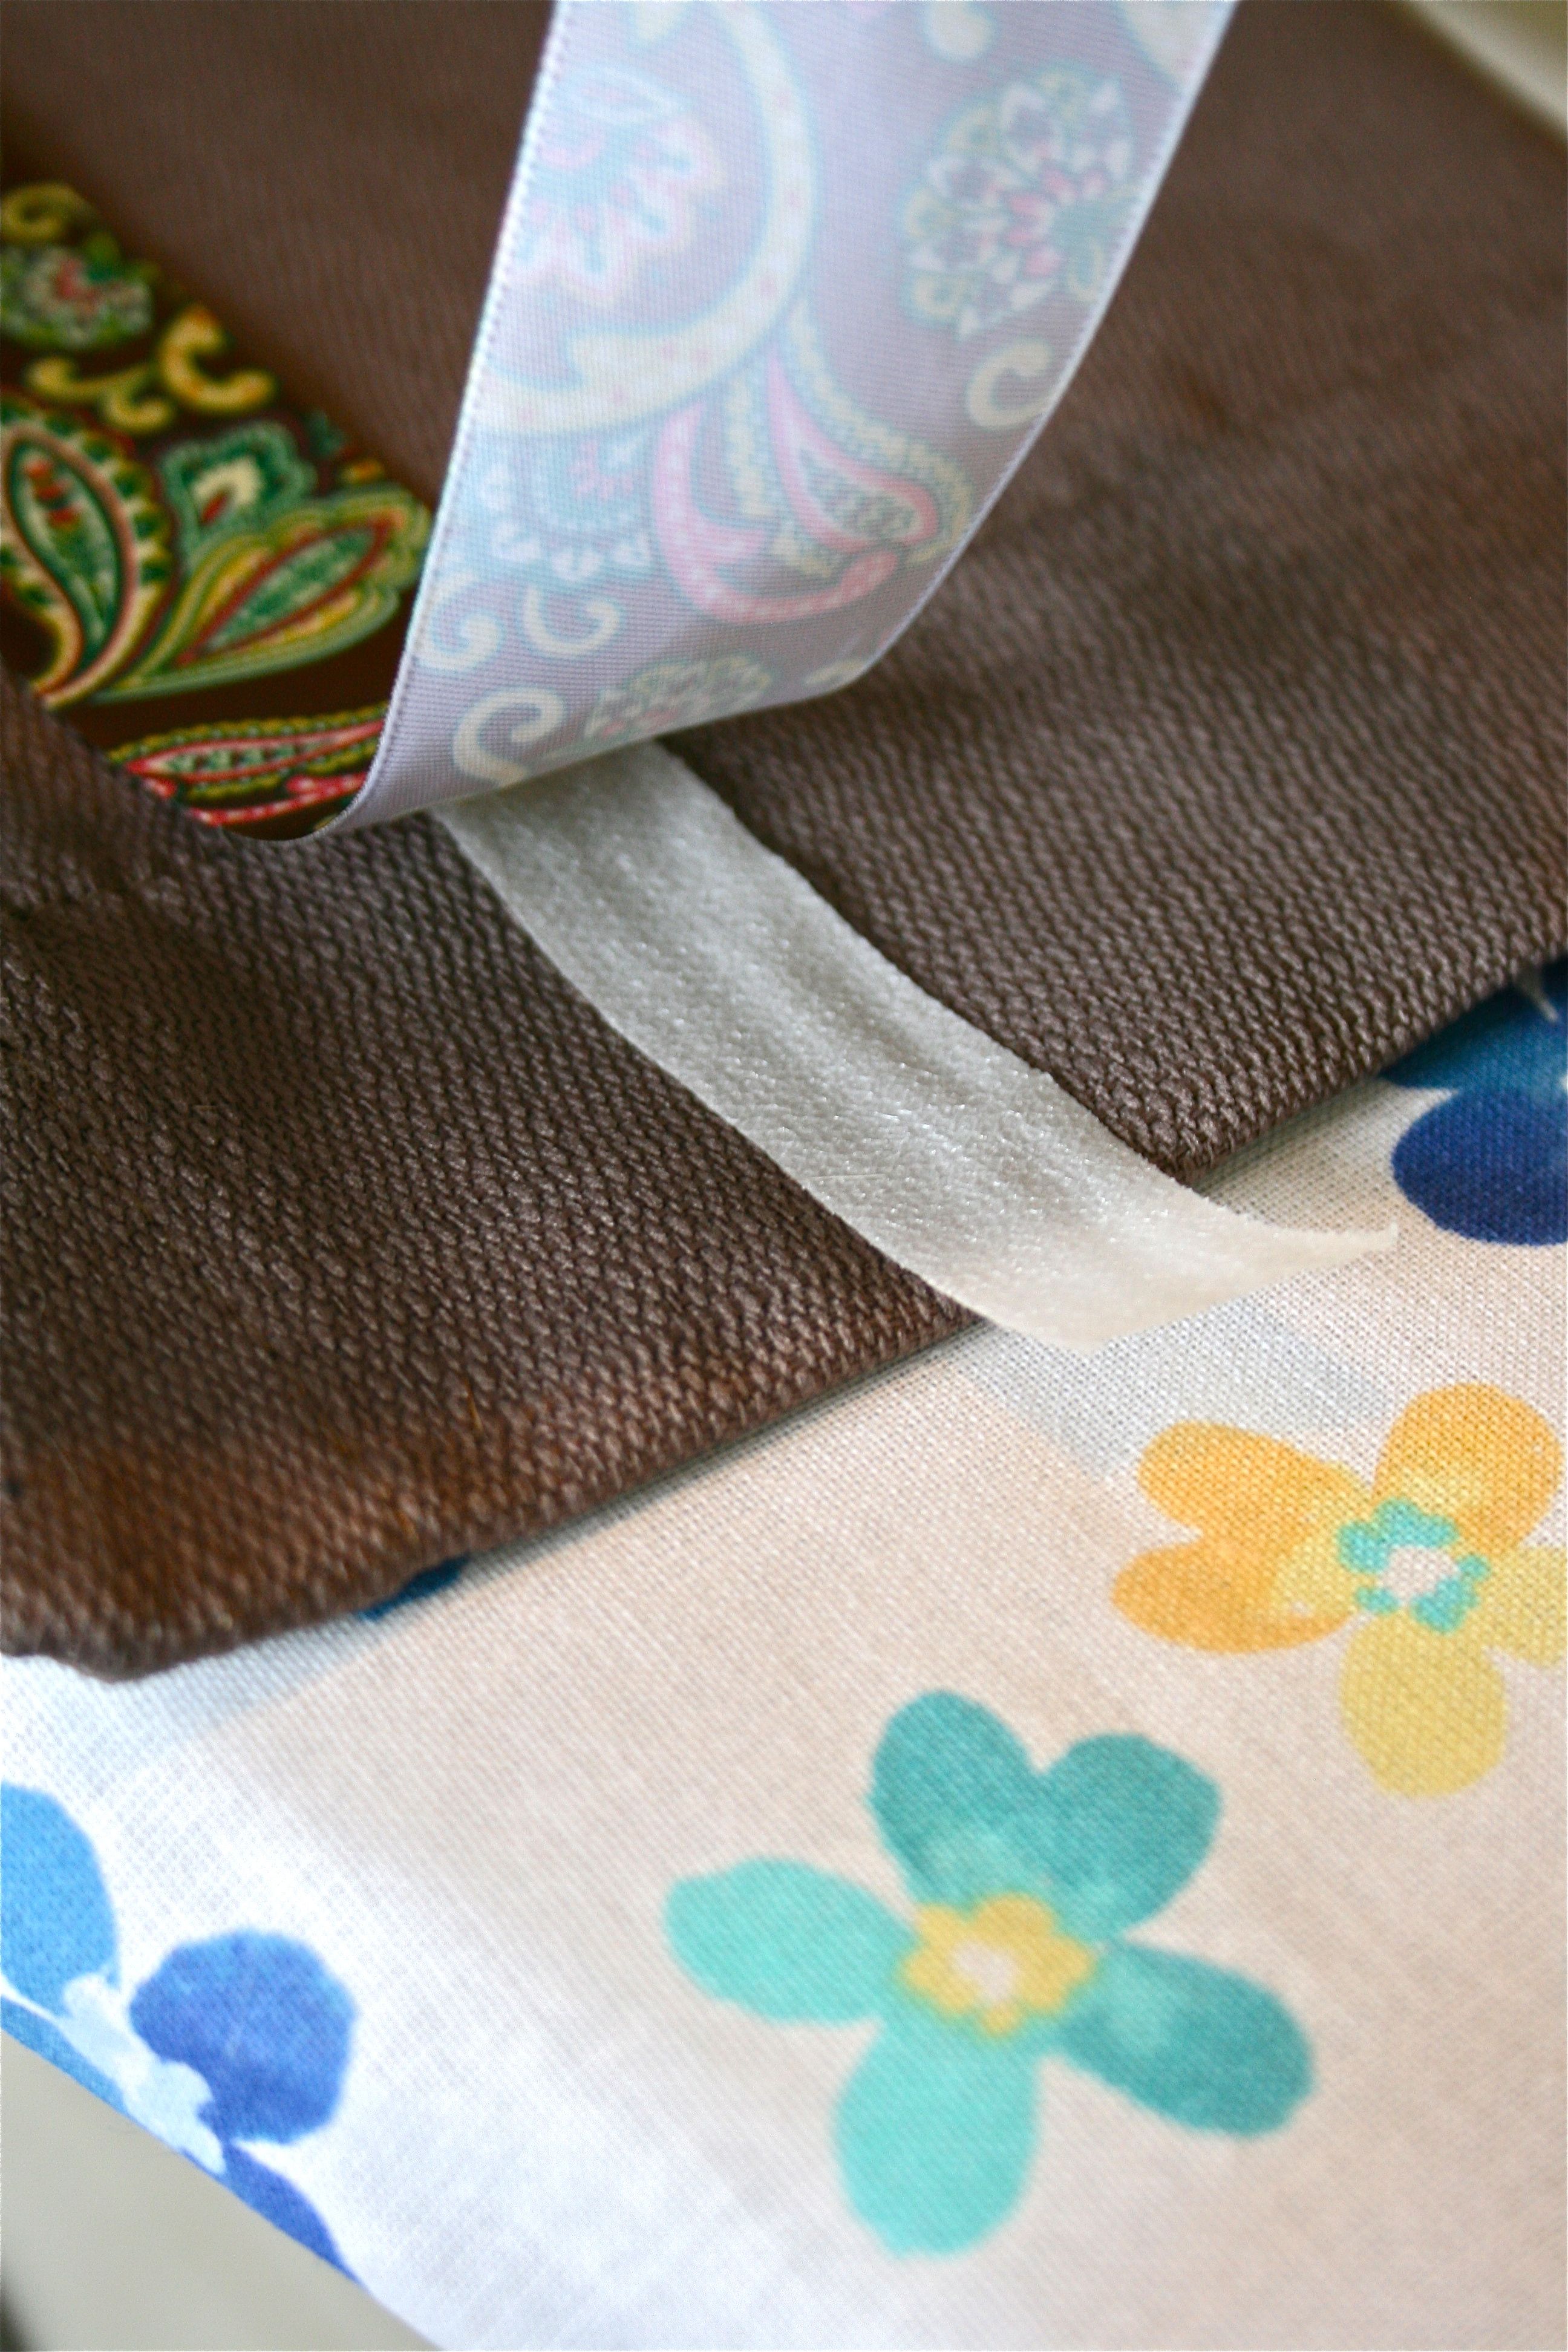
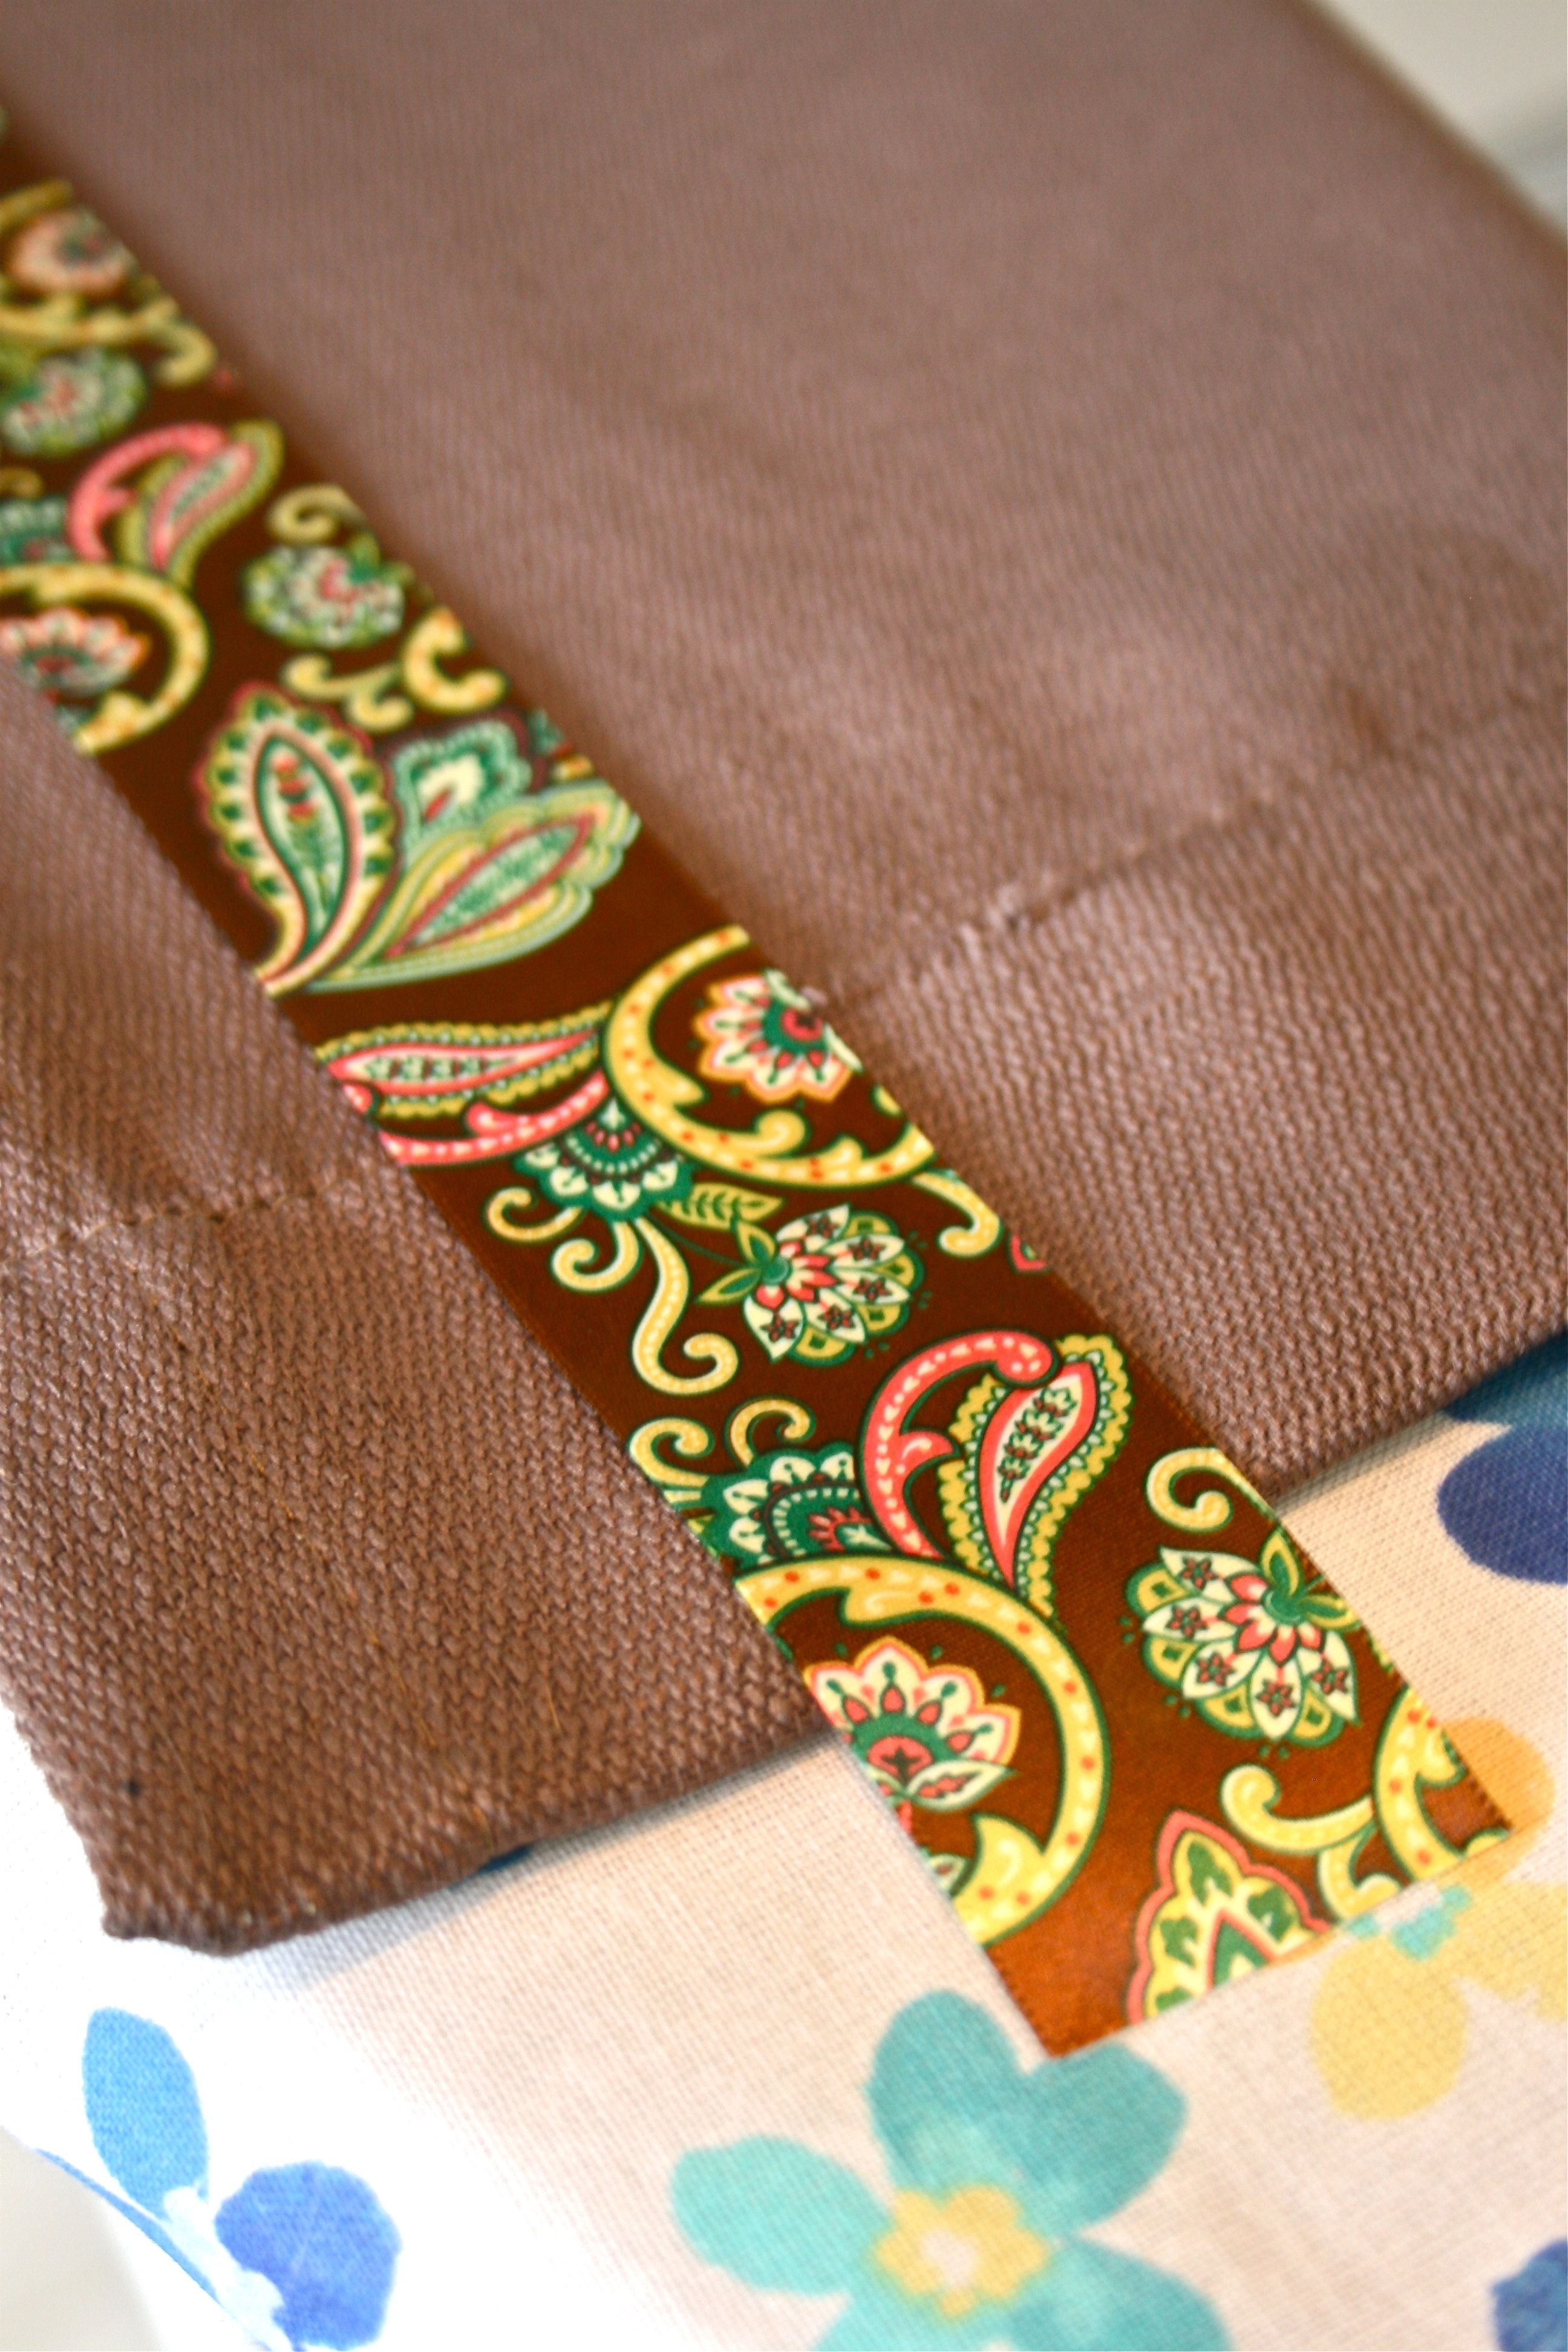
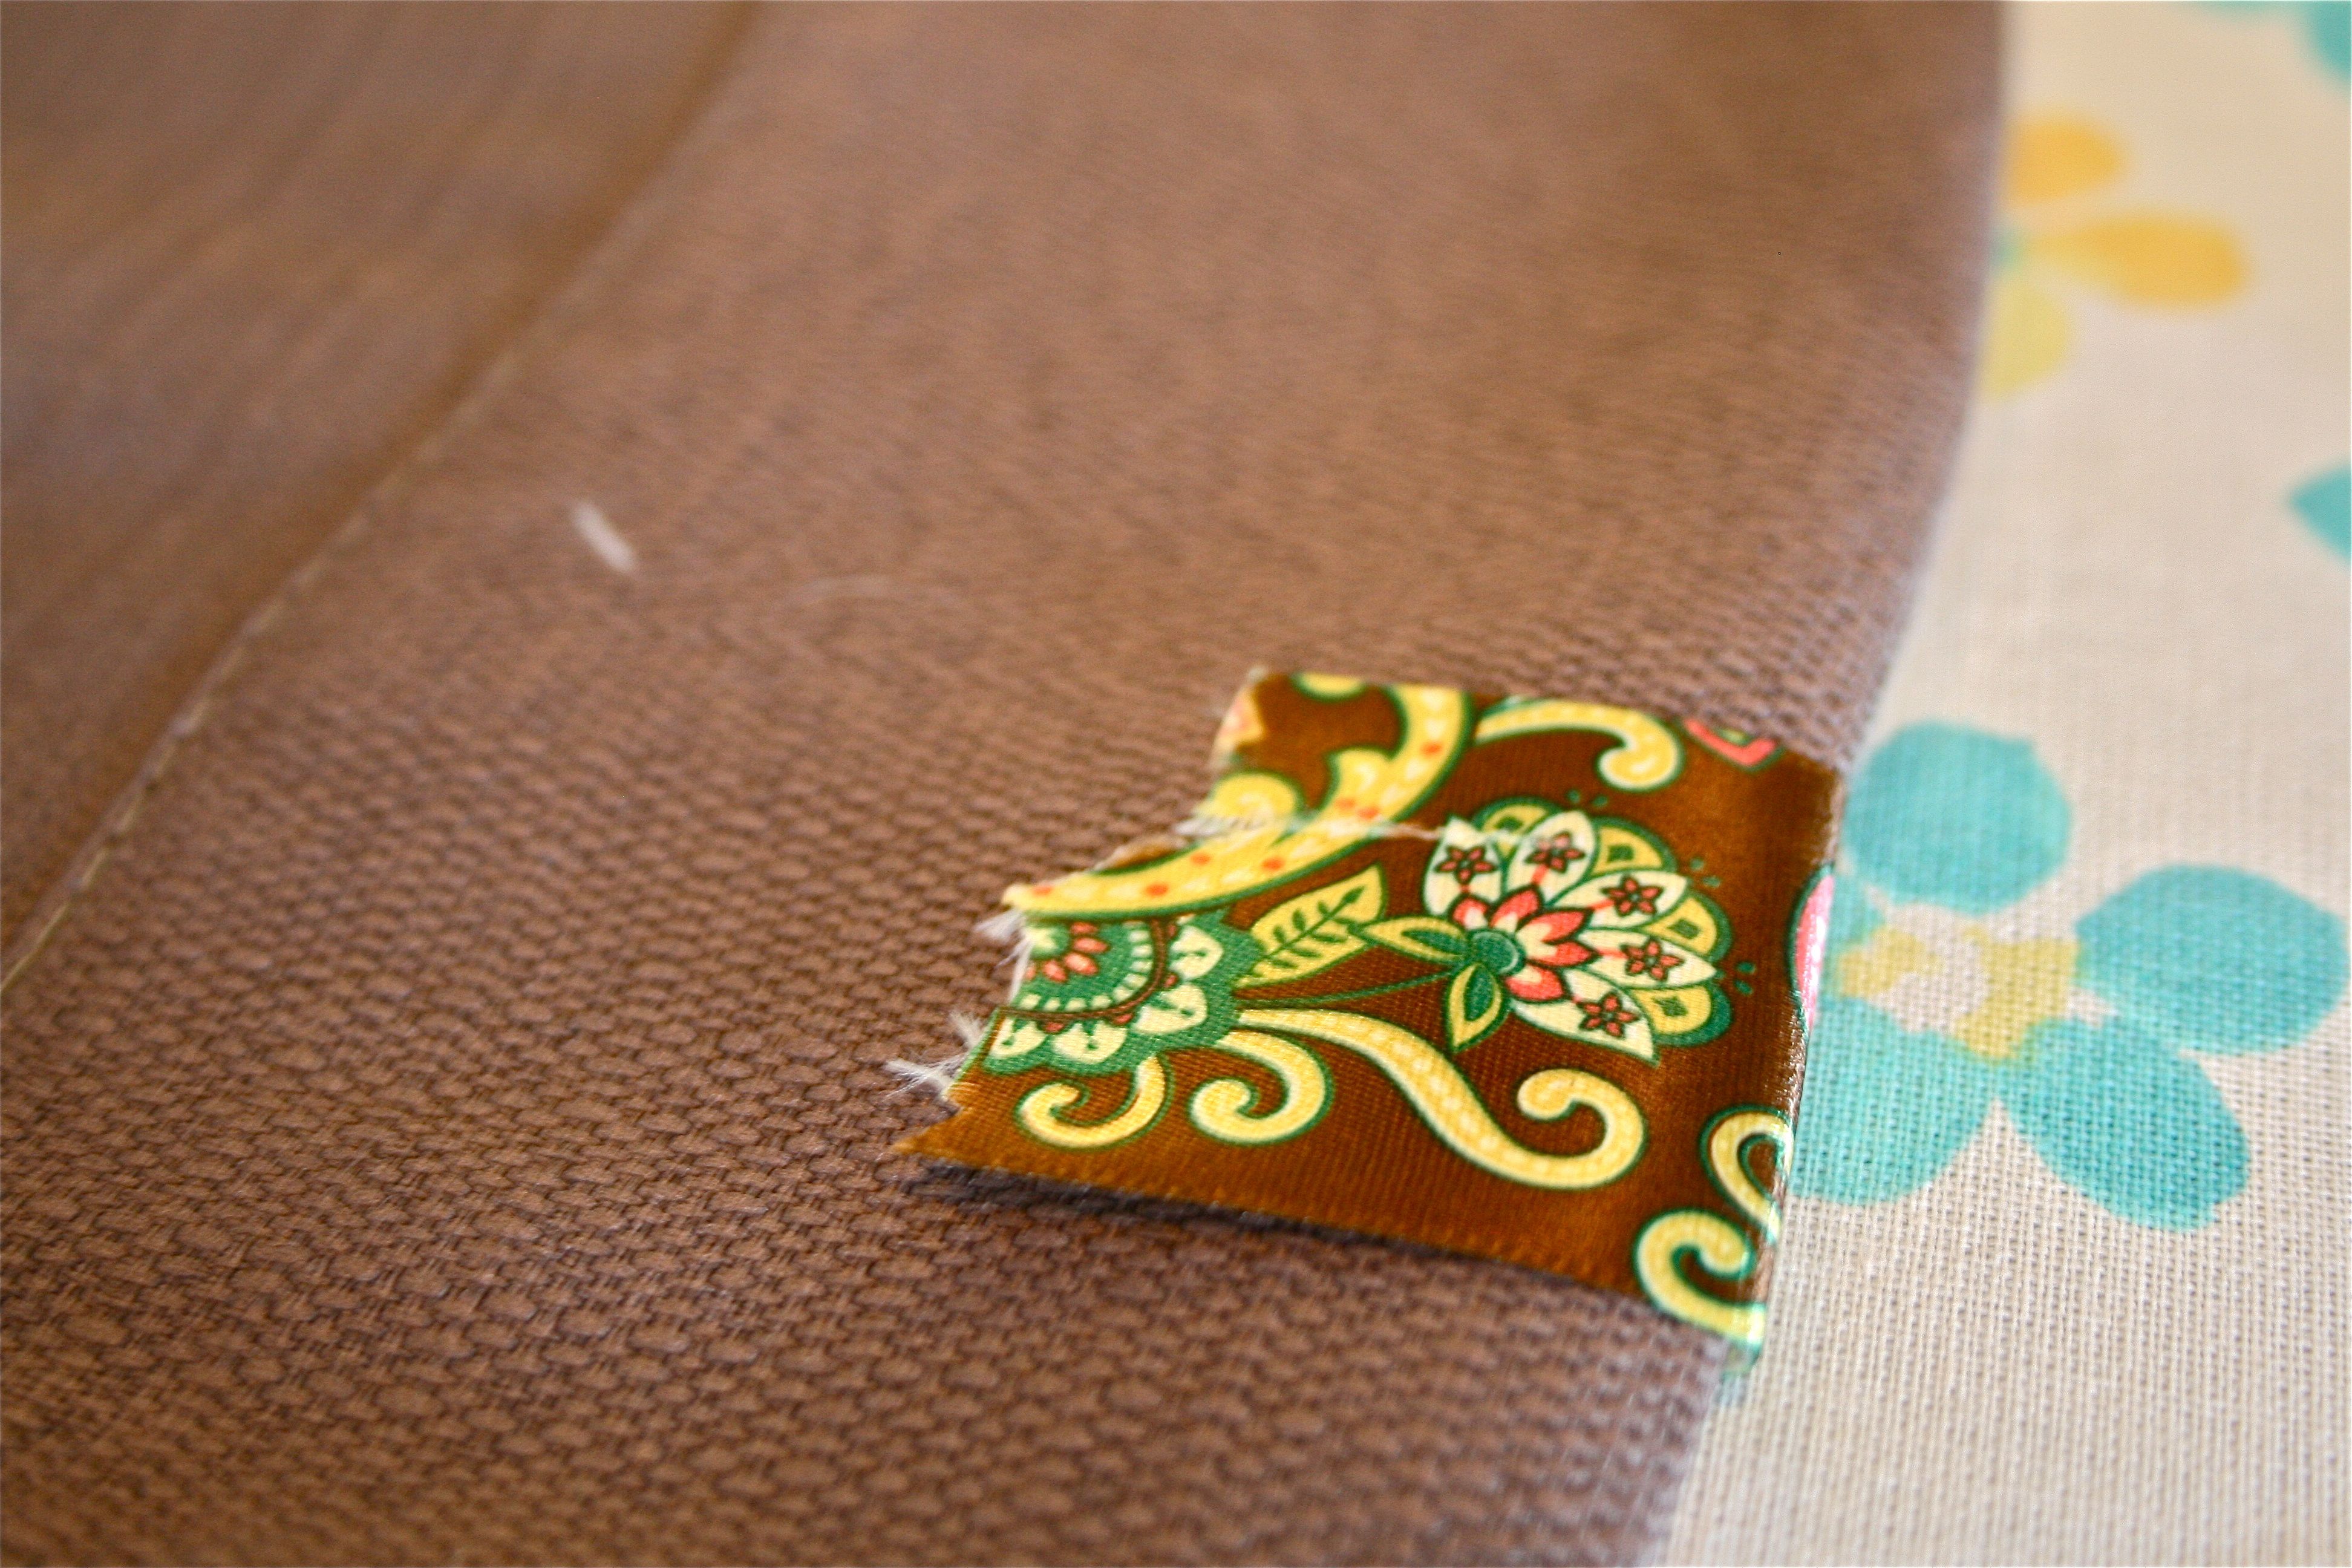
To attach the ribbon, I used the hem tap again (I love no-sew projects…) – As you can see in the photos below, I left a bit of an over hang on the ribbon so that I could fold the raw edge to the back of the curtain. I followed the same steps with the ribbon attachment as I did with the hemming, only turning the iron heat down a bit to protect the silky ribbon. Ten seconds of flat ironing across the curtain and then flipping it over to the do the same on the opposite side did the trick.
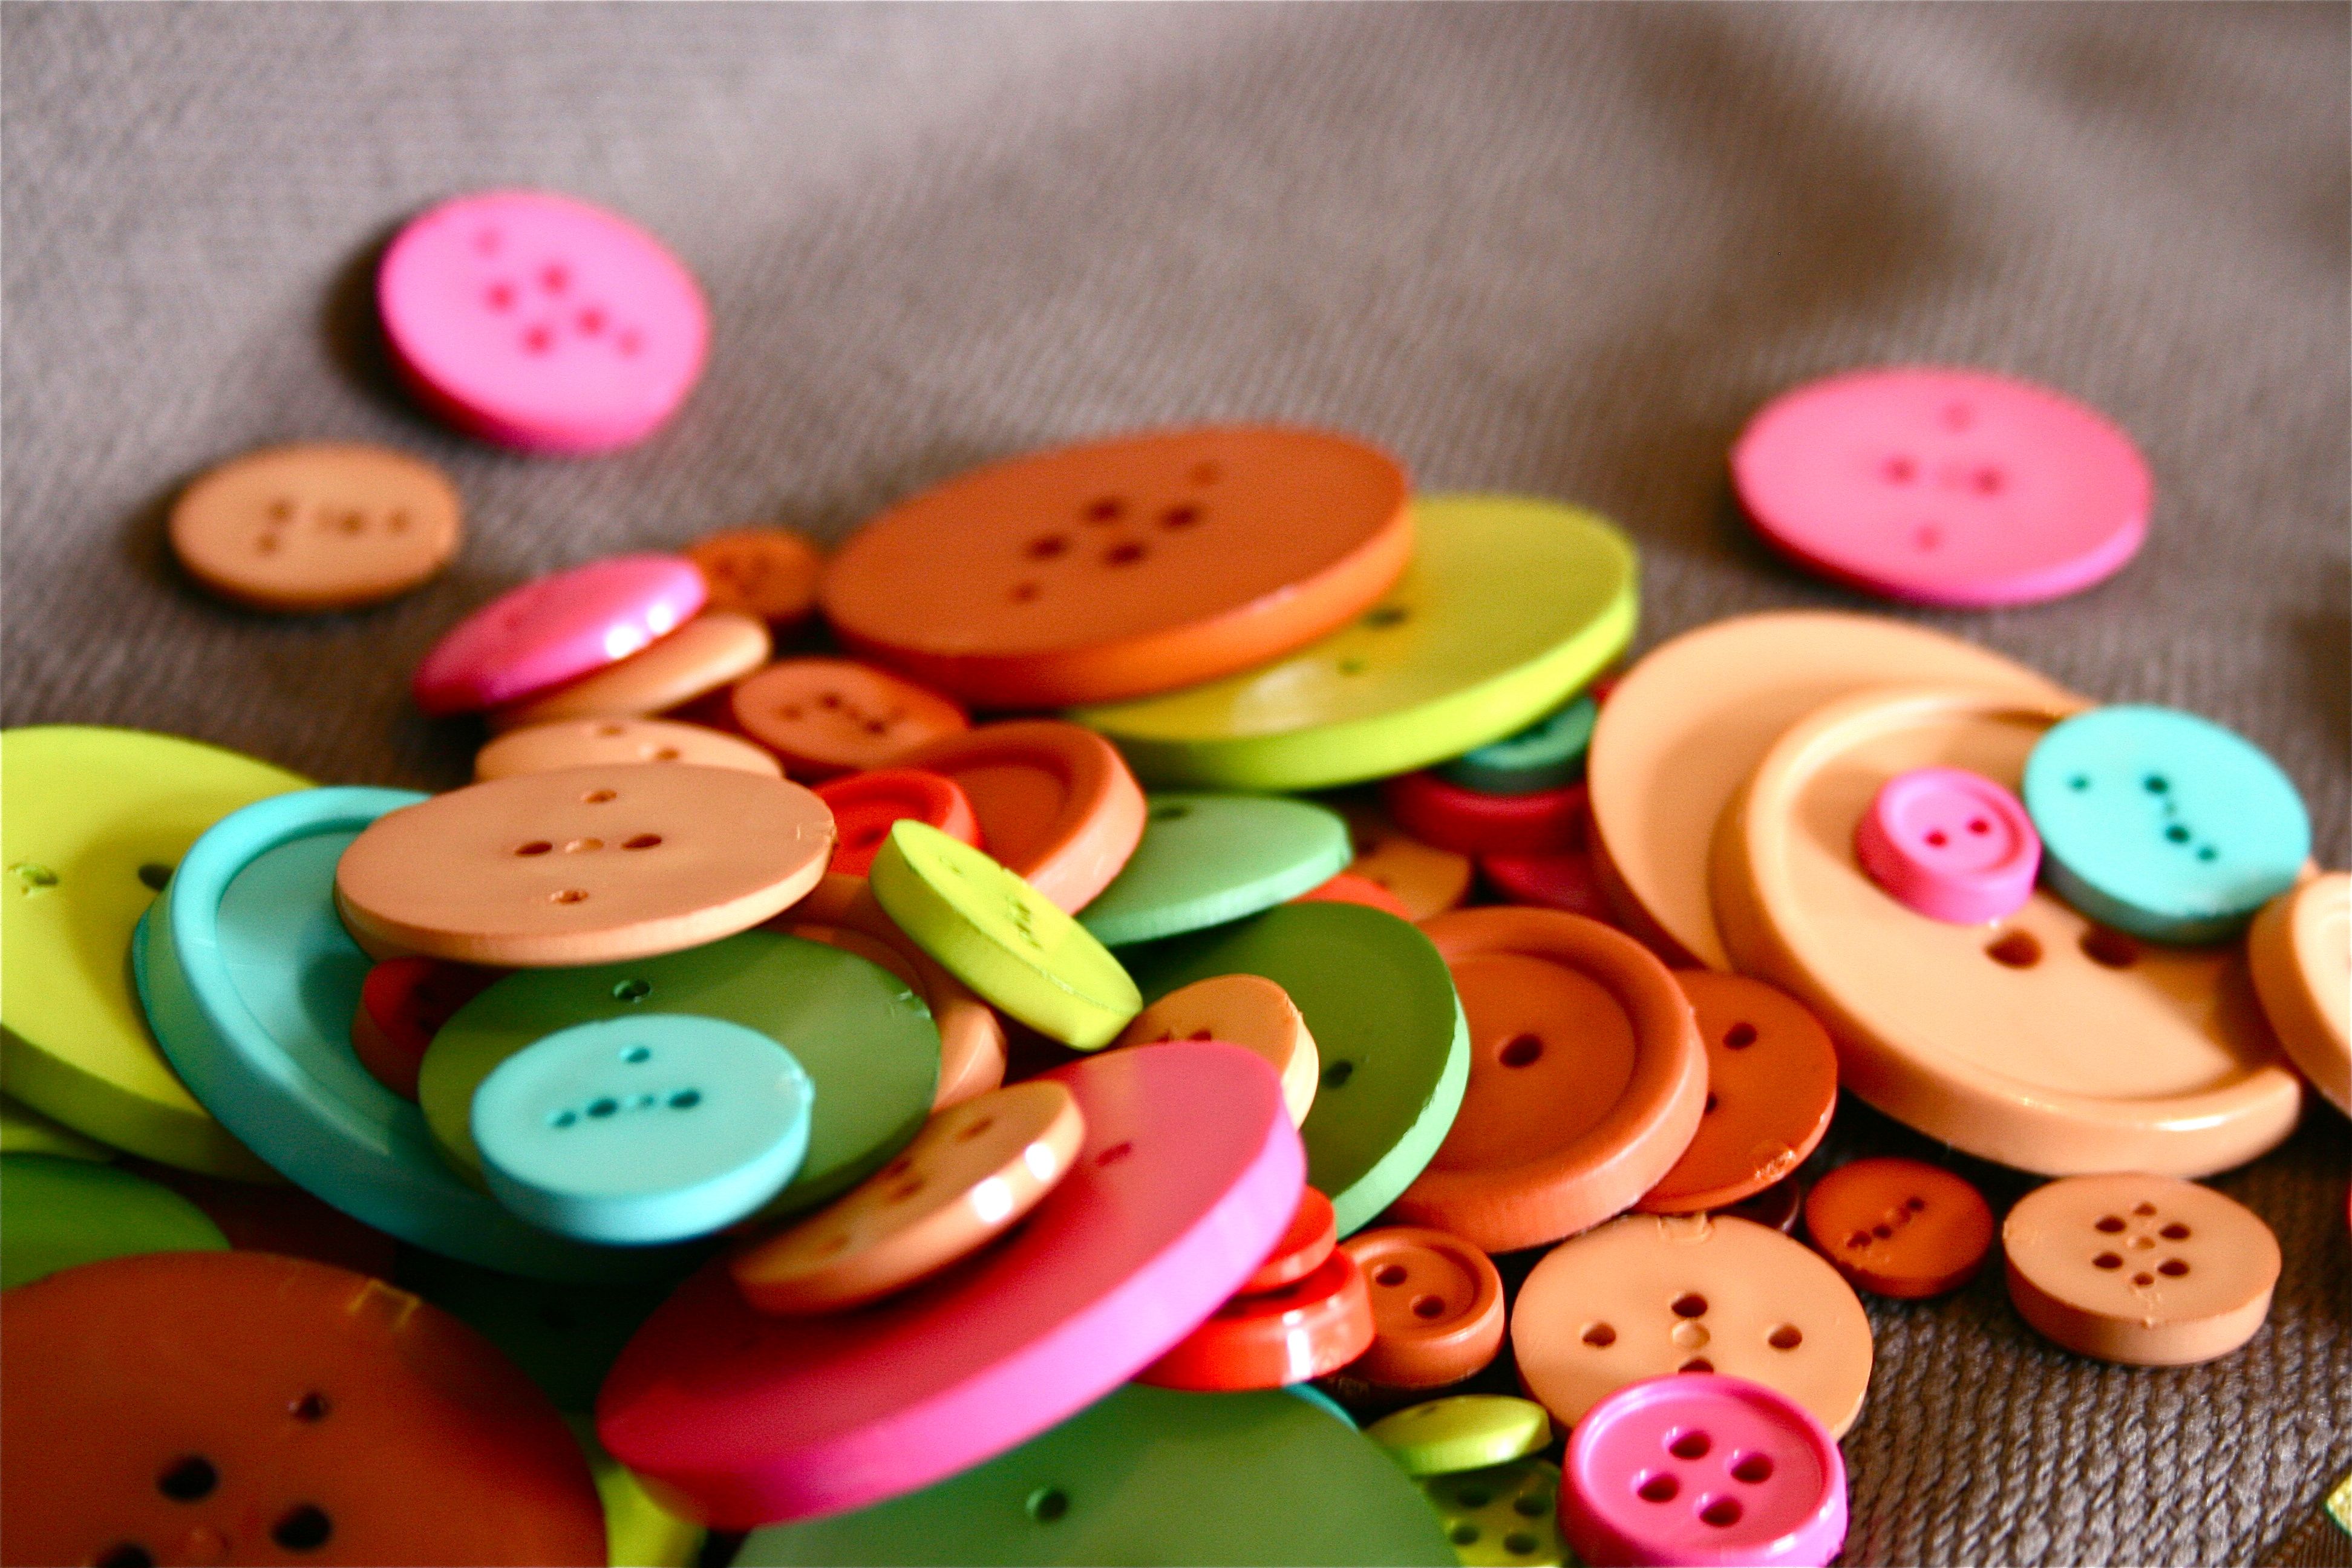
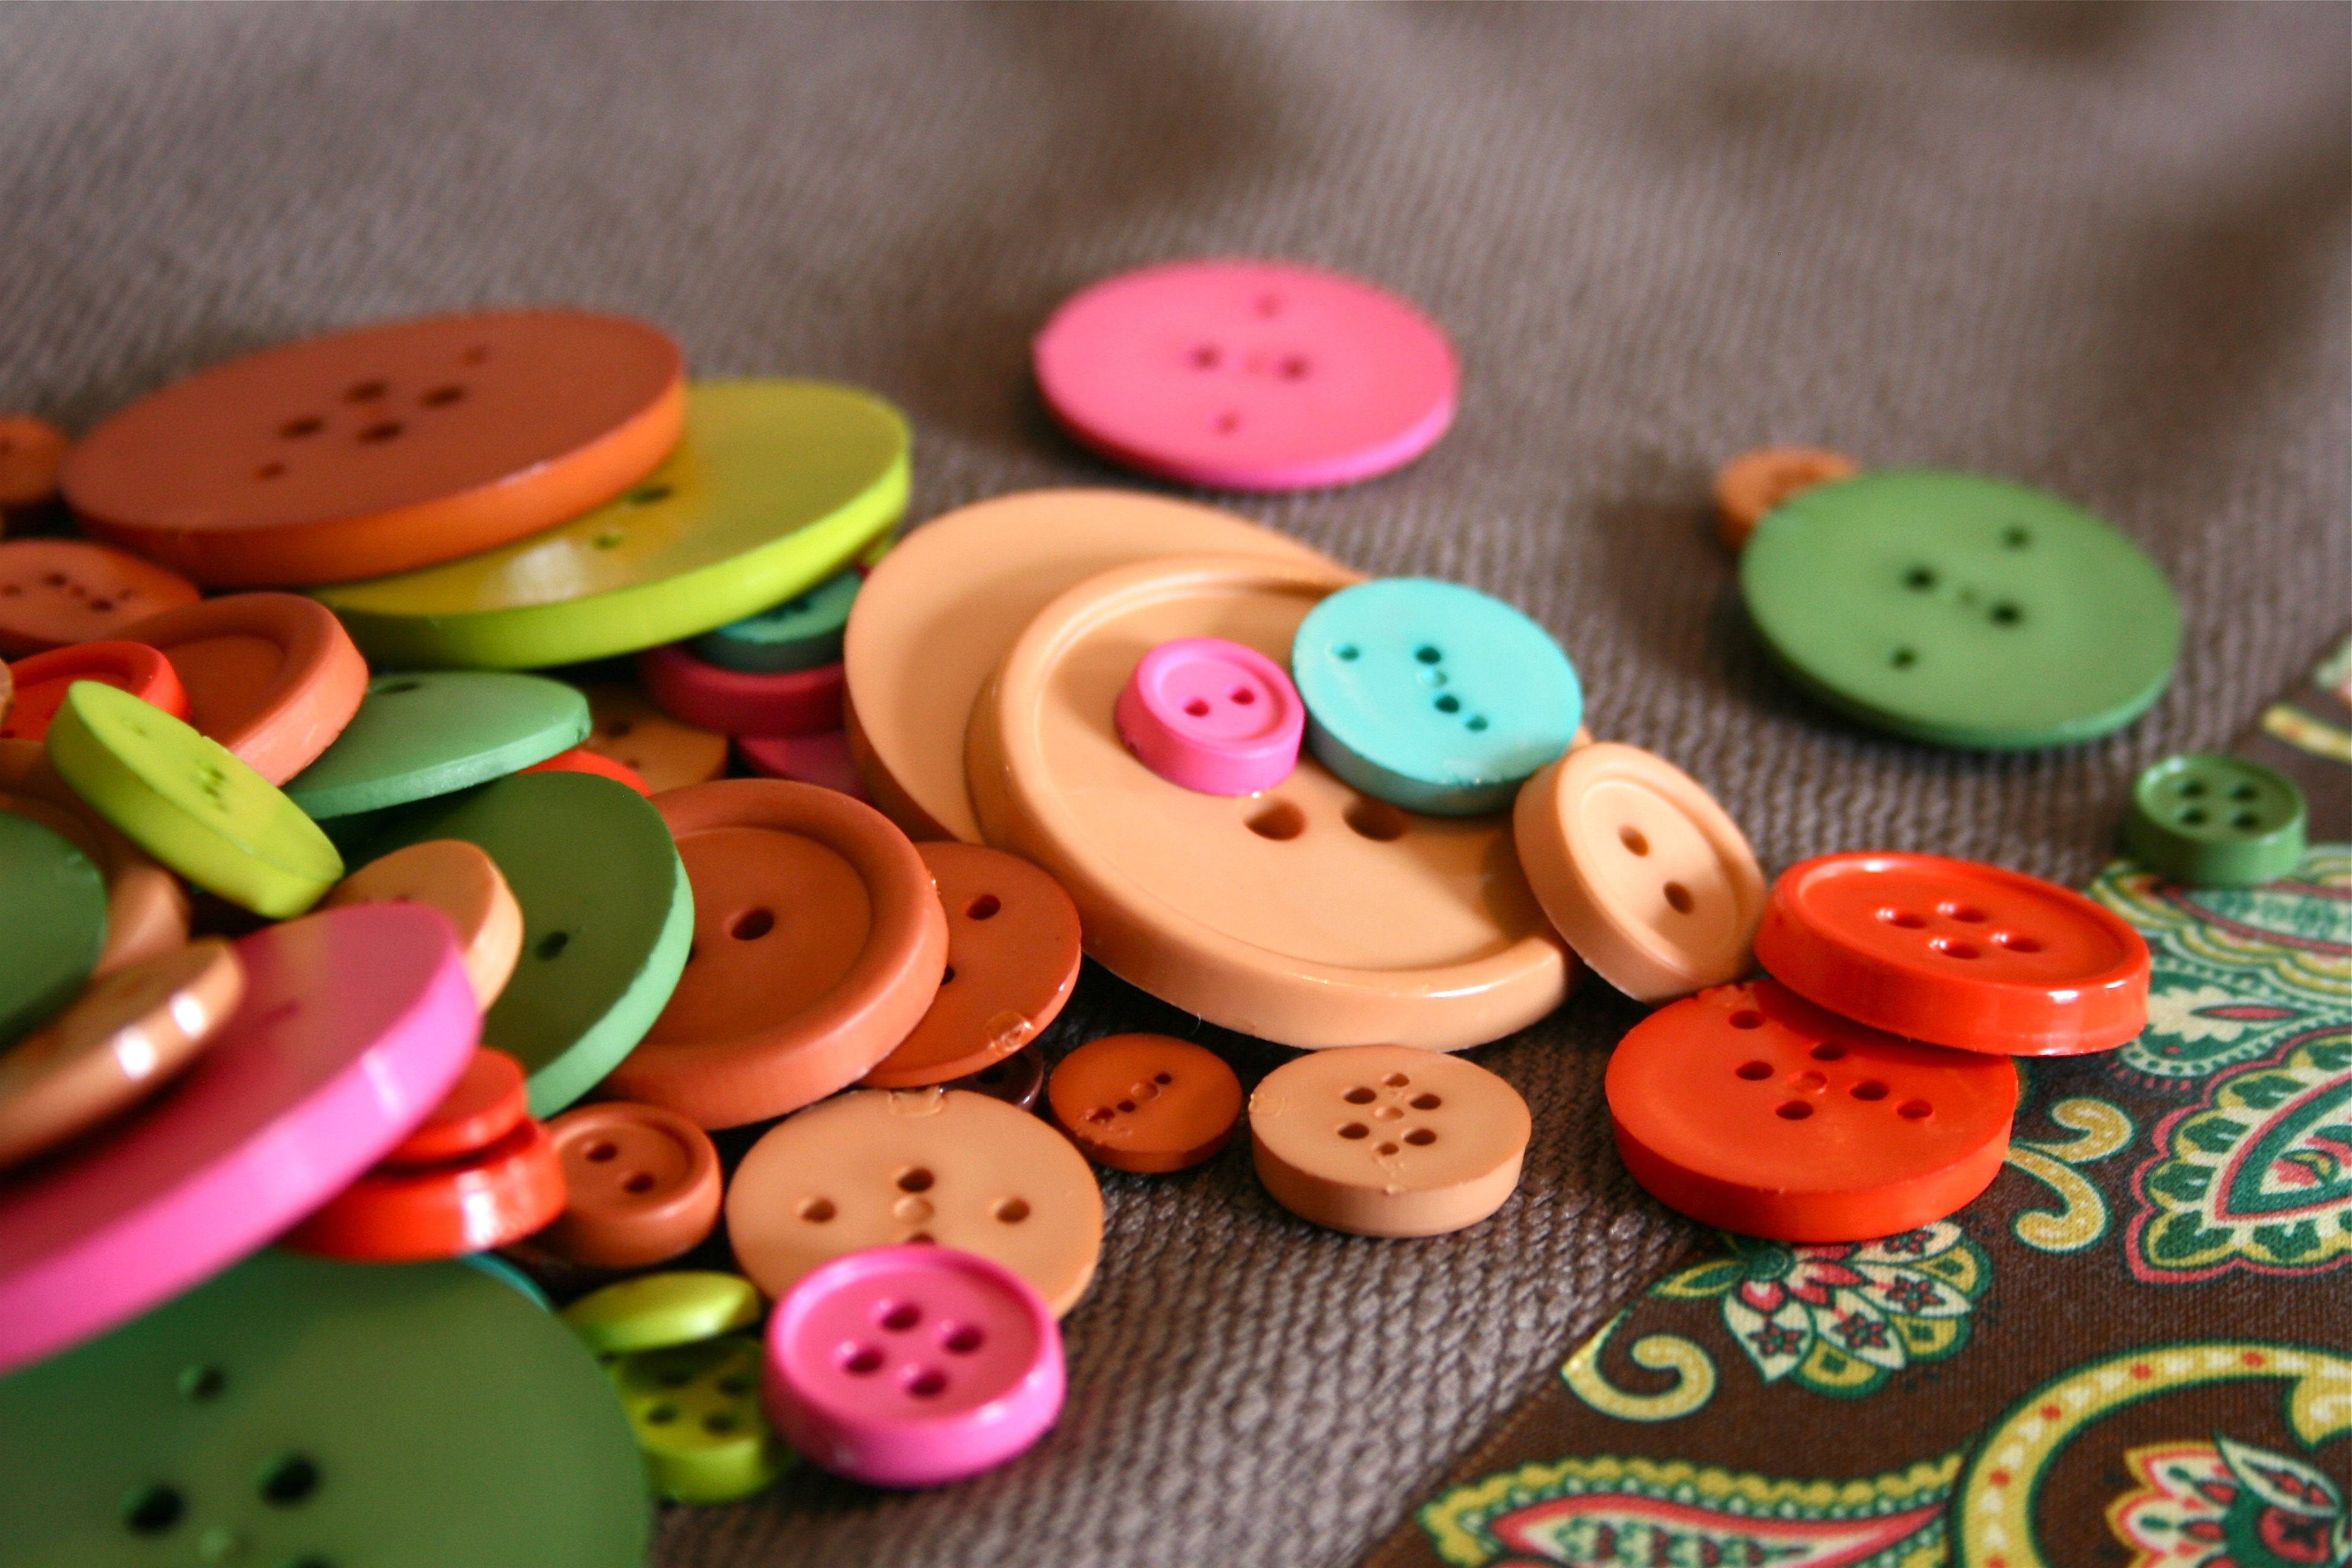
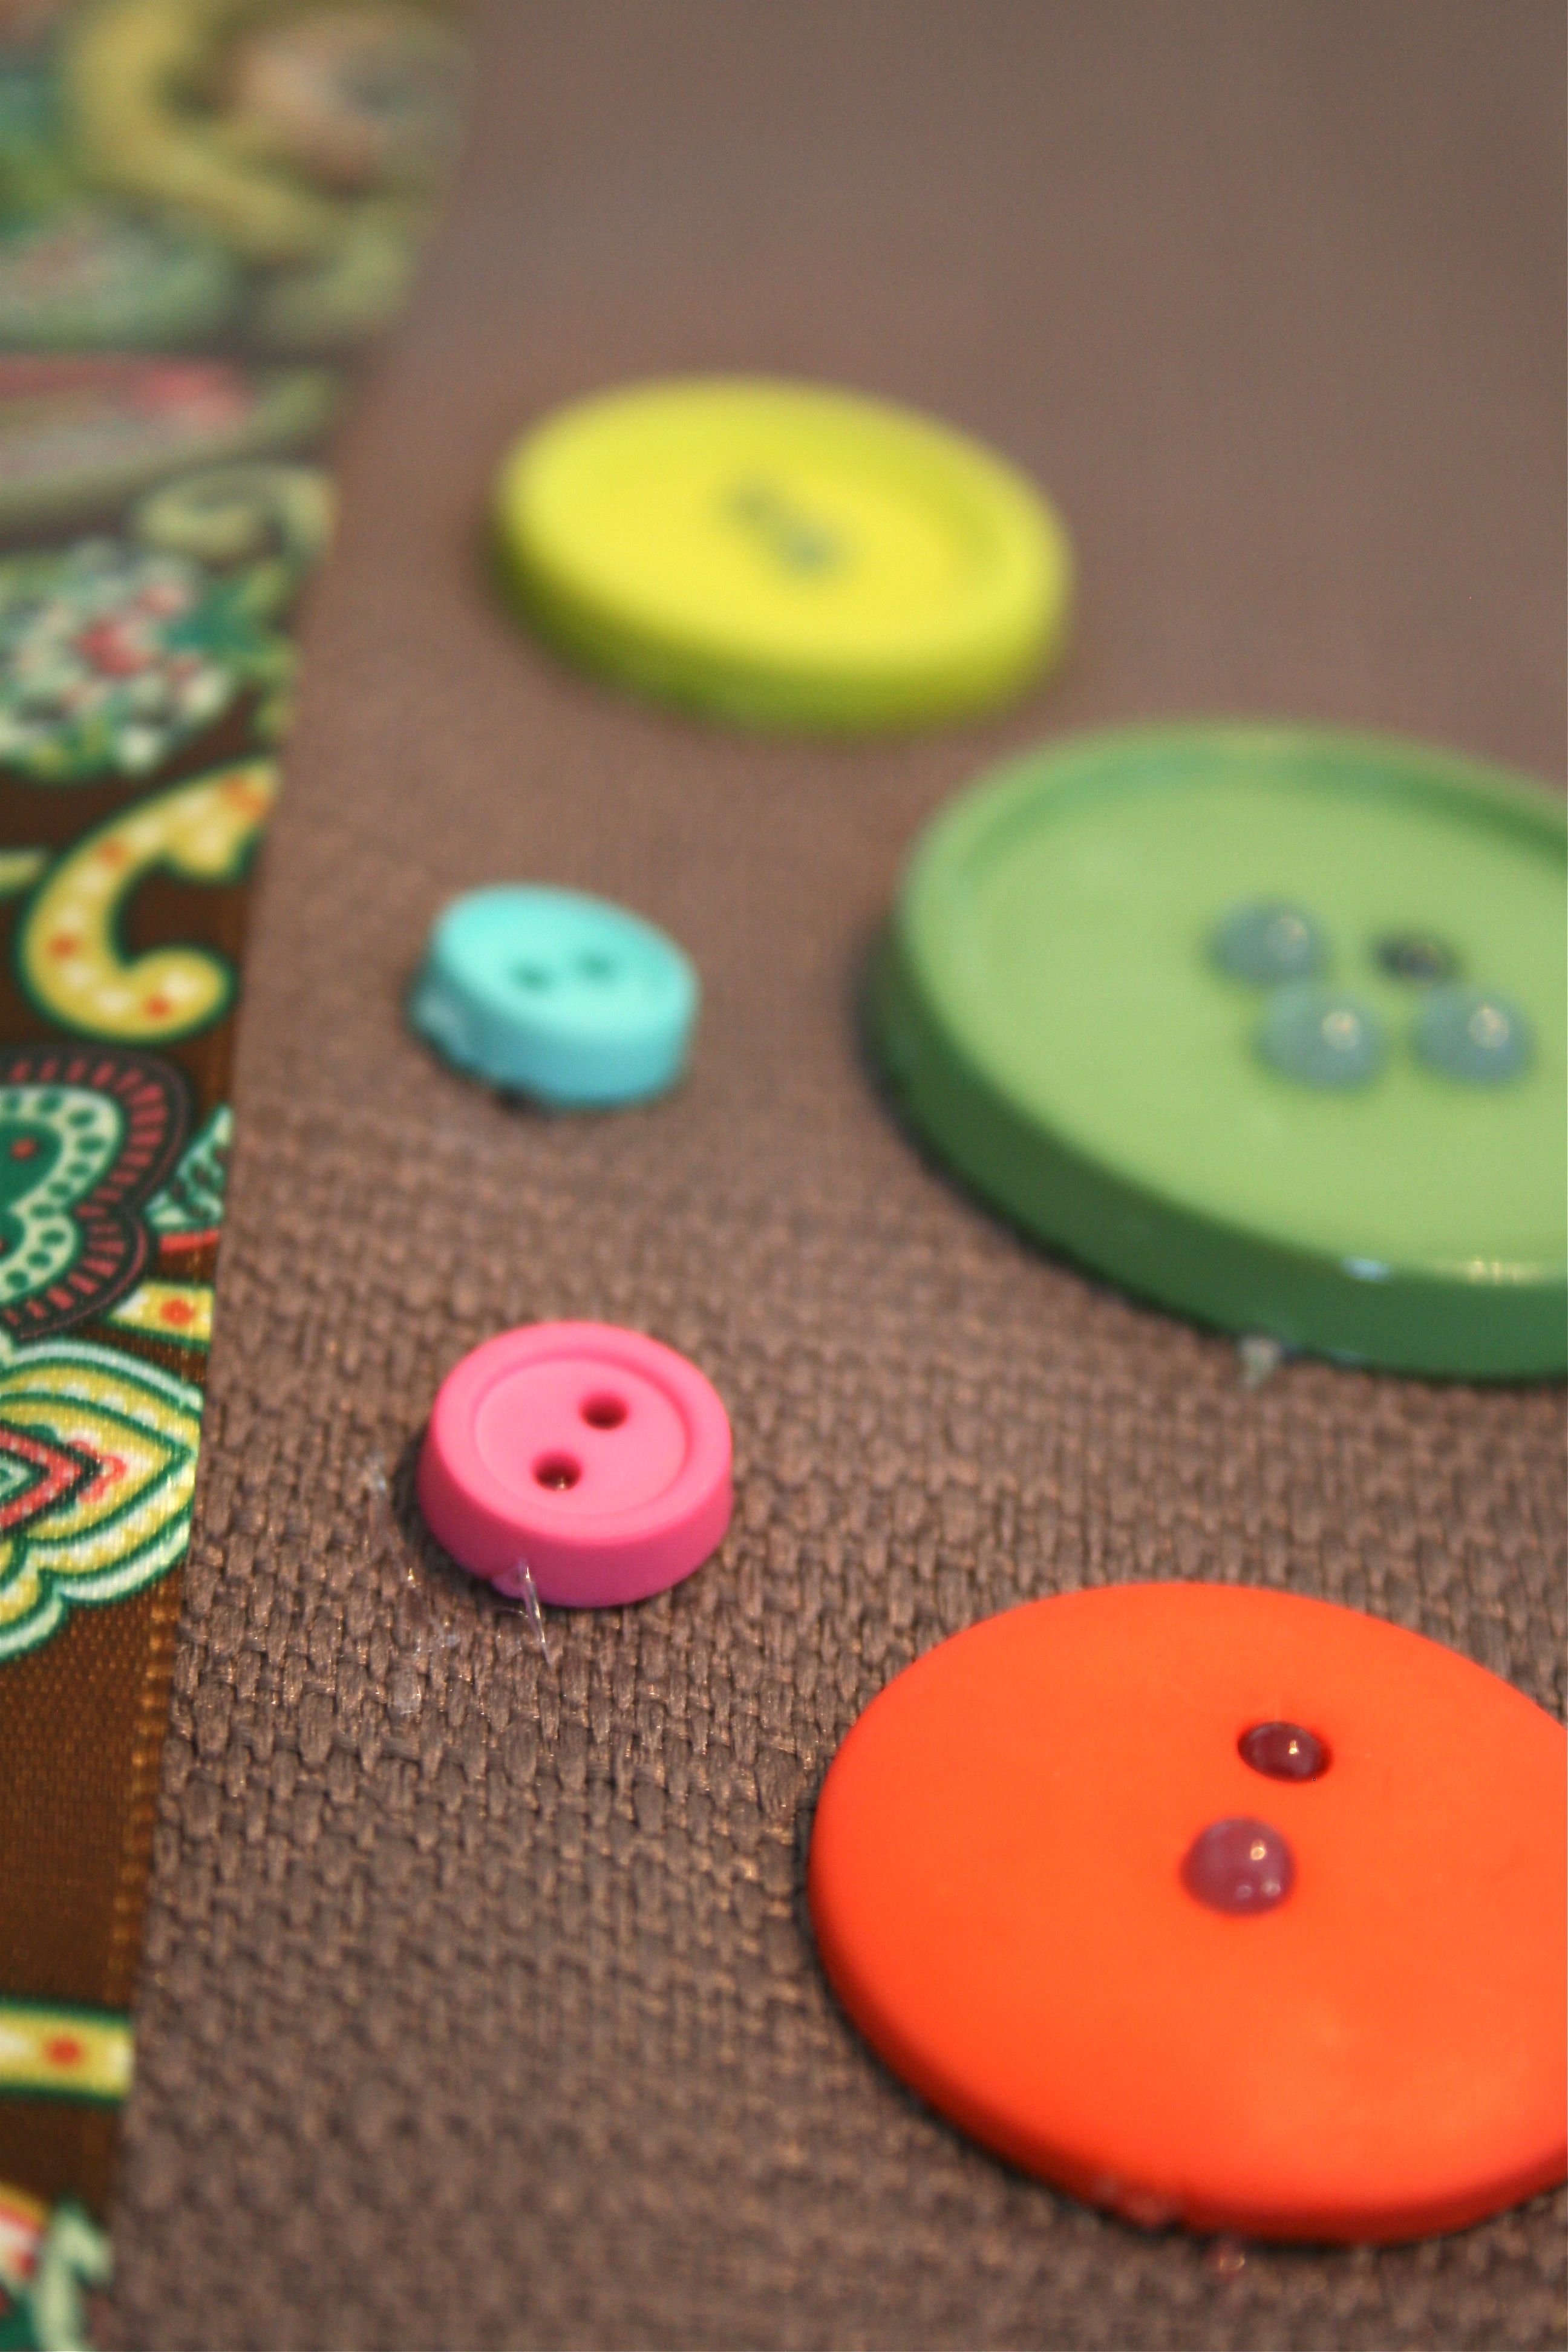
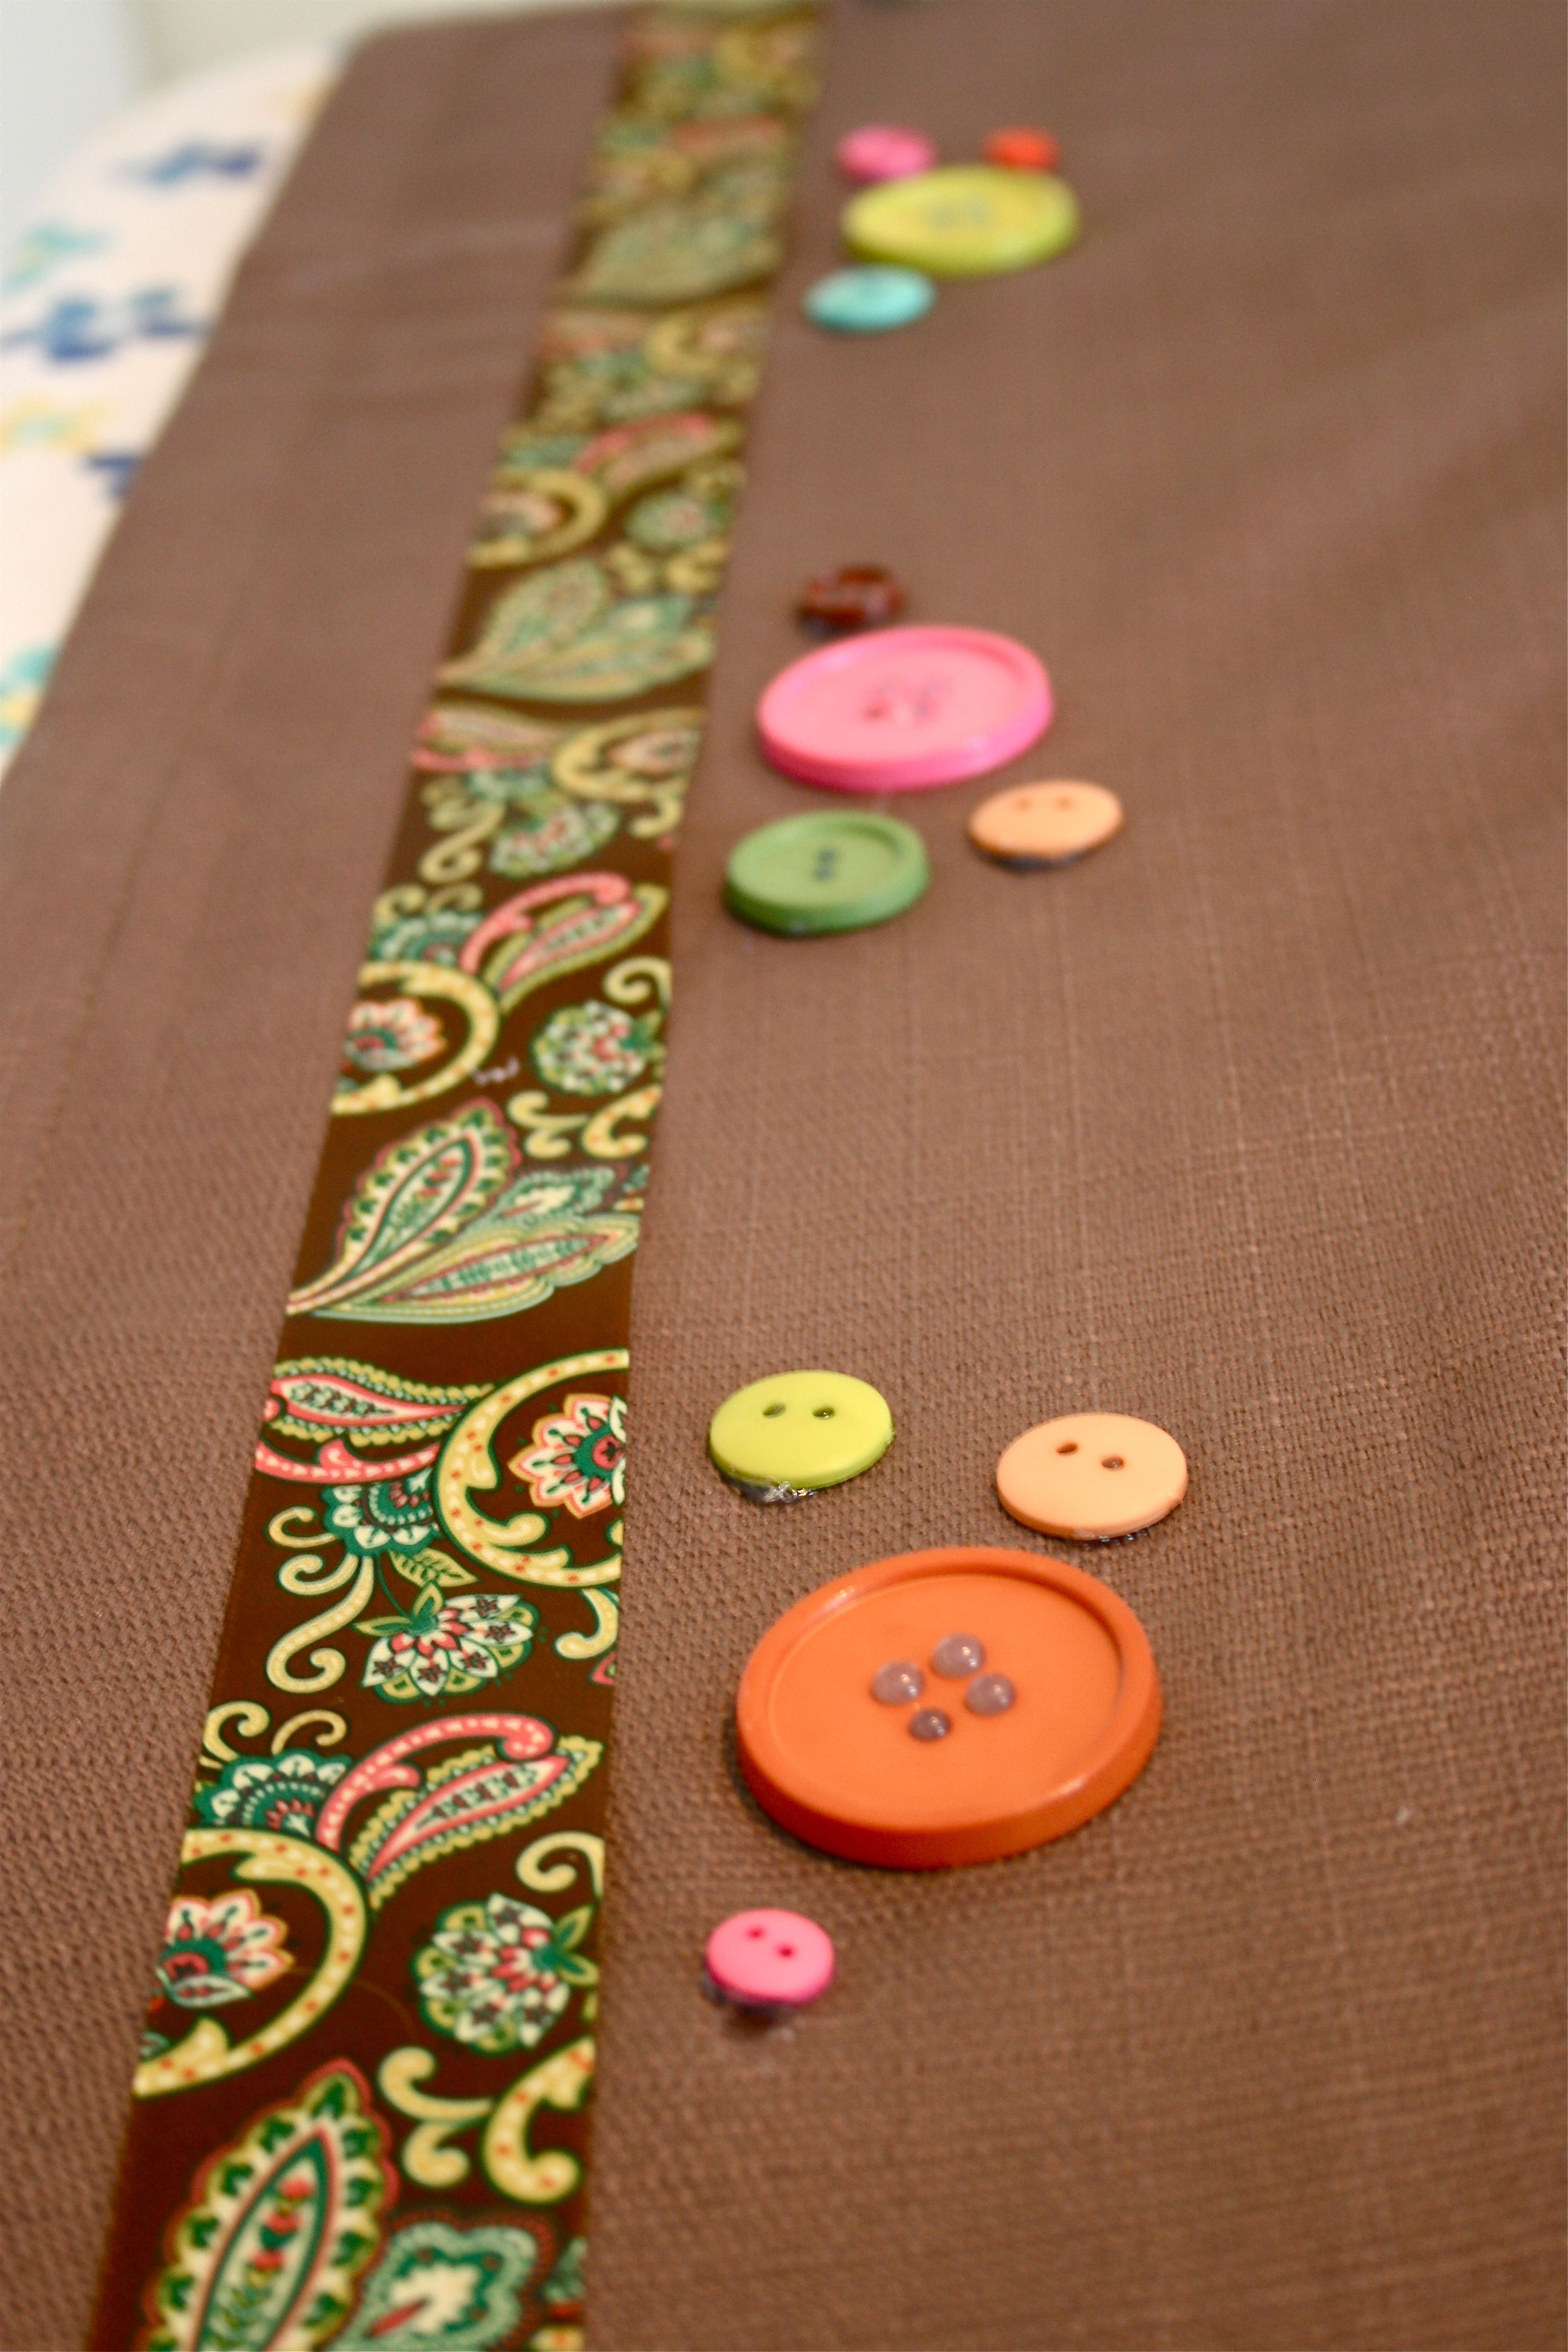
Time for the buttons!!! Look how fun and colorful they are! I took a bazillion photos of them…
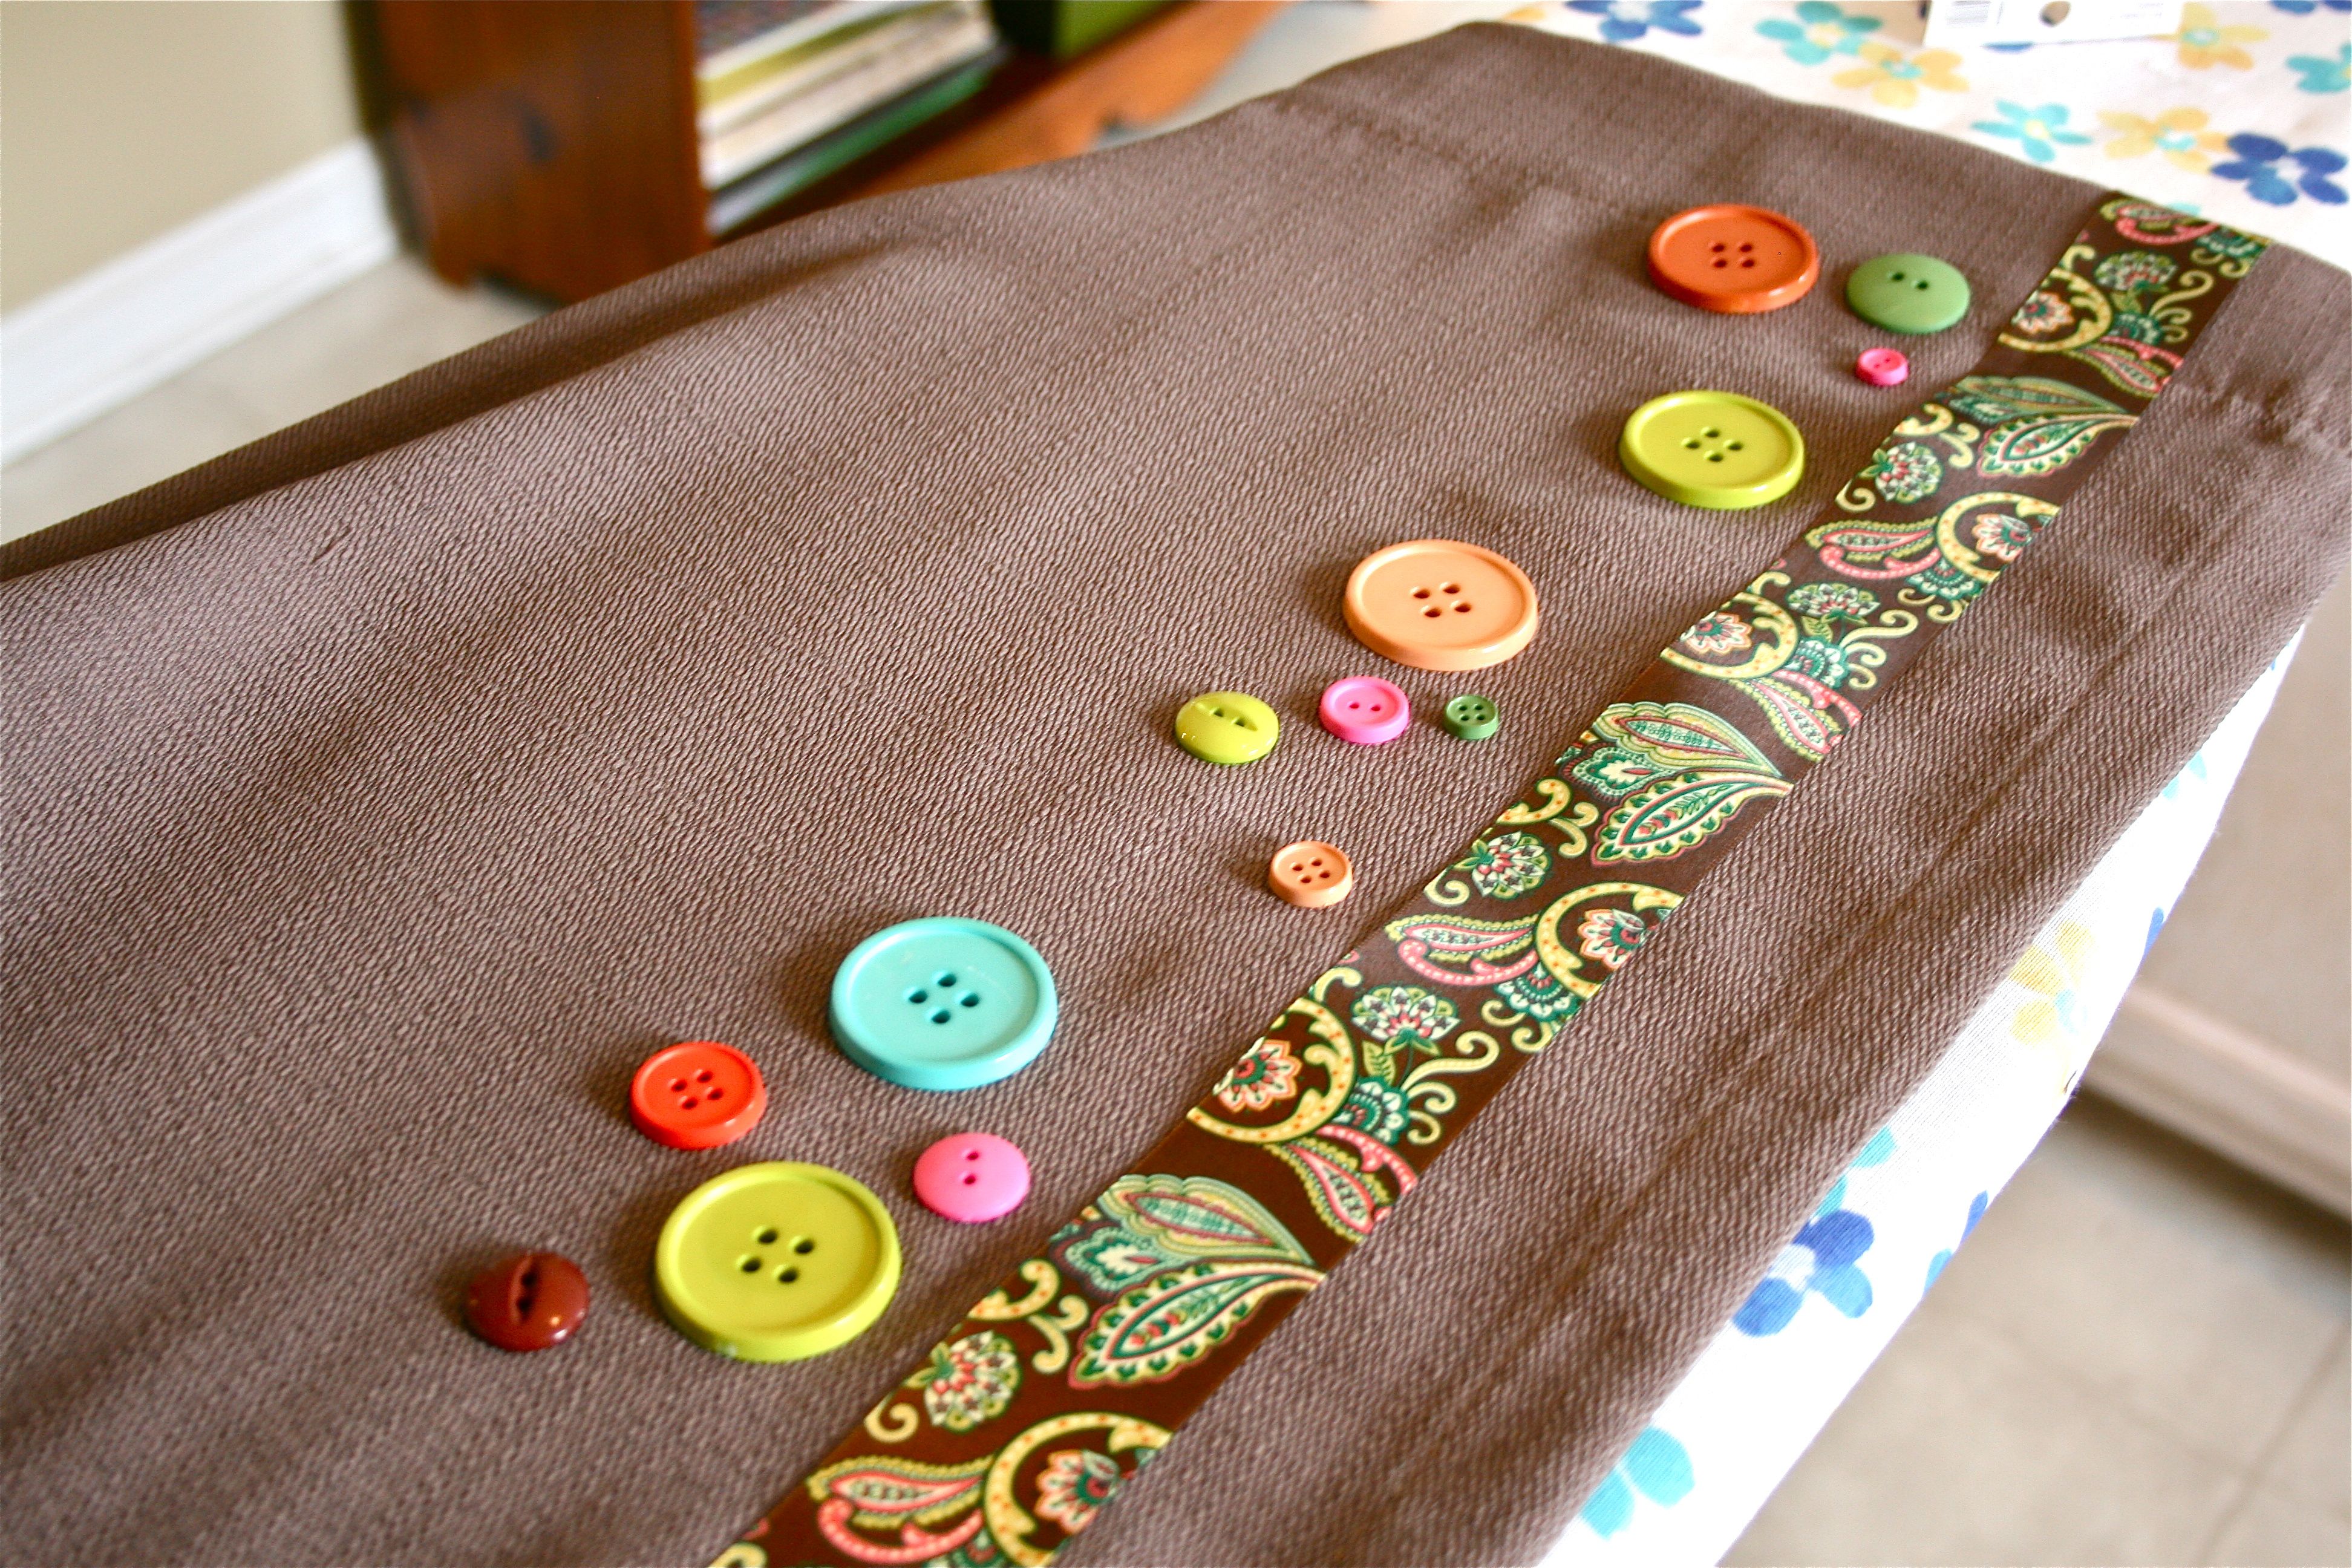
I started by laying them out across the curtain, choosing to position them right near the ribbon – I wanted maximum effect with the colors. I used one of the oversized buttons and then tossed in a few of the smaller ones for a random scattered effect.
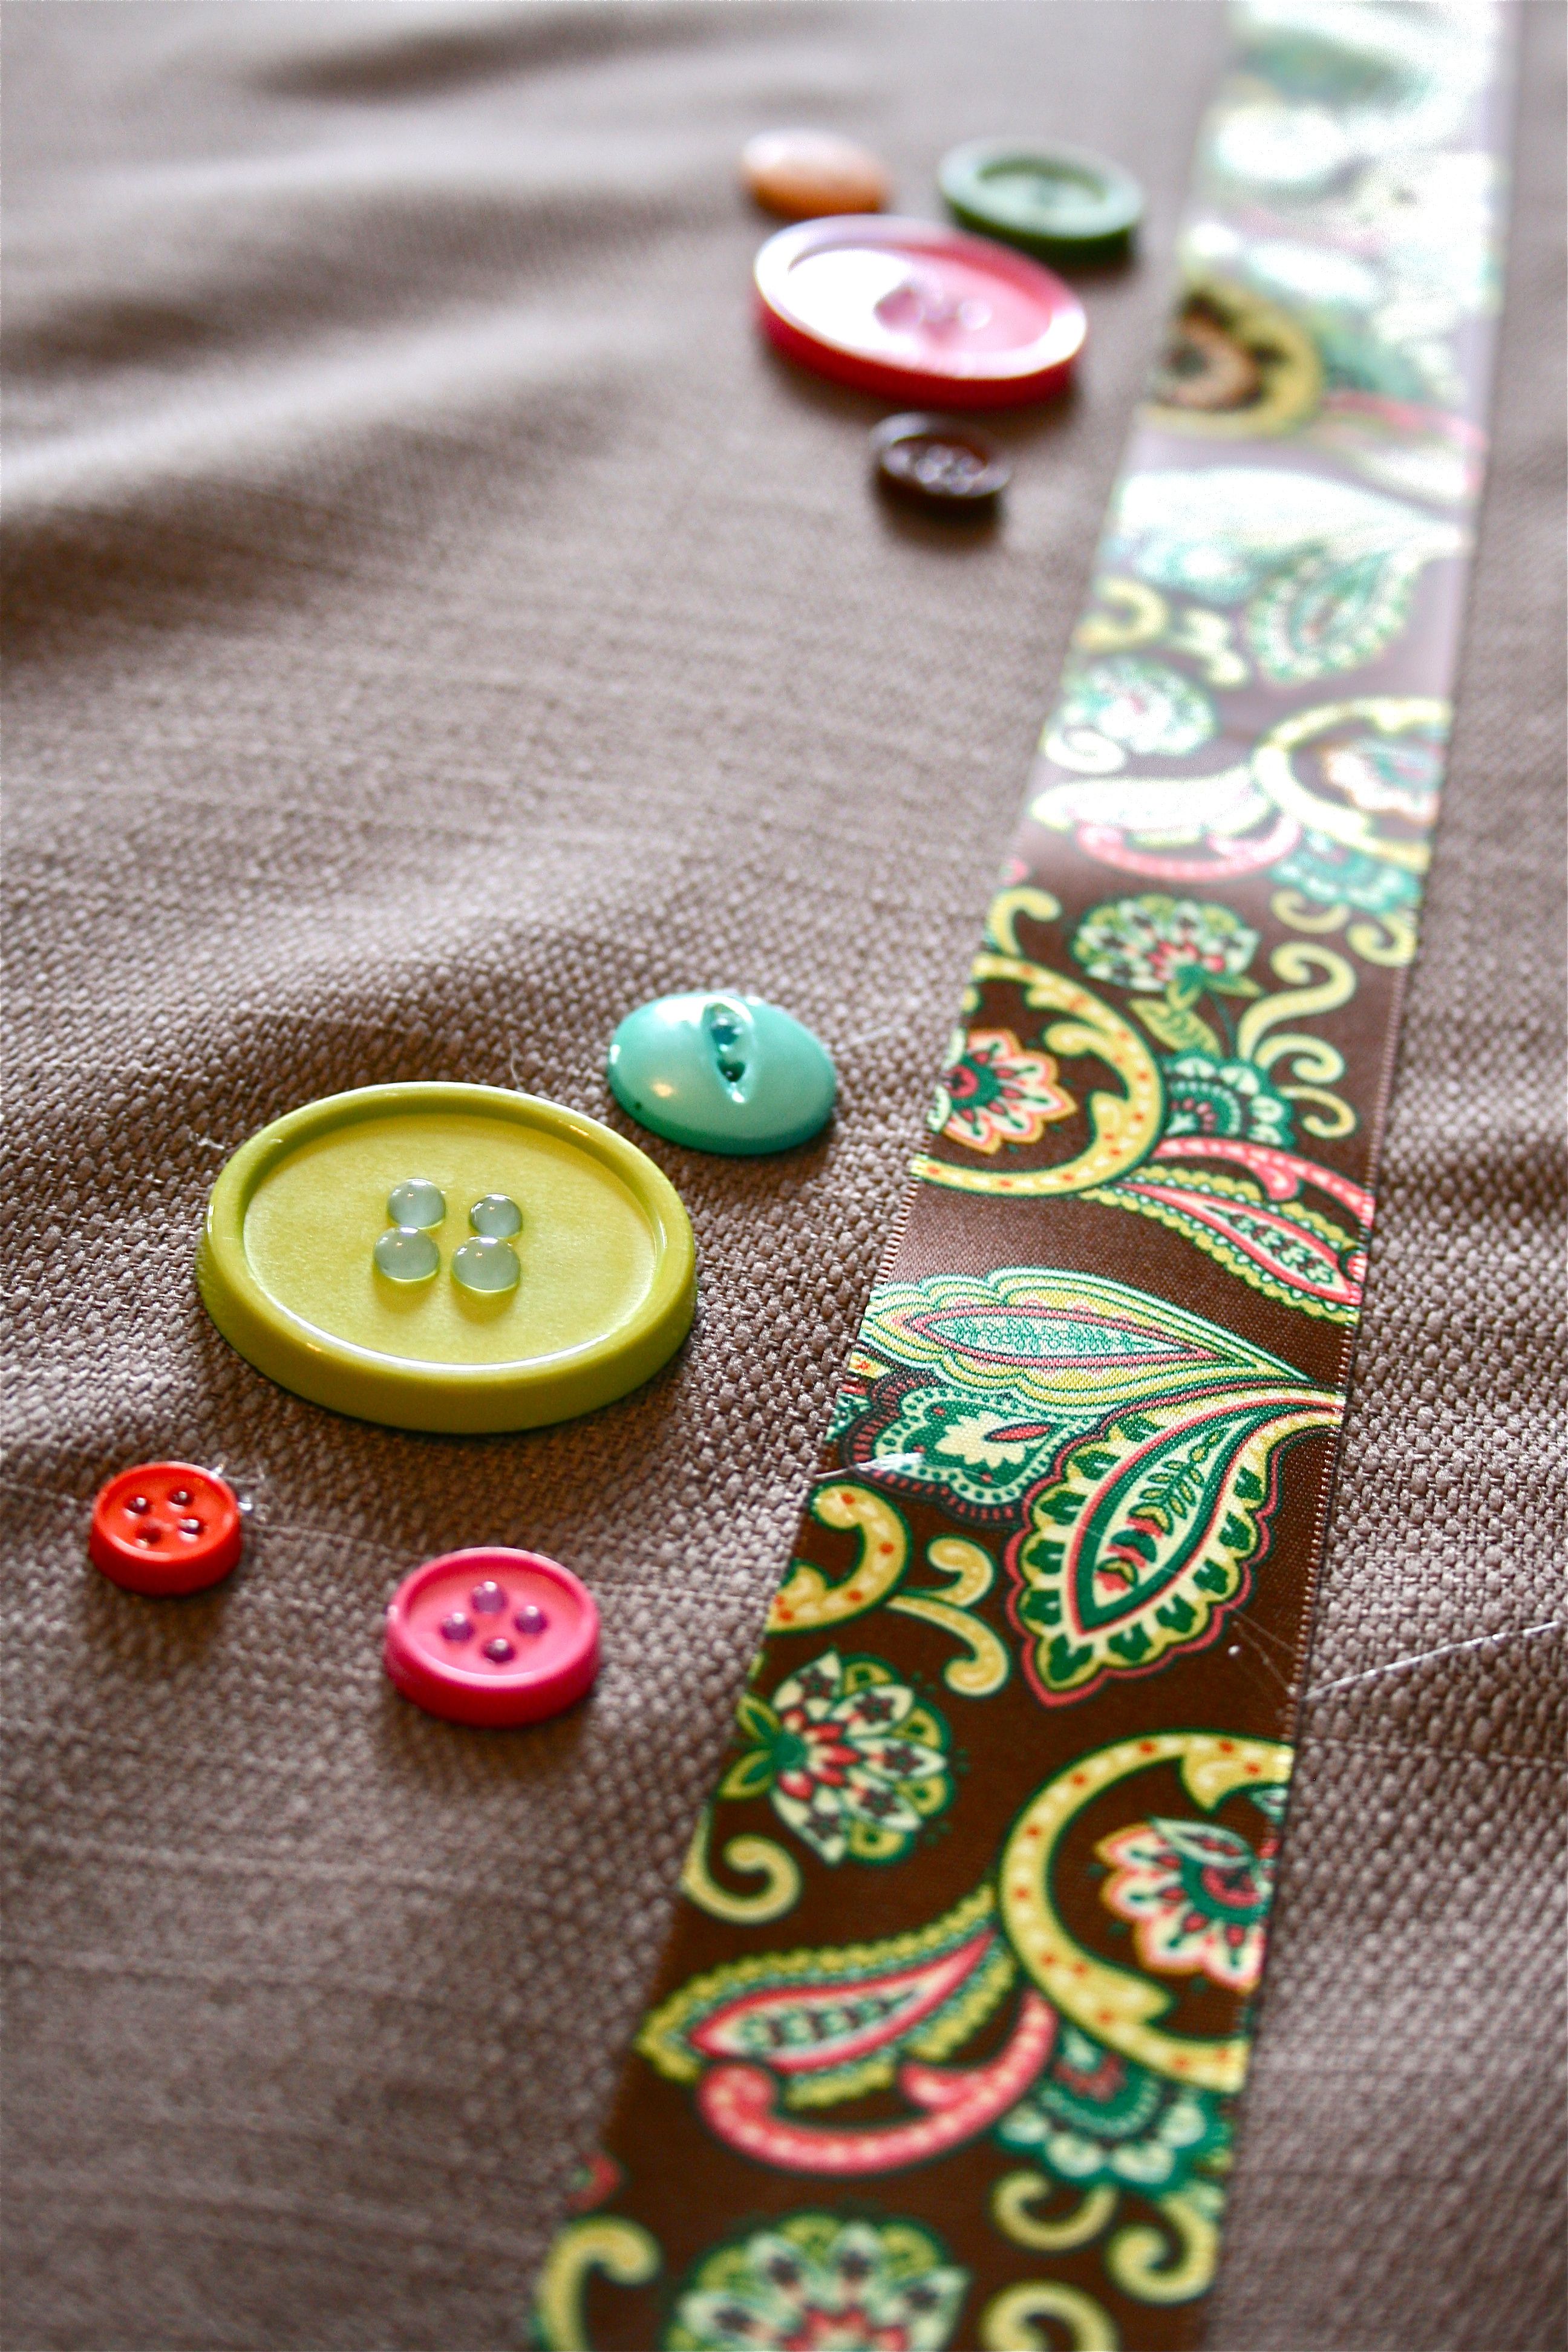
After getting the general idea down, I started to attach them to the fabric. And if you’re wondering if I hand-sewed all of those little buttons, you must be crazy!! This was a TOTAL no-sew project and thus, I broke out this bad boy to get the job done:
That’s right, I glued those suckers on there. Amazingly though, it worked!!! Well except for some funny little mounds of glue pushing up through the holes in the button. But that doesn’t bother me one bit!
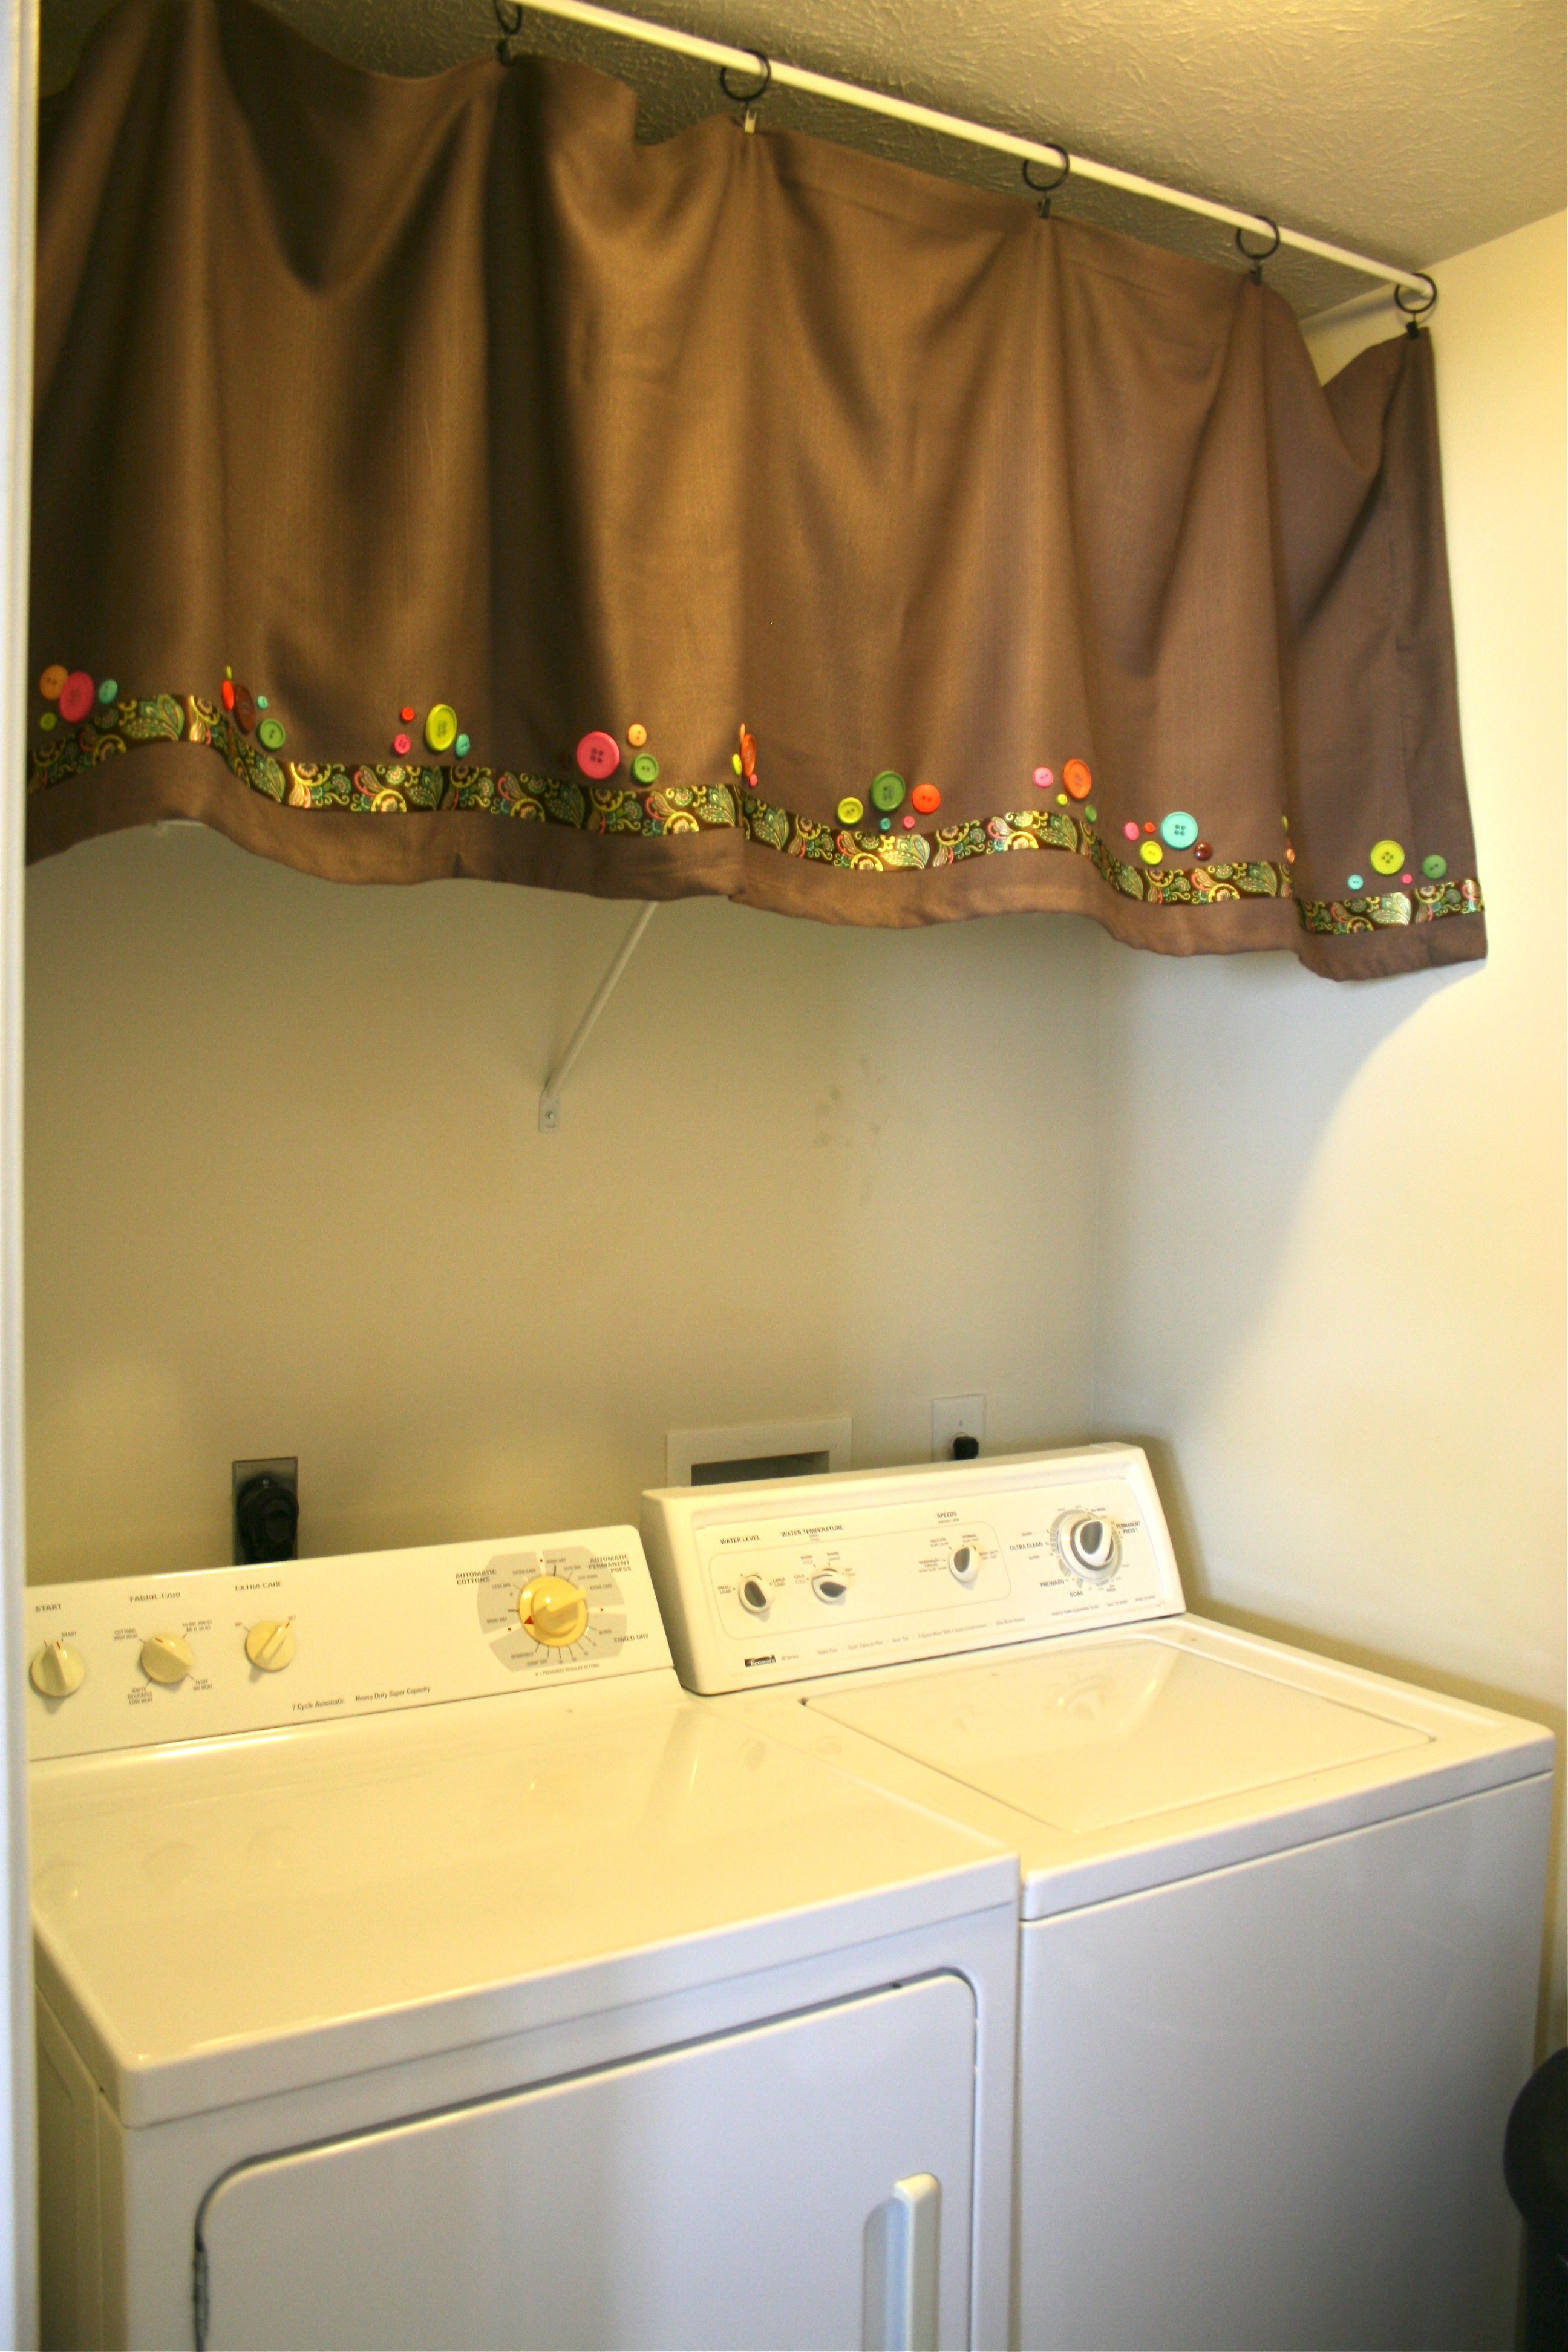
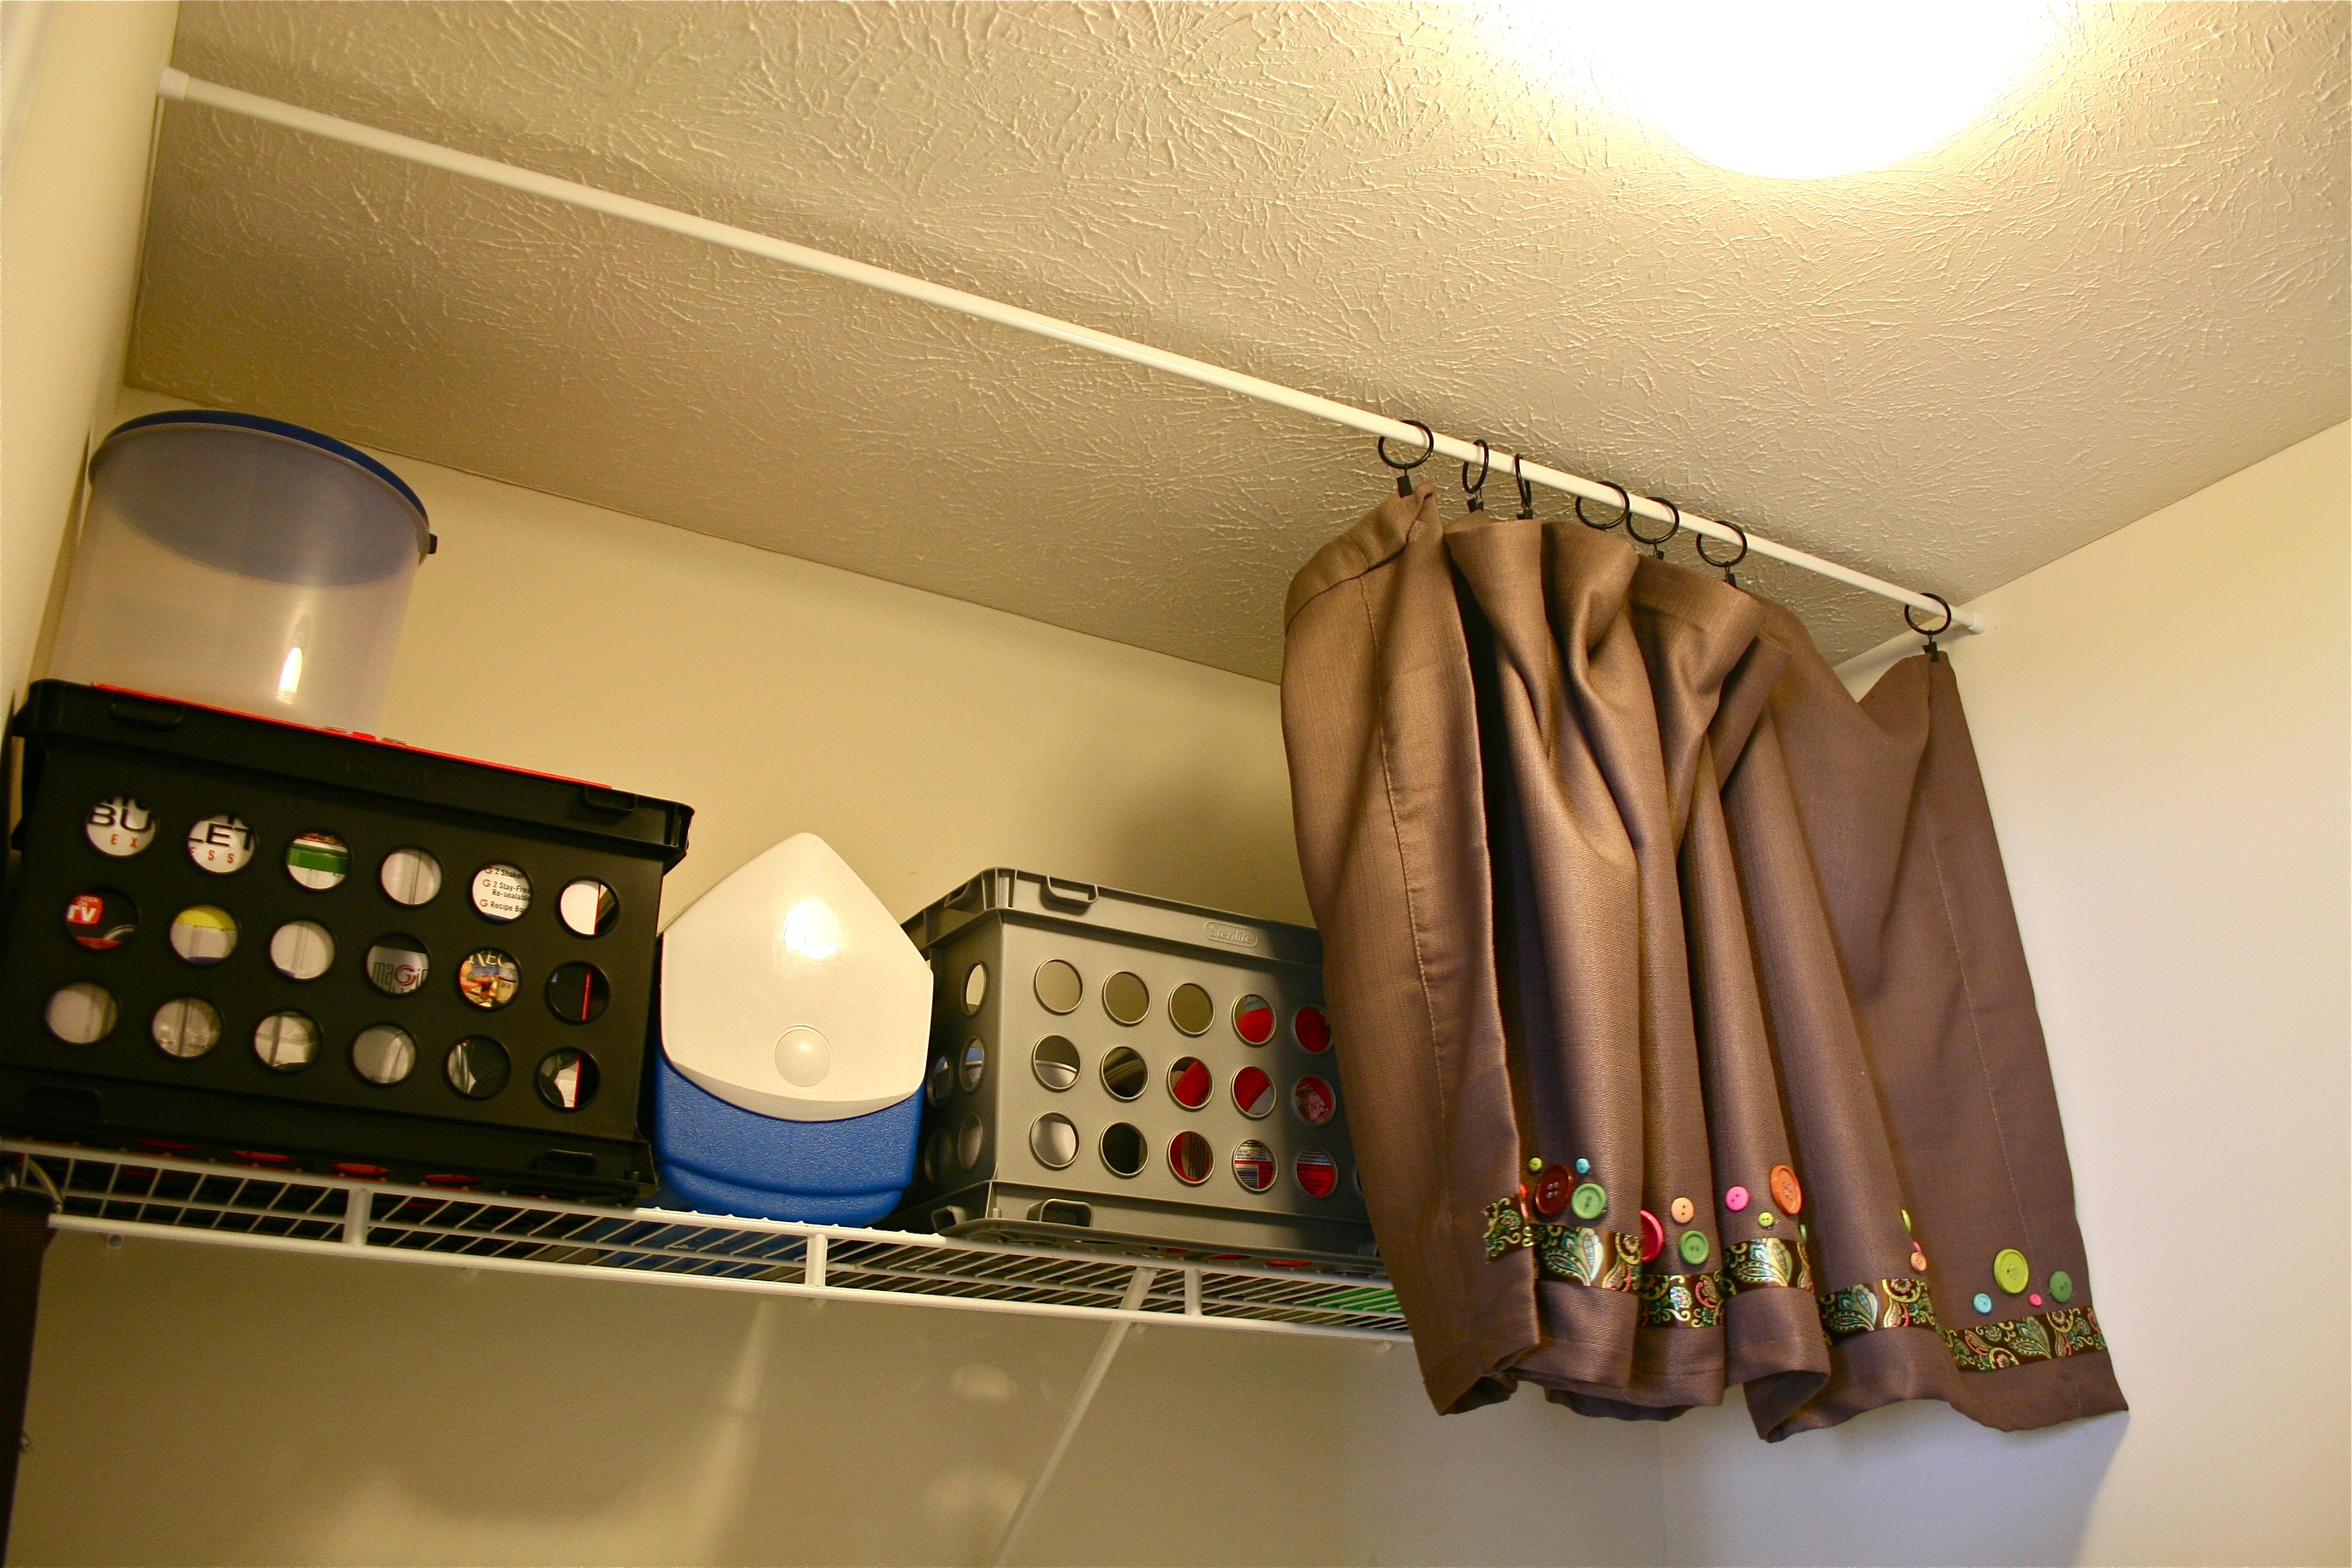
Moment of truth…Time to clip the curtain back up over the shelf.
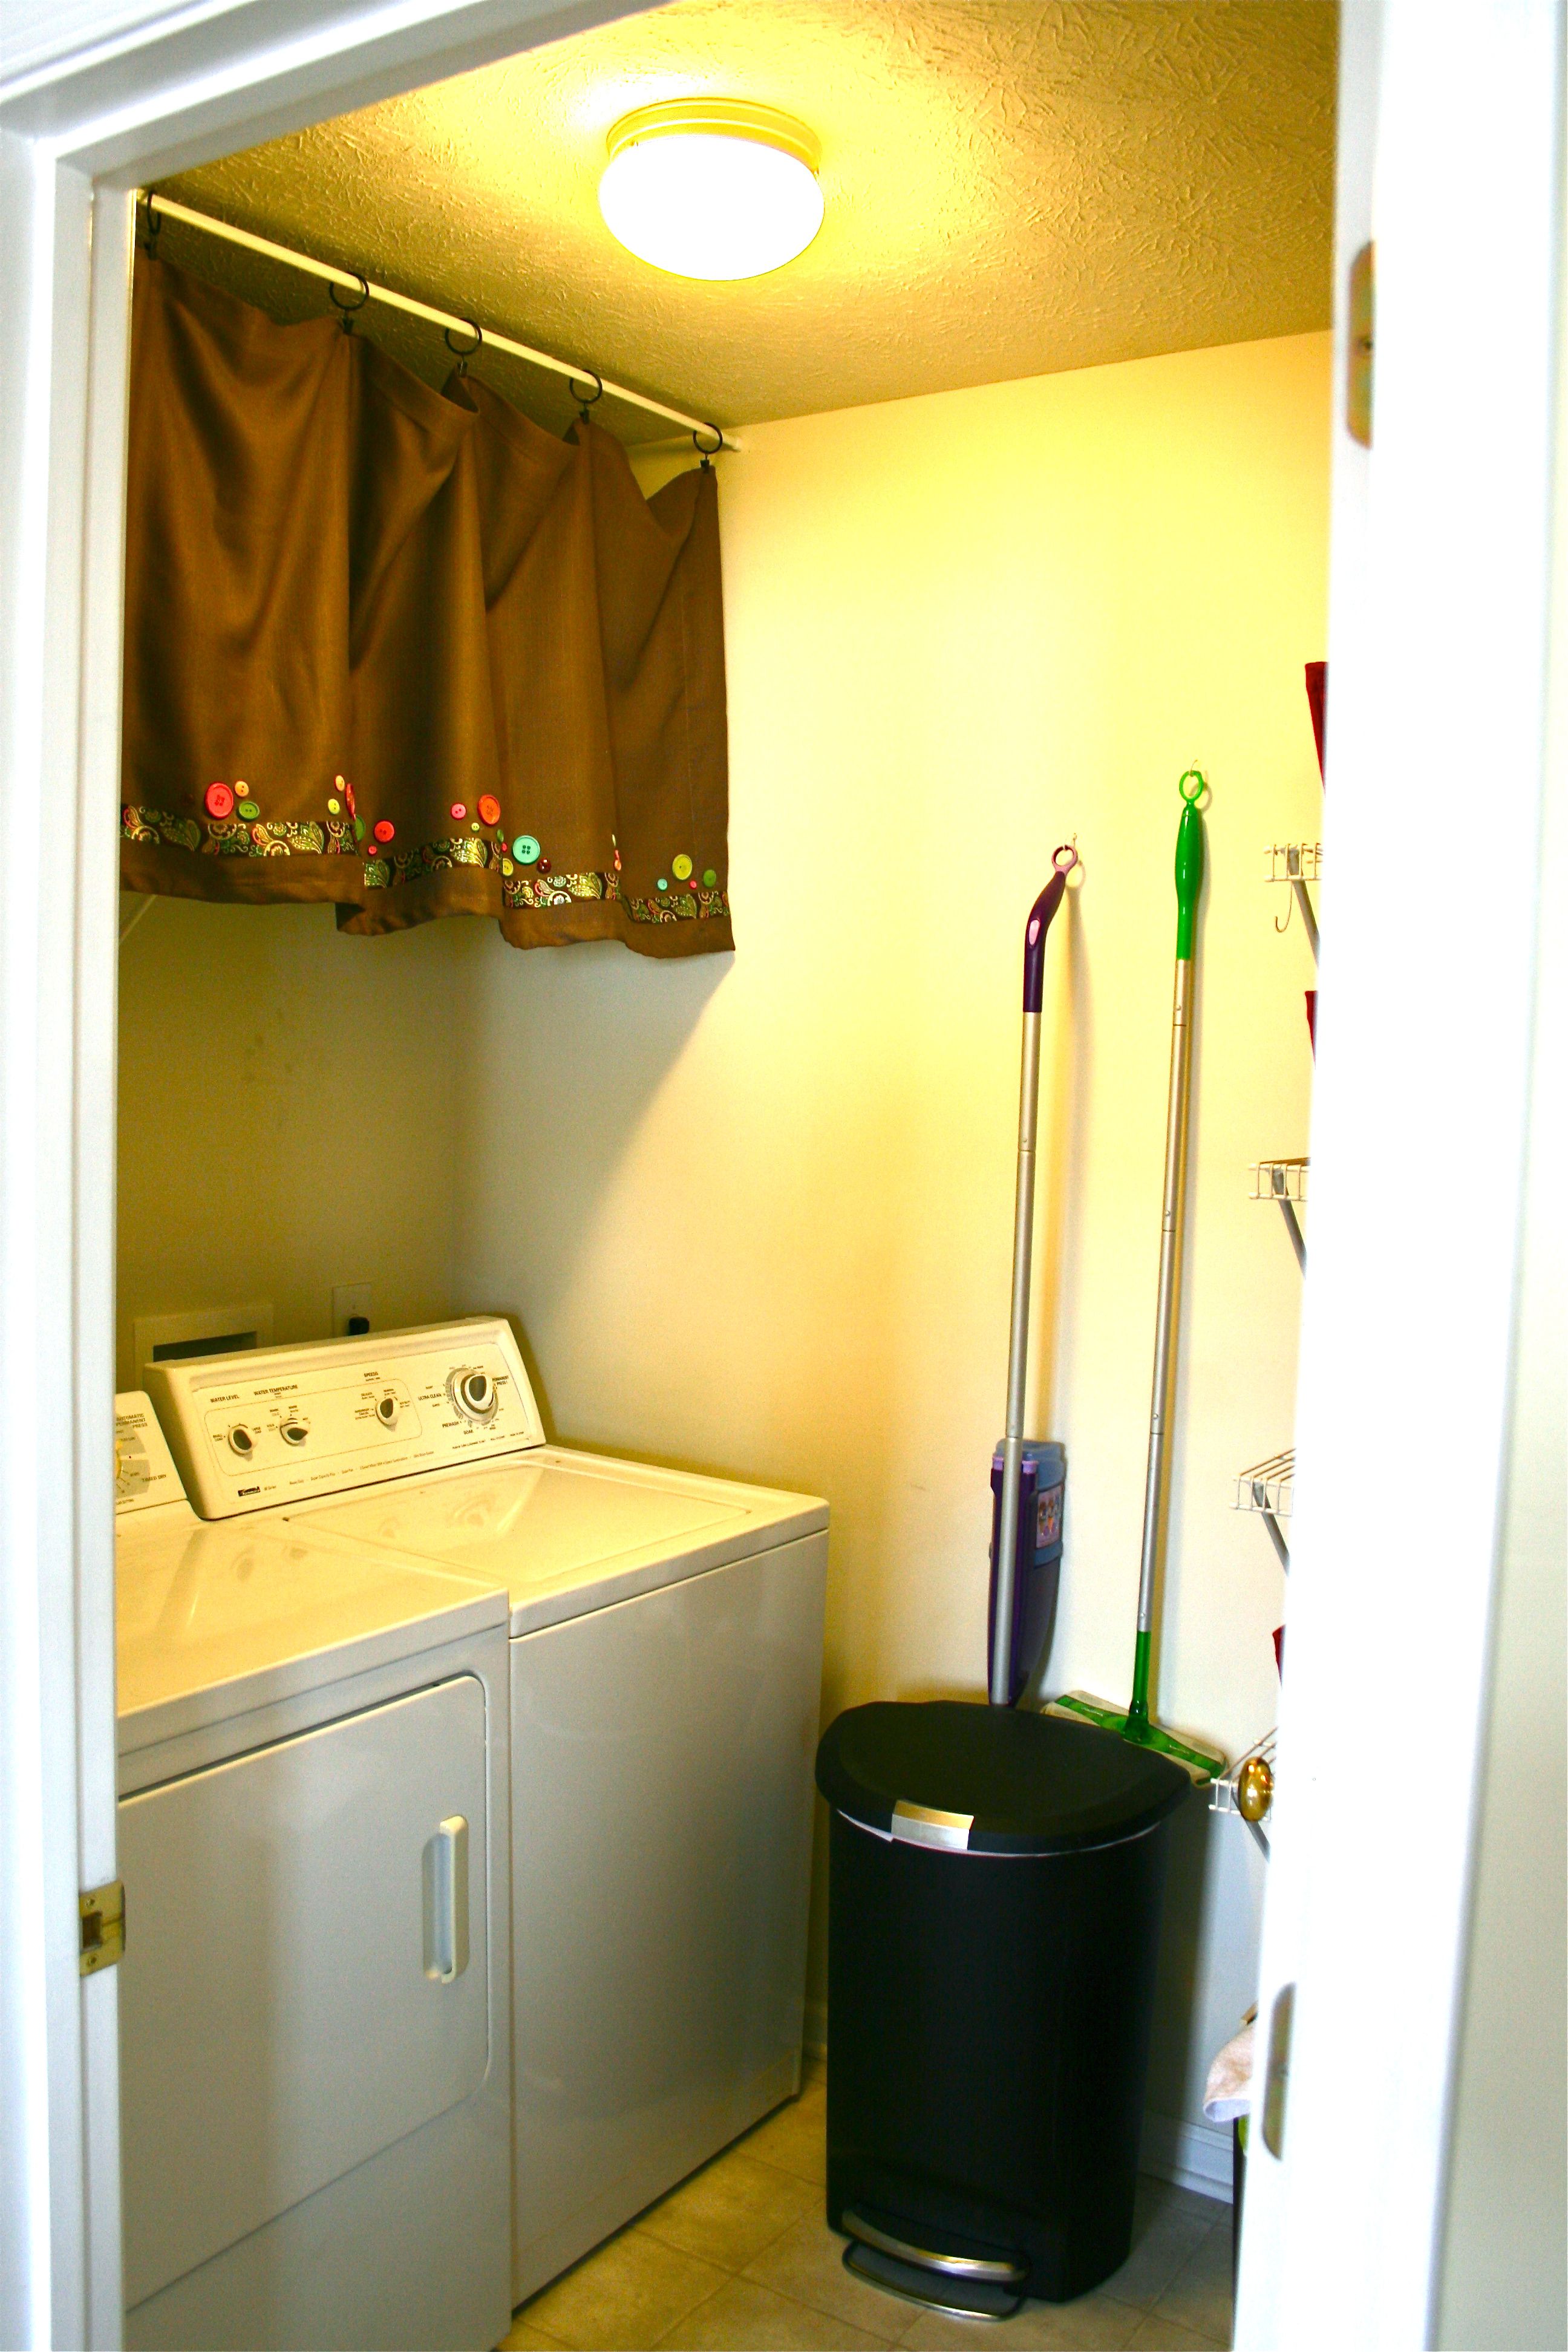
Sooooooooo much better!!! No more creases and it now has heaps more style and character. I love it!!!
And still perfectly functional in hiding the storage boxes.
This whole laundry room redo and reorganization is taking a bit longer then I anticipated, but I think the payoff will be big in the long run. I’ve got a few more tricks for storing the rest of the stuff in there, plus it still needs some art. Maybe new lighting? Not sure yet…But hopefully I’ll have a finished product soon!
But before I go, I just want to reiterate how easy the curtain project was!!! It definitely could be used for much more than just hiding a row of shelves in the laundry room – You could dress up a drab curtain panel for ANY window, doorway or even use it as wall art. The possibilities are endless 🙂
So what do you think??

