Oh how I love word clouds…If you’re a sentimental female like me, I think it must be part of our genetic makeup to be drawn to colorful little clusters of words – Especially the ones that are customizable!
You probably know that you can get plenty of these darling little pieces of art on Etsy stores like this one or this one. But did you also know that you can make them yourself WITHOUT Photoshop experience!!?
I recently discovered Wordle.net and its word-cloud-creation capabilities using any words, colors and arrangement you deem fit for your room/family.
In honor of my best friend’s brand new baby and his one month birthday this week (and his daddy’s birthday is today too!), I decided to create a piece of custom word cloud art for their house – I documented the process so that you can try this out yourself. It’s SUPER easy!
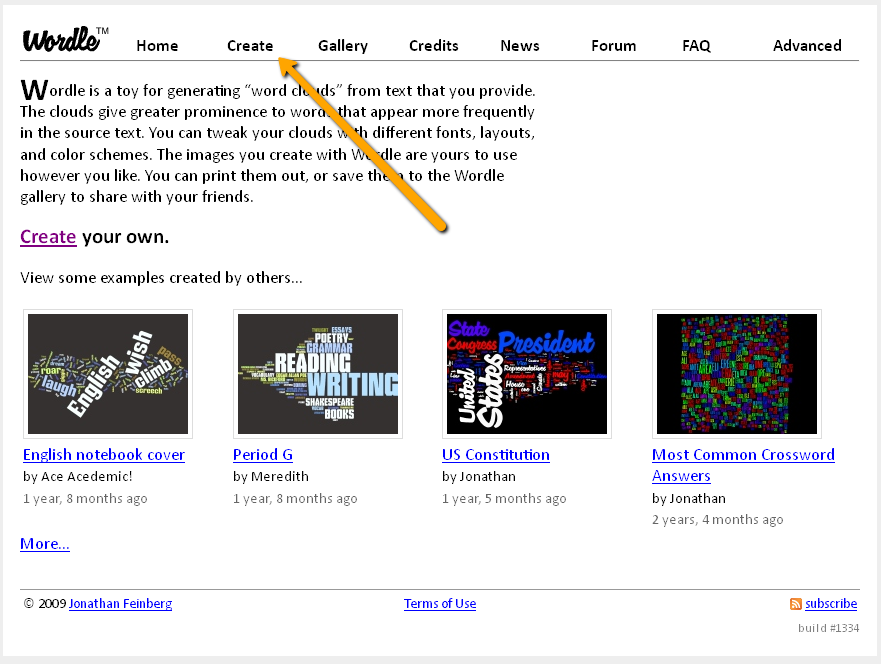
First, click on this link to take you over to the website. Then click “Create” on the toolbar at the top of the page.
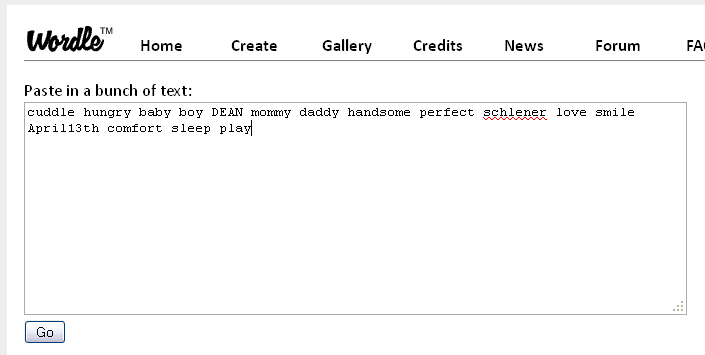
After clicking the “Create” tab, click inside the box shown and “Paste in a bunch of text”. This is your chance to make a completely unique word cloud all your own! For the piece I made for Beth, I used these words:
I just thought up as many baby words as I could think of, including his name all in caps so that it would stand out. I didn’t use anything longer then one word because any phrases with multiple words and spaces would be separated and placed randomly throughout the page. I DID include his birth date though (April 13th) by not putting any spaces between the letters and numbers.
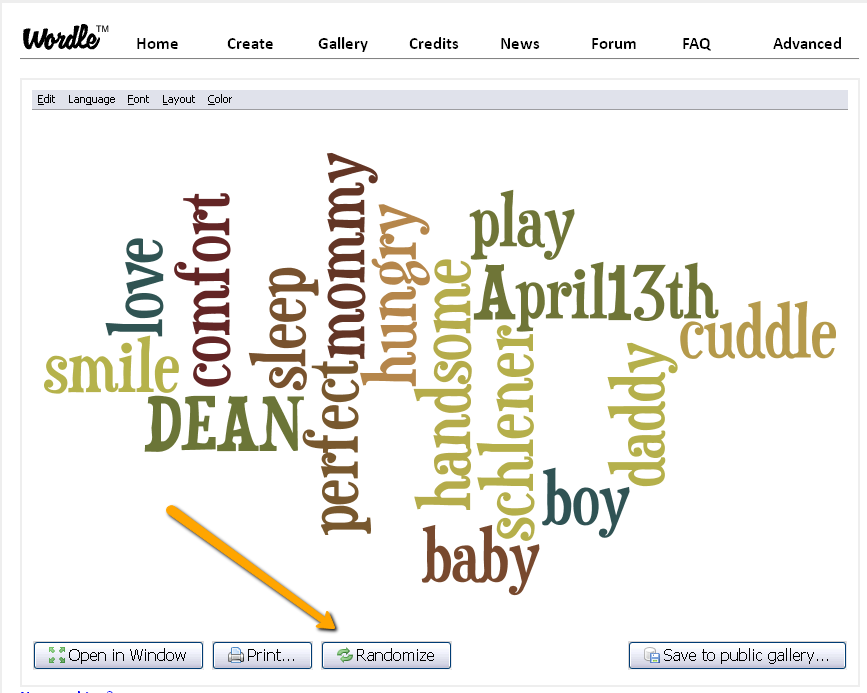
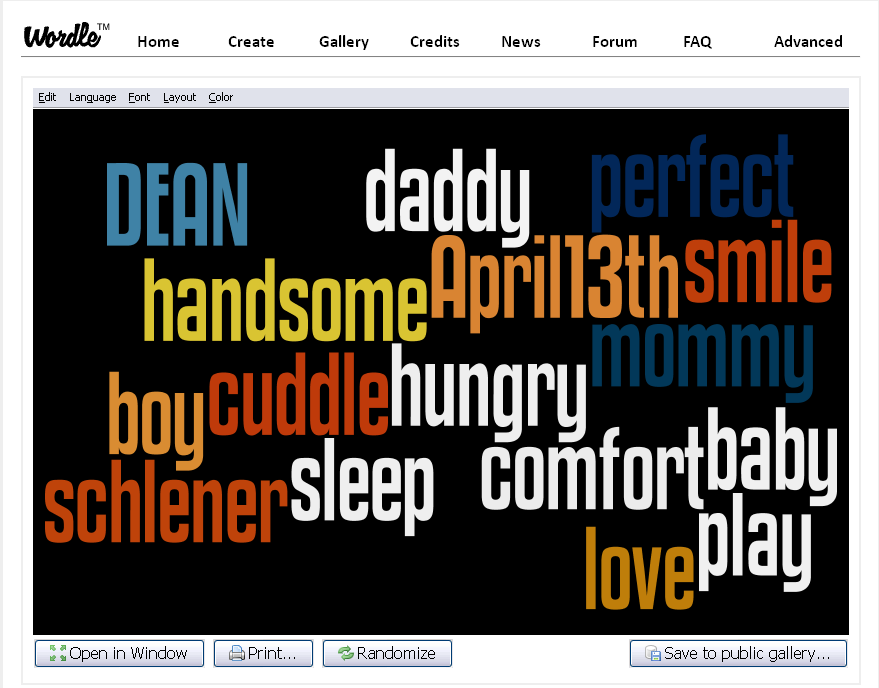
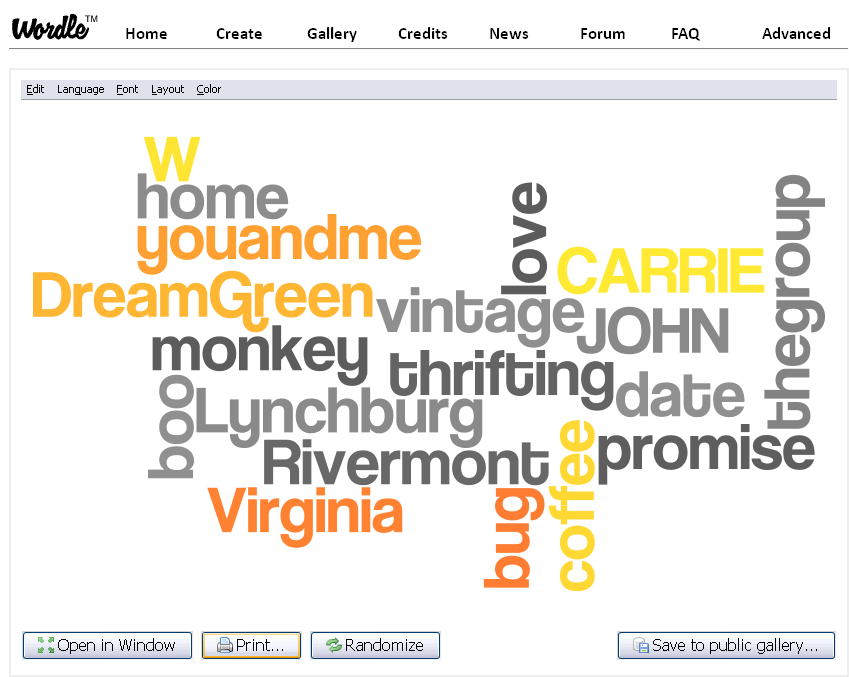
After clicking “Go” beneath the text box, I got this:
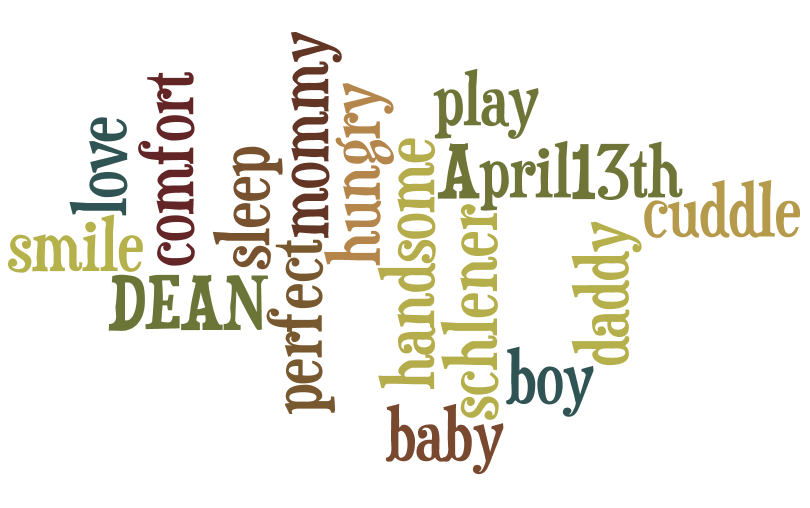 Beautiful!!! I love the colors, the font, the arrangement of text in random directions – Pretty much perfect. Even his name ended up being on one of the outer edges and right-side-up!
::click:: went my mouse on the “Print” button below the image. (I printed several just in case one of the copies got messed up)
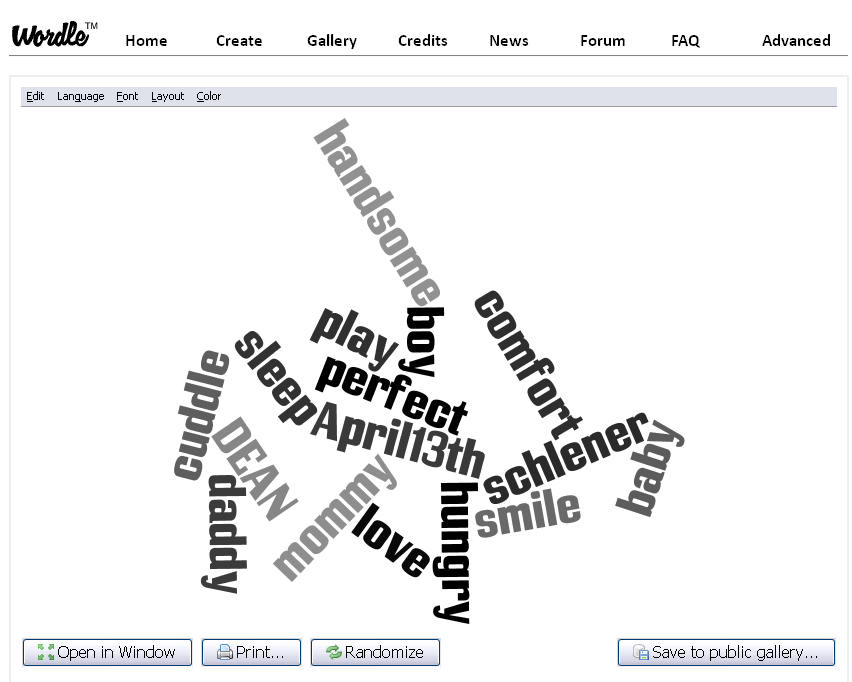
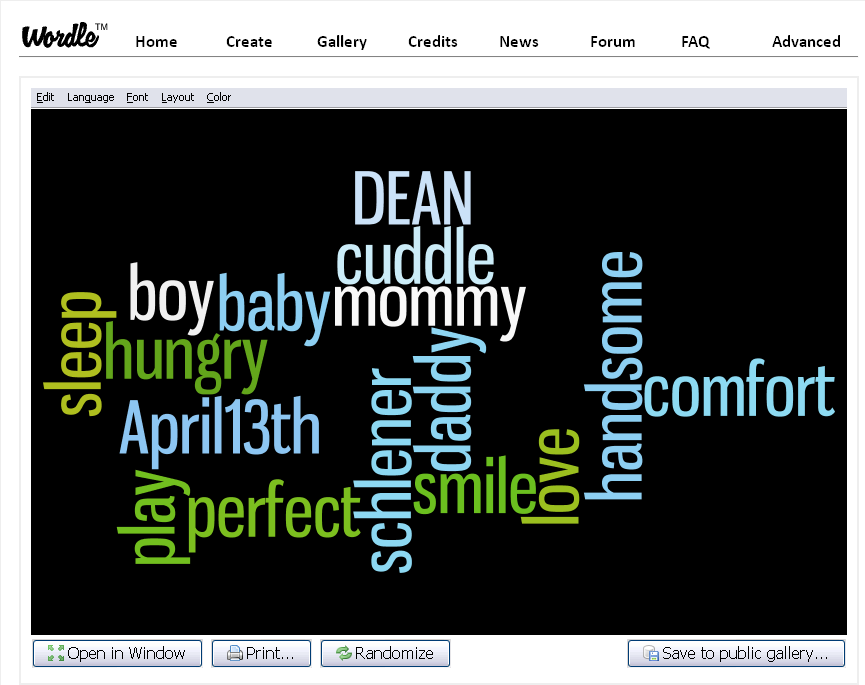
But then I noticed the little button that said “Randomize” next to the print button…I had to click at least a COUPLE of times!
Here are some of the random results I got:
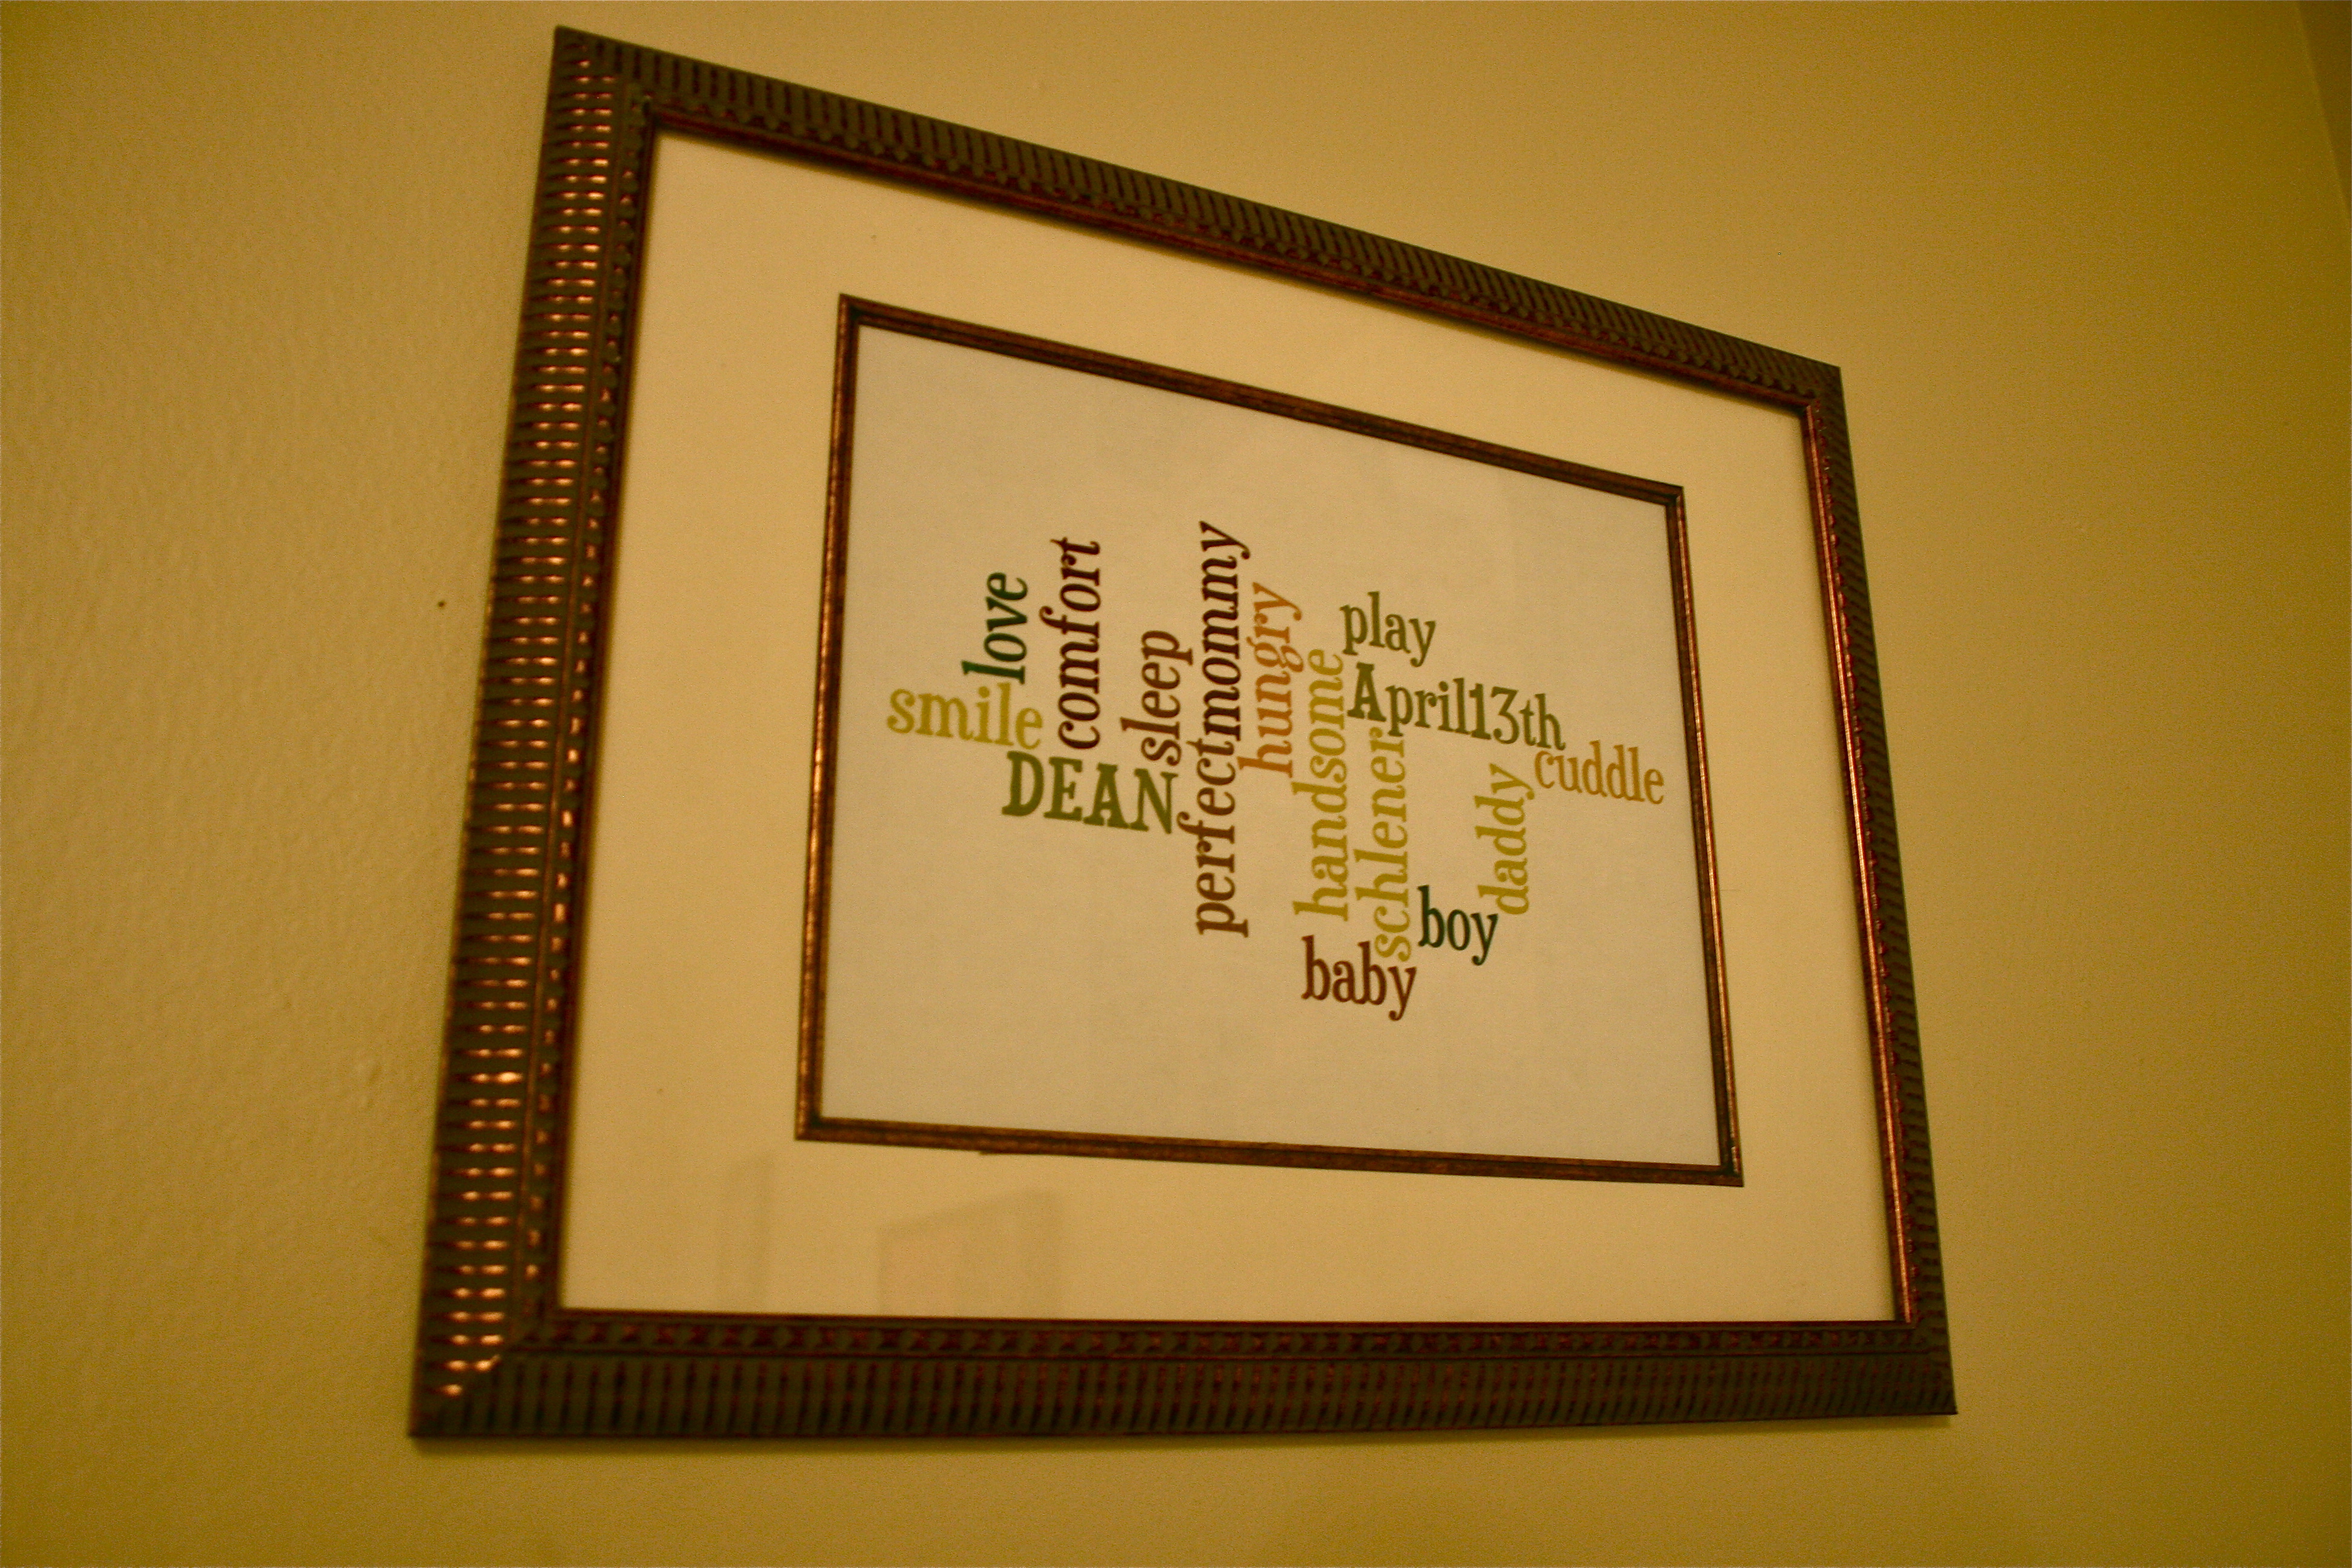
After some fun with the “Randomize” button, I finally decided that the first image I got was the best one for Bethany and their house/nursery. All it took from there was picking up a pretty frame to match the decor of their home and voila!
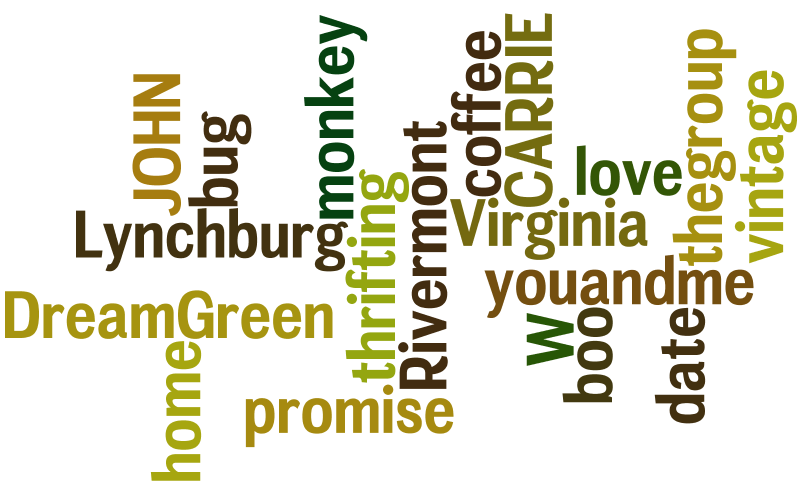
But you know I couldn’t stop there…I also made one for our house! Here are a couple of the first attempts:
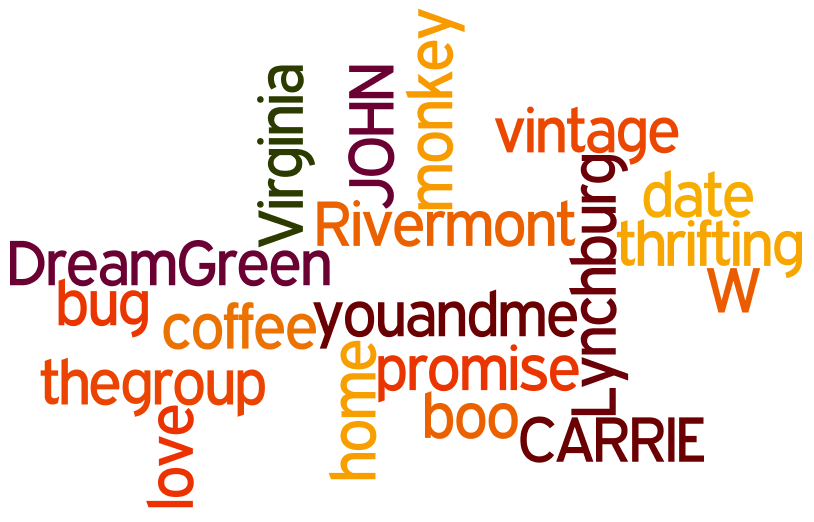
But I finally chose this one as the final piece:
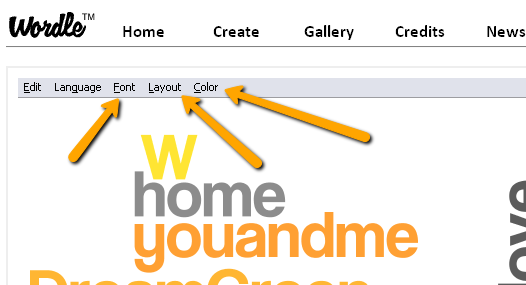
I was able to REALLY customize this one because I noticed the buttons right above the word cloud image: “Font”, “Layout” and “Color”.
This is where you can customize a step further by choosing a font you like best, a layout (ex. all horizontal, all vertical, mostly horizontal, totally random, etc.) and colors that match your space.
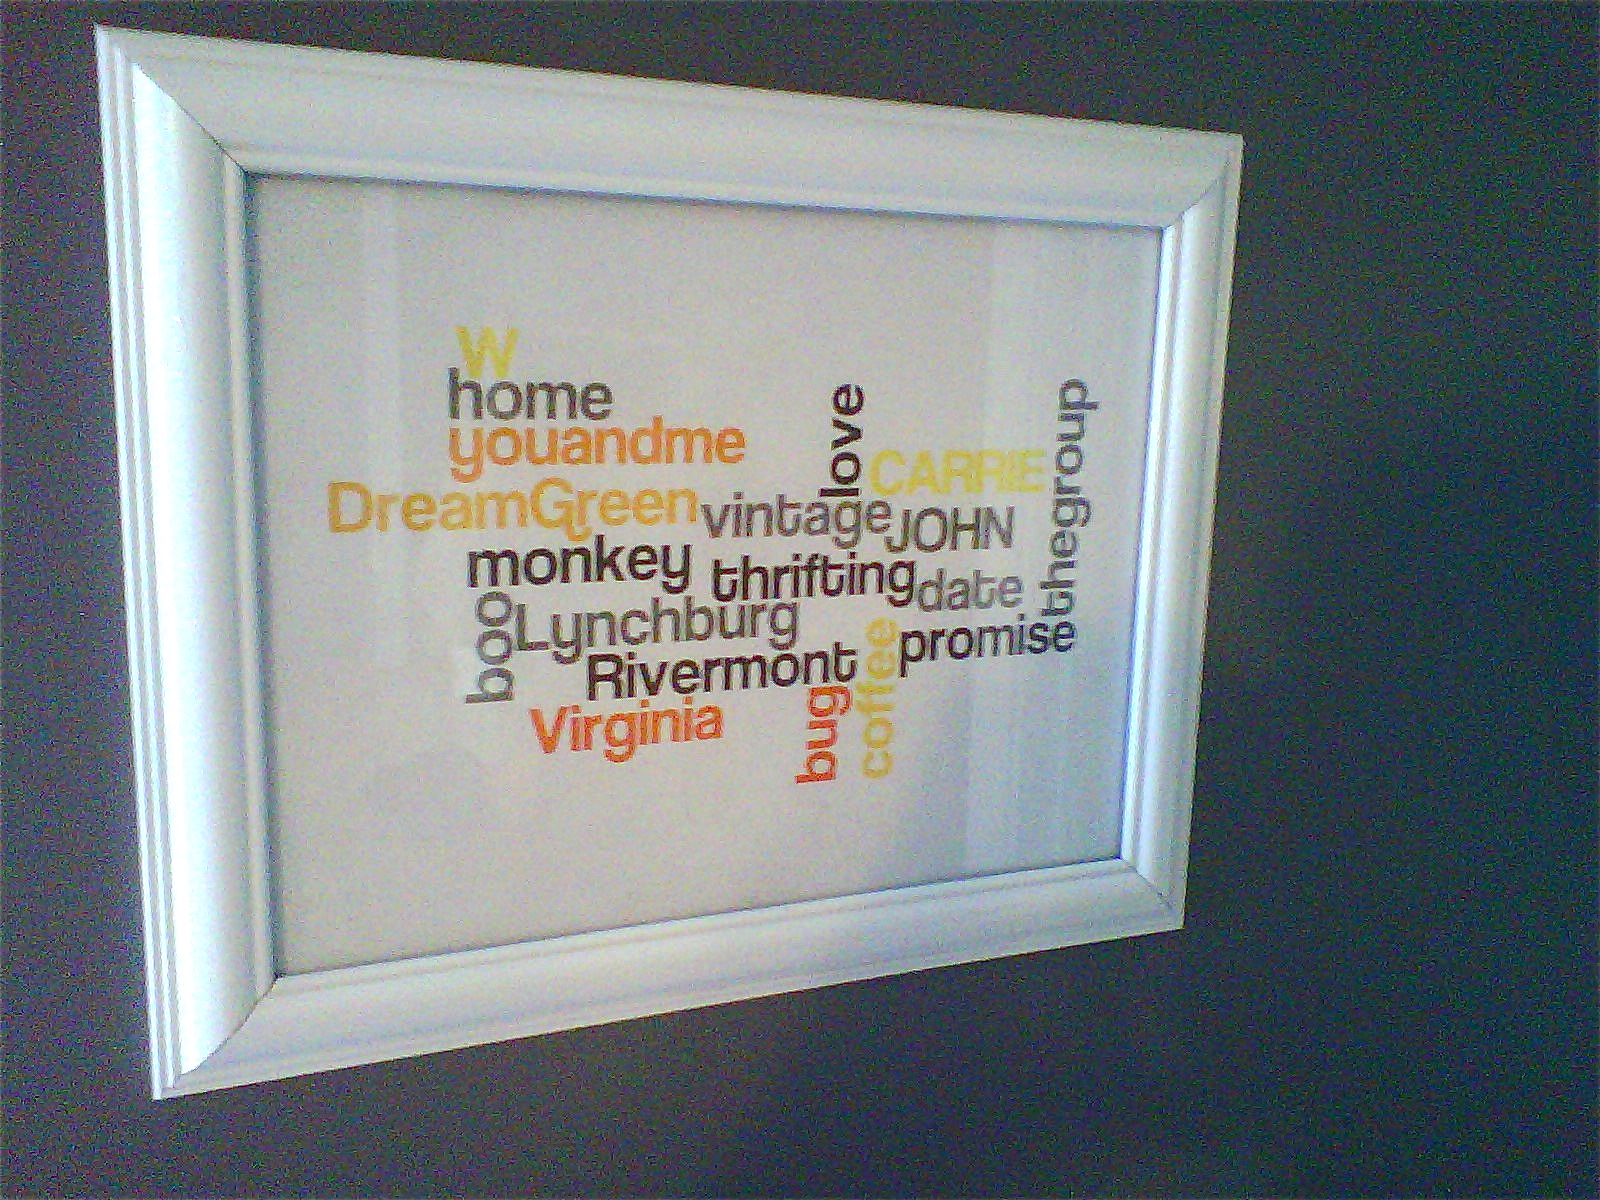
After printing a few copies, sticking one into a recently re-purposed frame (originally an ugly black and silver finish, but now a sleek white), we had some free DIYed art for the bedroom!
(Sorry for the grainy picture…I kept forgetting to bring the camera so John had to take it with his Blackberry…)
I promised John I wouldn’t put the framed piece anywhere that guests could giggle over because, I admit, it IS super cheesy. But of course I’m revealing it to everyone in cyberspace which is probably just as bad, if not worse. Sorry, babe!!!
At least I know some girls out there will think it’s as adorable as I do 🙂
Yay for cheesy, sentimental DIYed/free art!!!!!!!!!!!!

