Apparently I am a jewelry hoarder…I have an inordinate amount of colorful necklaces and earrings for just about every outfit (and then some!). To me, a great necklace and pair of earrings are like the cherry on top of a sundae of an ensemble.
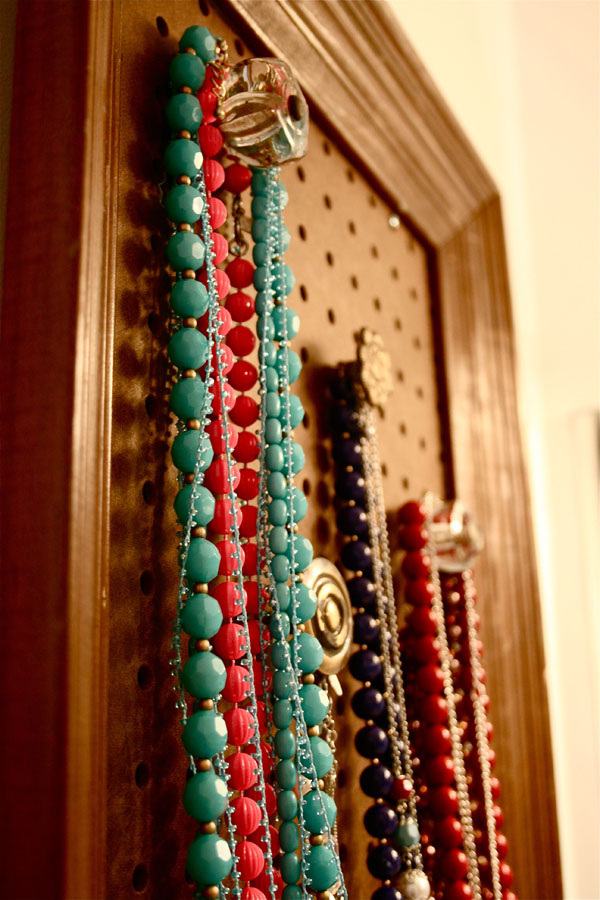
If you remember, I’ve already found a way to wrangle in my necklaces using about $10 worth of supplies.
It was my mission this past weekend to do the same thing with my vast earring collection.
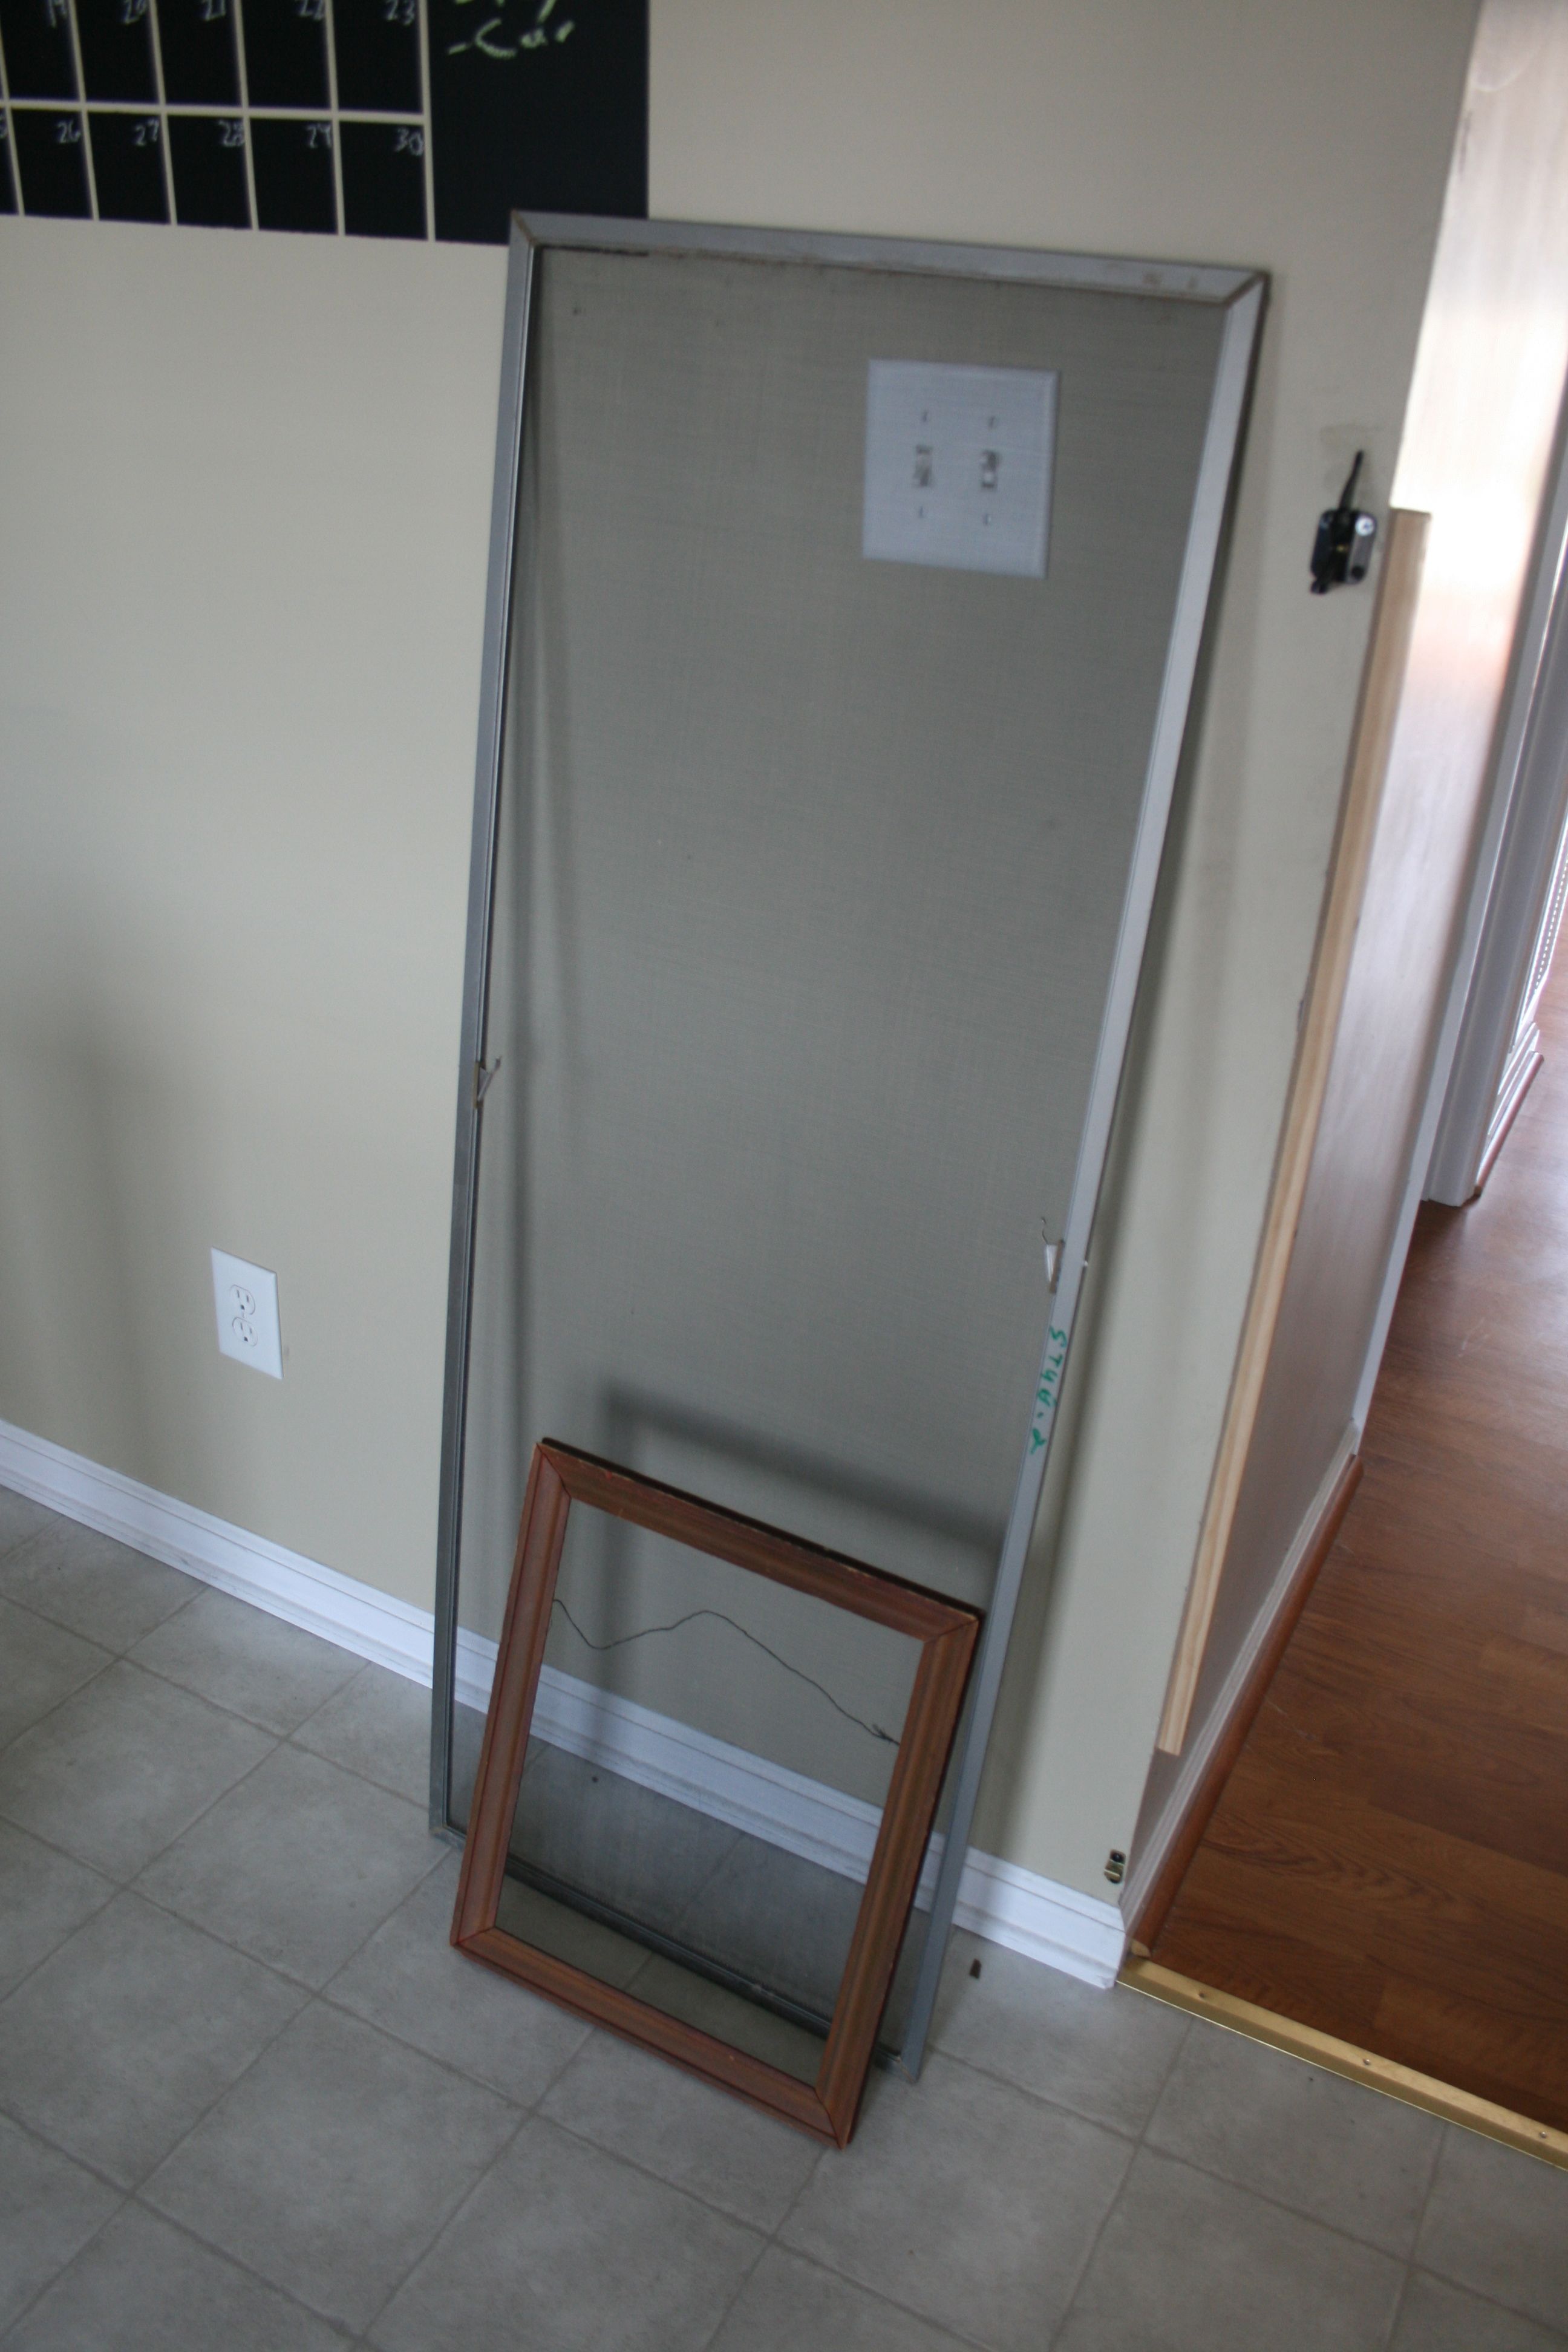
After a quick trip downtown to a thrift shop, I came away with all I needed:
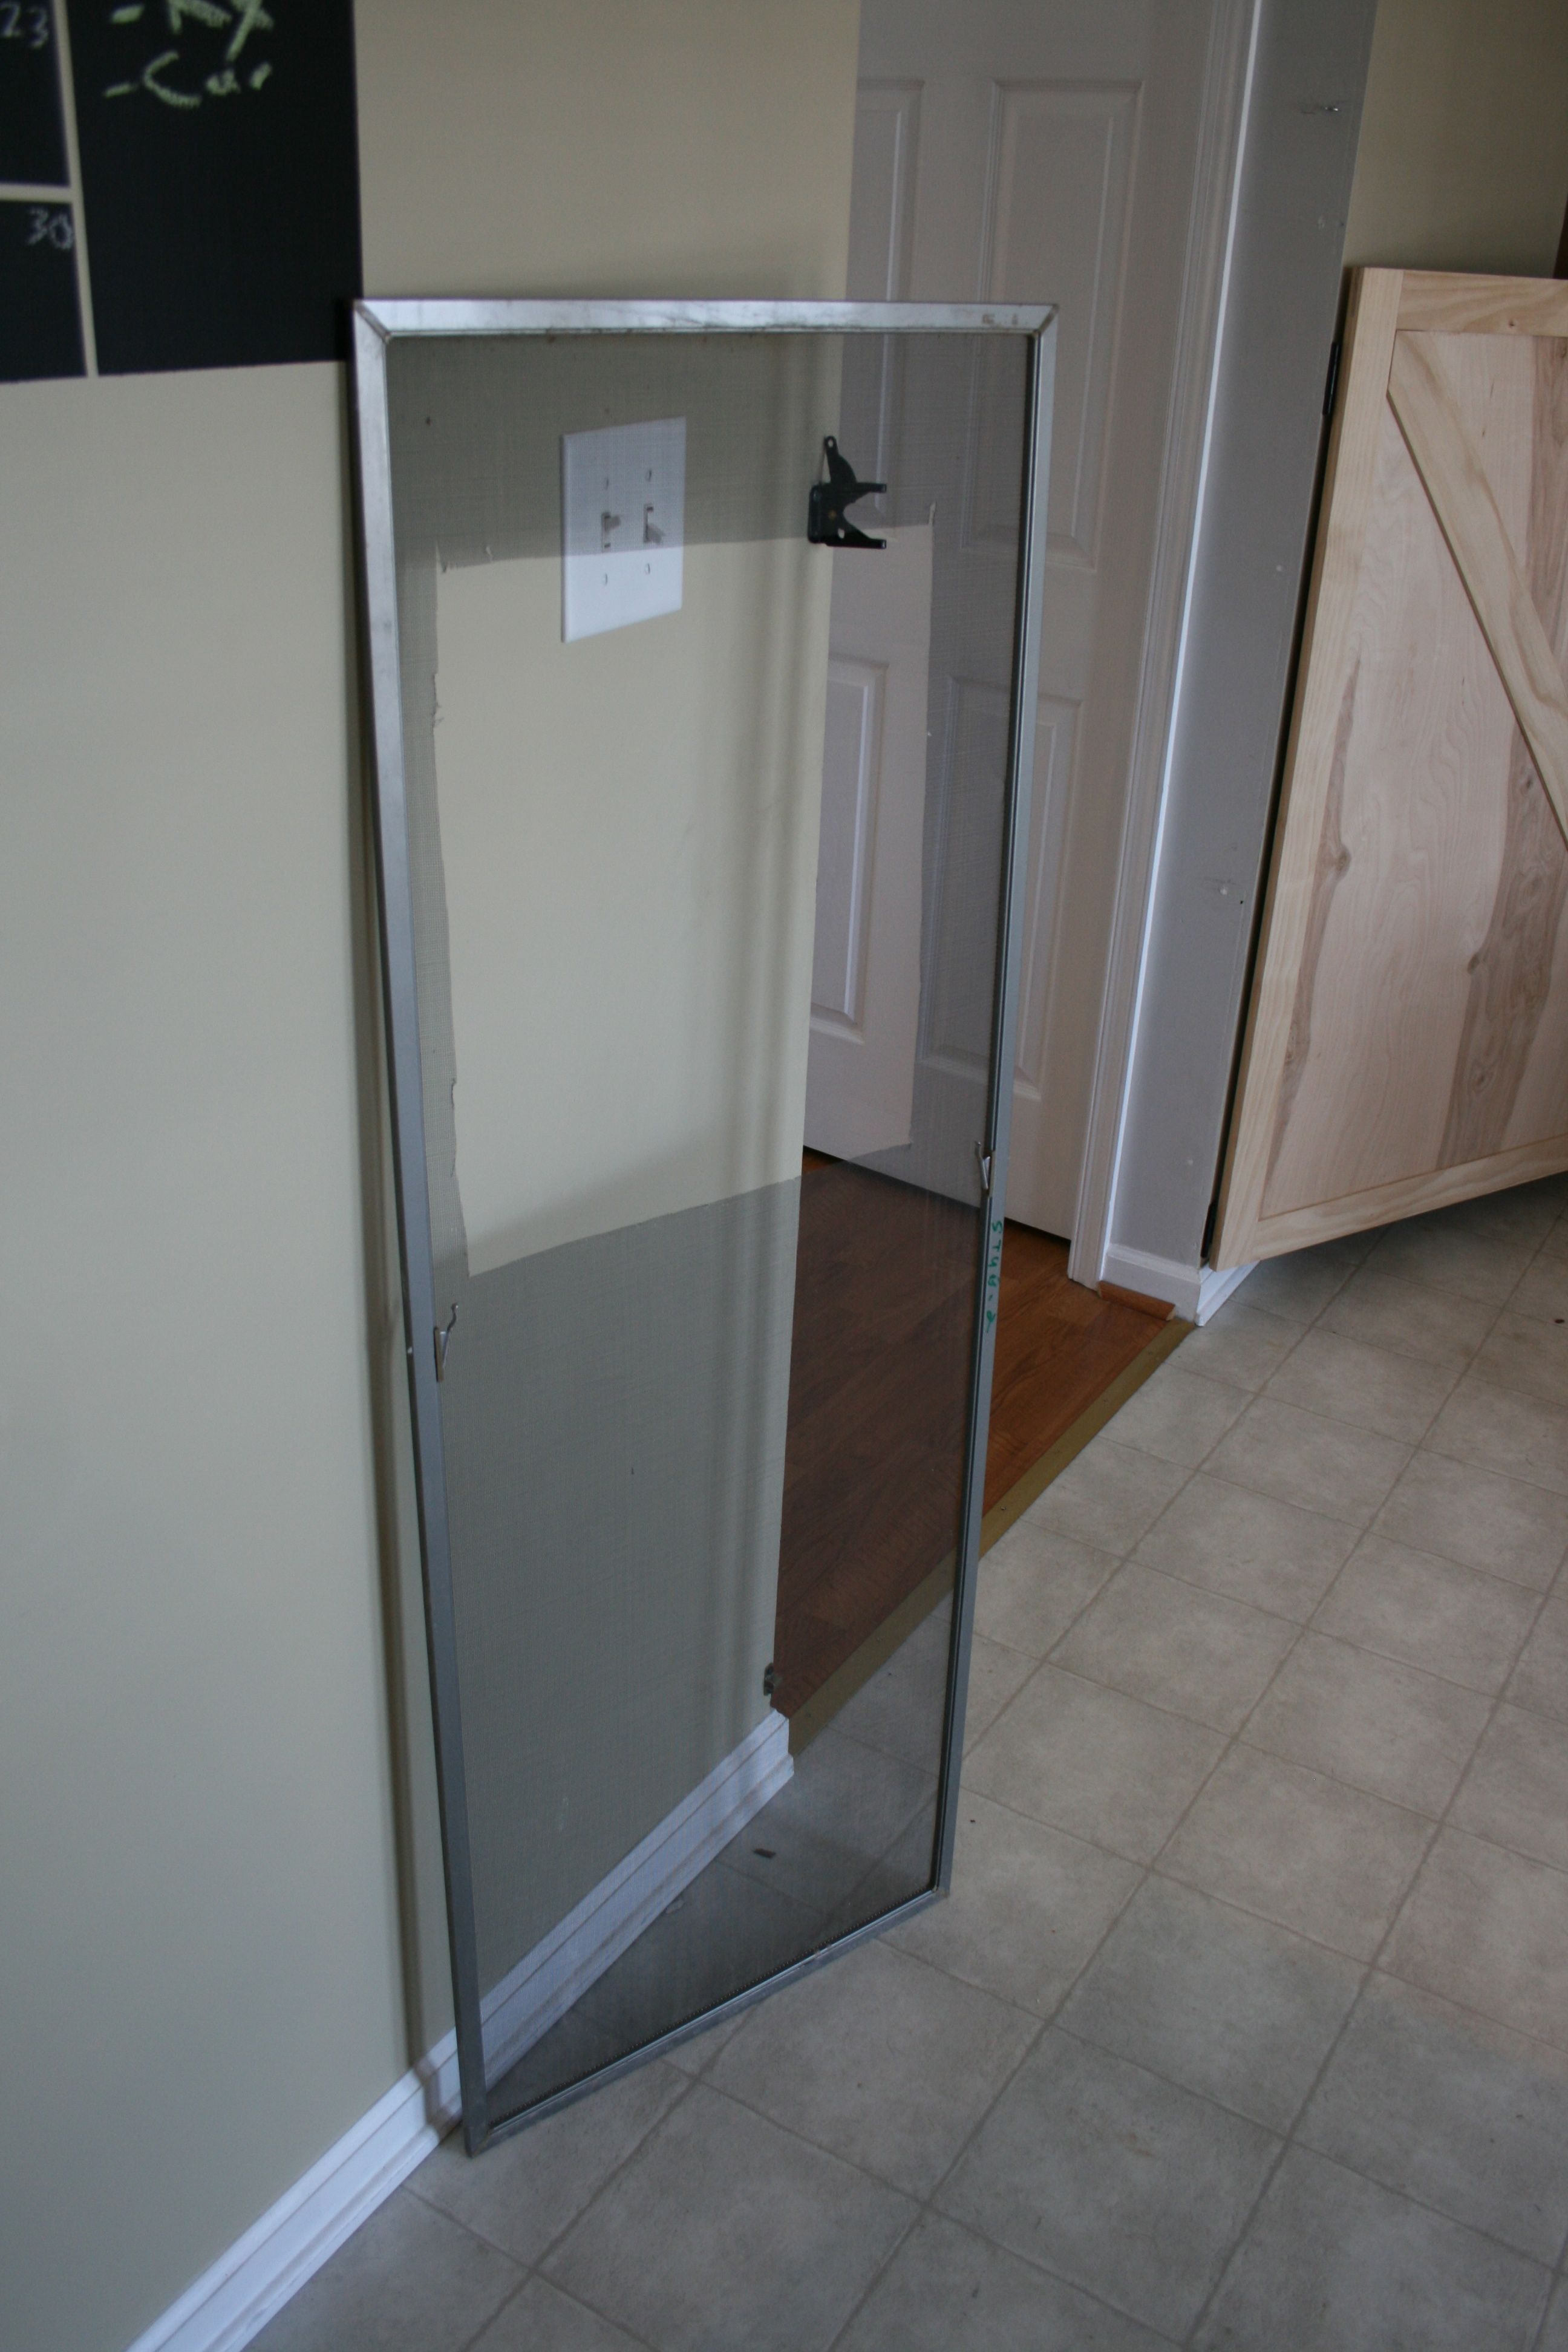
- An old (but rust-free) window screen – $2.00
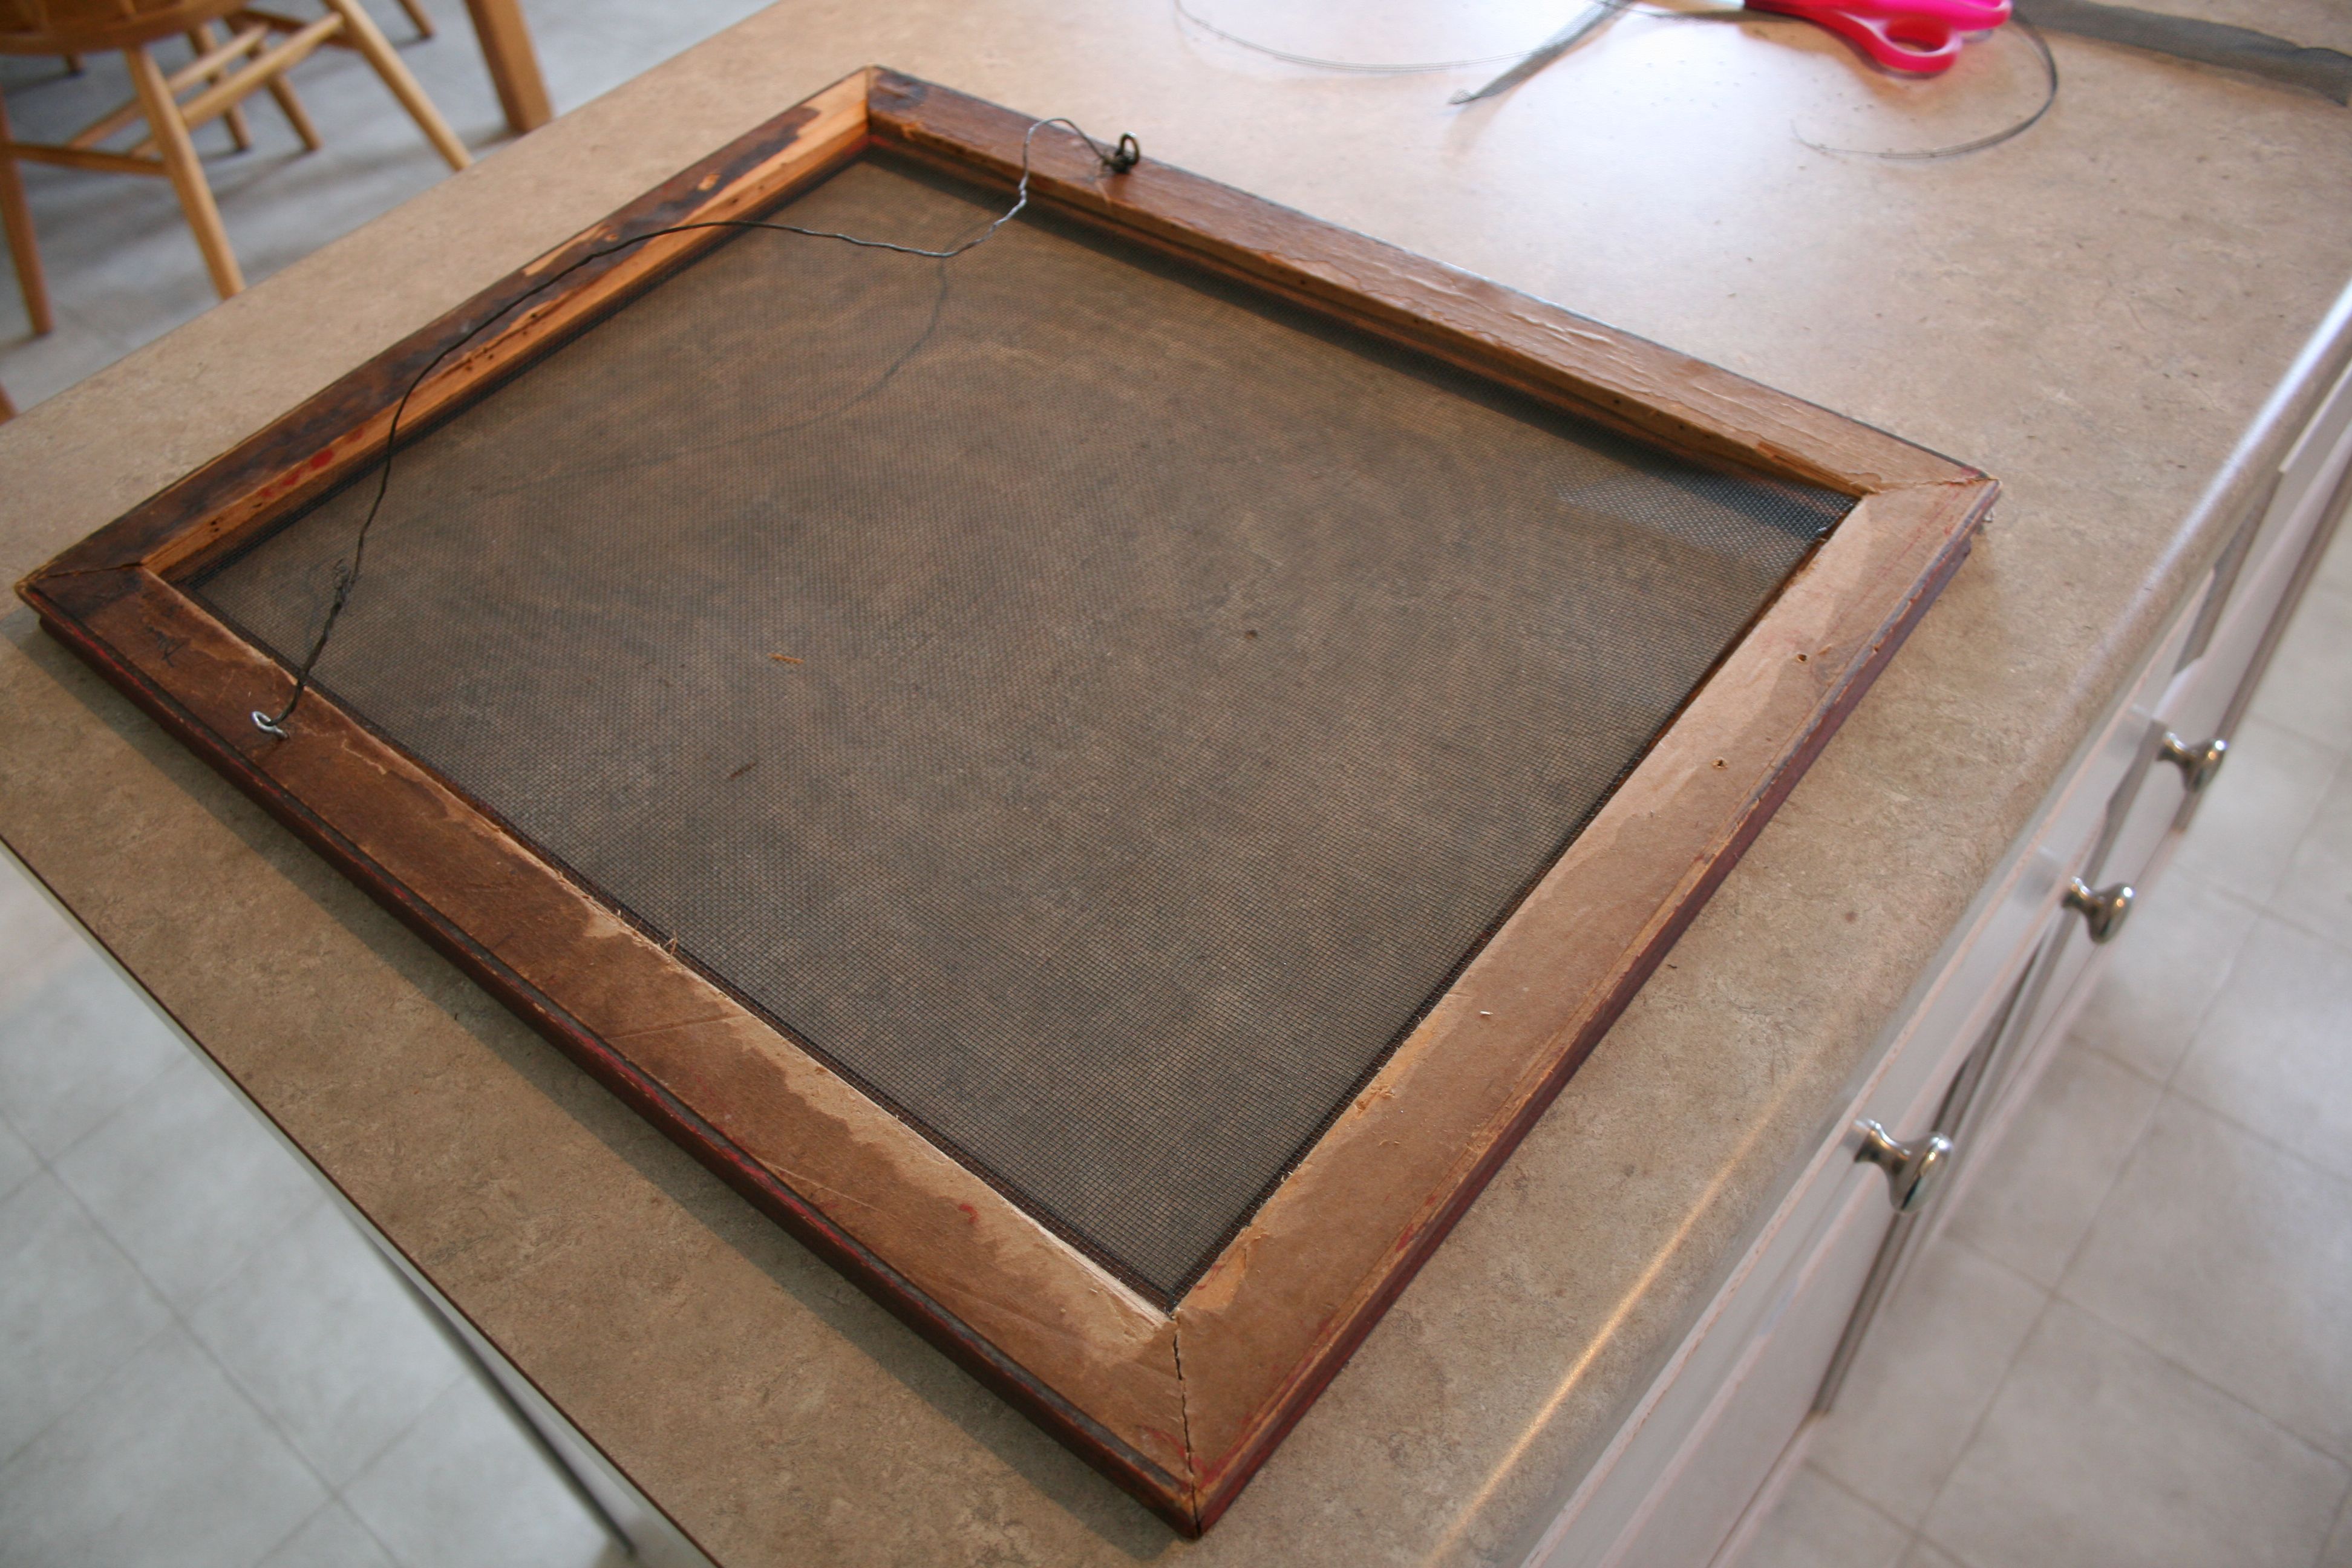
- A back-less wooden frame – $2.00
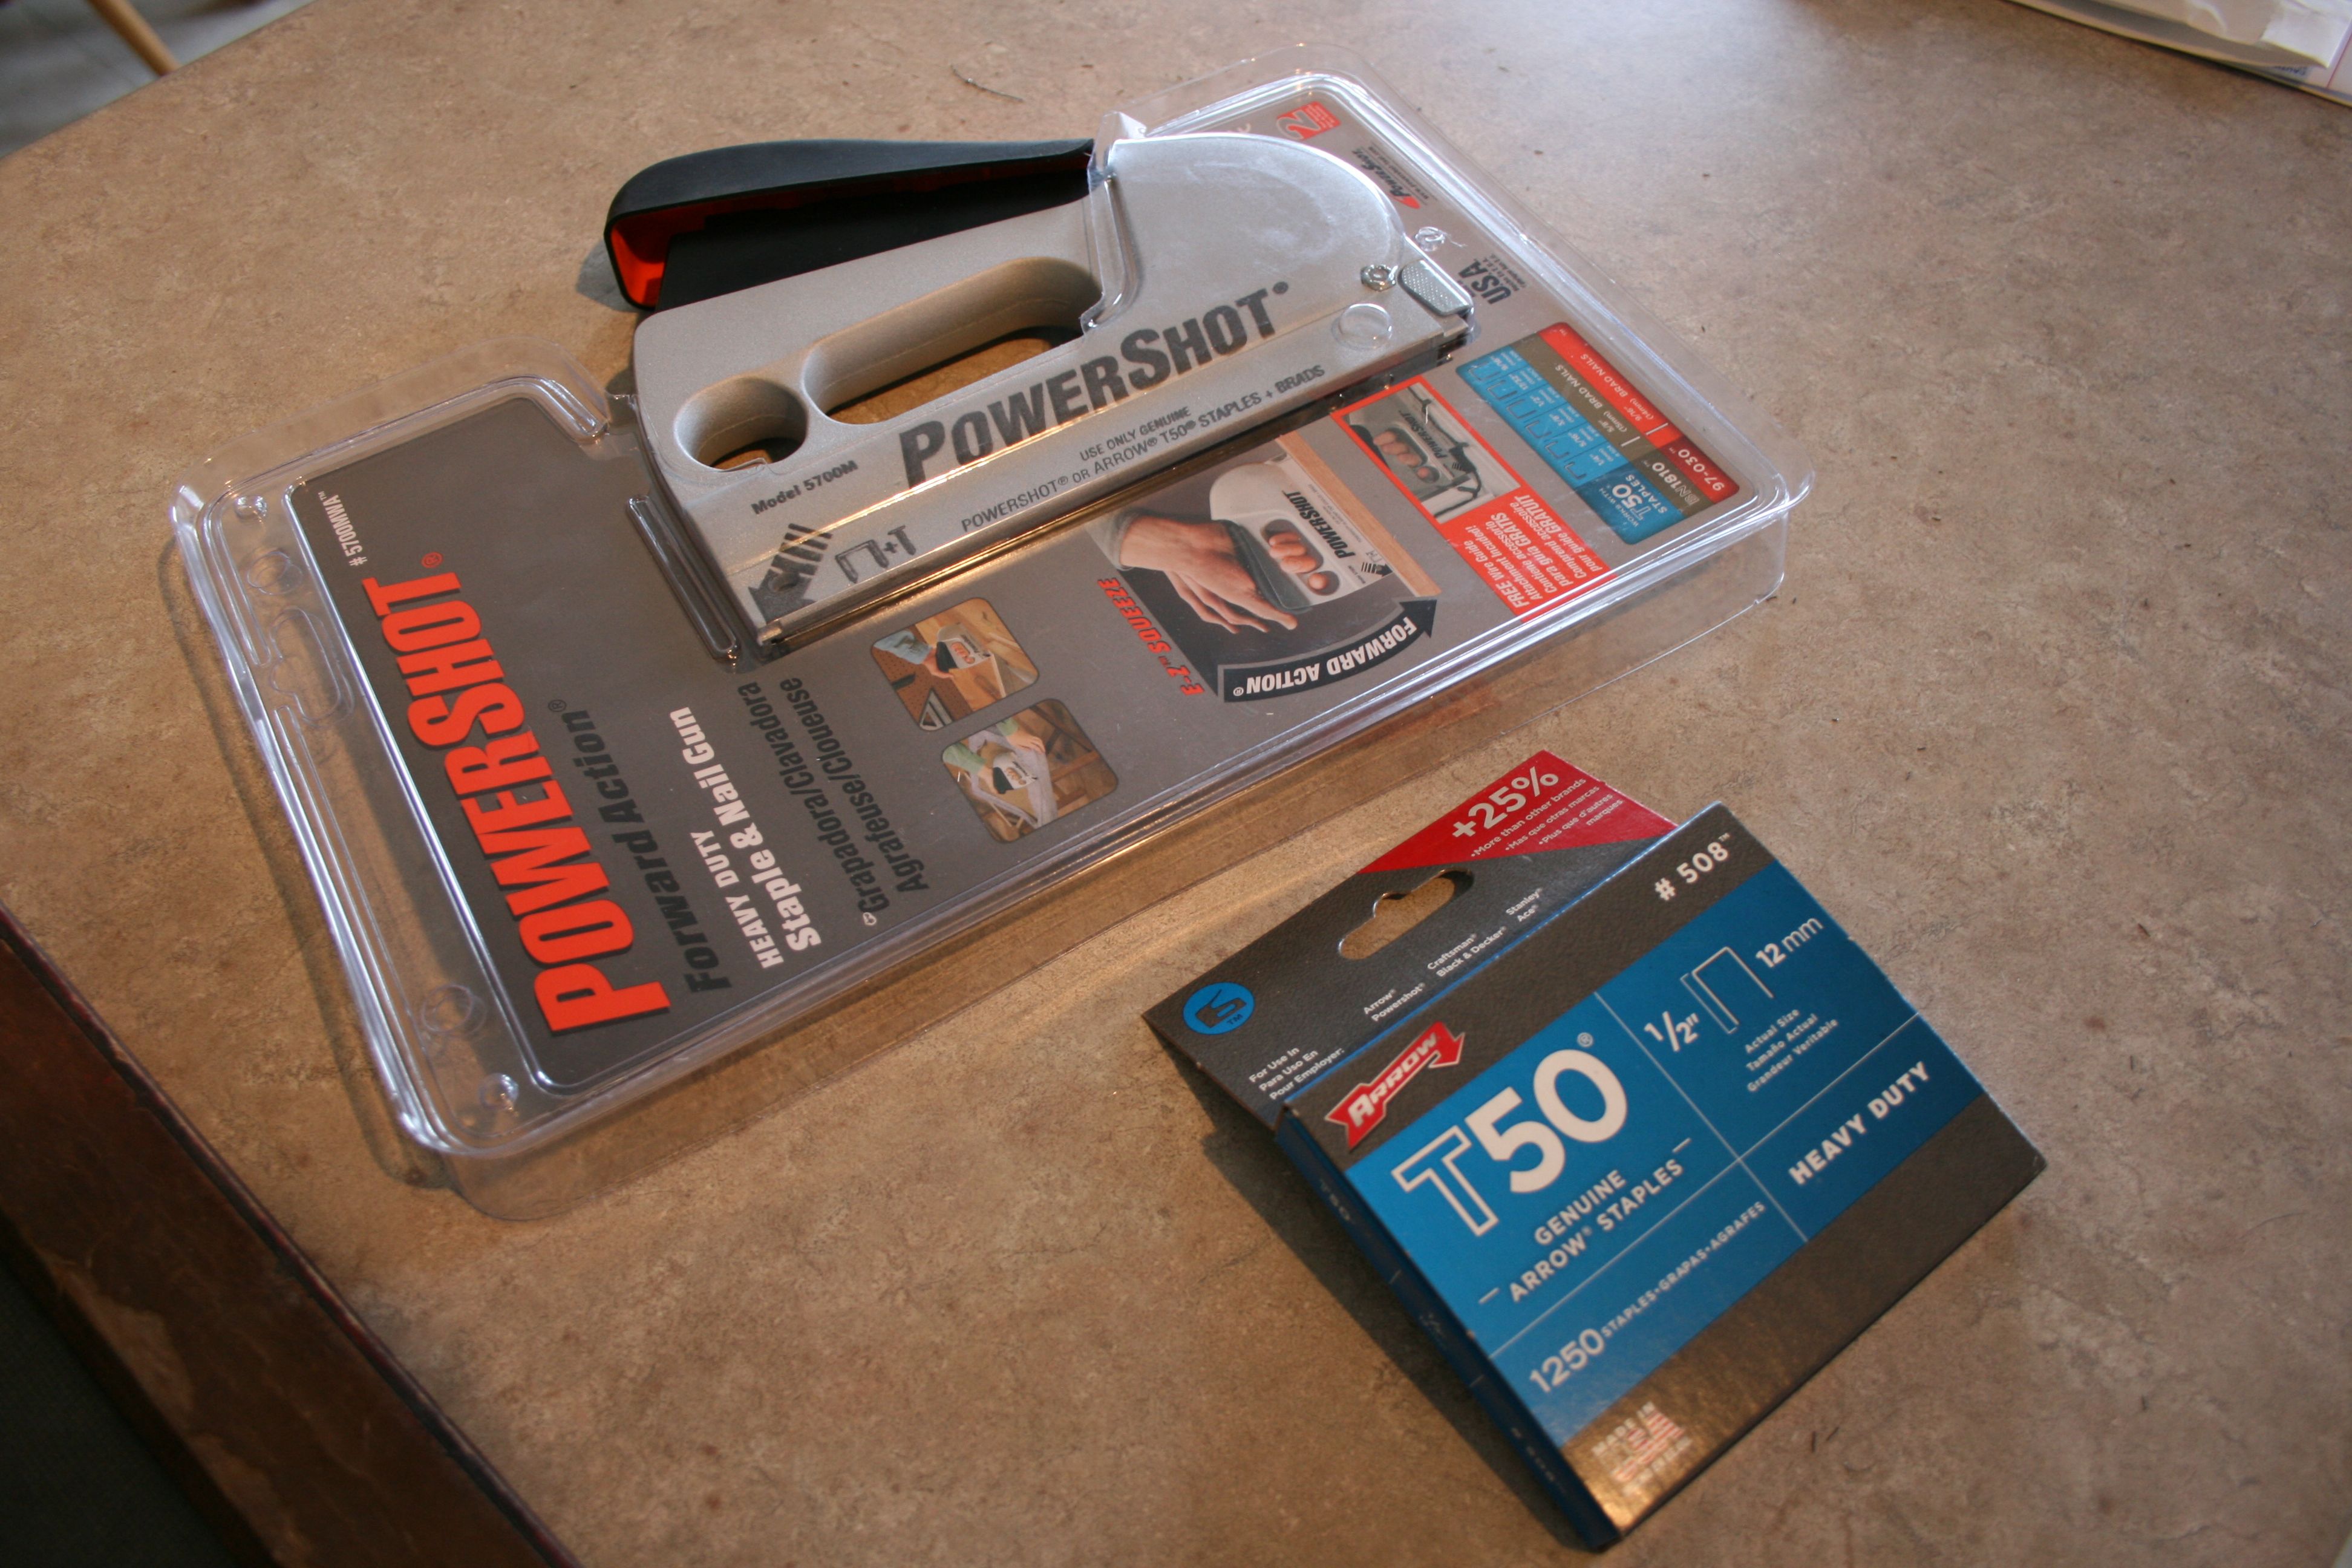
I also went out to Lowe’s and picked up a $20.00 staple gun, but I don’t really count that as part of the total for this project since it can be used for many many projects down the road…Let’s just say I used about a $1.00’s worth of that cost on this project.
My mom’s going to be jealous when she sees this – I bought the kind where you push on the FRONT of the gun to fire the staple. I think she’s had the same issues that I have with the old kind where you push on the back to fire the staple out the front end. It’s frustrating having to try not to rear the staple gun back too far when you fire it so that the staple actually catches on the material.
You can borrow it any time, mom 🙂
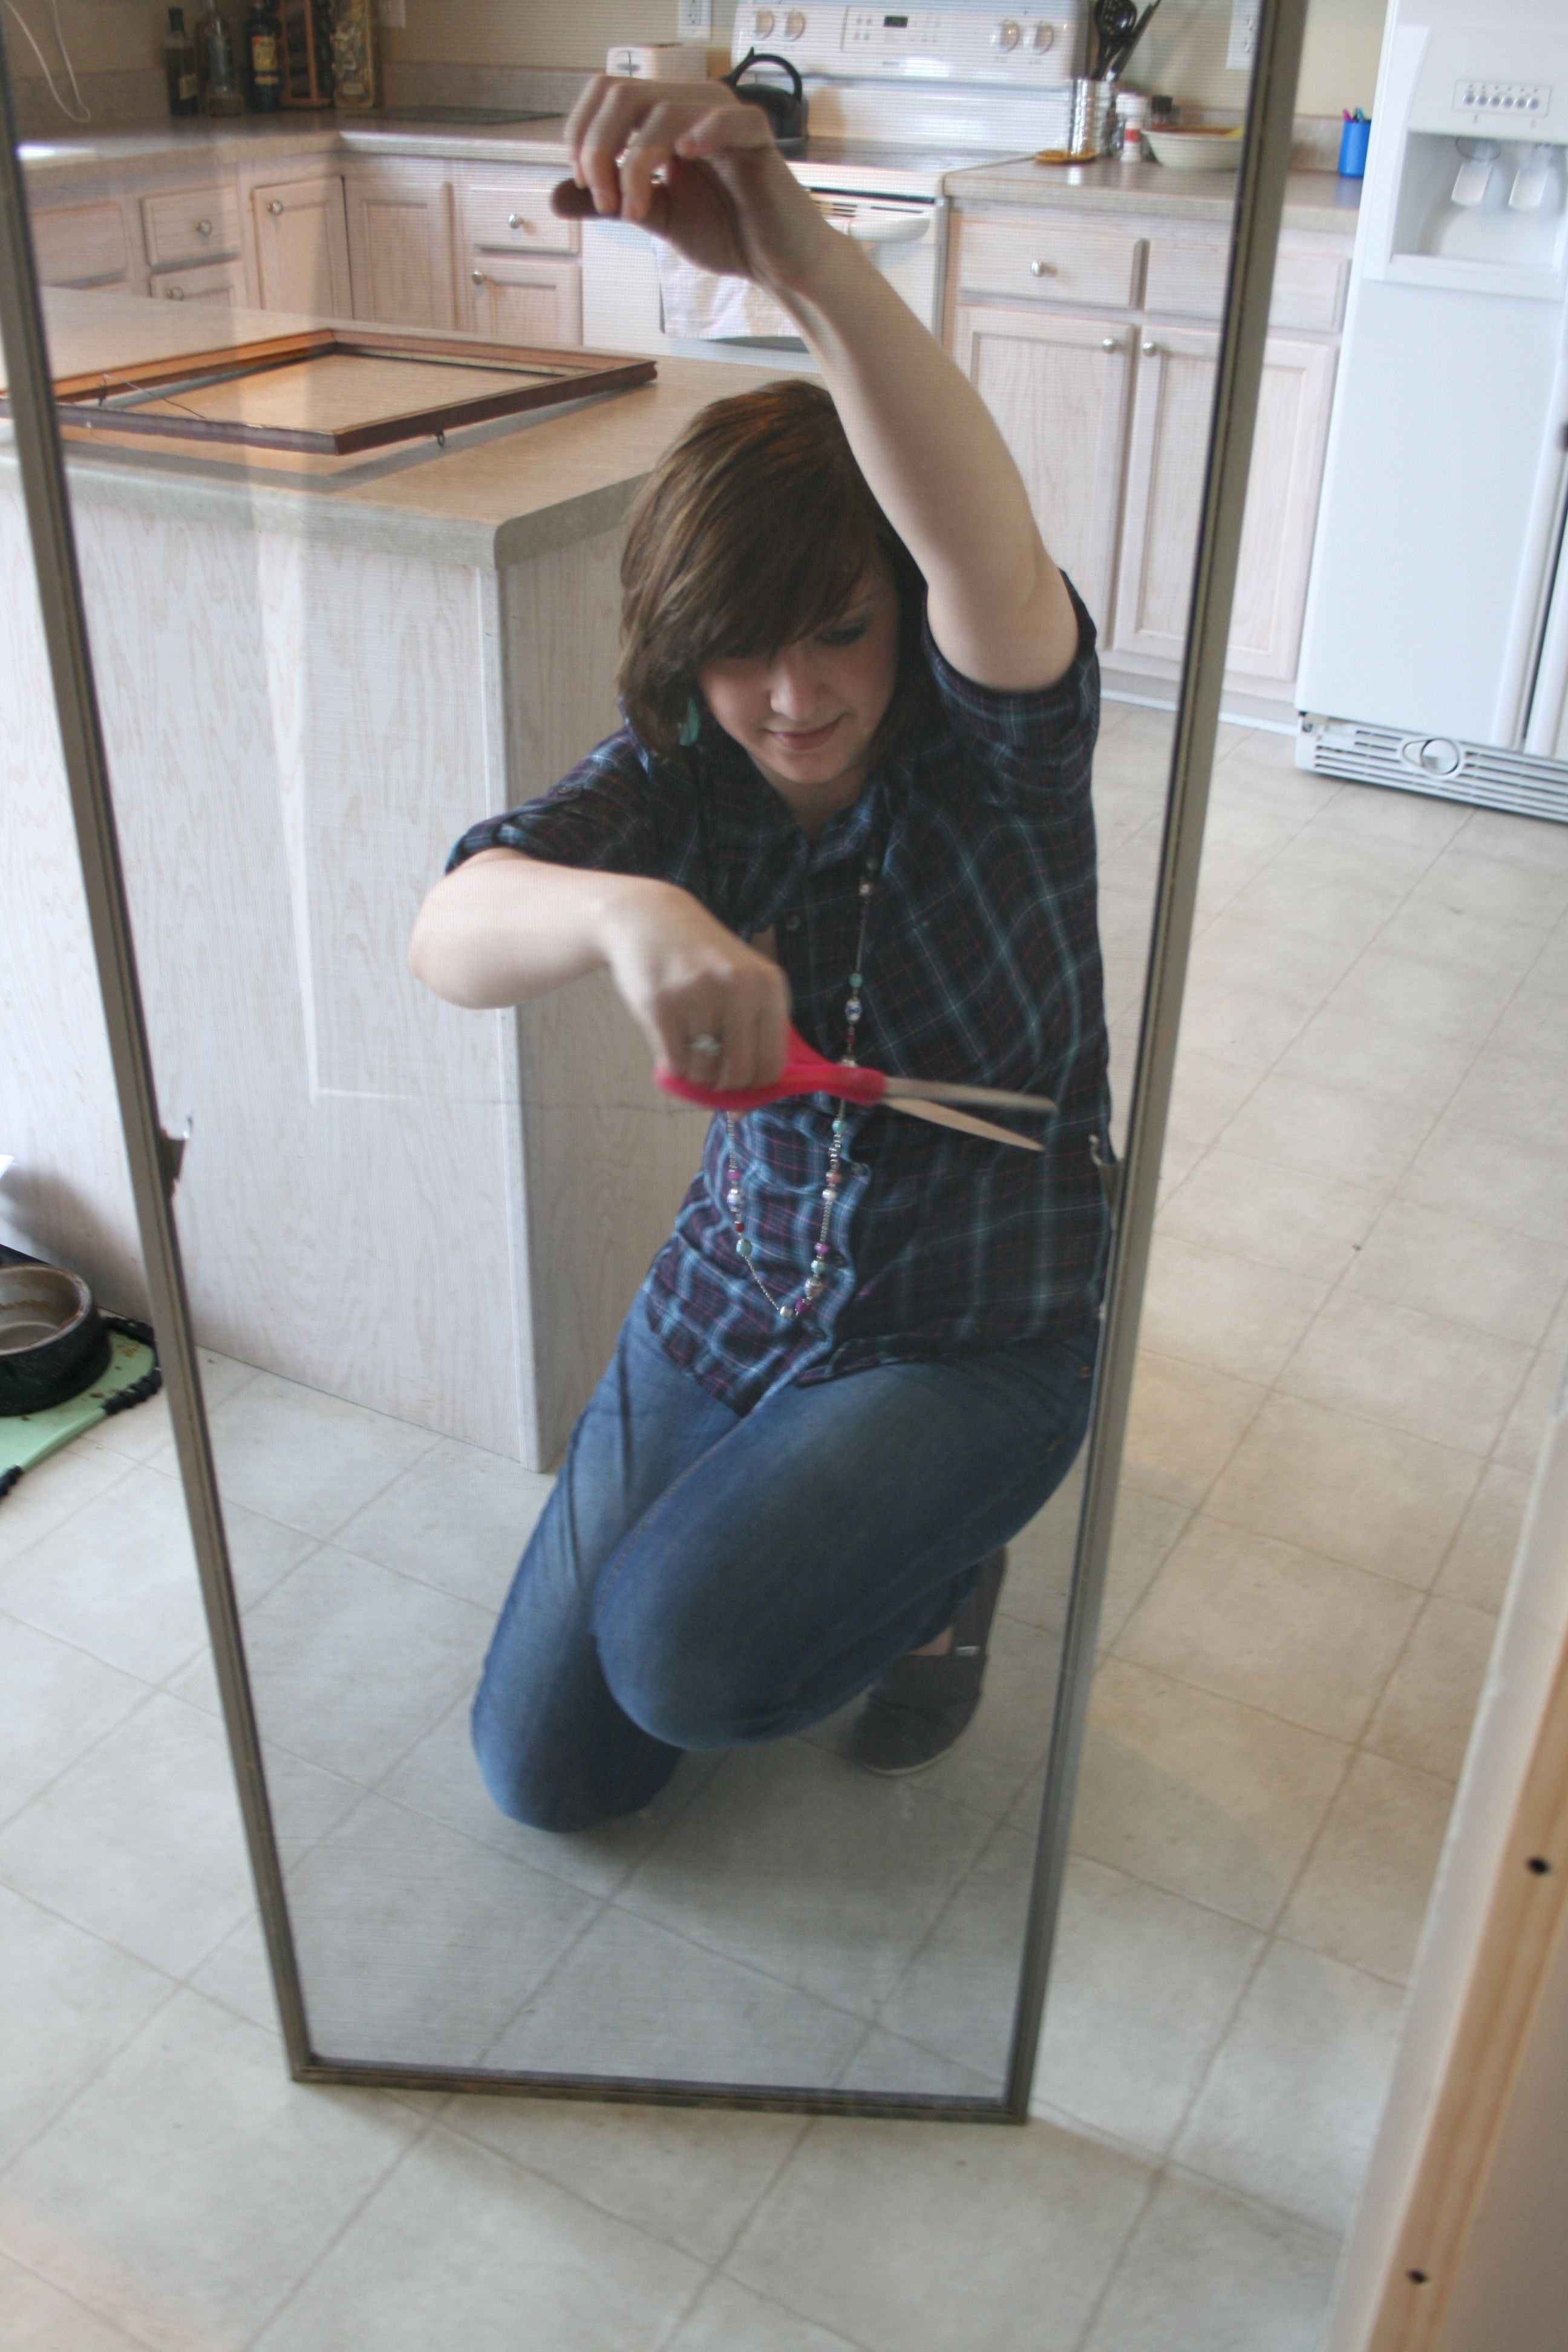
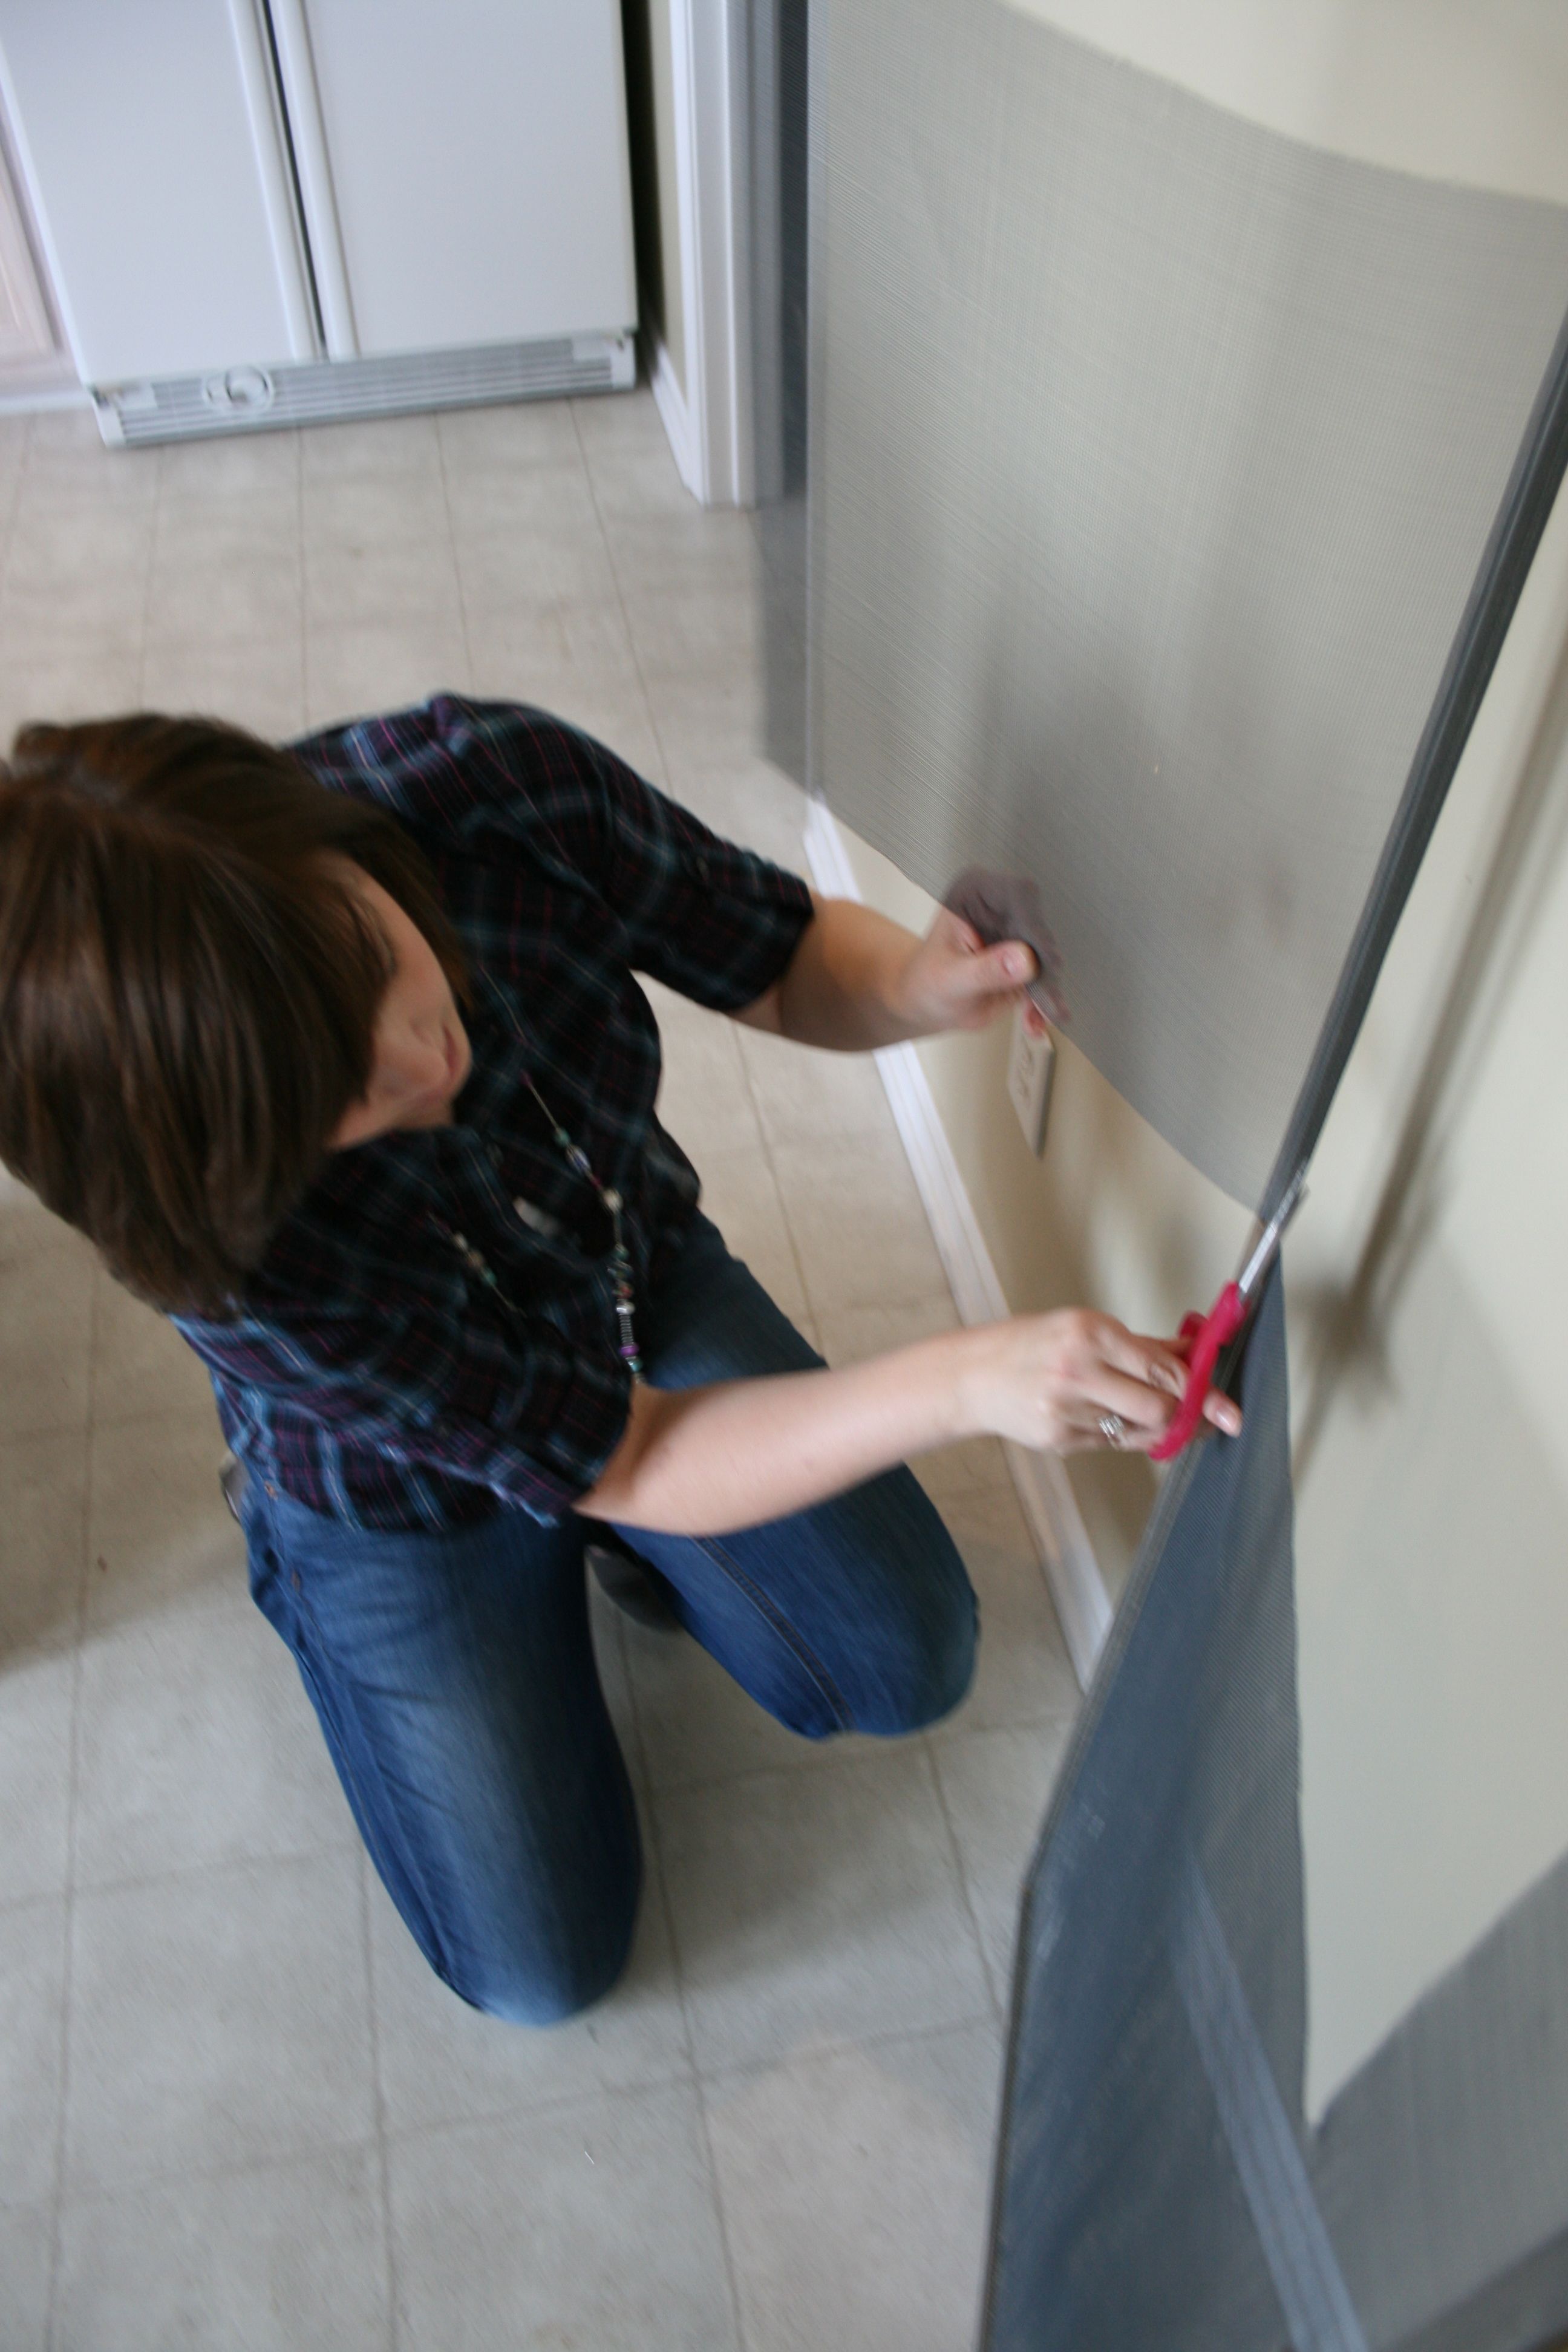
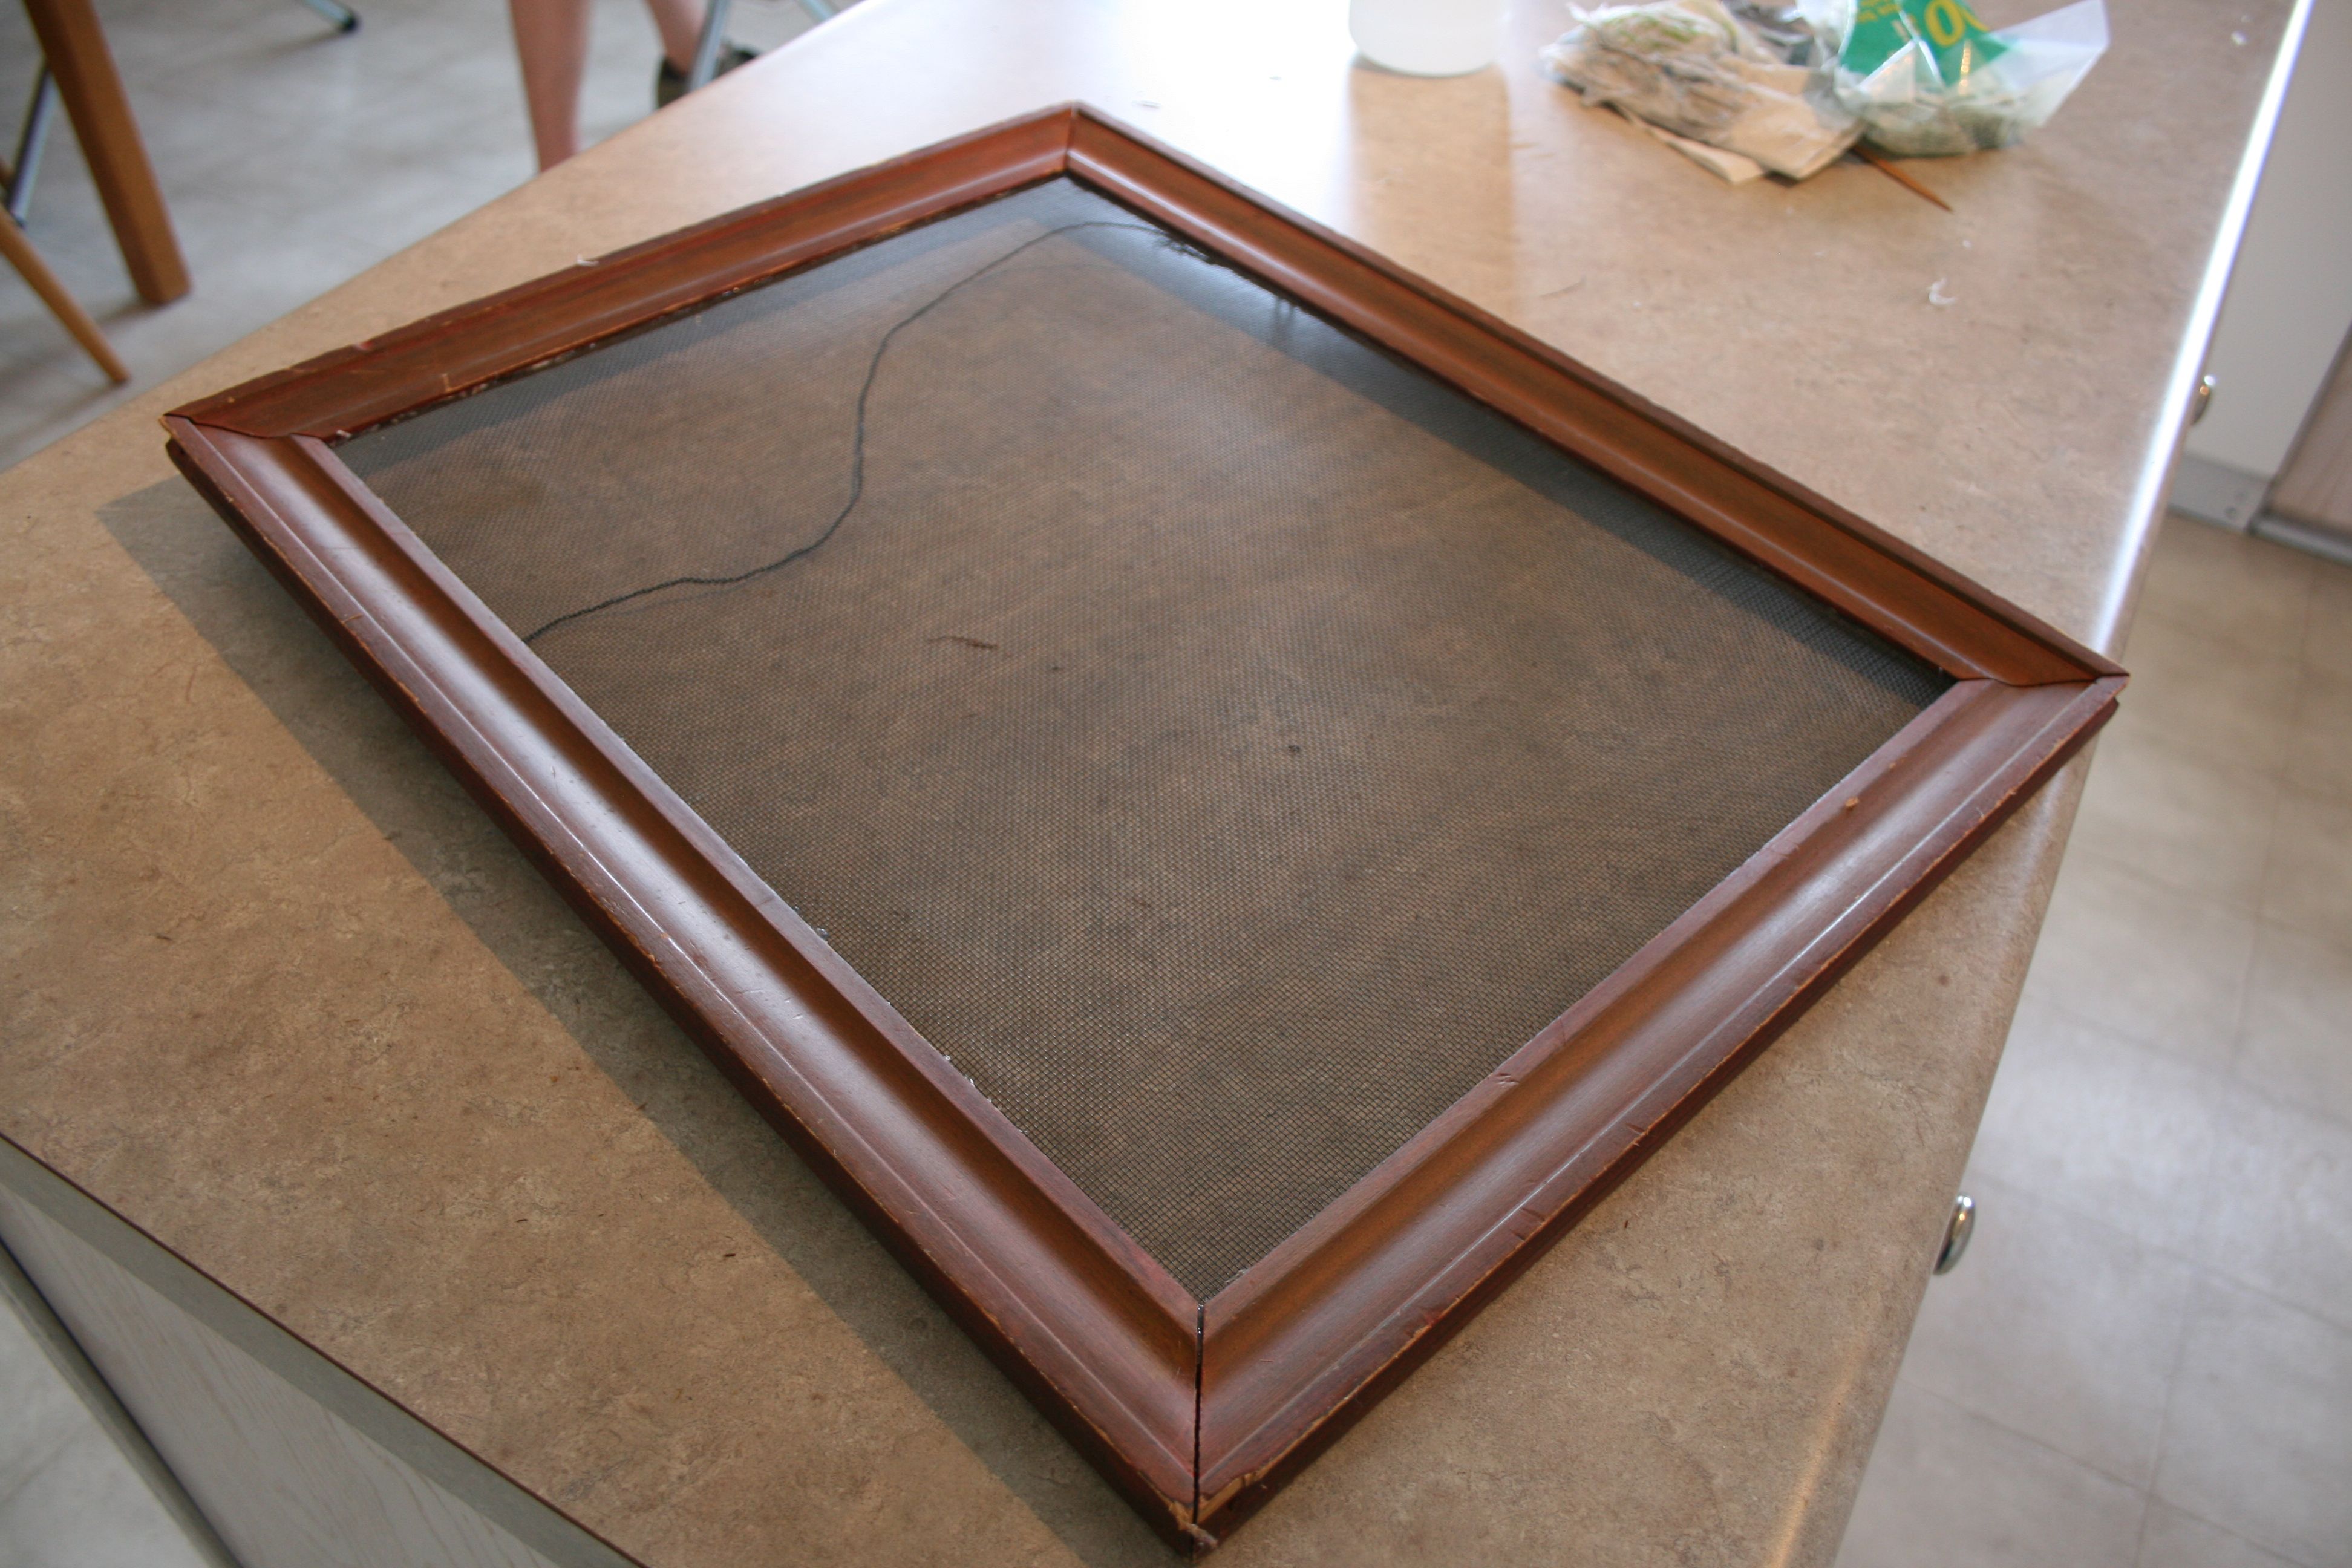
First thing I did was my always-scientific manner of getting measurements – i.e. stab the screen with scissors somewhere to start the cutting and then hold the frame up to the screen, eyeball it and start cutting out a rectangle about the size of the frame.
But, hey – It worked!
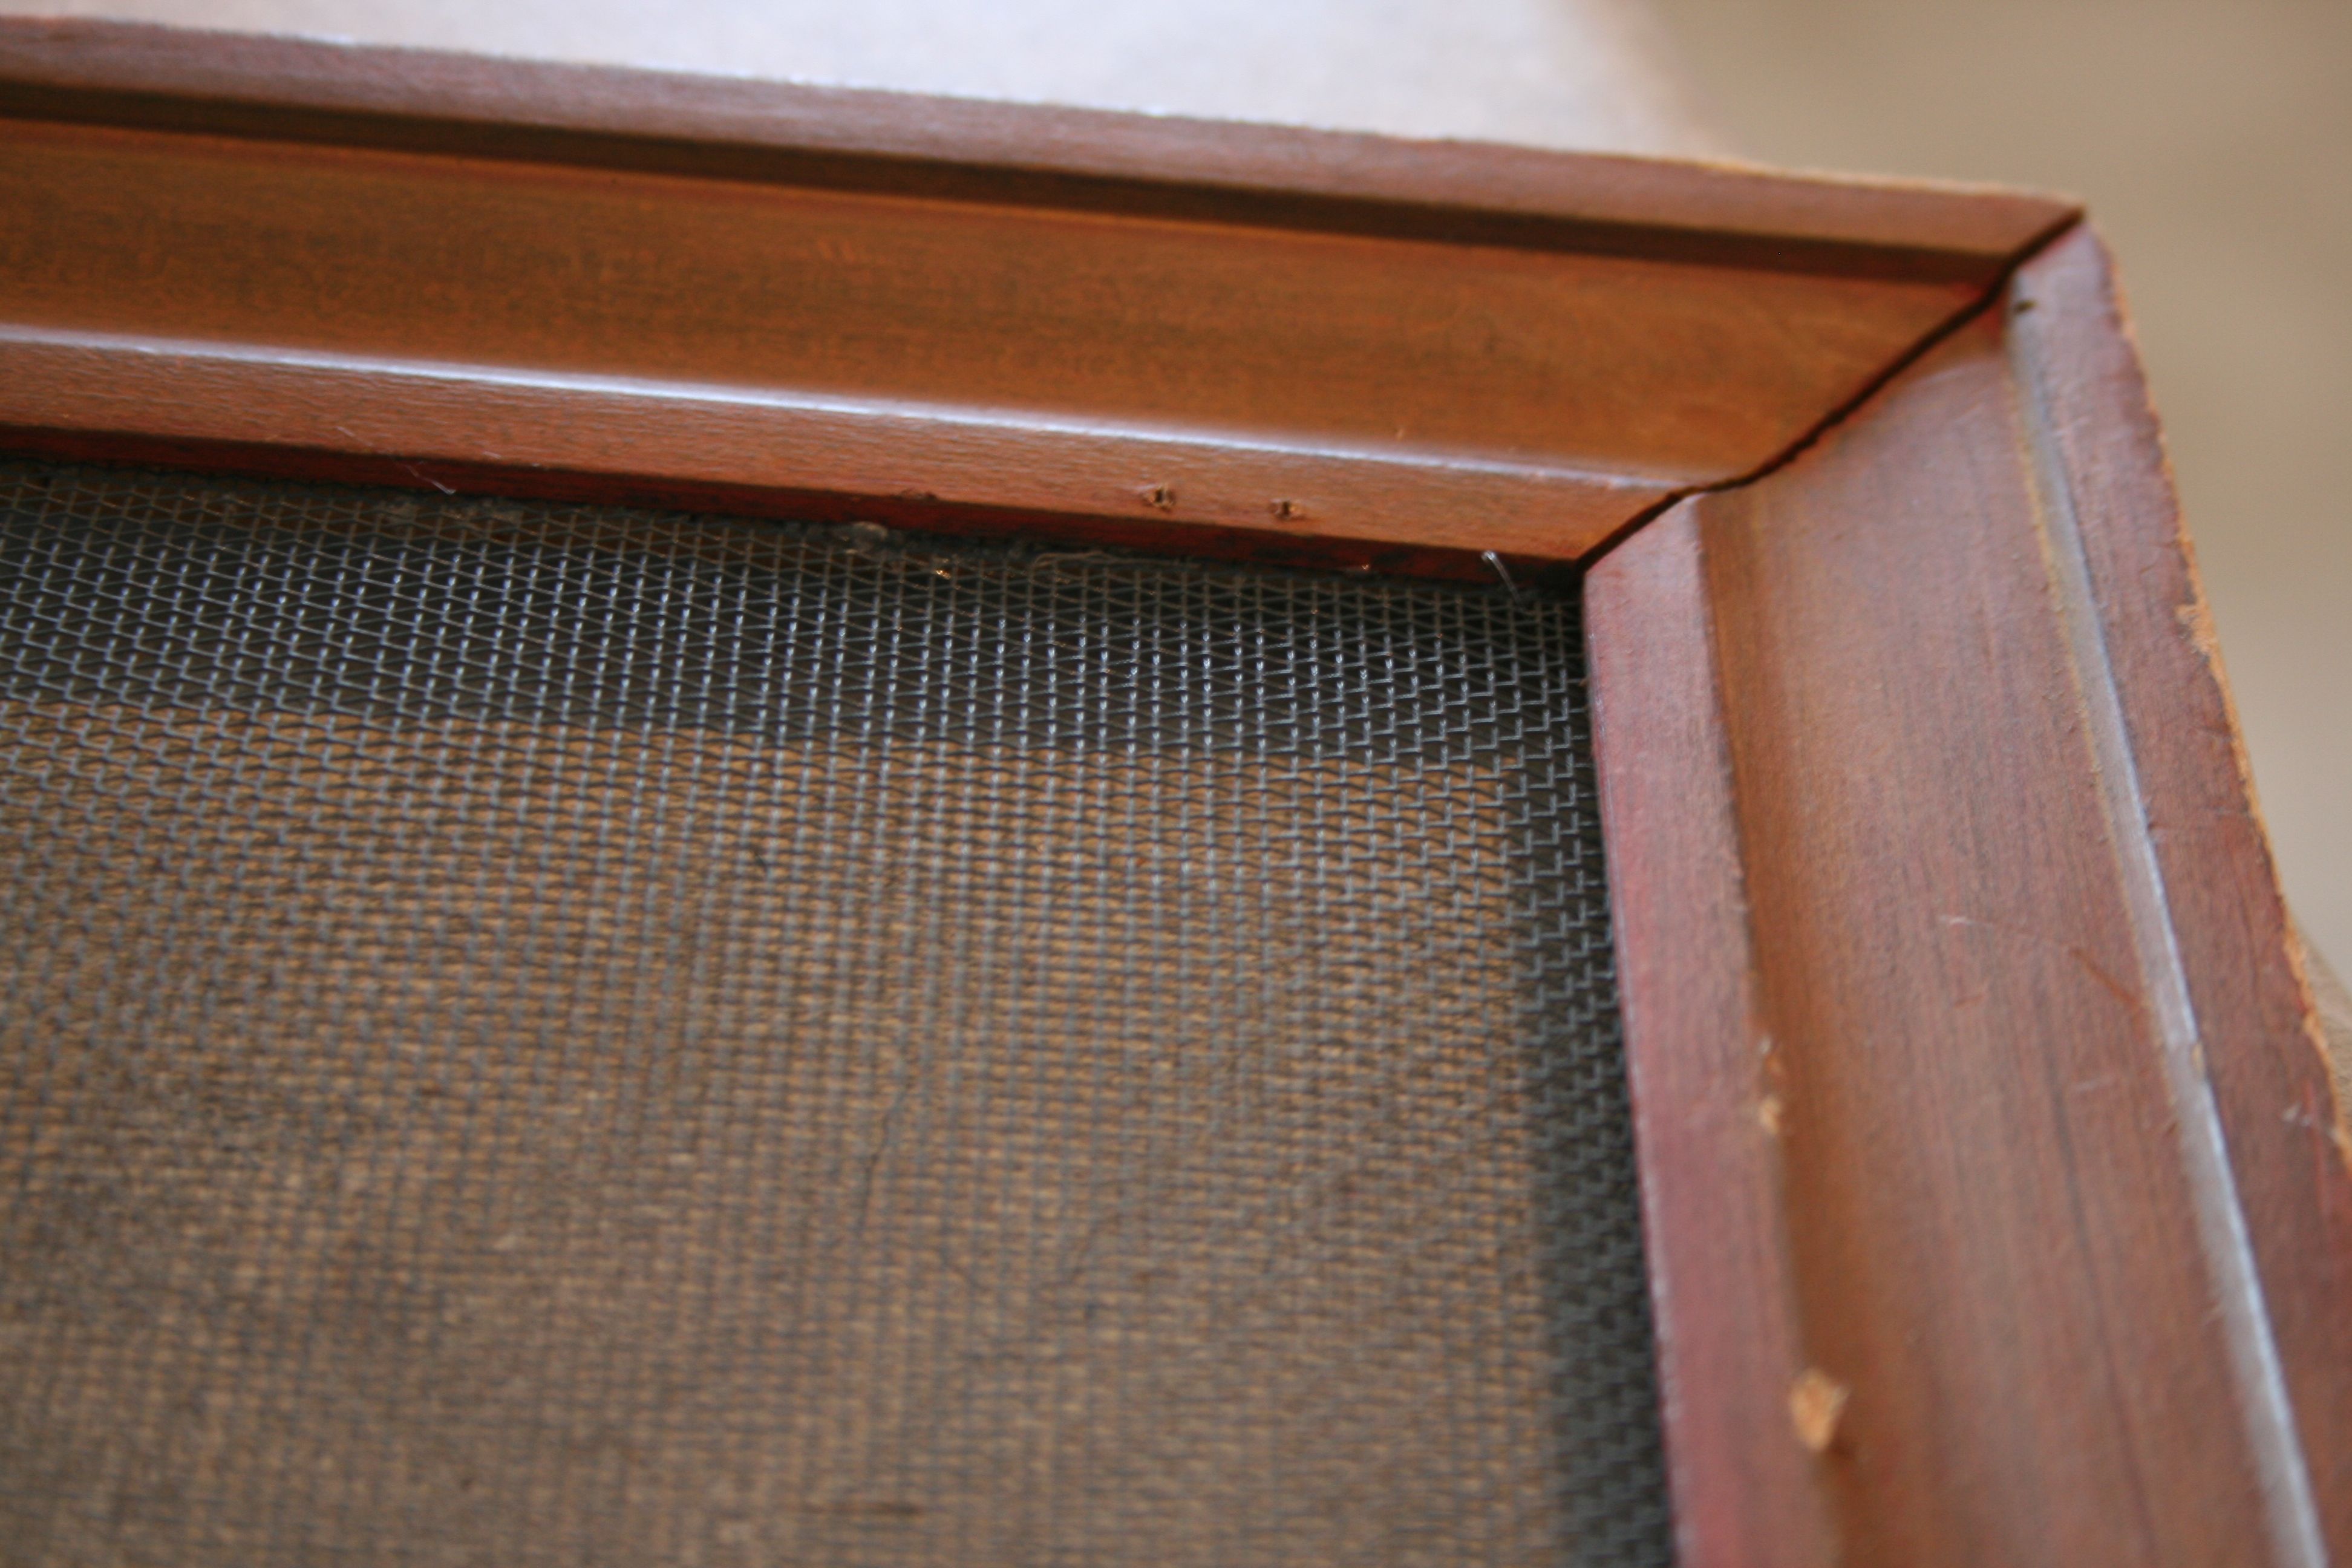
Granted, I had to do some trimming when I got the piece of screen out and placed inside the back of my frame…But it was pretty simple to cut it to fit perfectly. I found that you can even get super straight cuts just by following the line of tiny squares in the wire mesh.
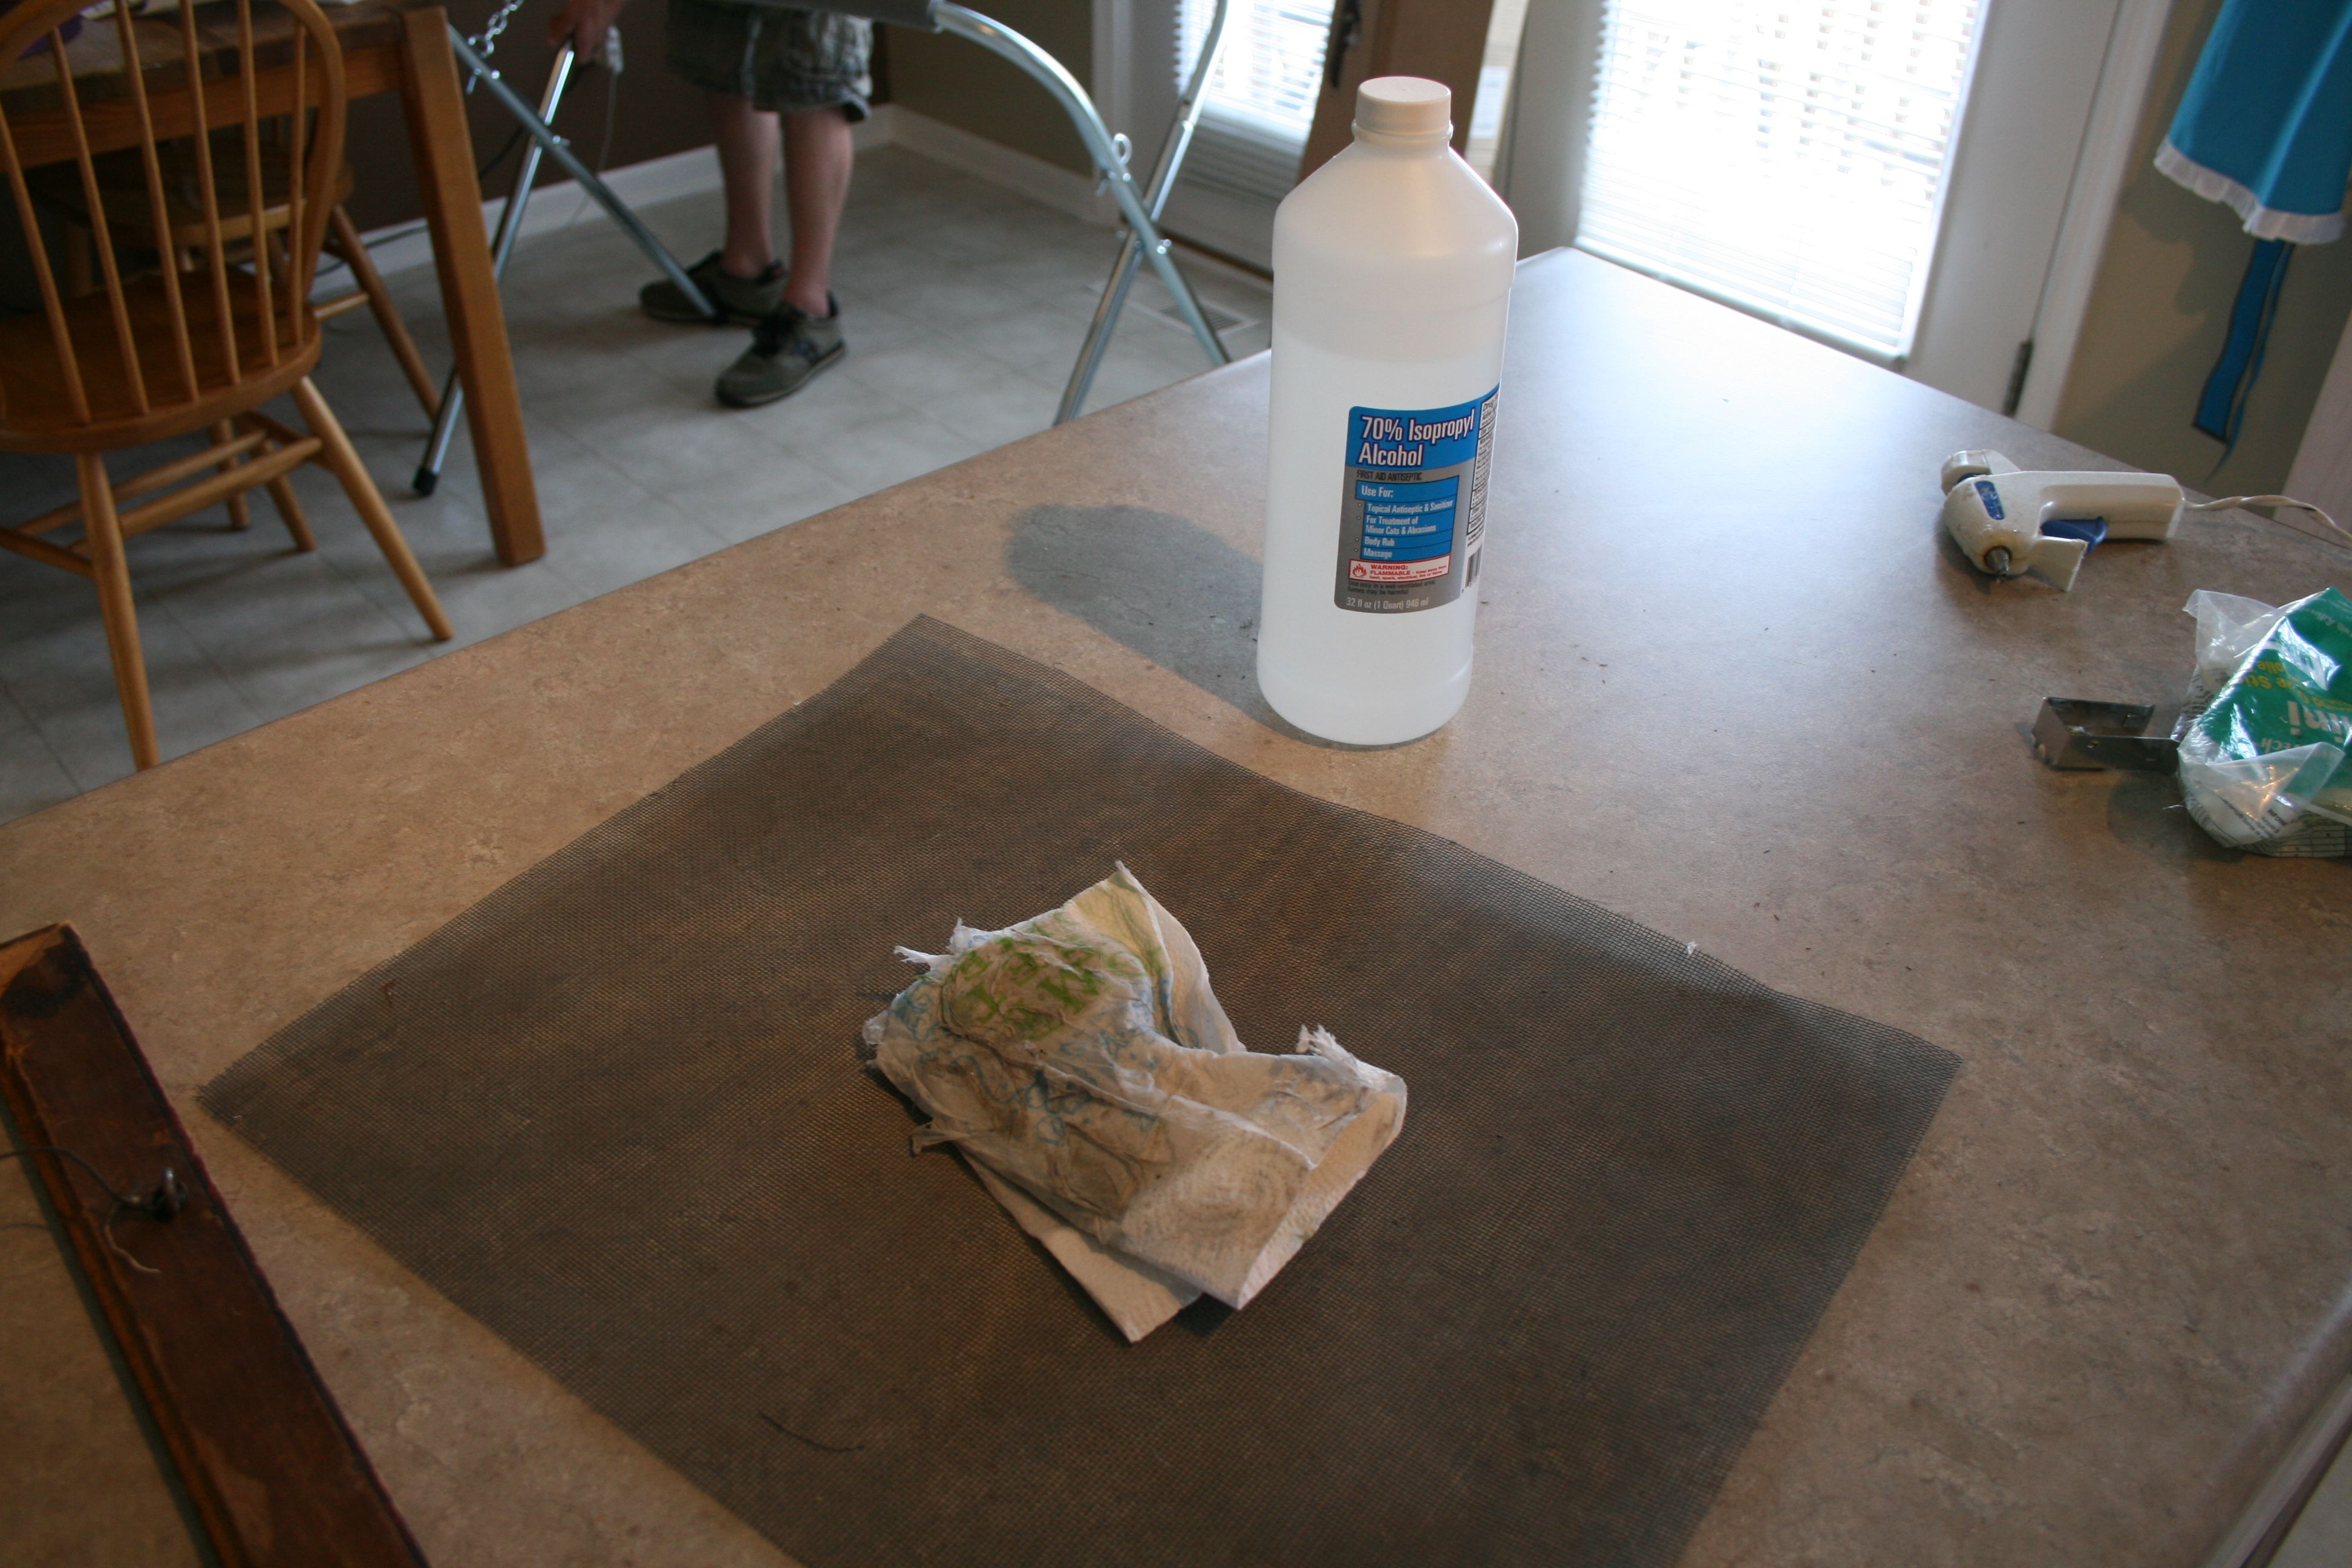
Oh, and make sure you clean your wire mesh with alcohol before actually adhering it to the frame…Whether you bought a used or new screen, it’s good to give it a thorough wipe/pat down to keep your jewelry nice and sterile. Just look at all the gunk that came off on the paper towel!
After getting the screen cut to fit and all clean, I loaded my staple gun and gleefully shot a staple into the frame.
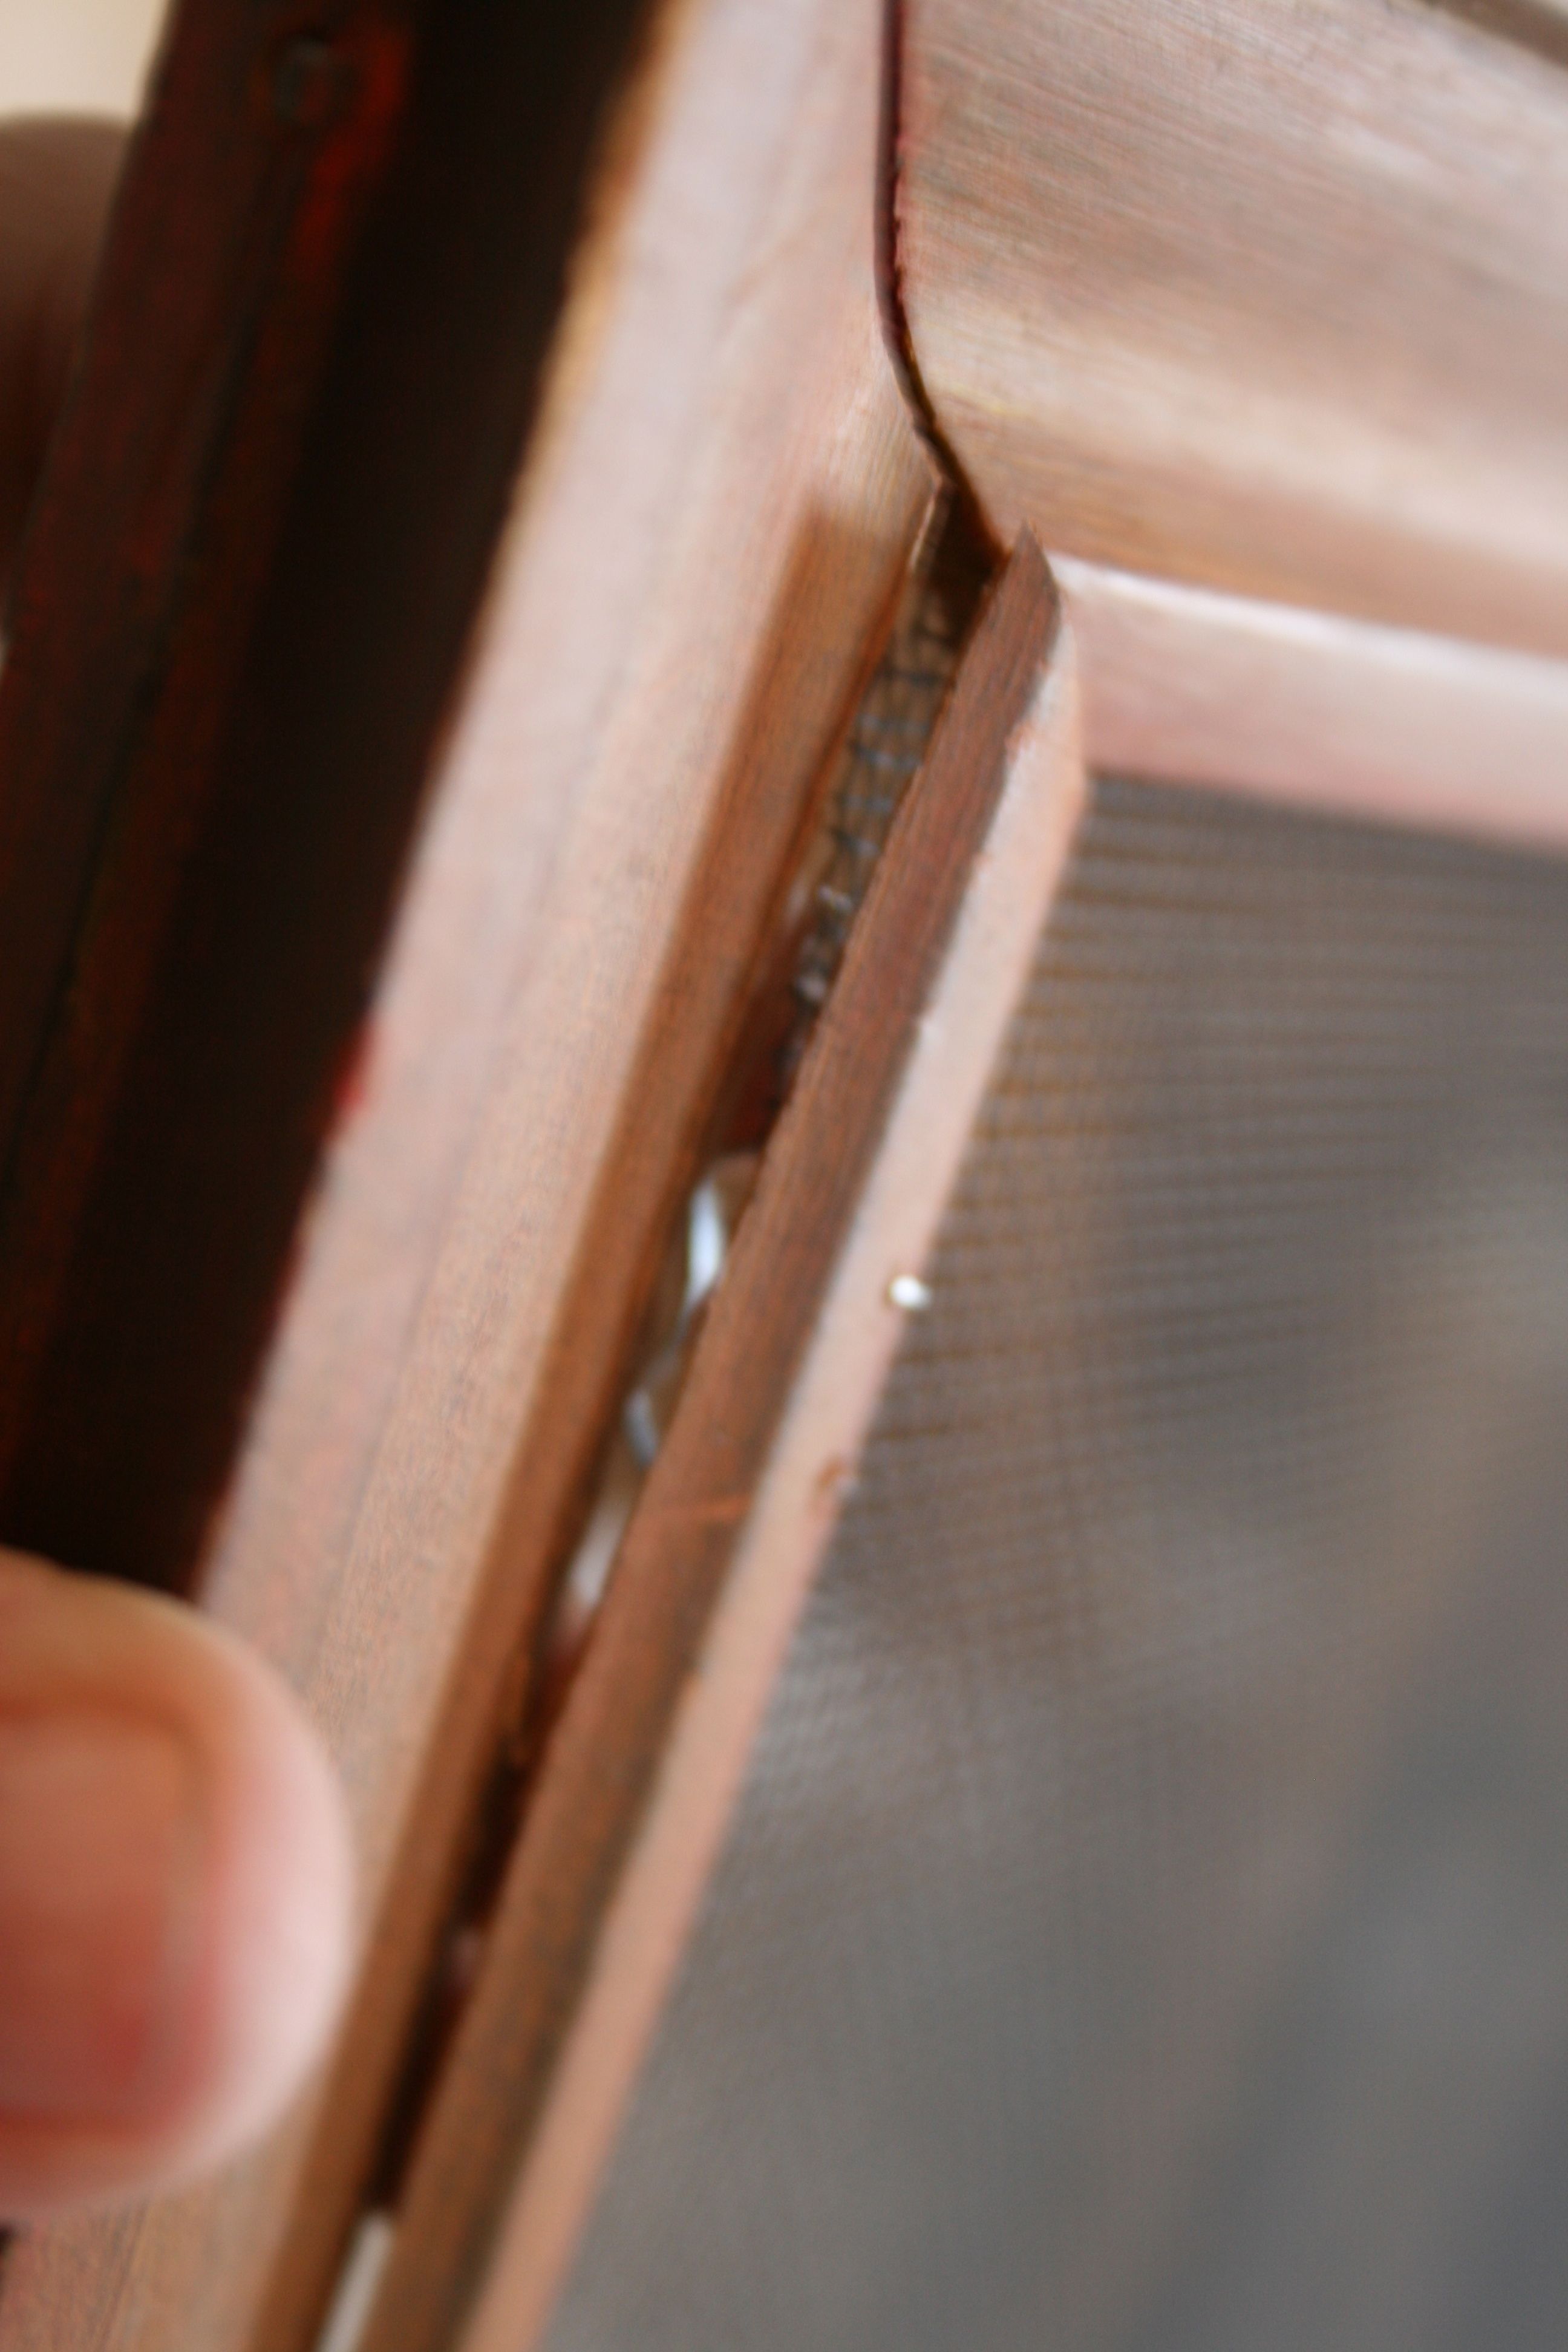
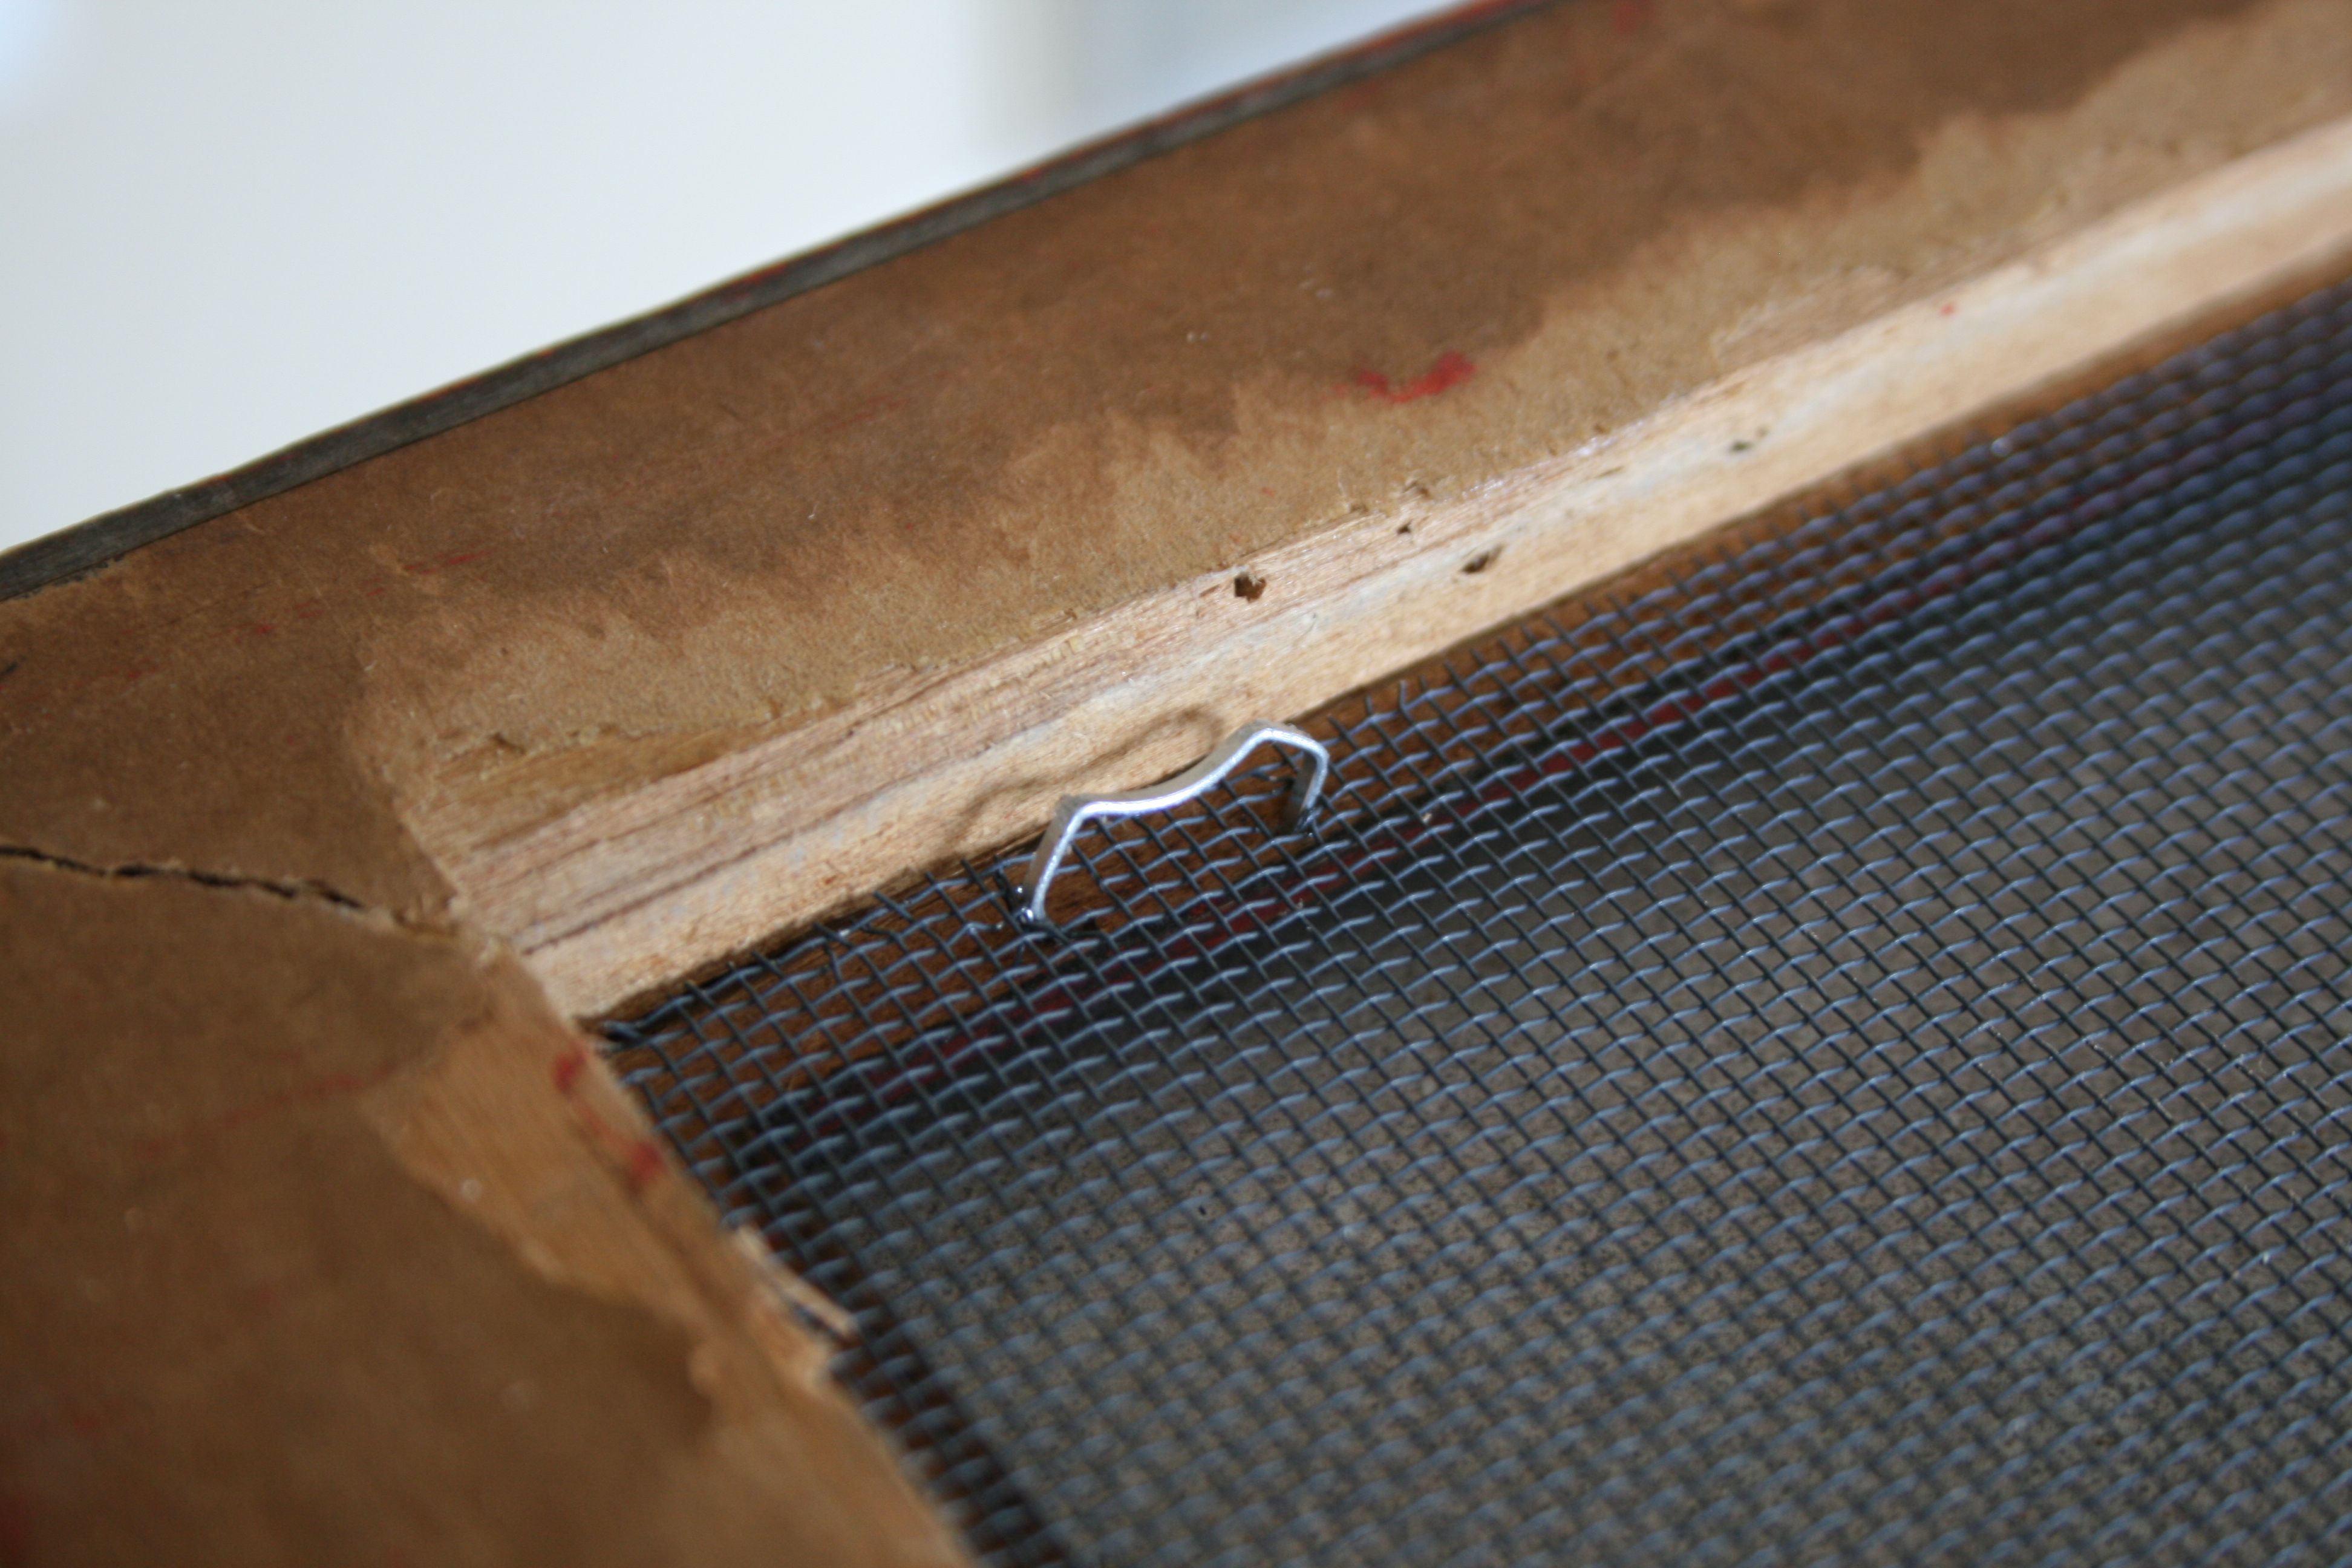
Alas, this happened…
(sorry the picture is so blurry…I was upset)
The force of the staple snapped the wood of the frame (which was pretty old…) and the staple didn’t even go all the way in!
So on to Plan B (which I didn’t really have since I was counting on my sparkly, new, state-of-the-art staple gun). When all else fails, use hot glue!
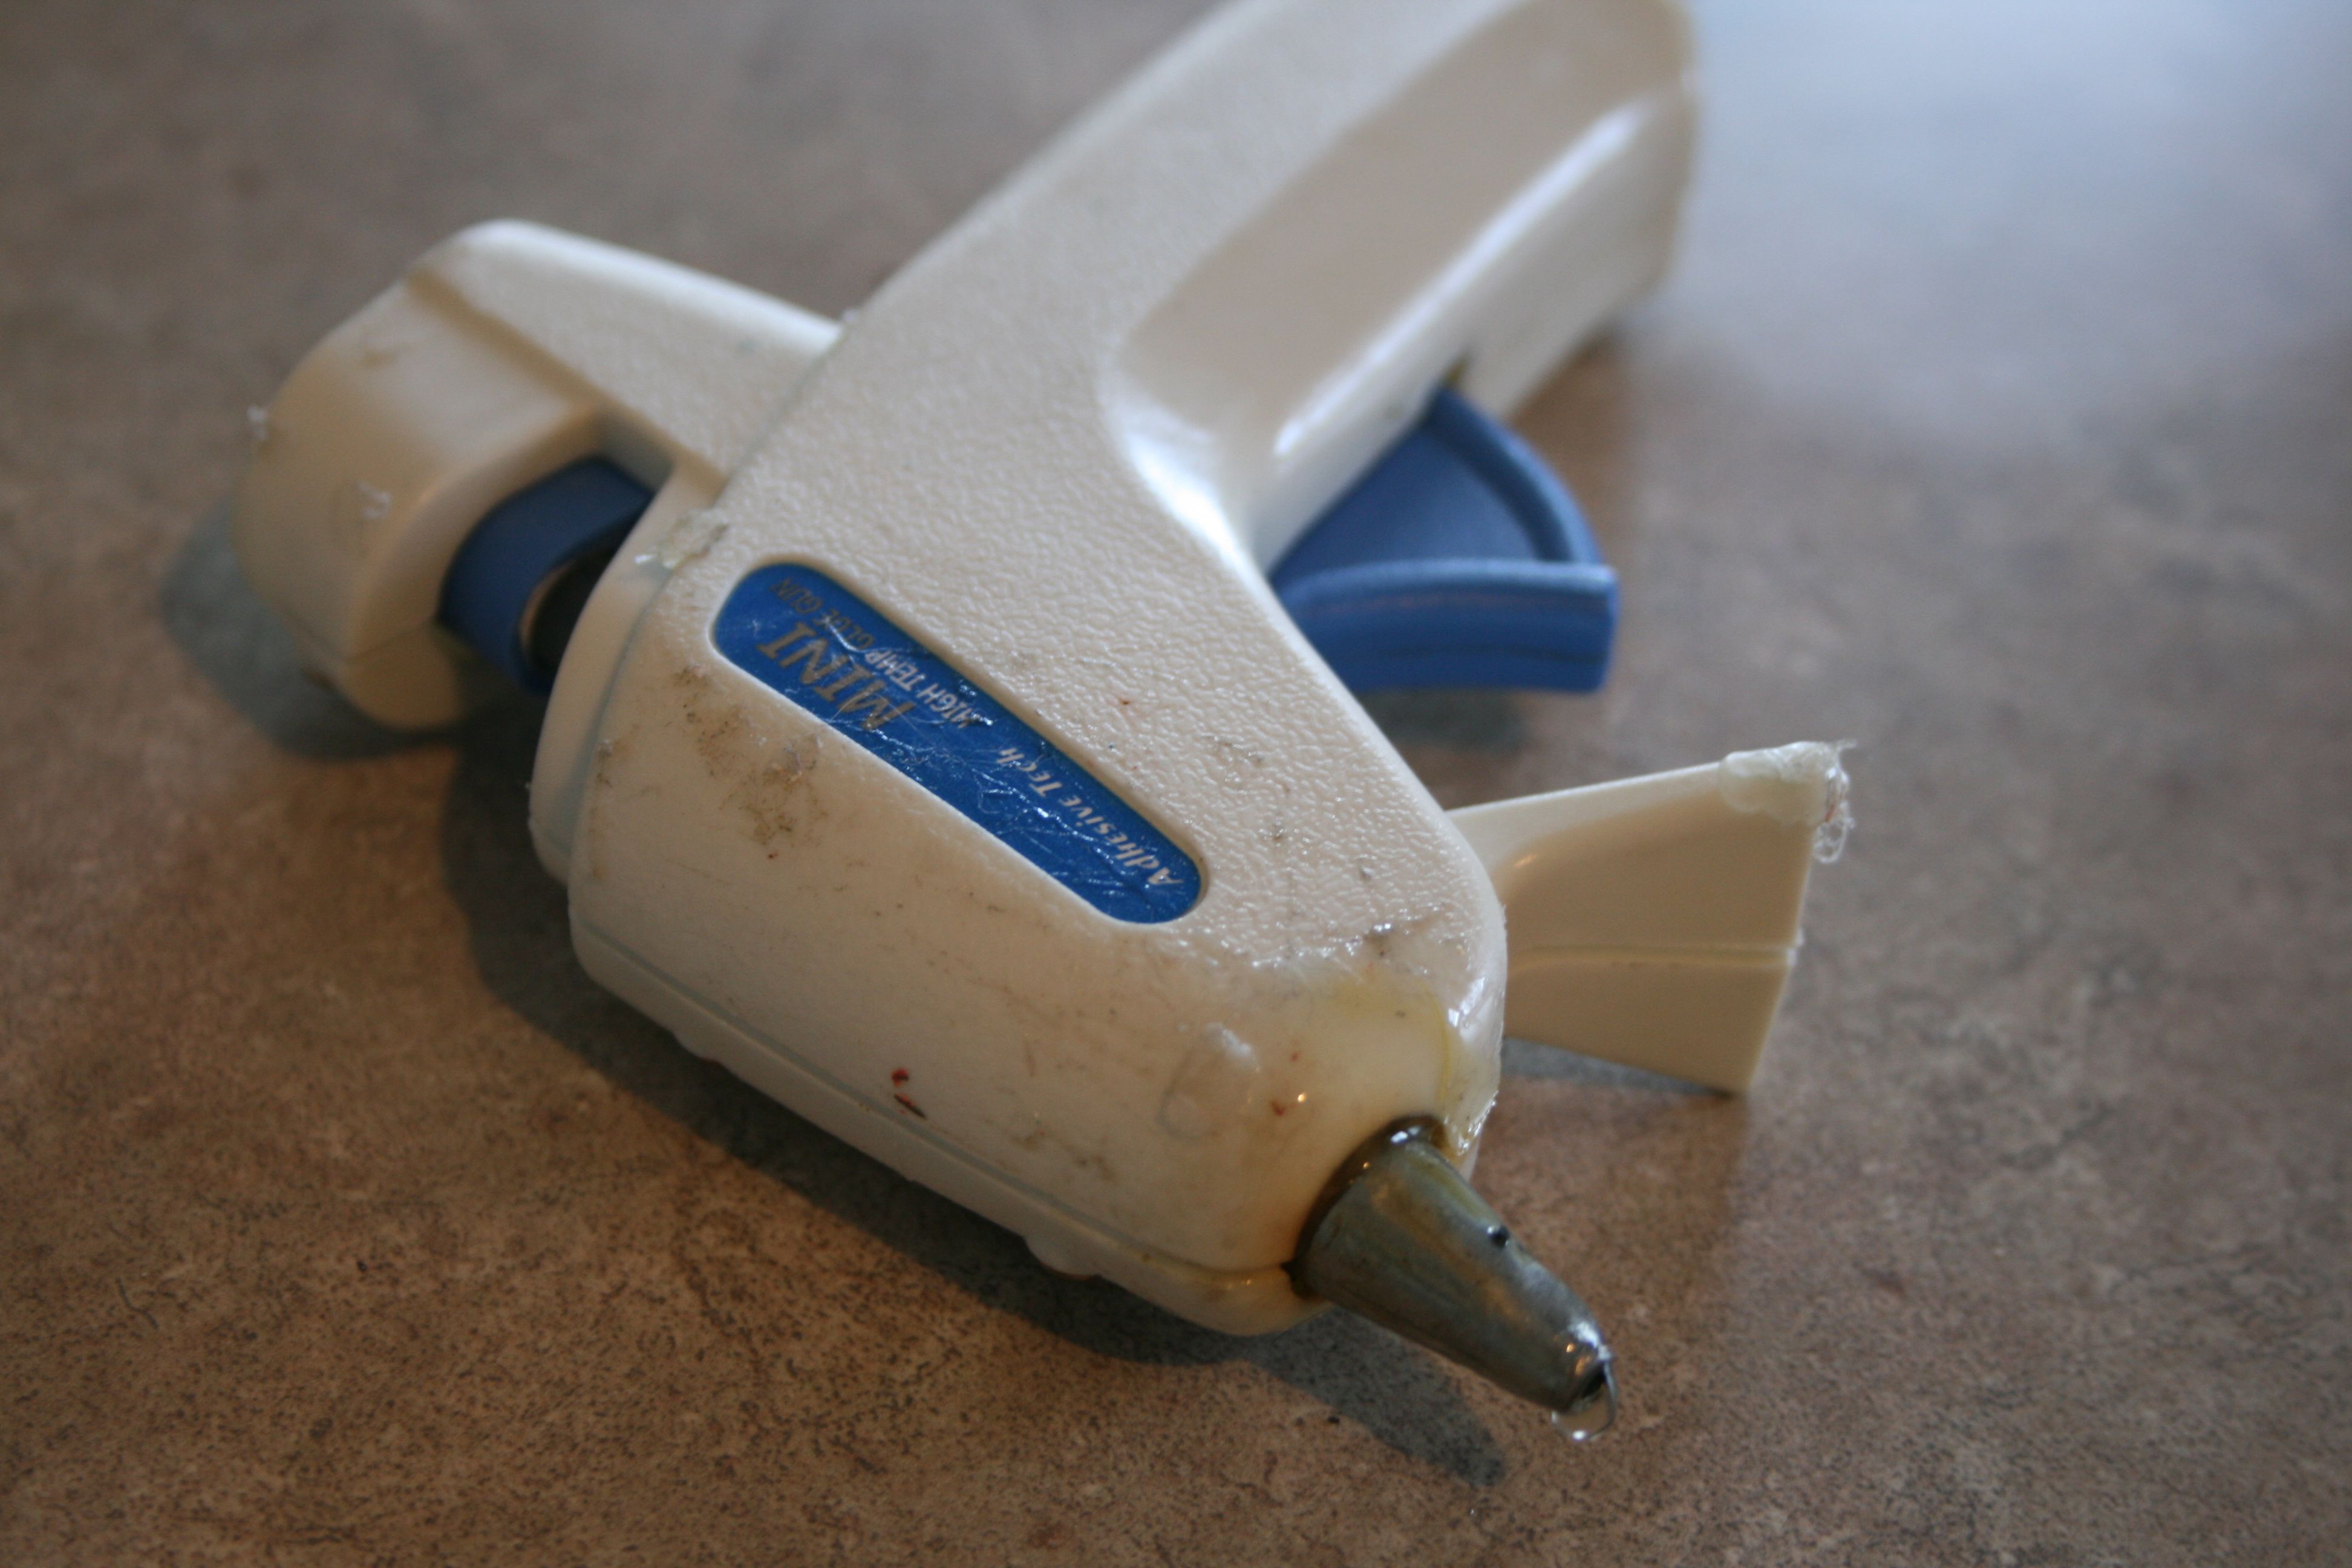
Out came my mini hot glue gun:
I should probably upgrade sometime soon to a regular size hot glue gun, but I’ve had this mini version for YEARS. Other then going through glue sticks quickly because they ARE in fact “mini”, its fabulous and gets the job done!
Happily, this new (unplanned) plan worked like a charm 🙂
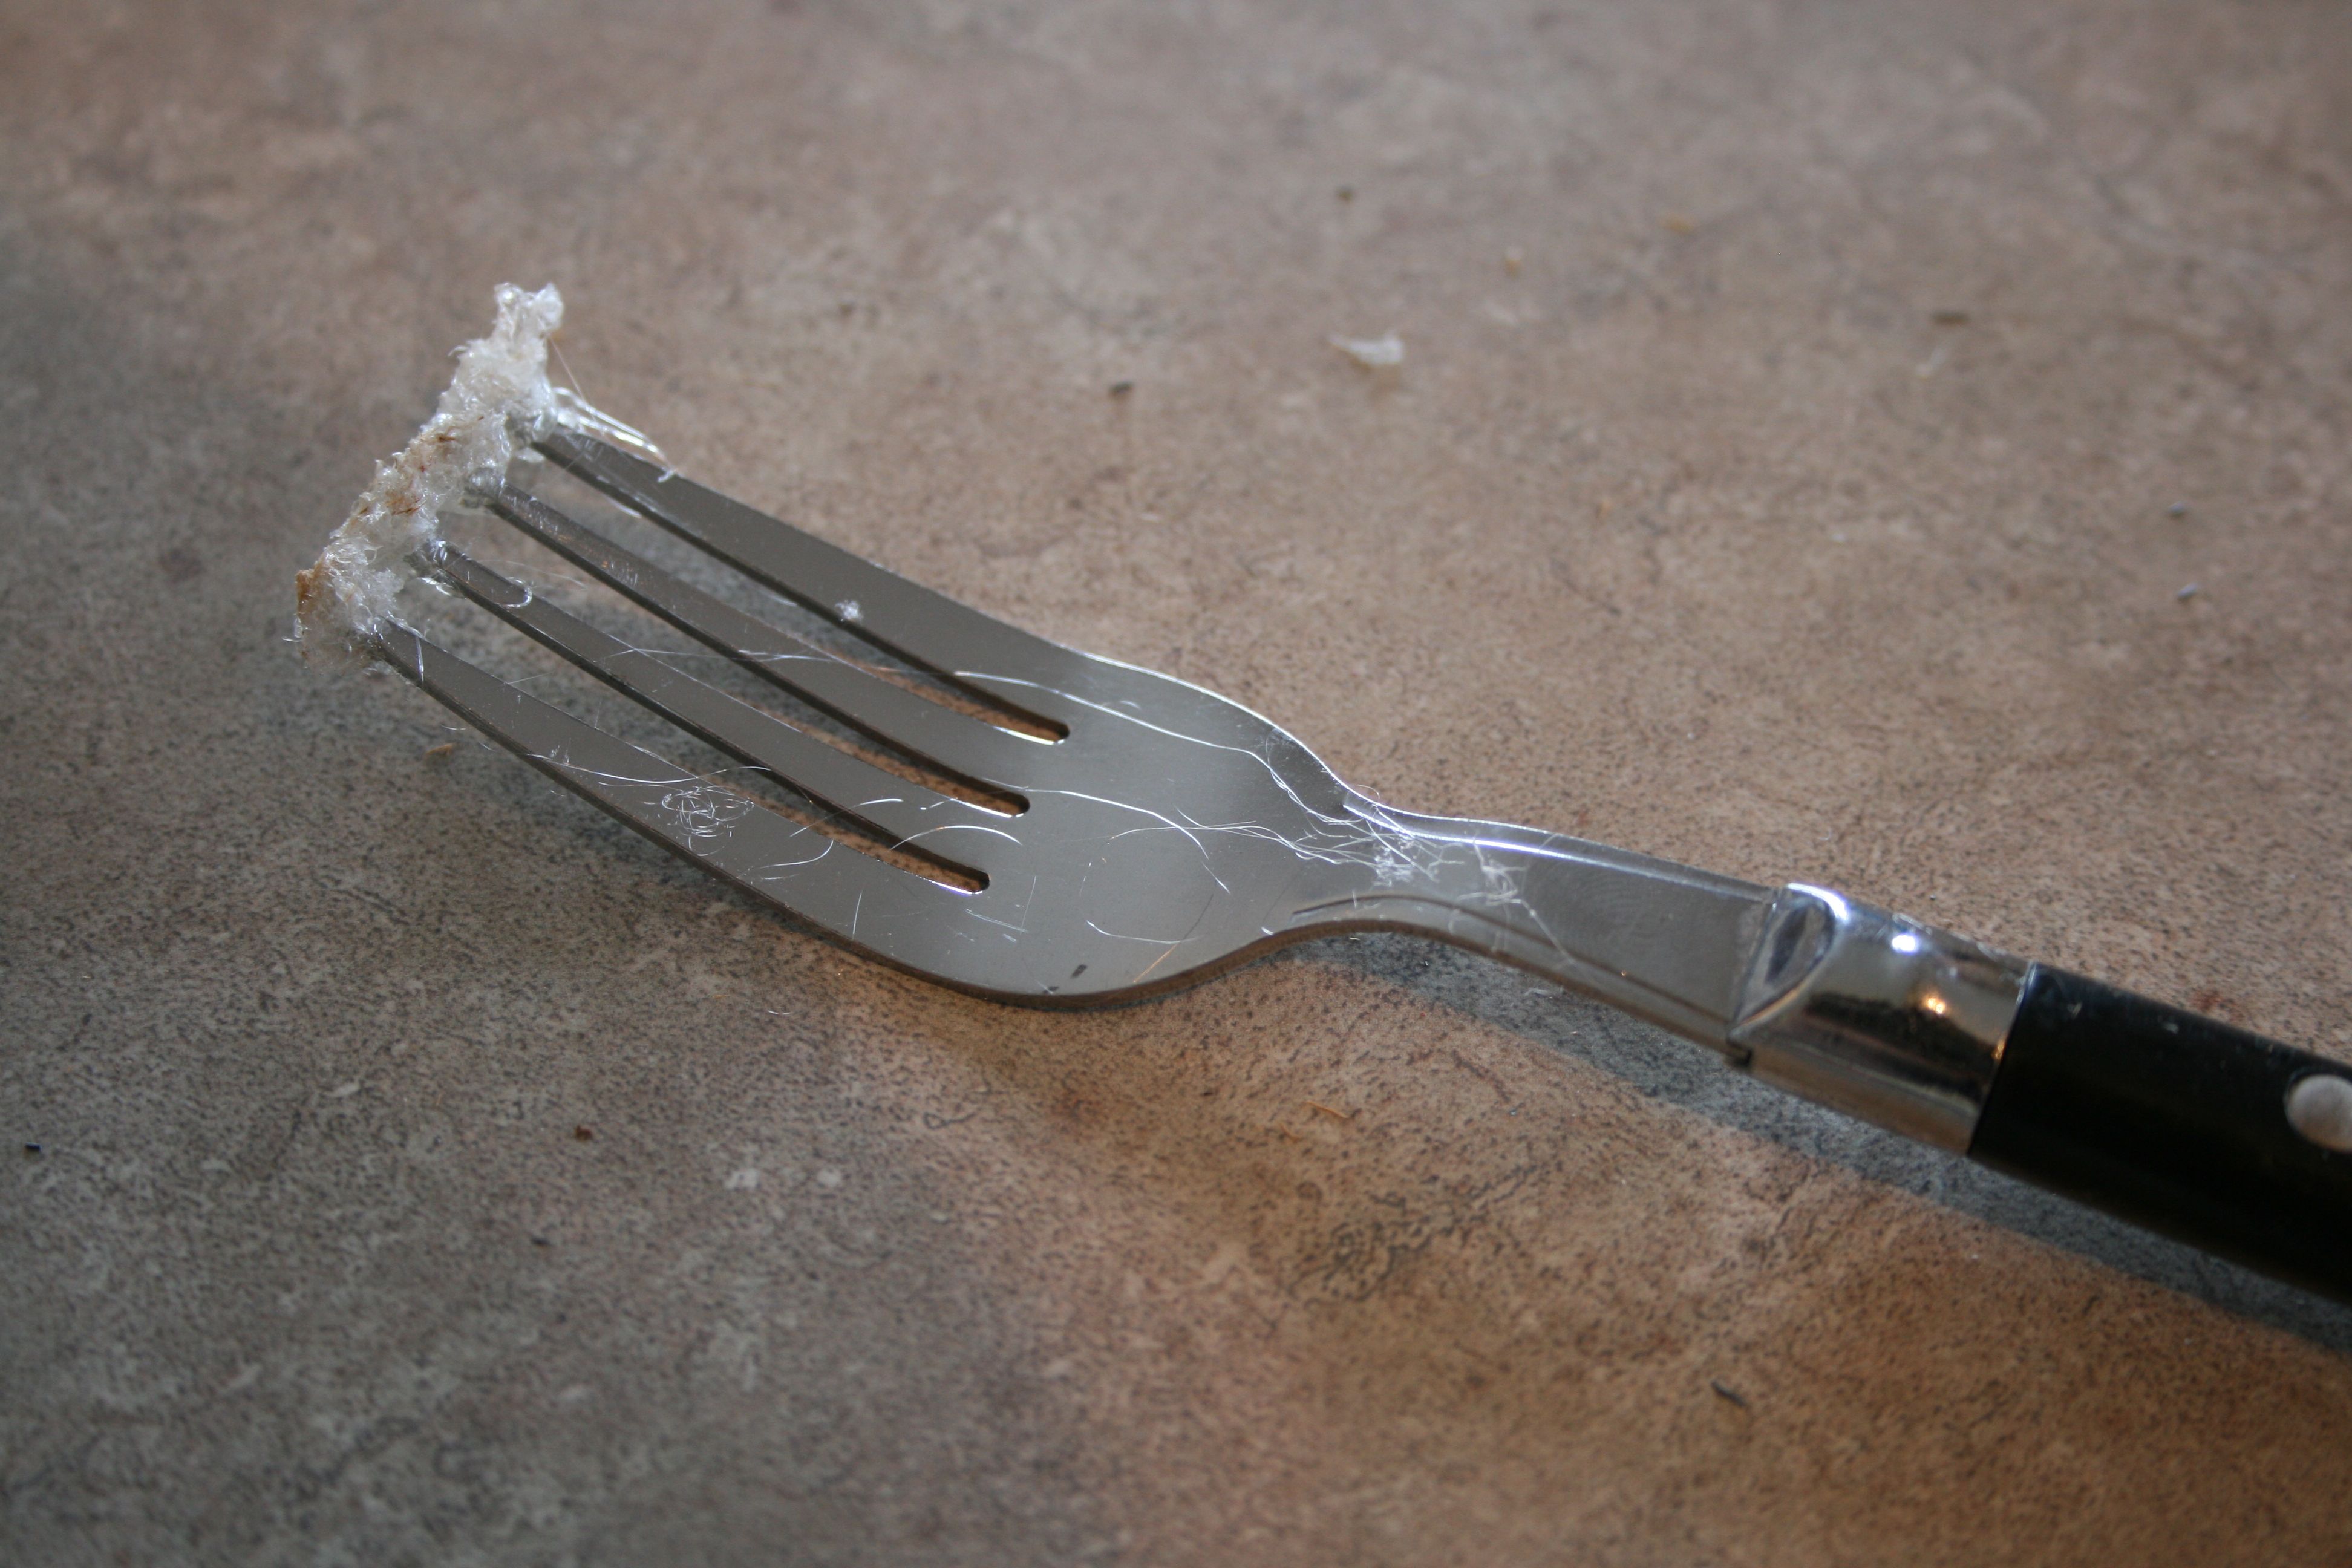
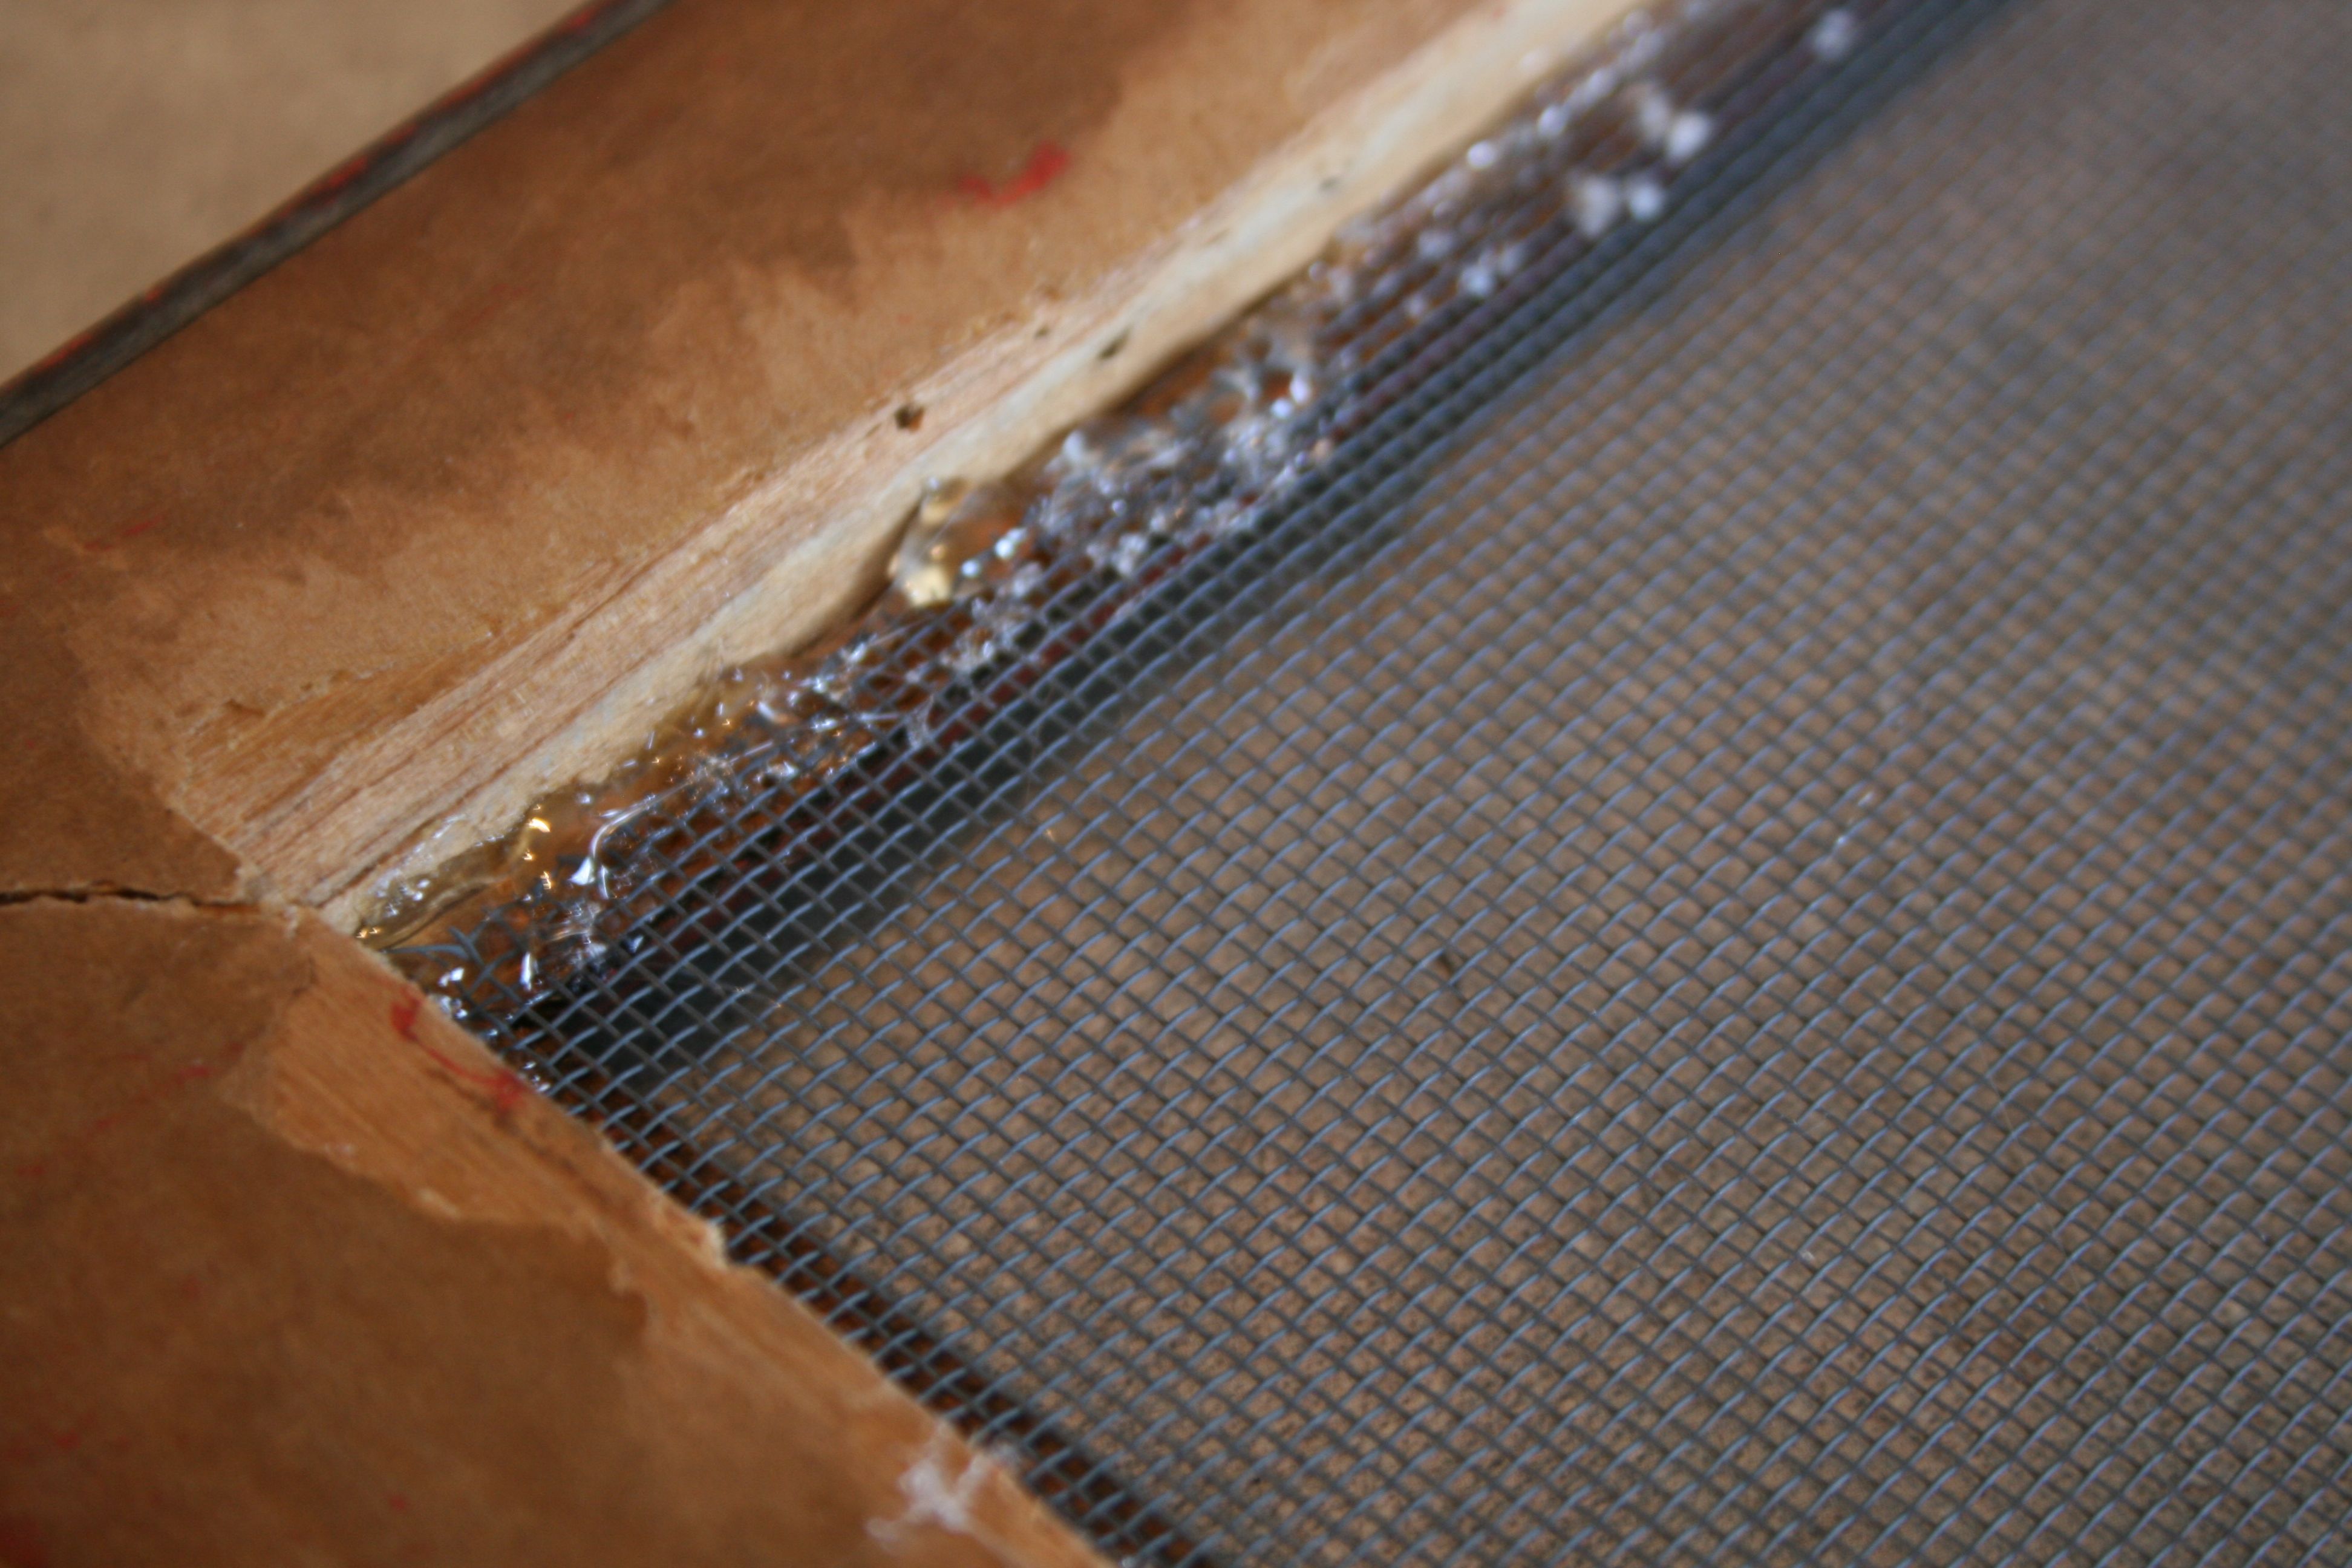
I lifted the edge of the screen mesh, put a line of glue down on the backing lip of the frame and pushed the mesh down into the too-warm-for fingertips glue using a fork.
I also put a line of hot glue on top of the mesh that had been glued from beneath just to make sure it was really stuck. Yummy glue sandwich!
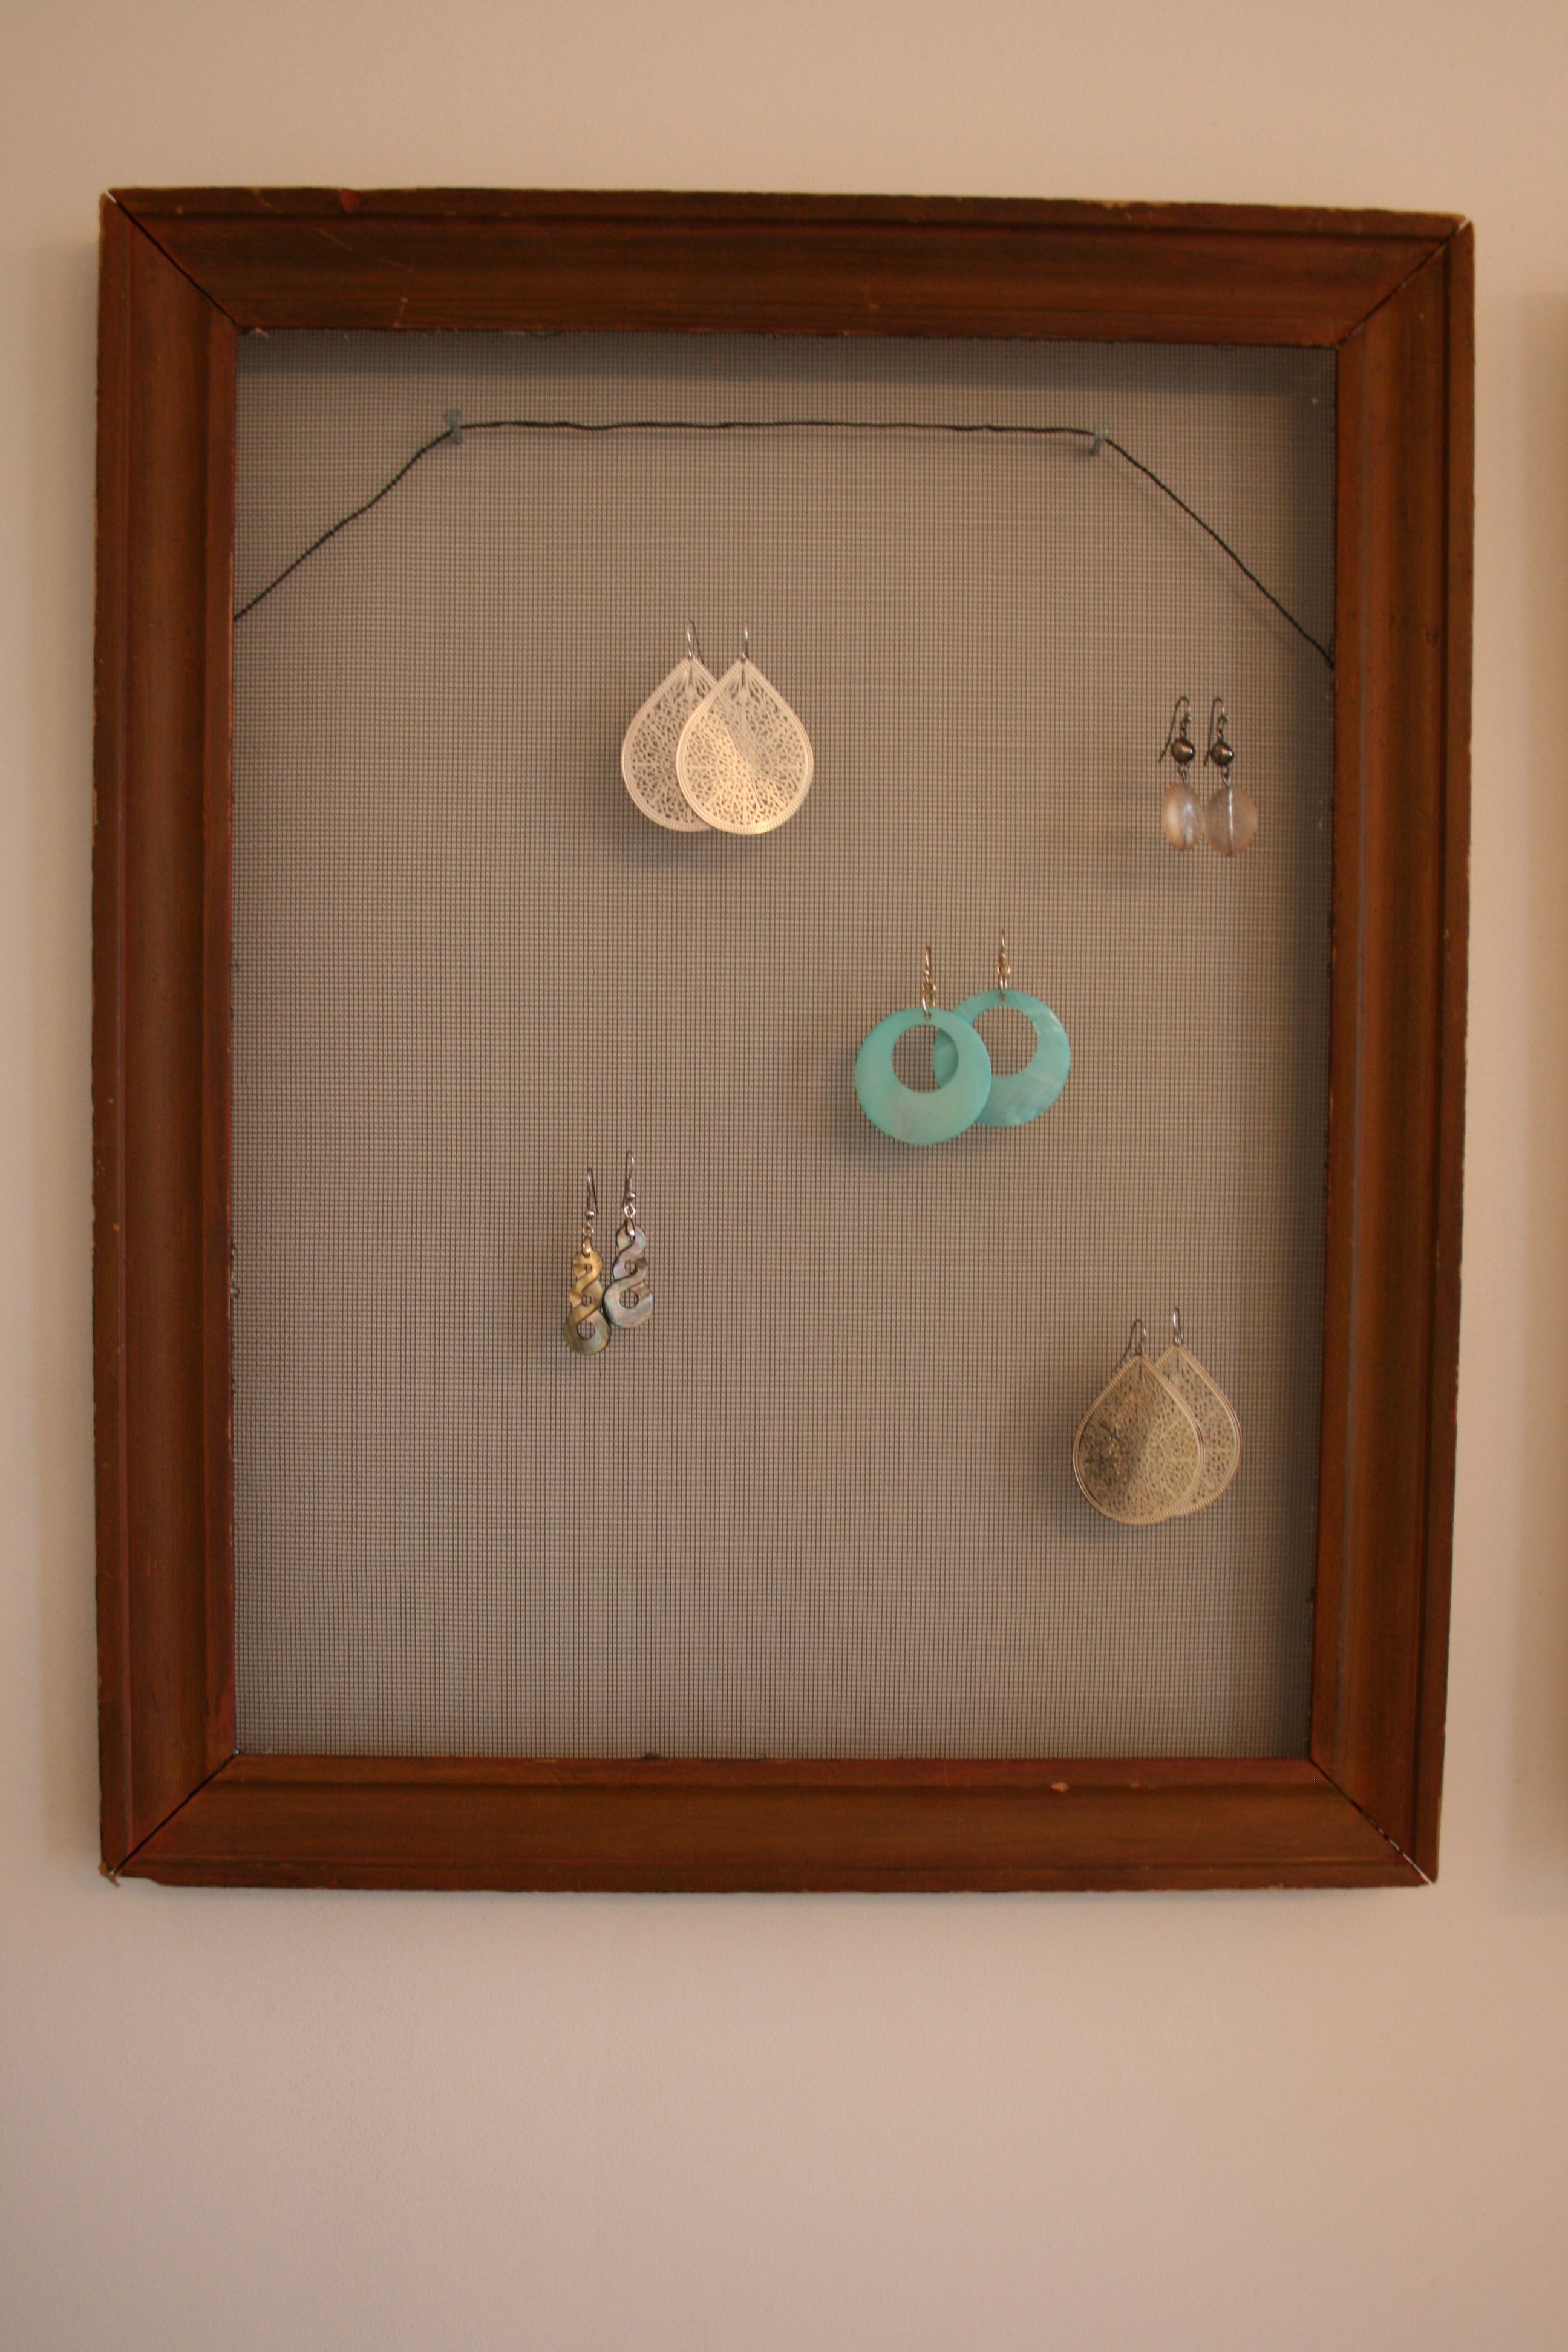
Sure, it’s not pretty from the back! But it looks clean from the front – So I am satisfied. And I trust that the hot glue is strong enough to last through use. All it needs to be able to hold is a feathery-light collection of beaded and metal earrings after all. Mini hot glue gun comes to the rescue yet again!
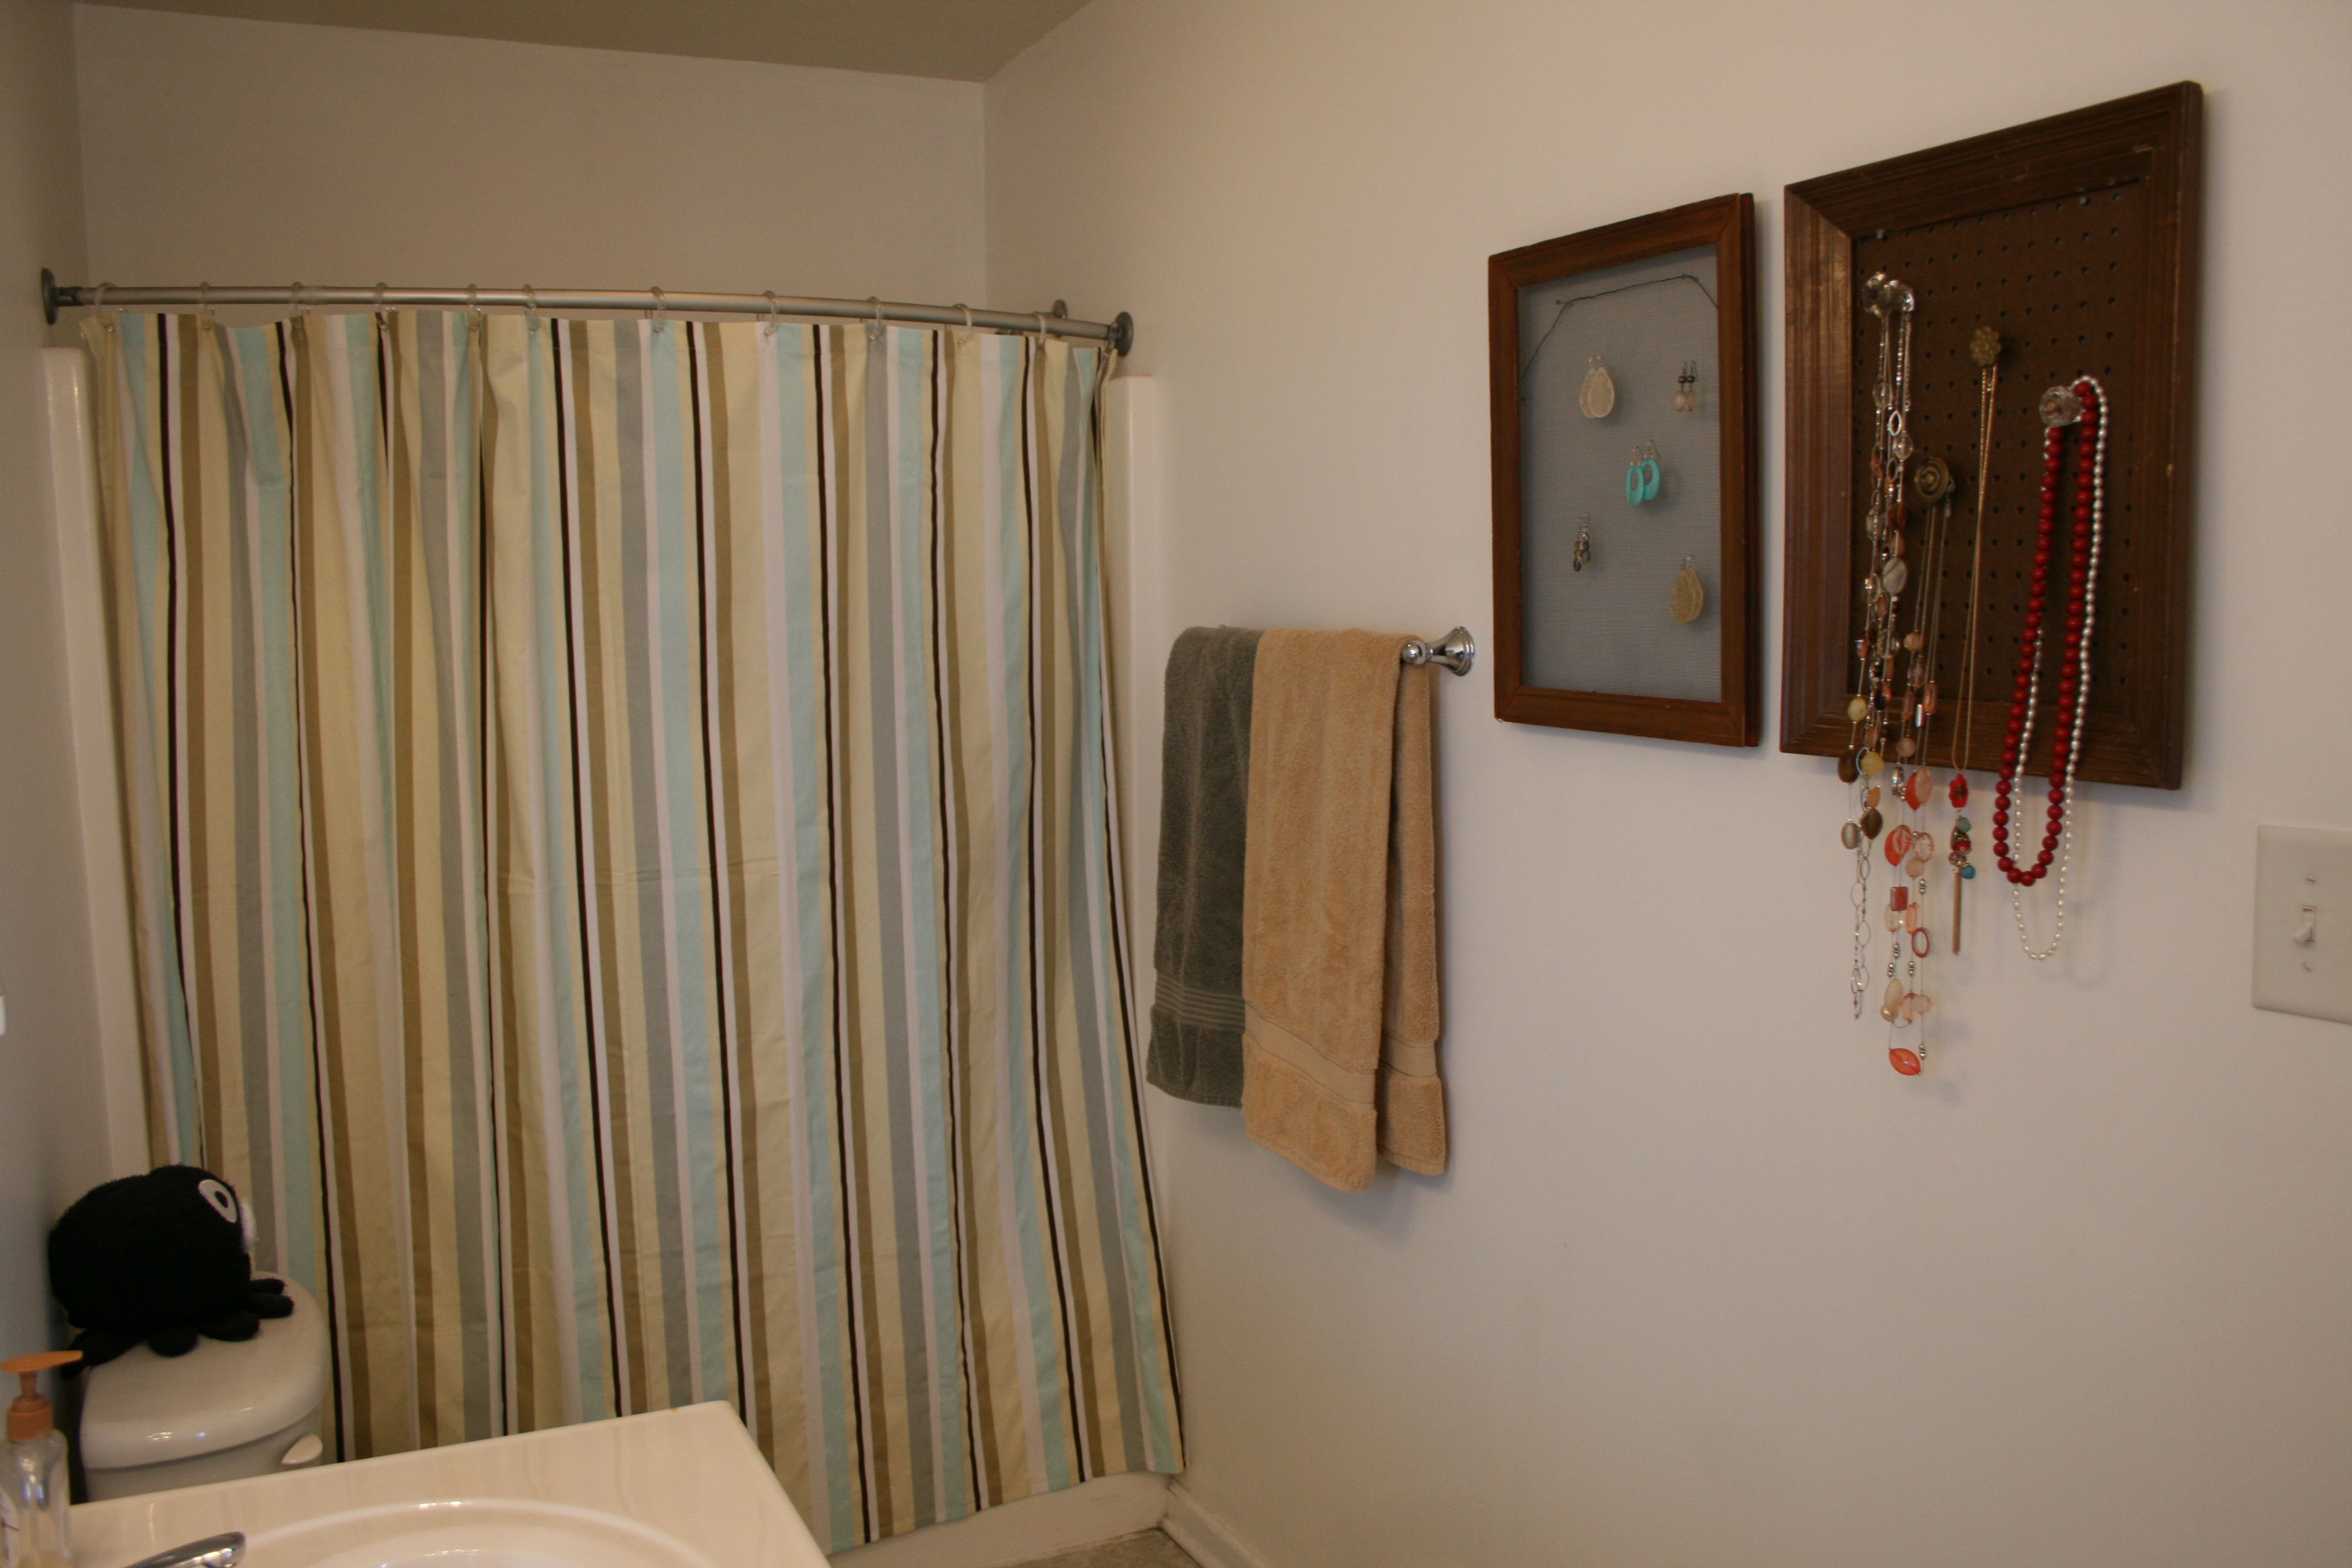
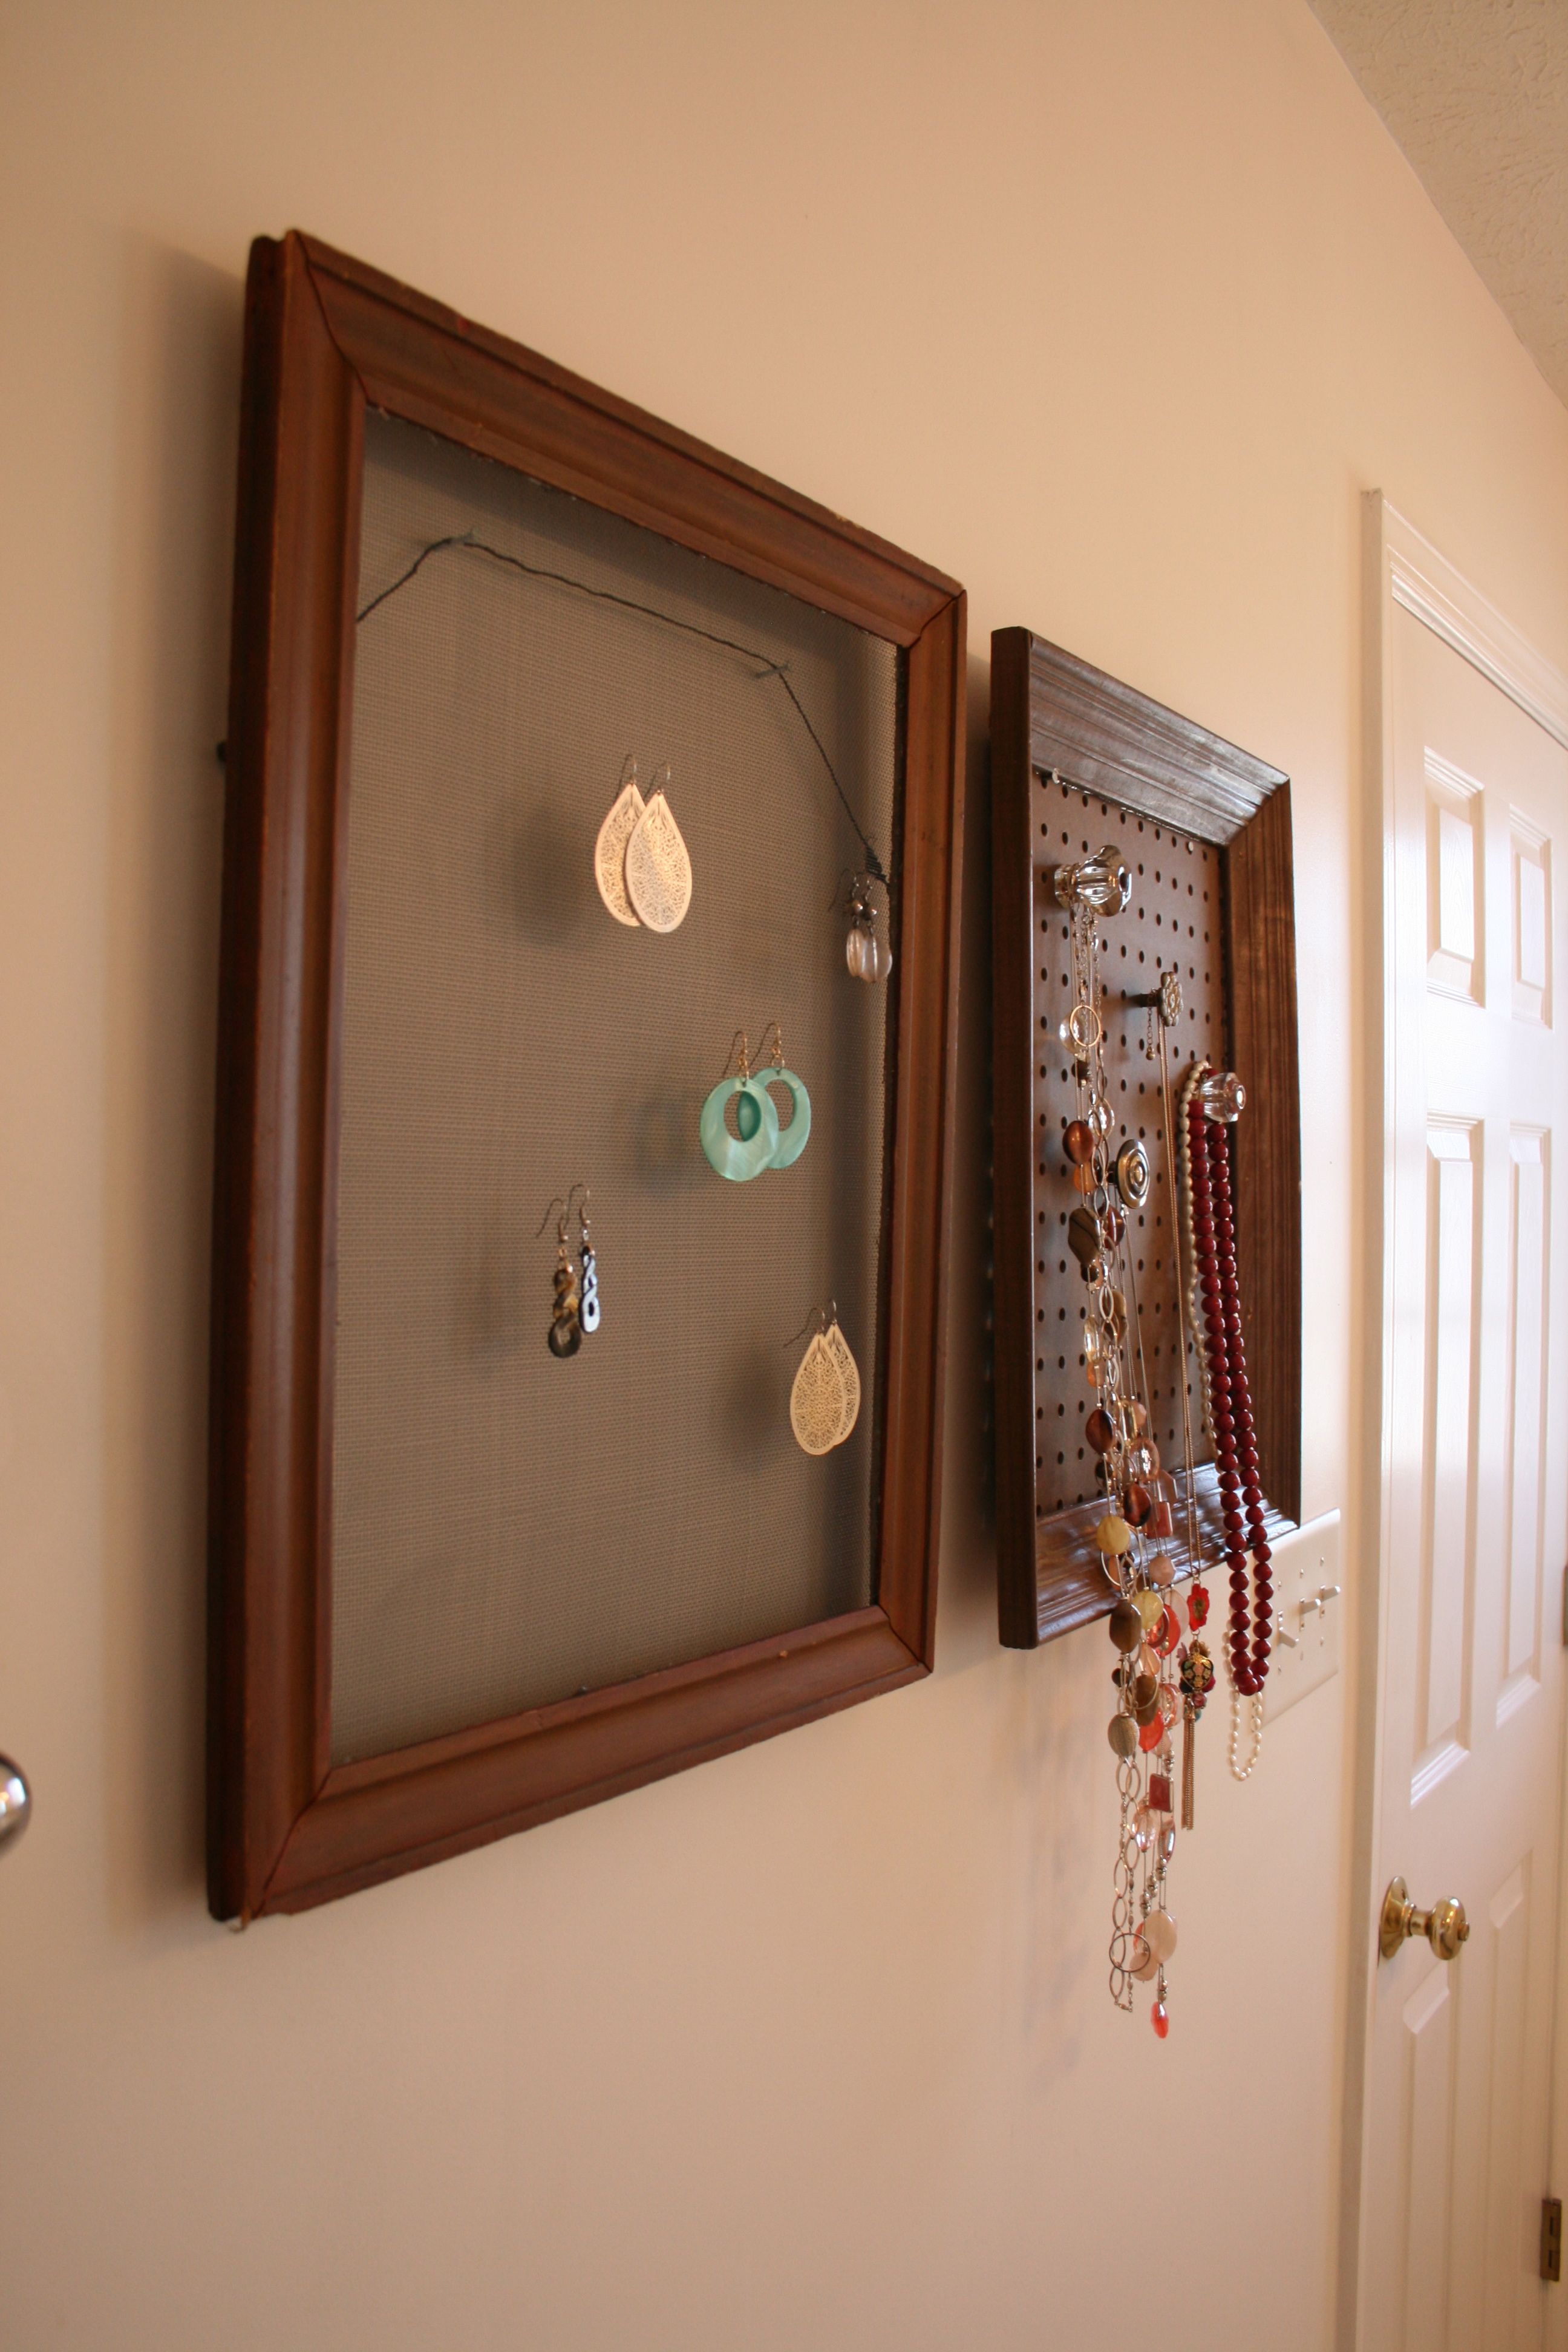
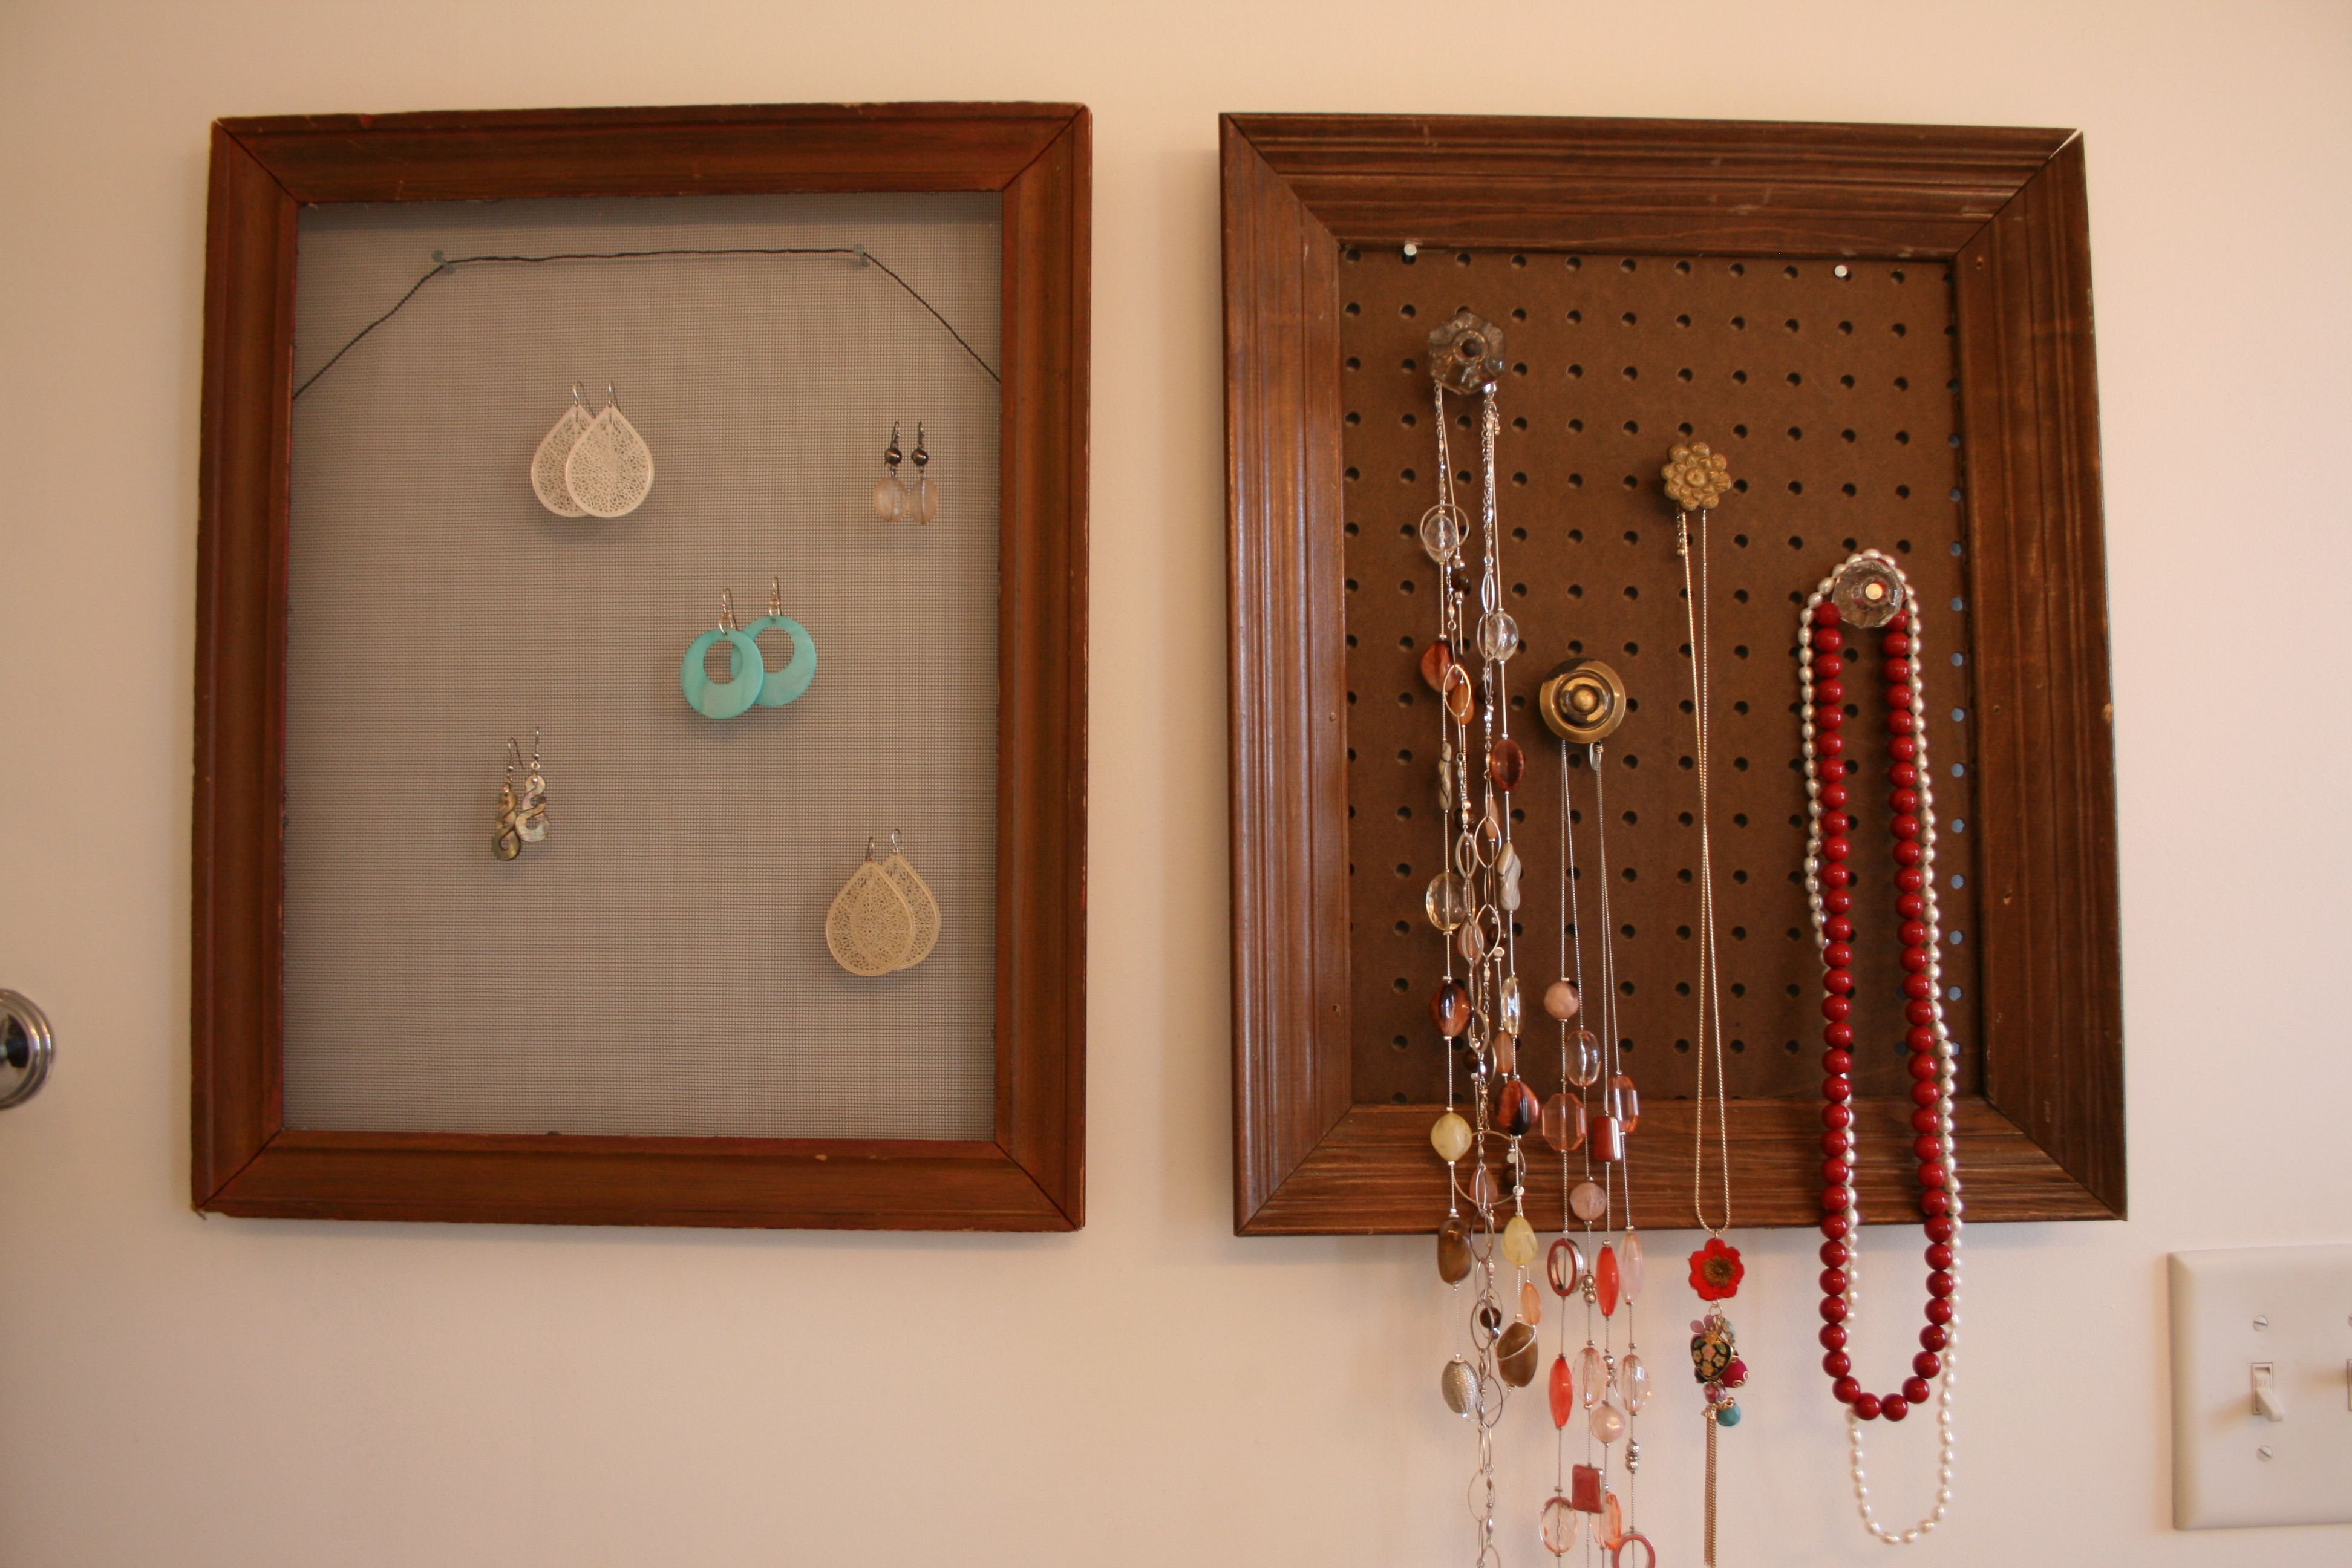
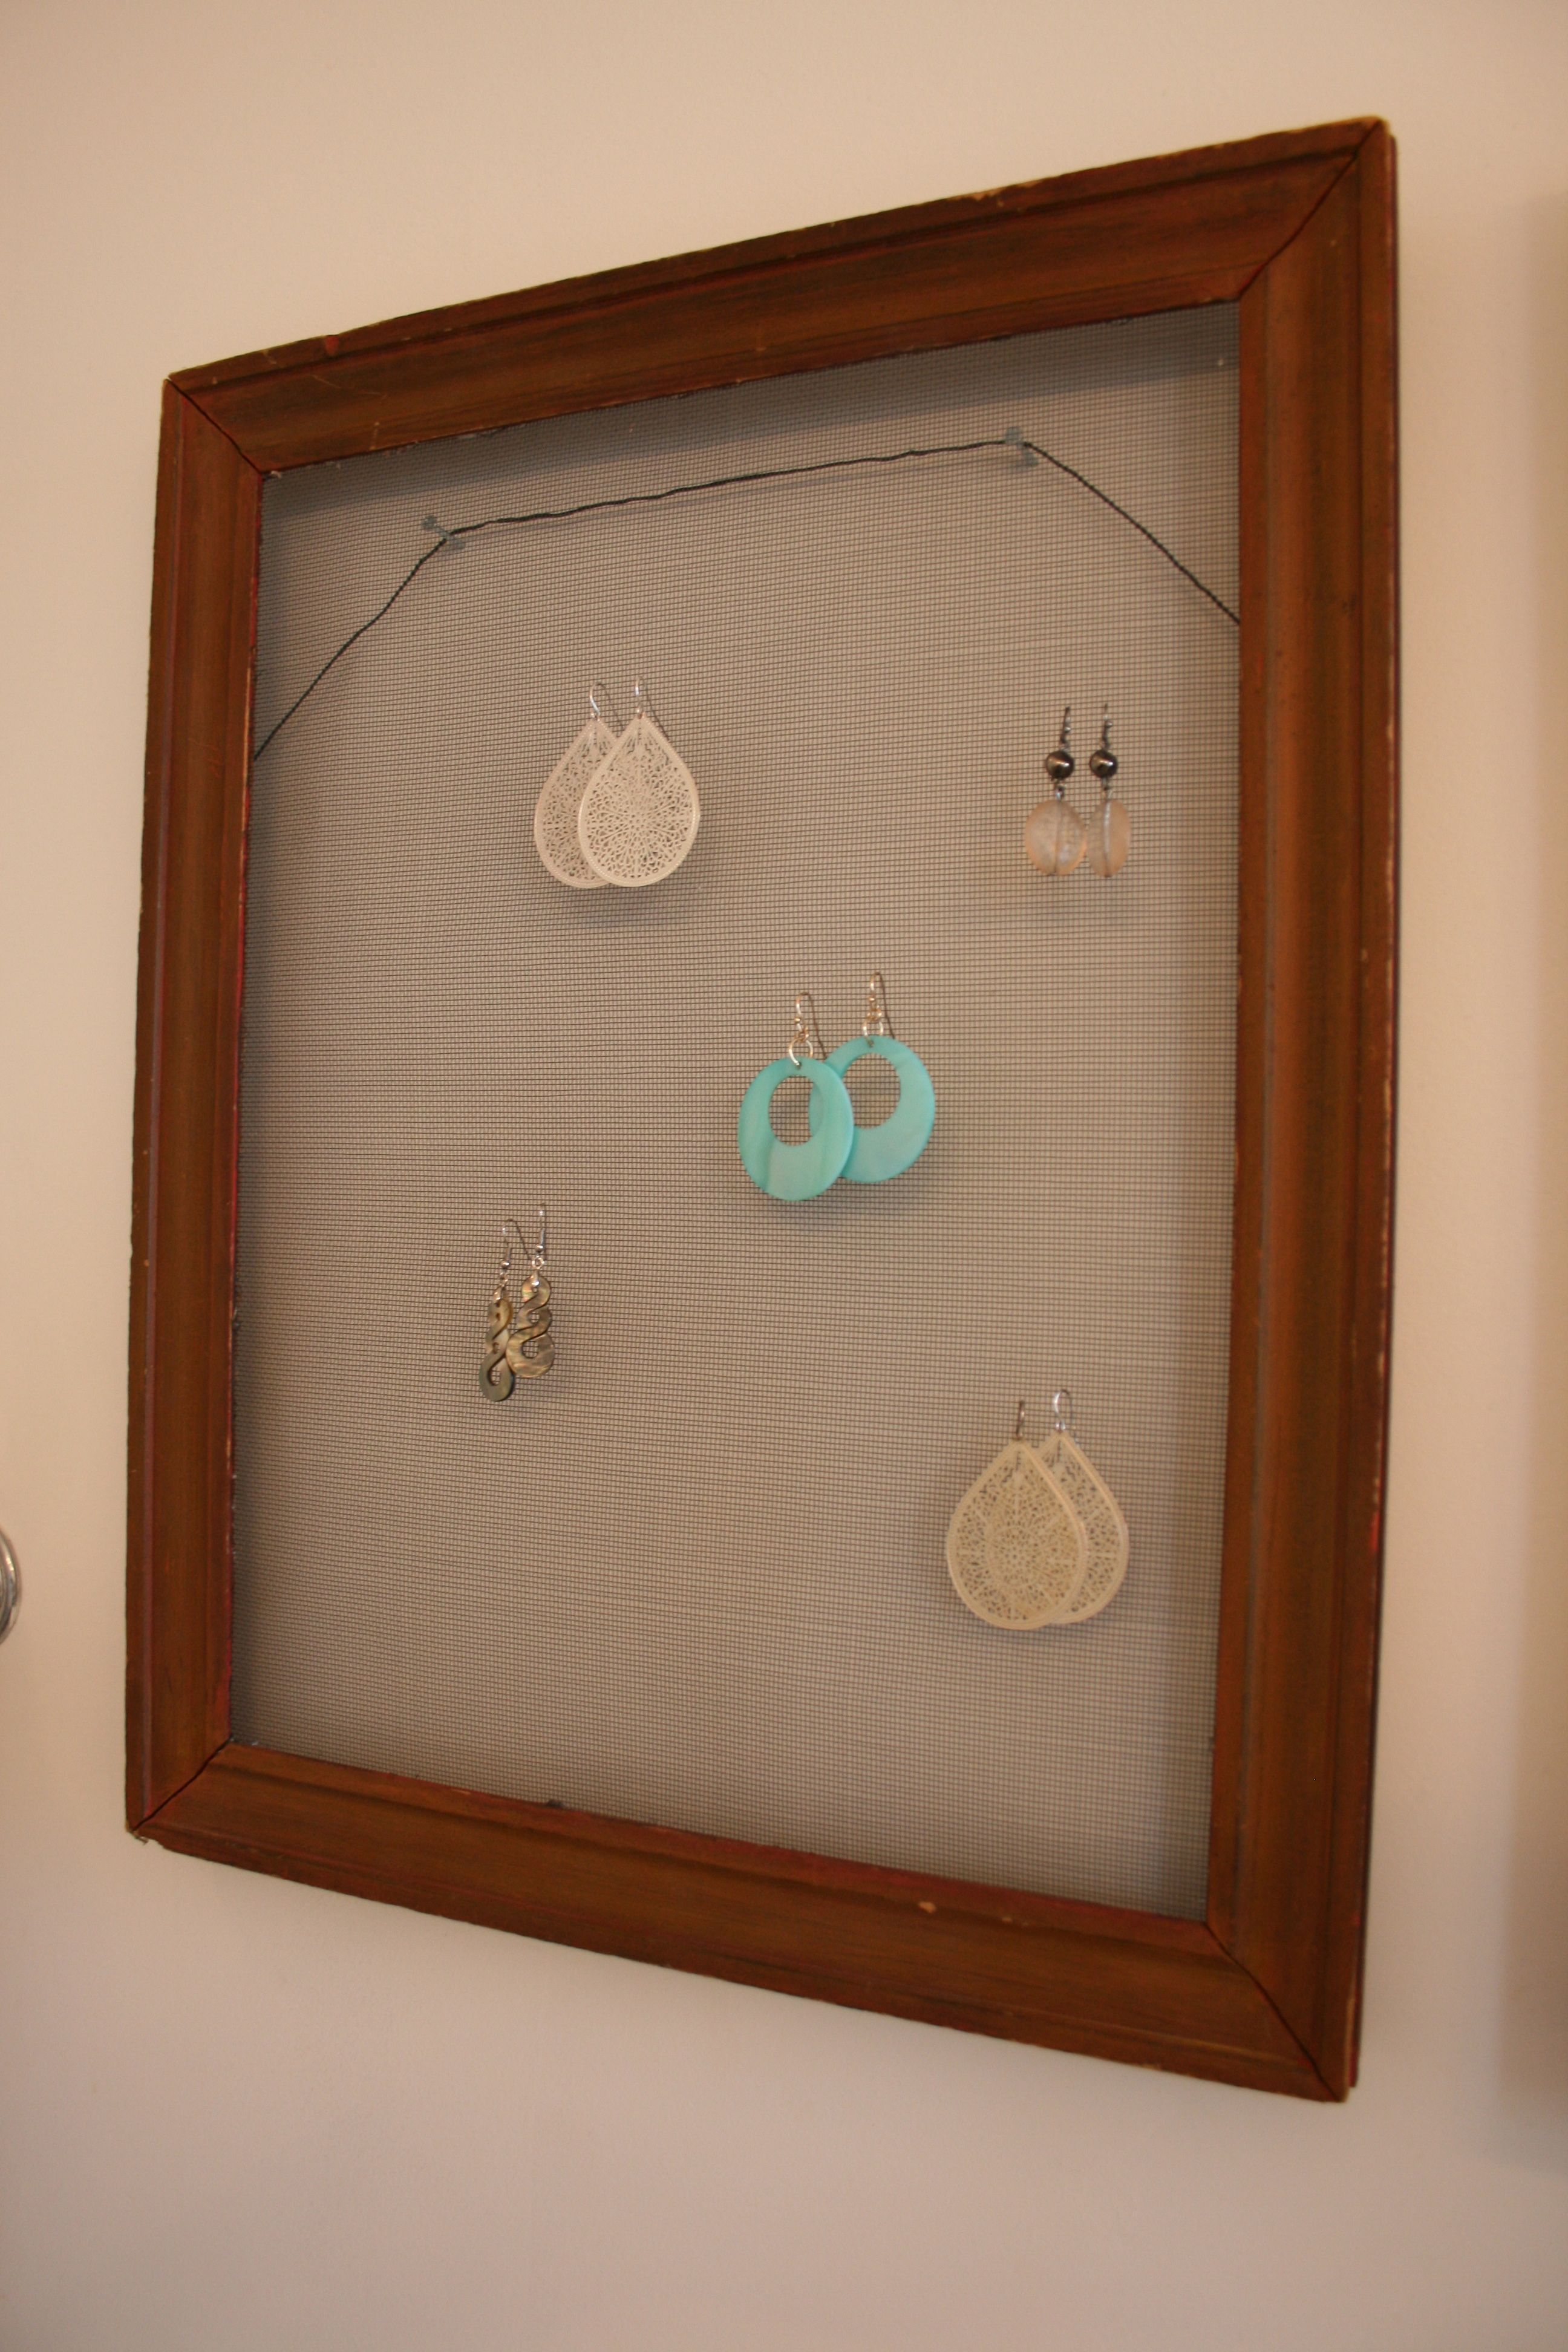
So up to the master bathroom we went! I decided to move the necklace-holding frame to the longer wall so that the two can be a pair. Miraculously, the frames were the EXACT same size – Still blows me away that that happened. It wasn’t intentional, but definitely a happy mistake.
So here they are together – One happy bling-y couple.
Not so sure about the black hanging wire seen through the wire mesh though…I may switch it out for clear fishing line. Or I might just drill through the frame and screw it into the wall. Don’t really like the fact that I am going to constantly have to straighten it when I move the earrings around. I’ll keep you posted!
UPDATE: I finally fixed the black wire and wobbling issue – Check out my solution here!
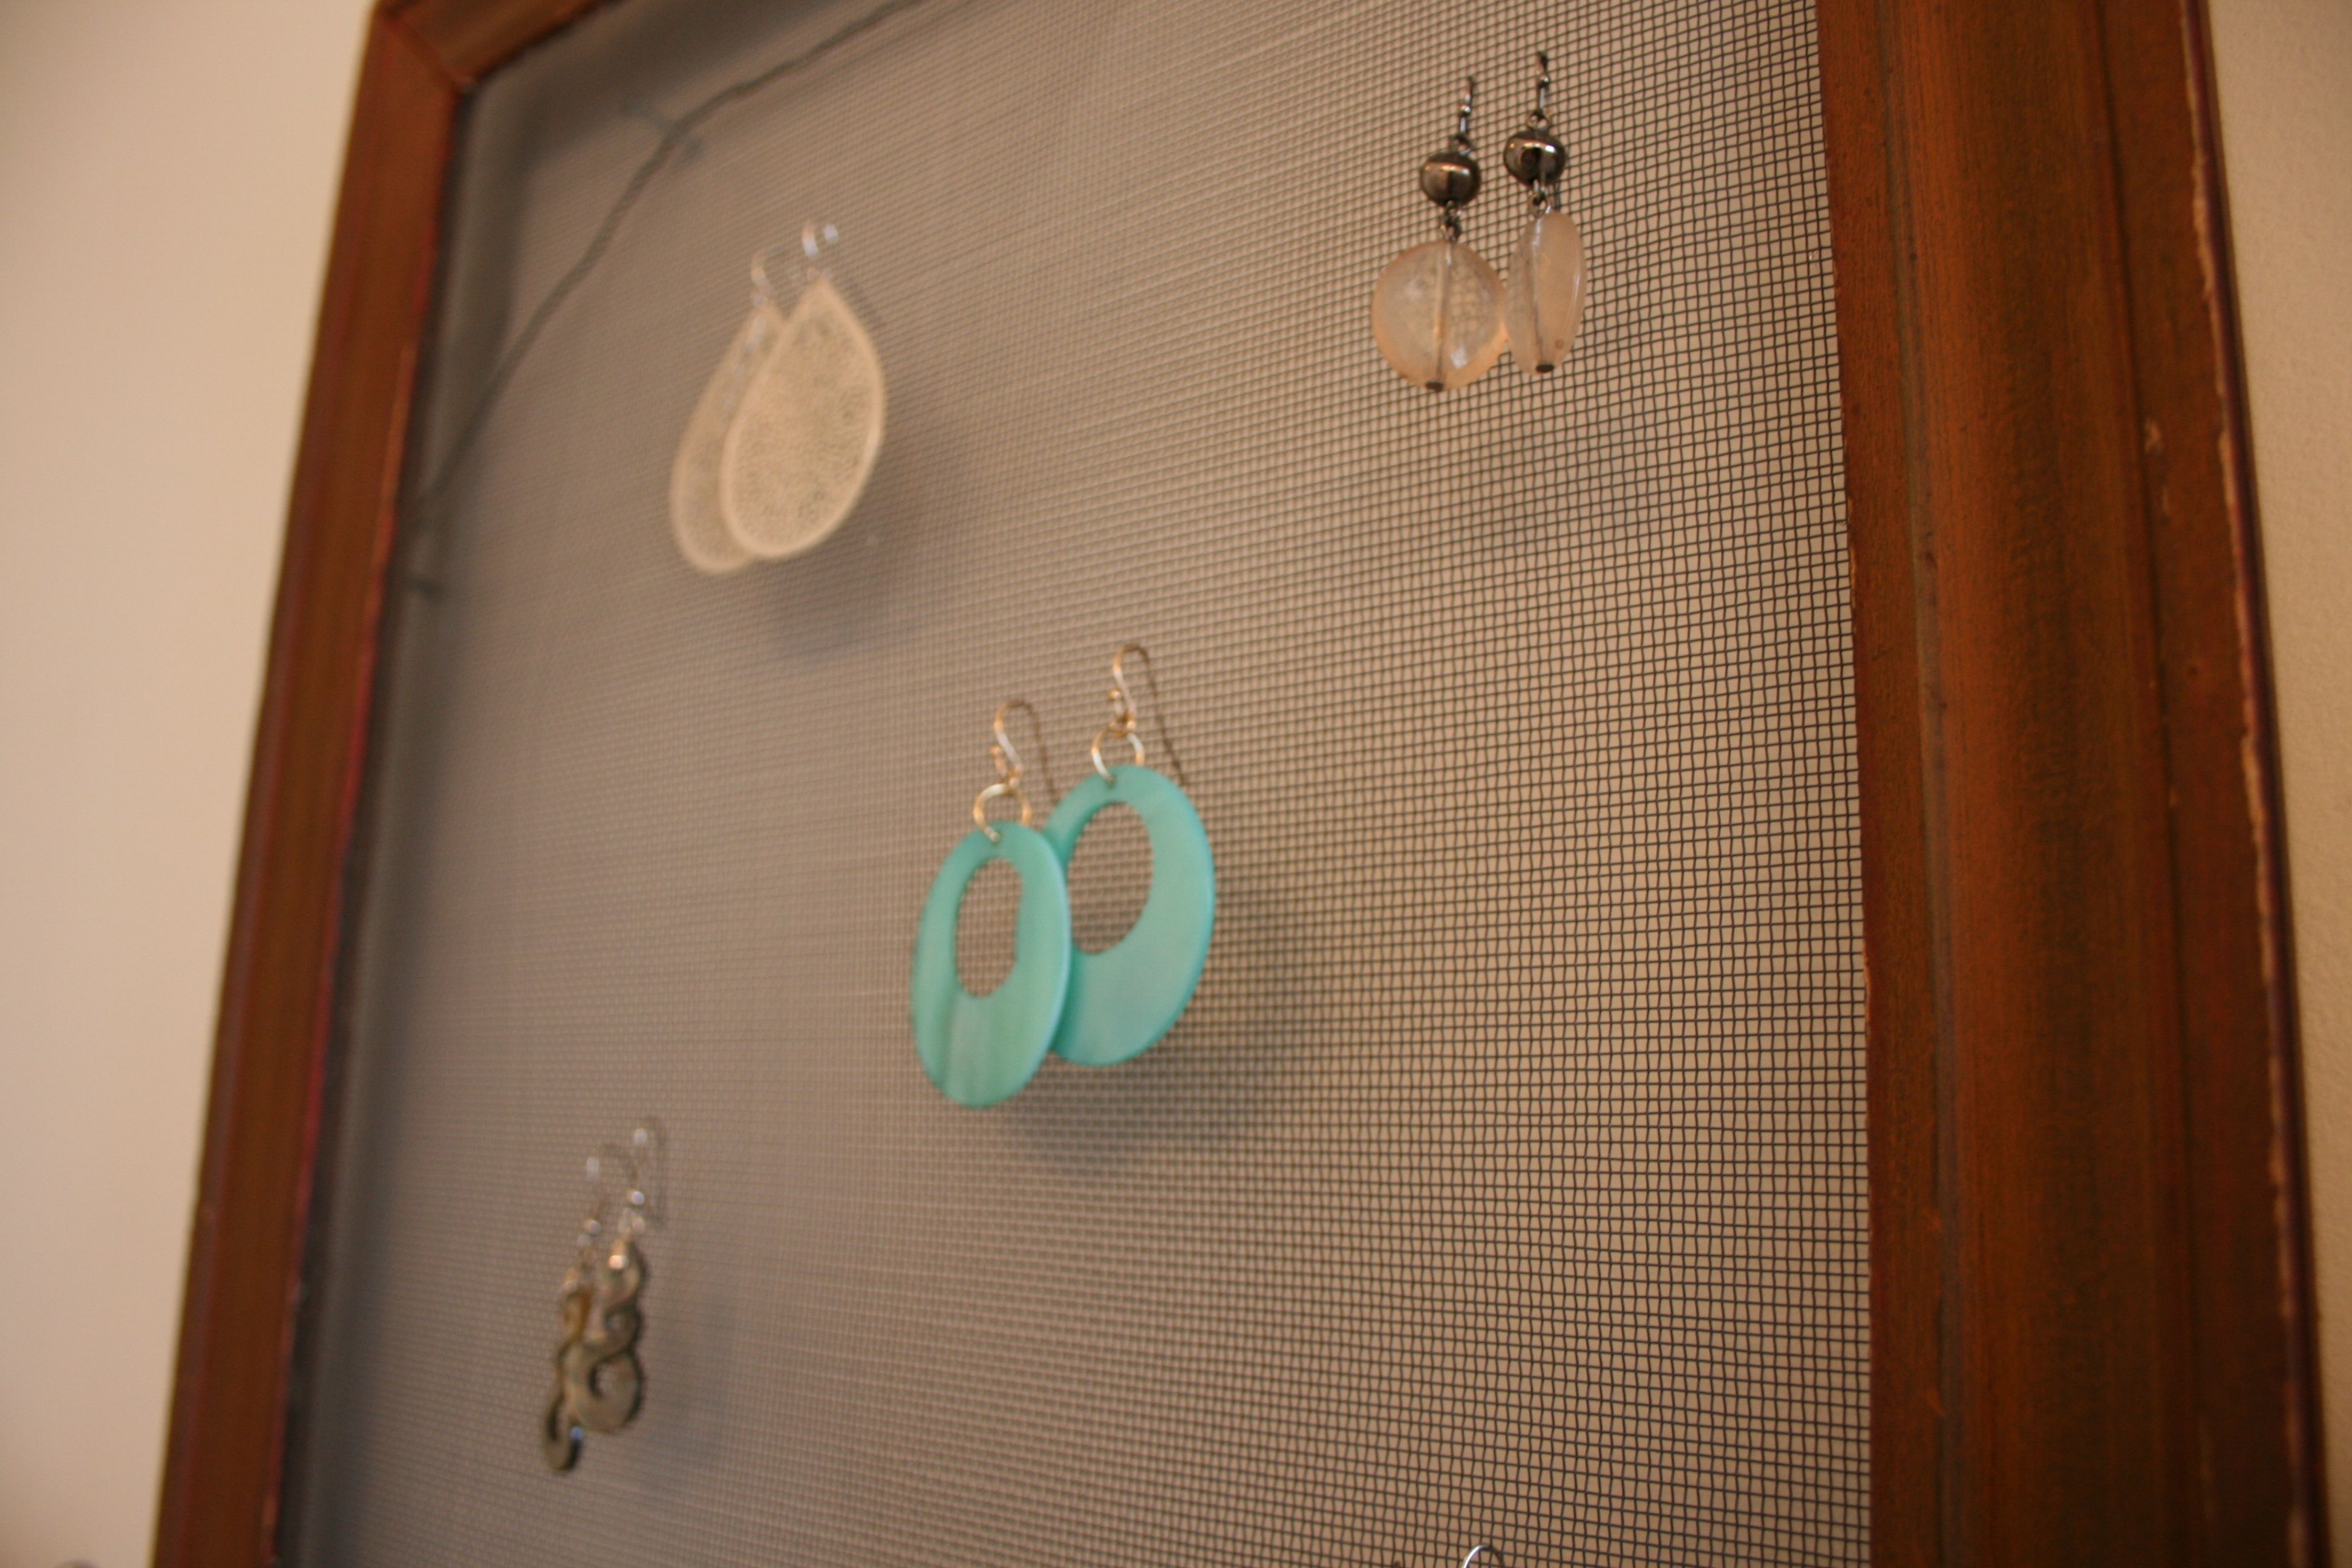
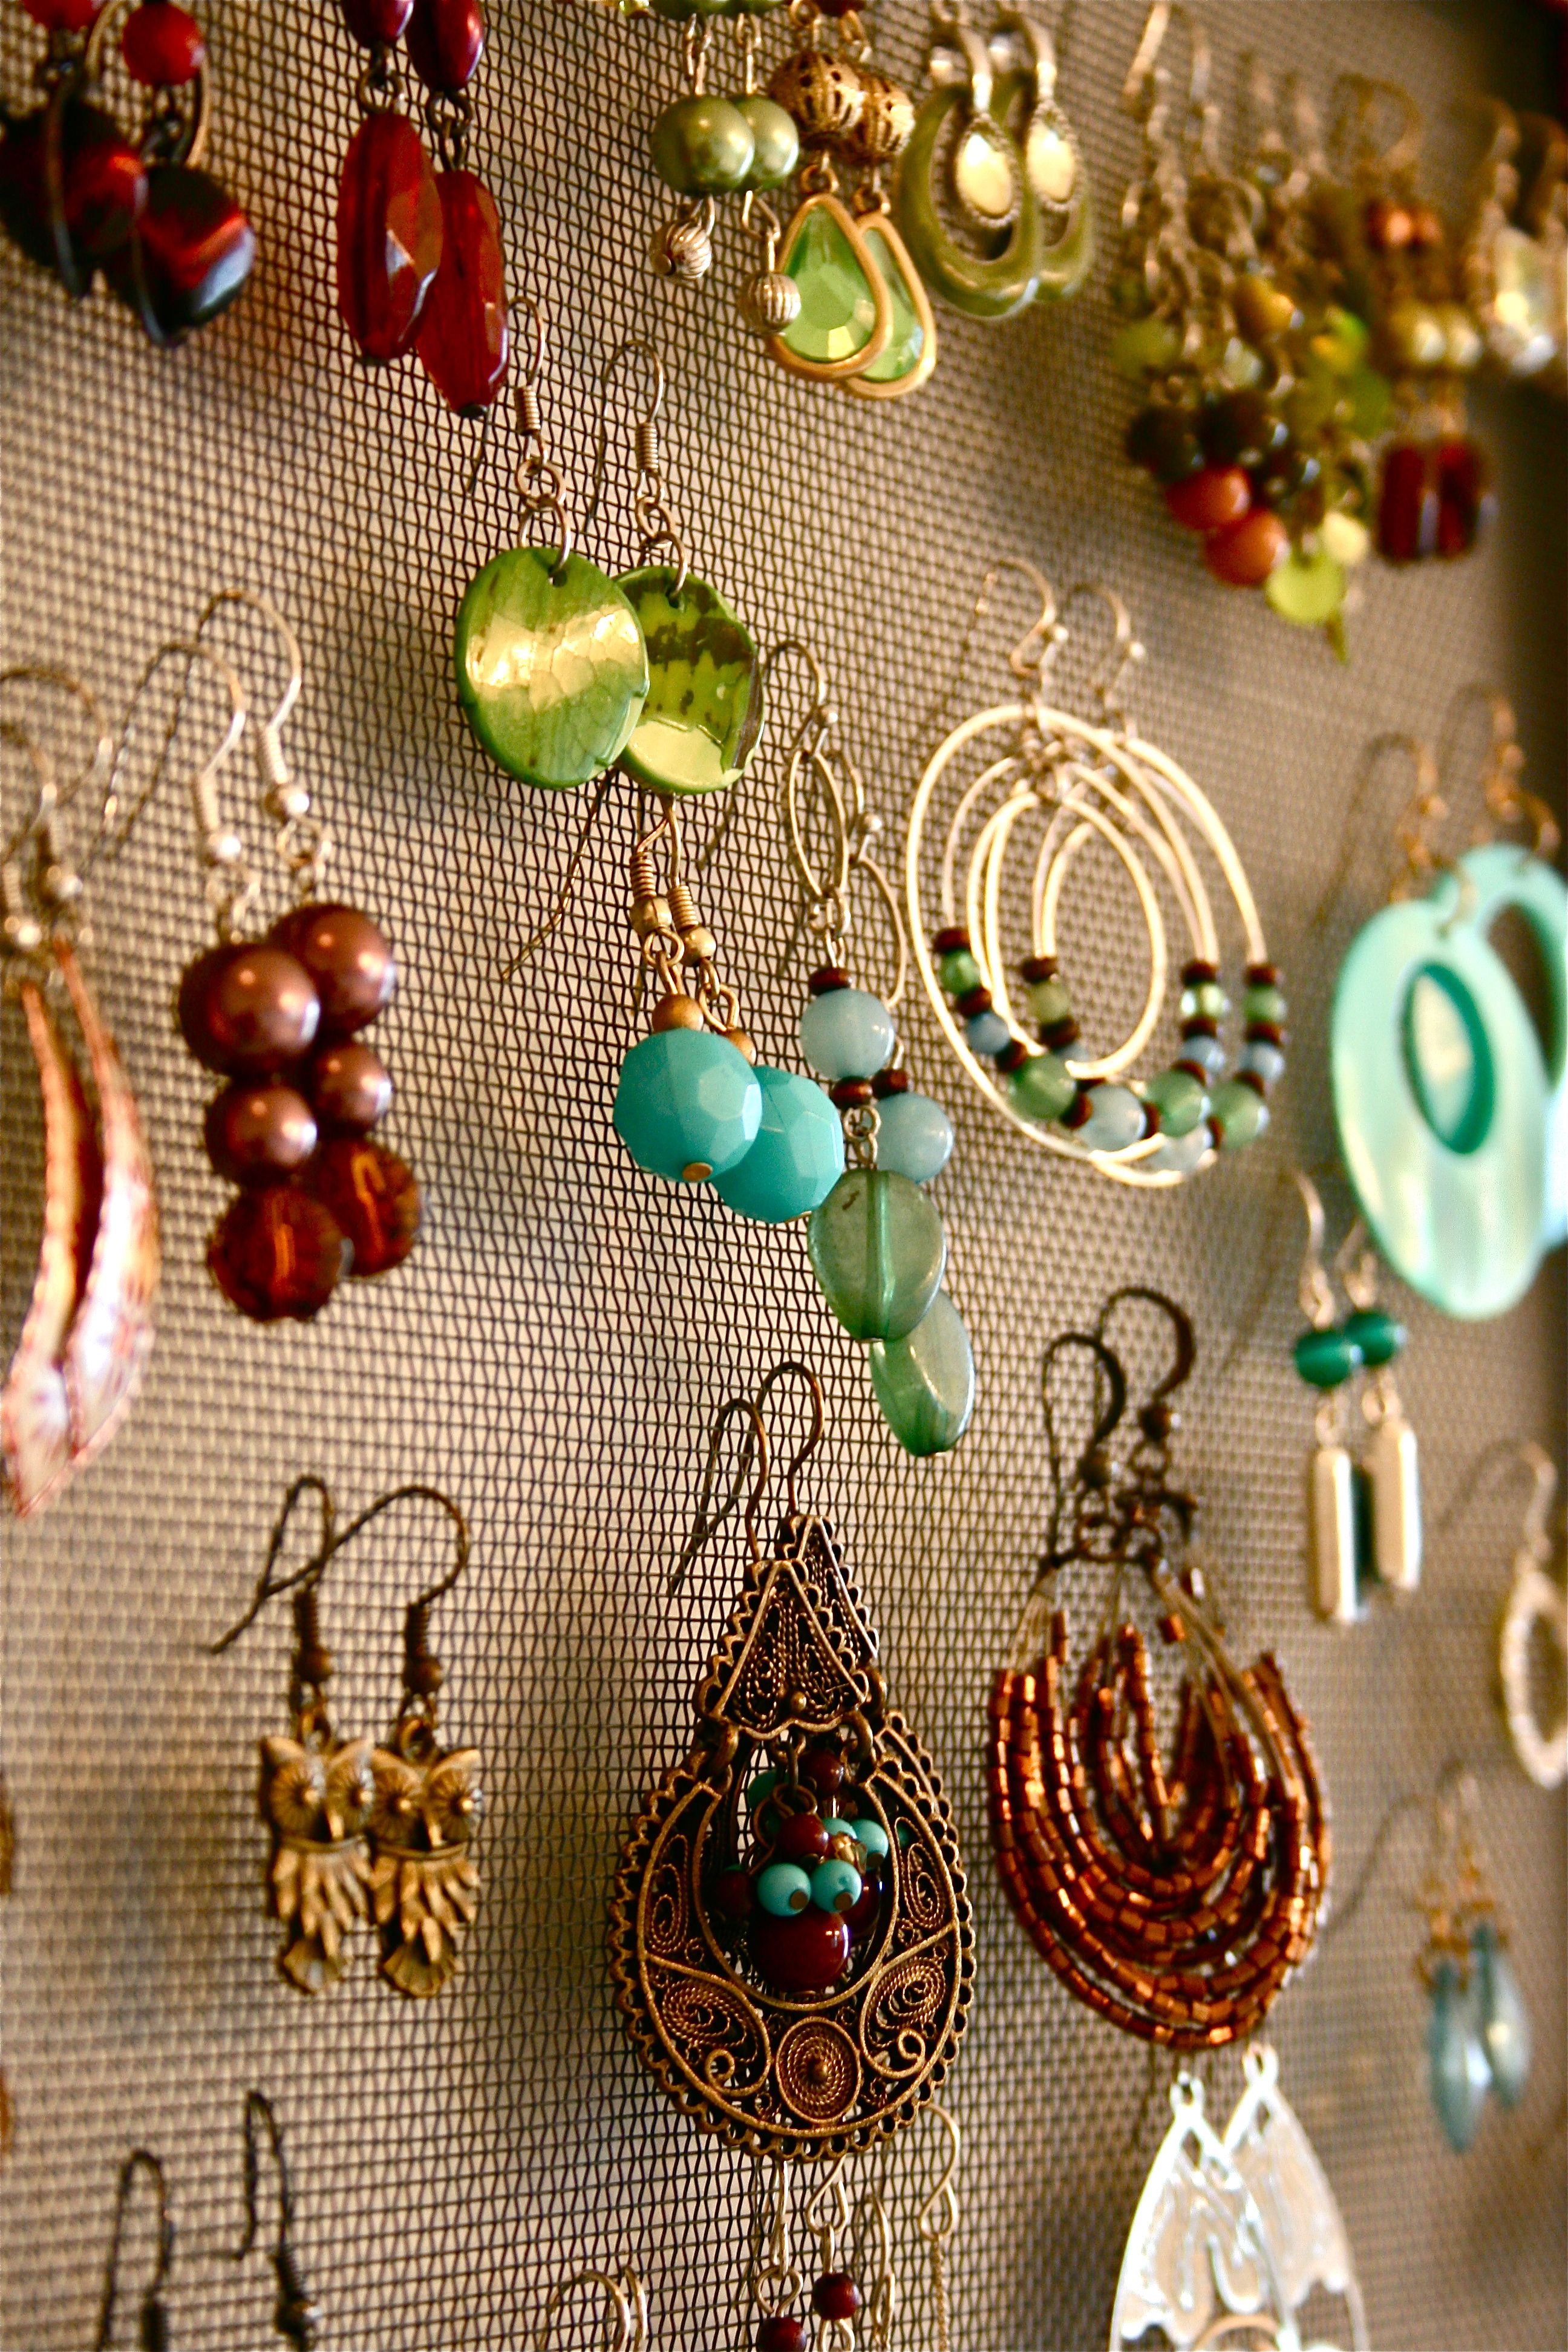
Some more details:
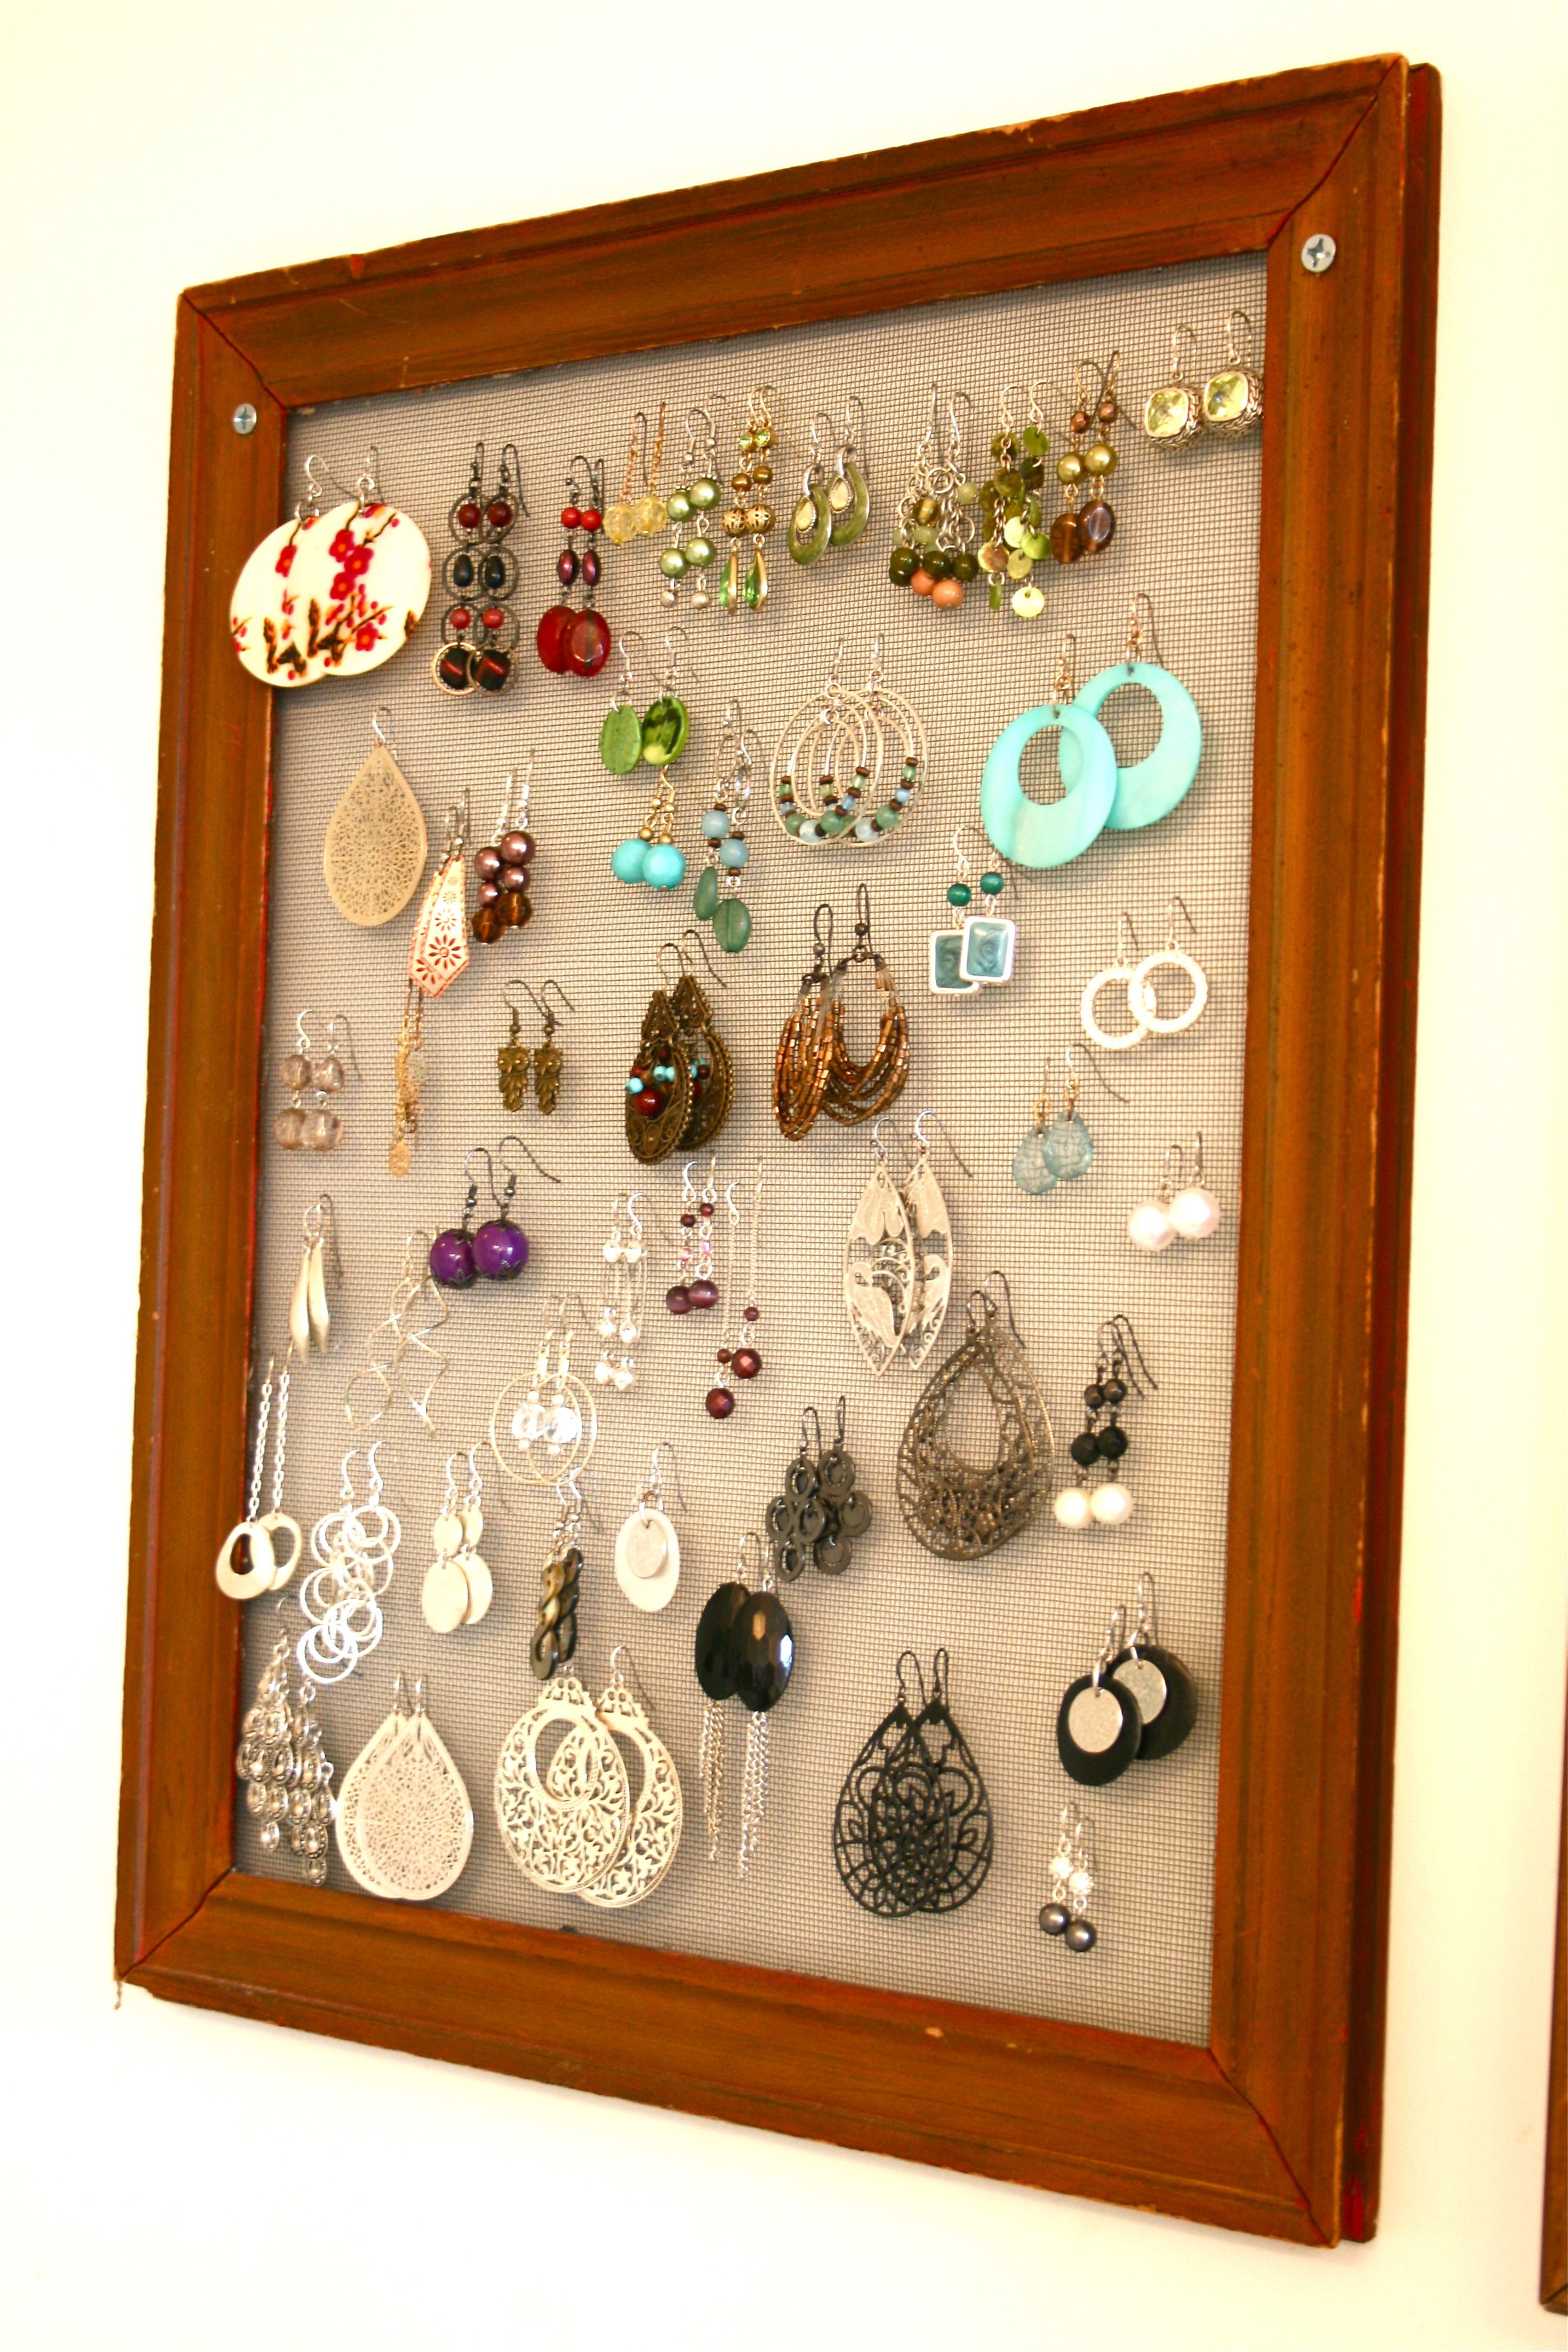
And in case you were wondering, this is about 1/8 of my full collection…It will be quite full when all is said and done. May need to make another framed organizer!
It’s amazing what $5.00 (and a little trial and error) can get you 🙂
ANOTHER UPDATE (as of 7/29/11): Here’s the other 7/8 of my collection after I finished the big move!!
I love how you can get pretty wall art just by hanging your earrings in plain view 🙂
Hope you enjoyed!

