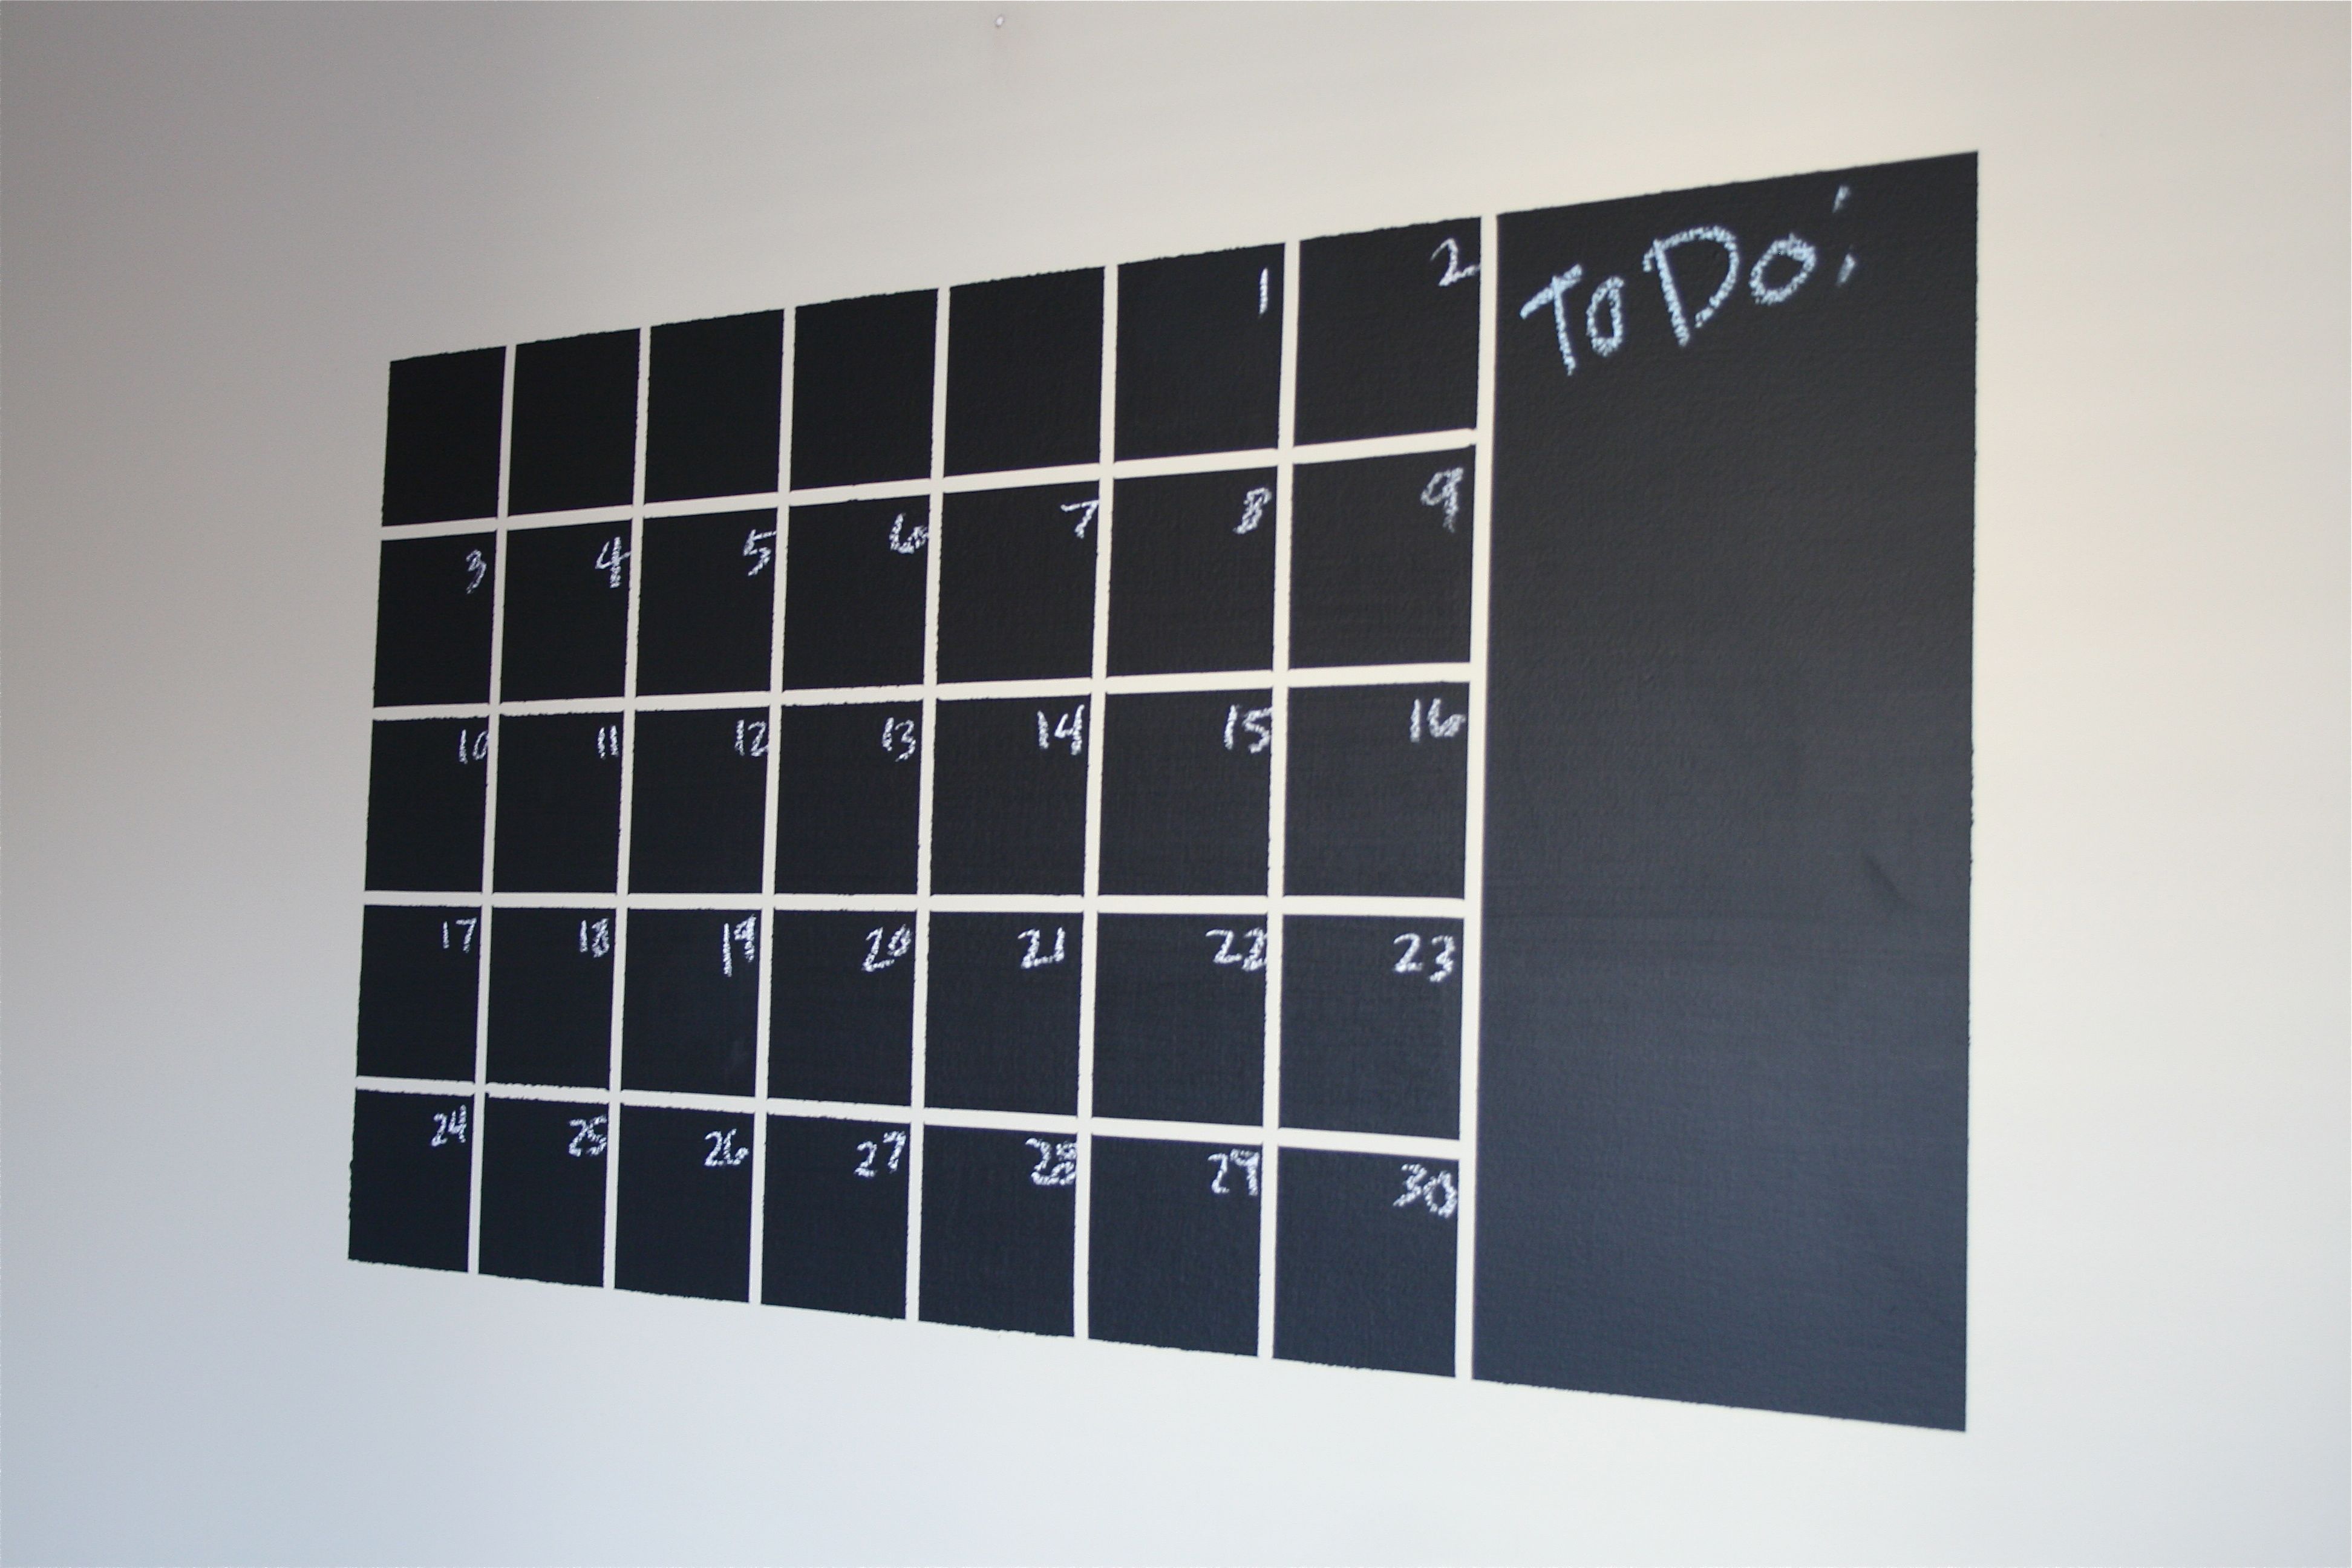
Now for our fifth and final reveal from our AMAZINGLY productive weekend: The chalkboard calendar.
As you may remember, we hit a wall a couple of weeks ago when we couldn’t find a roll of masking tape any thinner then a 1/2″ for the dividing lines. Luckily, one of John’s coworkers came to the rescue – He happened to have 1/4″ tape (for car detailing) that he wasn’t using in his truck. Score!!!
If you’ll remember, this is what we were going for…
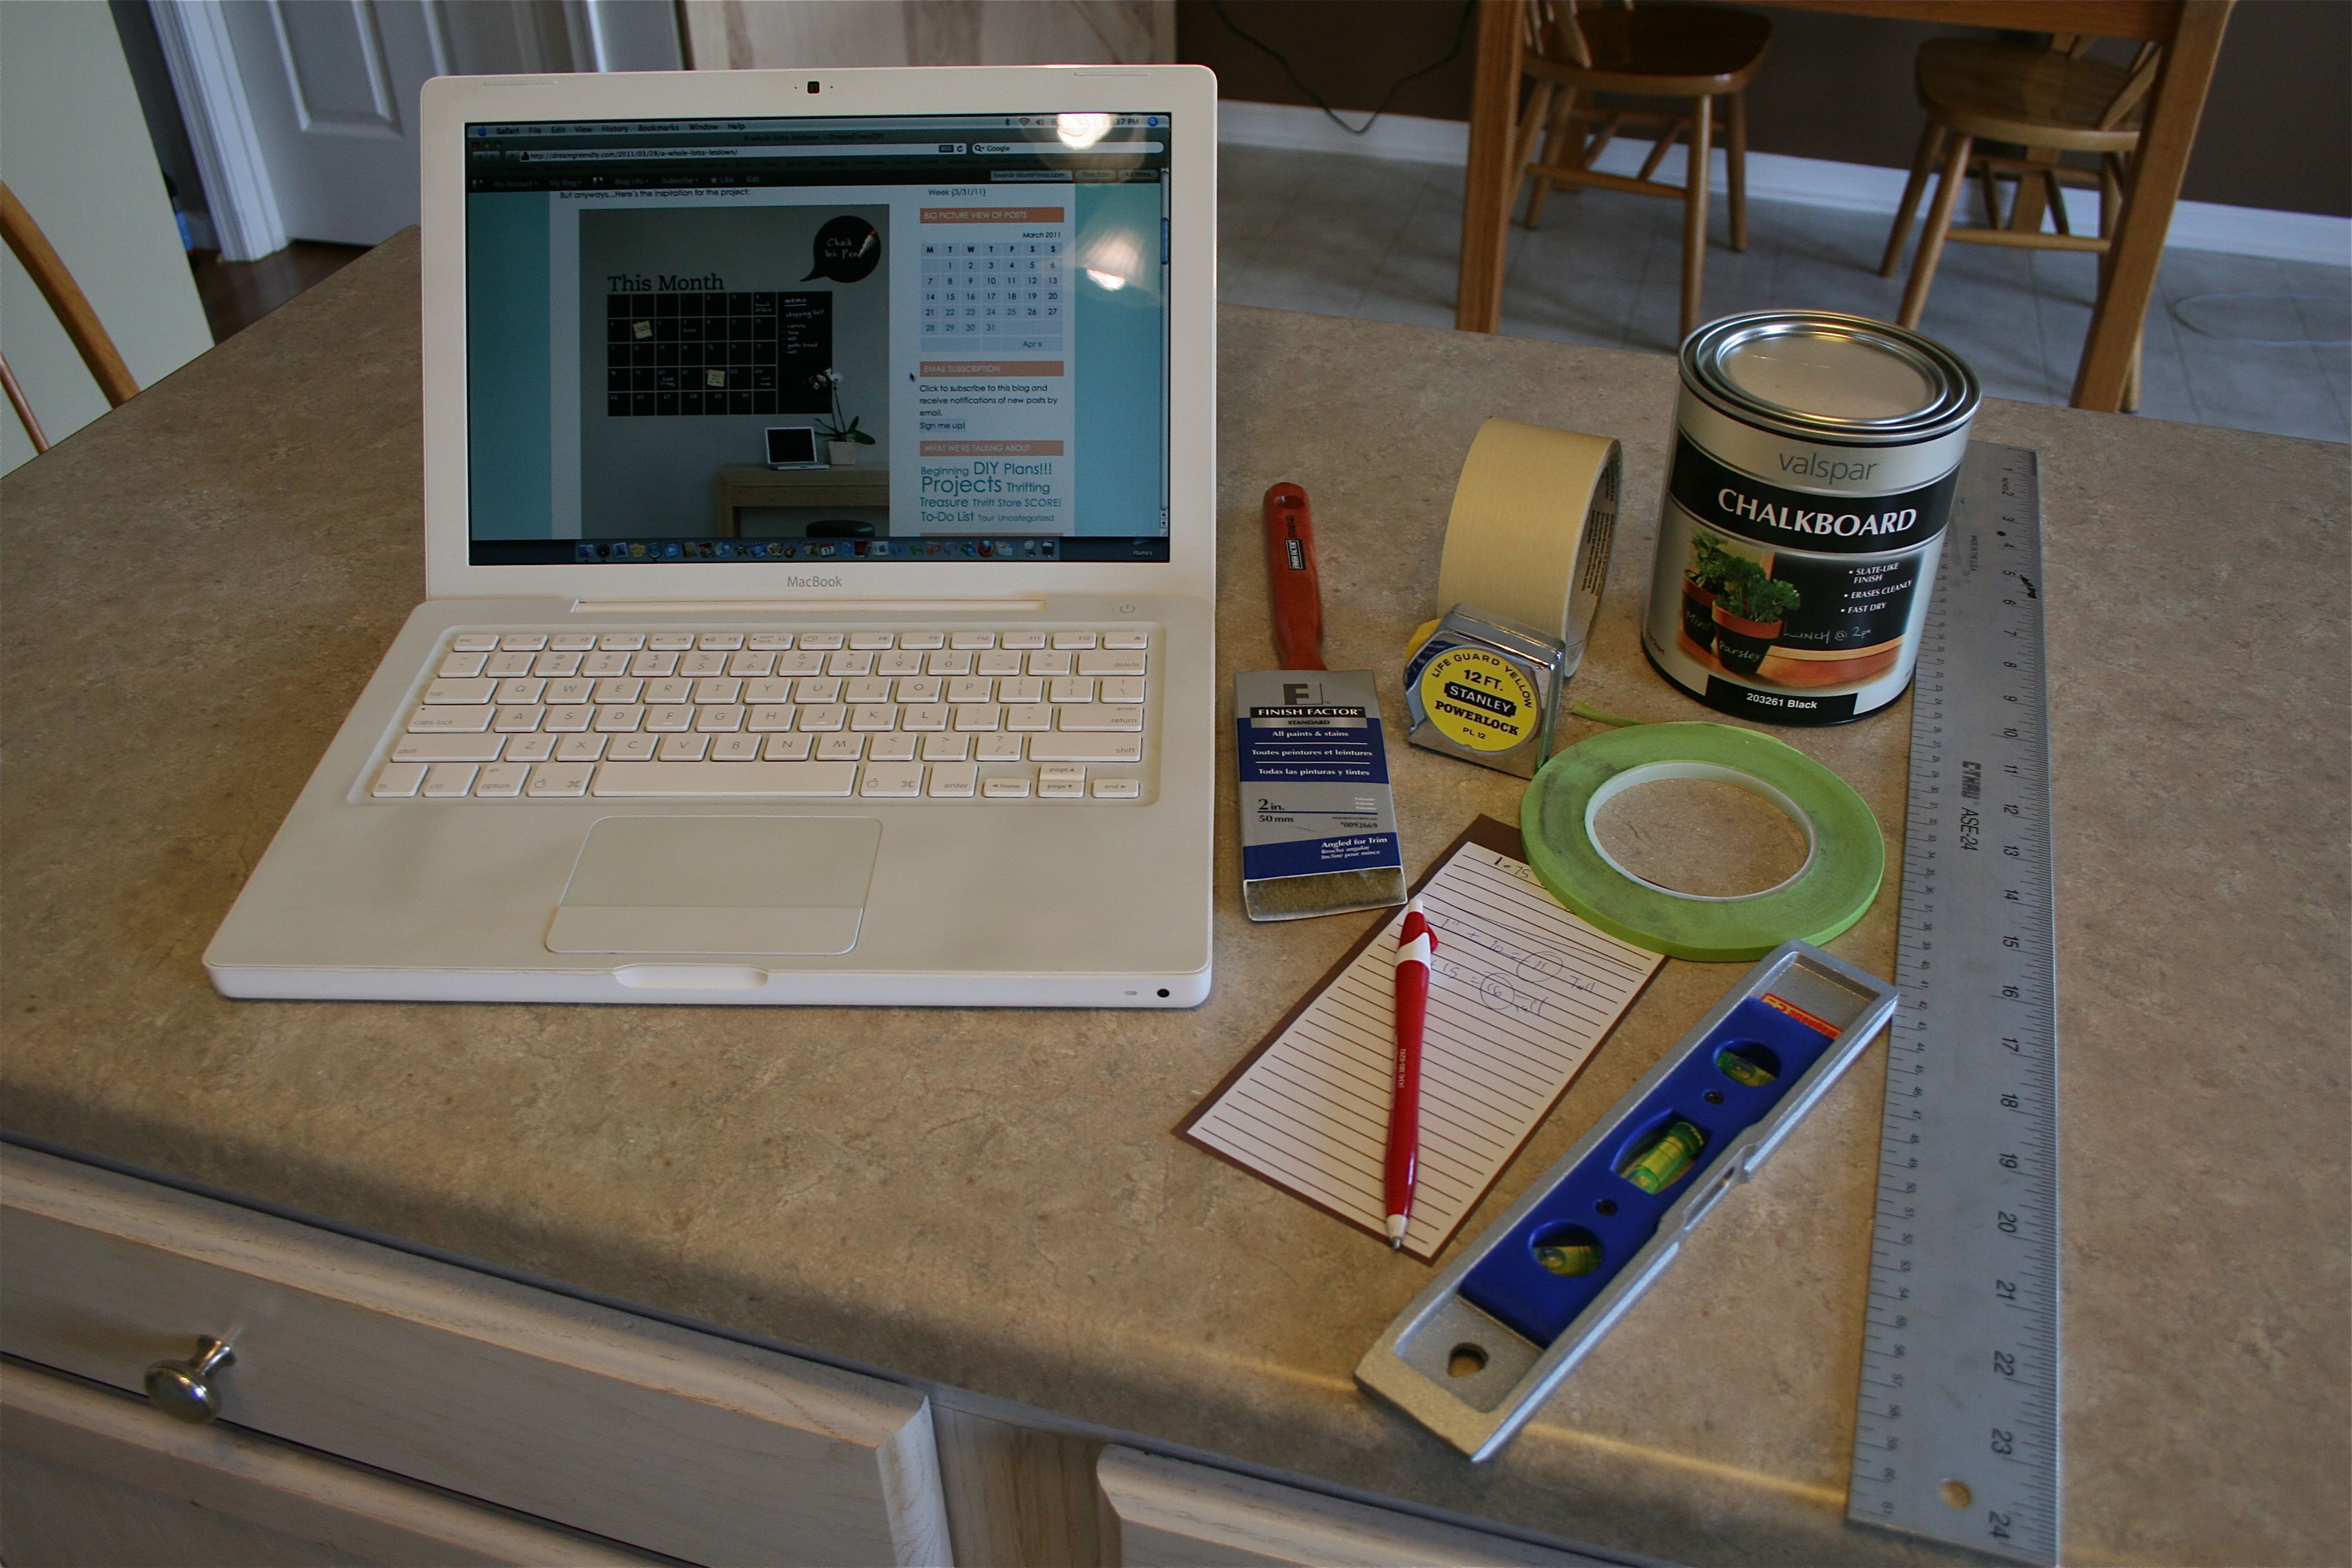
So armed with the following:
- John’s MacBook with the Dream Green blog opened to the post with our calendar inspiration photo in it (because I somehow lost my print-out of the example…)
- A quart of Valspar black chalkboard paint
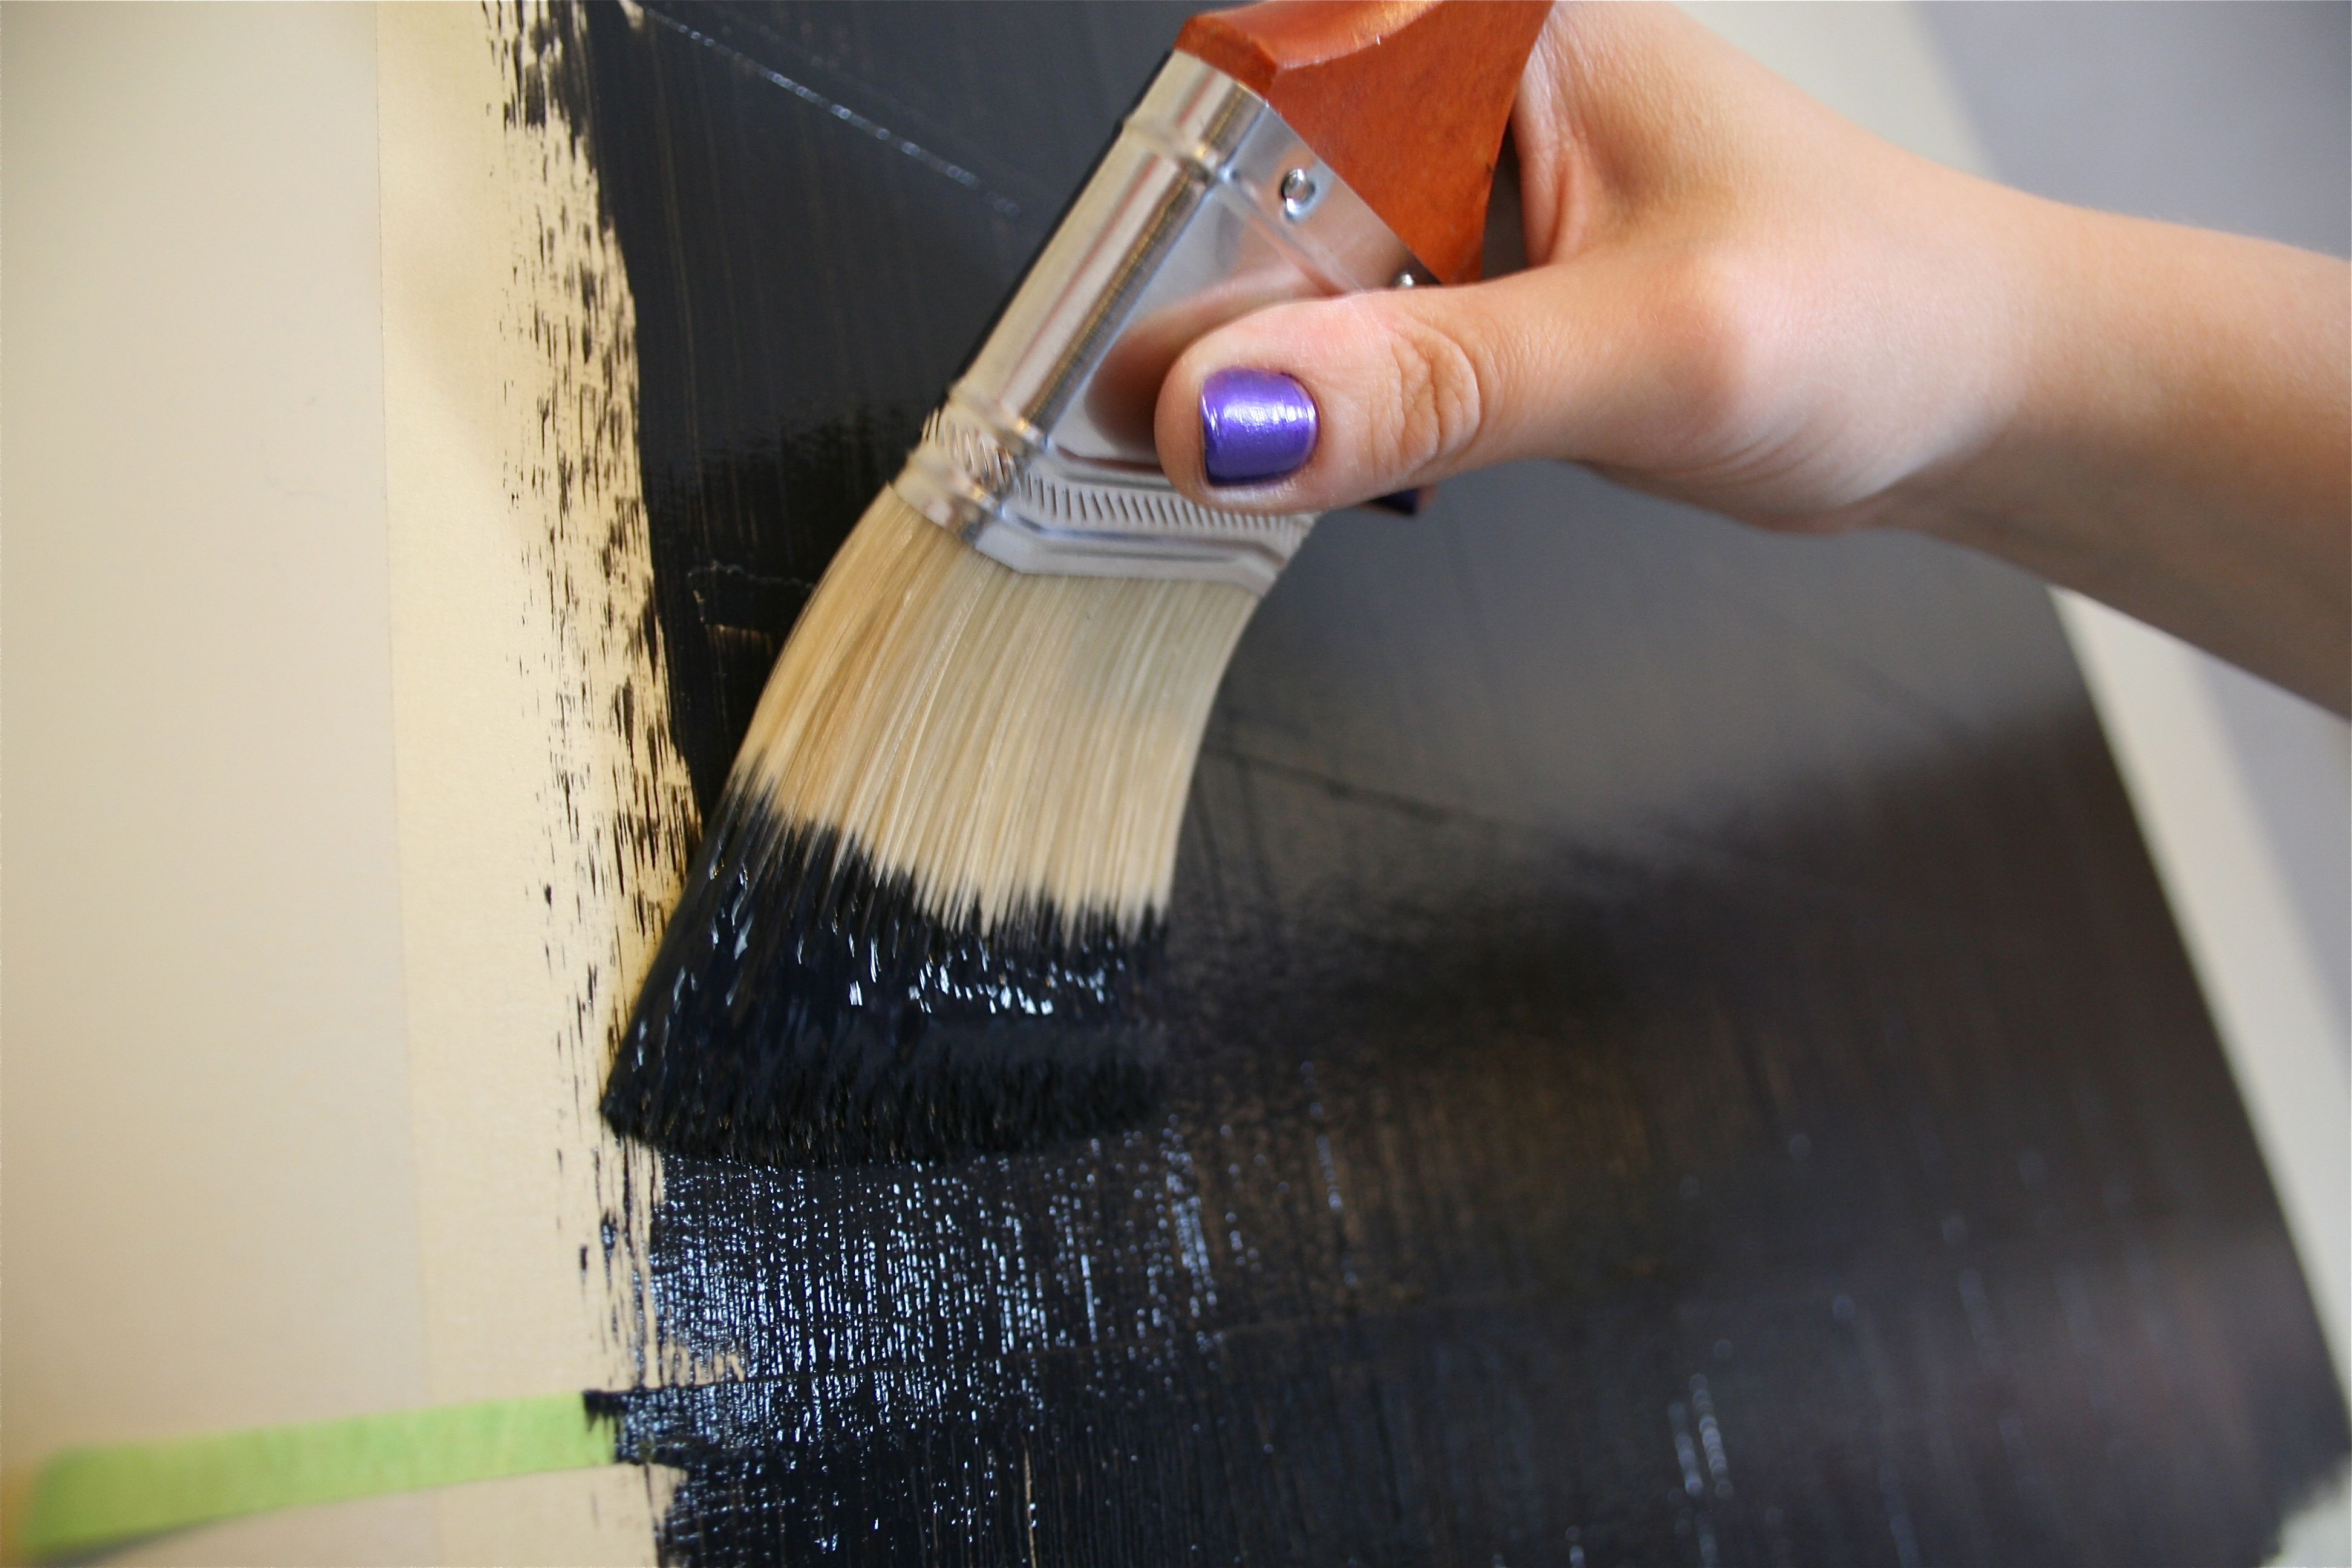
- A new nylon paint brush (which was the recommended brush type listed on the back of the chalkboard paint can)
- Measuring tape and an oversized ruler for centering the calendar and marking out the “daily” squares
- Thick masking tape for masking off the overall rectangle of the calendar
- Thin 1/4″ masking tape for the lines between the “daily” squares
- A level for ensuring that the lines were straight
- Pen and note paper for doing the math
We decided on 3×3″ “daily” squares and a 7×16″ “memo” section. So, after factoring in the 1/4″ masking tape every few inches, we came up with a 16×22.75″ rectangle.
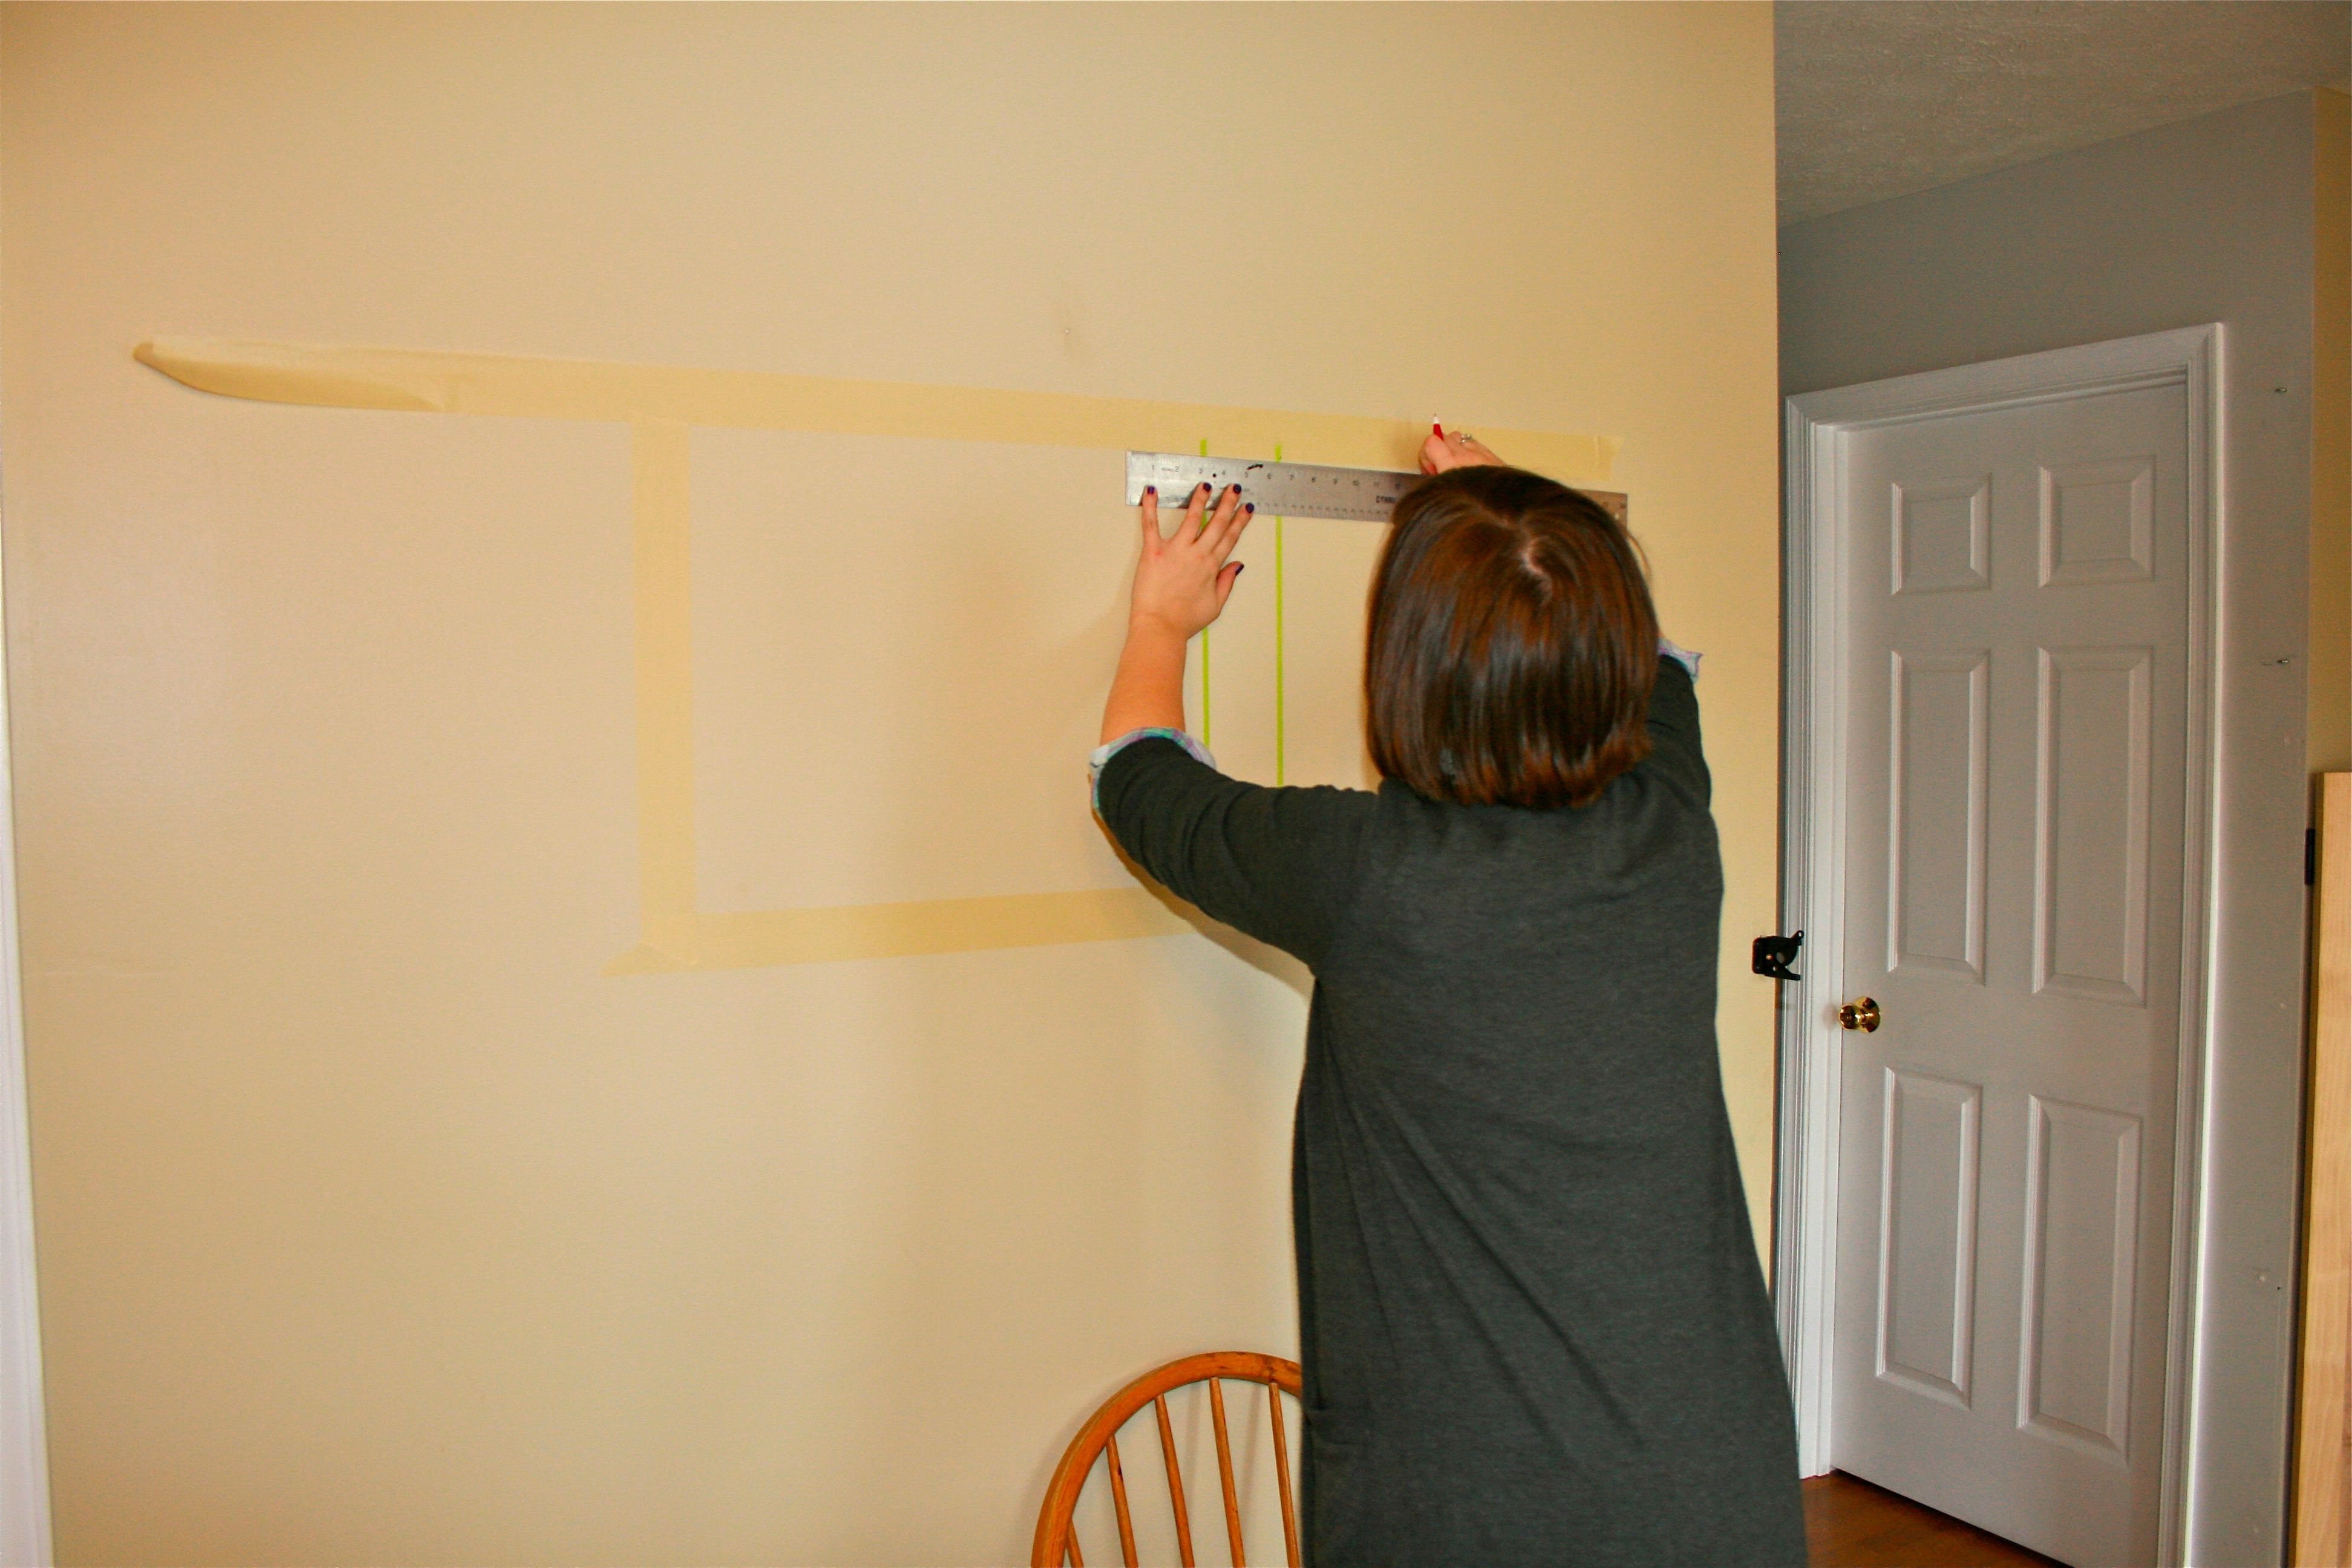
We masked the whole thing out in the thick masking tape, using the level to make sure our lines would be straight. Then we started putting in the vertical thin lines by making pen marks every 3″ on the top strip of thick masking tape and then again on the bottom strip. Doing two marks meant that all I had to do to make the thin line straight was to line up the top with the mark on the upper thick tape and the bottom with the lower thick tape – No wonky/crooked lines!!!
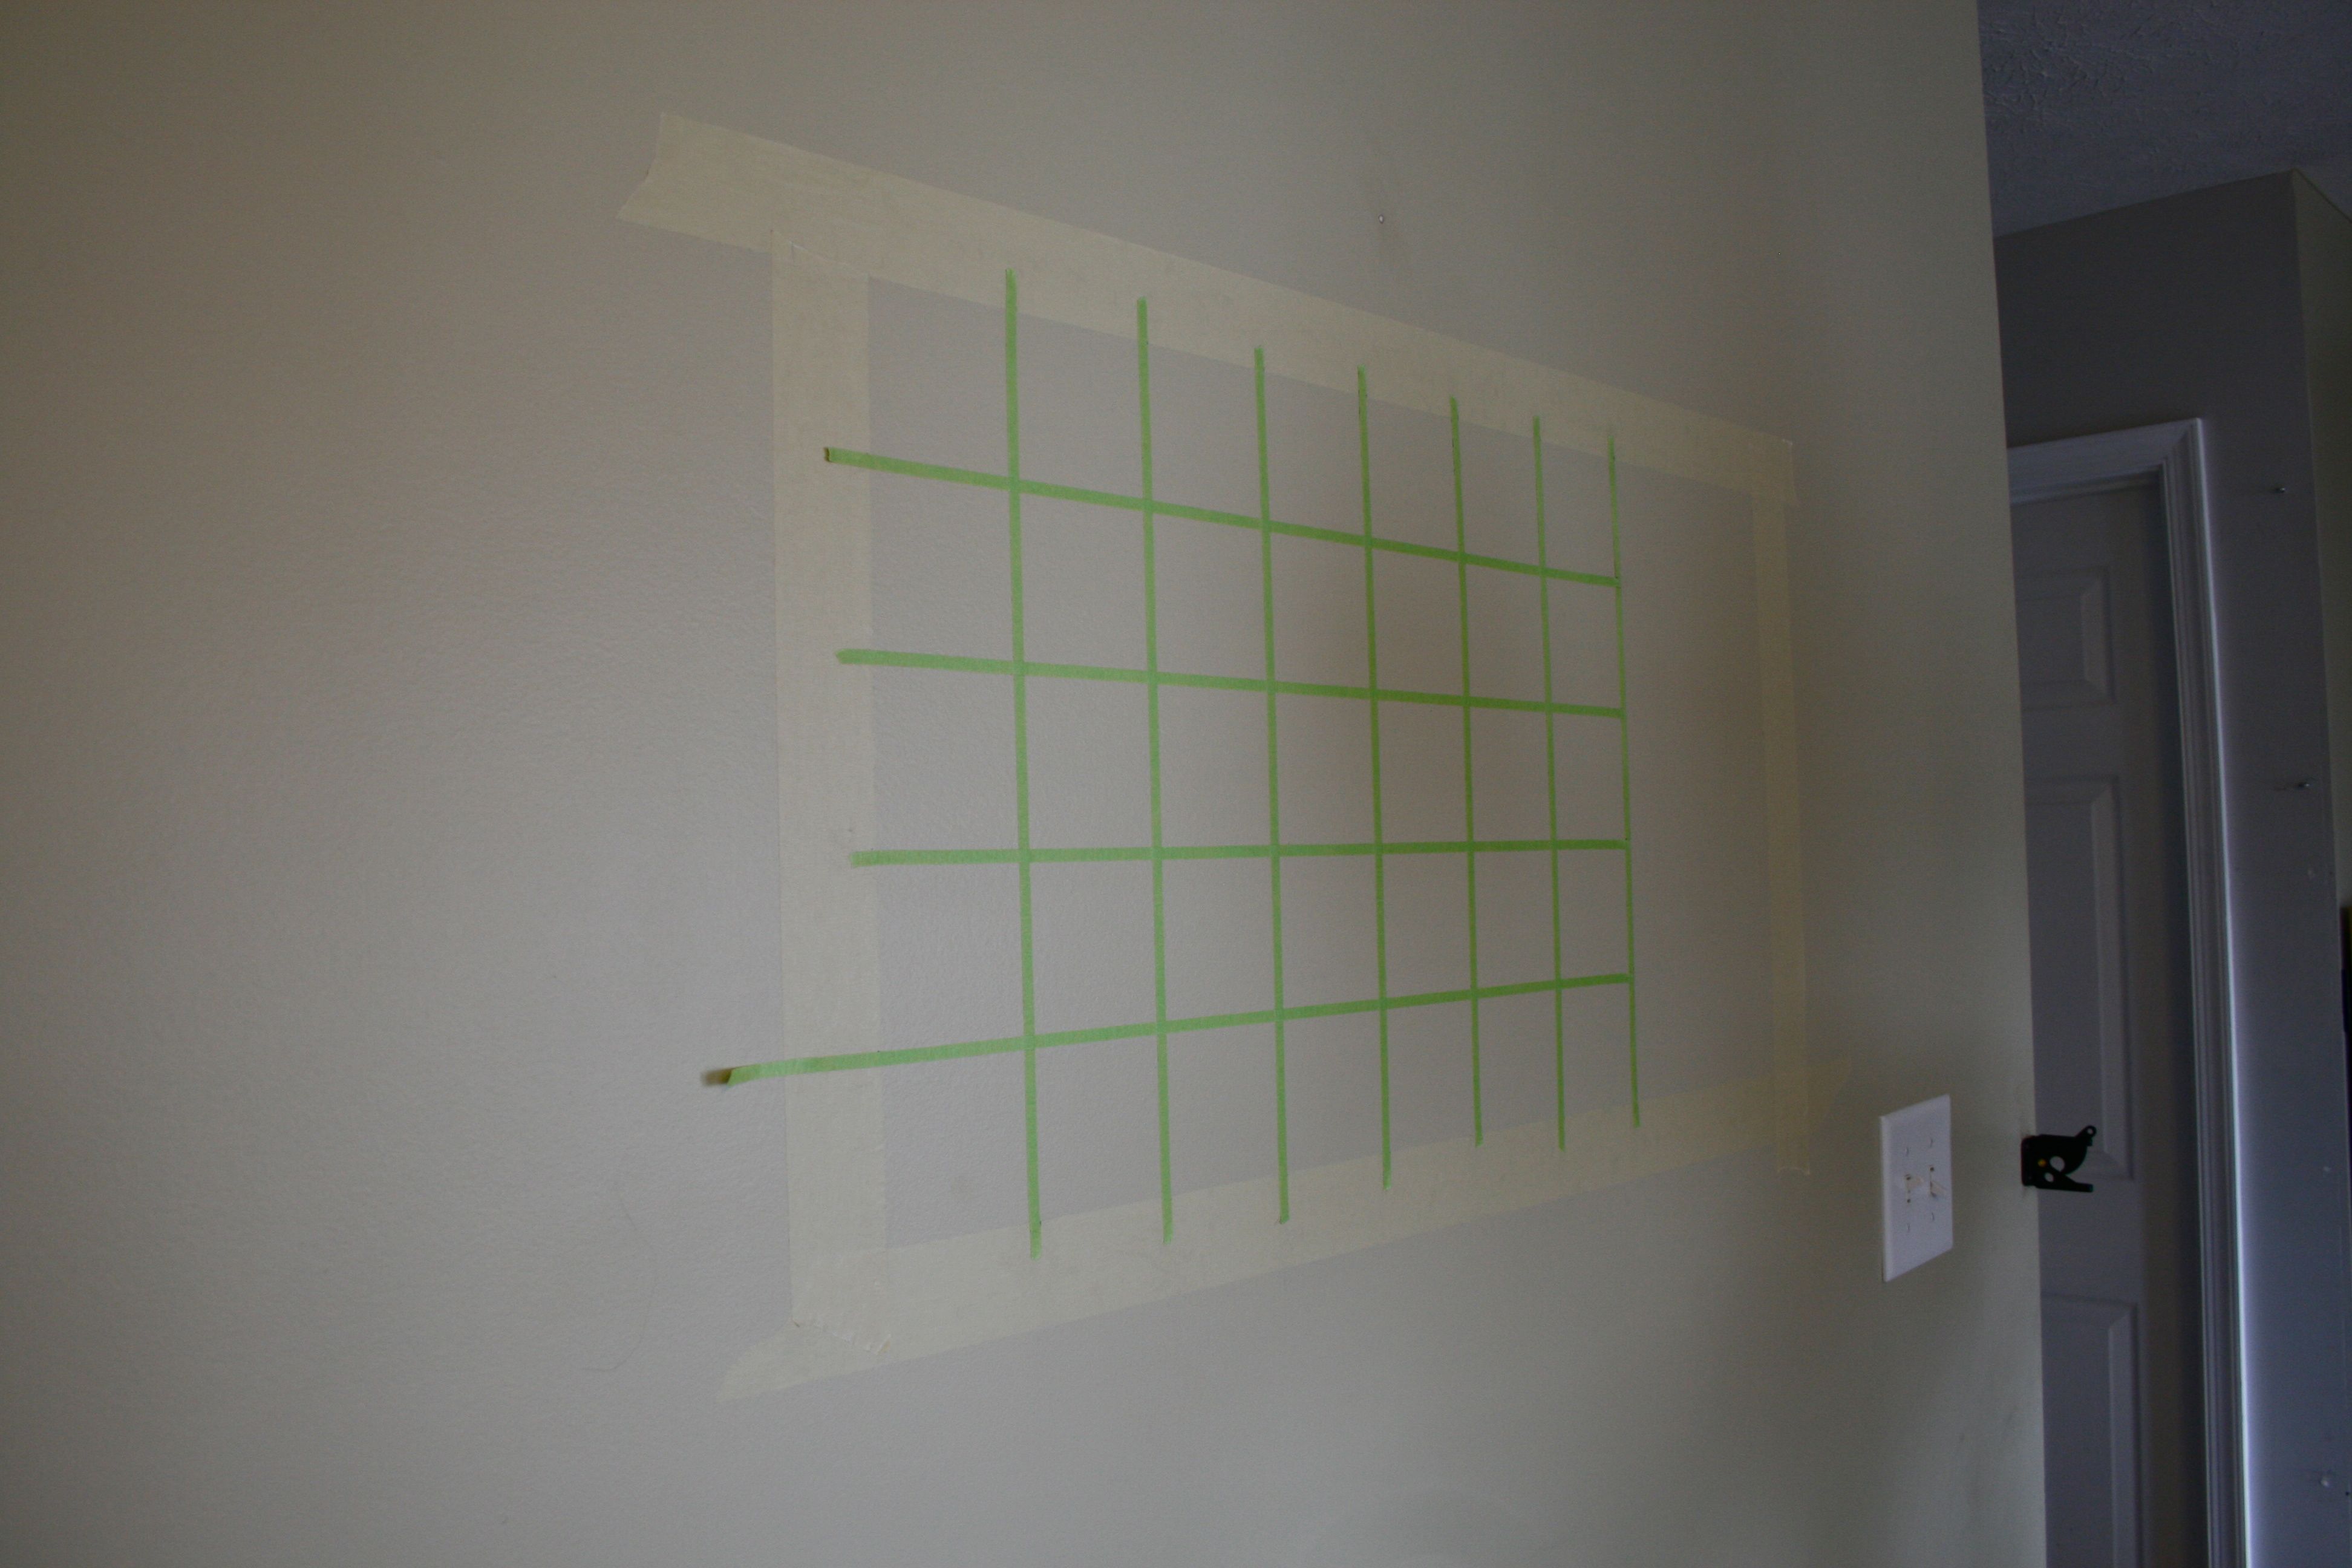
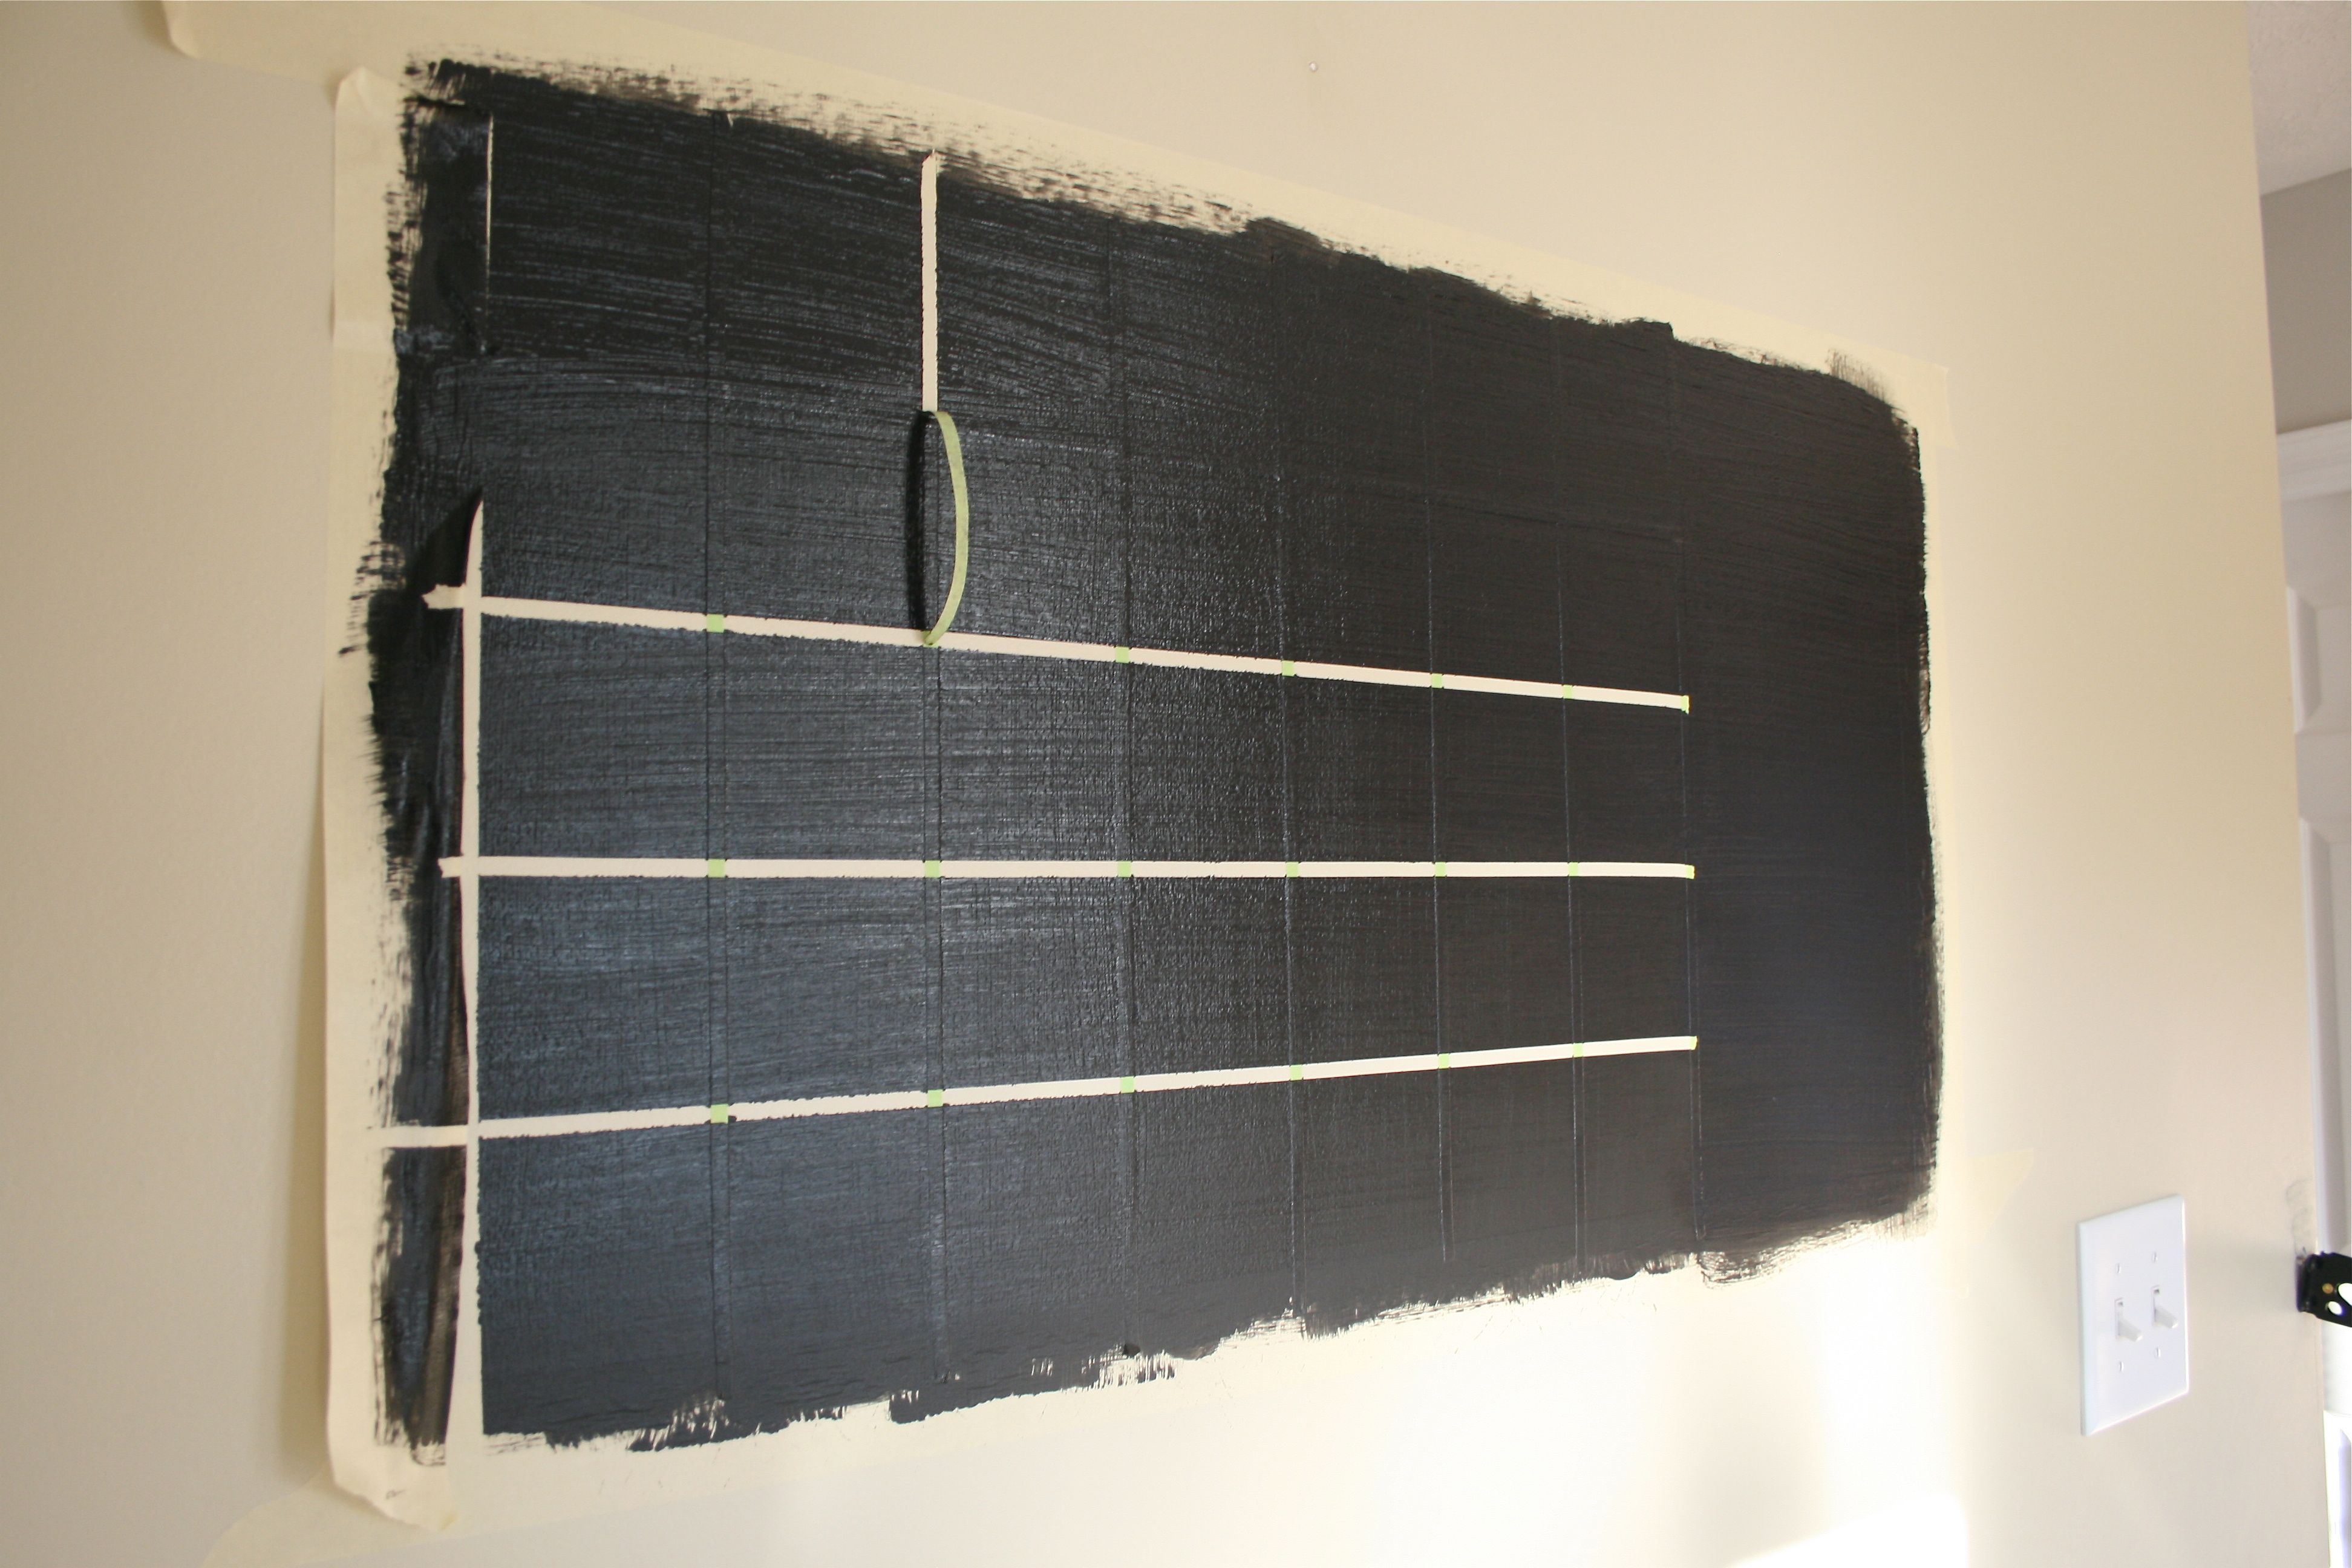
We did the same thing with the horizontal thin lines (making a mark every 3″ on the left-hand thick tape and another mark on the right-hand thick tape, and then lining up the thin tape lines with those marks) and got the result below! We cut the thin tape at the 7th vertical line so that it didn’t go ALL the way across since we didn’t need to make any separation lines in the “Memo” section on the right-hand side.
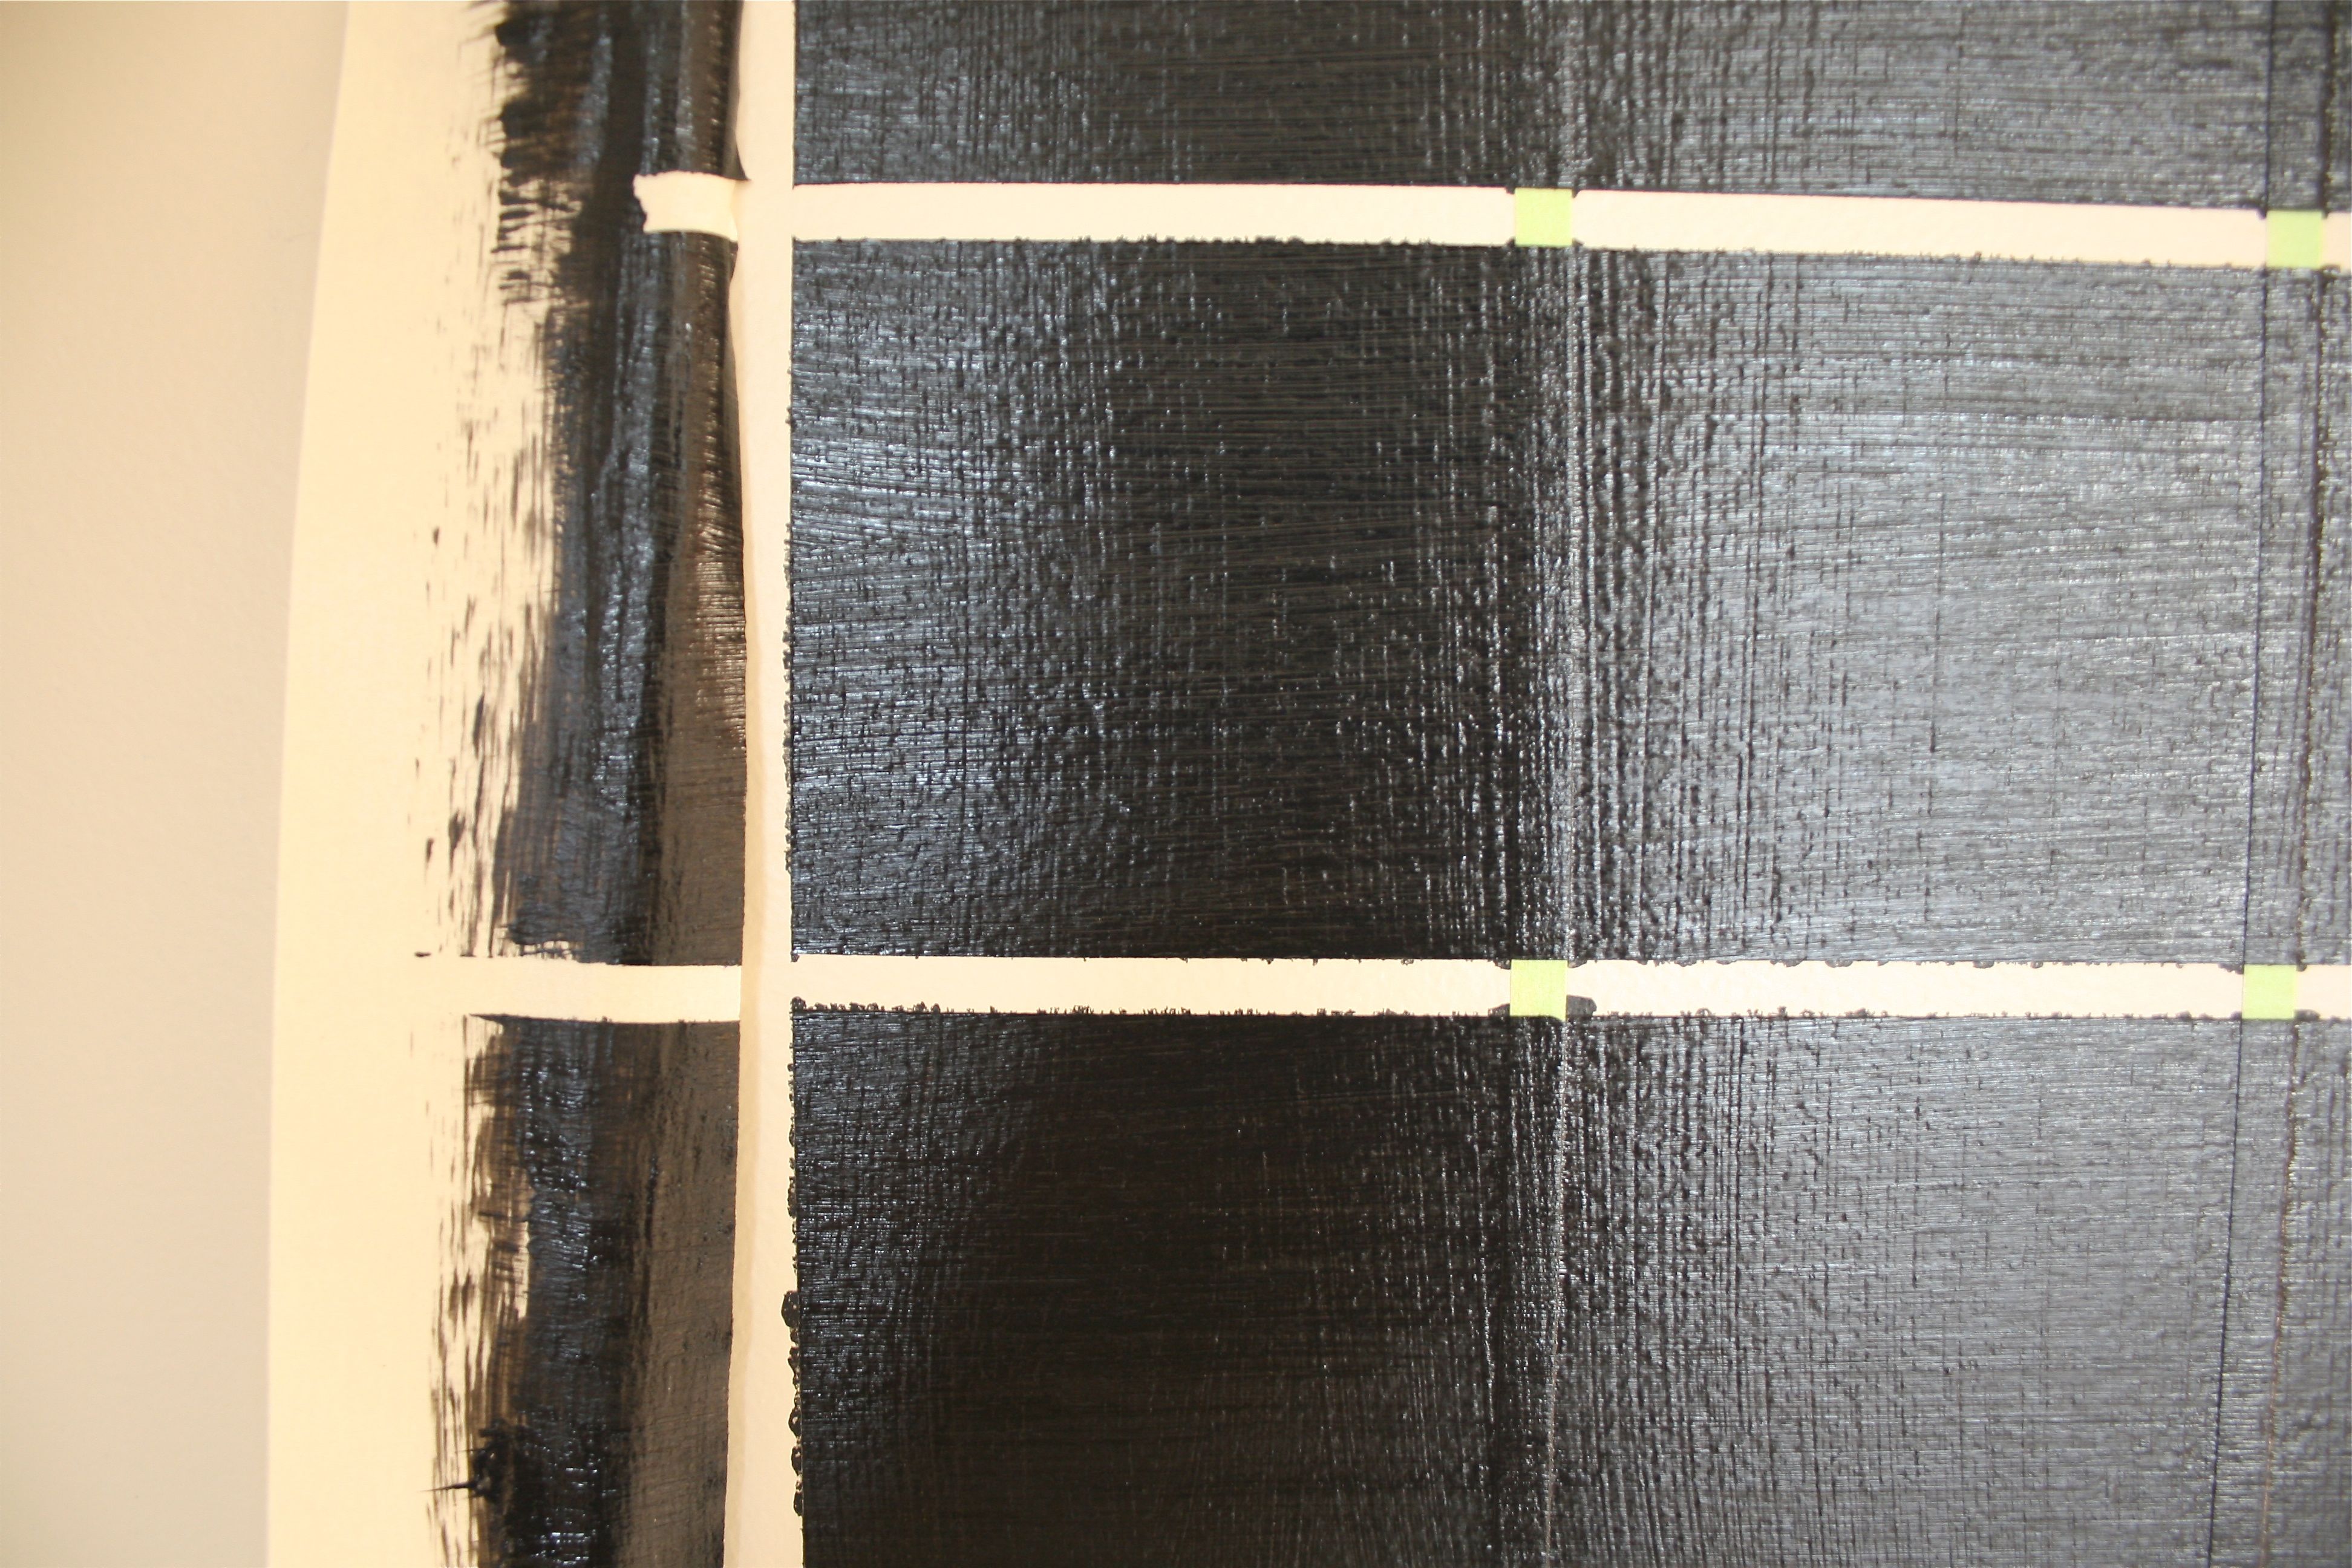
Don’t forget to press all of the tape down with your finger tips before starting to paint! You don’t want any paint to get under those lines…Luckily, John’s a paint masking pro because of the detail work he’s done on cars.
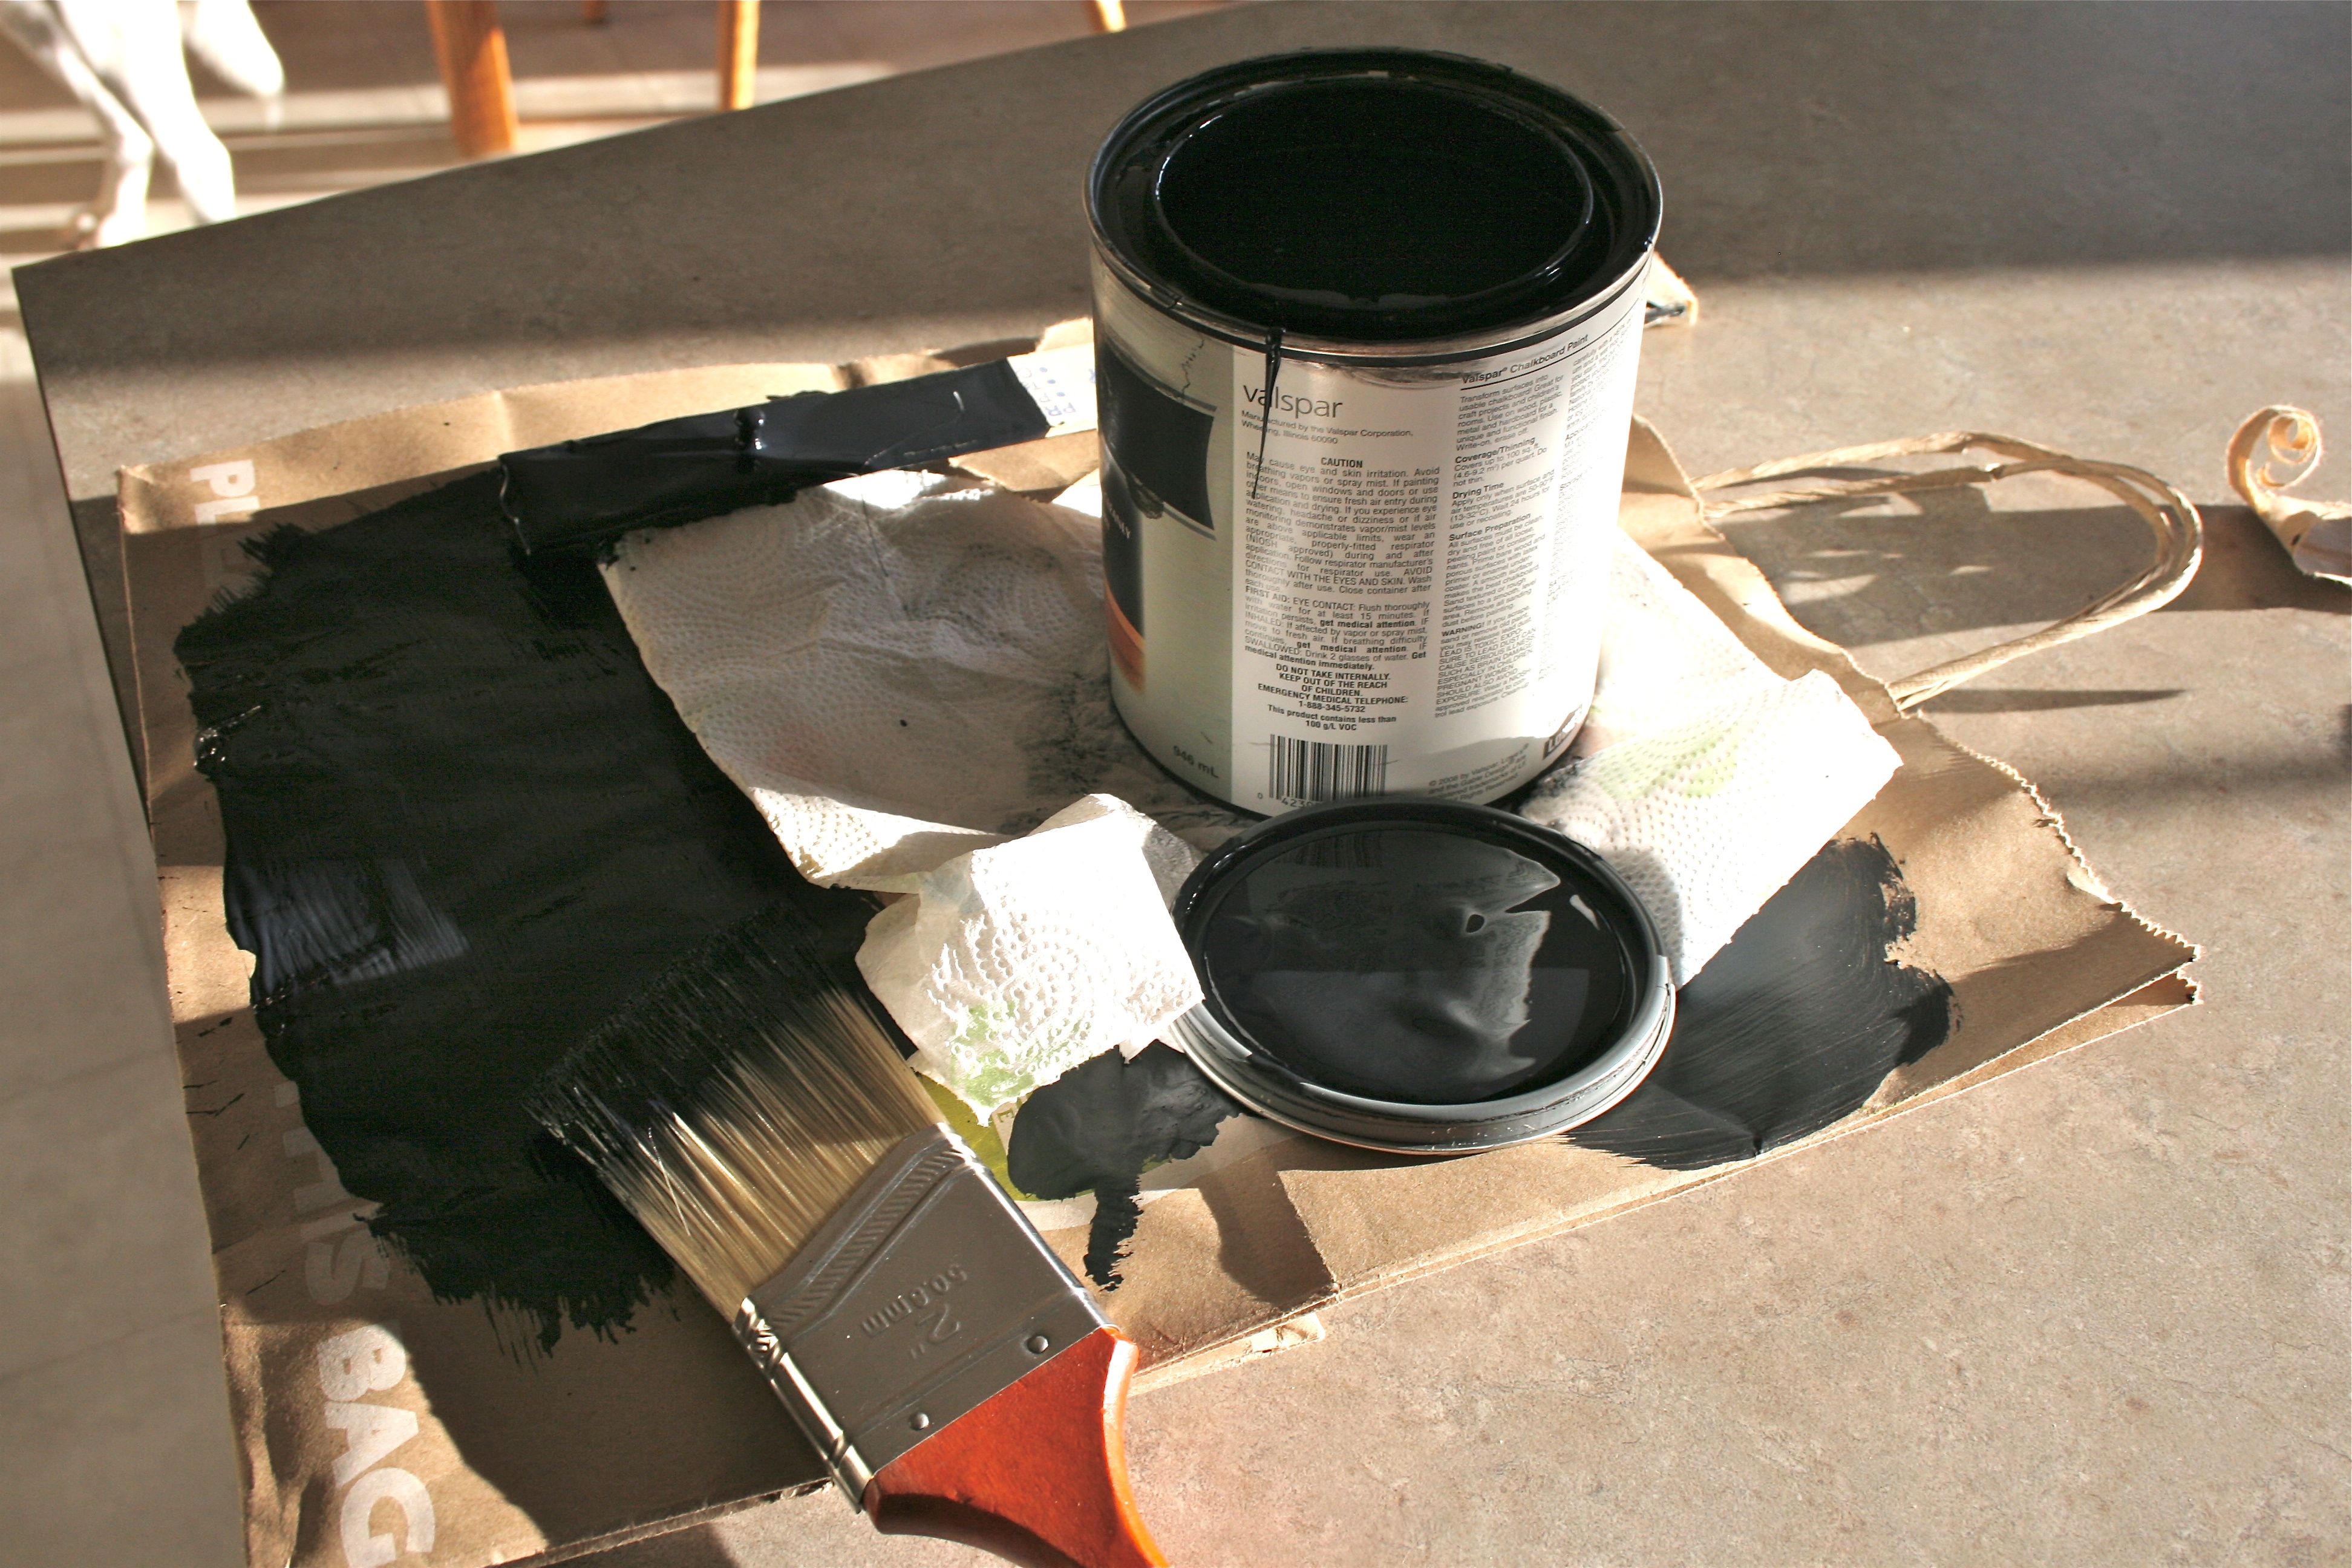
Time for the fun part…The paint!
Coat #1 complete:
The can said to let it dry for 24 hours before putting on the next coat…I think we were able to wait about 18 or so before putting on the 2nd and final coat, but it didn’t seem to hurt anything.
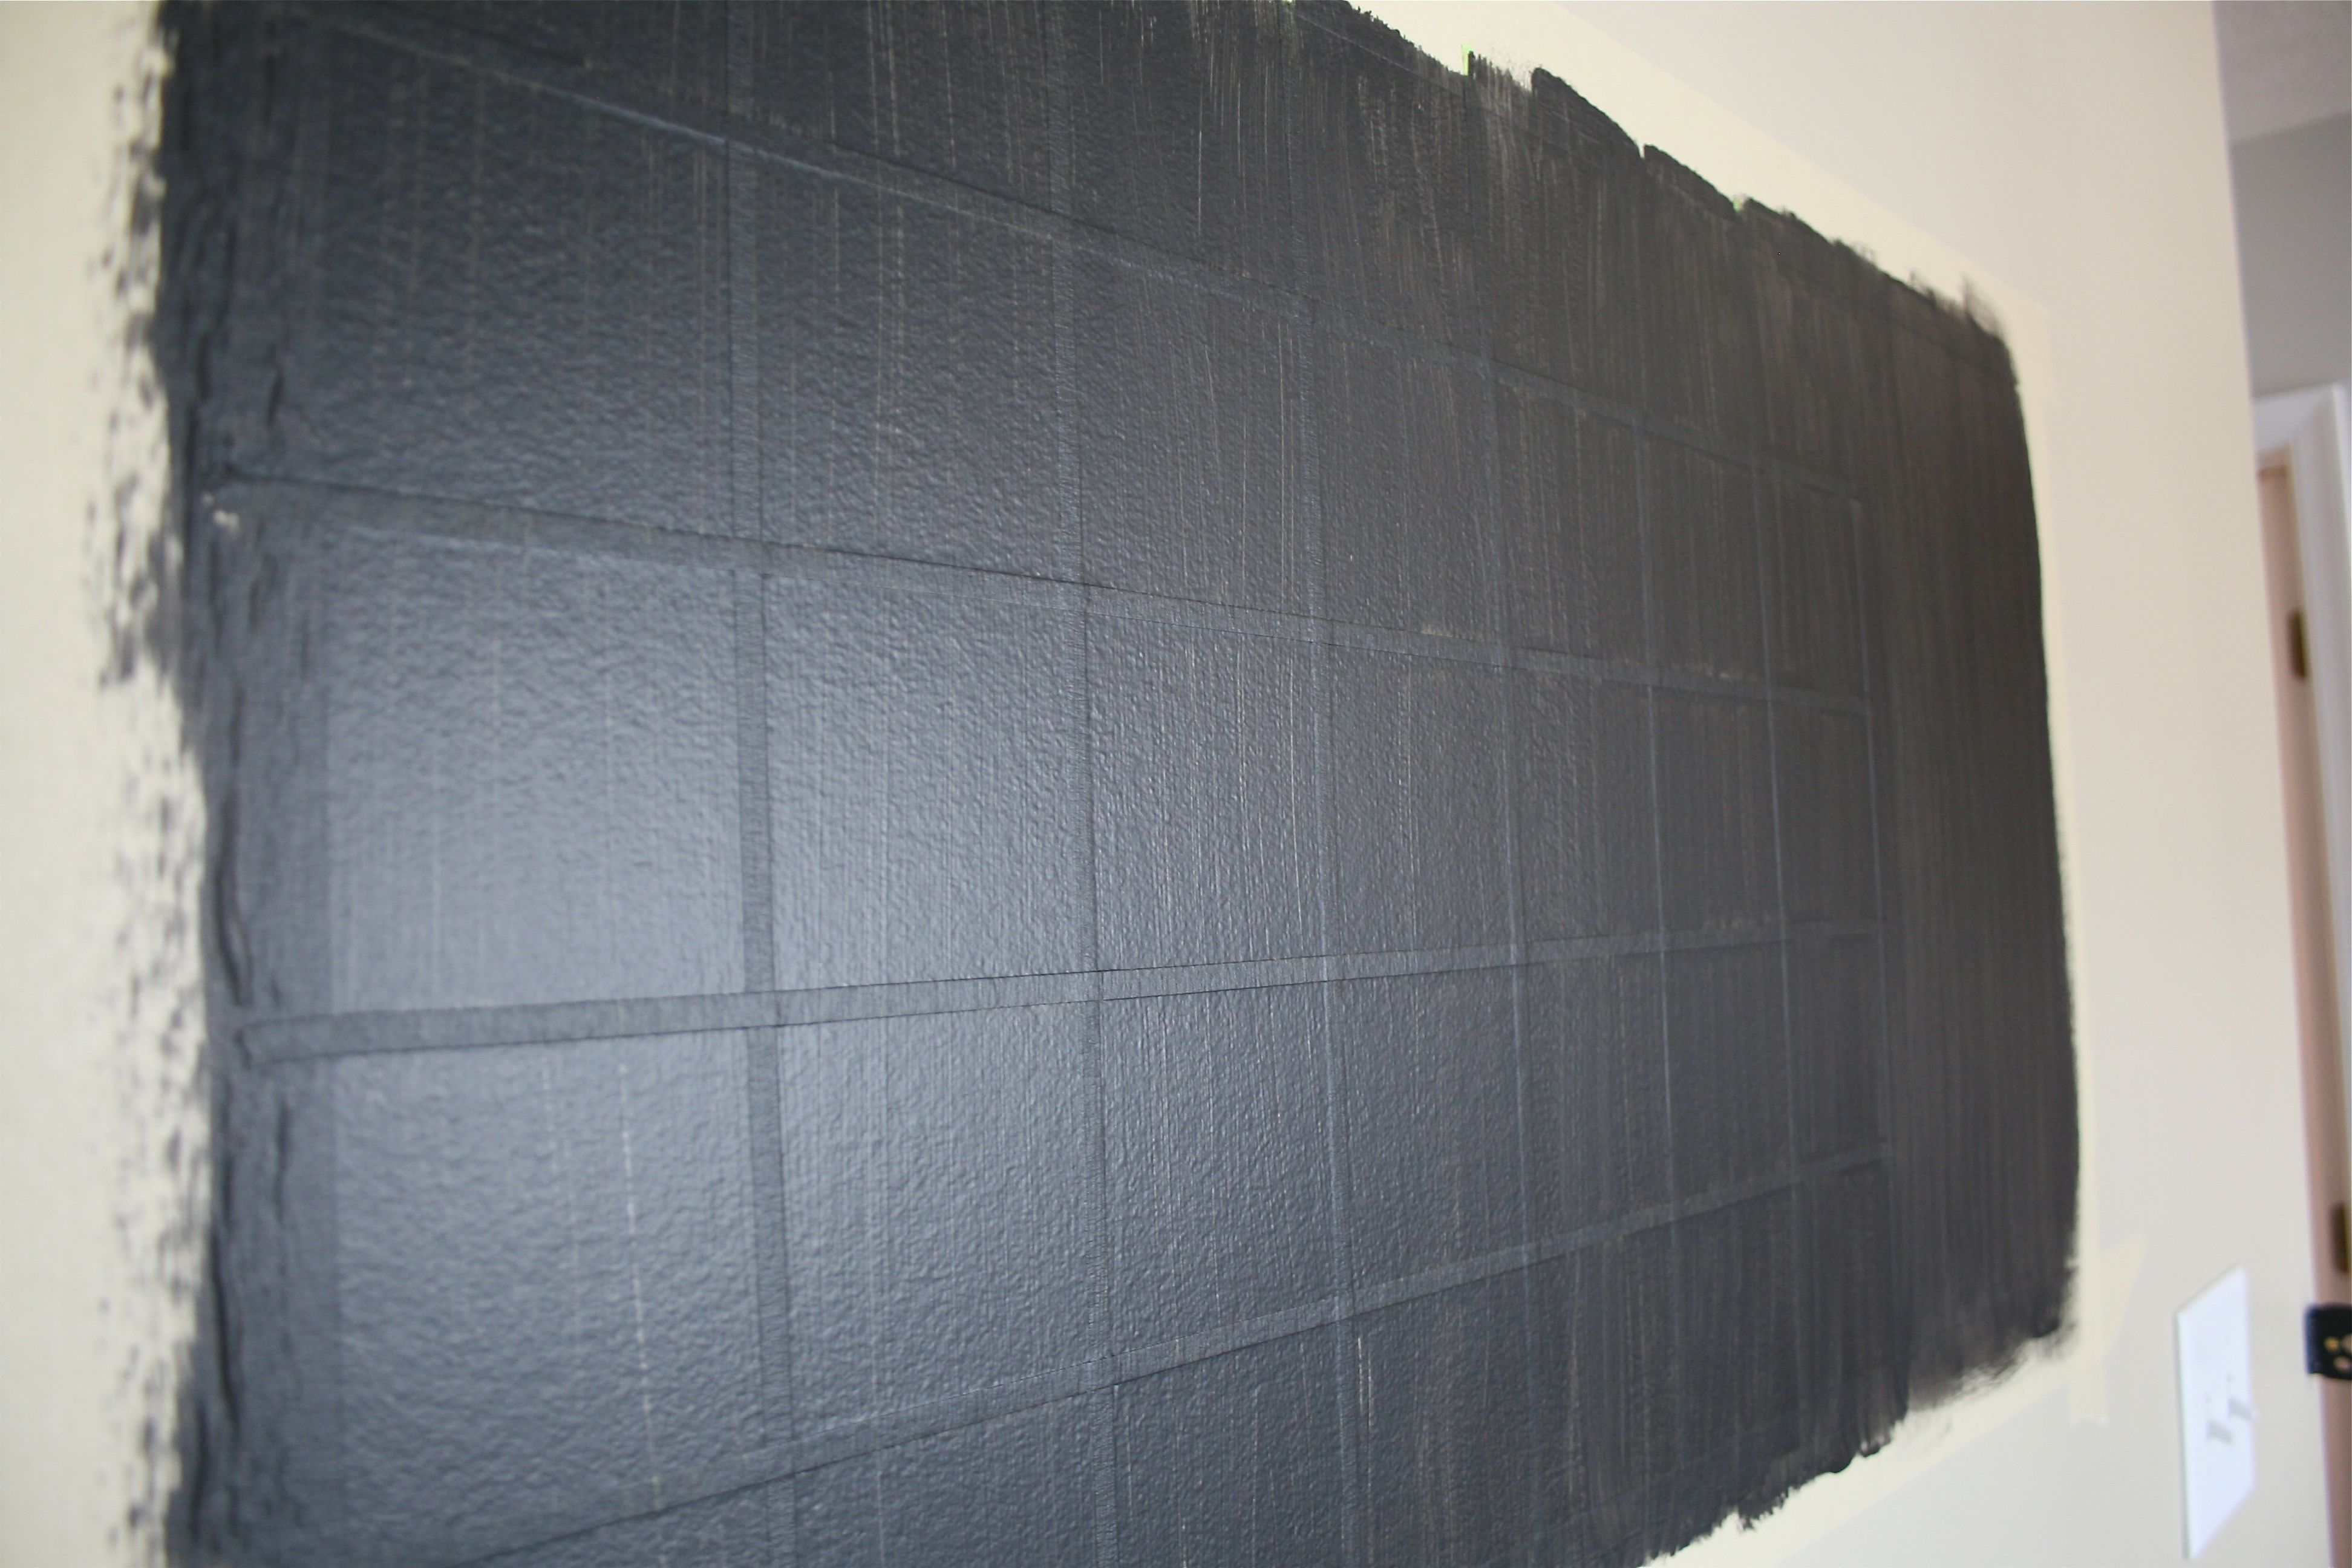
Coat #2 complete:
Yes, I already started peeling back the tape – I’ve actually read that you should take painter’s tape off before your last coat dries to avoid tearing the tape, which can get stuck to the dried layer of paint.
Unfortunately, the lines didn’t come out quite as crisp and clean as I would have liked…I think I may have been a little too excessive with the paint. If you try this in your house, I would suggest using smaller amounts of paint on your brush. You should also try to avoid painting “into” a tape line (i.e. start your brush over the tape and work your way out from there – If you brush right into the tape line, you may push paint underneath it, which is what I think happened to me).
But luckily you can barely tell from far away! And we can always touch up with the left-over kitchen wall paint.
Still need to paint “This Month” over it, but I think people can get the point without it 😉
If we did it again, I would probably double the size of the squares…They are a bit small for all the things I could fill it with, but that’s okay! All-in-all a really cute and fun project…
Can’t wait to fill its squares with plans!
(Side note: If you’d rather just buy a ready-made version, stop on by this Etsy shop! It’s where I got the inspiration picture for the project.)


