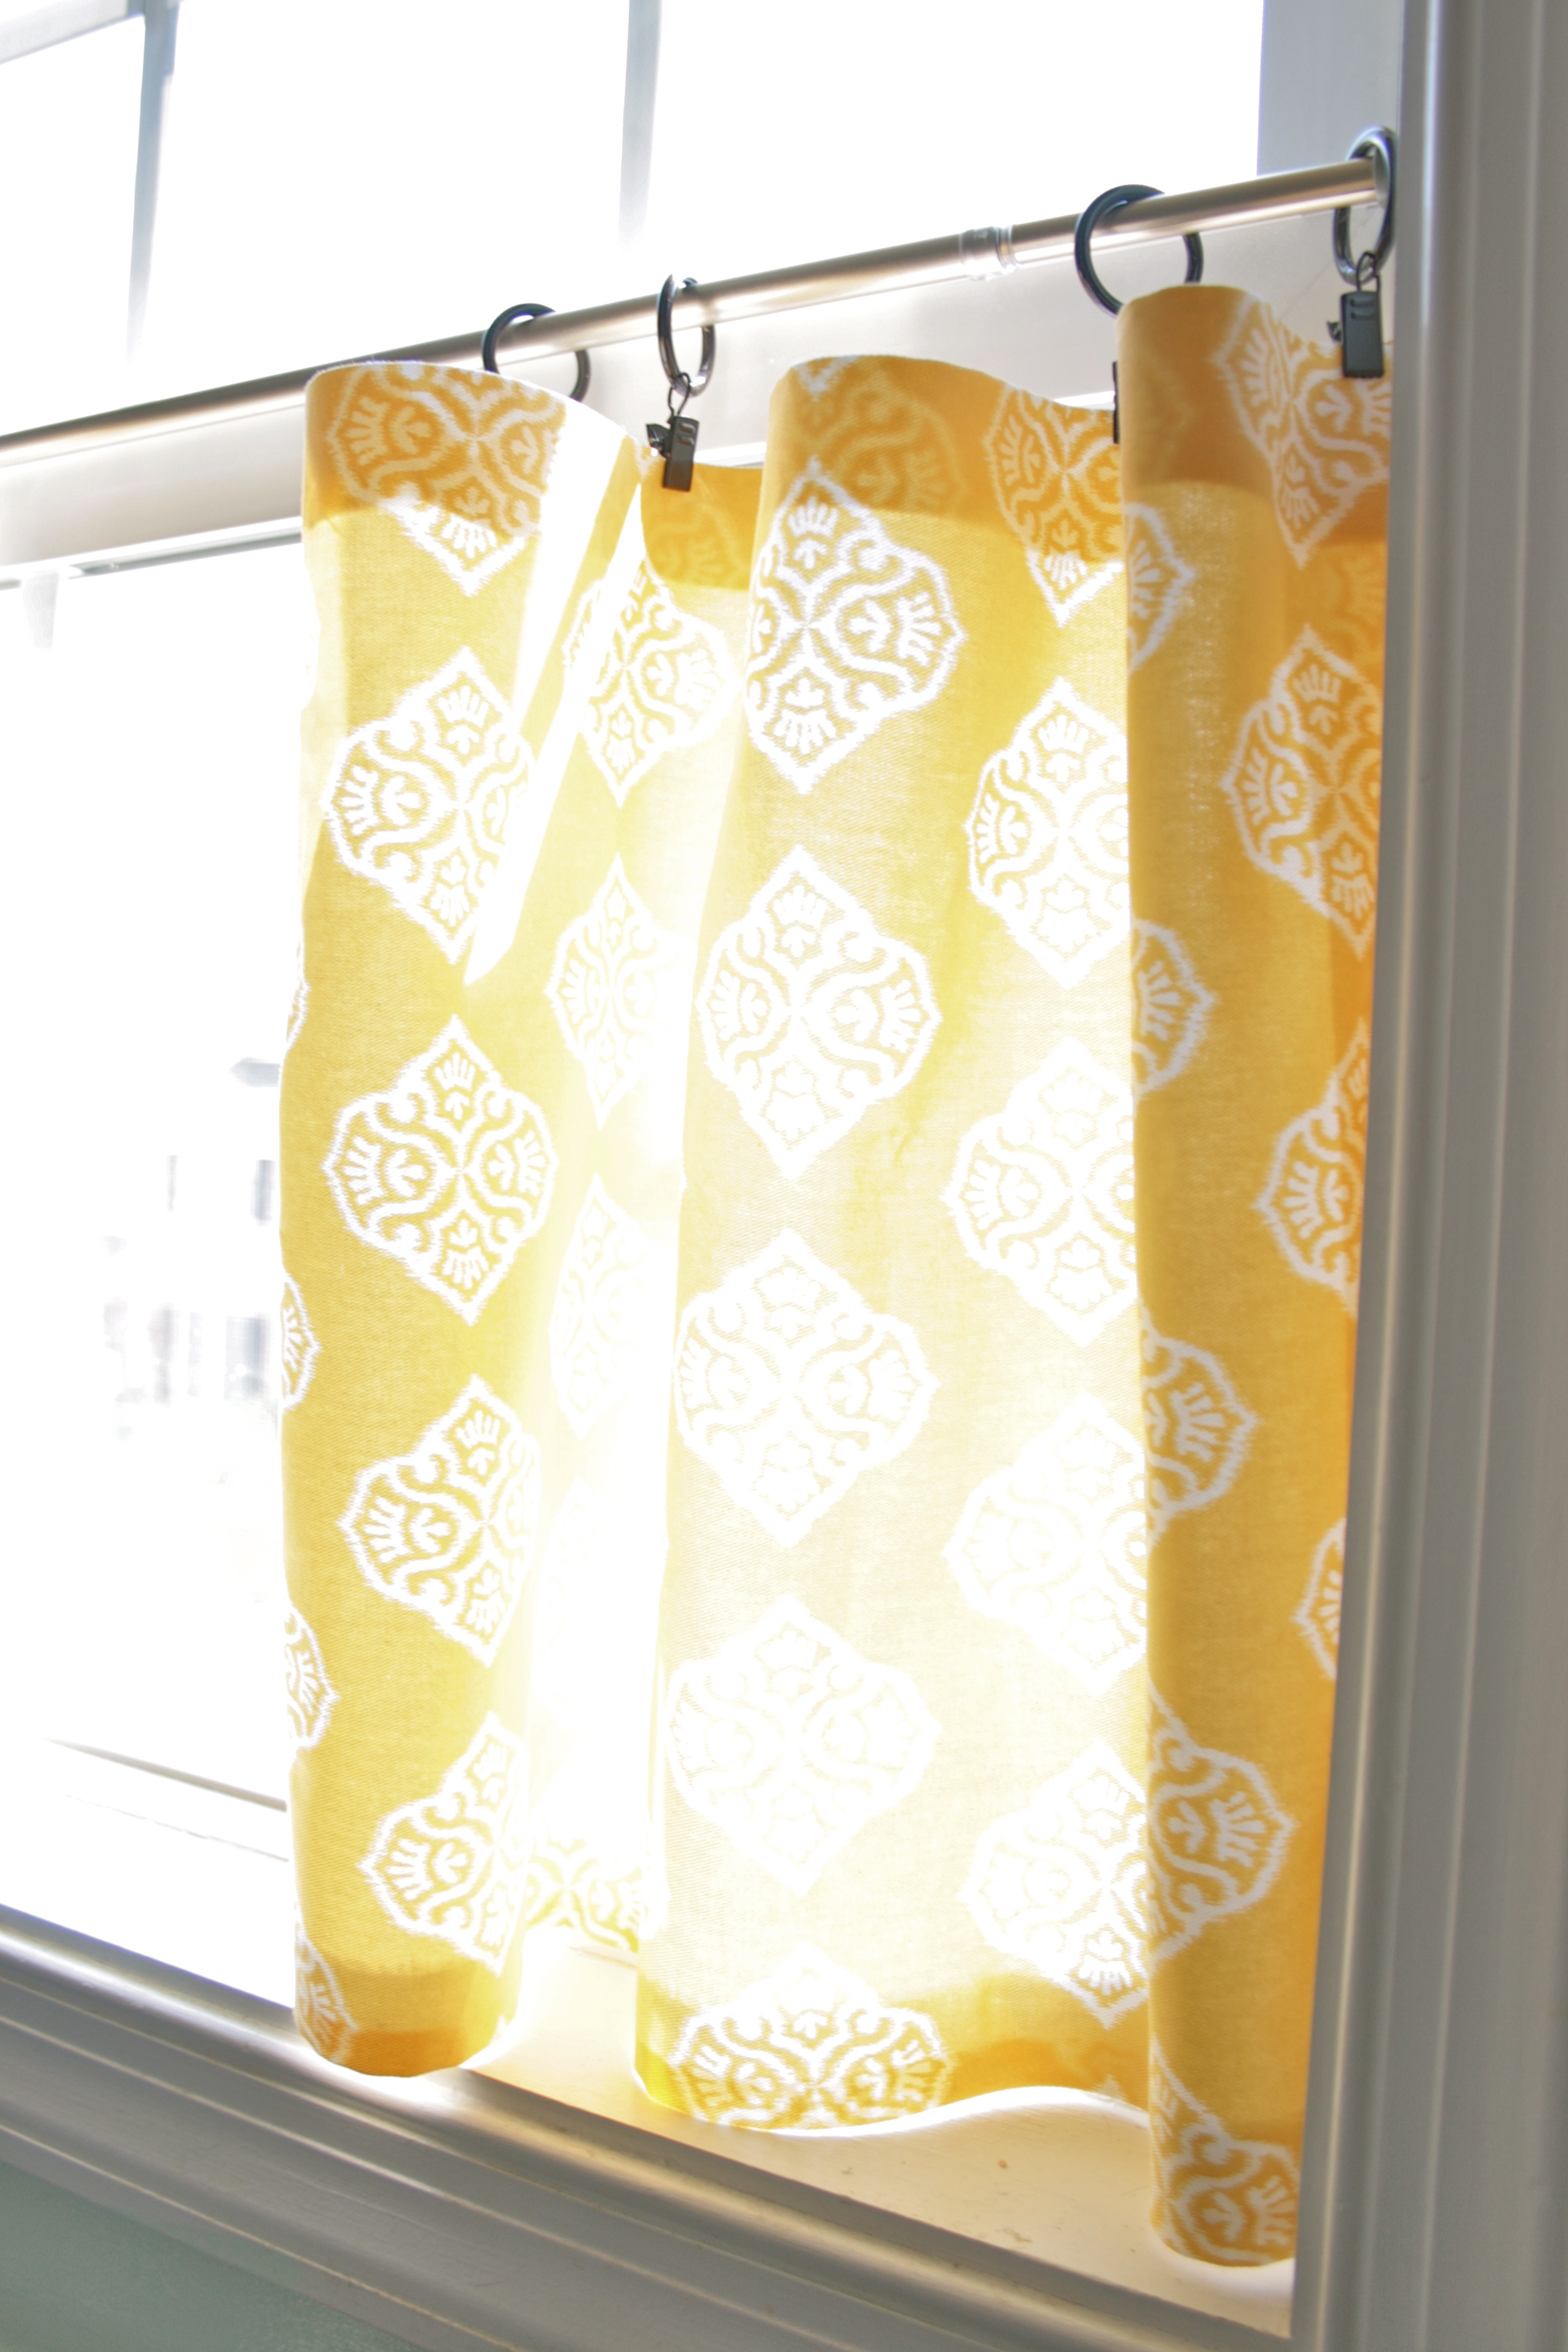
Hello, my name is Carrie and I am obsessed with curtains. I know I recently said that I would spend all my money on rugs if I could, but I forgot to add curtains in there too. If a room isn’t feeling quite “done,” it probably needs a new rug and a new set of curtains. The only issue with my adoration of all things curtain is that I hate to sew – Correction: I CAN’T sew. I don’t even own a sewing machine.
Alas, I couldn’t ignore the need for pretty, colorful fabric panels after glimpsing this photo via Pinterest:
Source: Woman’s Day
While curtain ring clips sidestepped the need to sew tabs, the tutorial still suggests hemming the fabric with good ol’ fashioned needle and thread.
All I can say is “Thank God for Heat n Bond” – Without this fabulous no-sew invention, every single curtain in our house would be store-bought (read: we’d be broke). Instead, I was able to whip up my very own cafe window treatment for the kitchen without making a single stitch.
First the fabric – I still had at least a yard of yellow fabric left over from this project and, since I am trying to infuse our chocolate and mint kitchen with hints of yellow and orange, I figured new sunny curtains above the sink would be the perfect addition. Although, as you can see below, it was badly in need of a good rub down with the iron.
Once everything was nice and flat, I broke out my Heat n Bond no-sew hemming tape – This stuff is SO easy to use and has reduced my stress ten fold when tackling projects like this. I’ve had the same roll through a couple of projects and it has served me well…Costing less than $5 a pop, it’s worth the investment. Plus, since I already had the tape, the fabric AND the curtain ring clips, this entire project cost me zilcho, nadda, nothing.
For those of you not familiar with hem tape, it’s super simple. I first flipped the fabric over once I had it cut to size. Then I rolled out a length of hem tape to match the length of the fabric – I didn’t go all the way to the end on this first hem because I was going to be flipping down the perpendicular end and didn’t want to double up with too much tape in the corners. Oh and you don’t even need to use scissors to cut hem tape – The material is so thin that you can just rip it. I laid the line of hem tape about an inch in from the edge of the fabric before moving on to the next step.
After that, it was simply a matter of folding the fabric edge over the tape and ironing over top. The heat from the iron will melt the tape, making it a strong adhesive to hold the hem in place. I usually make a few slow and steady sweeps over the fabric/hem tape to make sure it’s good and stuck.
Once I had all four hems done on each of my two panels, I clipped my curtain ring clips every three inches or so and called this project done. (Sorry for the terrible photos…I haven’t figured out how to take good pictures of curtains in direct sunlight – Any tips would be appreciated from my photog readers!)
I am so pleased with the way they turned out. They look pretty darn close to the curtains in my Pinspiration image too! Just goes to show that you can always adapt projects to suit your manner of execution, and still get a great finished look.
But I wasn’t done yet…
While I had all of my supplies out and had quite a bit of extra fabric, I went ahead and made a little faux towel for the oven door handle. We usually use the towel next to the sink to dry our hands, dishes, etc., so the one on the oven was obsolete. I loved the idea of something hanging there that would match my no-sew-no-cost curtains, so I created a long, thin replica. A VERY simple touch, but I think it makes a big impact when you take the kitchen in as a whole.
Too bad you can’t see it with the curtains in all of that brilliant afternoon light – Oh well! Guess you’ll just have to come visit sometime and see for yourself in person.
Hope you have a great beginning to your week!


