So I think it’s high time I updated you guys on our wedding plans! I’ve talked about our engagement, the bird theme, our idea to use vintage plates instead of renting plain white ones and our AMAZING cupcake situation. Today, I want to chat about style.
I won’t say TOO much since John’s not to know the specifics, but my dress is of the vintage flair. To go with it, I wanted to wear a birdcage veil. We are forgoing a big ceremony for a private one with just our immediate family present followed by a big reception (we aren’t great with all-eyes-on-us, thus this compromise suited our style a bit better), so I didn’t need a big long veil with a train. A simple, short birdcage veil seemed like a better option for me.
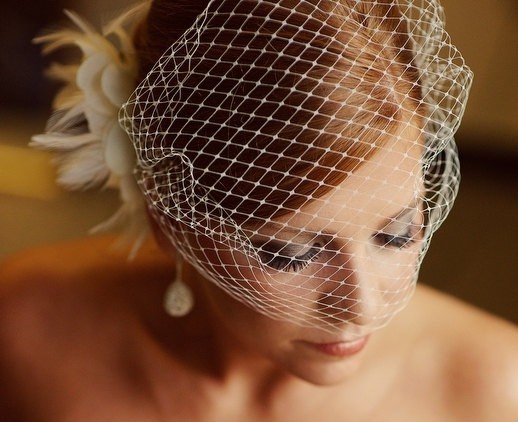
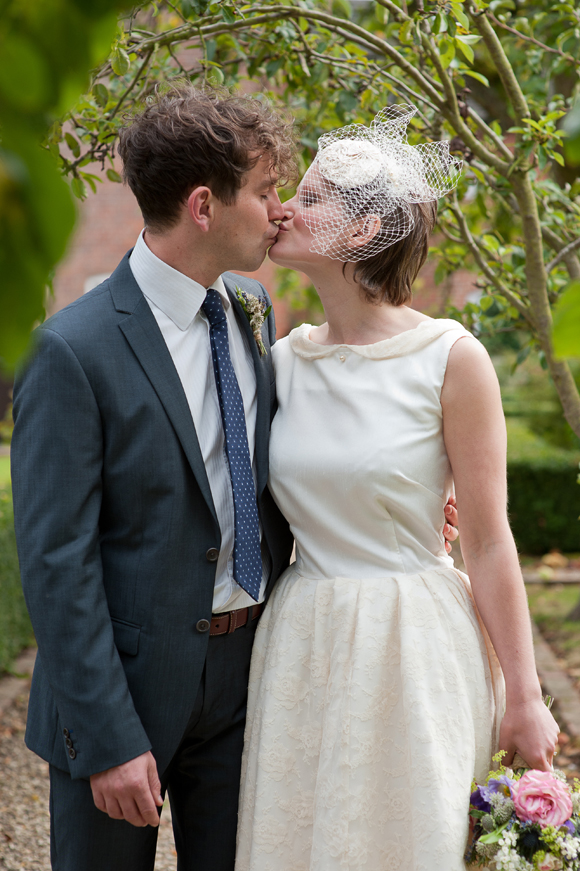
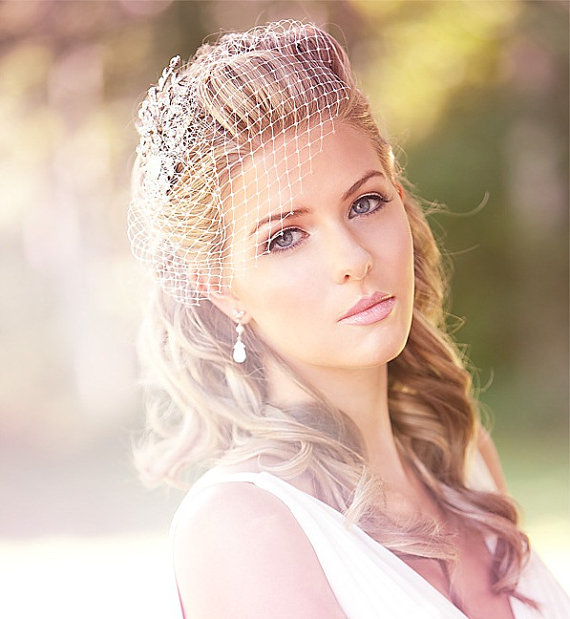
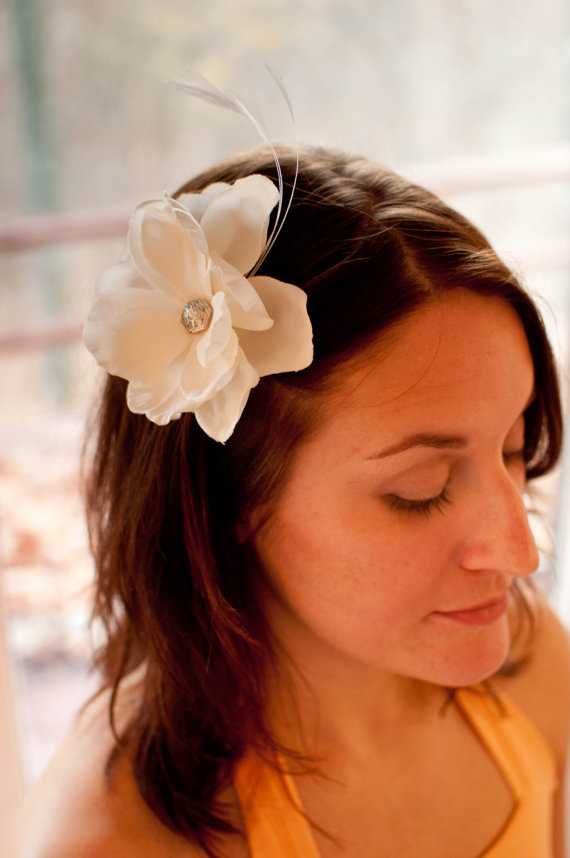
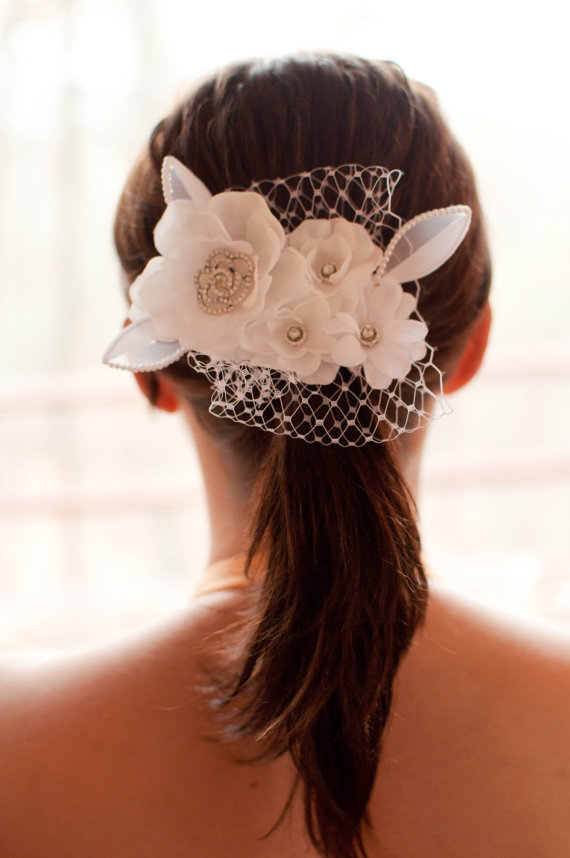
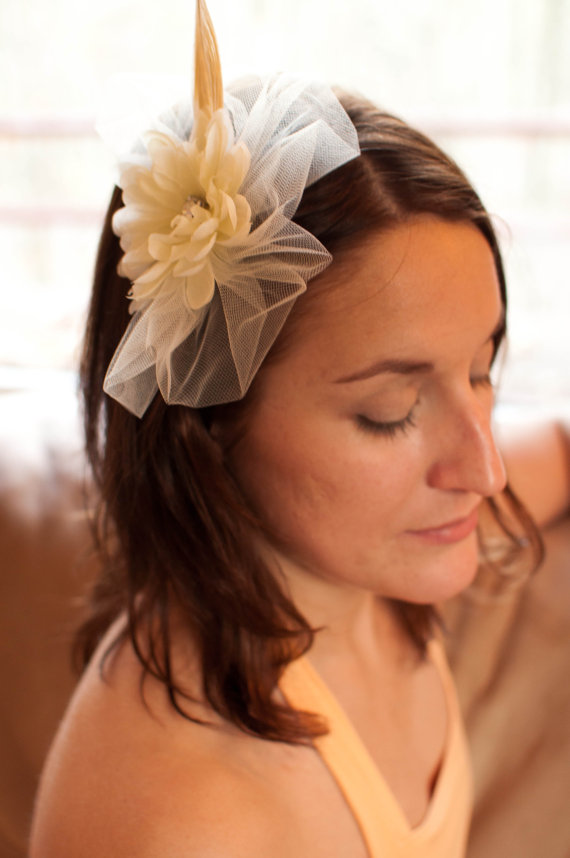
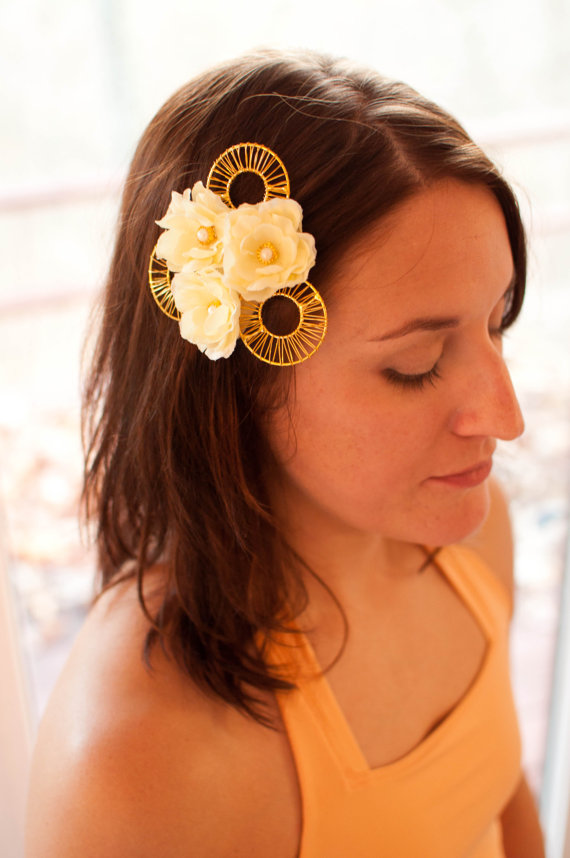
If you are thinking to yourself “Huh?? A what??” here are some visuals I snagged off of Pinterest:
Source: BelledeBenoir
Source: Love My Dress
Source: PowderBlueBijoux
Welp, I decided that I would try to make it myself! You know I’m an all-out DIY gal if I can help it, so this seemed like a perfect project for me. I did a little internet researching and found that the best way to tackle the project was with a needle and thread. Here’s a supply breakdown:
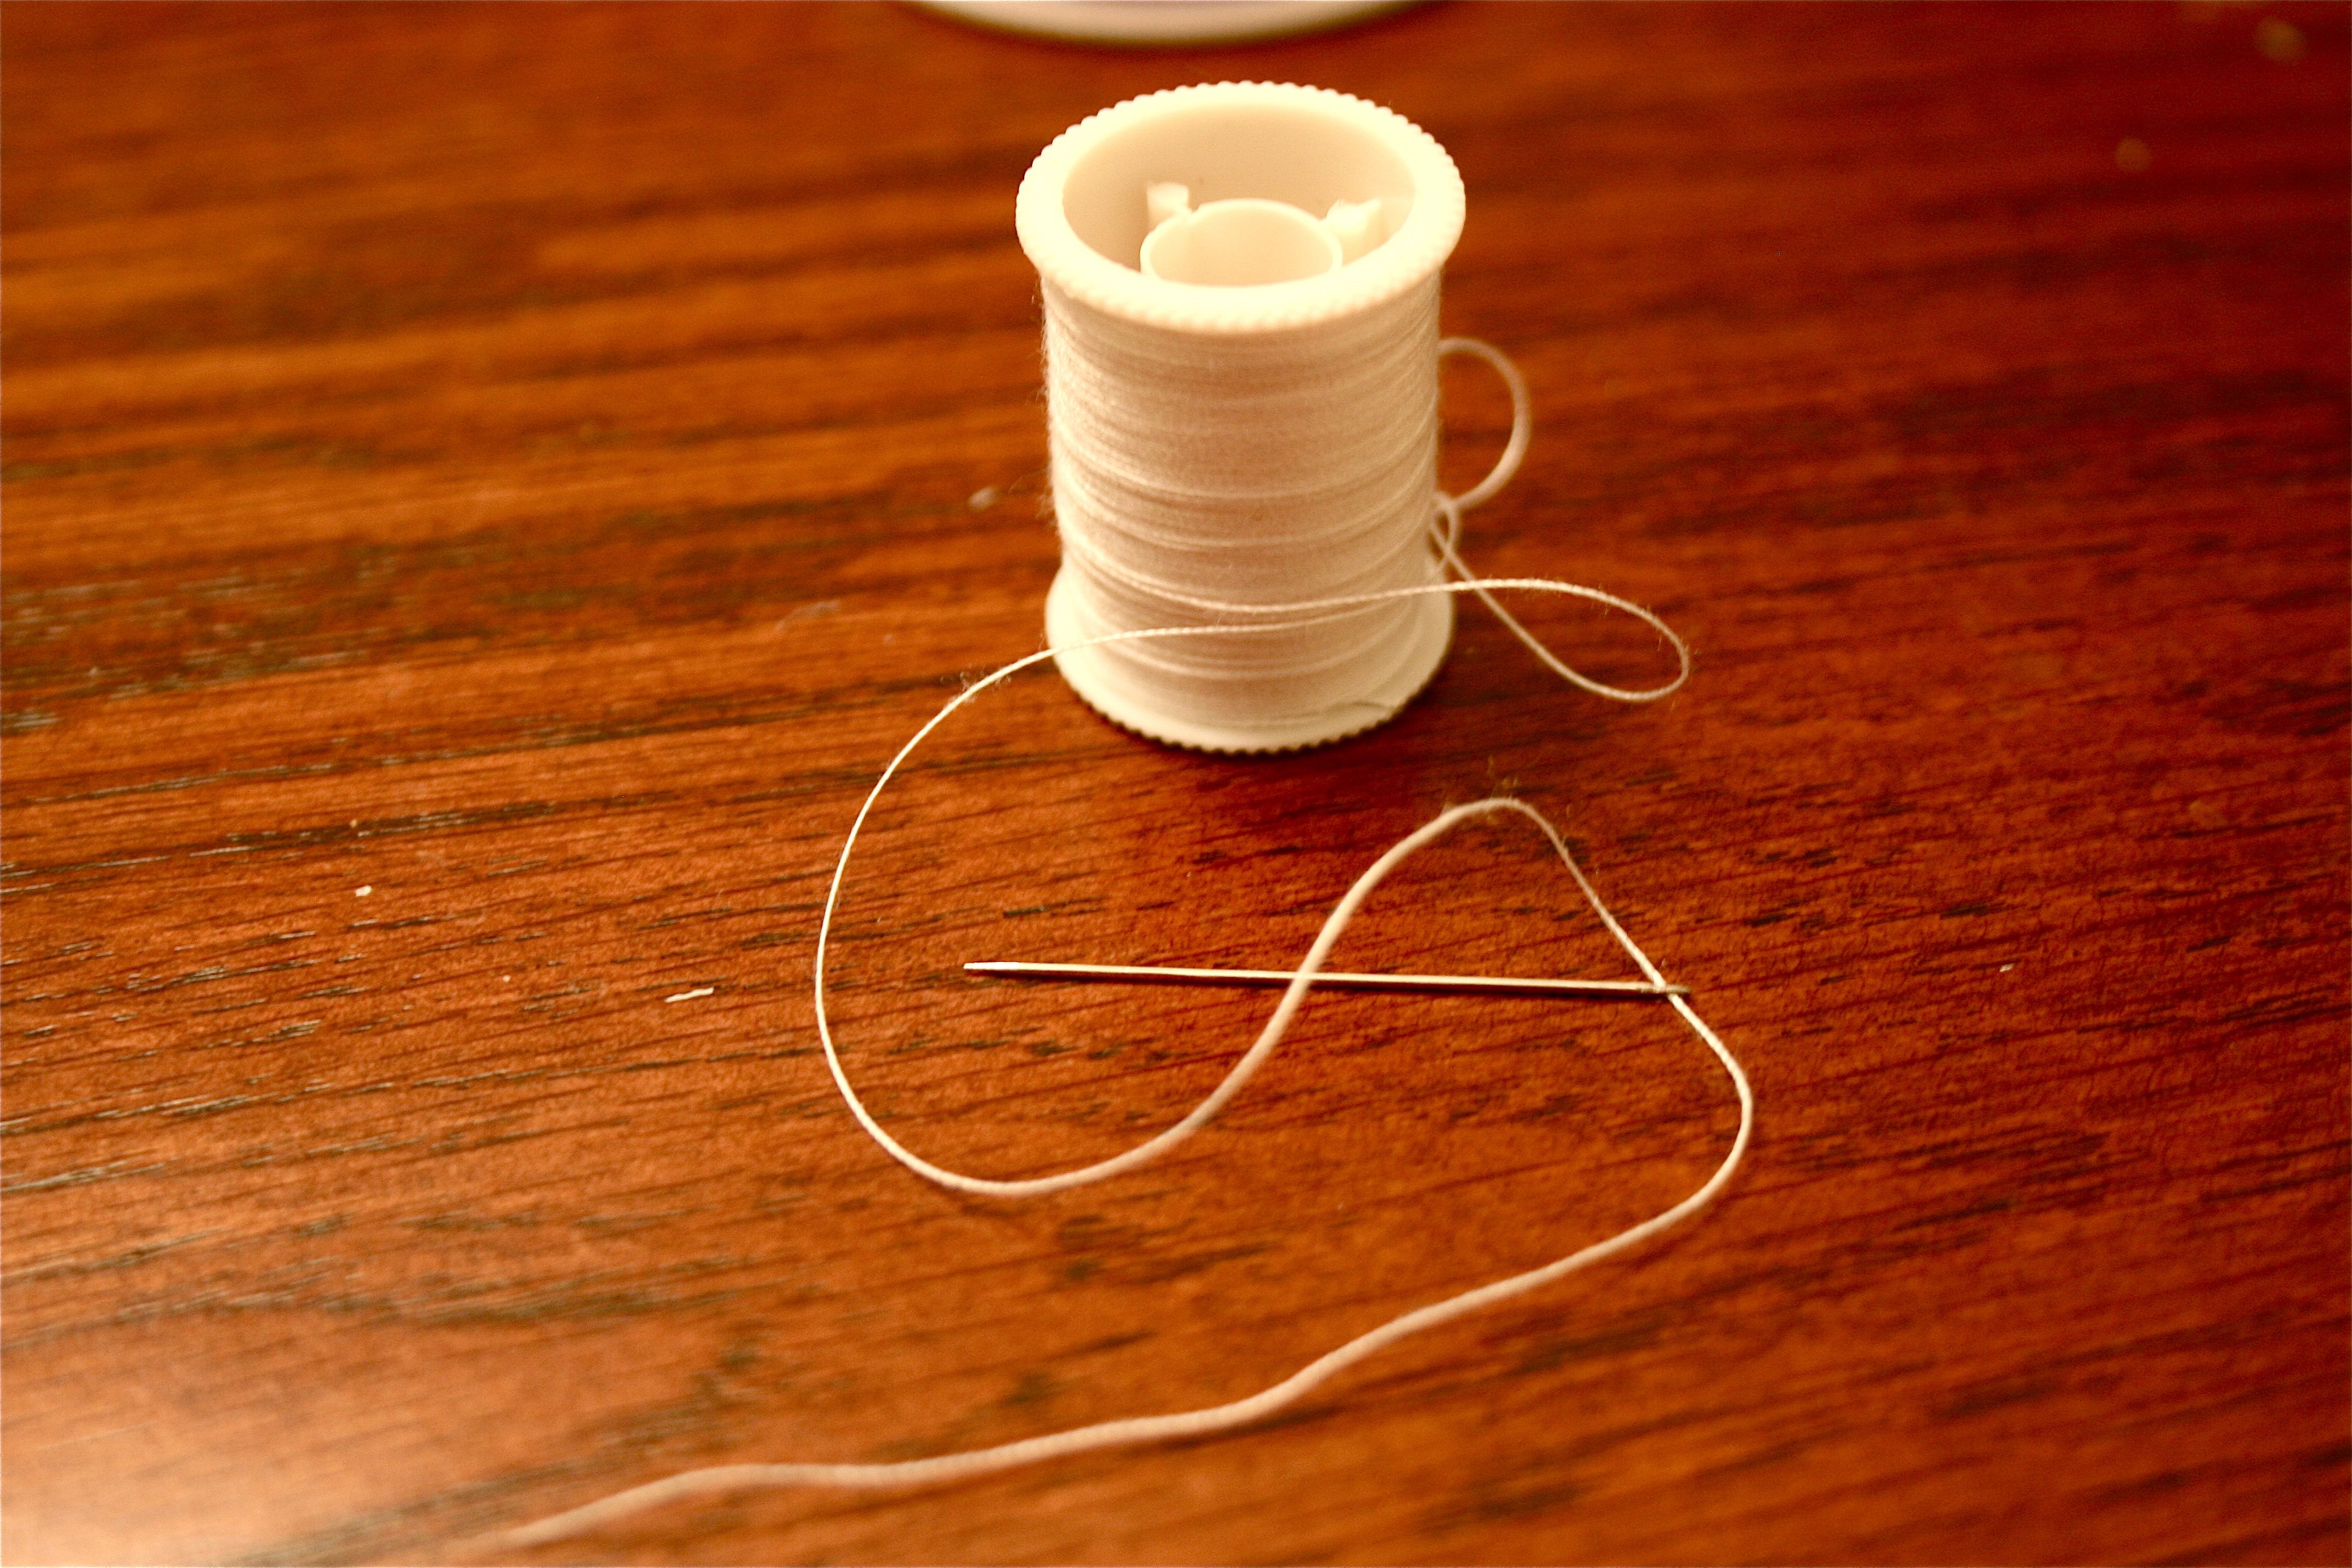
- Needle
- White thread
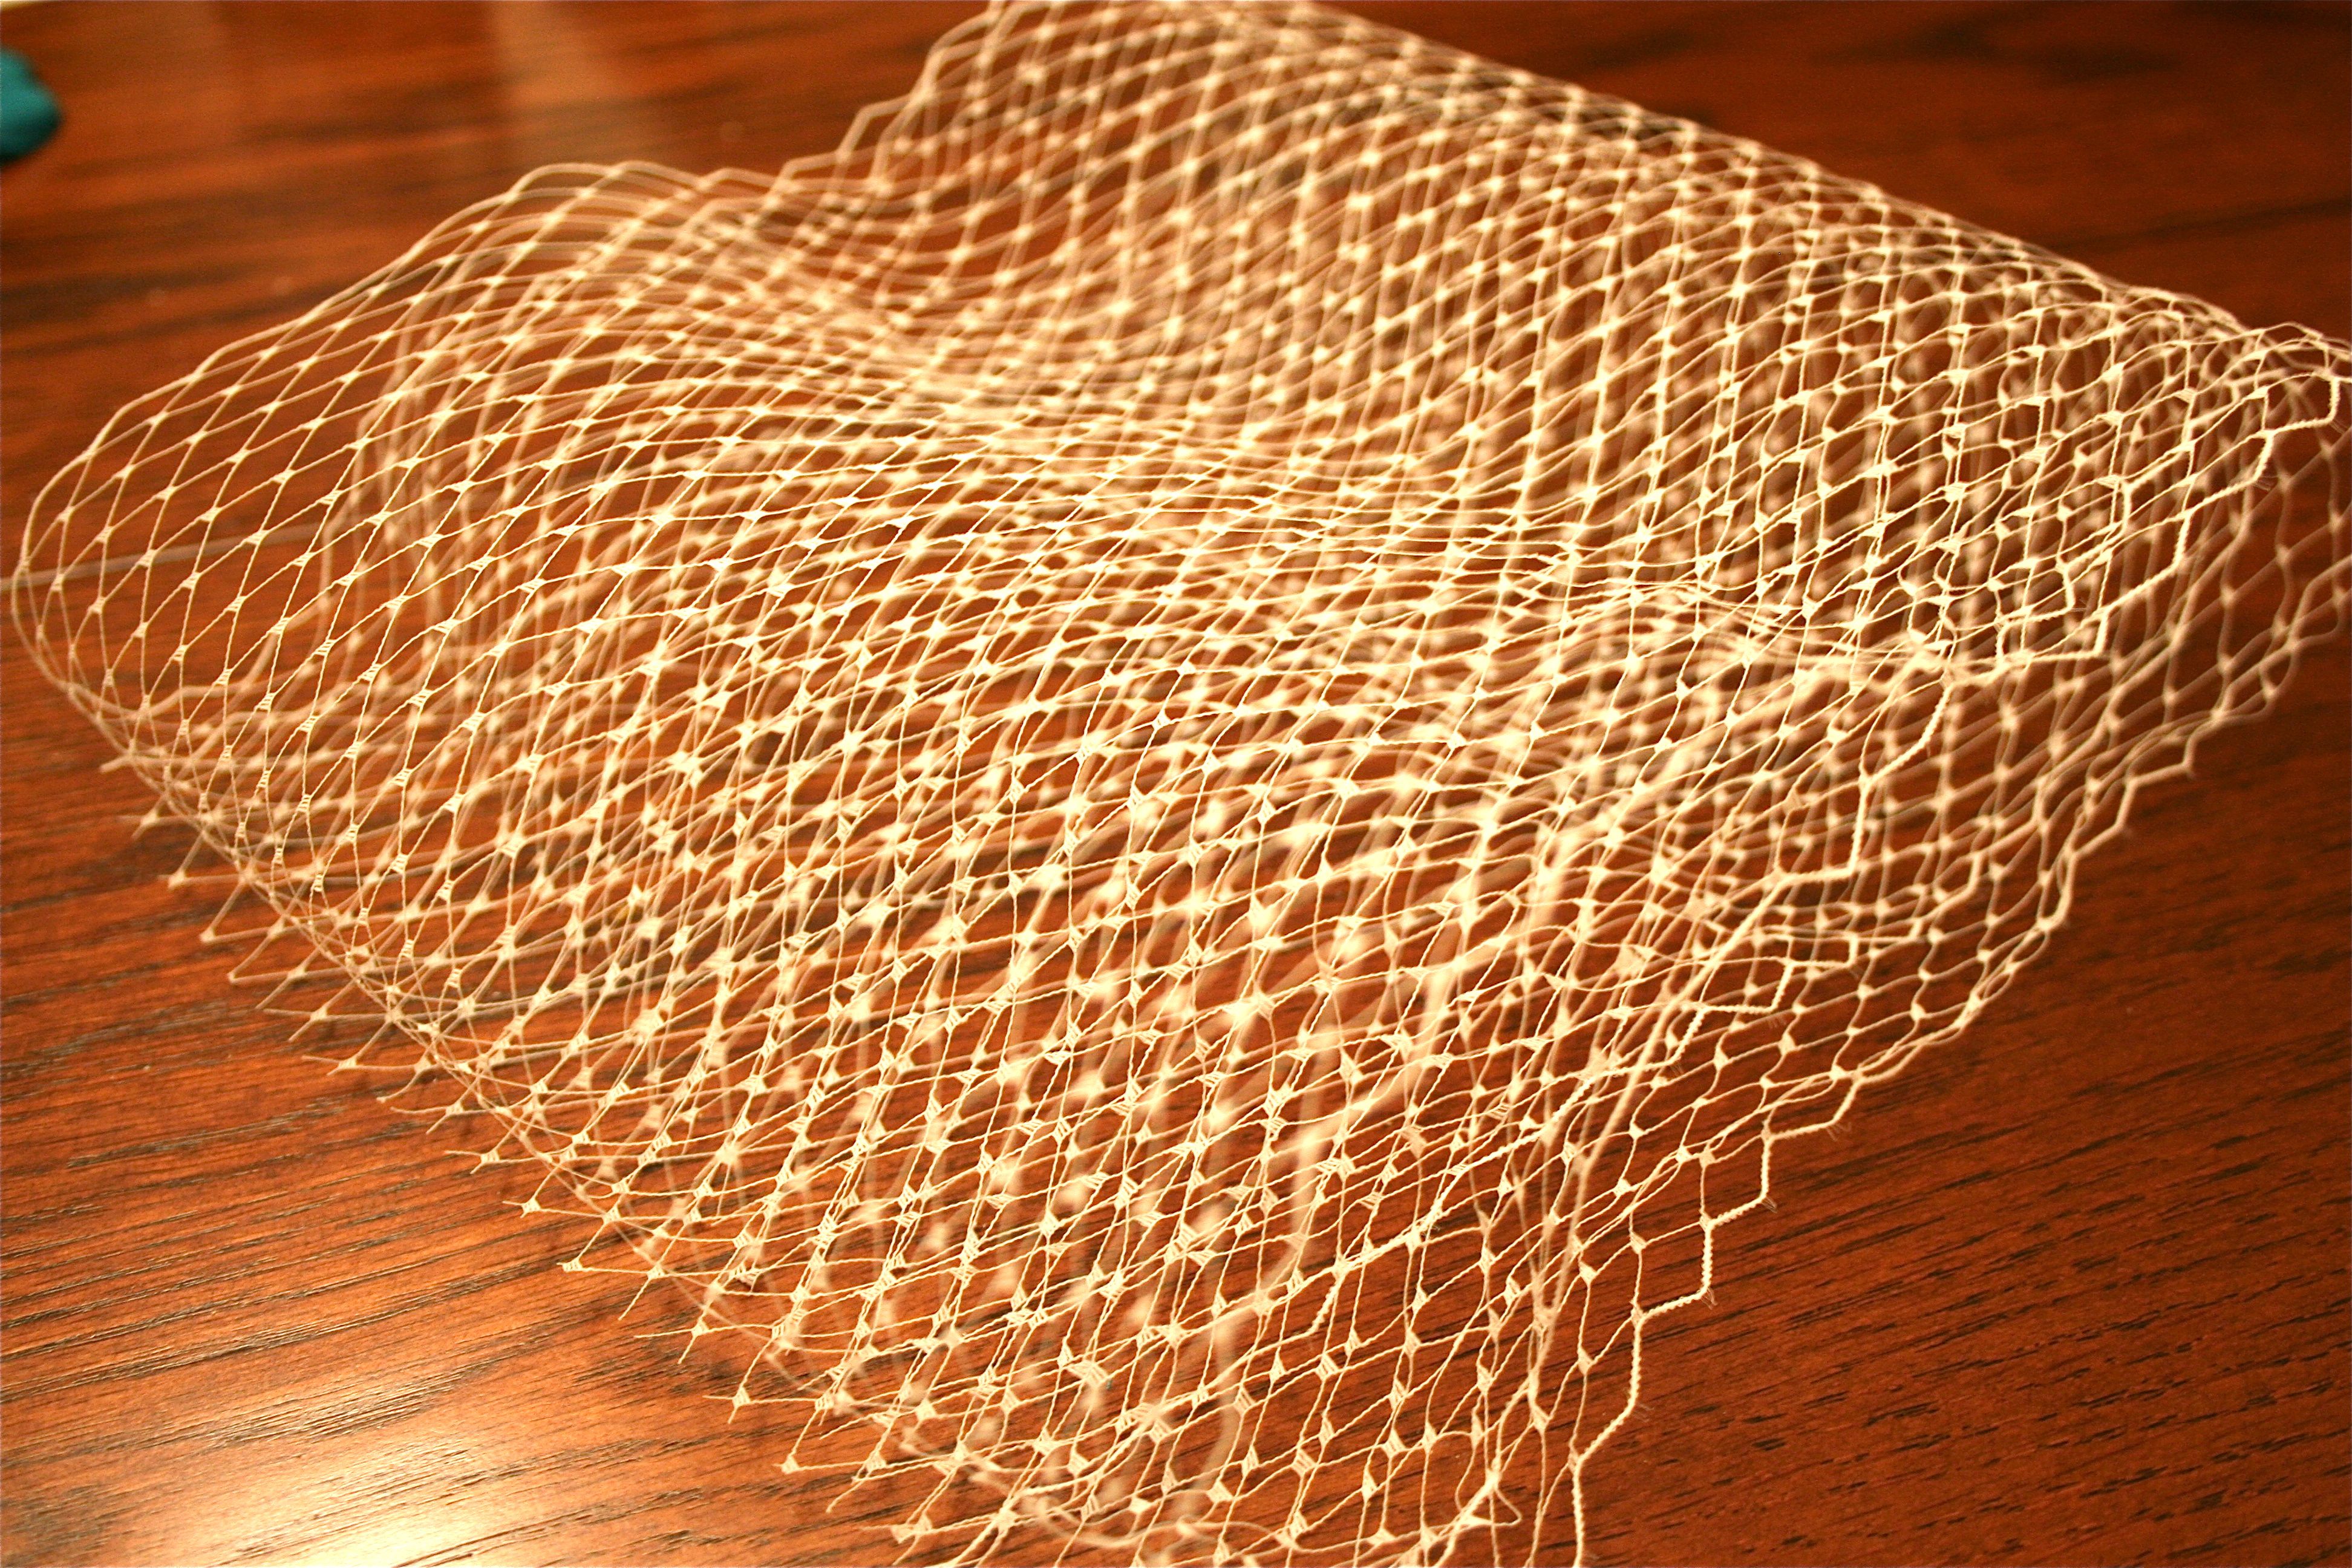
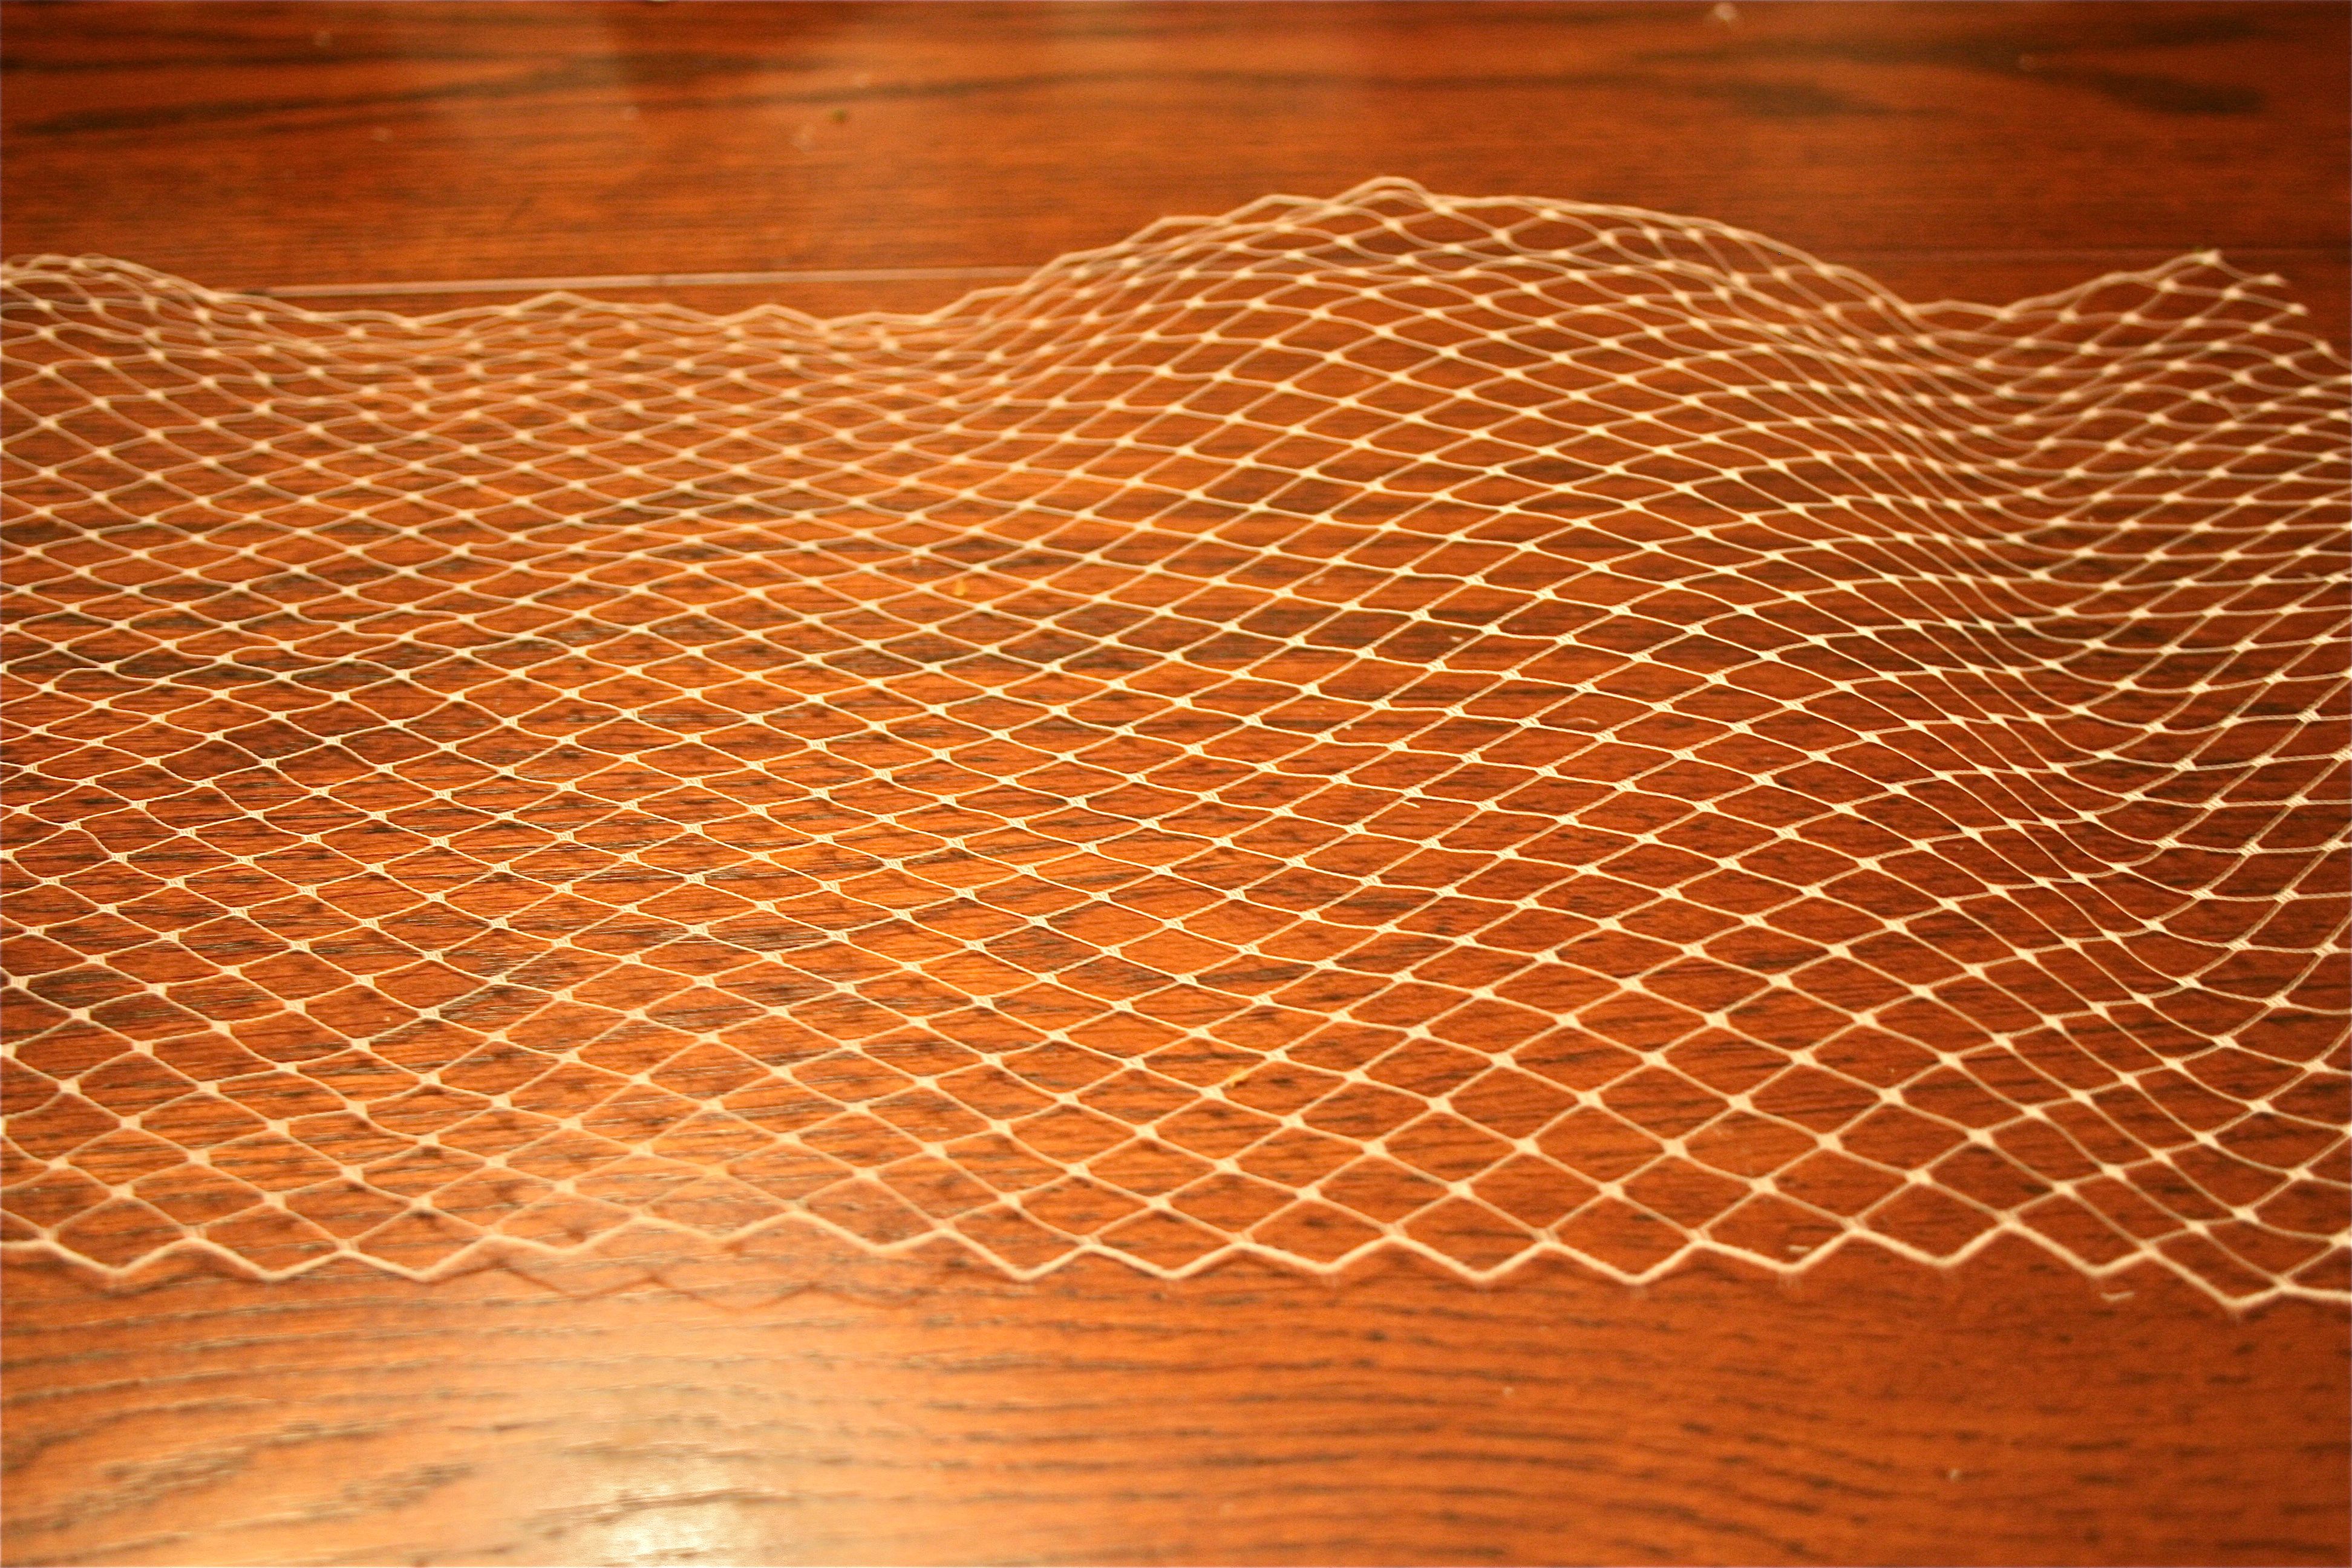
- Ivory Russian lace
- A cear plastic hair comb
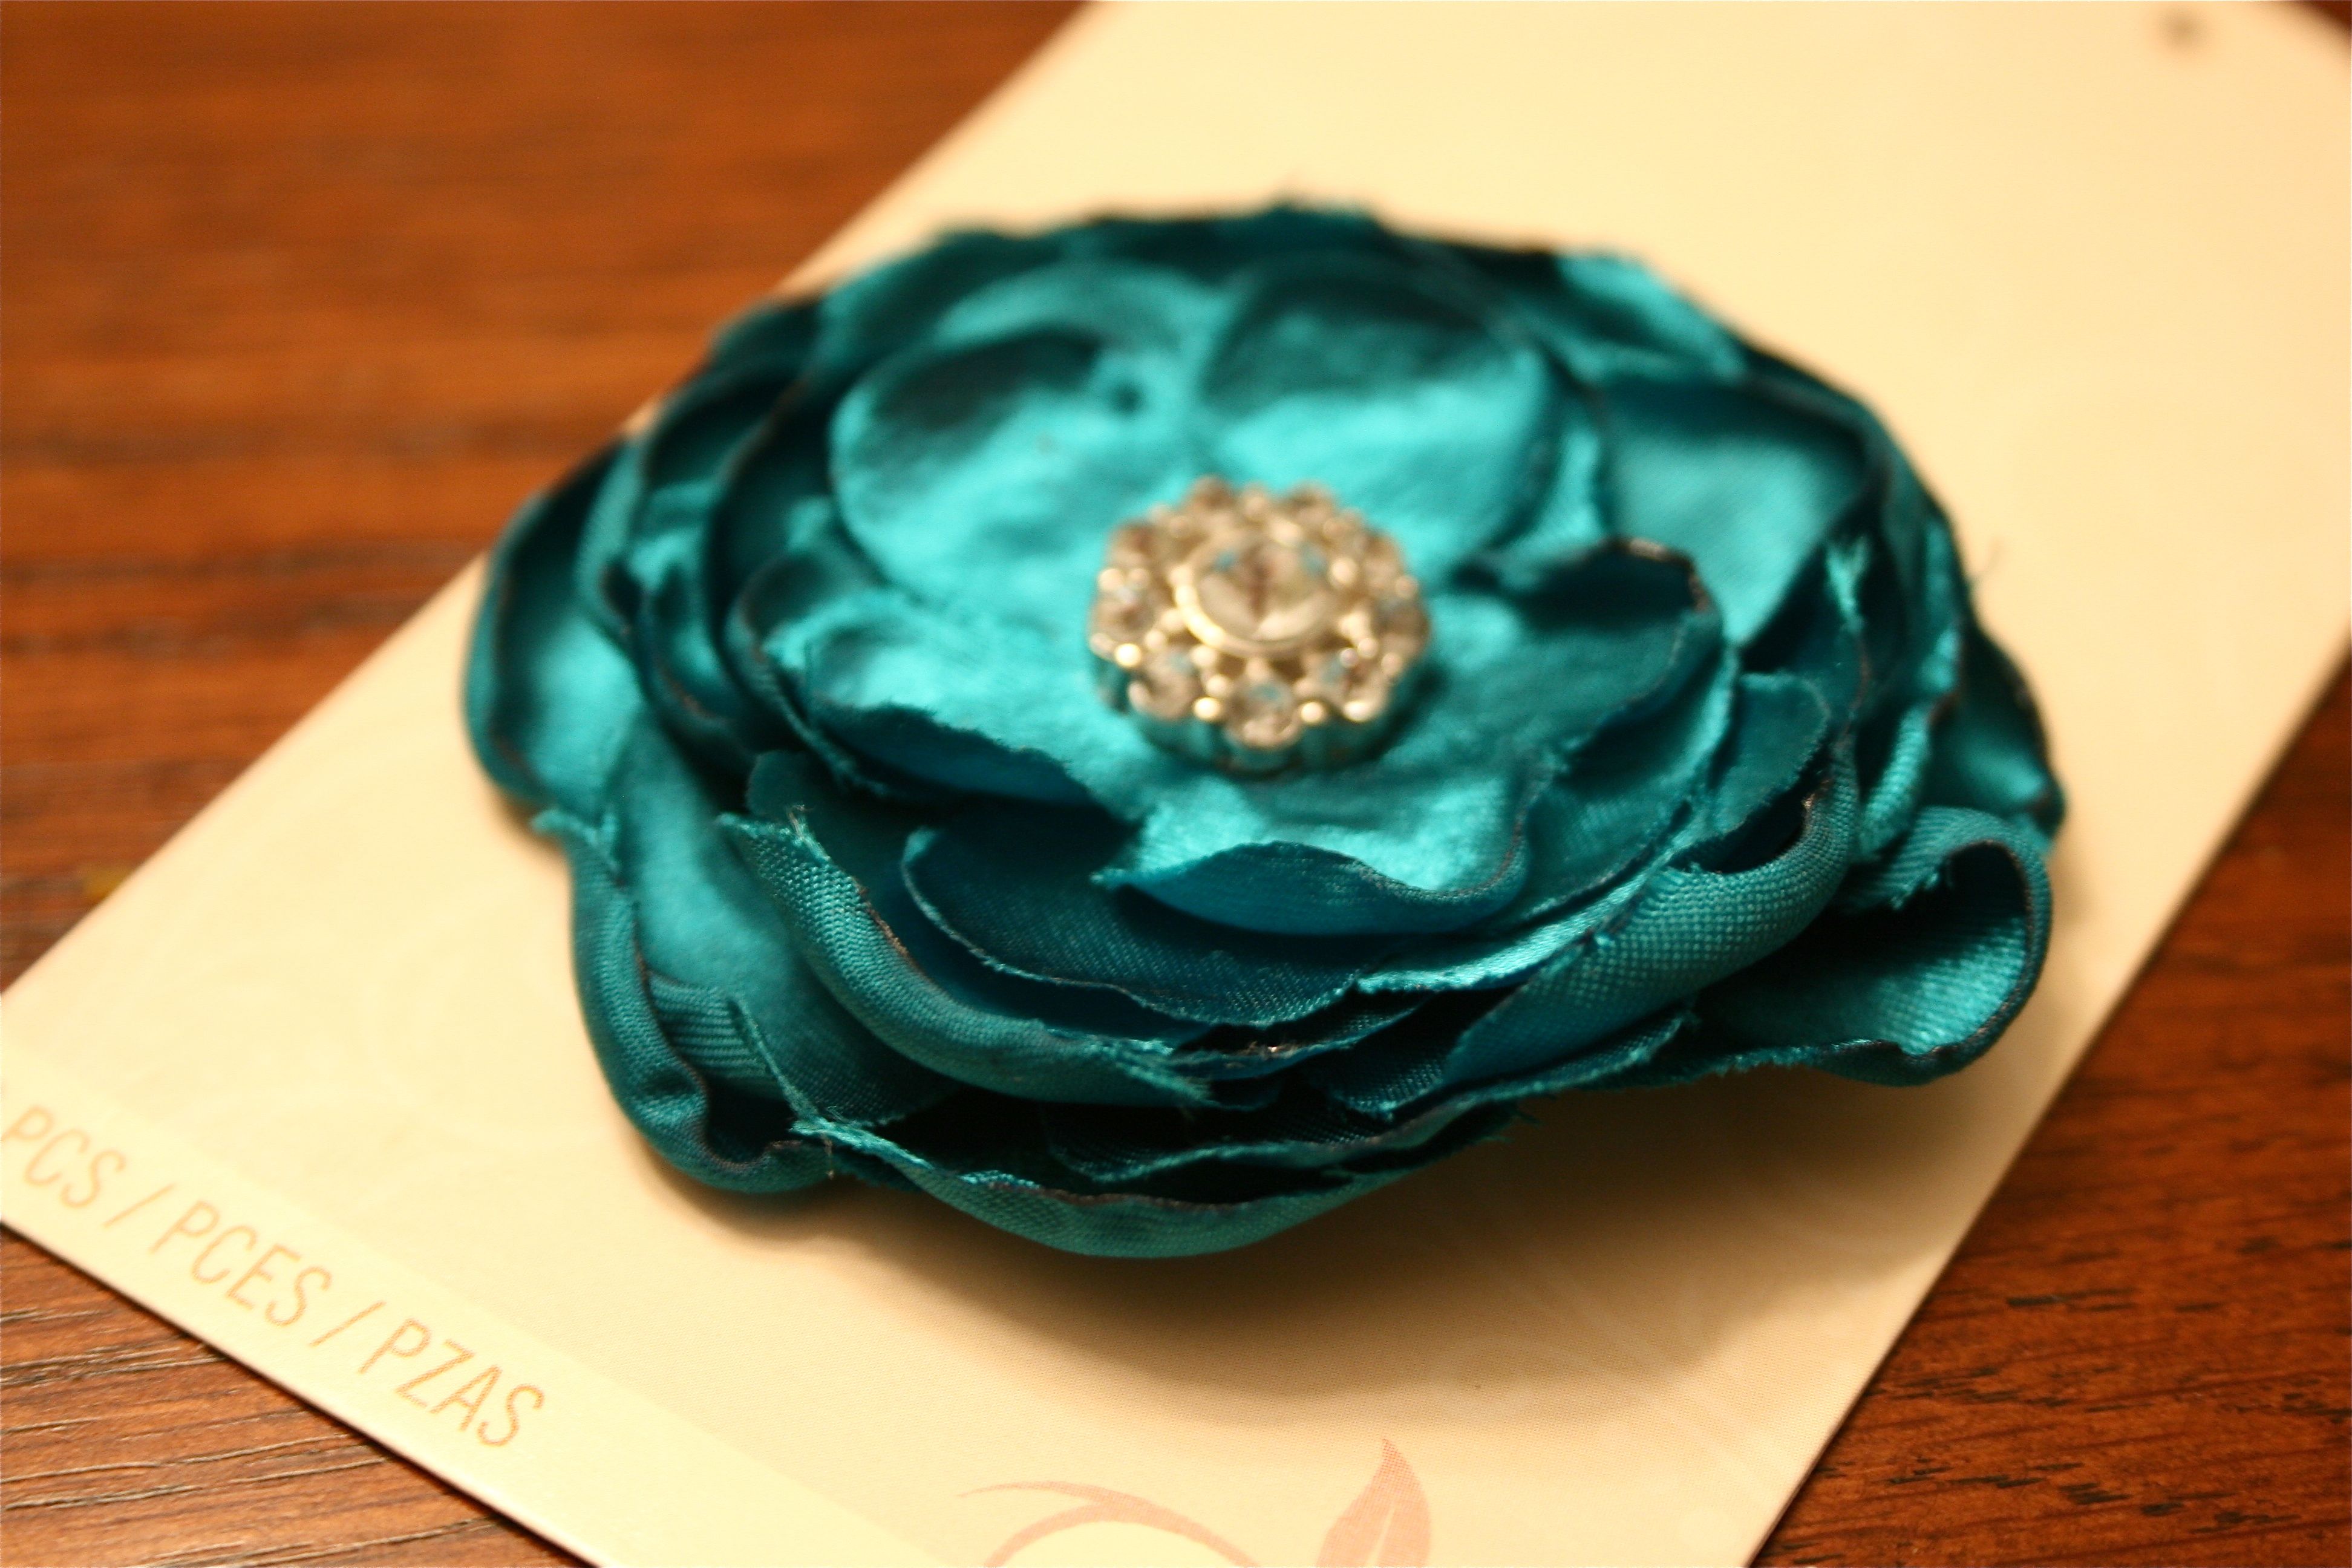
- A bright colored flower applique
I actually worked on this project with my friend, Savannah (you may remember her from this post and this one) – She generously offered up her dining room table for an hour or so and we got to chatting about life as I fiddled with needle and thread.
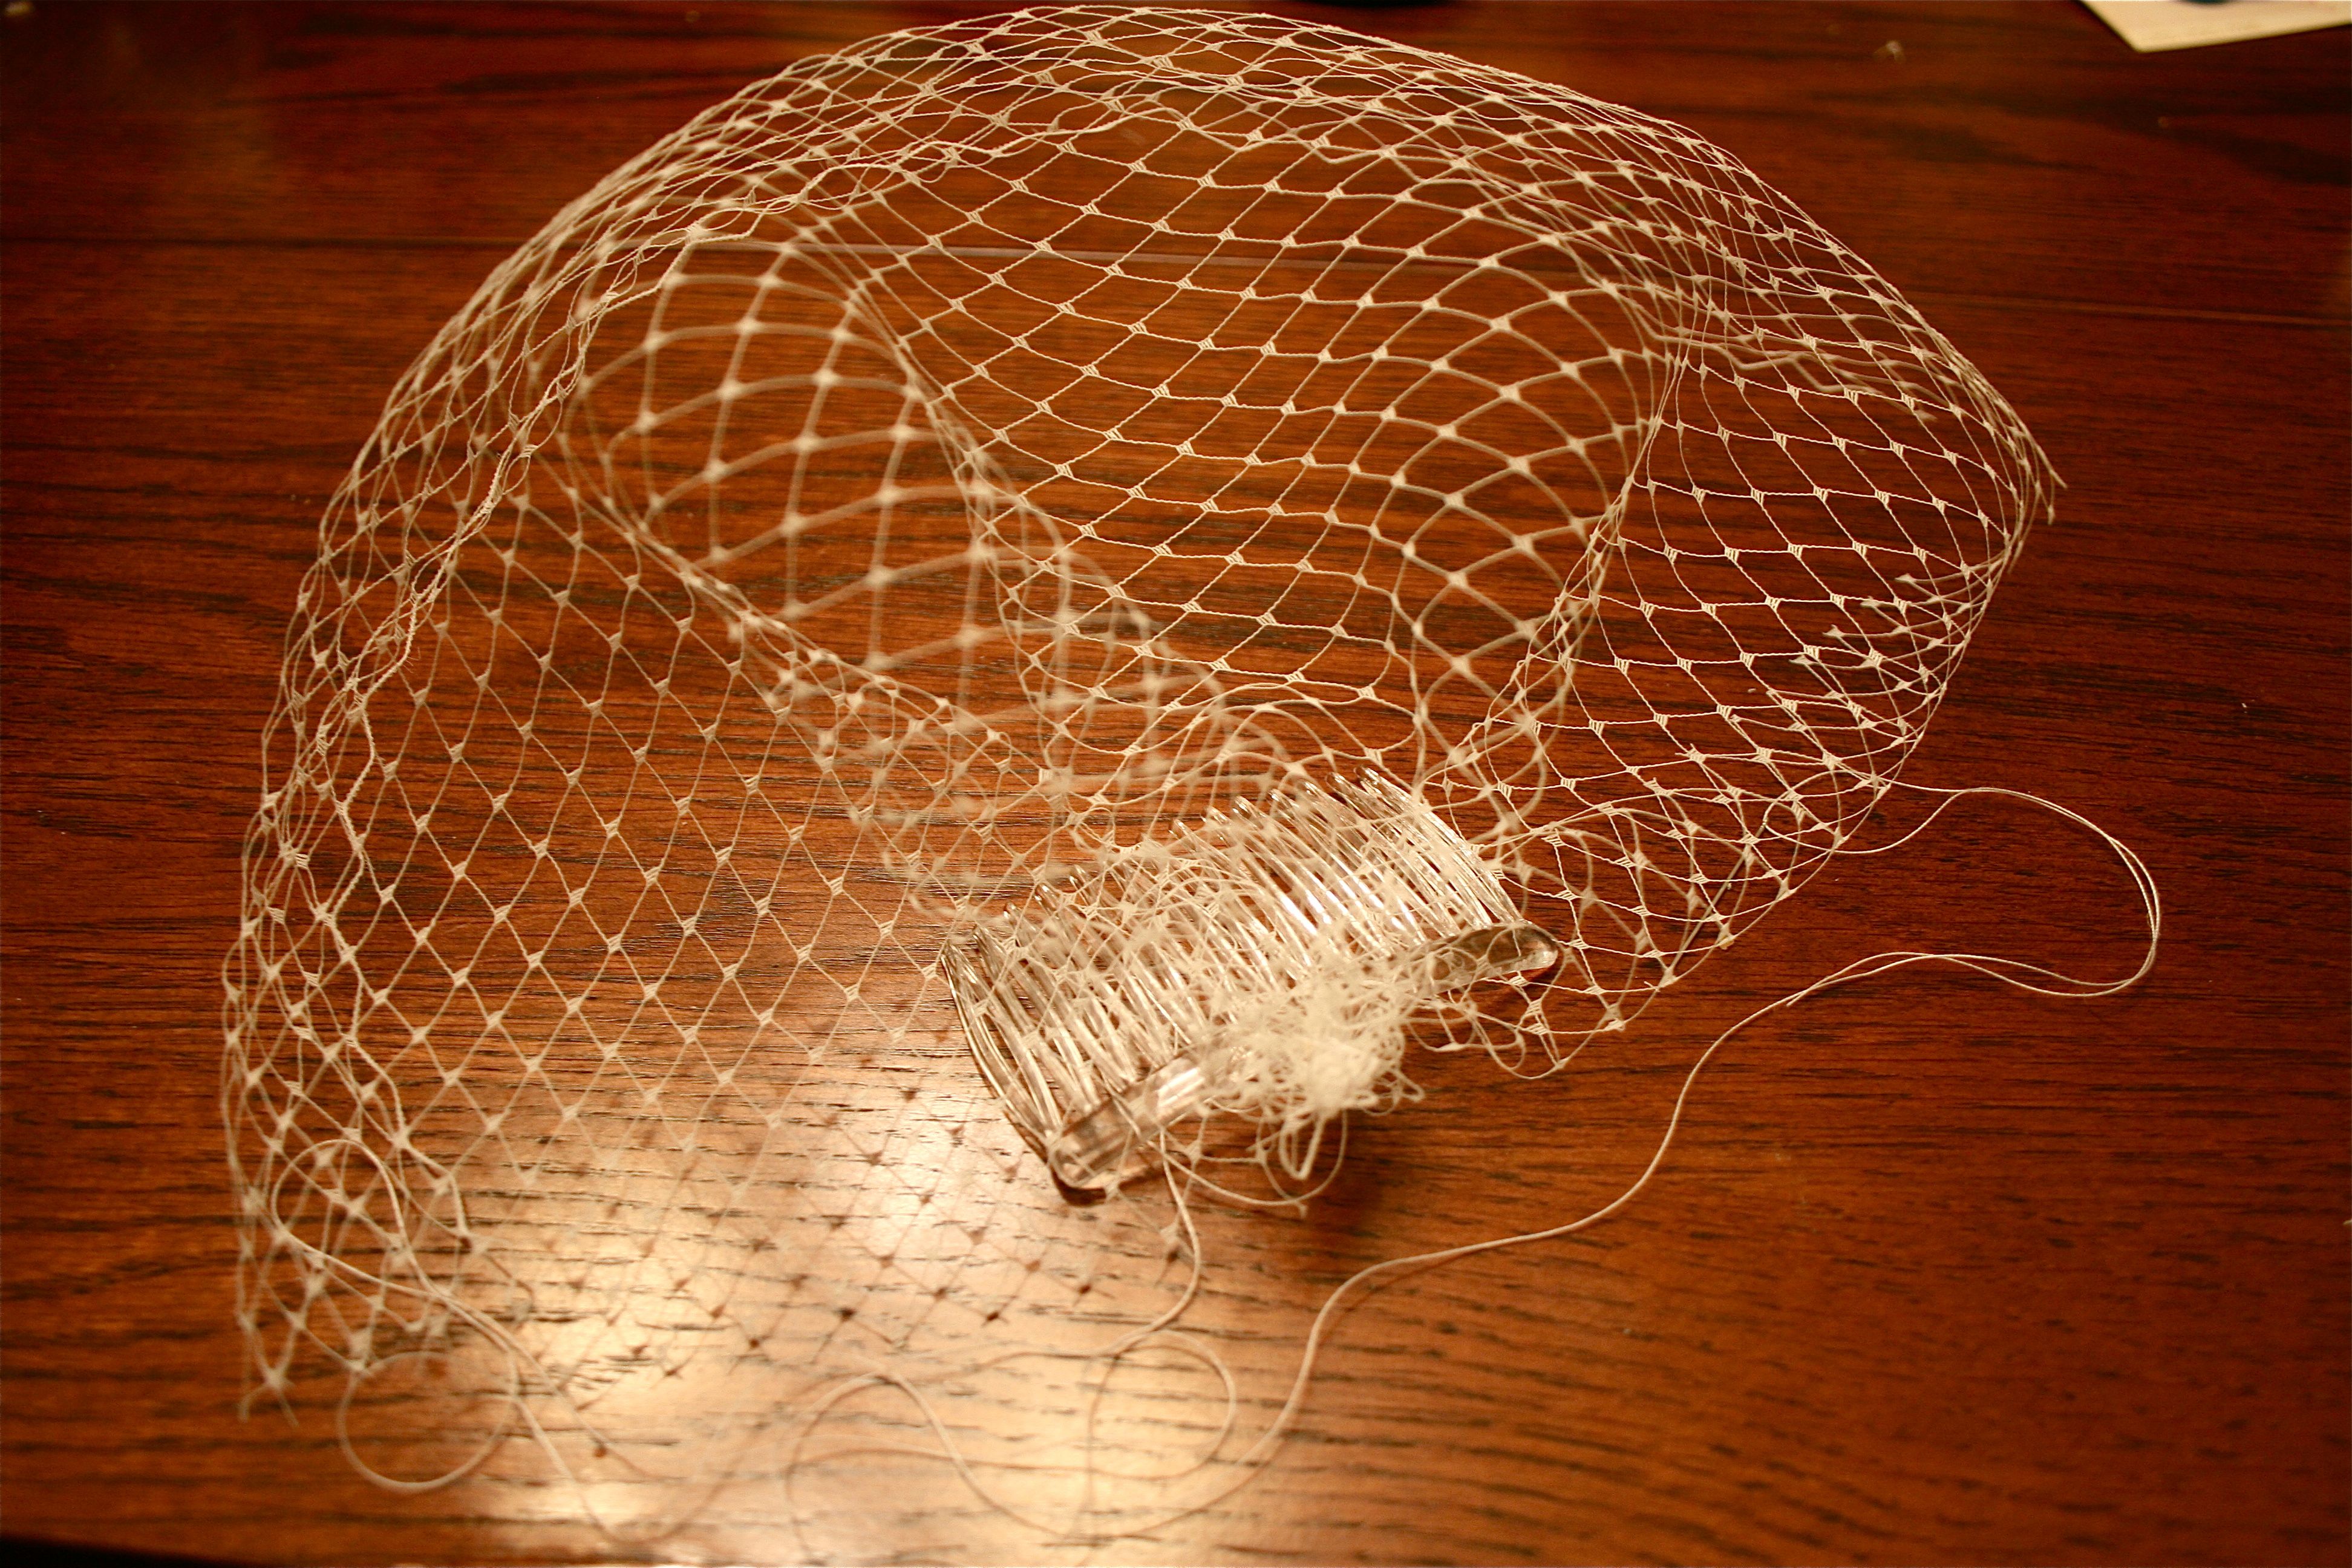
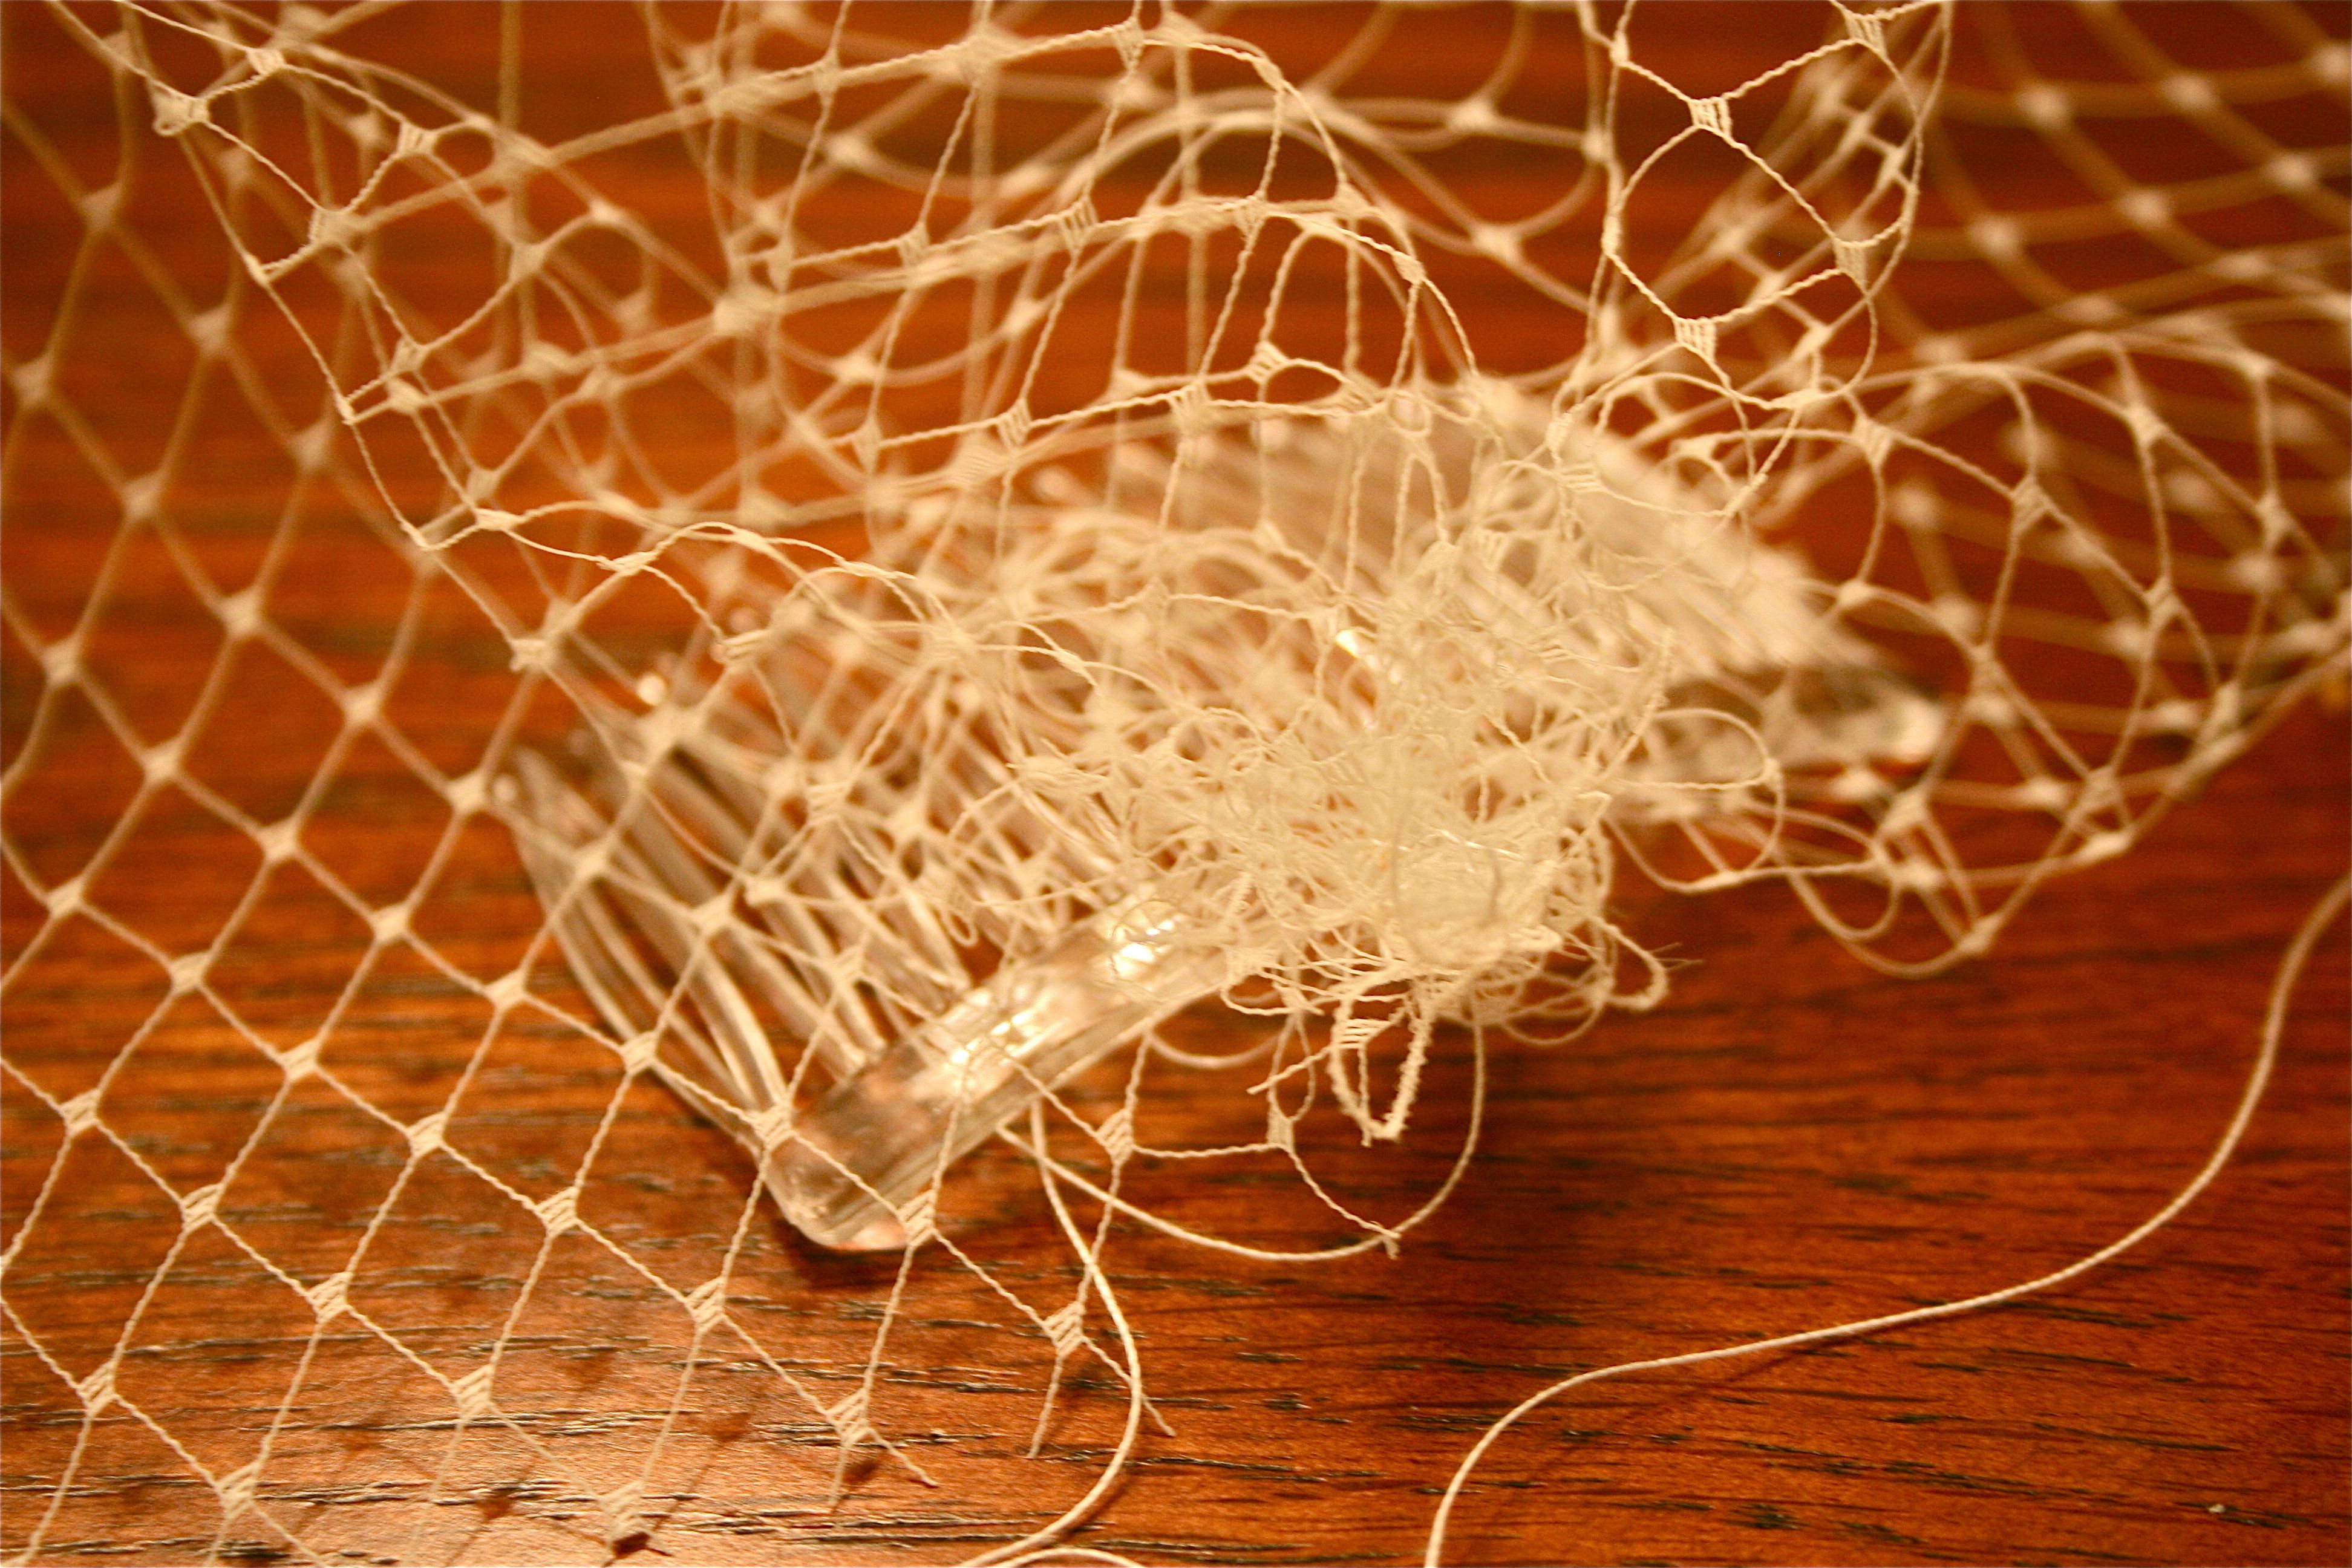
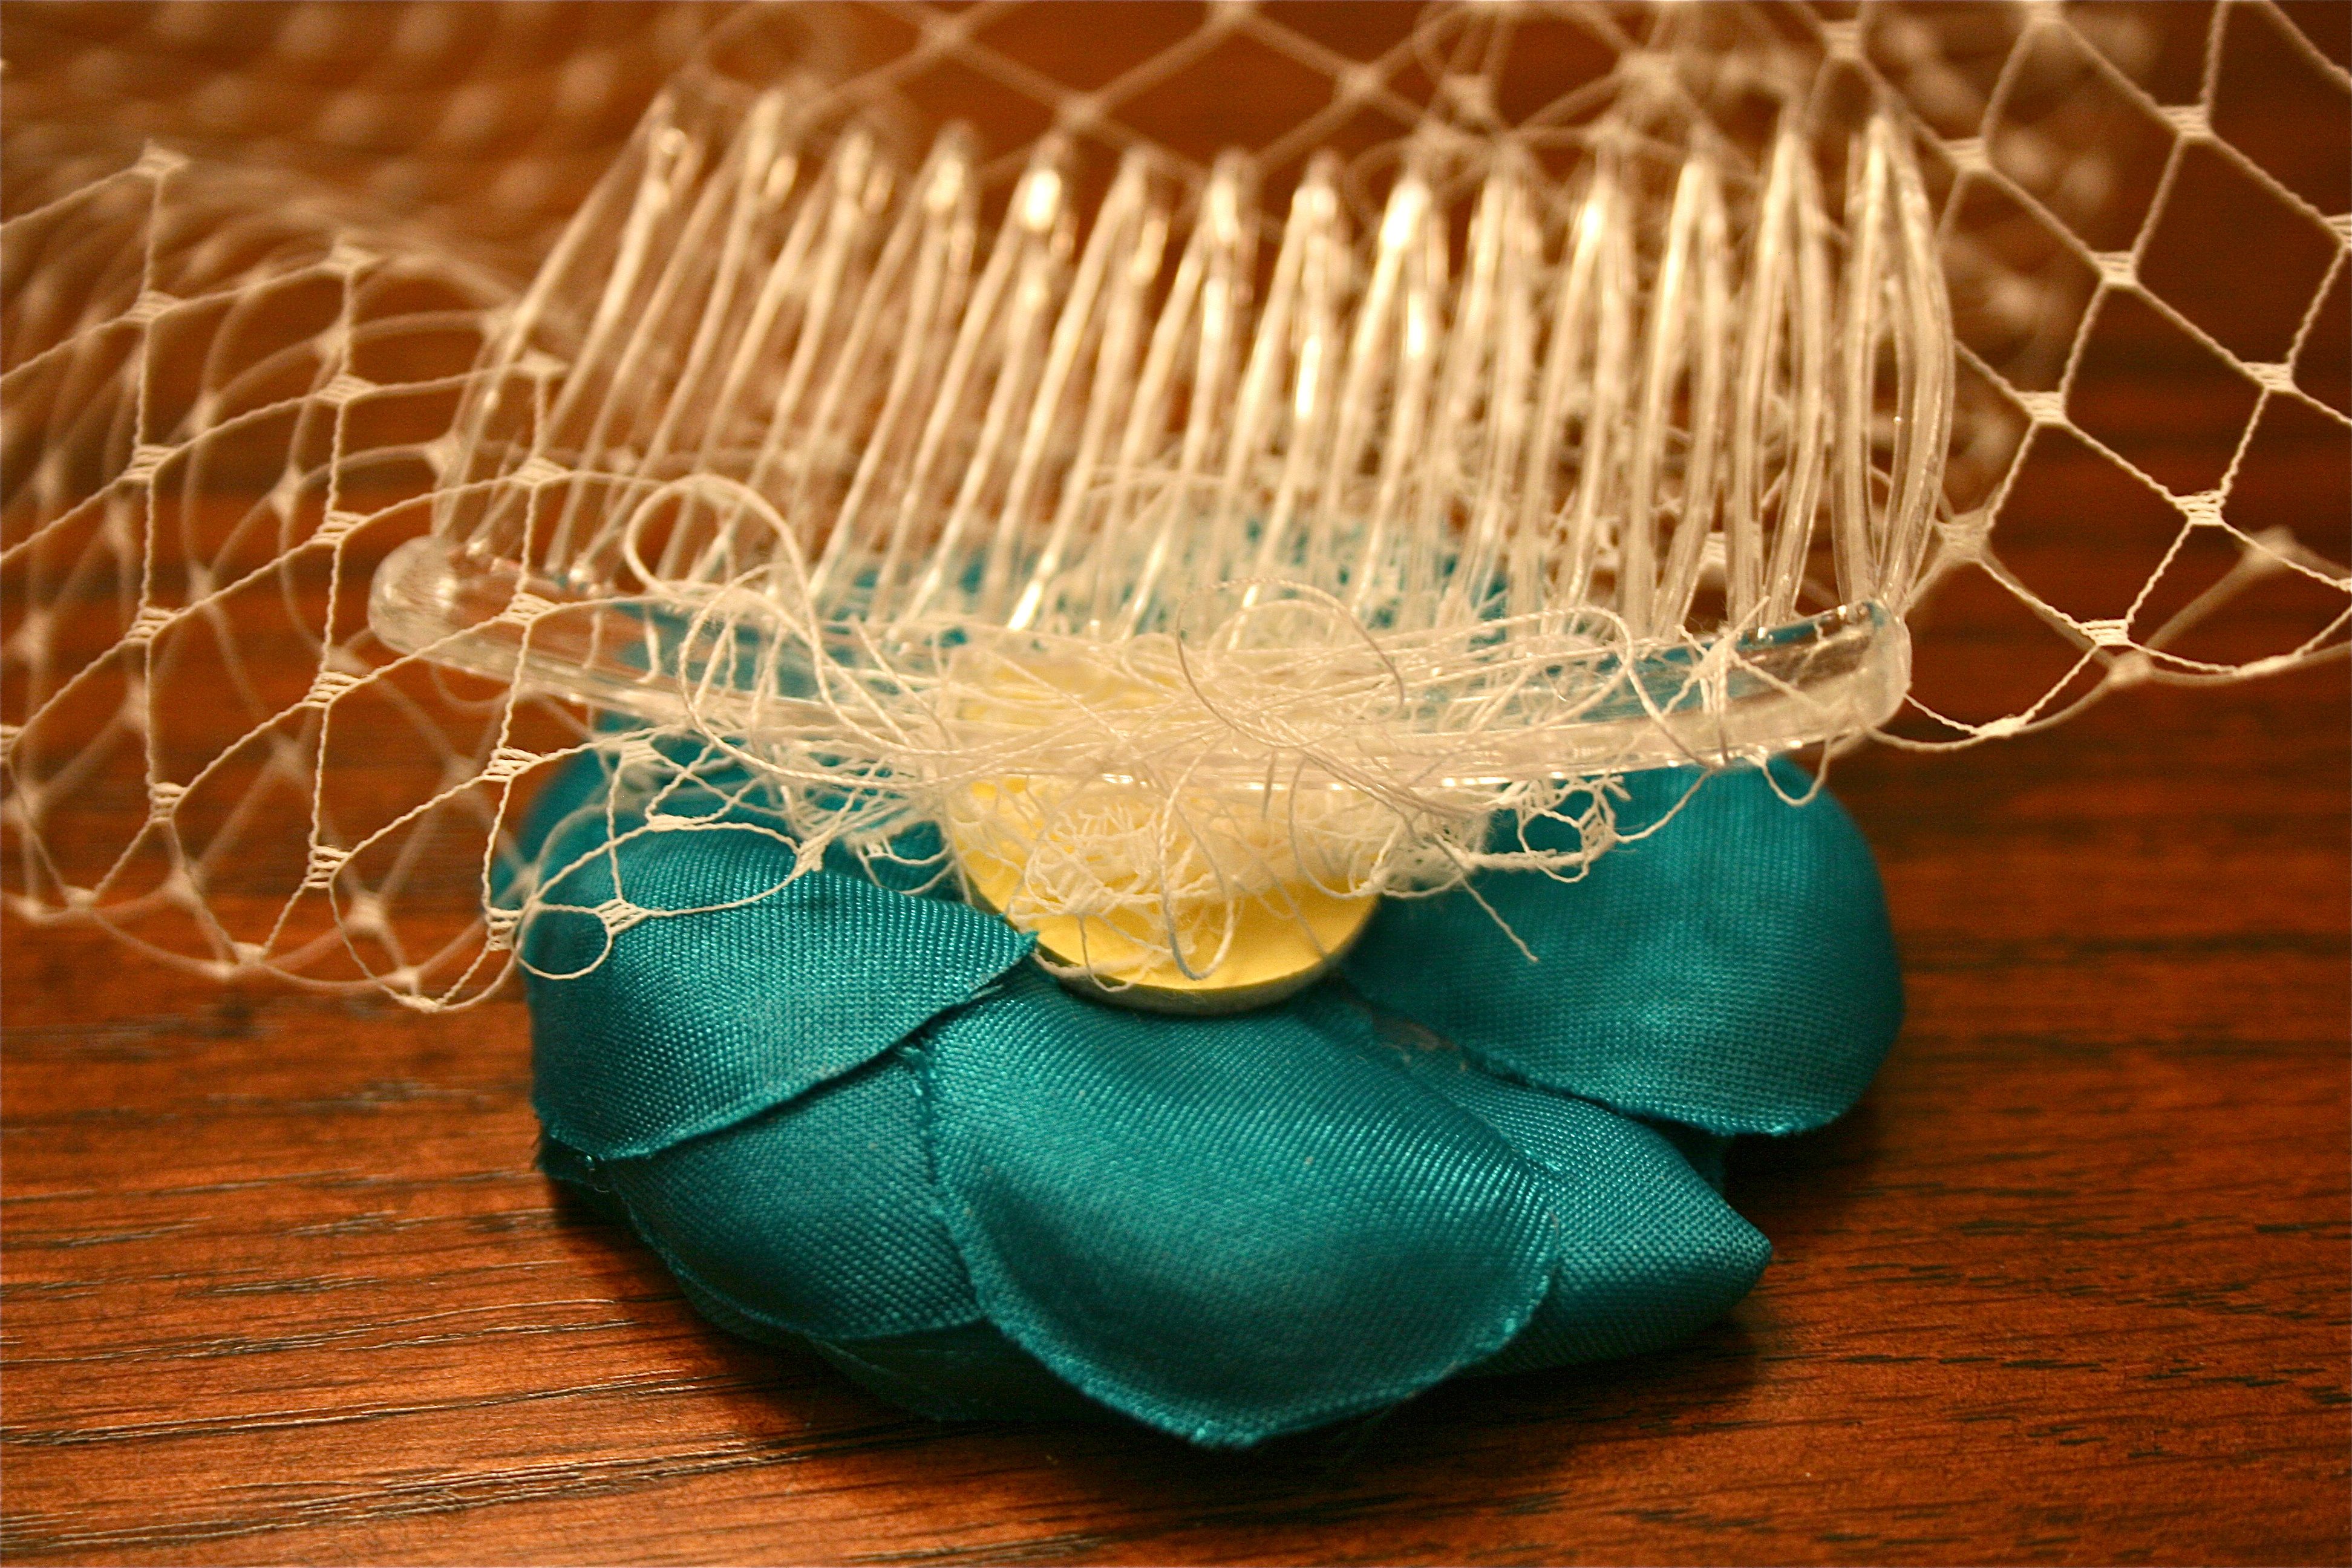
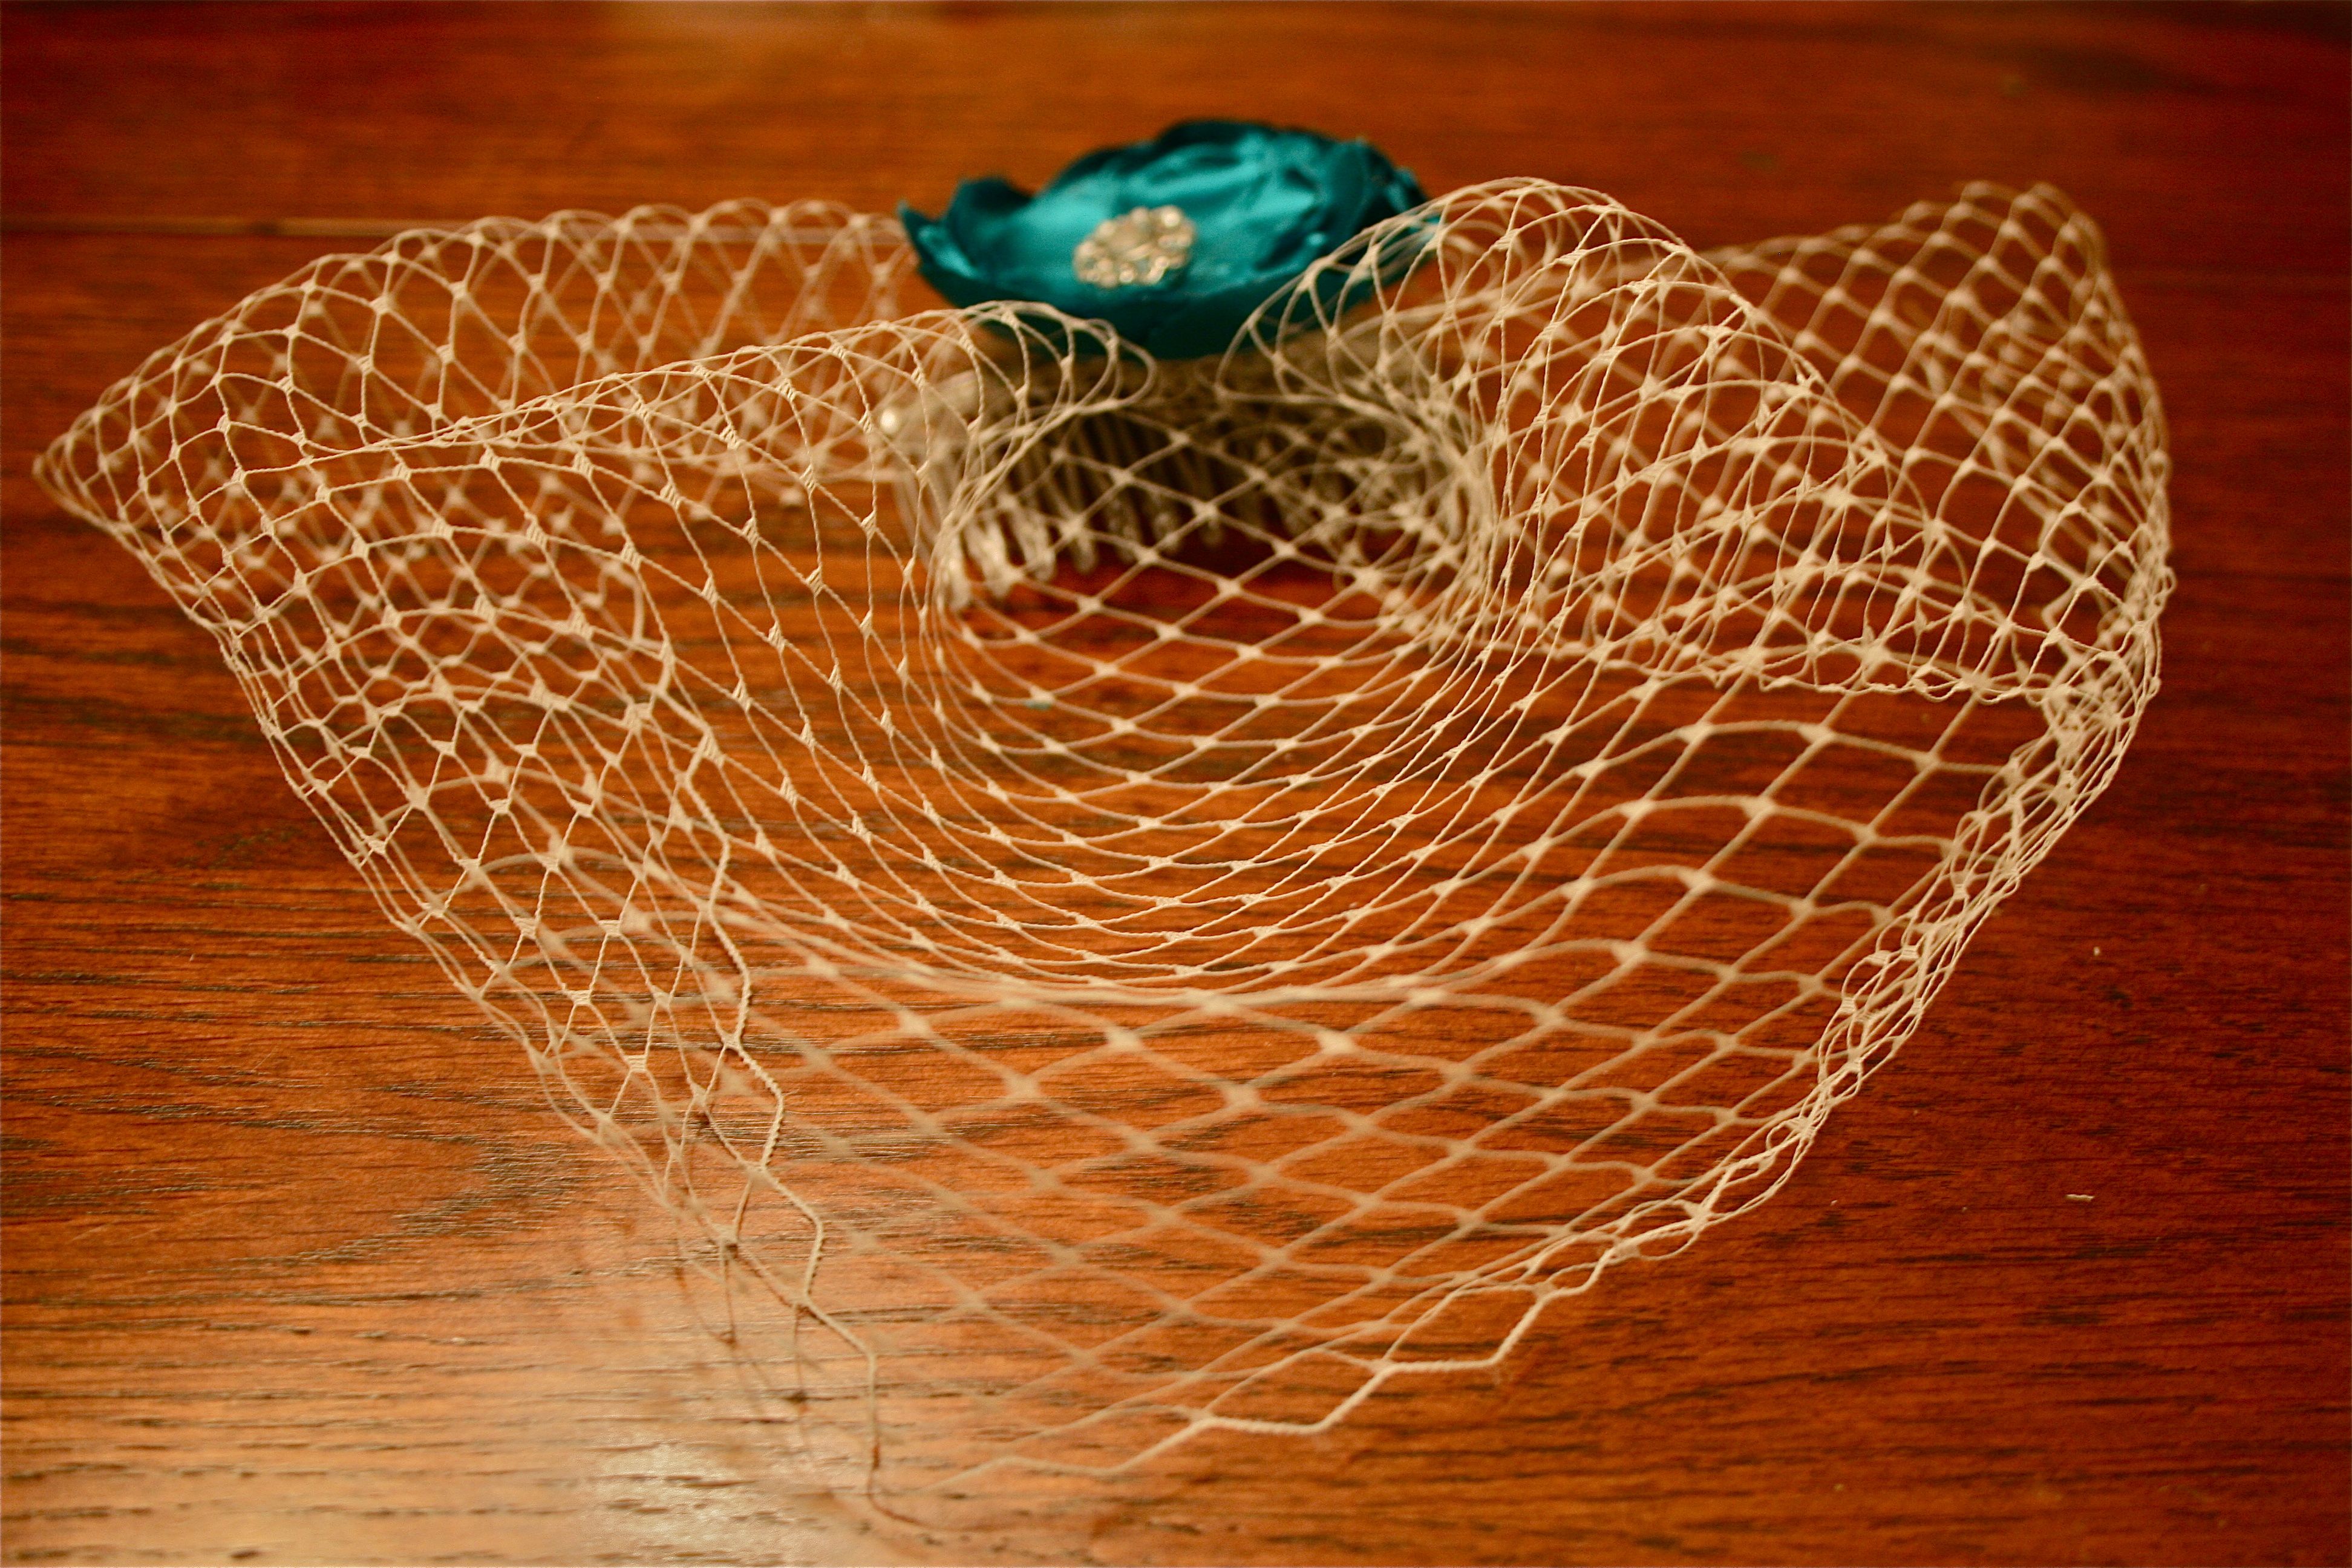
The first step was to cut the lace to size – I think I used about half of the yard that I bought. Then I sort of pulled the lace into pleats every inch or so to create a little half-dome if you will. After I got the shape the way I wanted, I simply sewed the lace onto the comb by running my needle and thread between the prongs/teeth of the comb. It looks like a MESS, but the lace was held tightly and I knew I’d cover up the thready chaos with my flower.
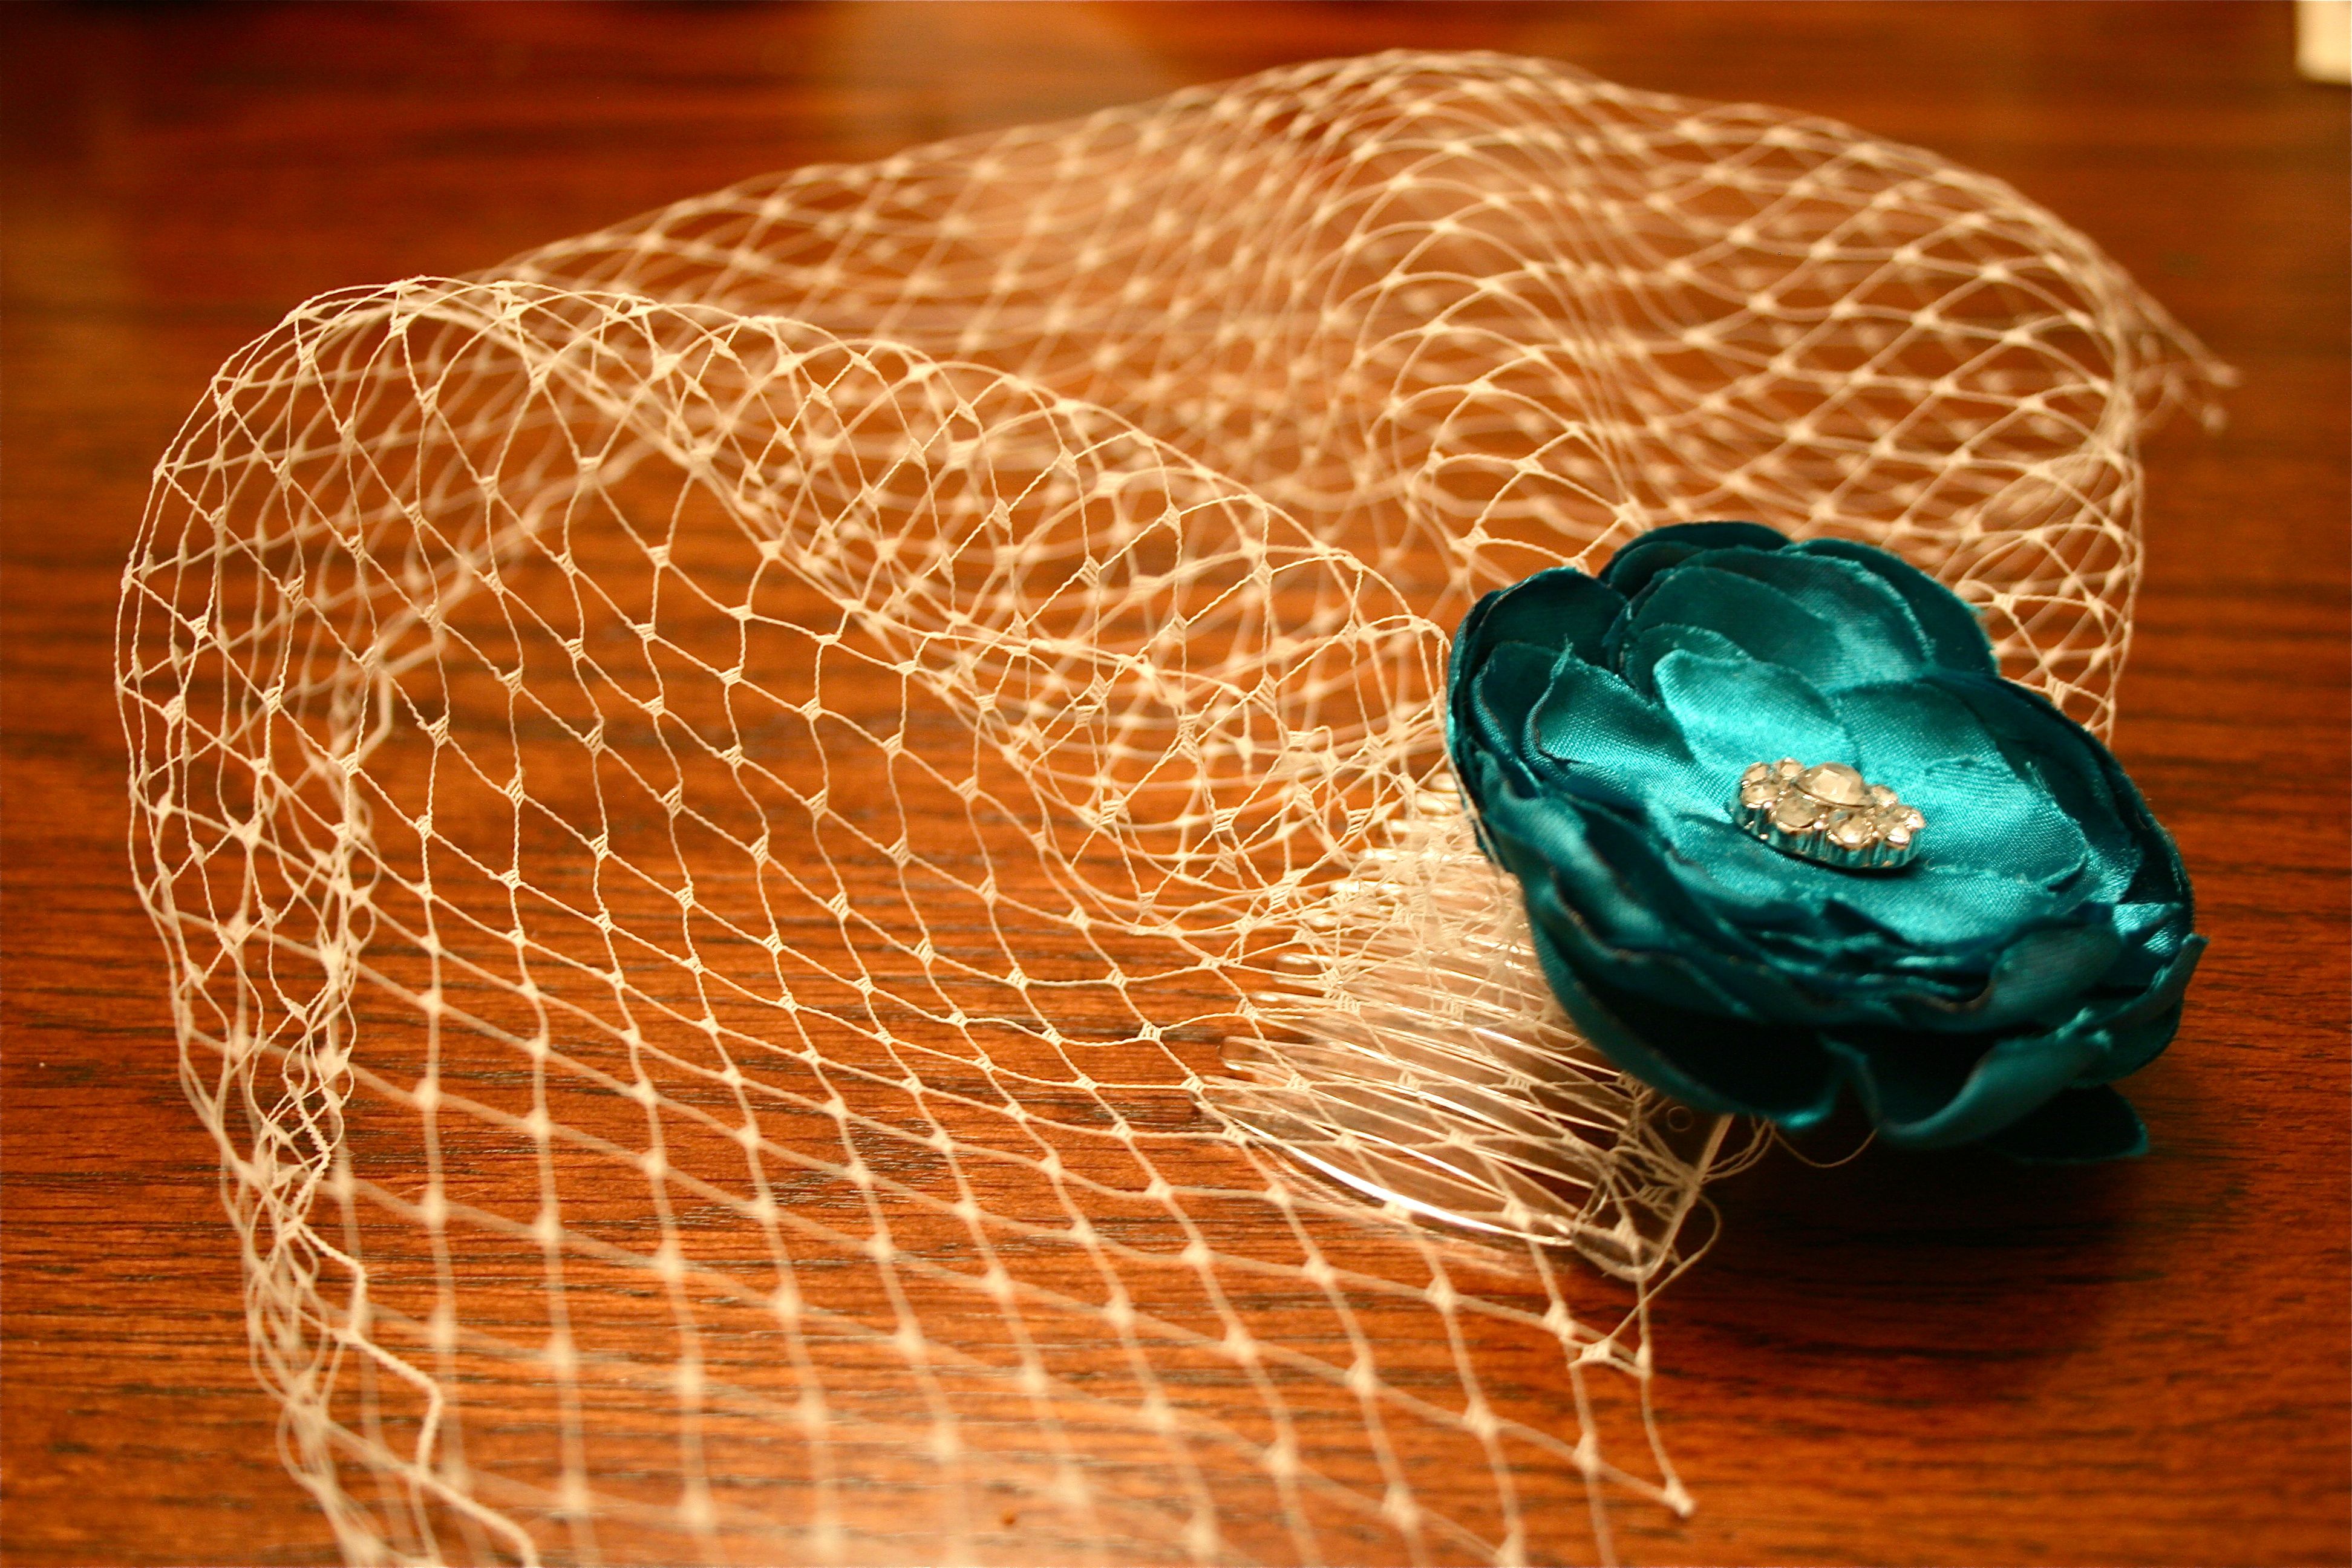
Lastly, I attached the flower applique using the same technique – I just sewed it right into the lace and comb using more needle and thread. The flower had several layers of petals, so I was able to sew through the bottom petals to attach is securely with no one being the wiser of the thread.
Finally, after a bit of trimming around the edges to give it a curved shape, we were all done!
The process was fairly simple and I think I learned a lot. I say “learned a lot” because I’m pretty sure this is going to be my trial run…The flower ended up being a tad small in proportion to the veil, so I think I’m either going to add more lace (and possibly feathers) to this one in order to beef it up a bit, or scrap it and try again with a larger applique. We’ll see!
Have any of you ever tried this before? Any suggestions?
OR, I could just give up entirely and buy a ready-made veil from an expert! While I lamented over my sort-of failure of a first try at Savannah’s house, she mentioned that her sister-in-law, Aury (who I mentioned here), has started her own enterprise with these vintage veils! Check out her Etsy shop, Love is in the Hair ( isn’t that name ADORABLE?!), here – I am seriously contemplating one of her gorgeous designs because they knock my socks off.
All of the designs you see are available for you to snatch up on her site linked to above – Don’t miss out!!
Hope you all have a great weekend!!!

