First and foremost, I have to shout a HUGE “Thank you!!!” to WordPress for choosing DG-DIY as one of their “Freshly Pressed” blogs for the past few days…It’s a huge honor (and has had me giddy for days) to see our little blog pictured in a list of other fantastic blogs…
Yes. I took a screen shot of our 15-seconds-of-fame moment…
But to all of our new readers, WELCOME!!! I hope that our little rants and DIY projects keep you coming back for more 🙂
But on to today’s Pinterest-obsessed feature!! We are talking gallery walls again – One of my favorite things. After I completed the project I’m about to show you, I was chatting with John and we realized that nearly every wall in the house has some kind of something on it. That’s a pretty fantastically large difference from what it was when we first started dating and we realized that renovation and projects were our idea of “date night.” Fast forward and we’ve got a home FULL of color, texture and imagery on the walls. There are just so many fun trends out there when it comes to wall art, I can’t help but go a little hay-wire.
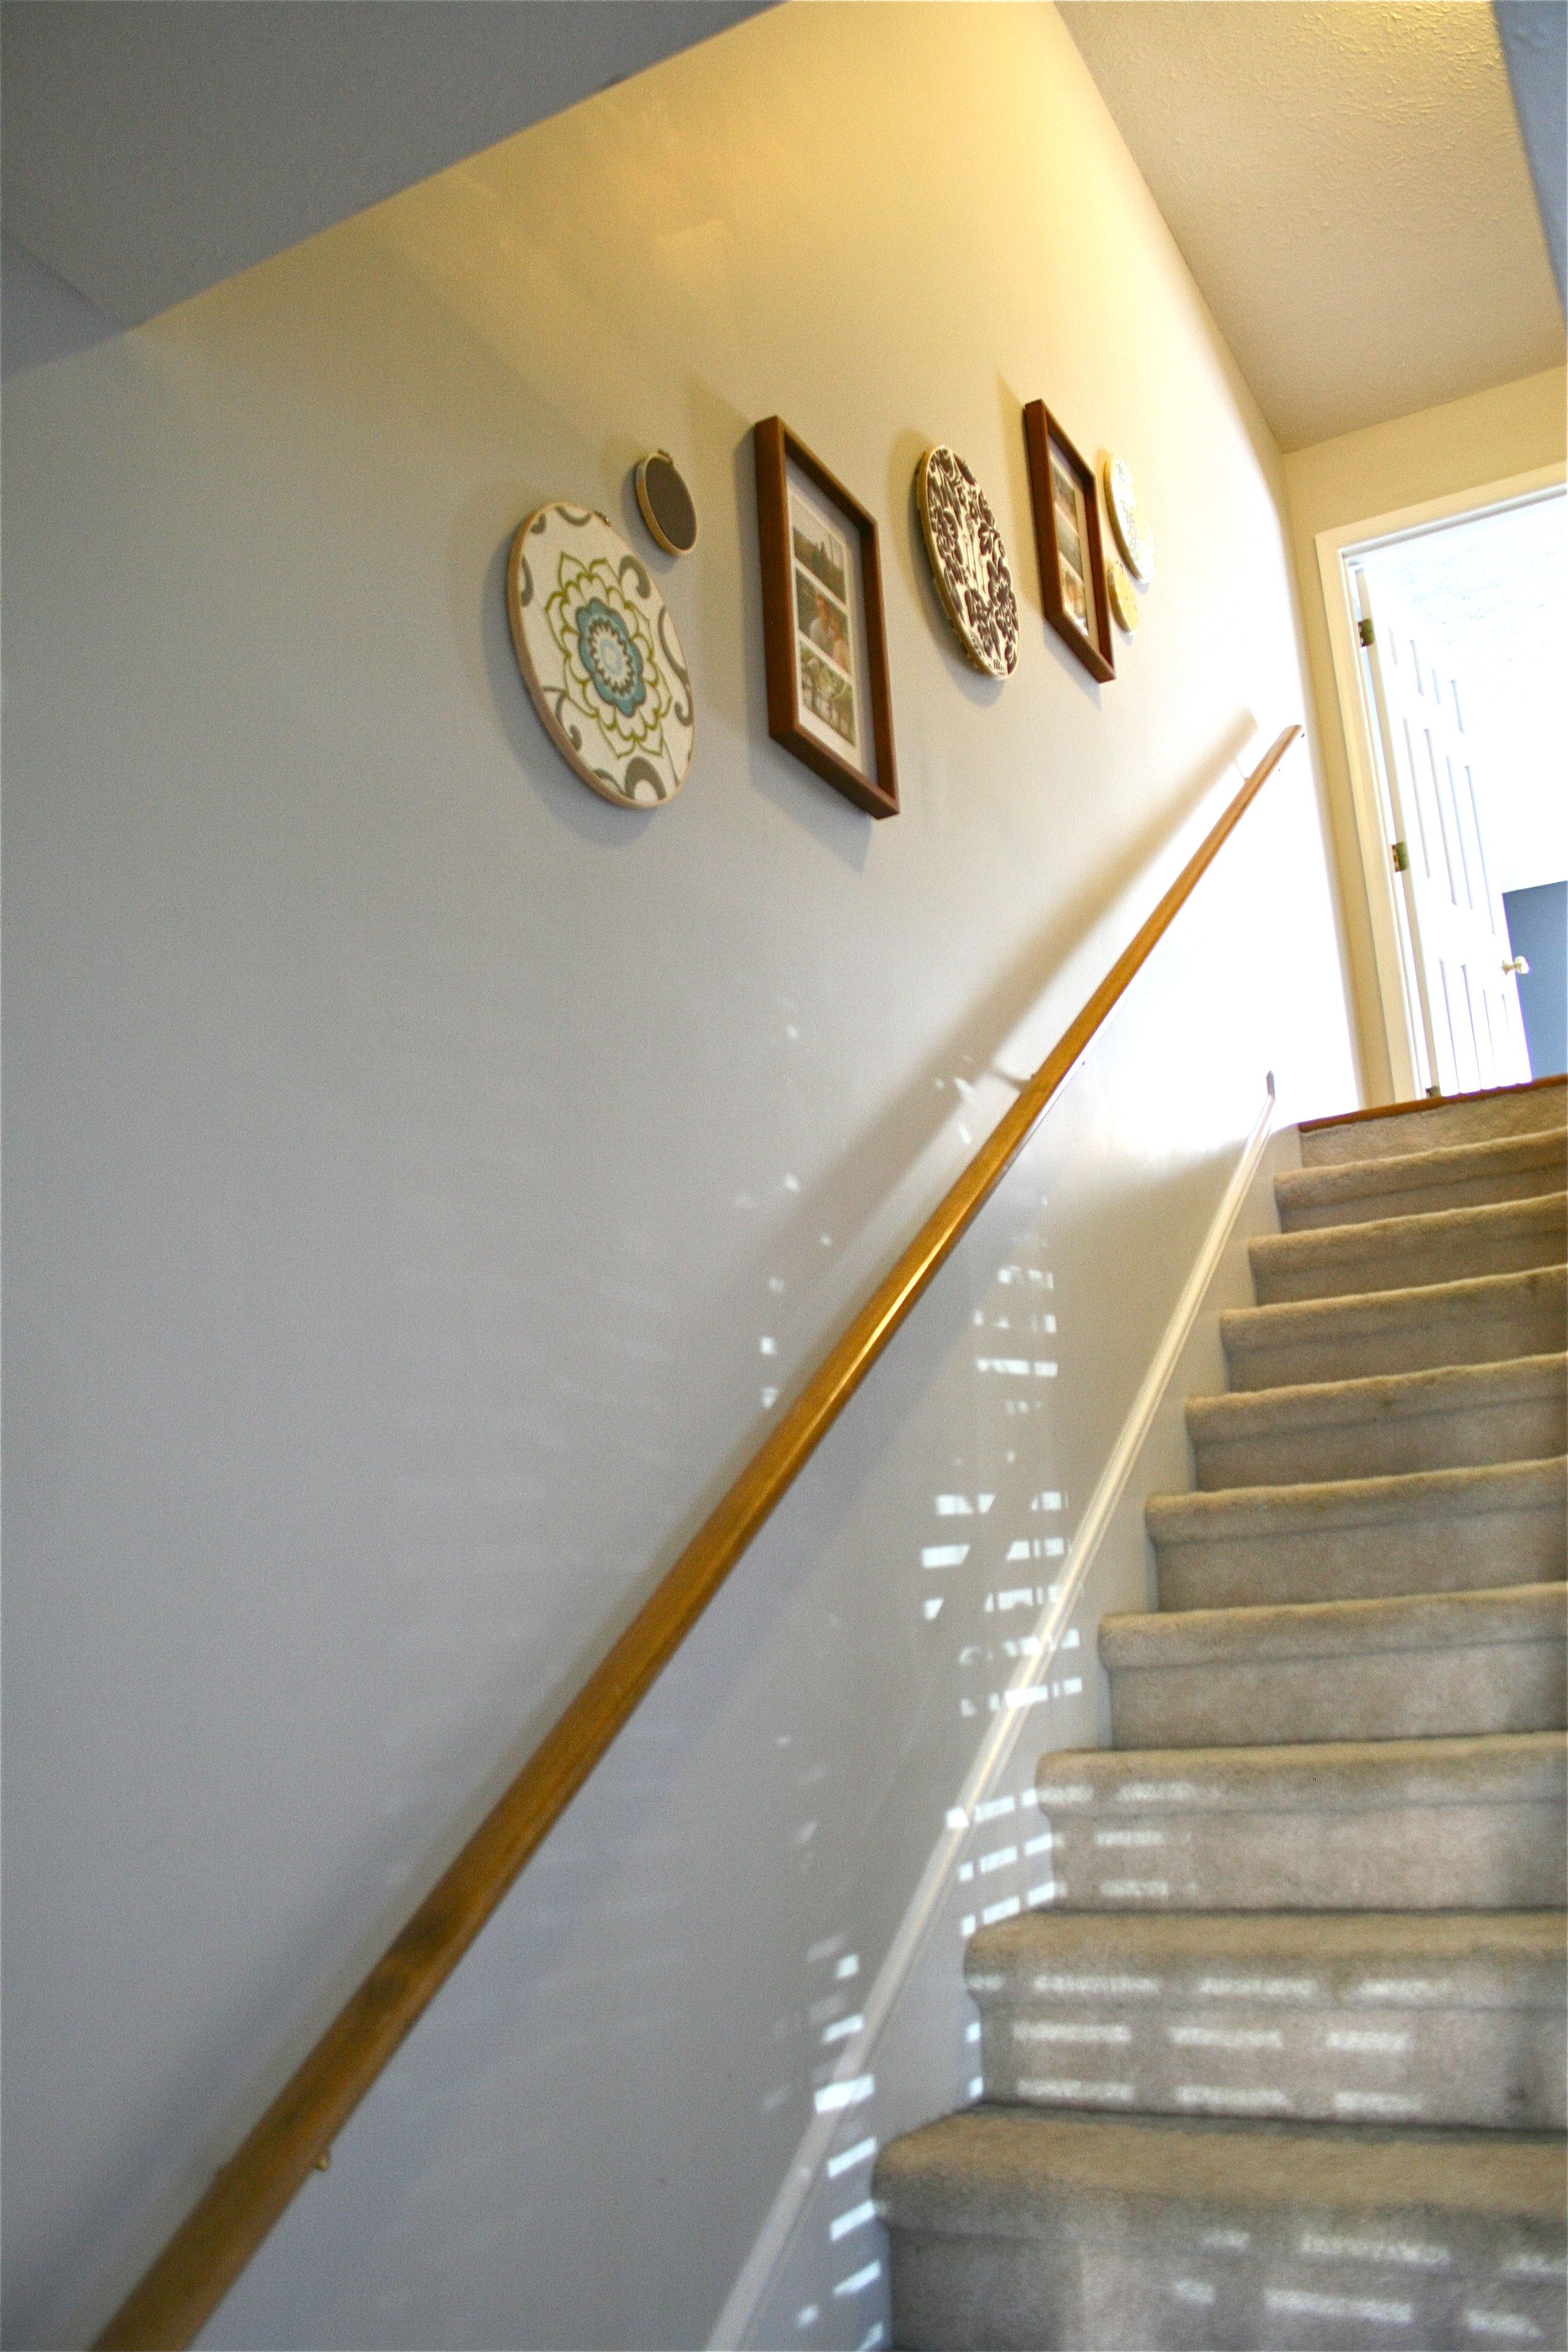
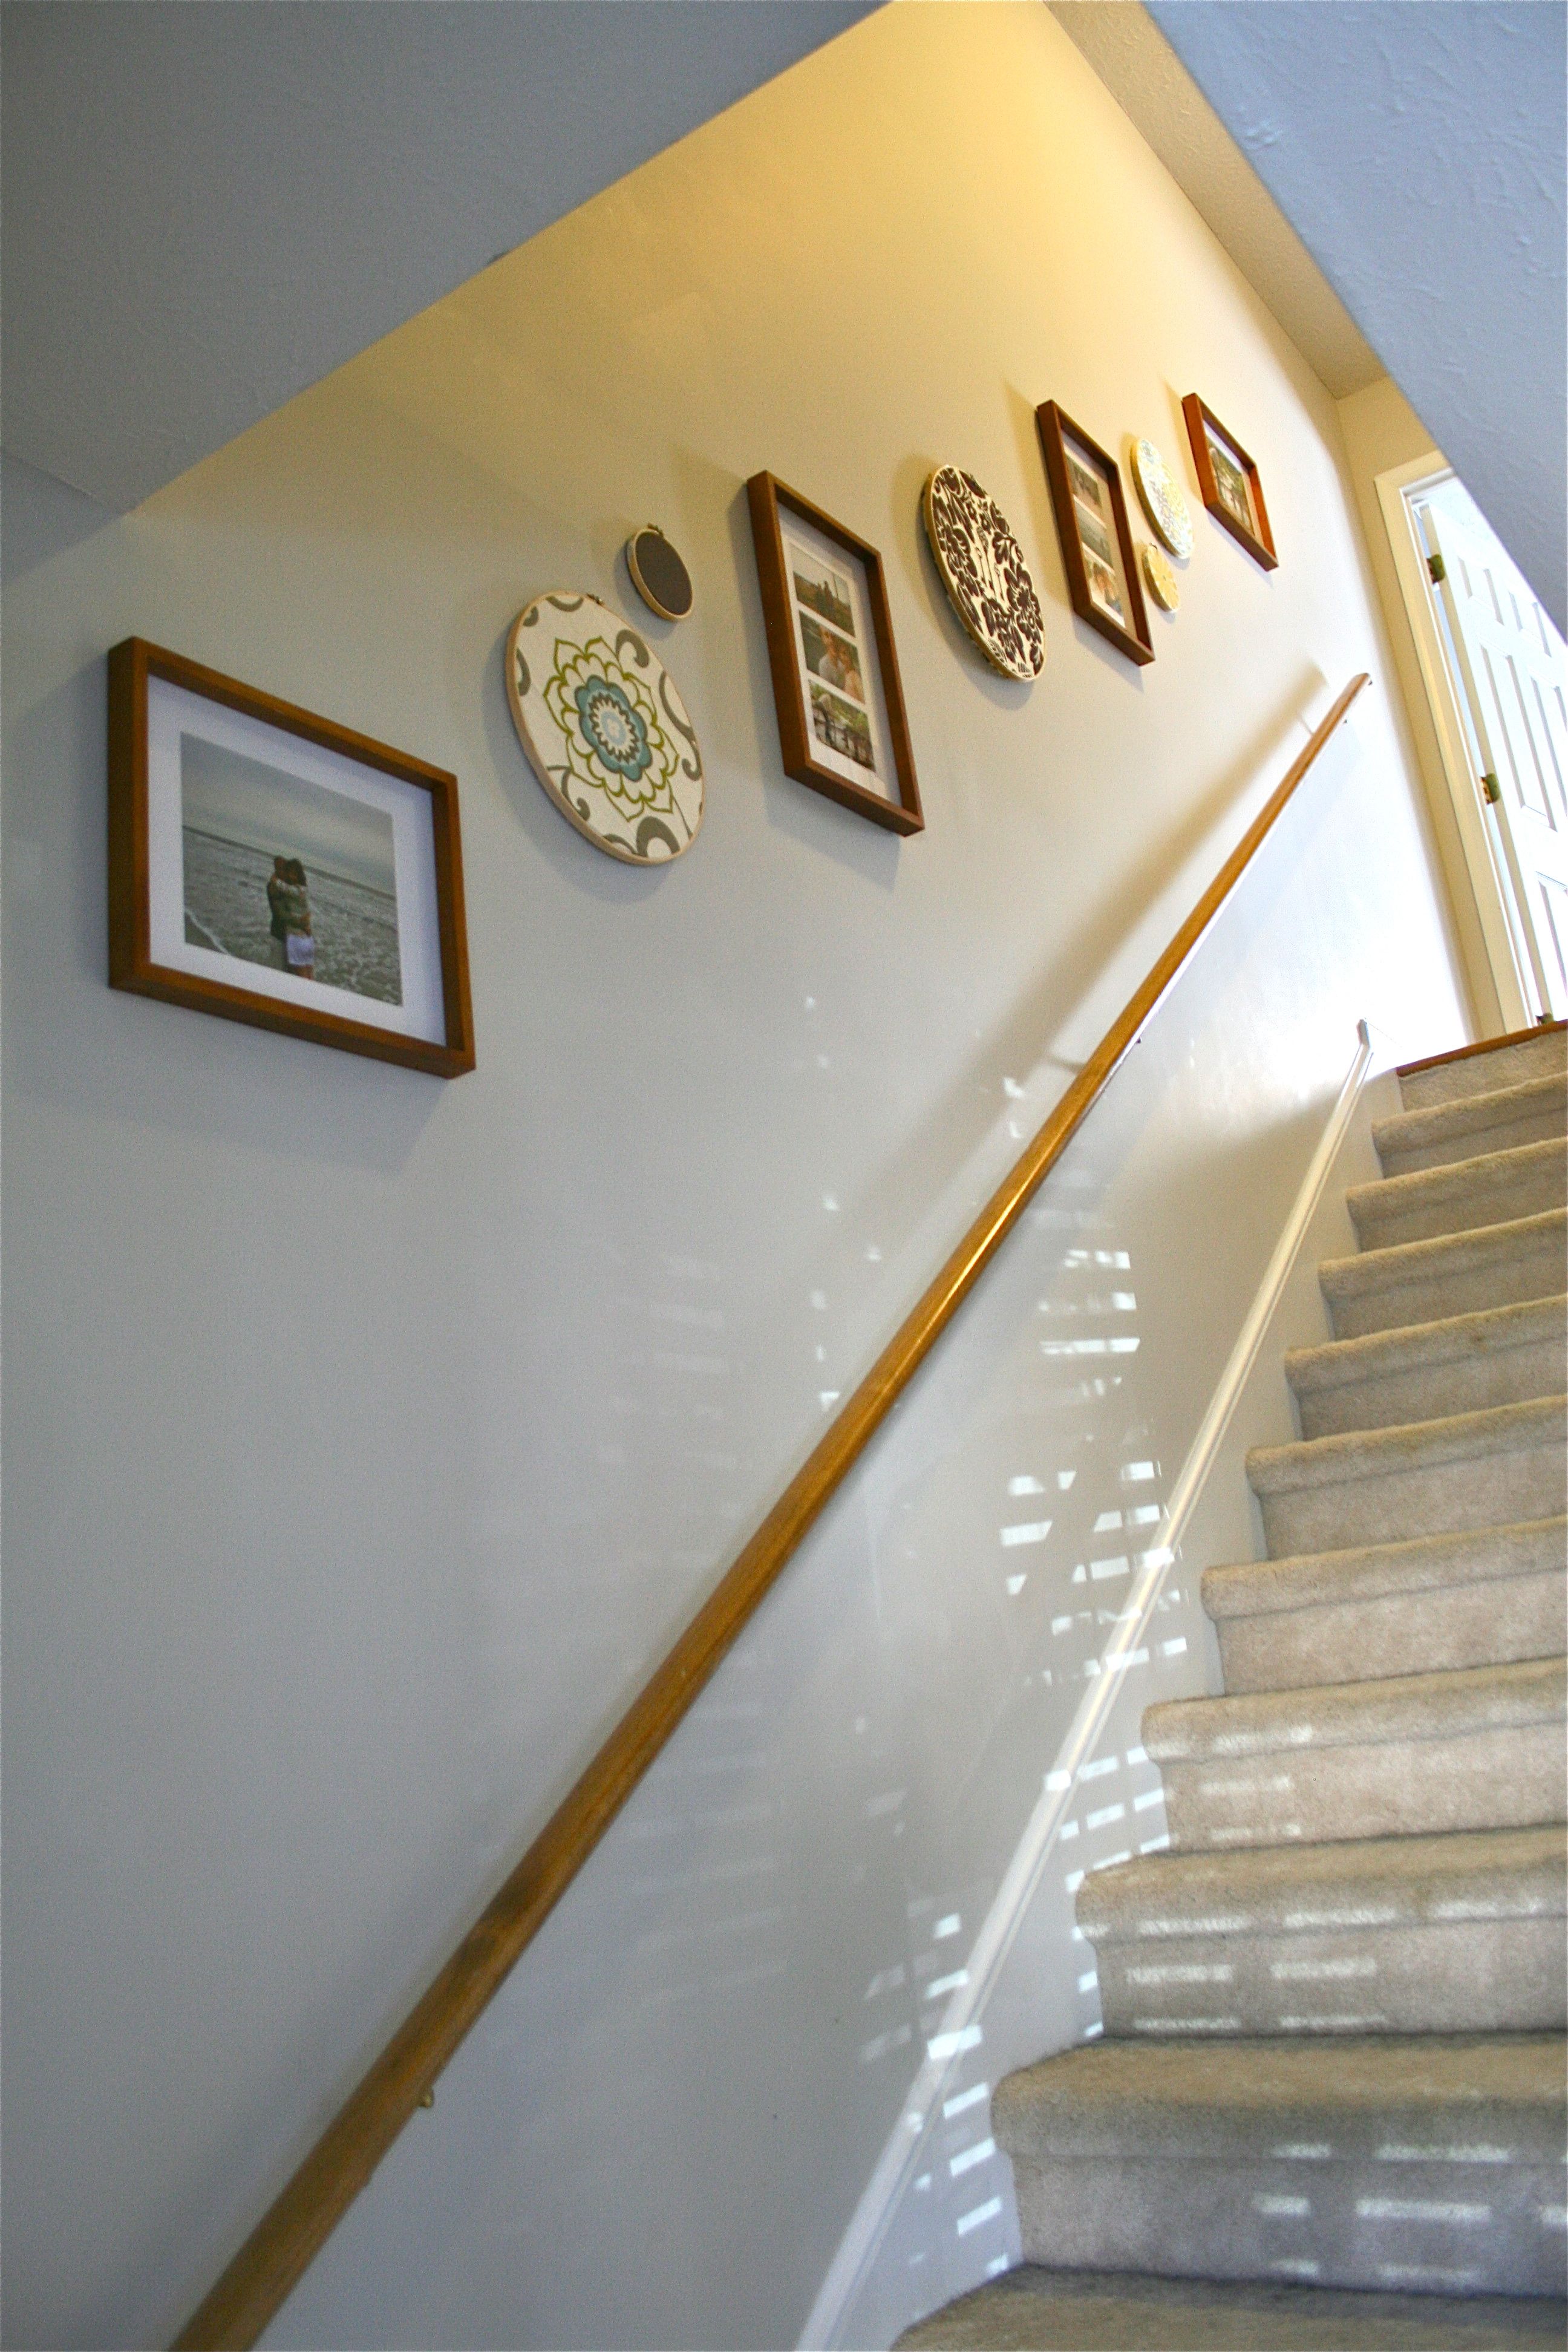
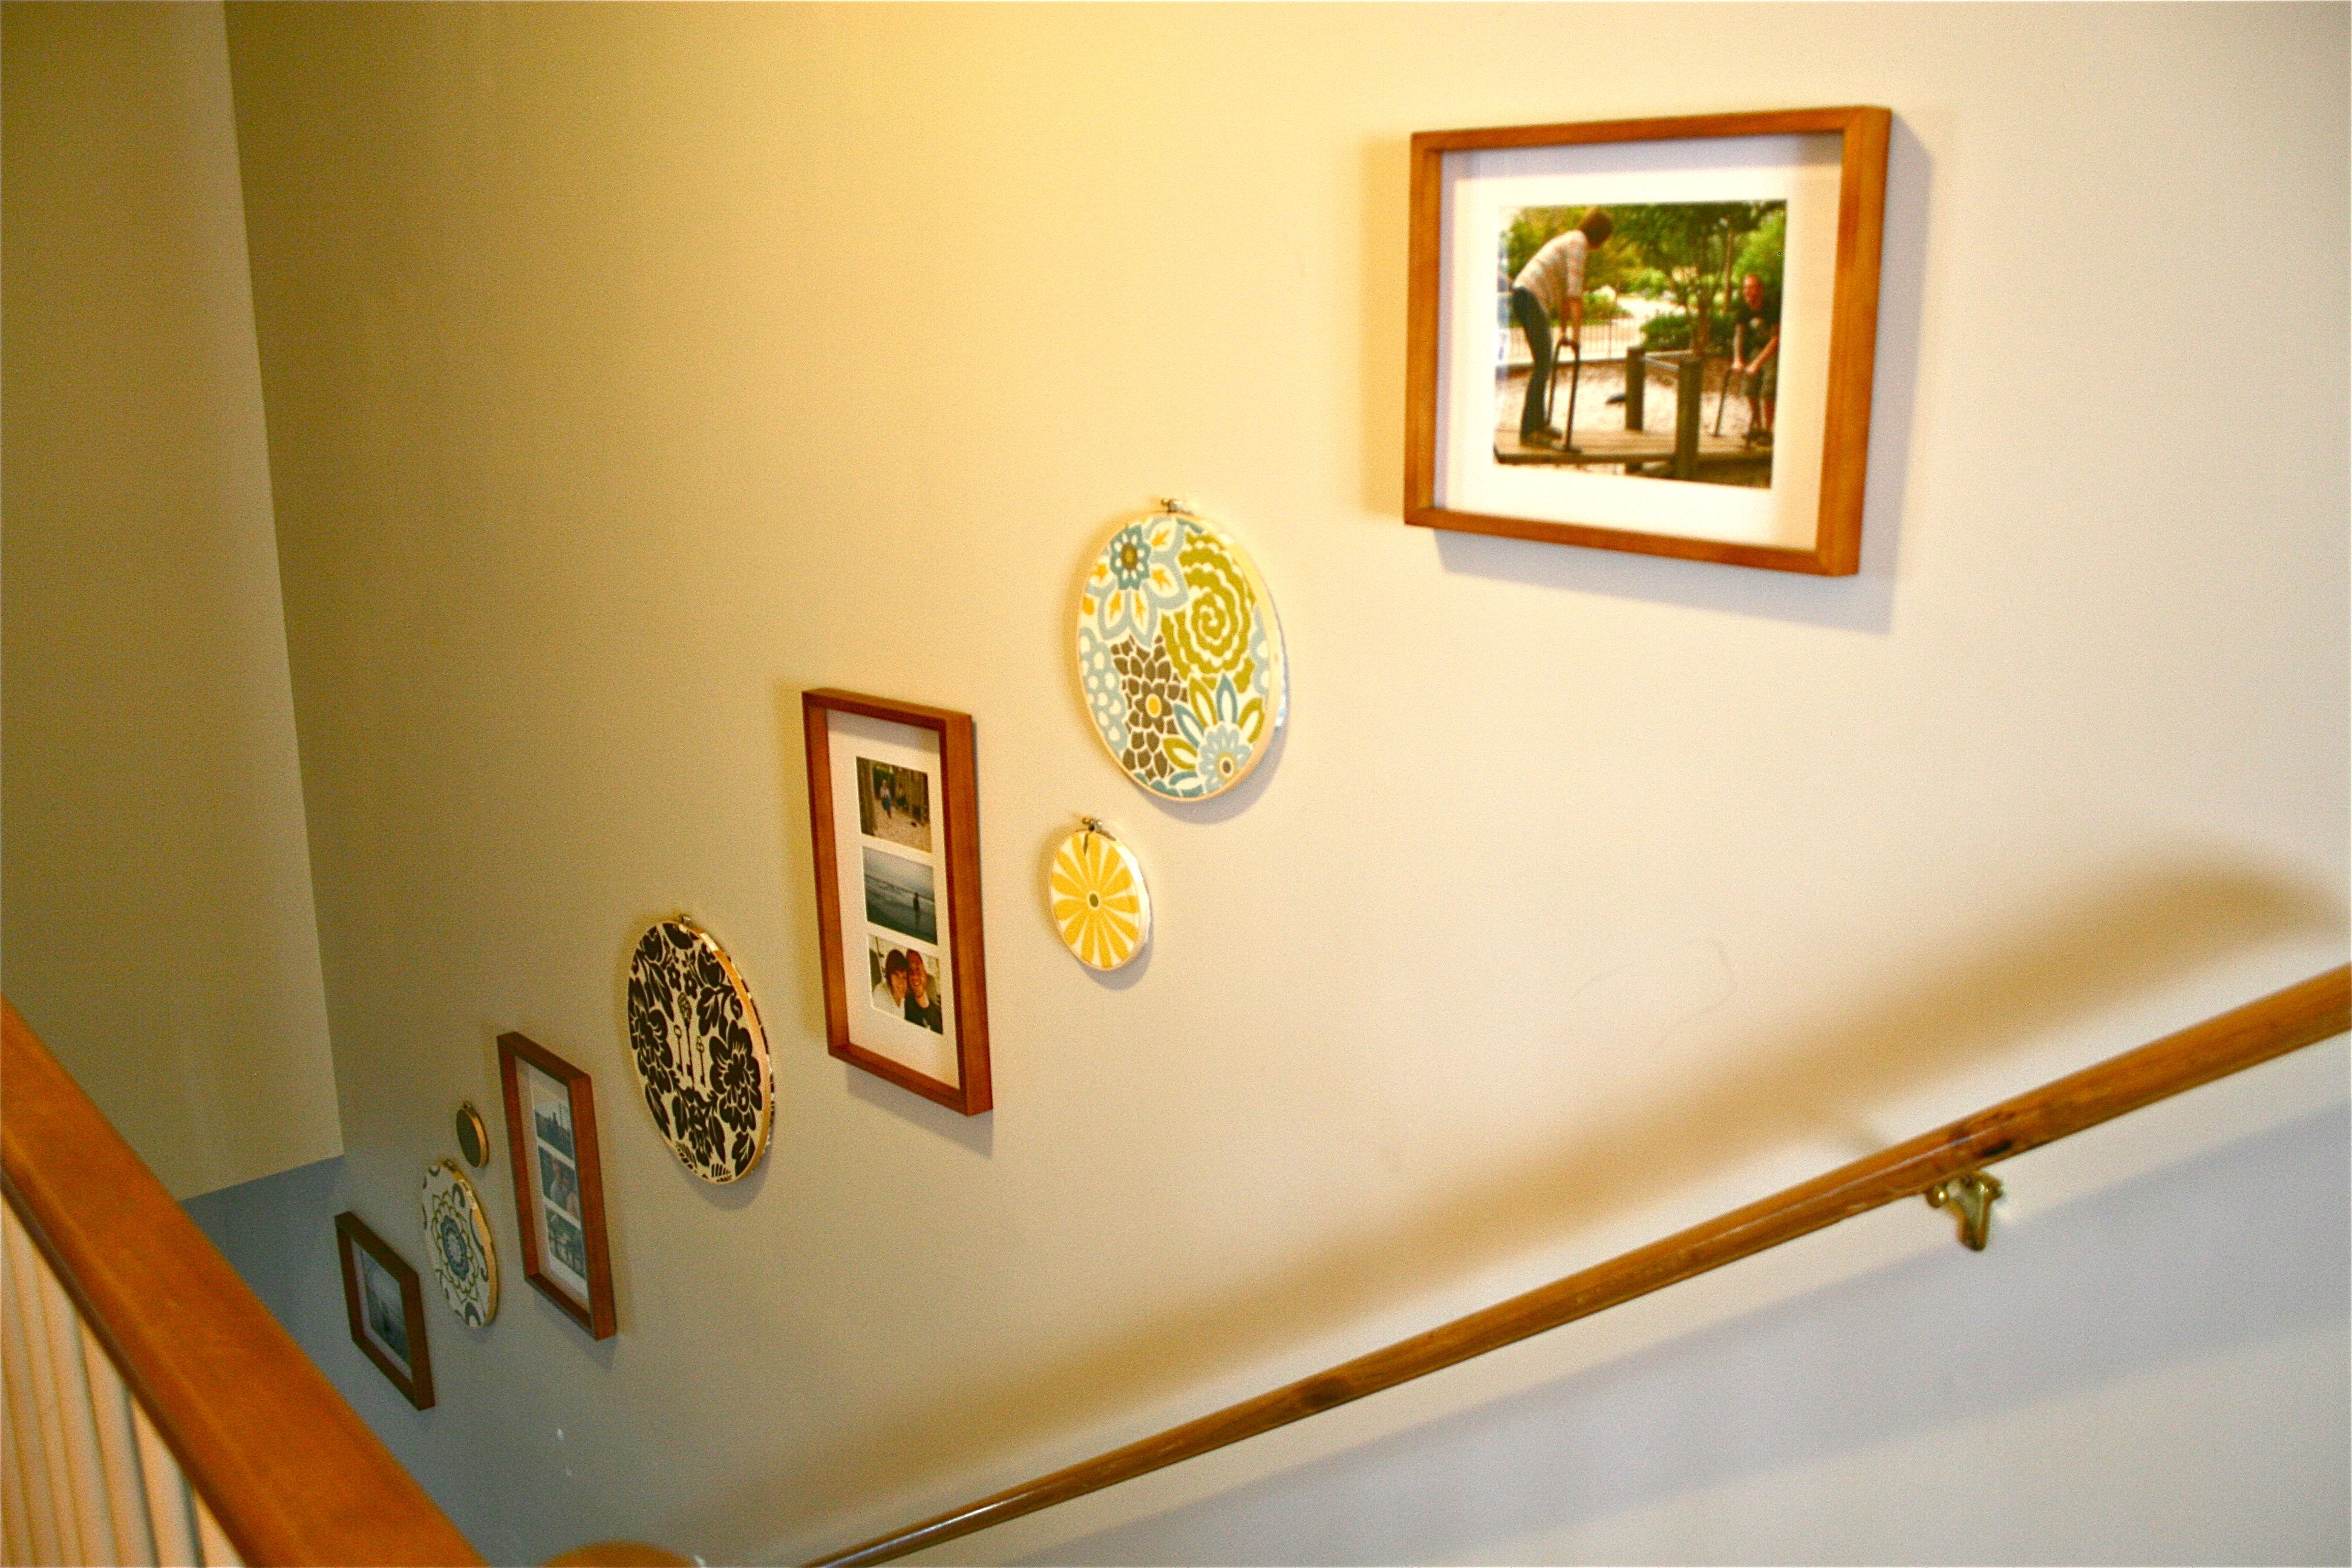
Case in point, our new gallery collection on the staircase. This to me is such a traditional idea – In fact, as I was showing off my work to John (he was off at a car show all day and didn’t help), his response was “We’re a family now!” I guess having a grouping of family photos up the staircase equals being a family. I agreed and nodded with a grin in response.
So here were the inspiration images, nothing too exciting because we’ve all seen this done before, but I loved the classic stepped arrangement of frames:
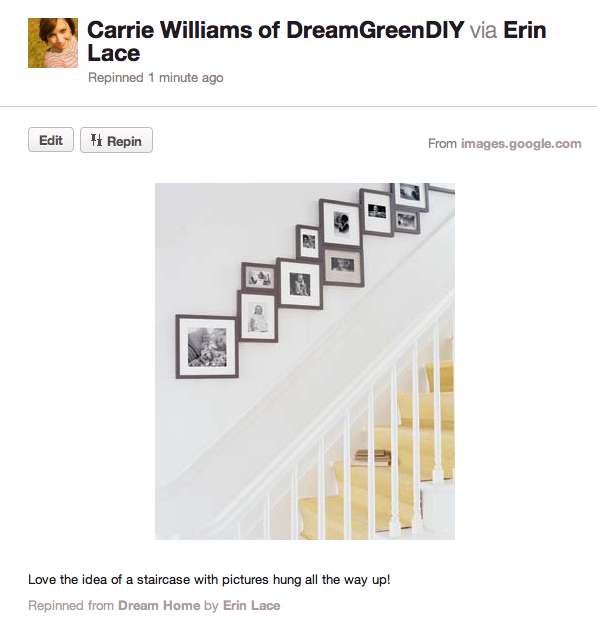 Source: Real Simple
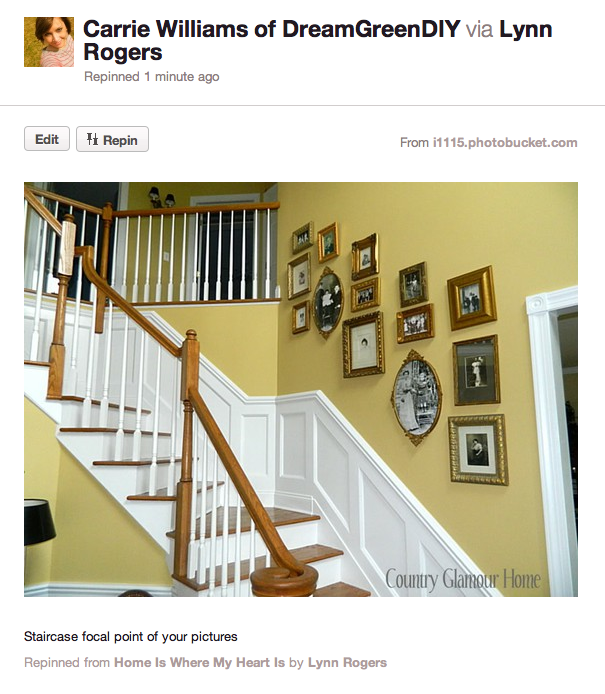 Source: Country Glamour Home
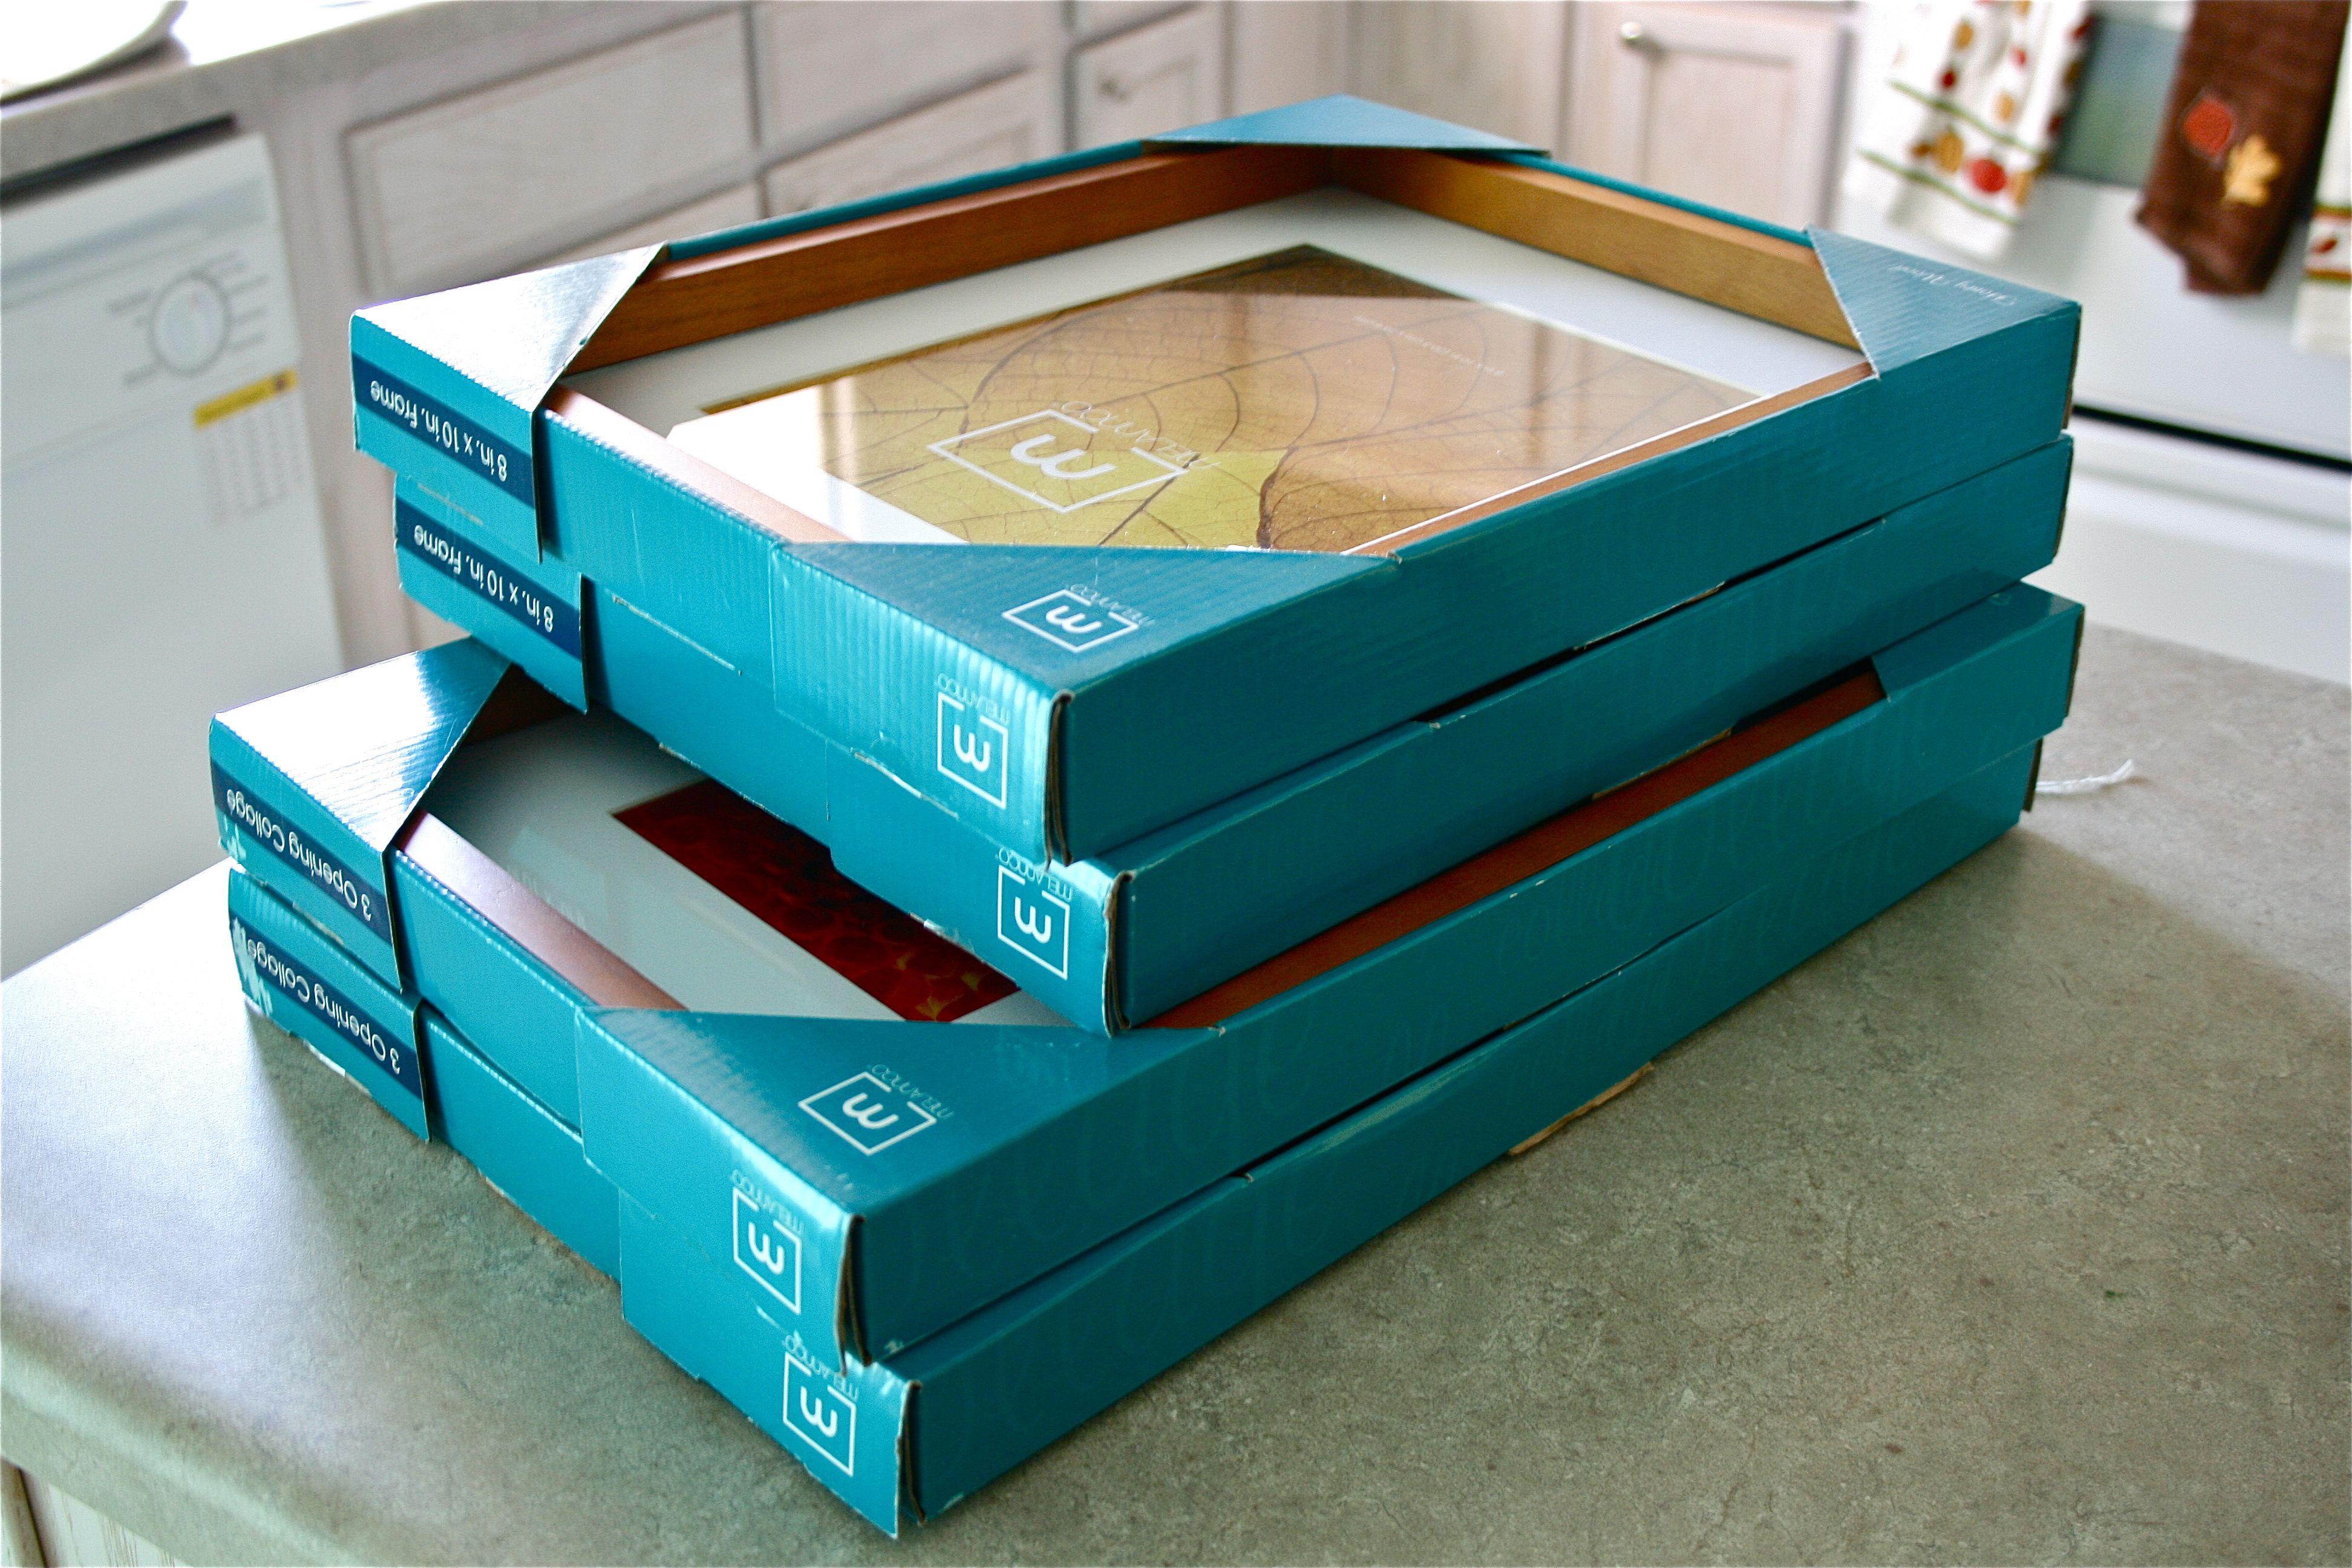
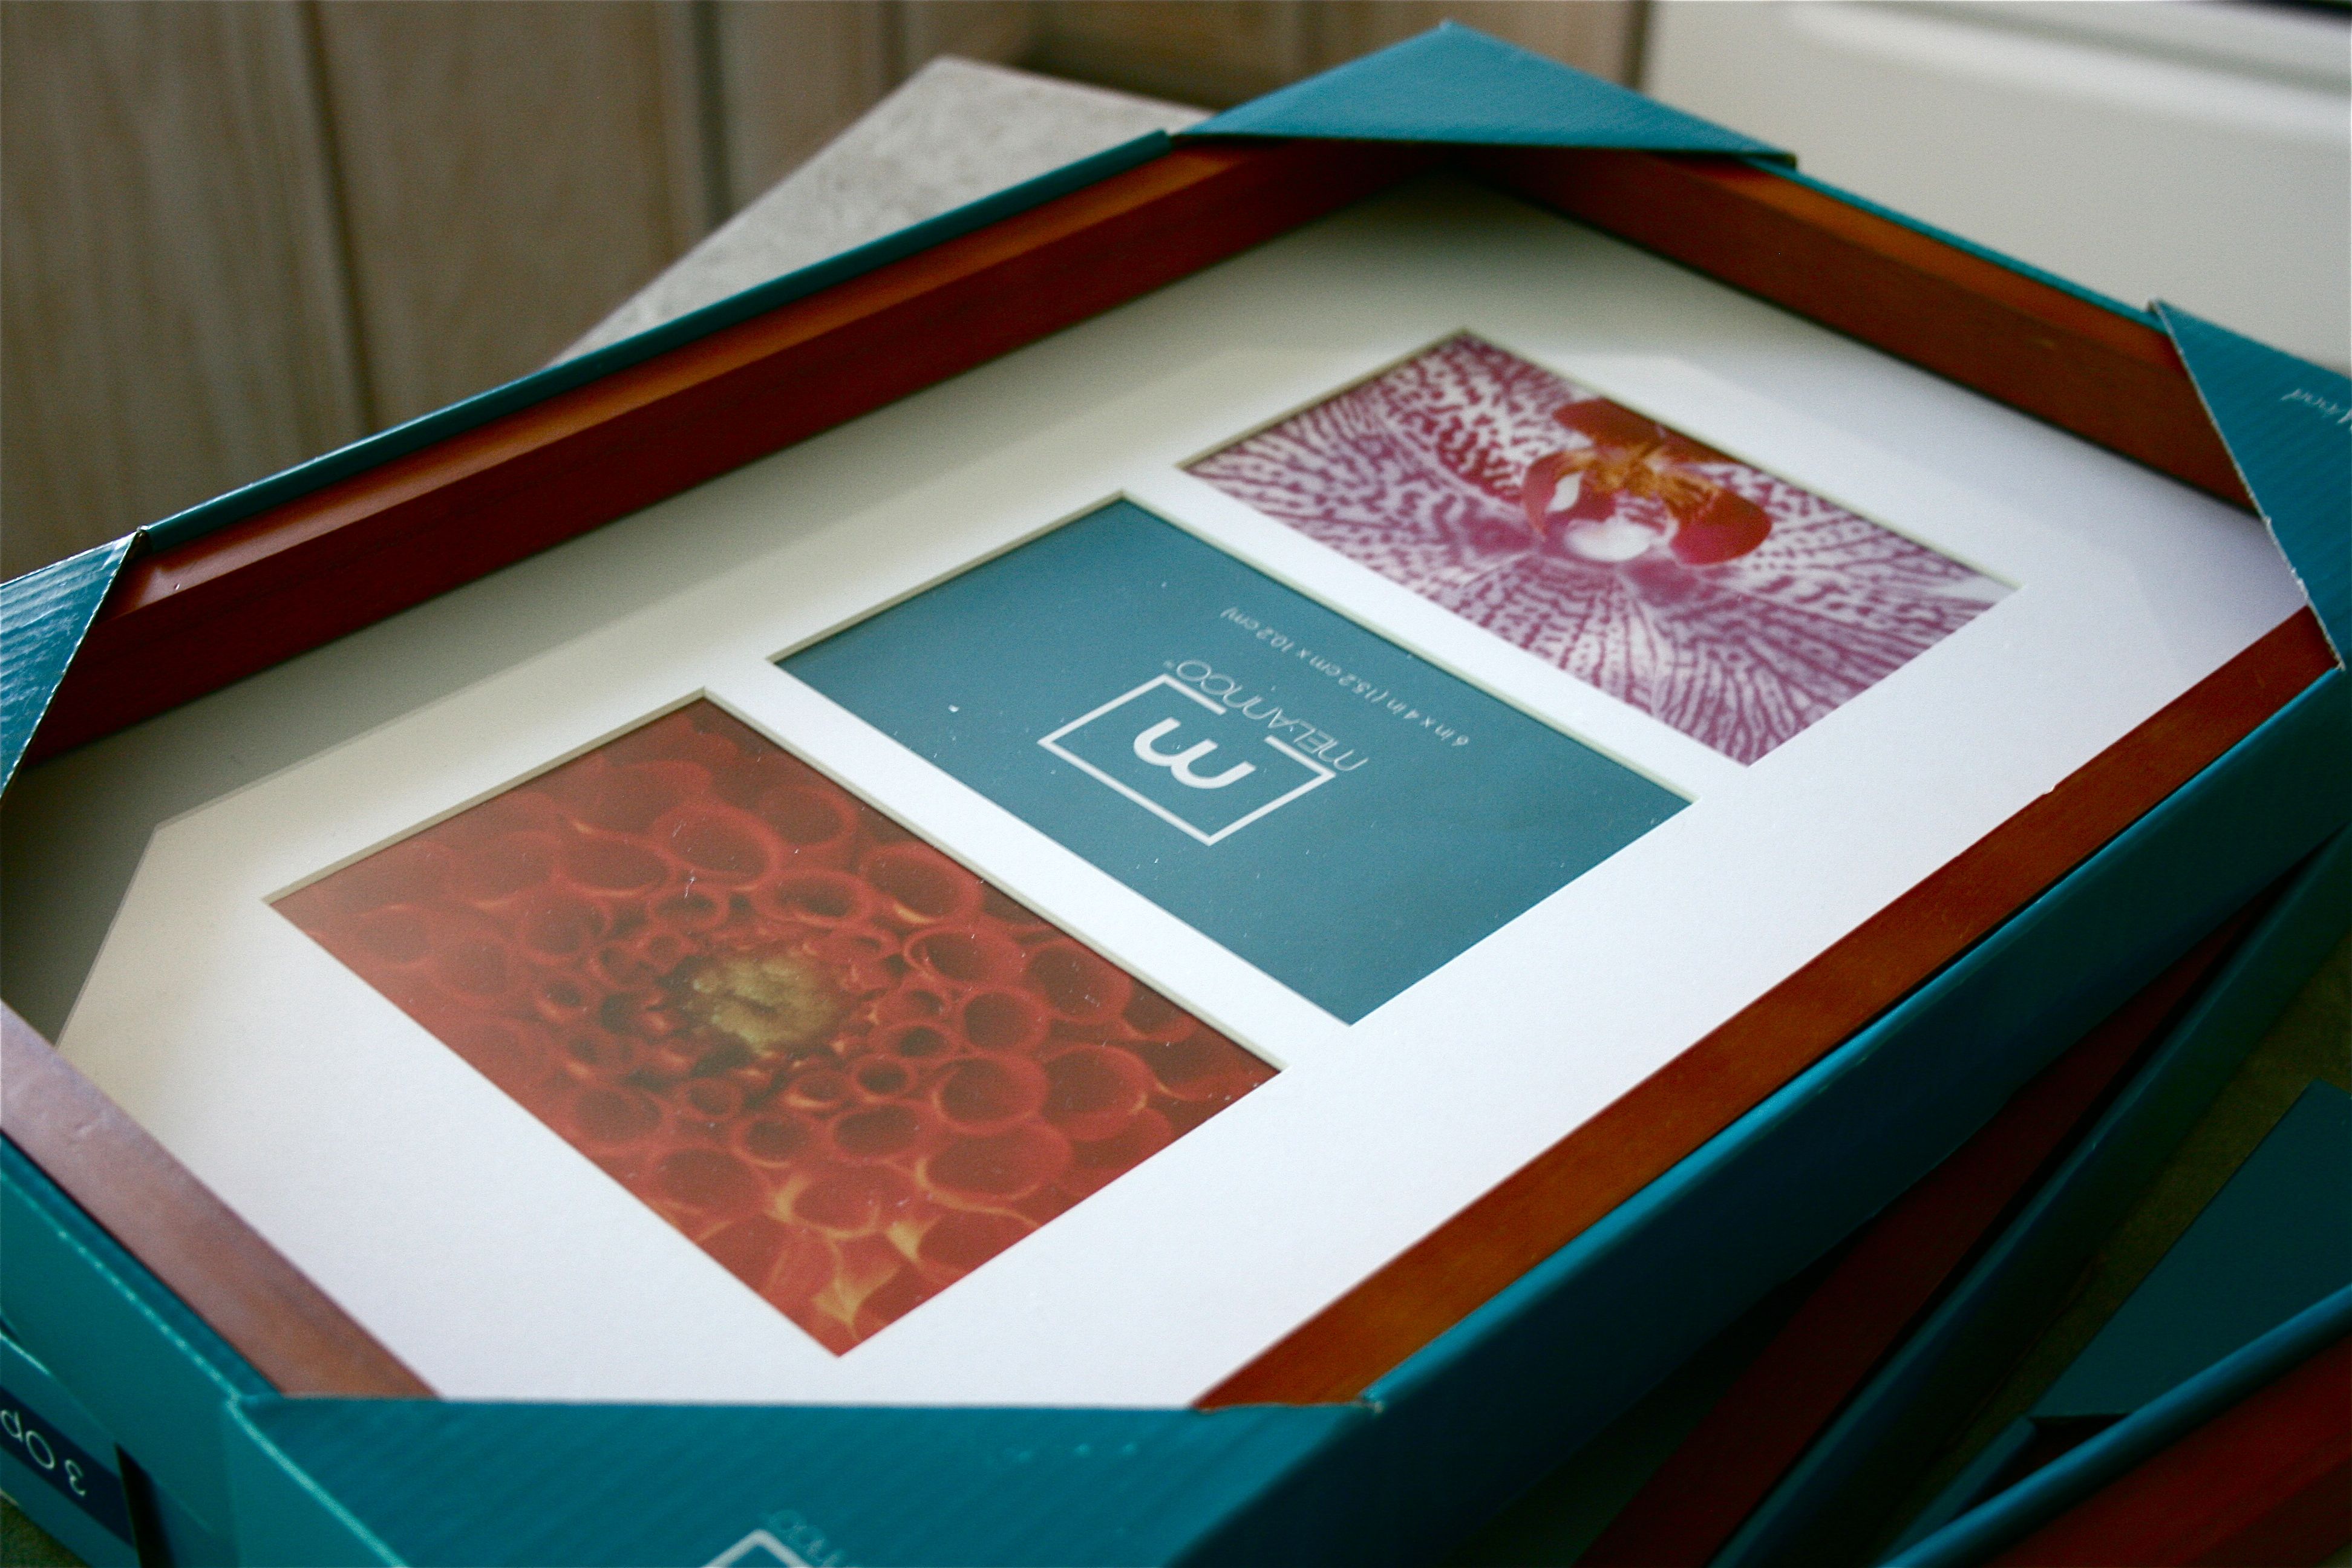
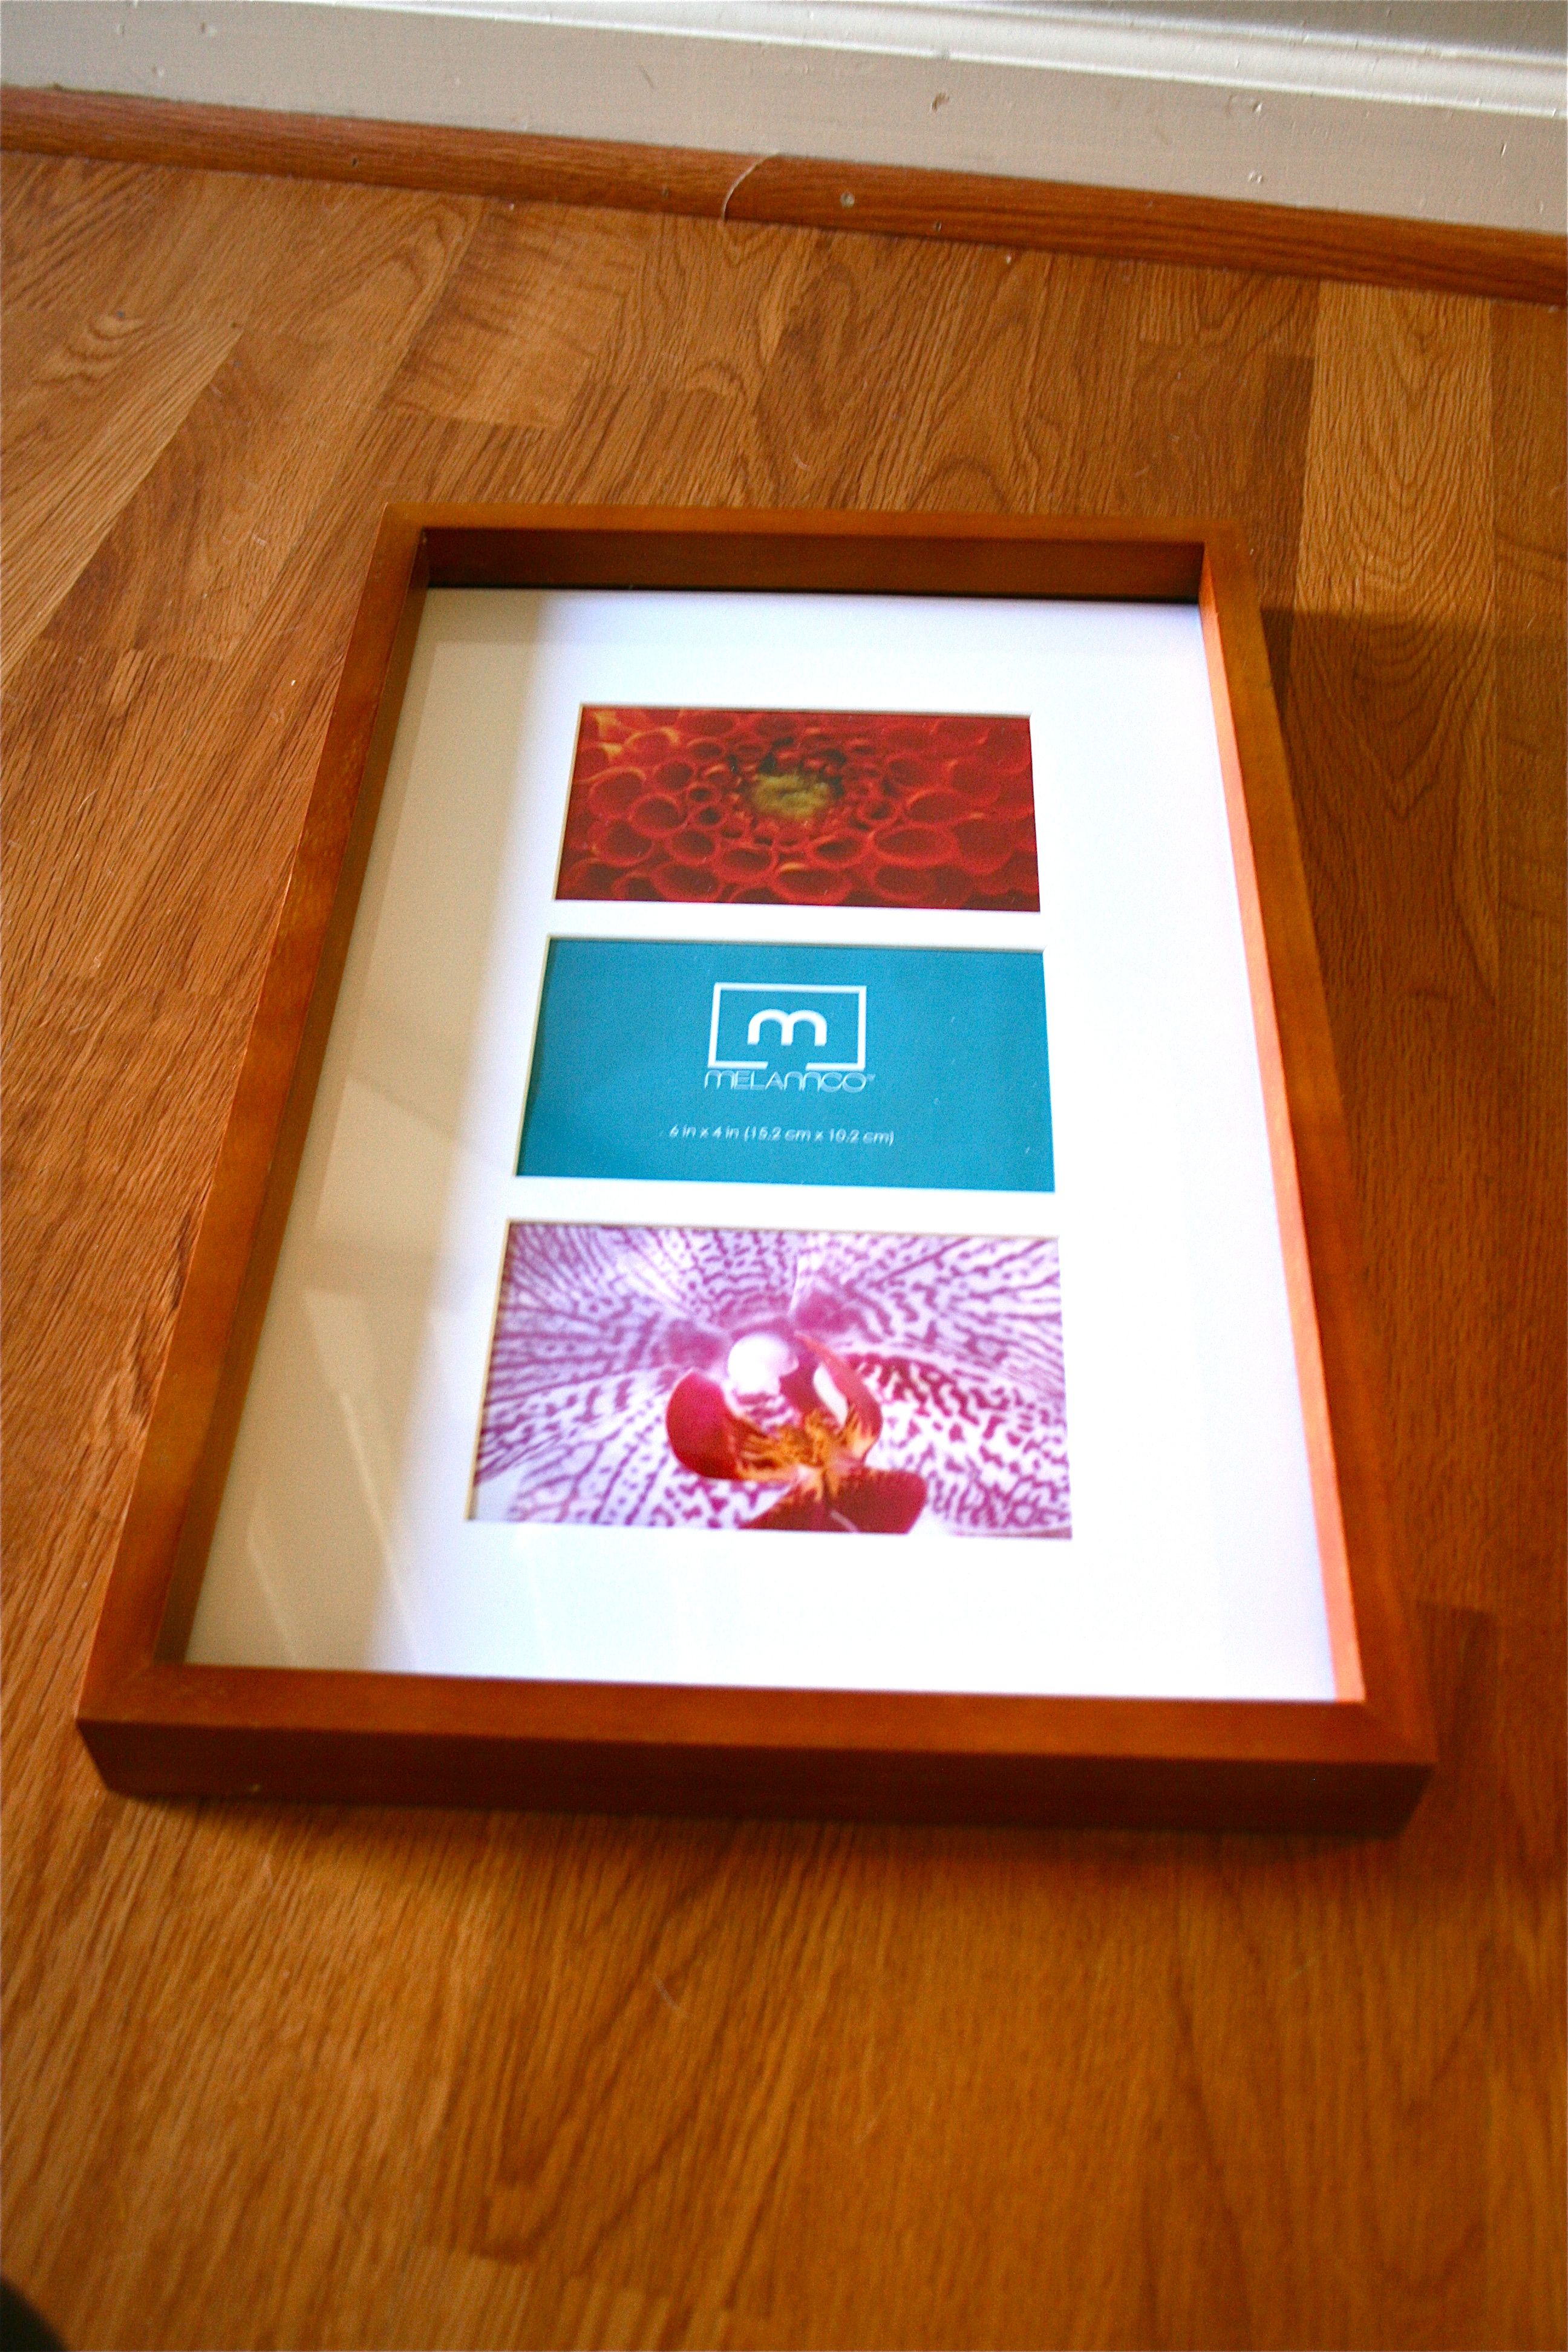
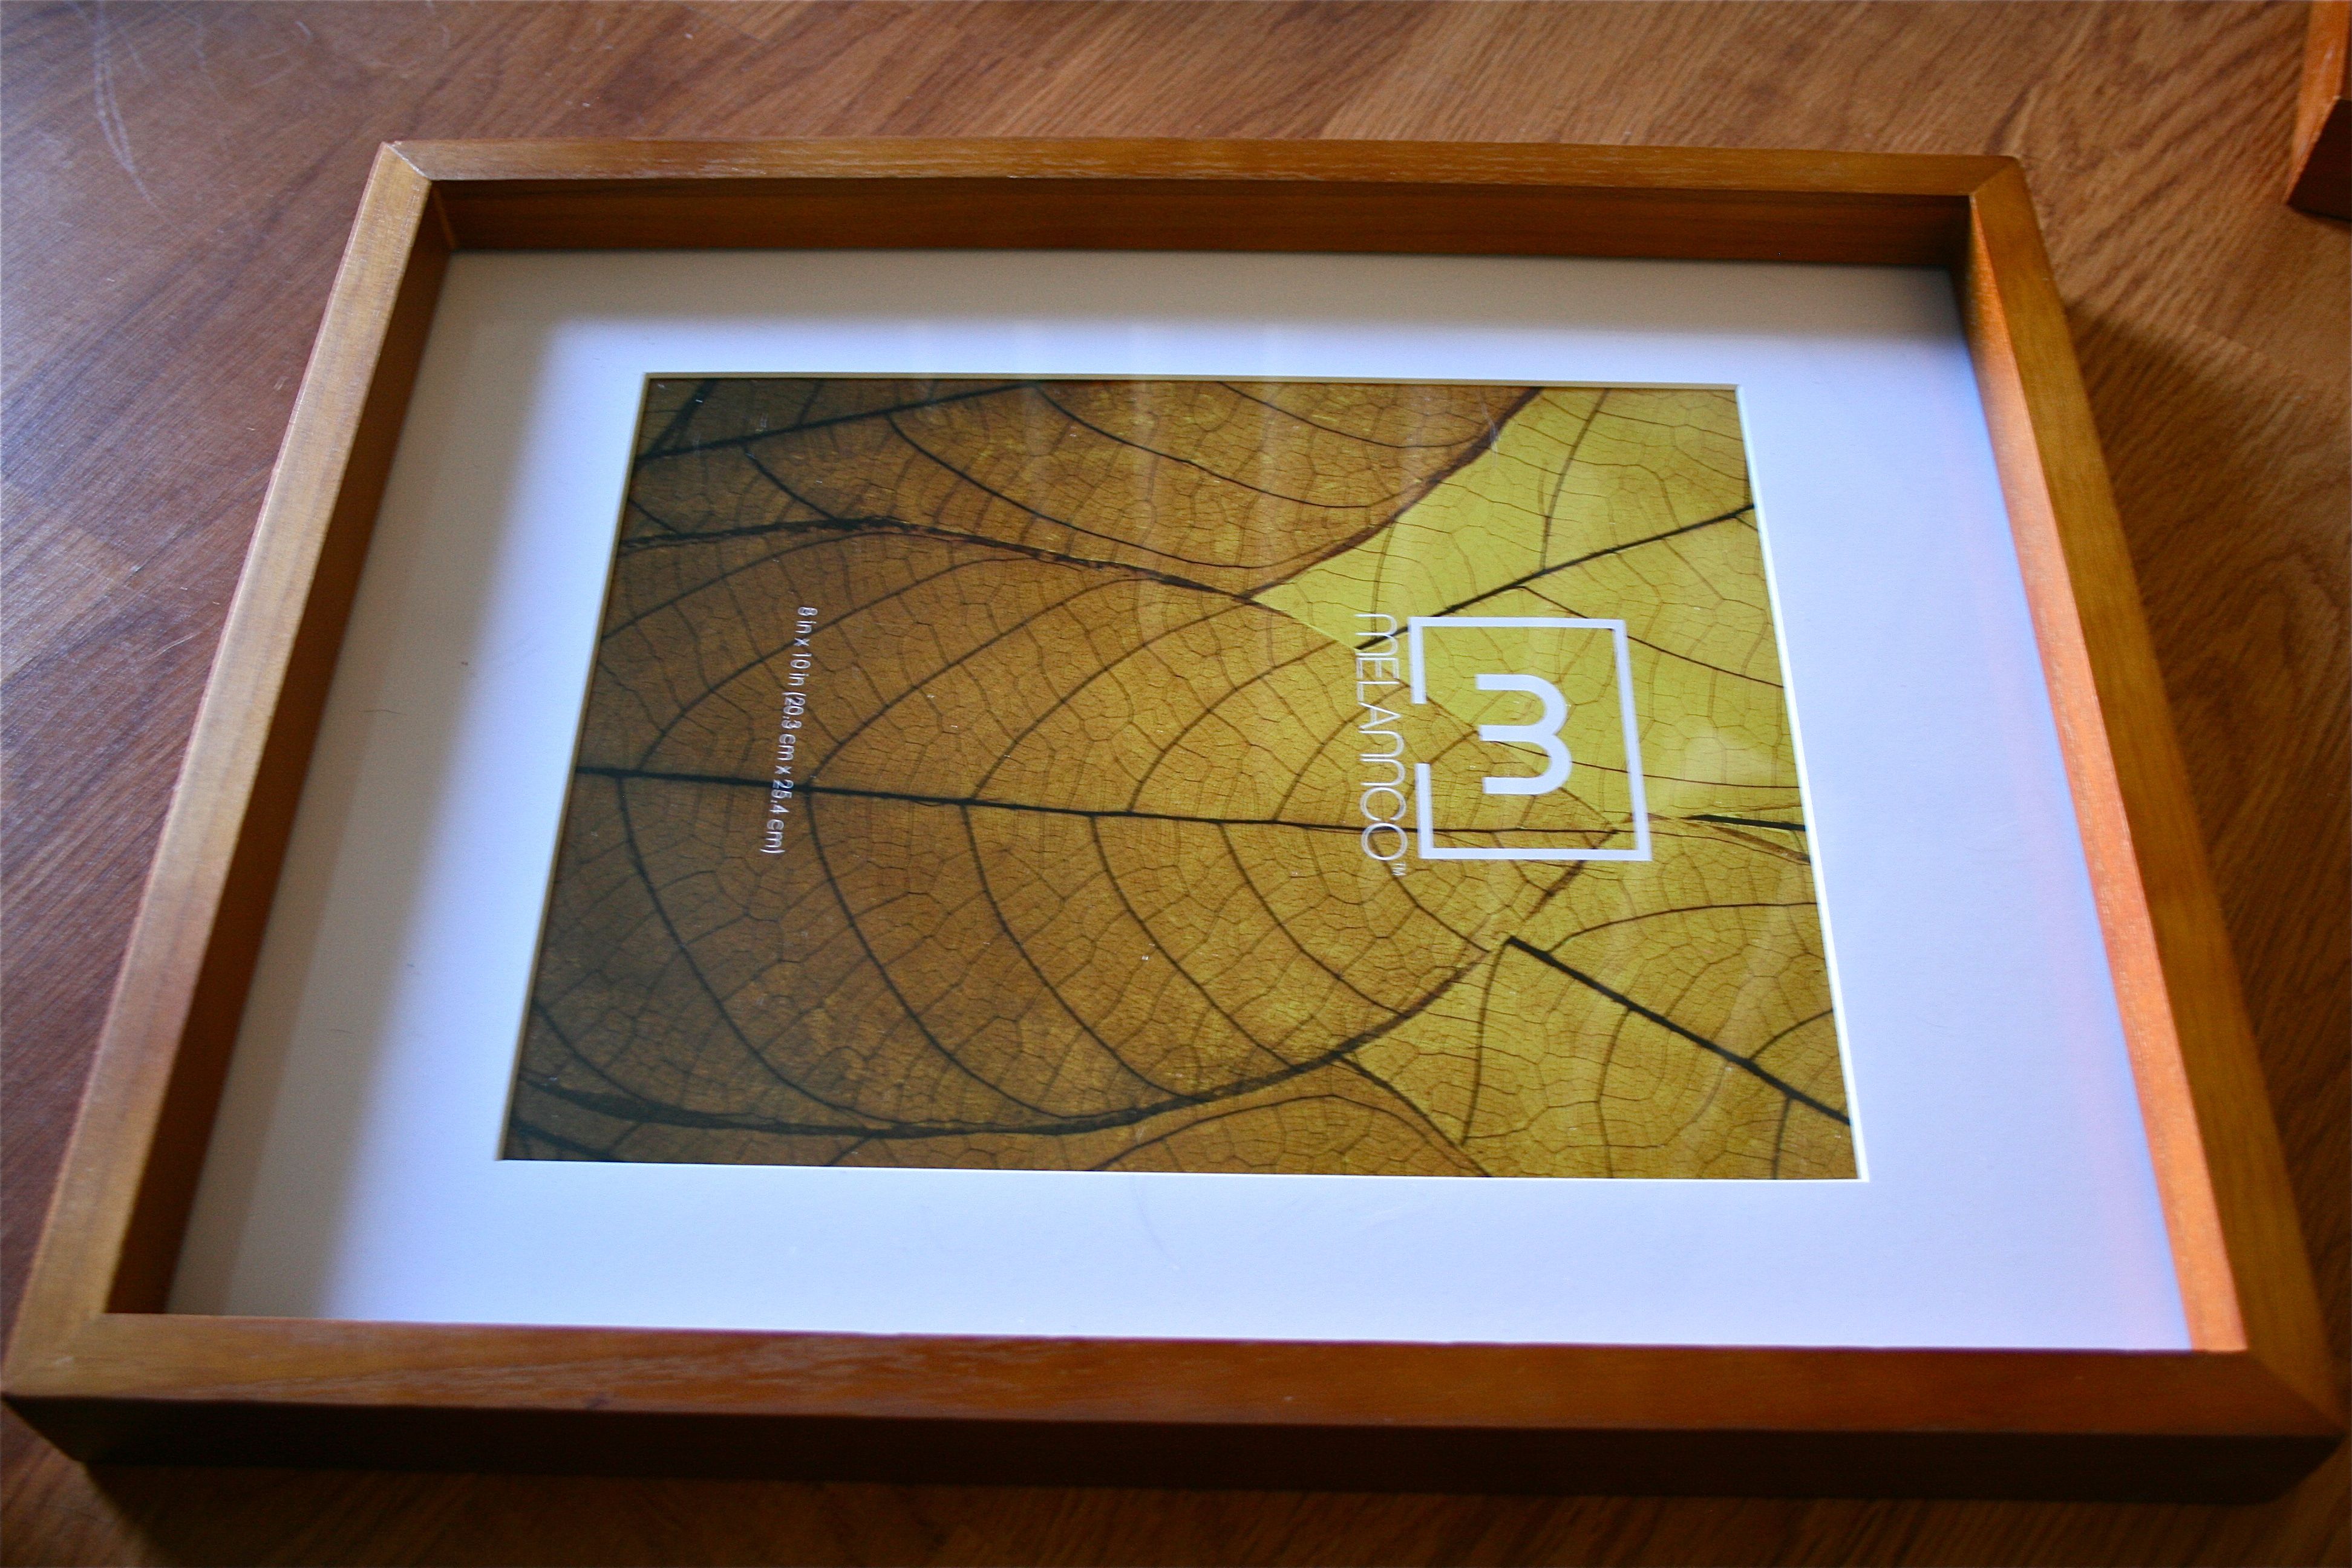
First things first – Frames. I spent a couple of weeks searching for the right frame (and the right price) once I decided I wanted to tackle this project. I finally found some gorgeous ones at Tuesday Morning – We picked up four frames, two with an 8×10 matted opening each and two with three 4×6 openings each. At $9.99 and $12.99 a piece, they weren’t the CHEAPEST options I could get, but the fact that they had mats was pretty huge and the deep-set, honey-colored wooden frames sealed the deal for me. They looked like they were stained from the exact same shade as our staircase and floors.
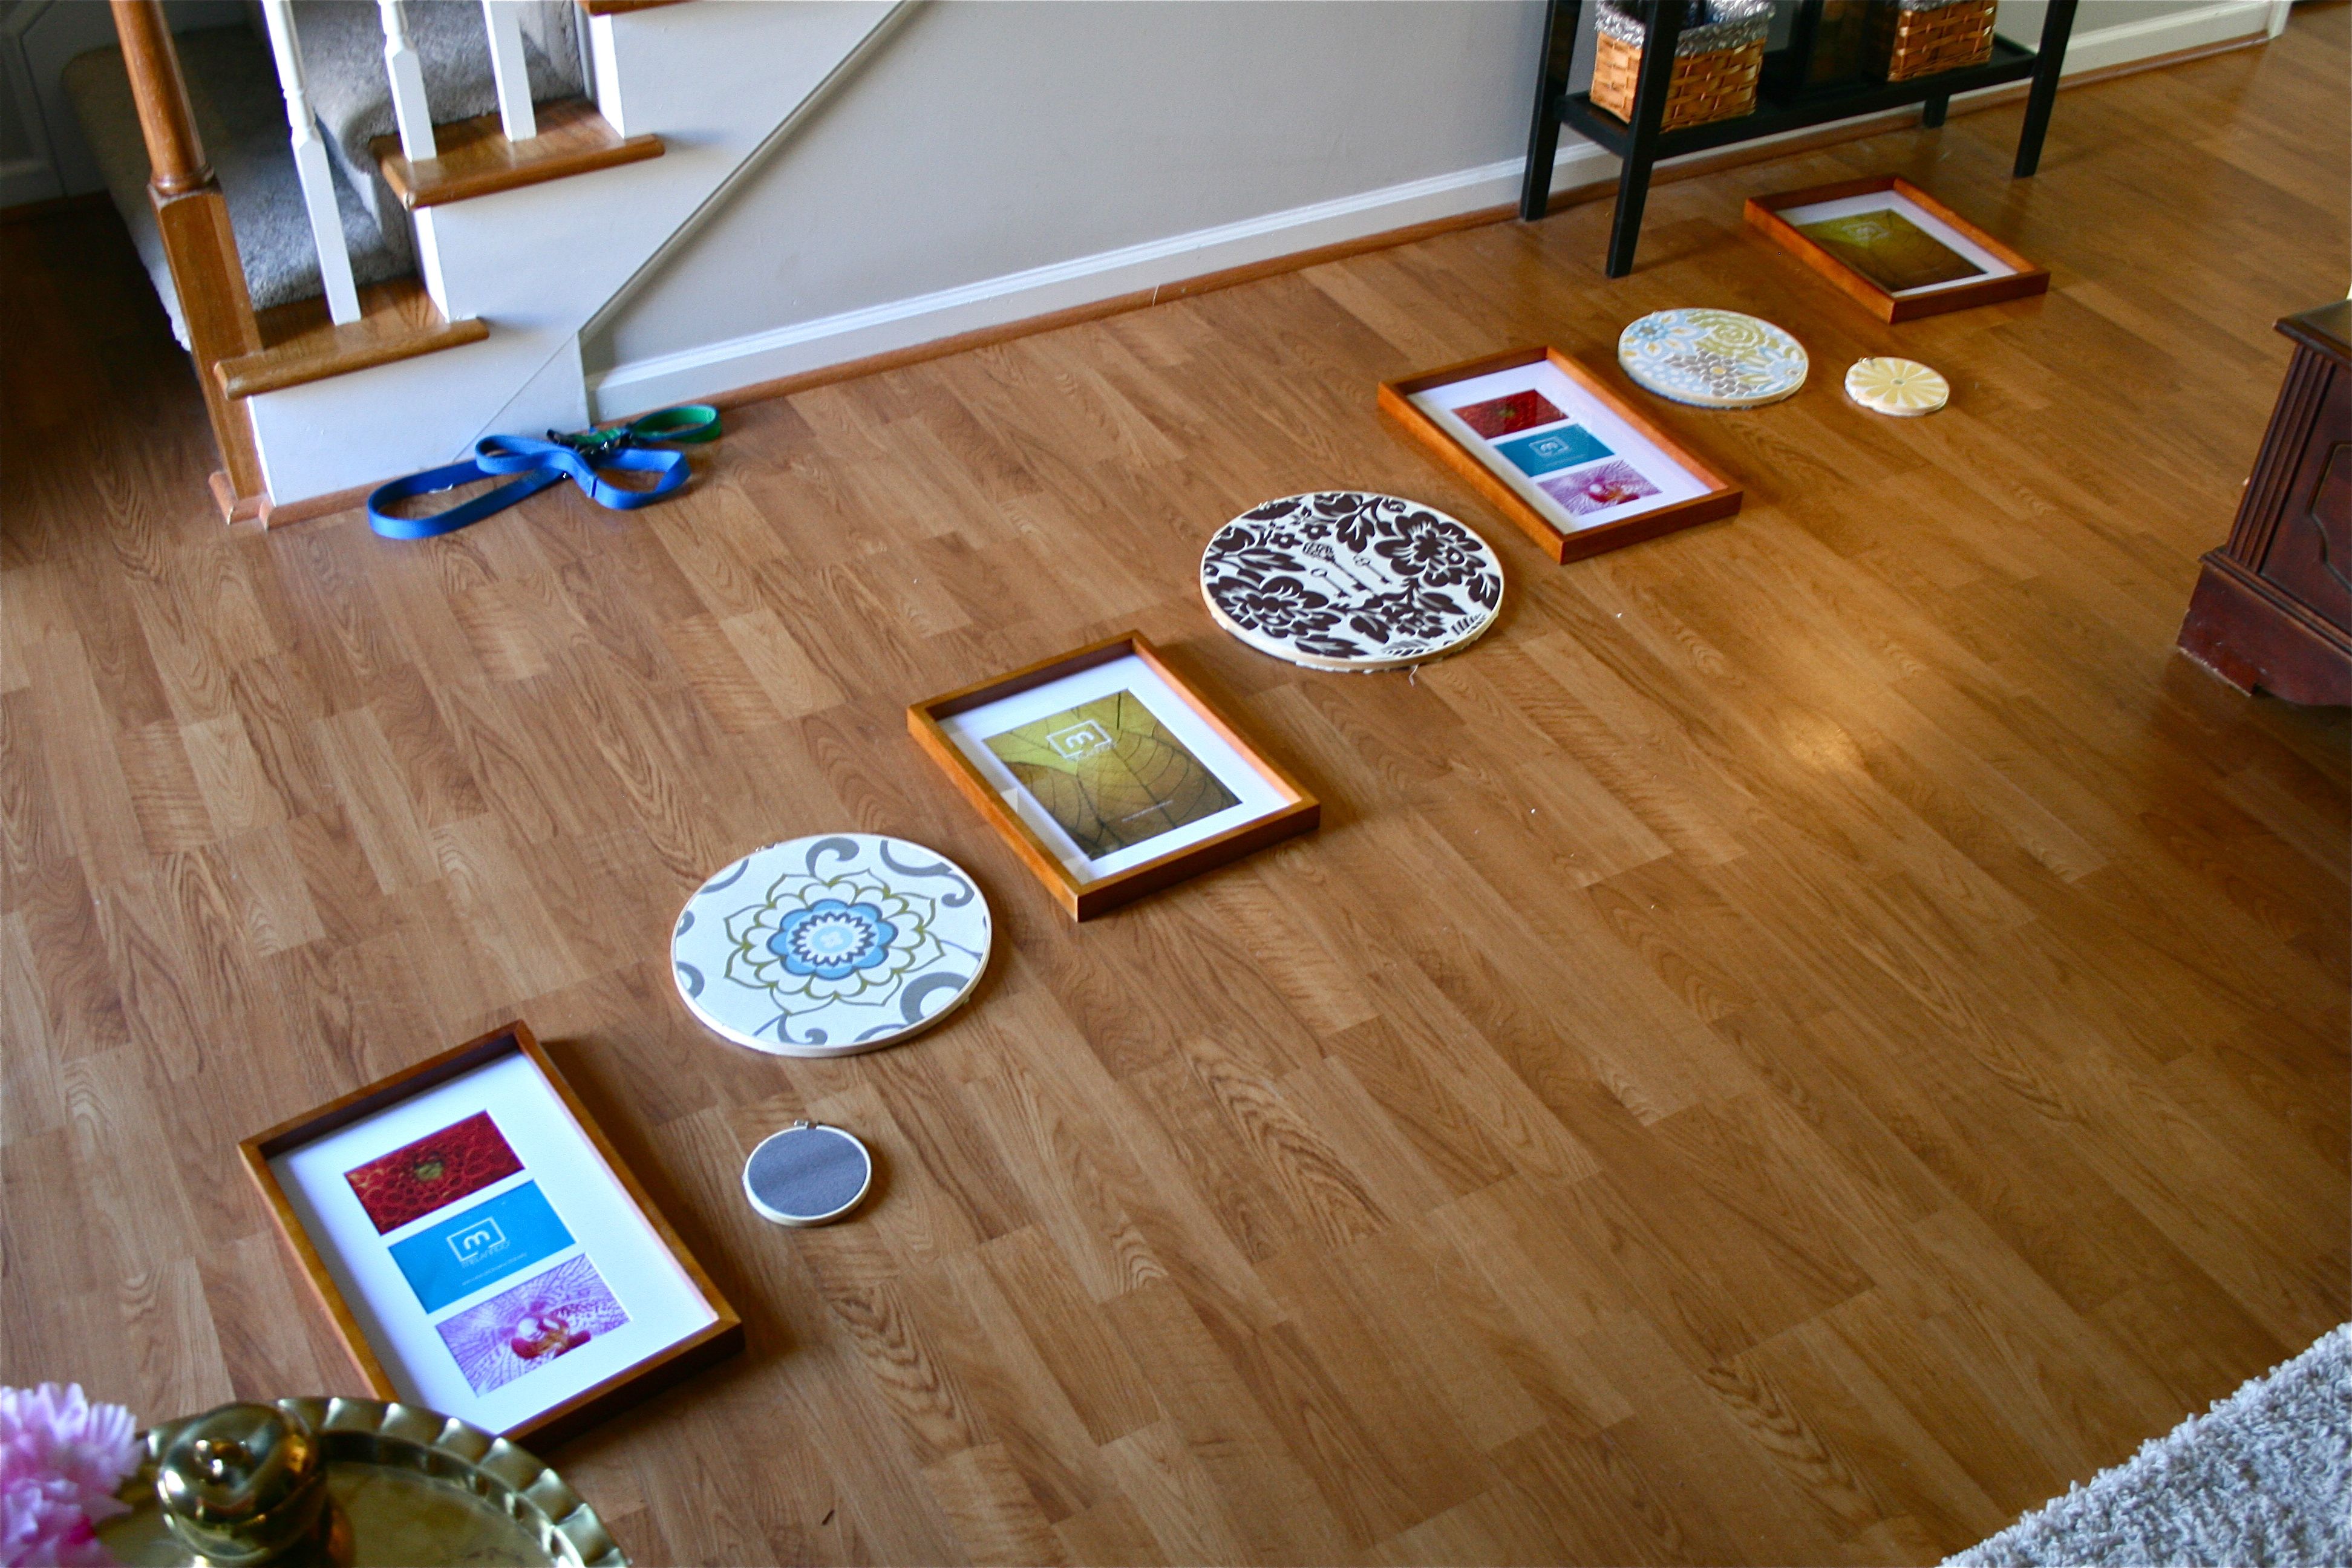
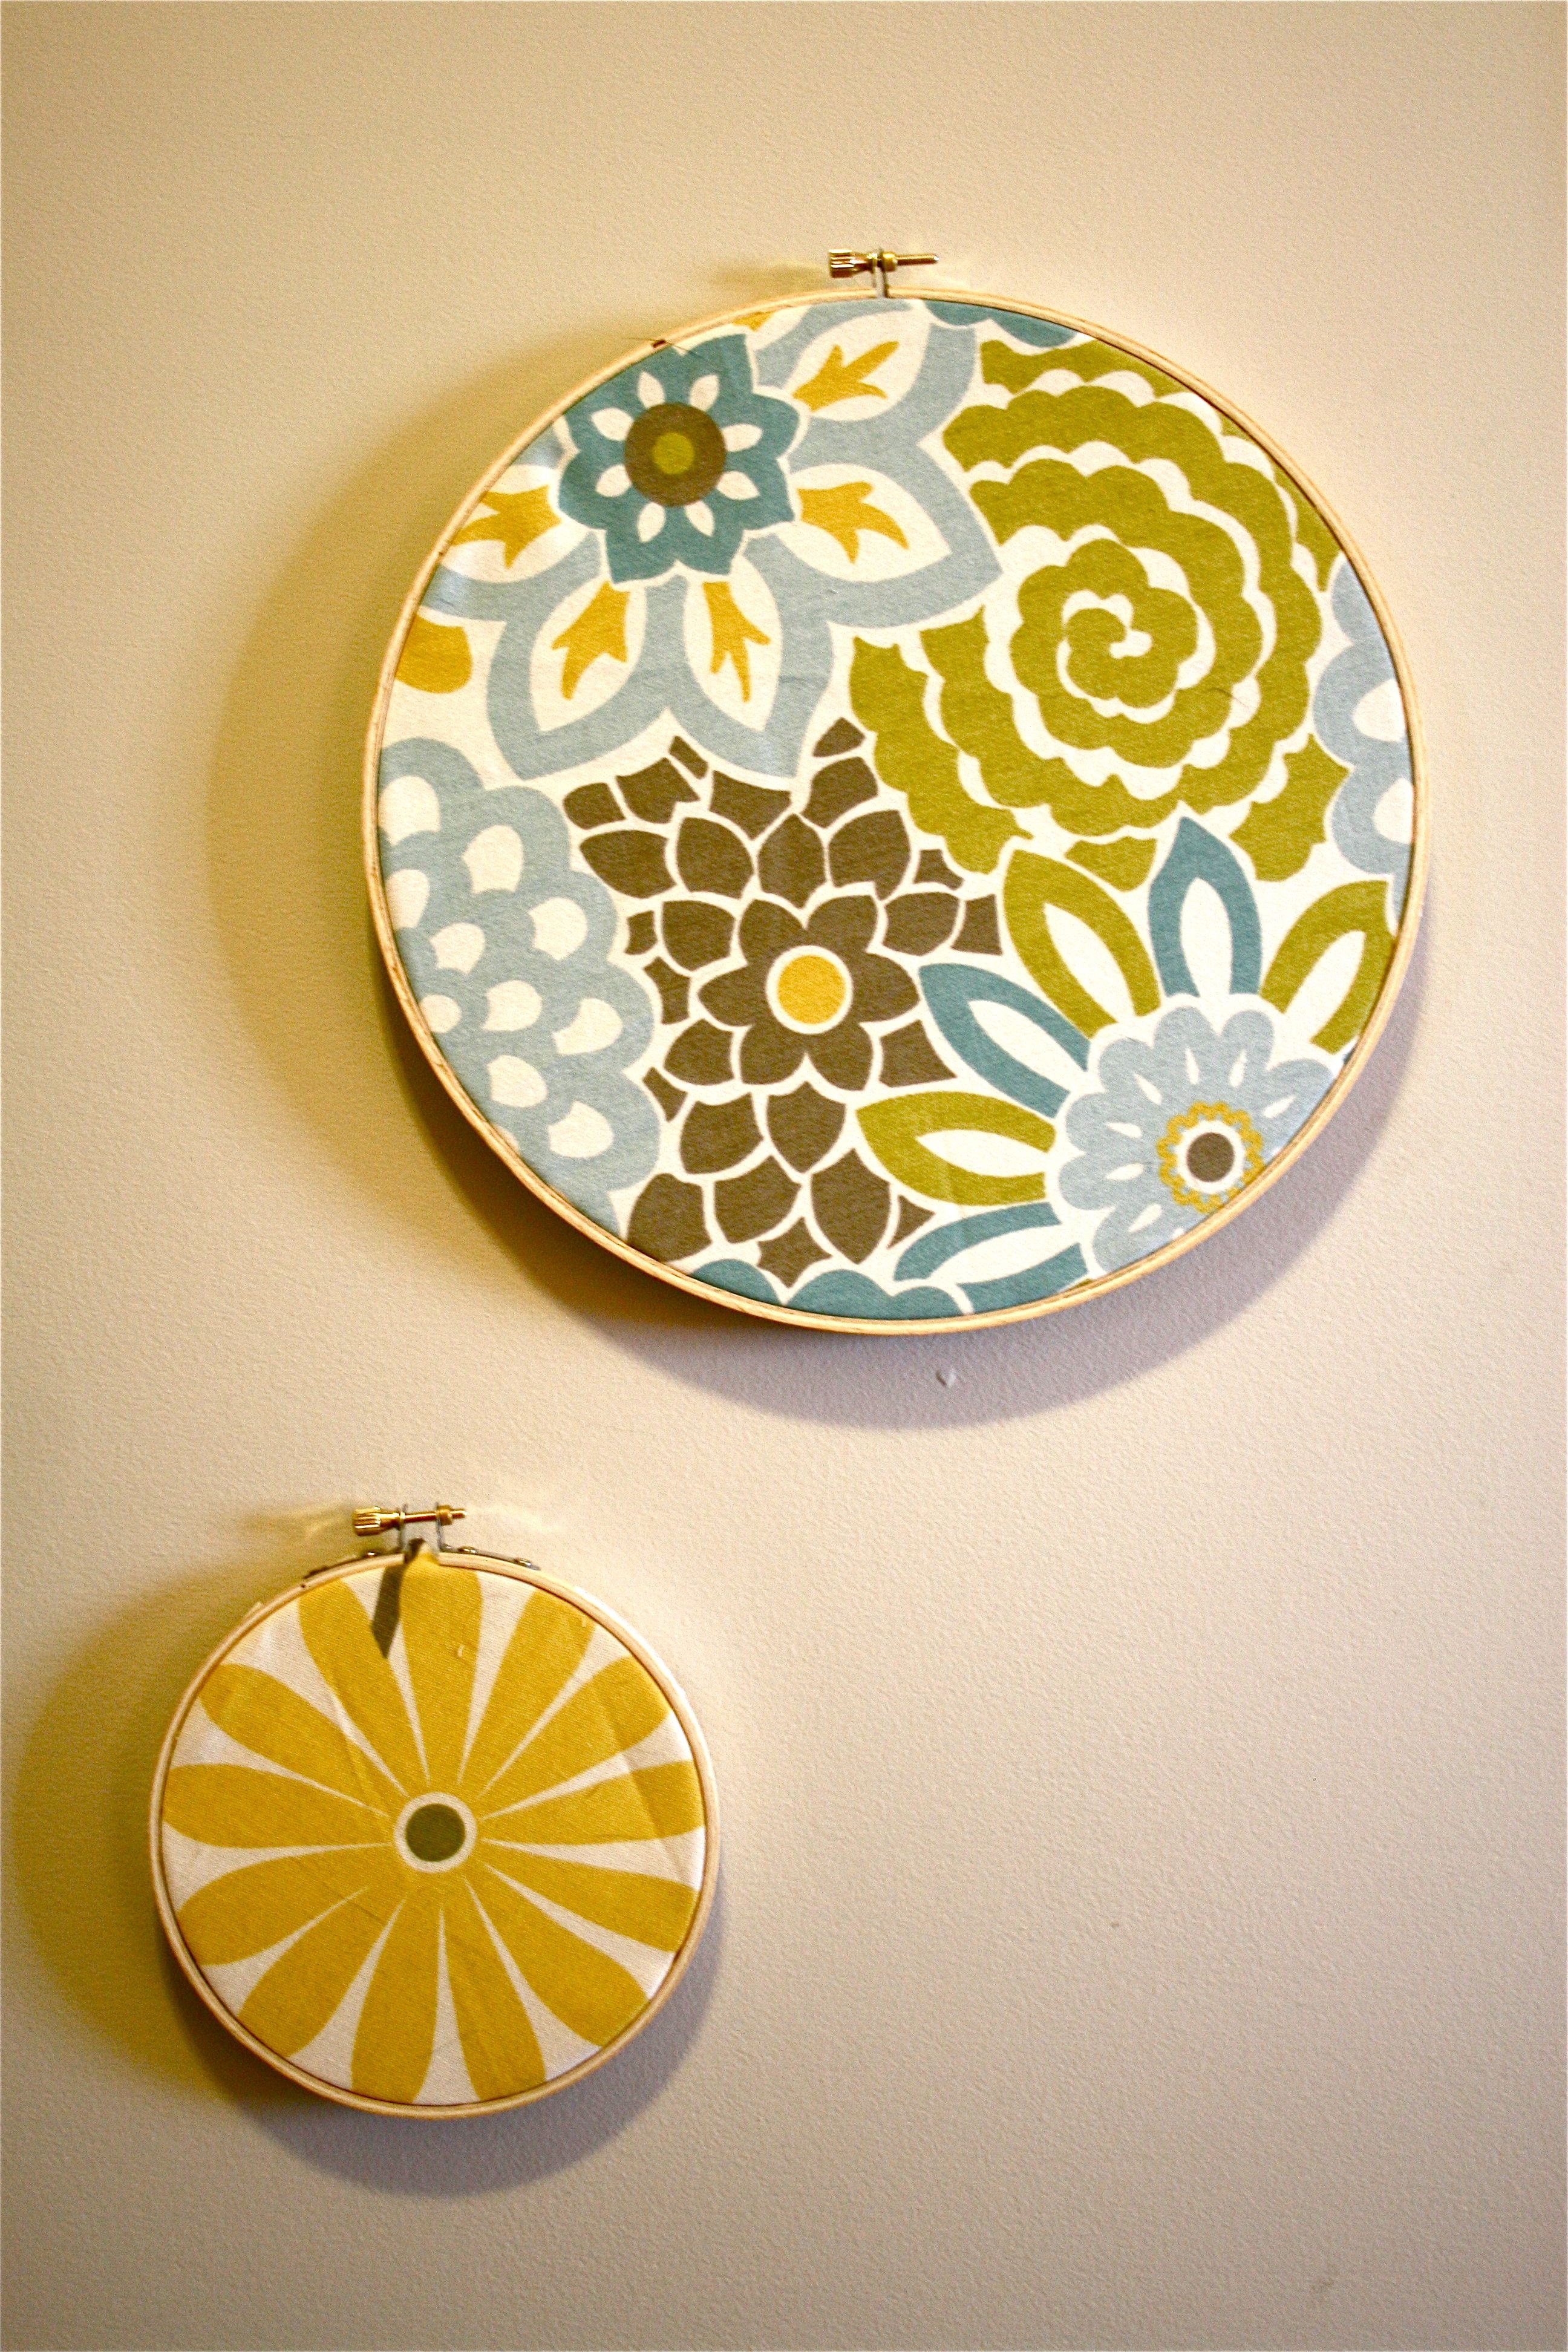
To make sure I got the arrangement juuuuuust right, I laid everything out on the floor of the entry way. As was part of my plan, I also interspersed the new DIY-ed embroidery hoop art to make the collection stretch a bit. I started in the middle, using the largest hoop art and then moved out – Frame, embroidery hoops, frame.
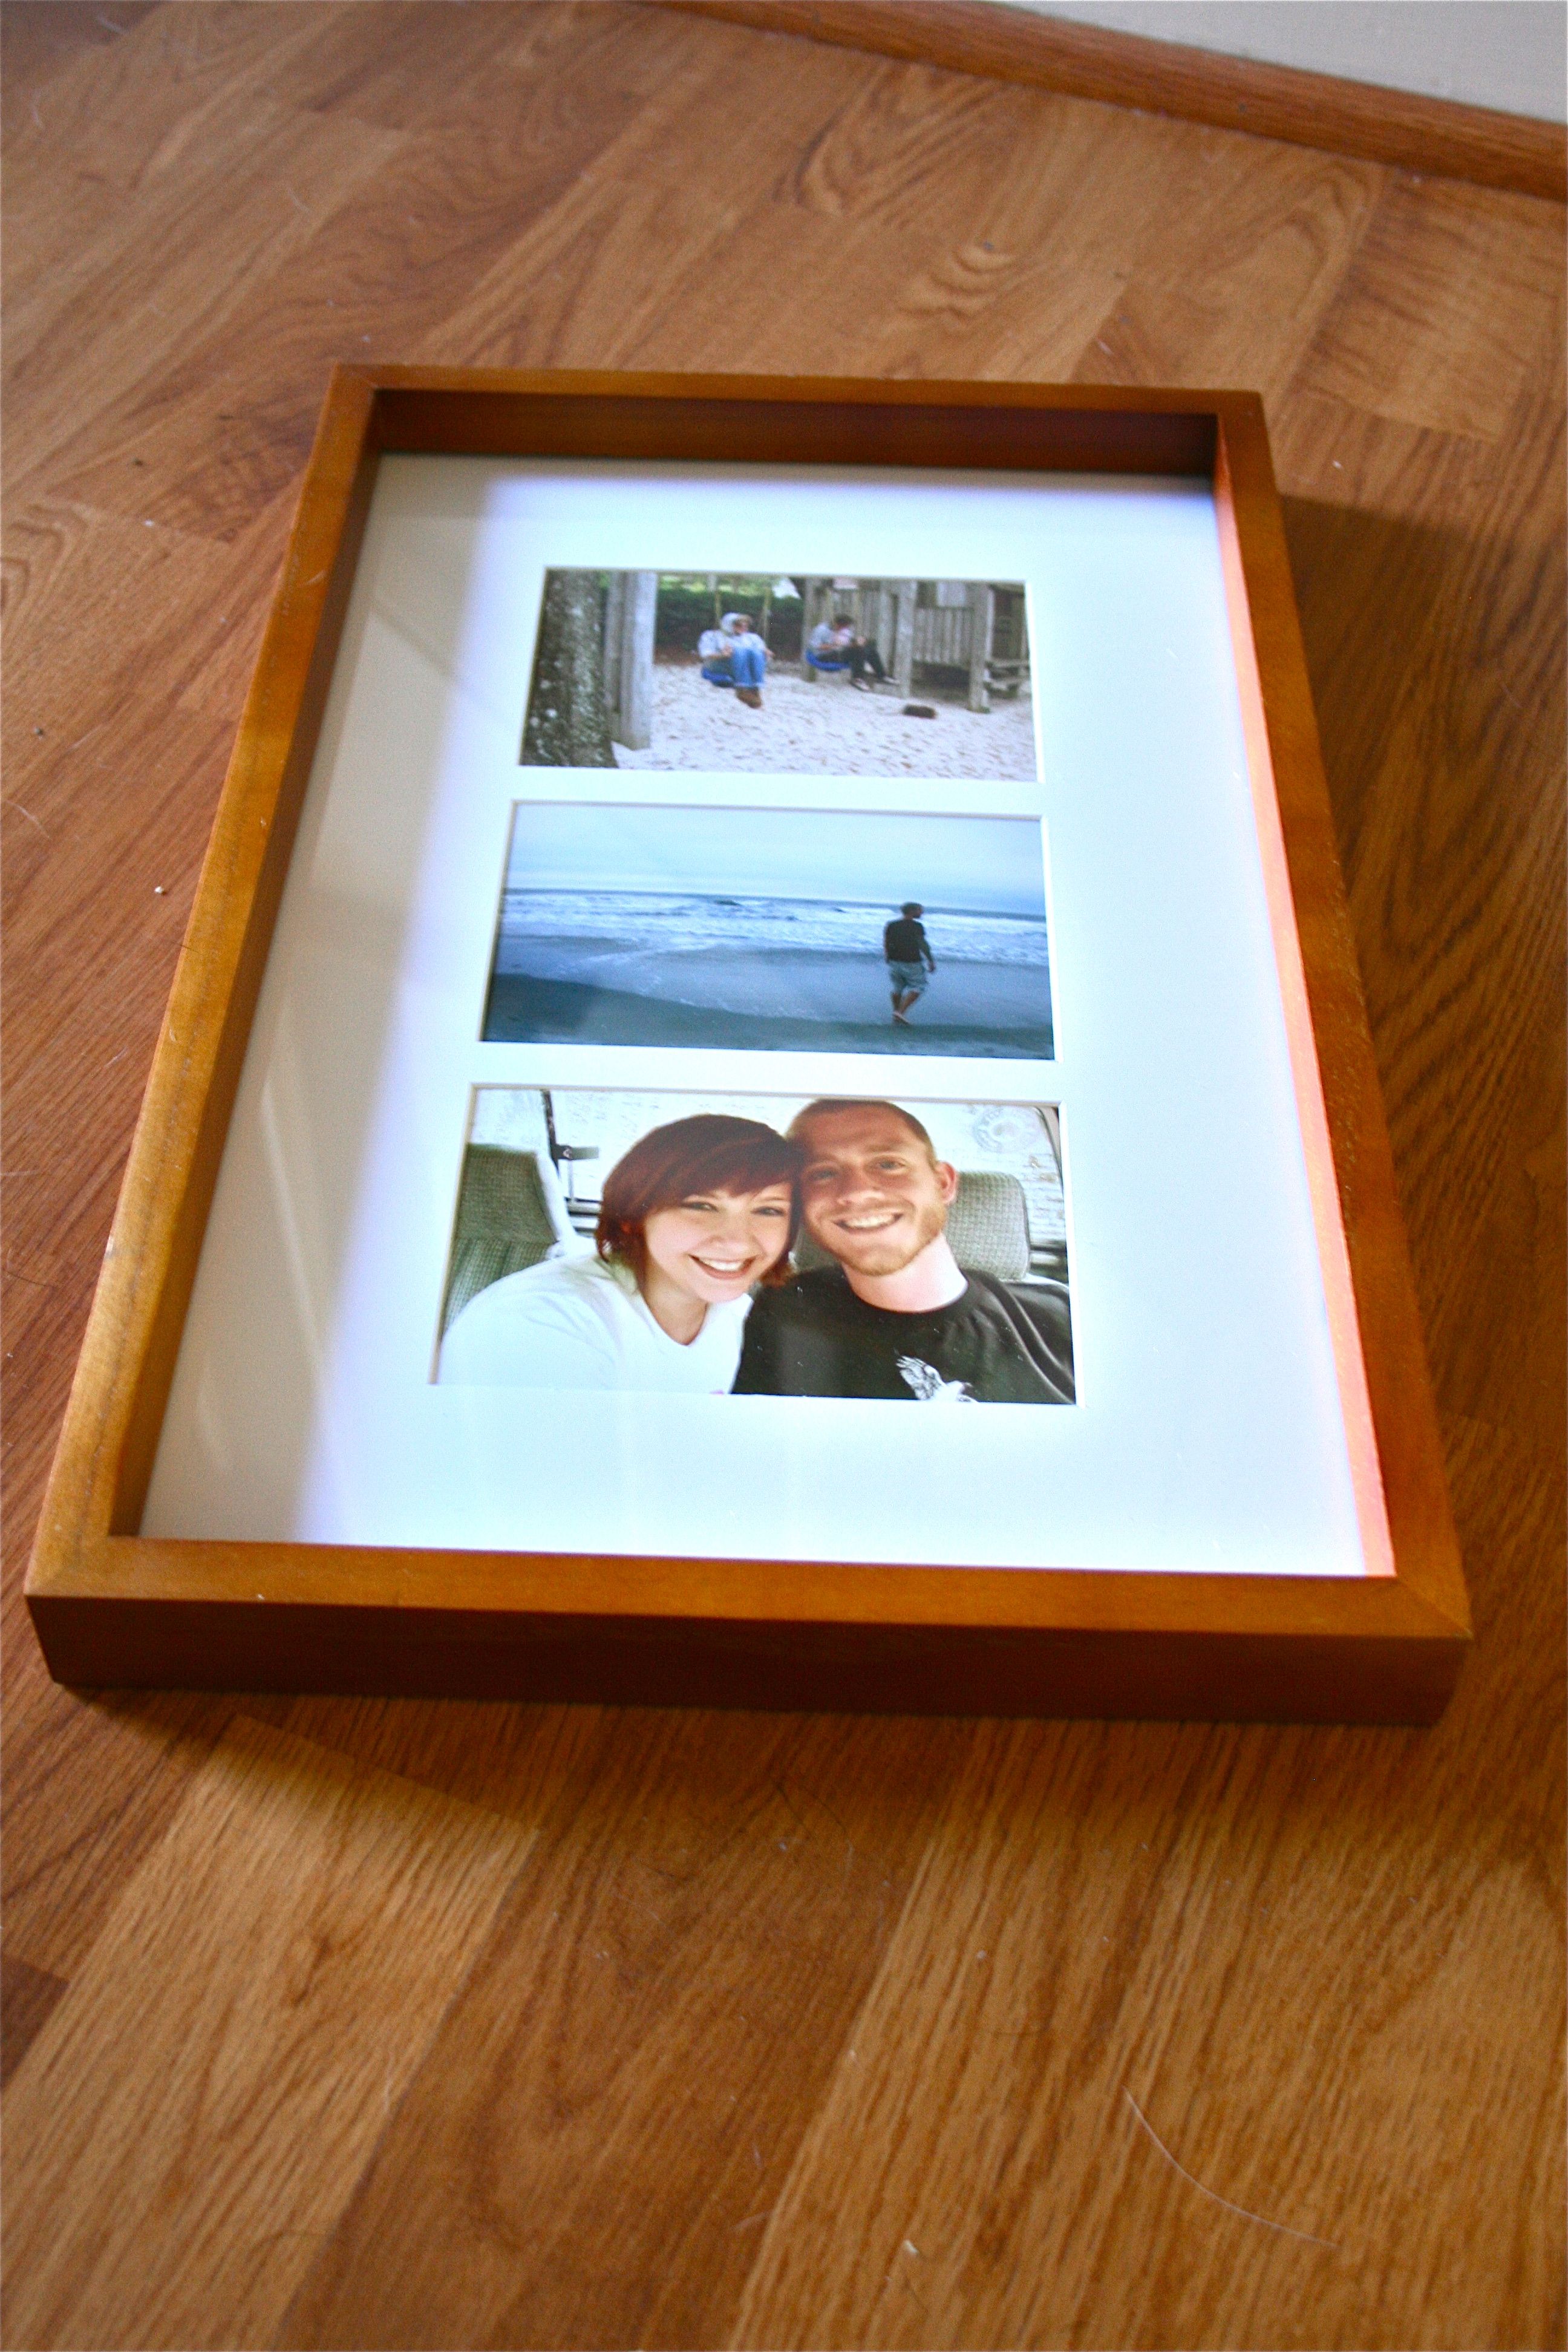
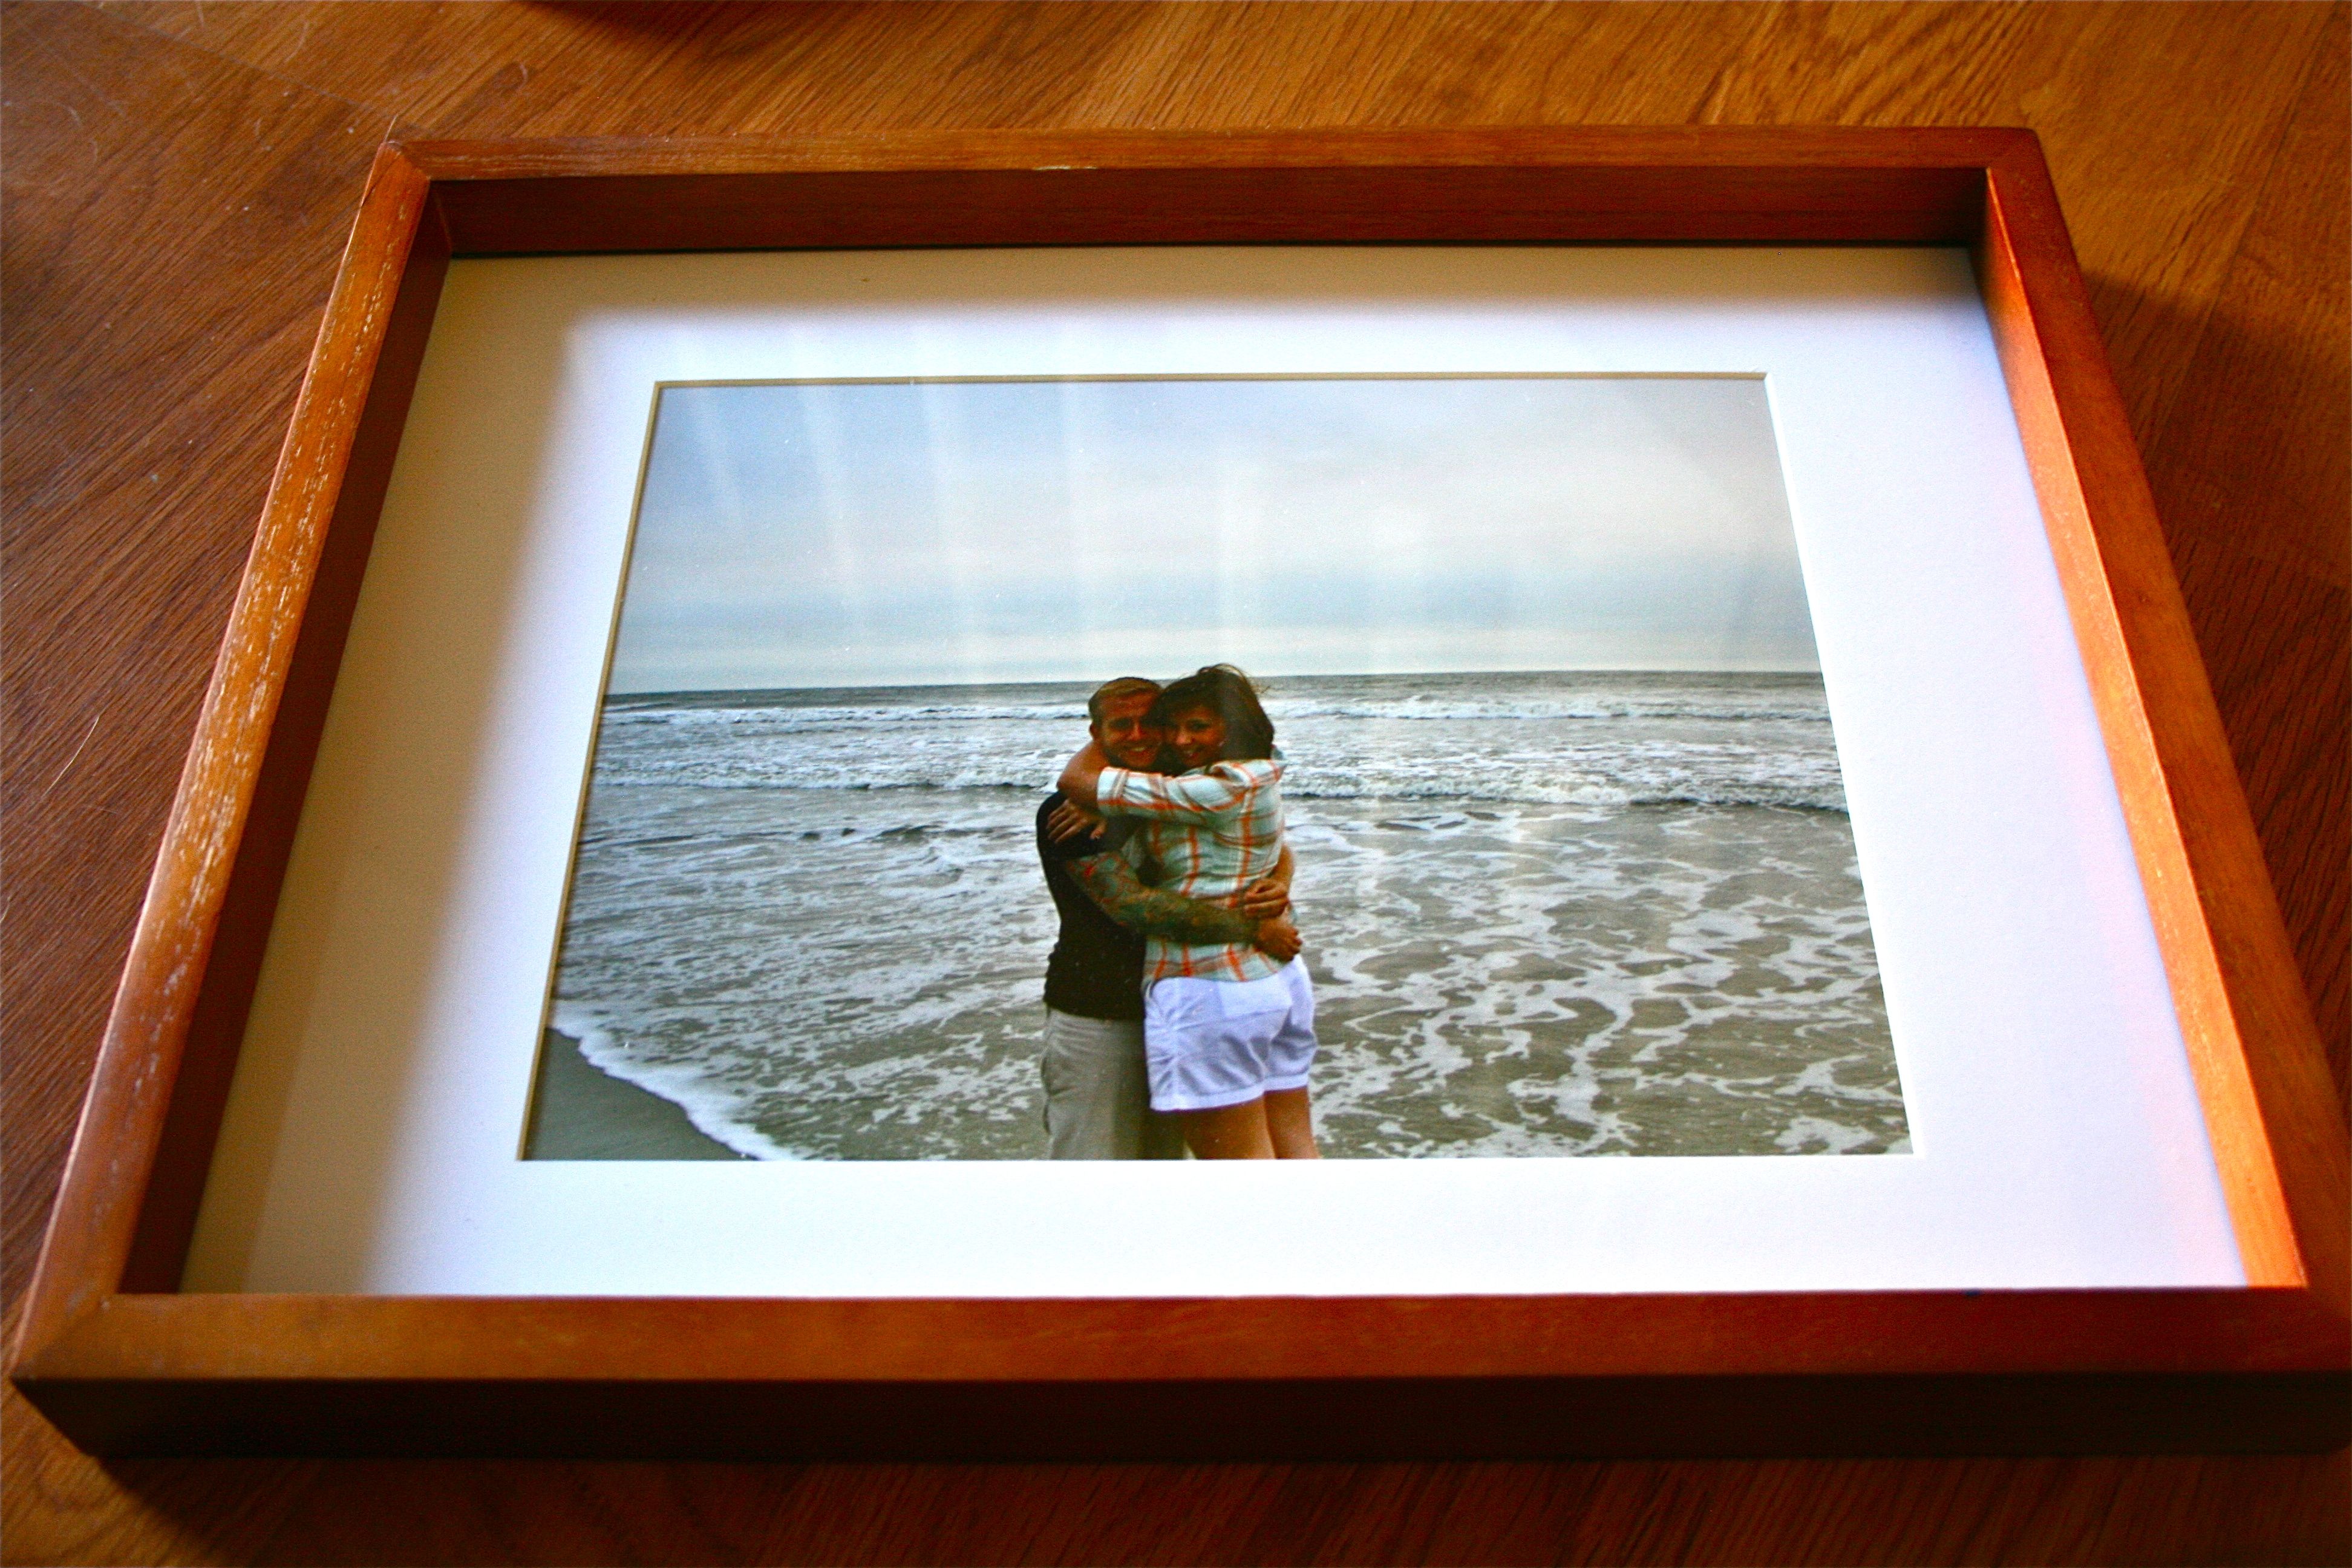
Once I got that figured out, it was time to put in our family portraits! Before….
And after!
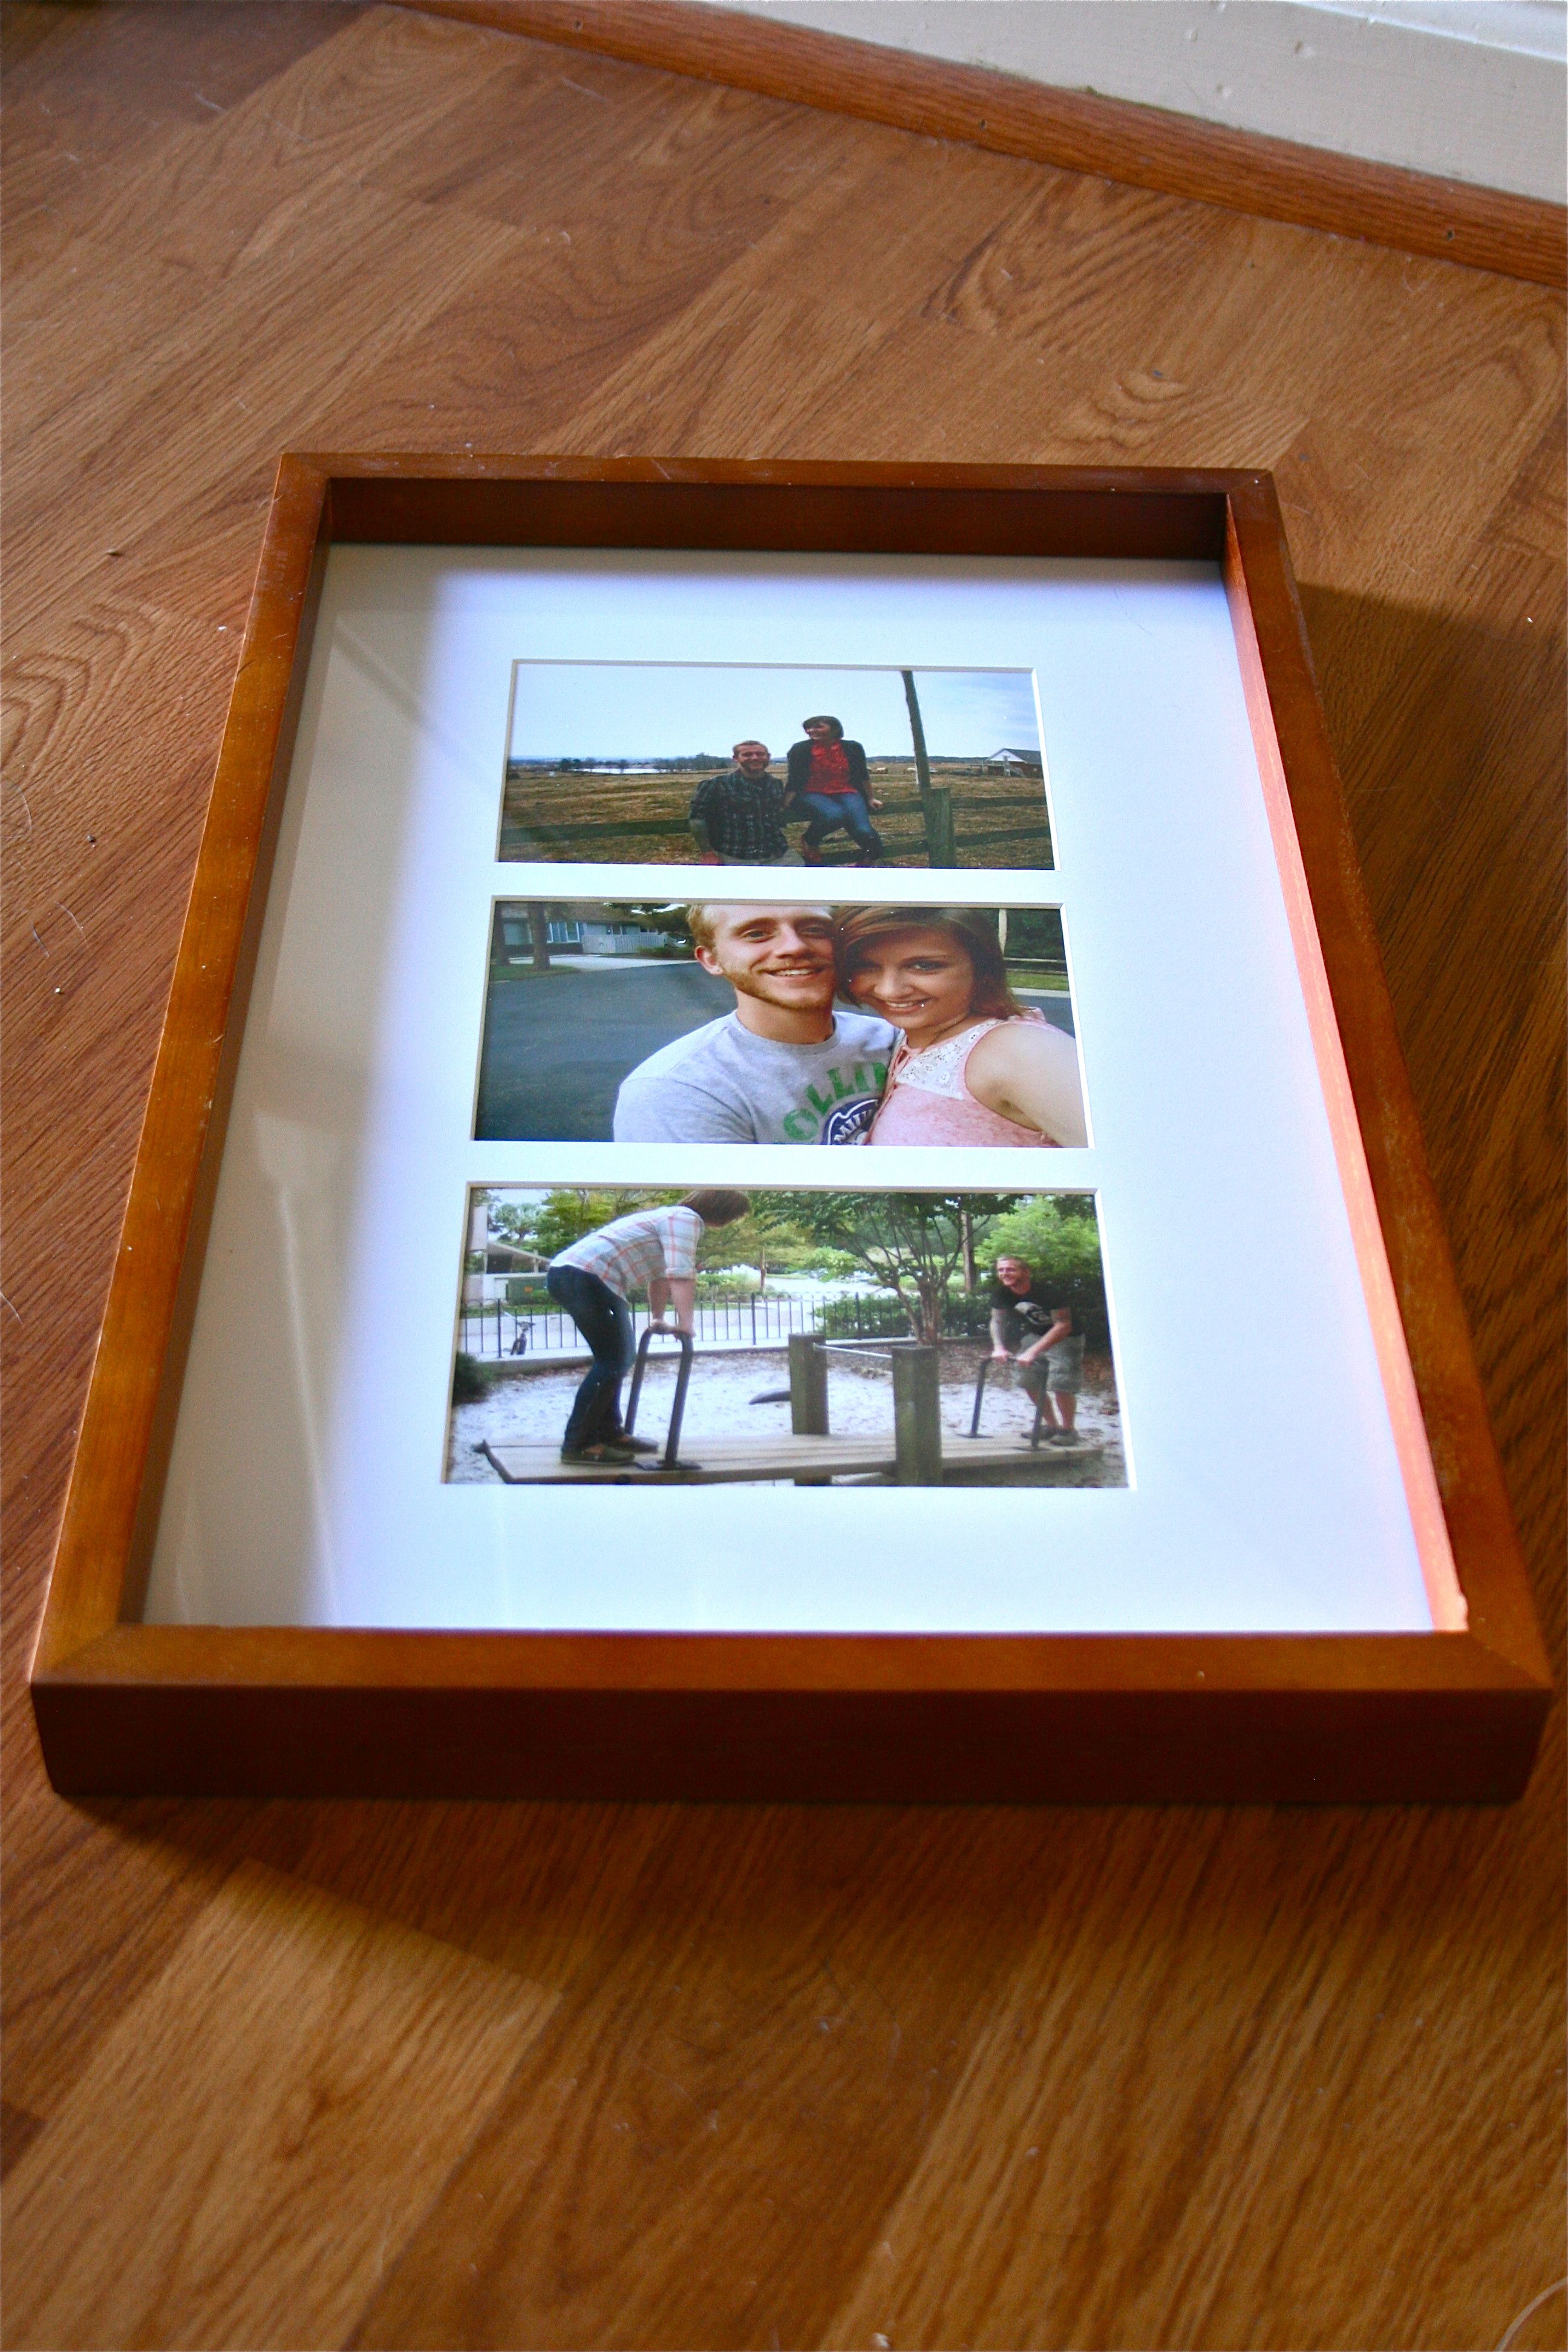
Before…
And after!
Most of the photos came from our vacation to Hilton Head in September, but there are a few random ones in there. I’ll explain more once they are hung on the wall 🙂
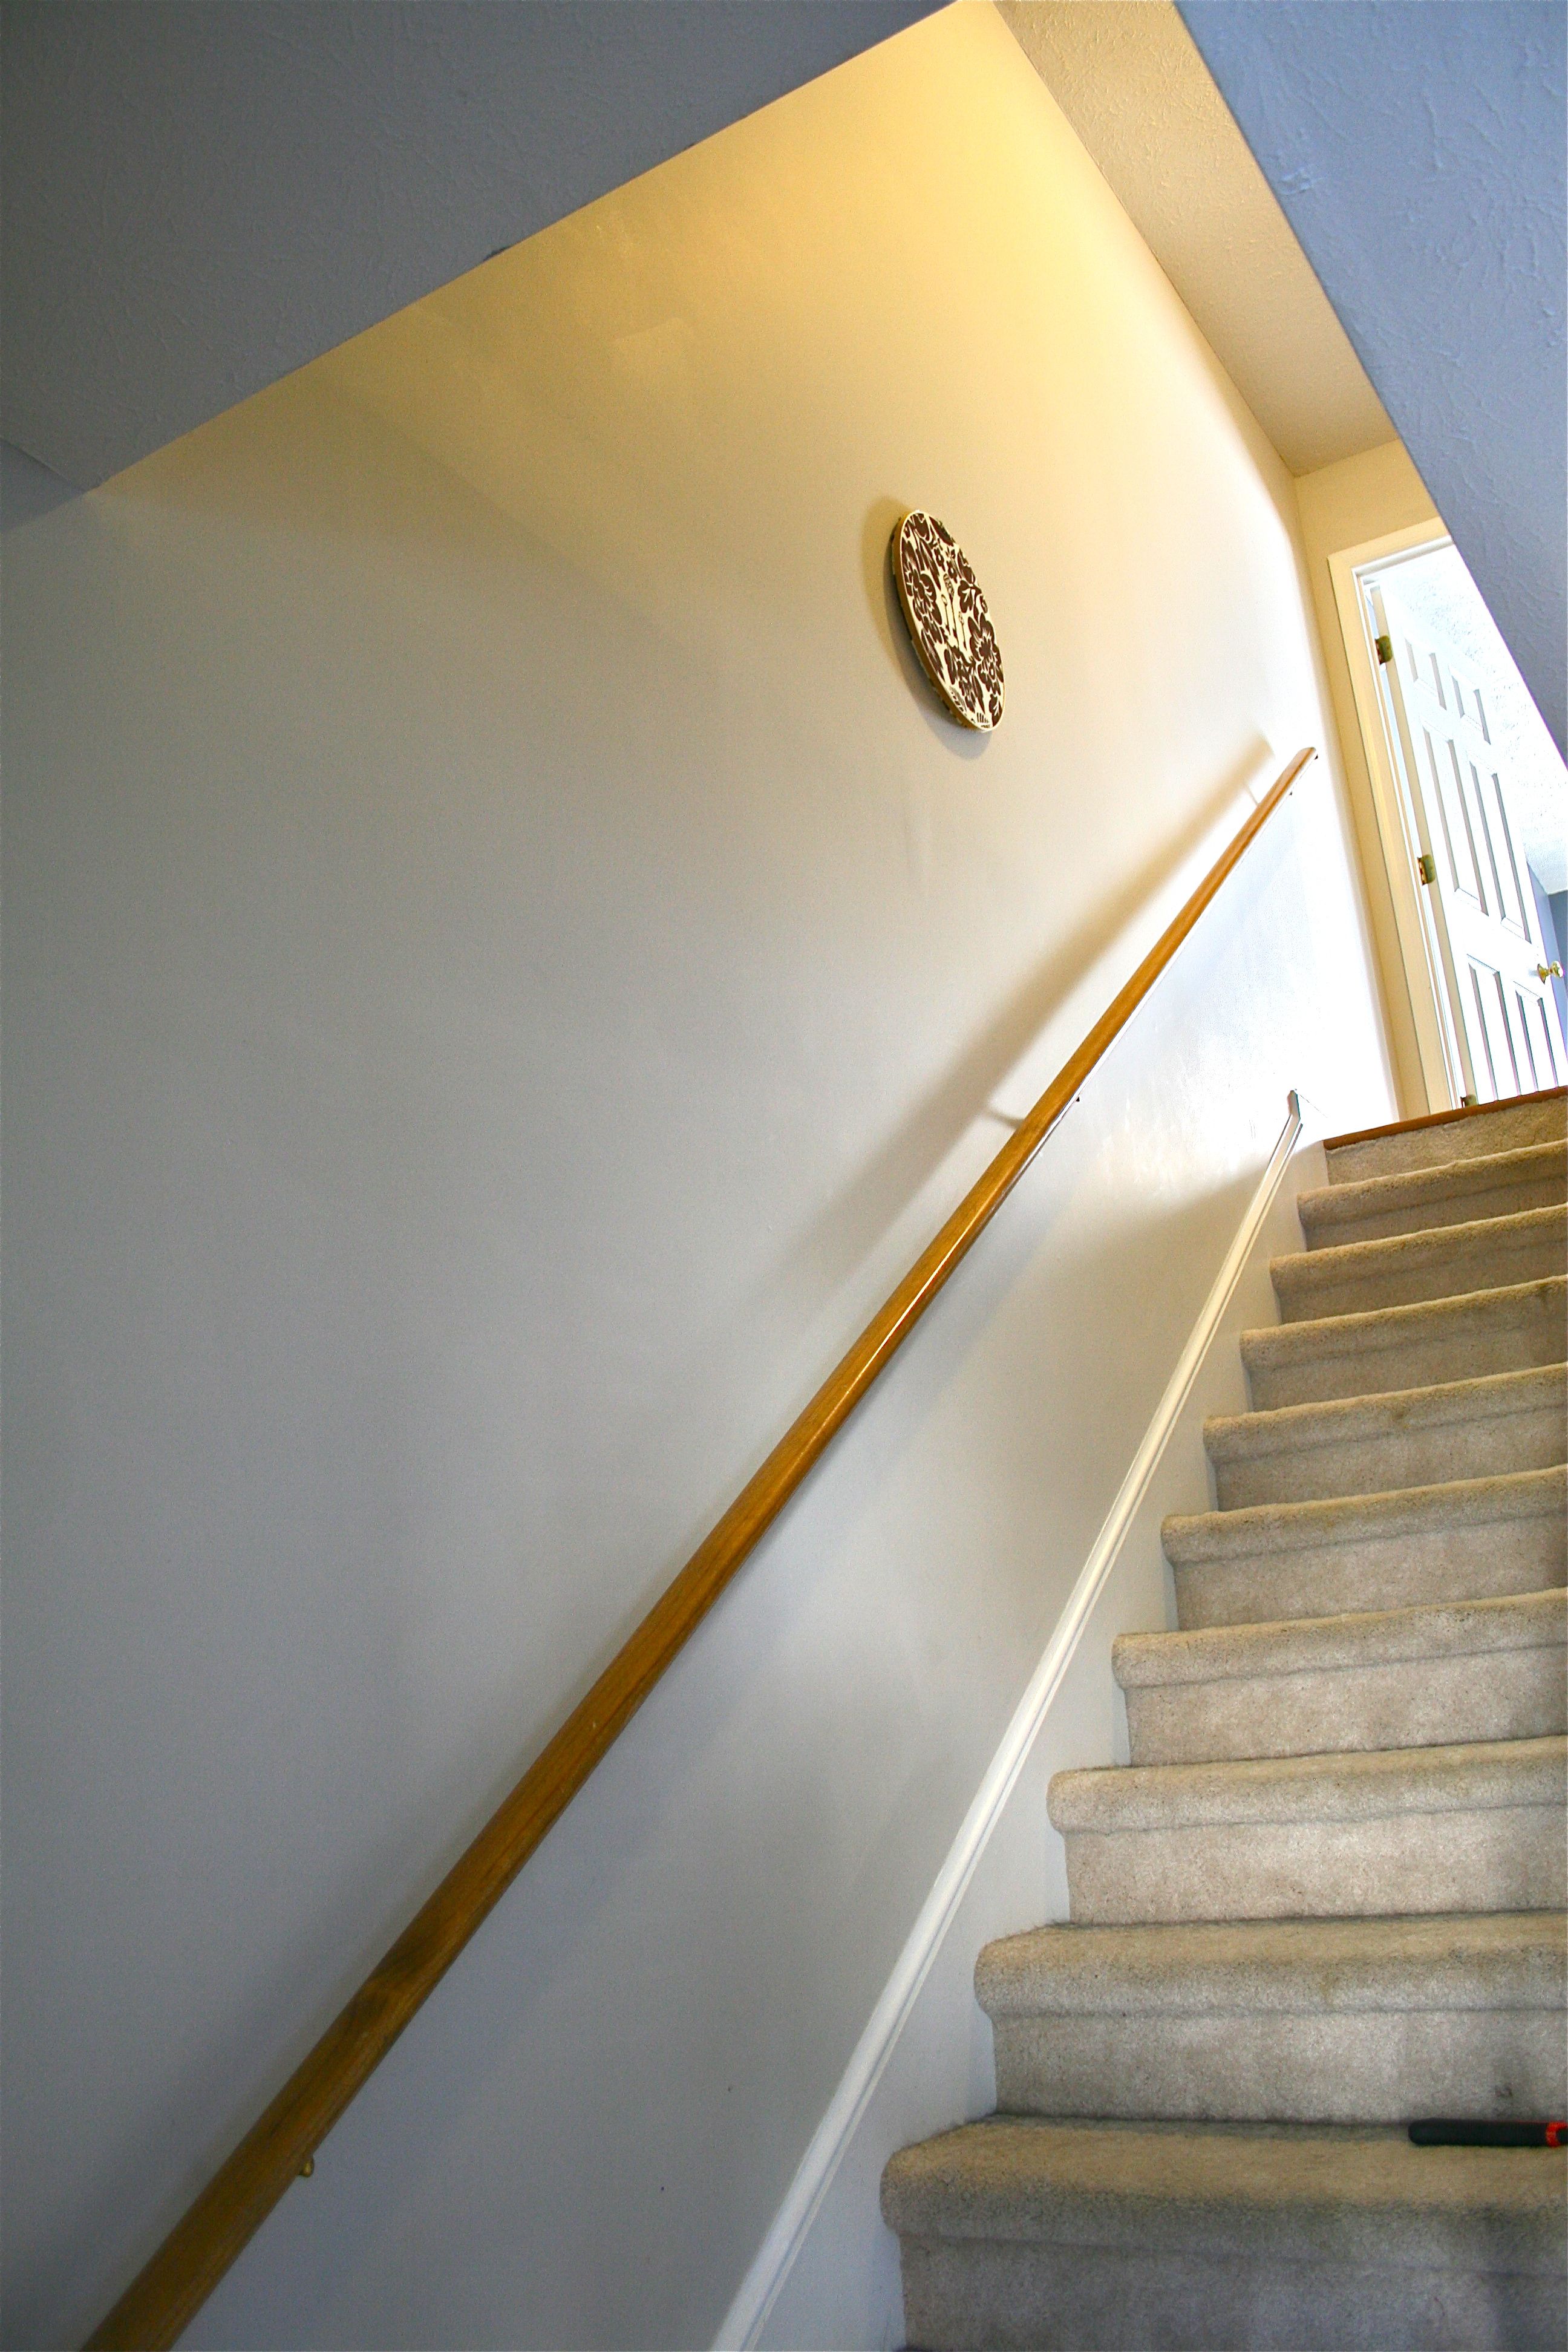
Time to hang things up. Again, I started with the middle embroidery hoop mid-way up the empty staircase wall.
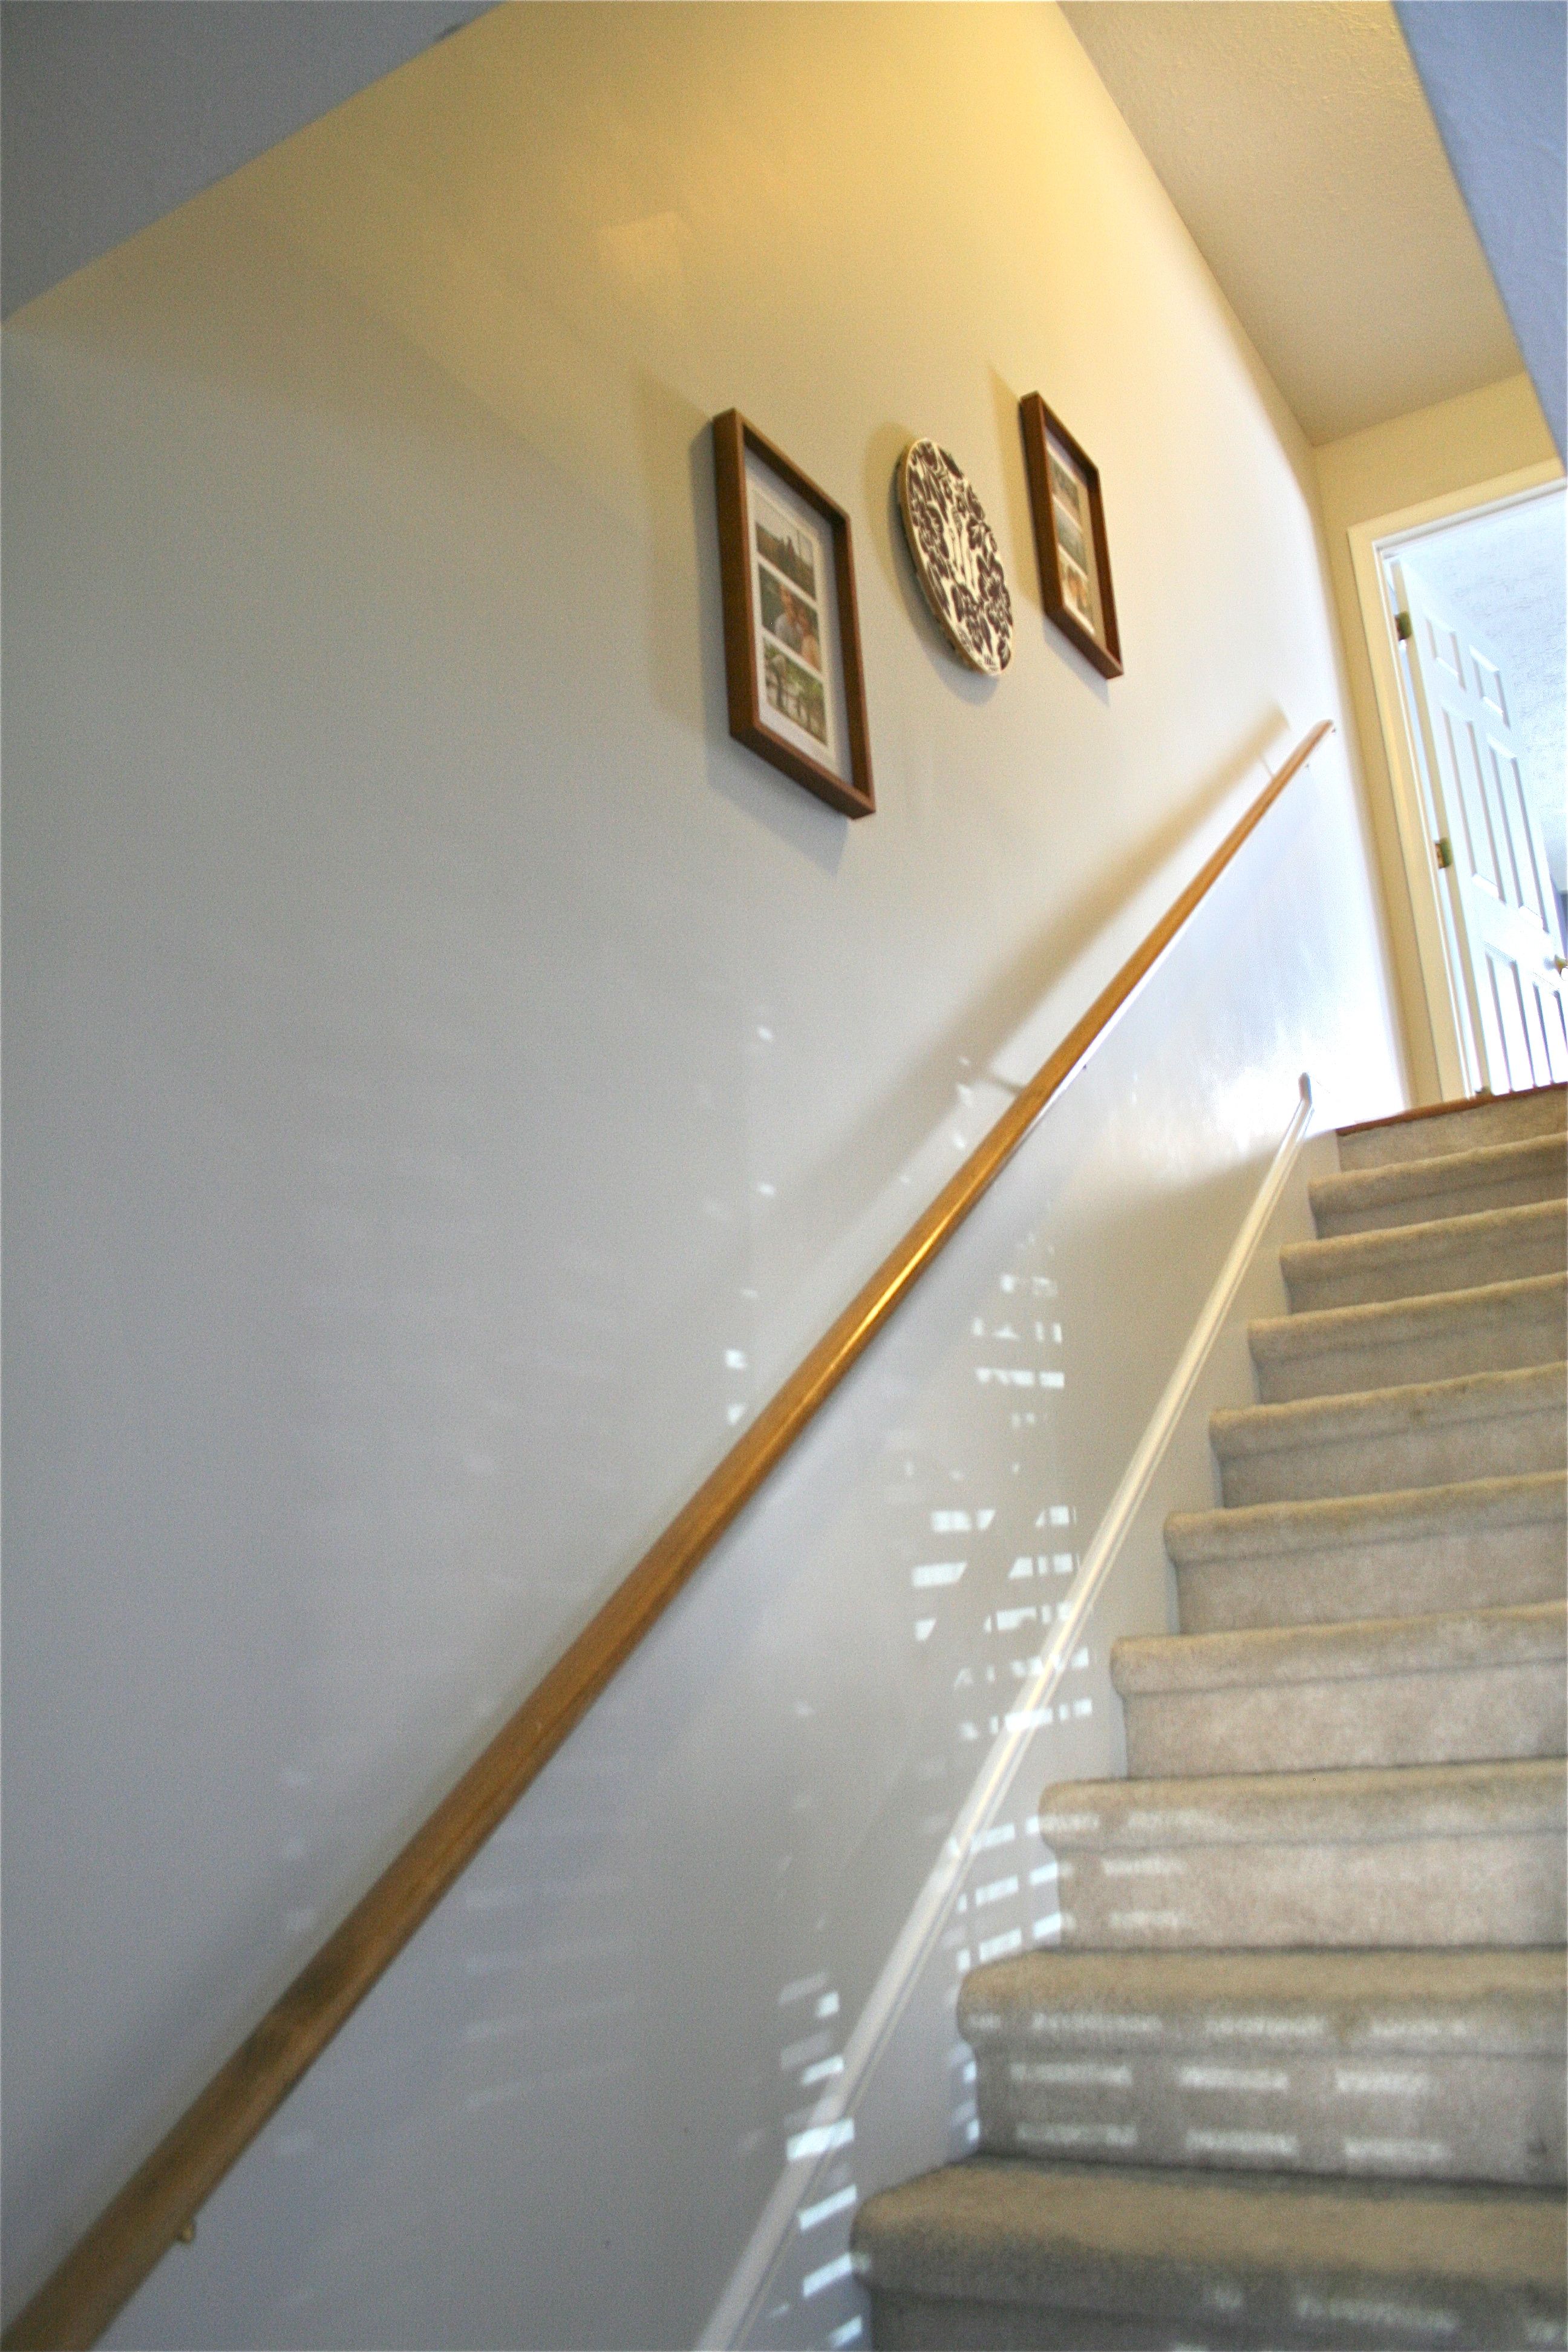
Then I filled in (or should I say “out”) from there – I just eye-balled everything, knowing the space between each grouping was about a stretched-hand’s width apart and that the stagger was about two or three inches down/up depending on which direction I was headed on the wall.
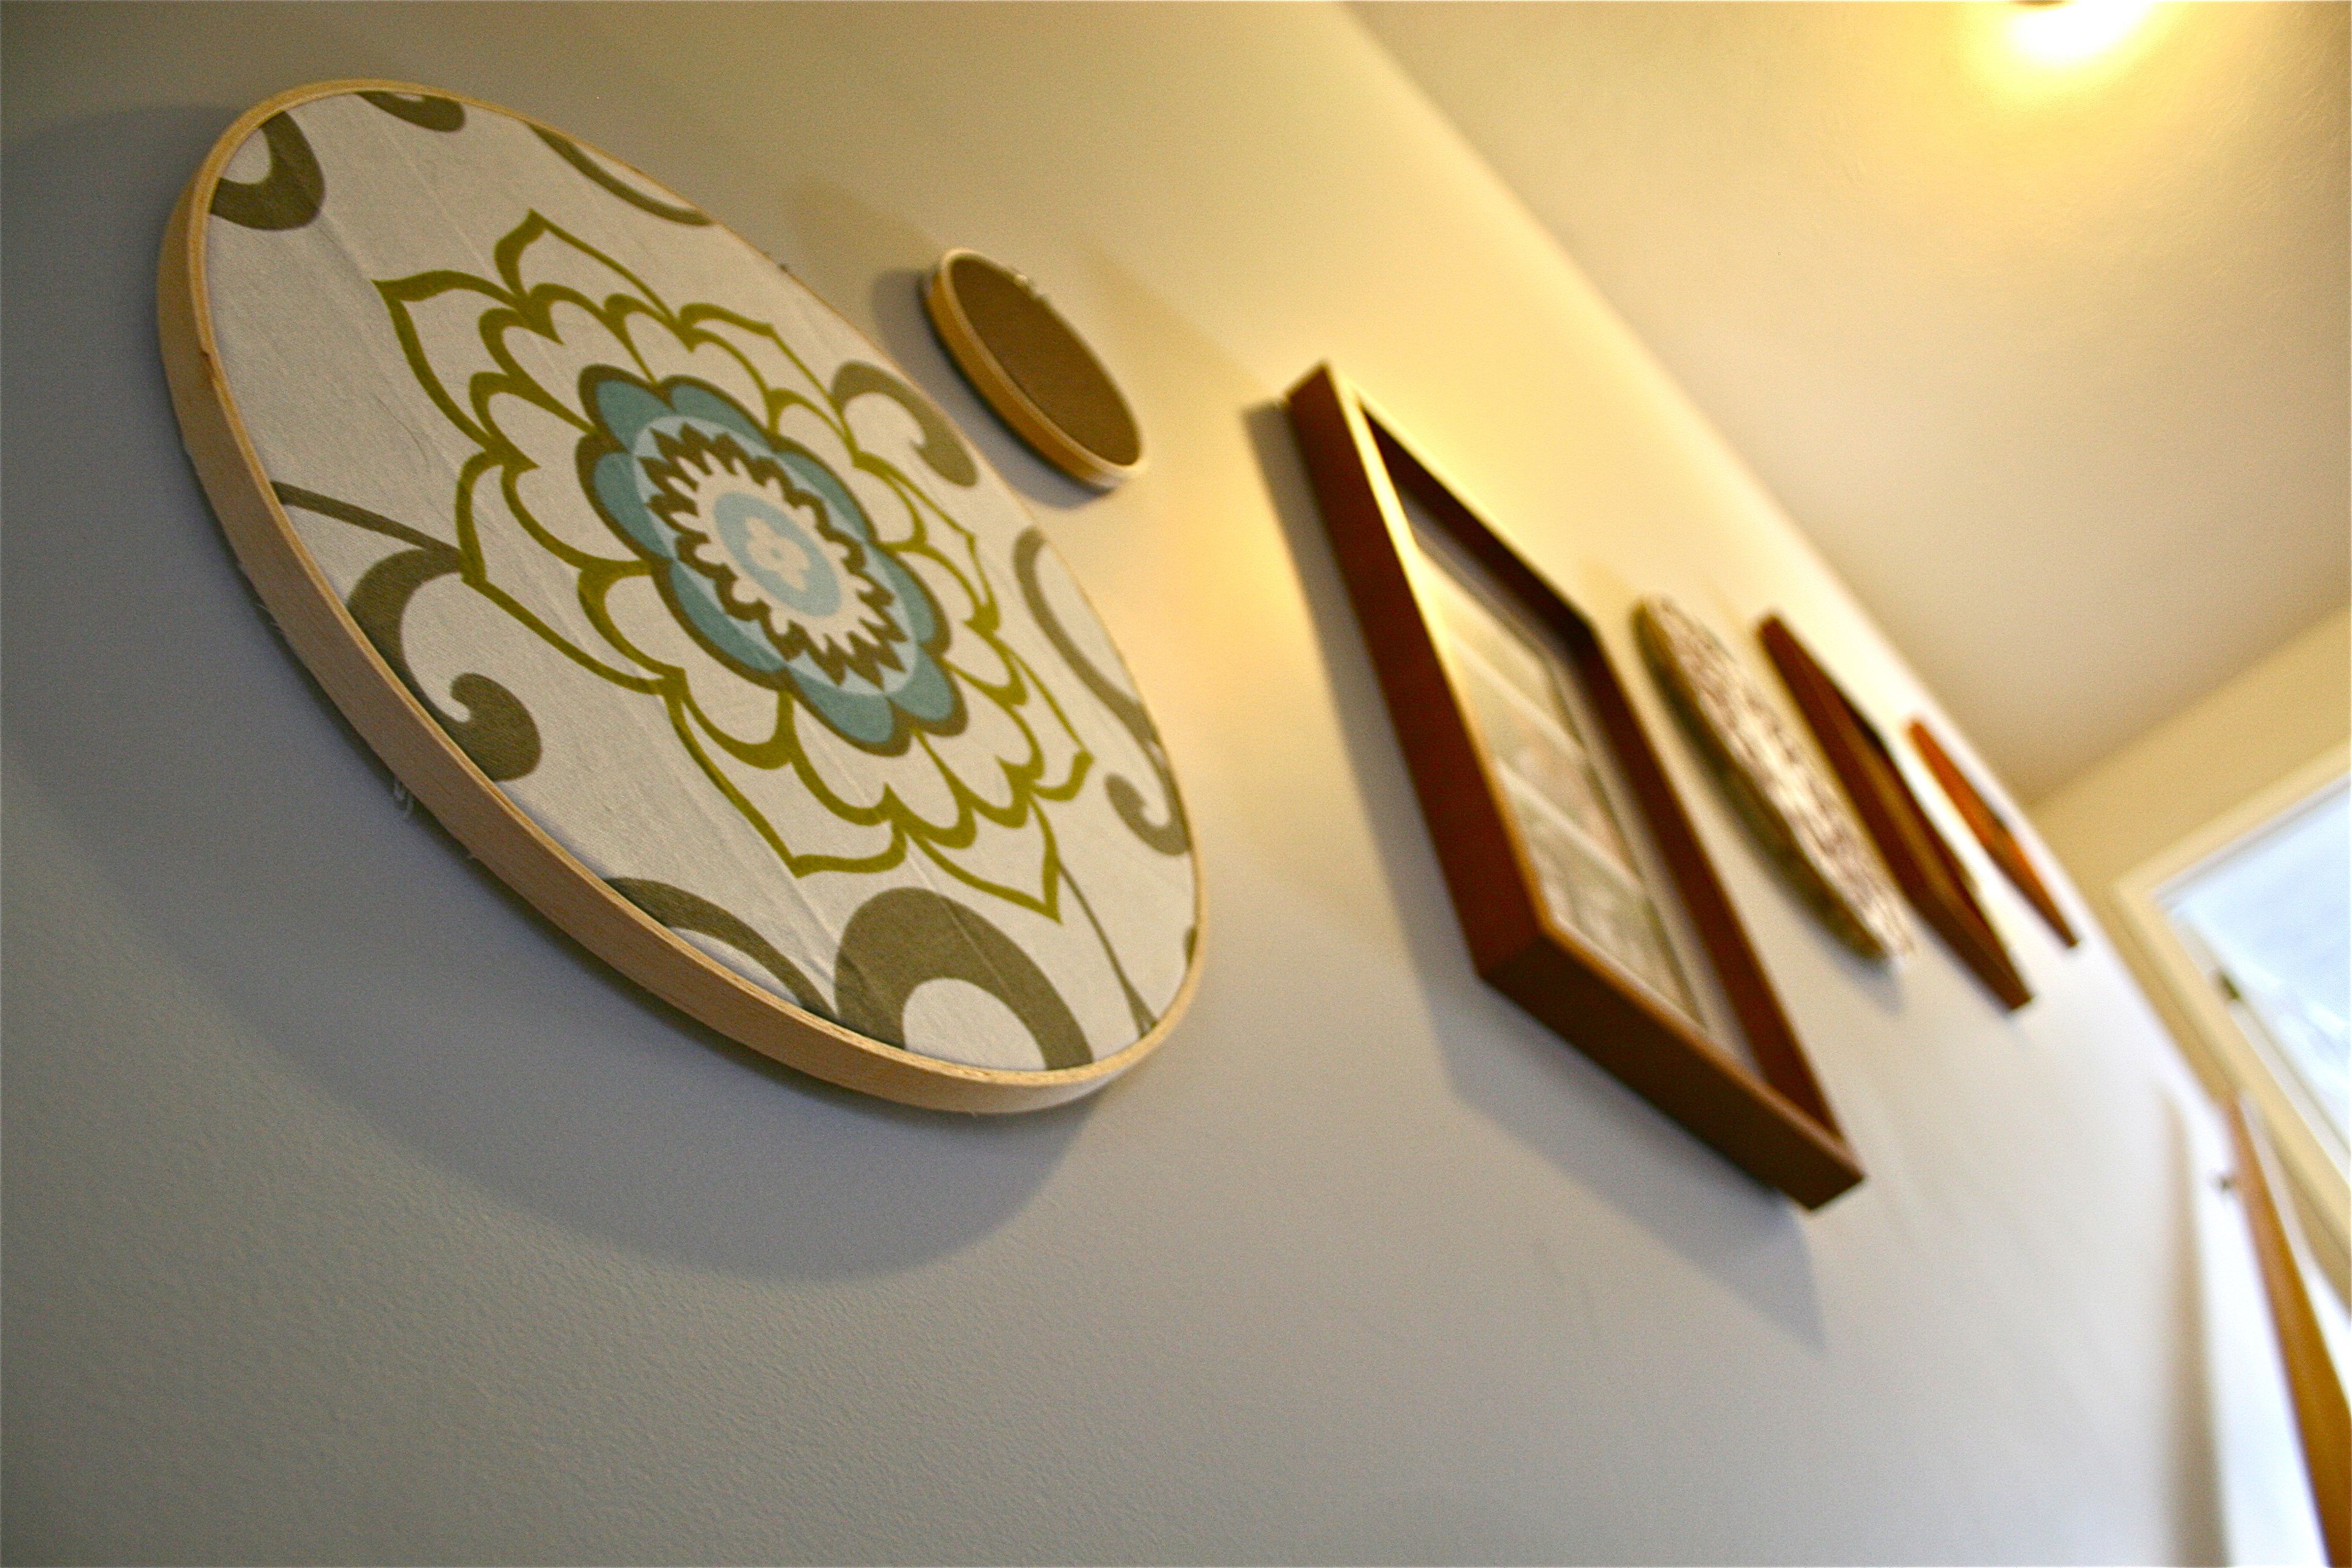
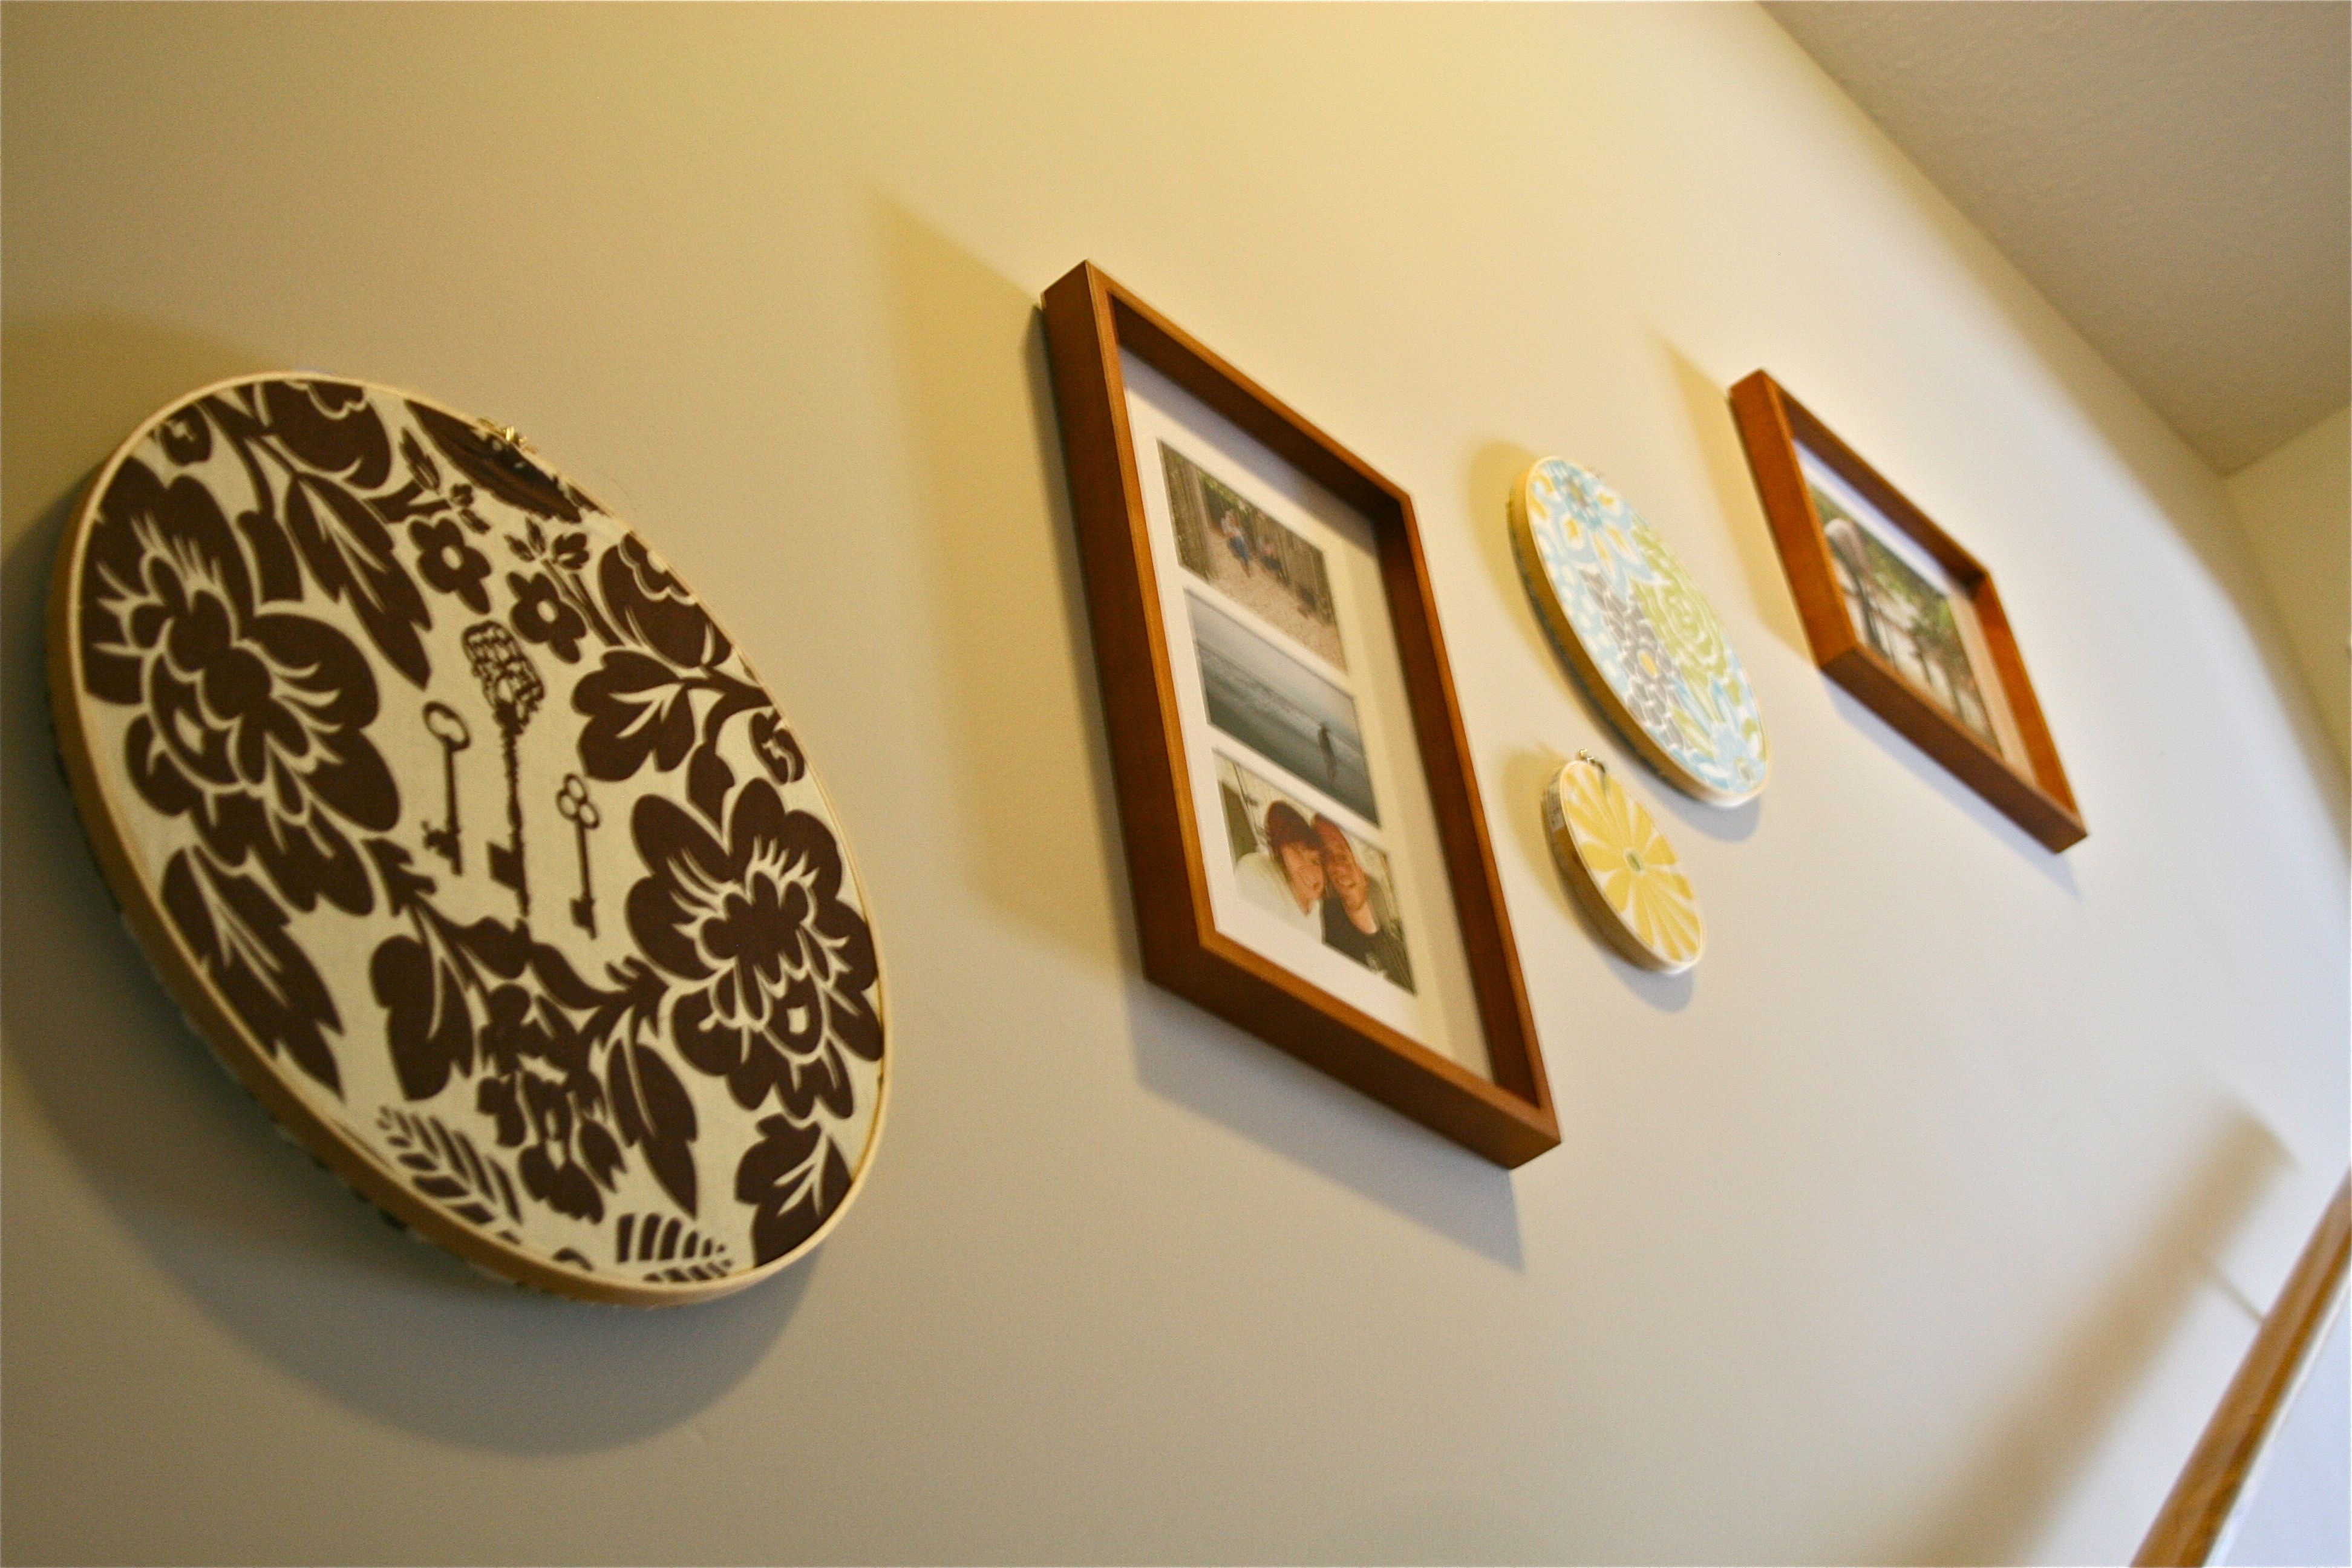
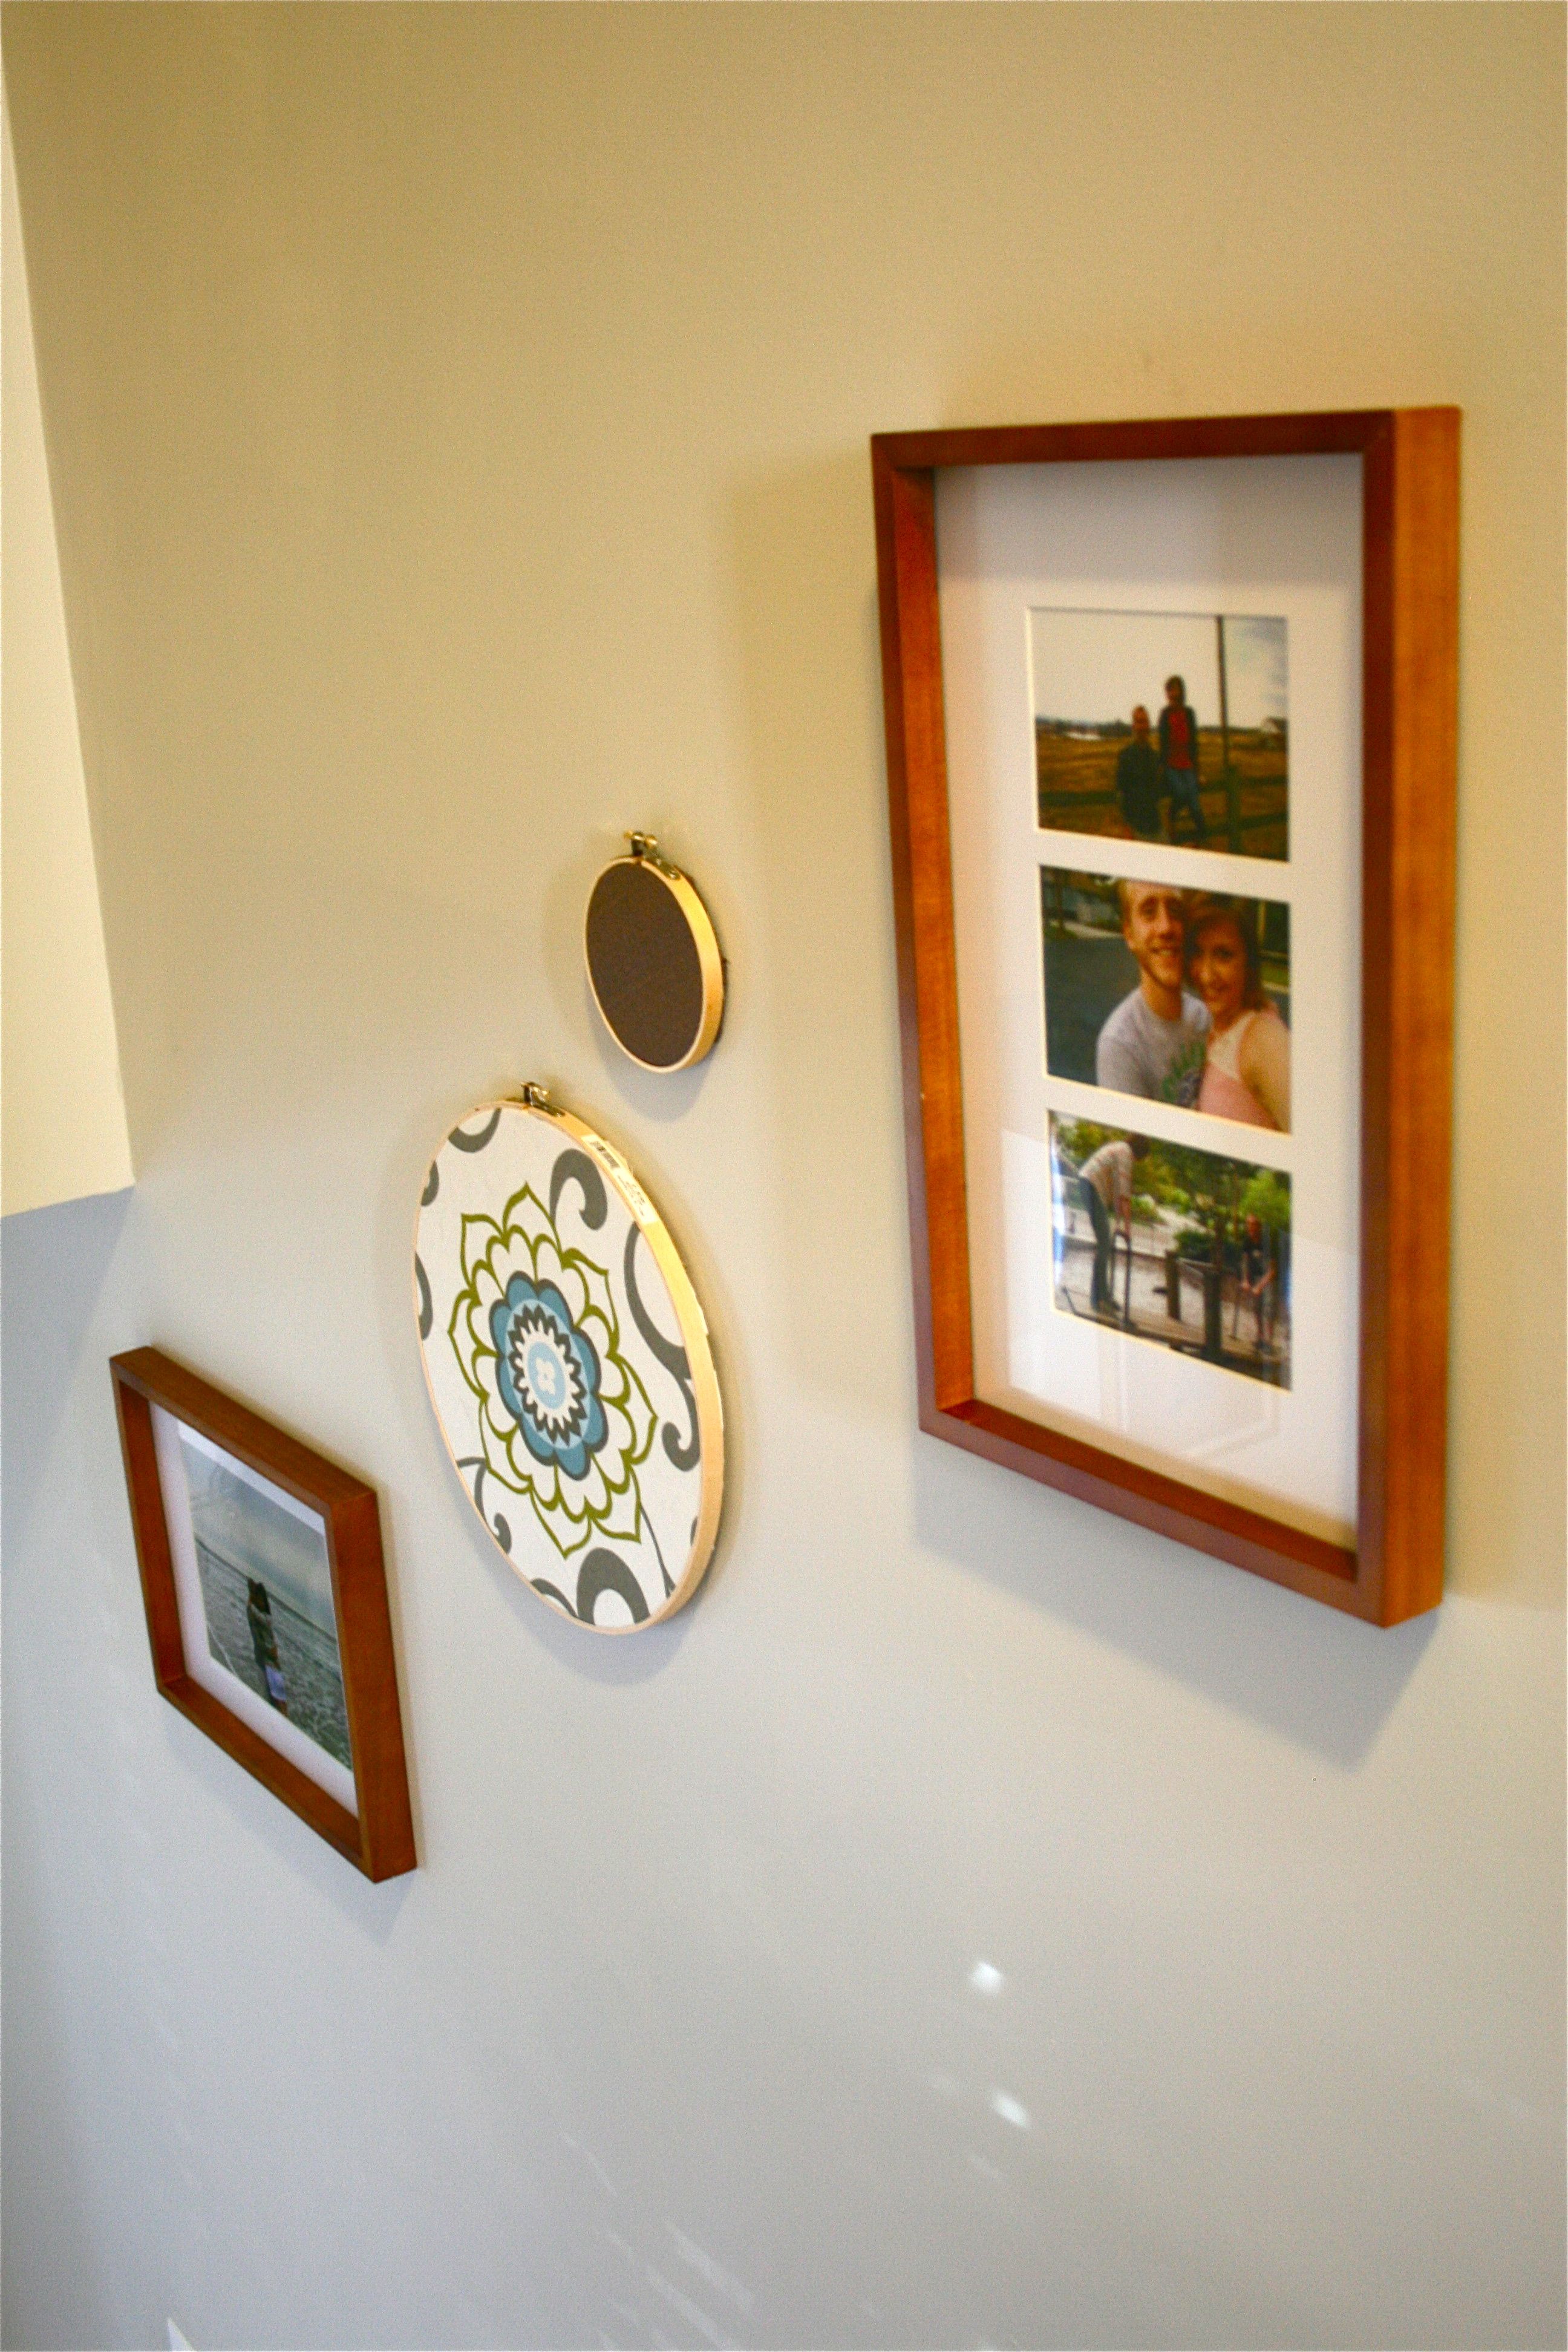
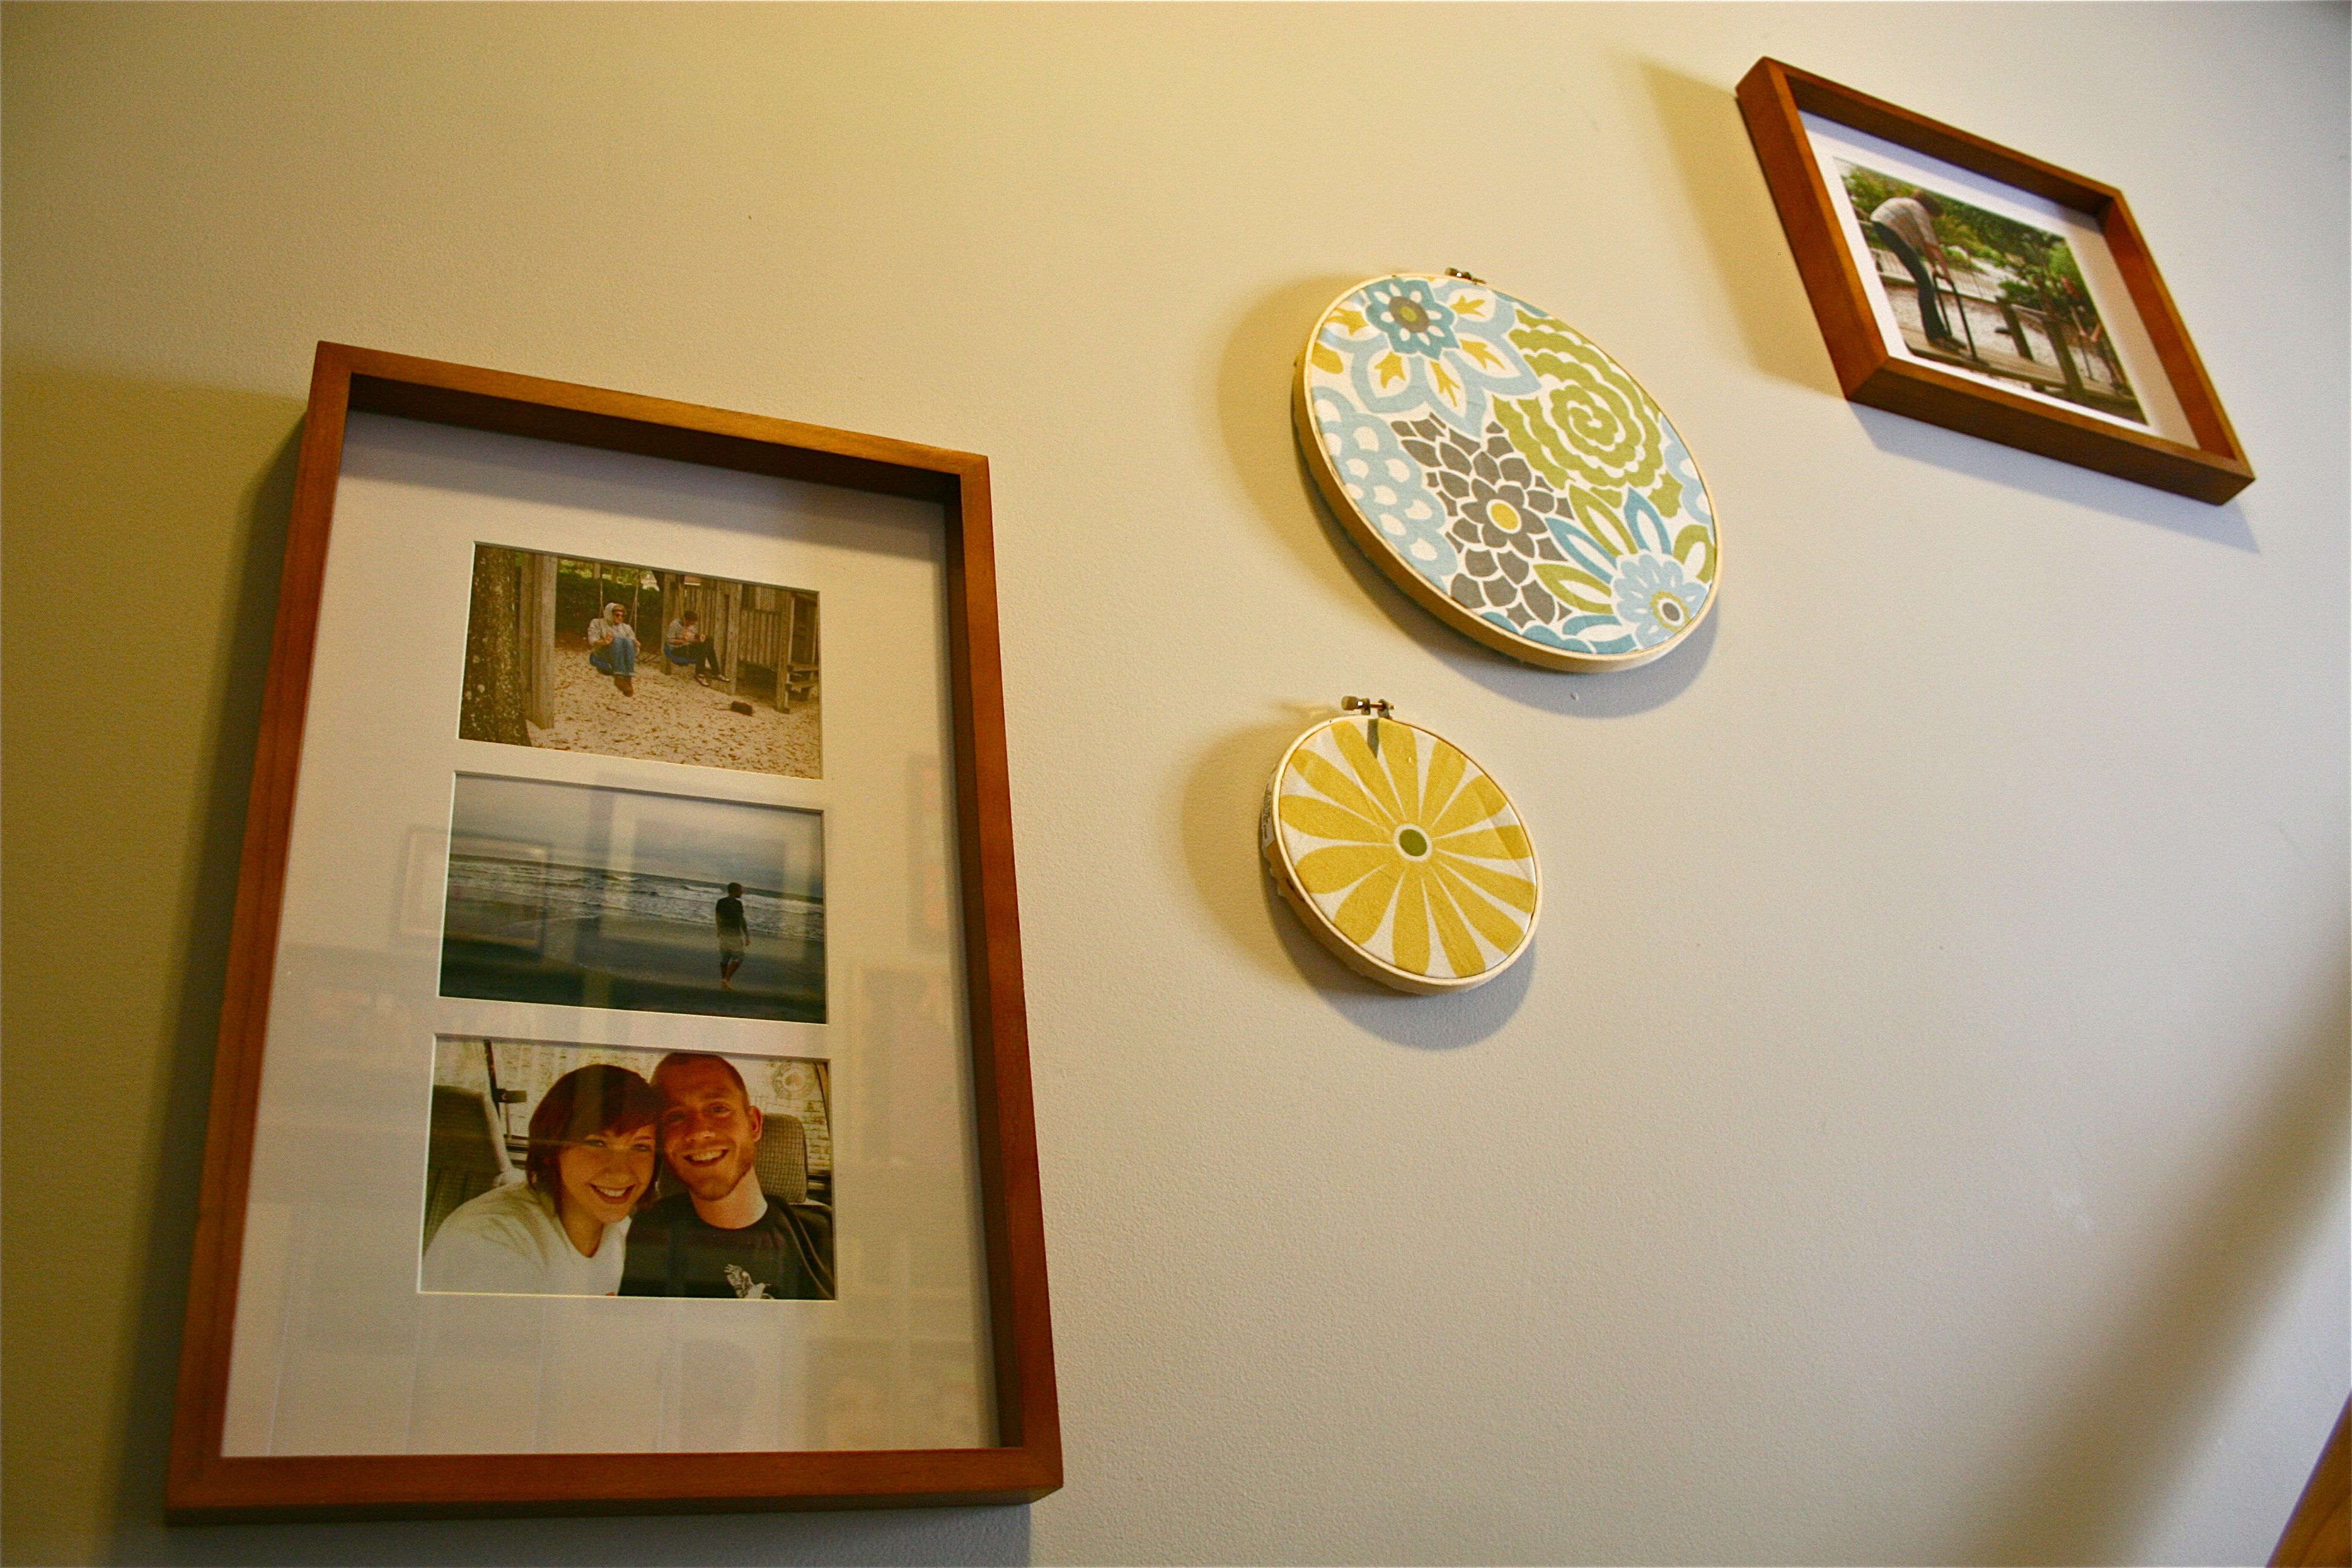
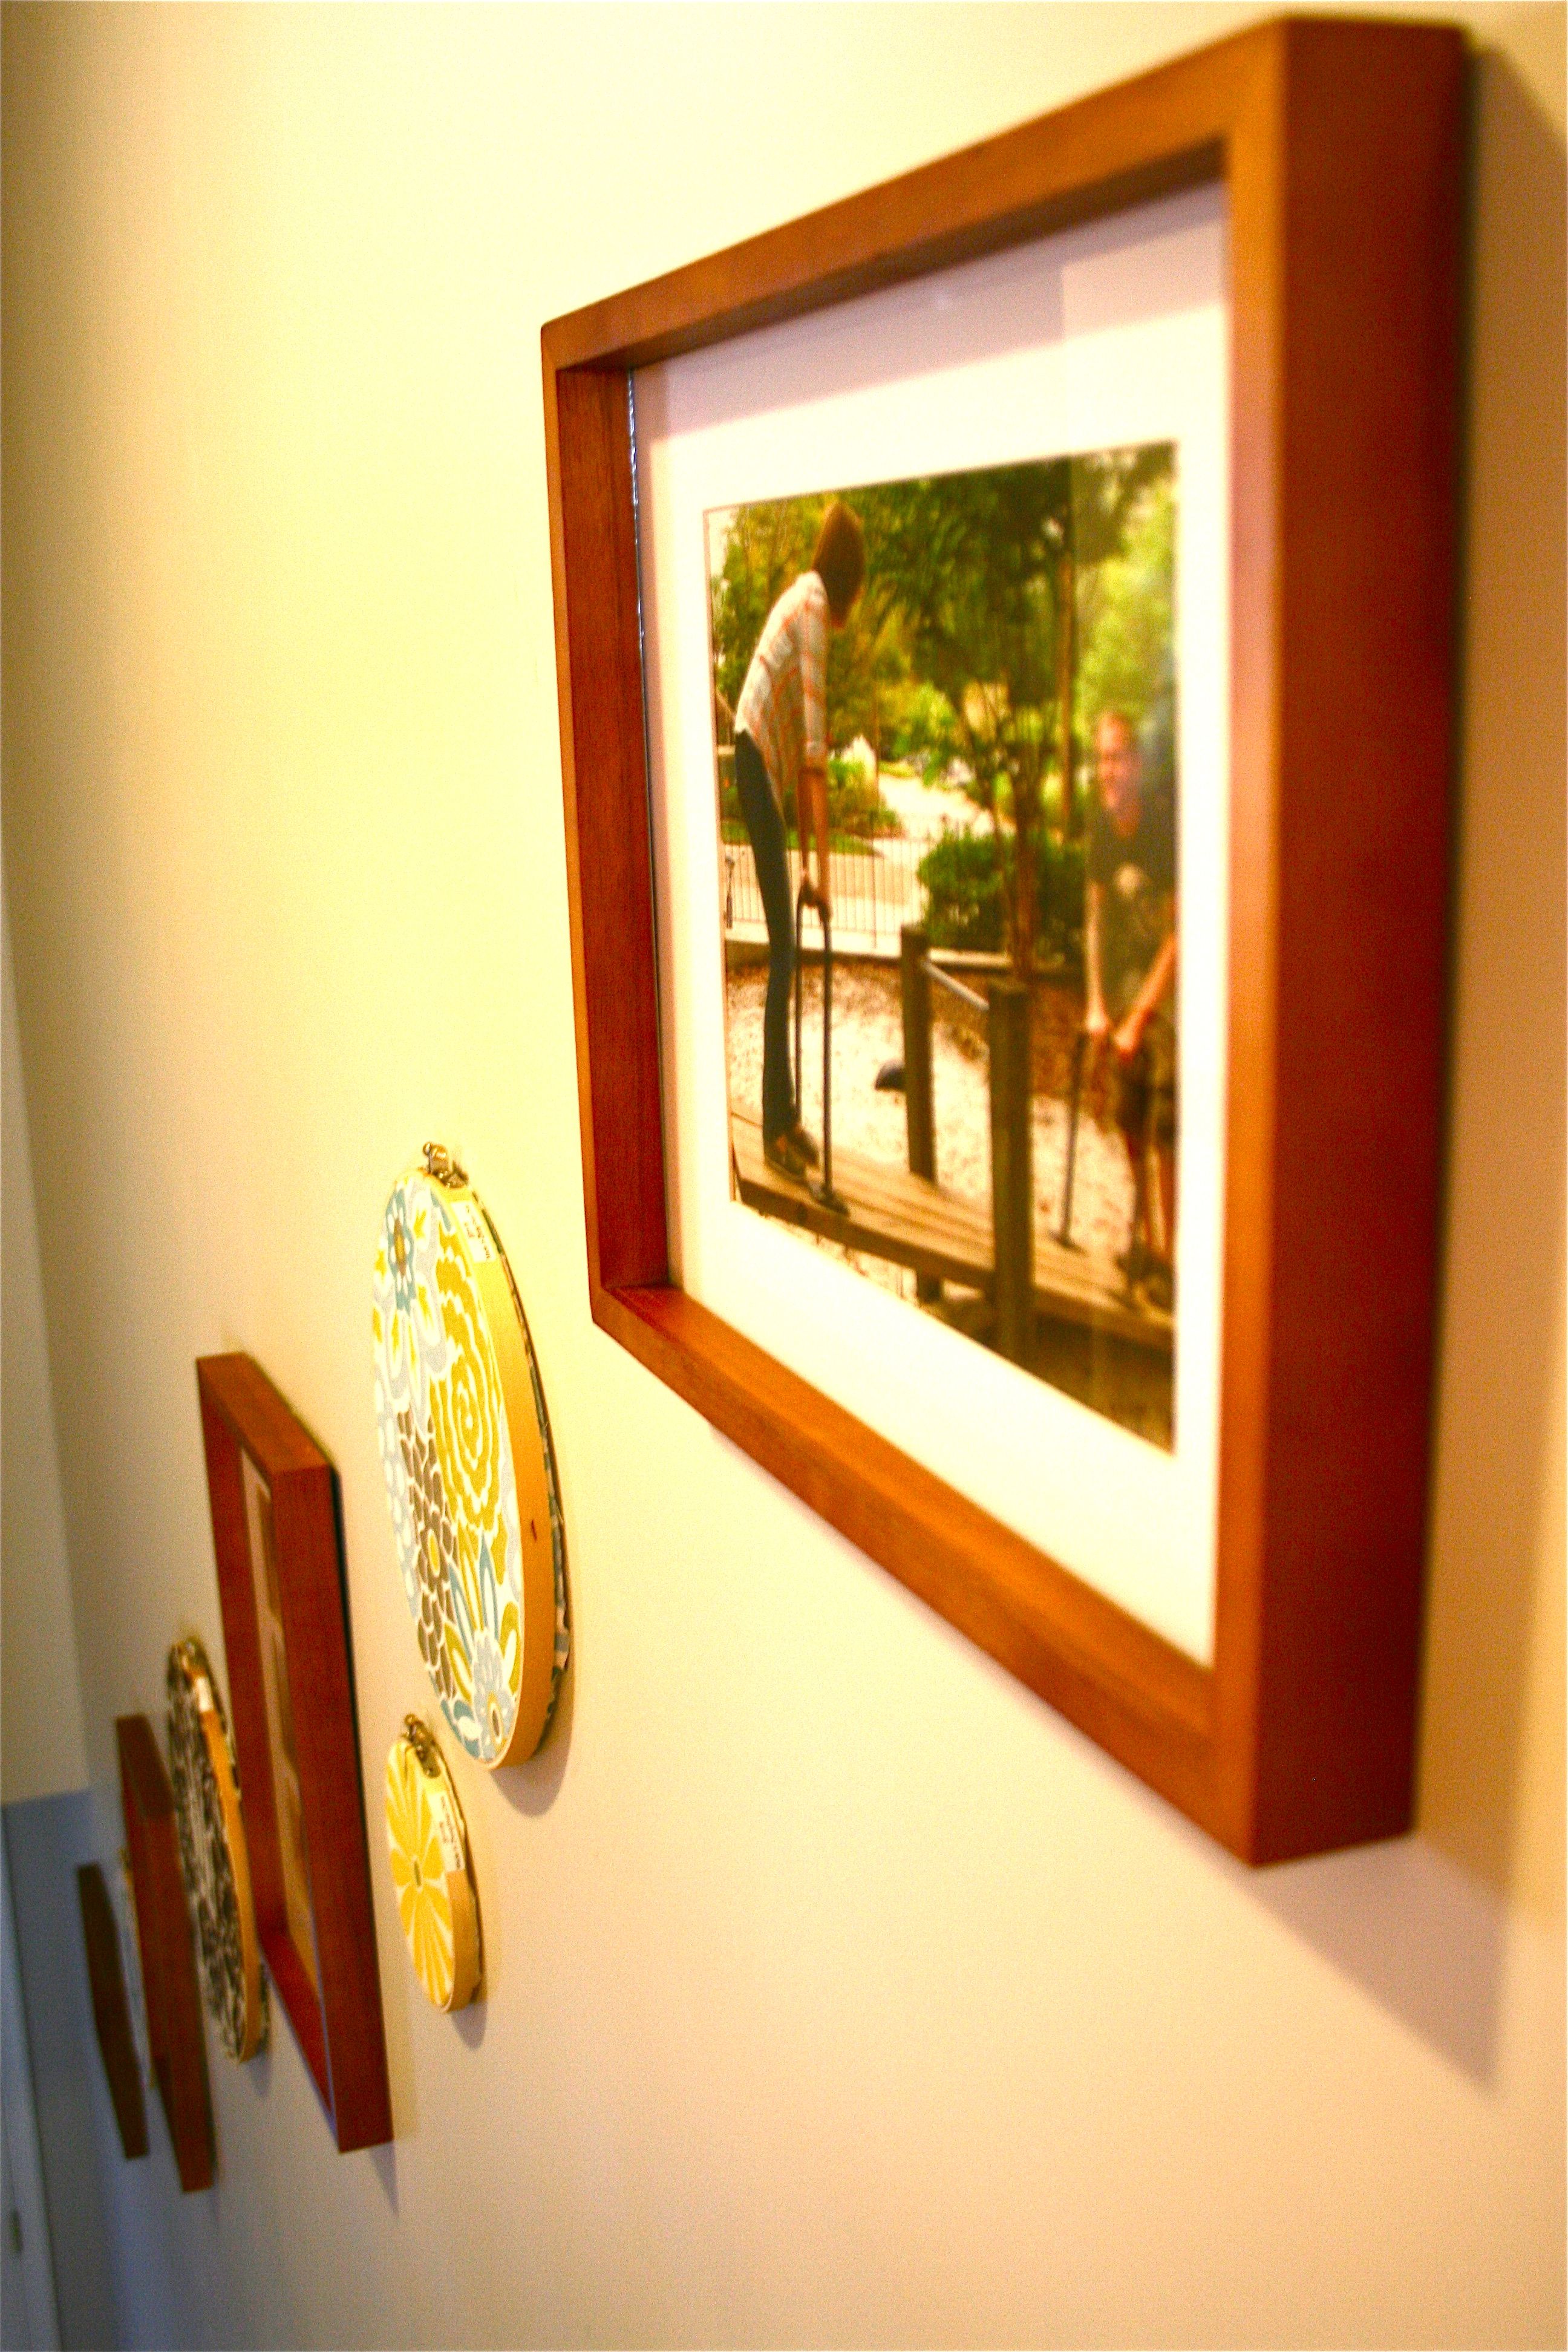
All done! It took no time at all and the impact in person is pretty awesome – No more blank boring wall to ascend/descend beside!!! I get the feeling that the photos don’t really do it justice…But here are several details anyway to get you better acquainted with our latest gallery collection:
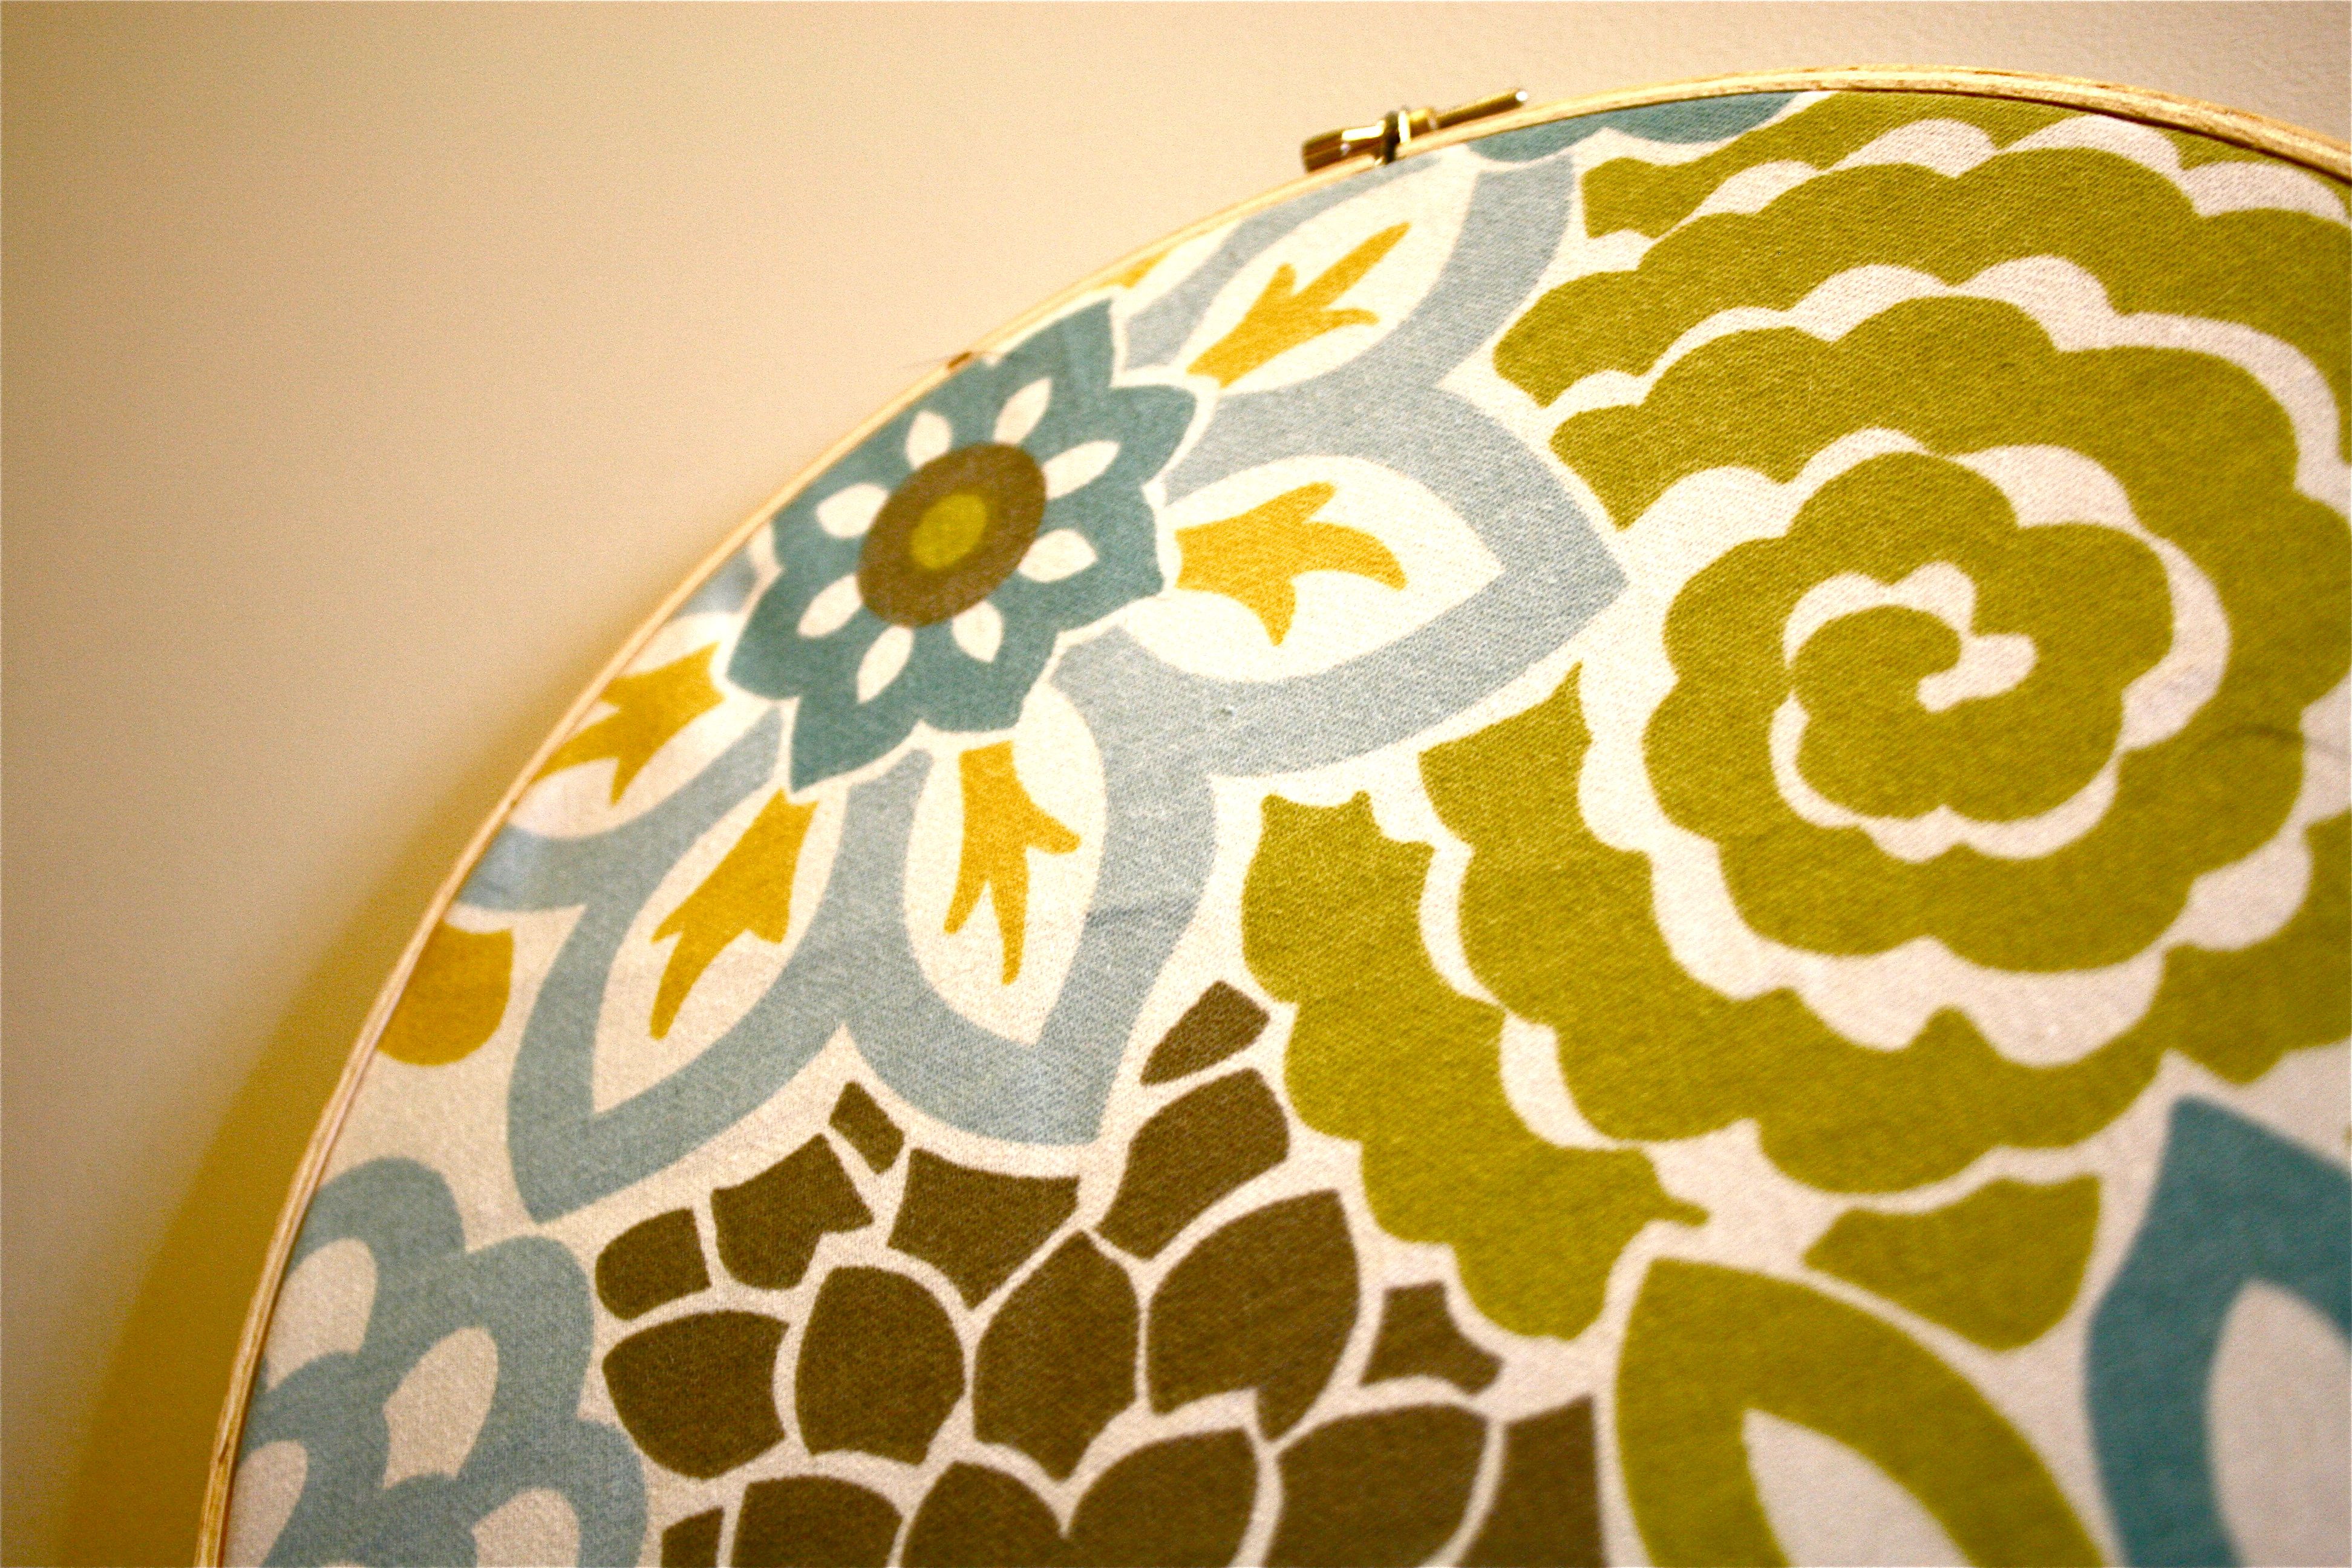
I really love how the round embroidery hoop art breaks up the hard straight lines of the frames, and I think the pop of color and pattern is another needed breath of fresh air between the photos.
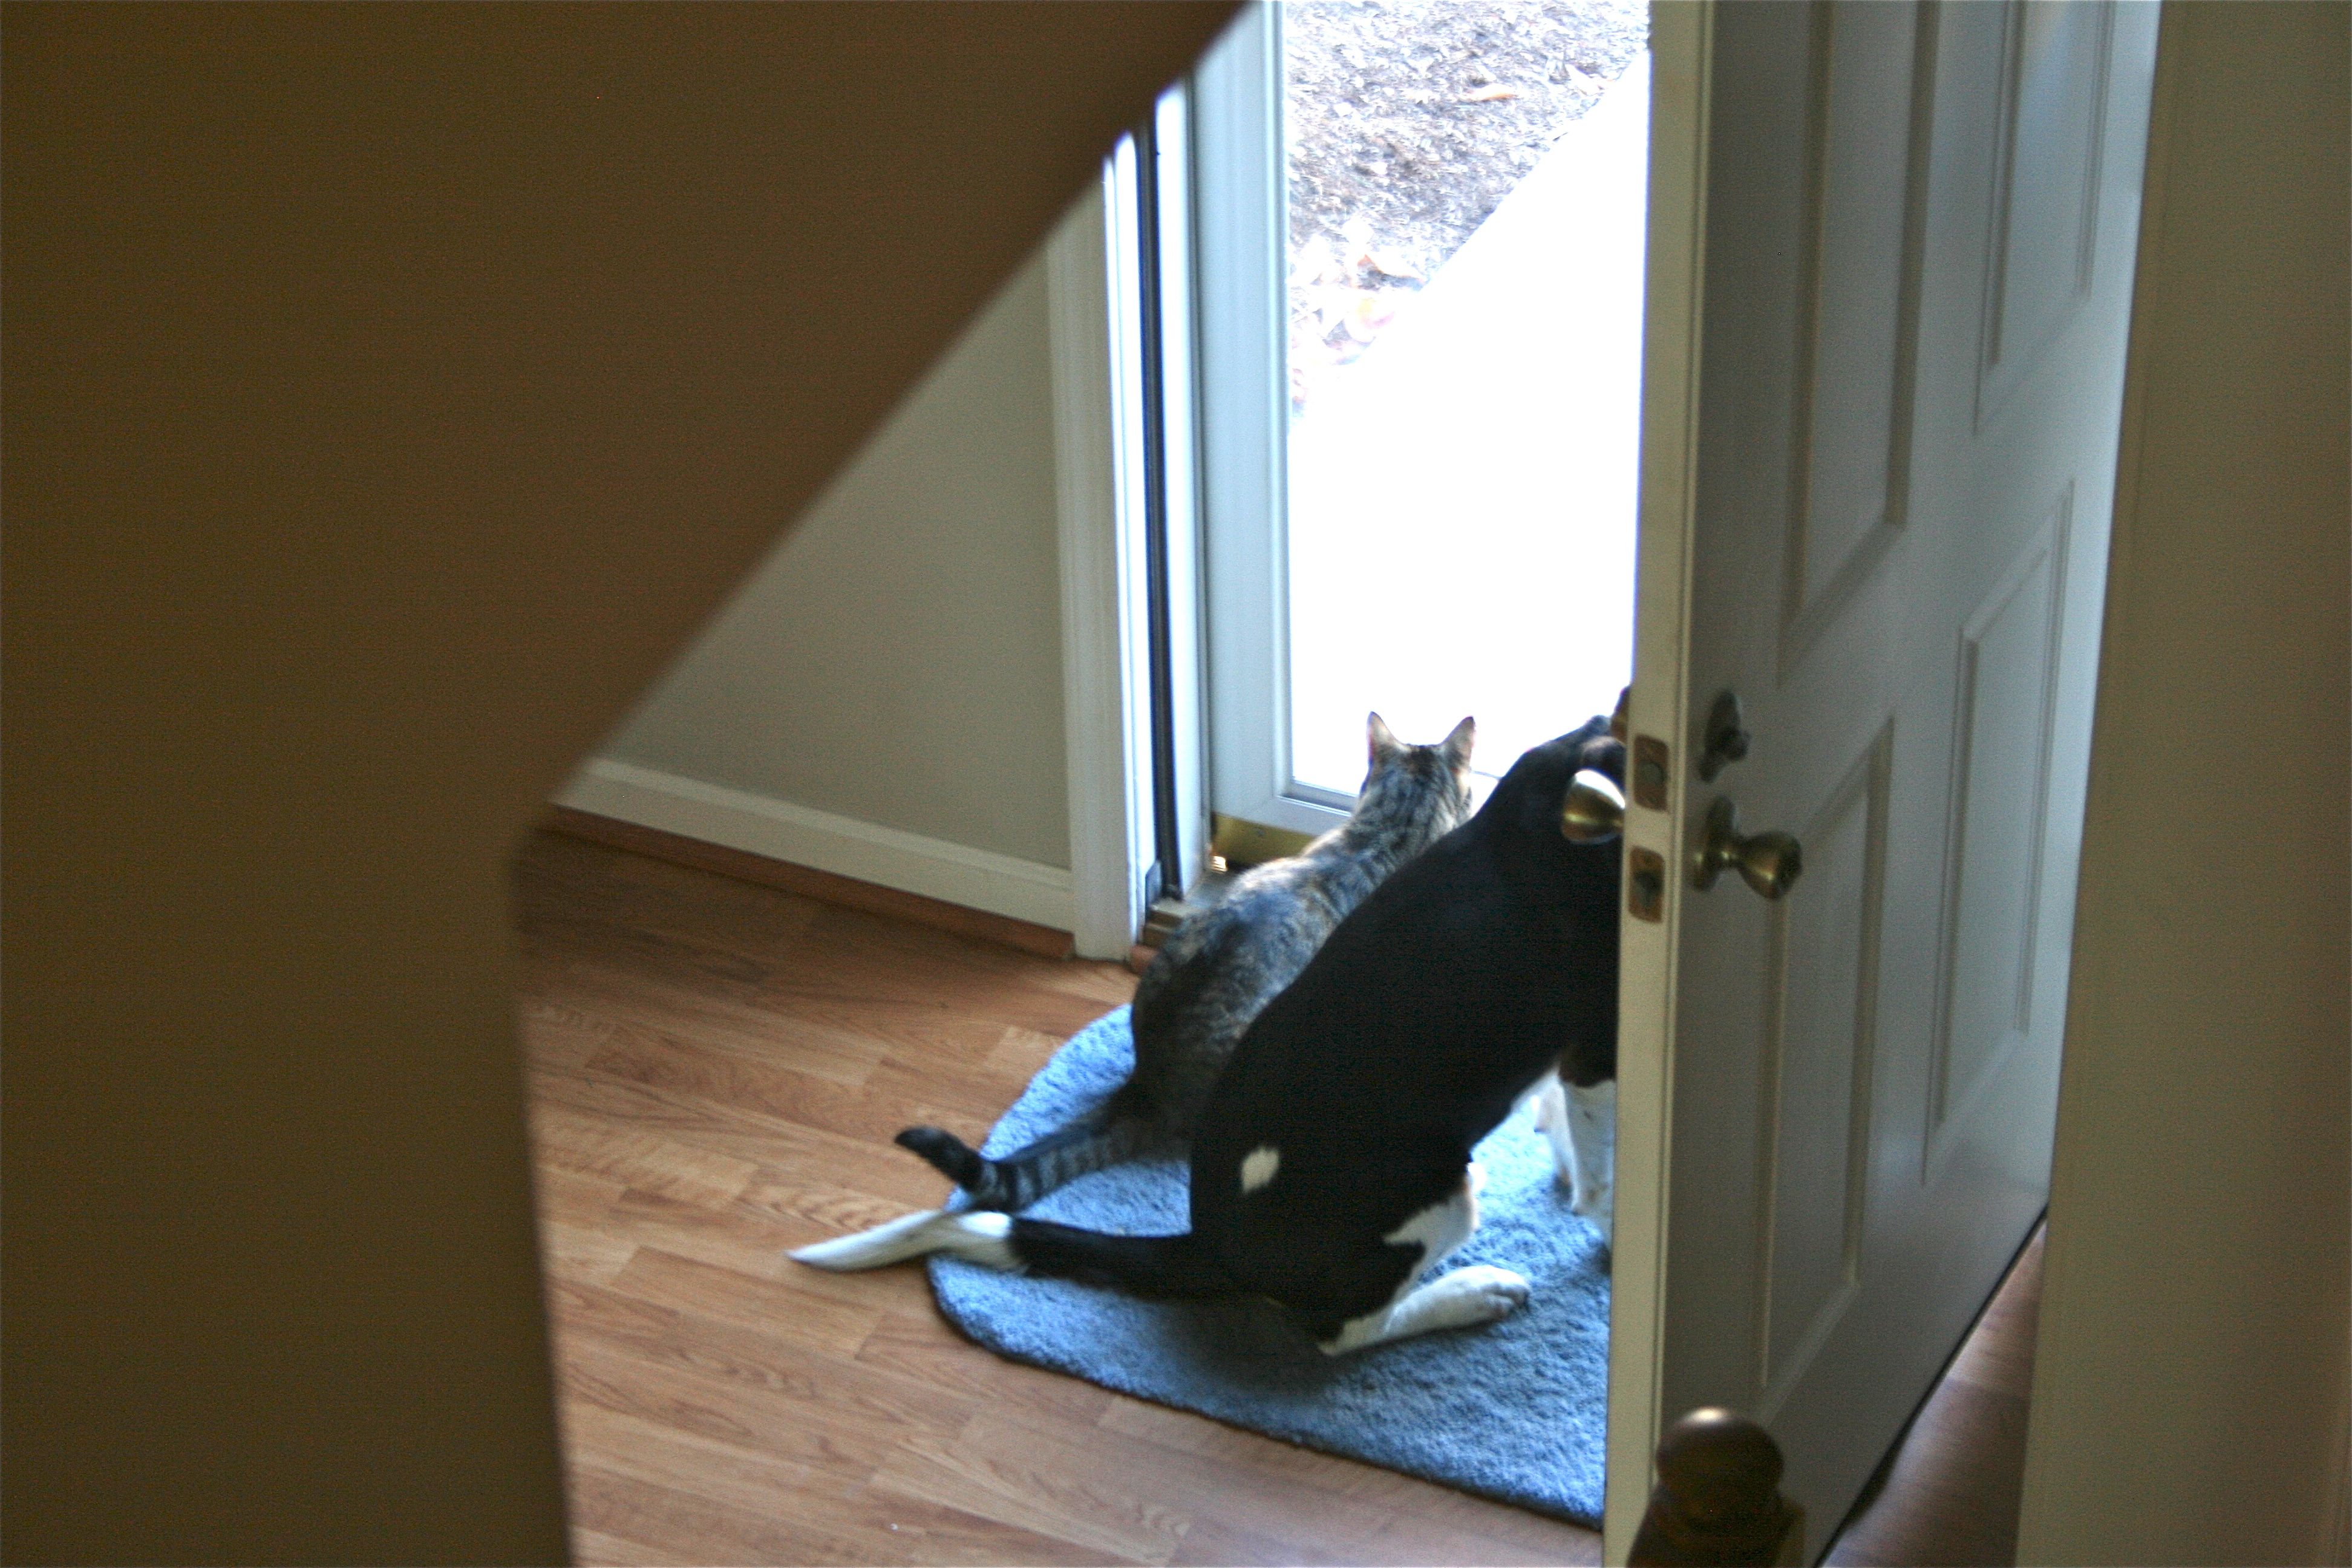
Oh and I just had to share…This photo is terrible quality, but I was super excited to capture our “kids,” Ginny the cat and Rocky the Dog, enjoying some sun and people watching from the glass screen door – Gotta love when they get along!!!
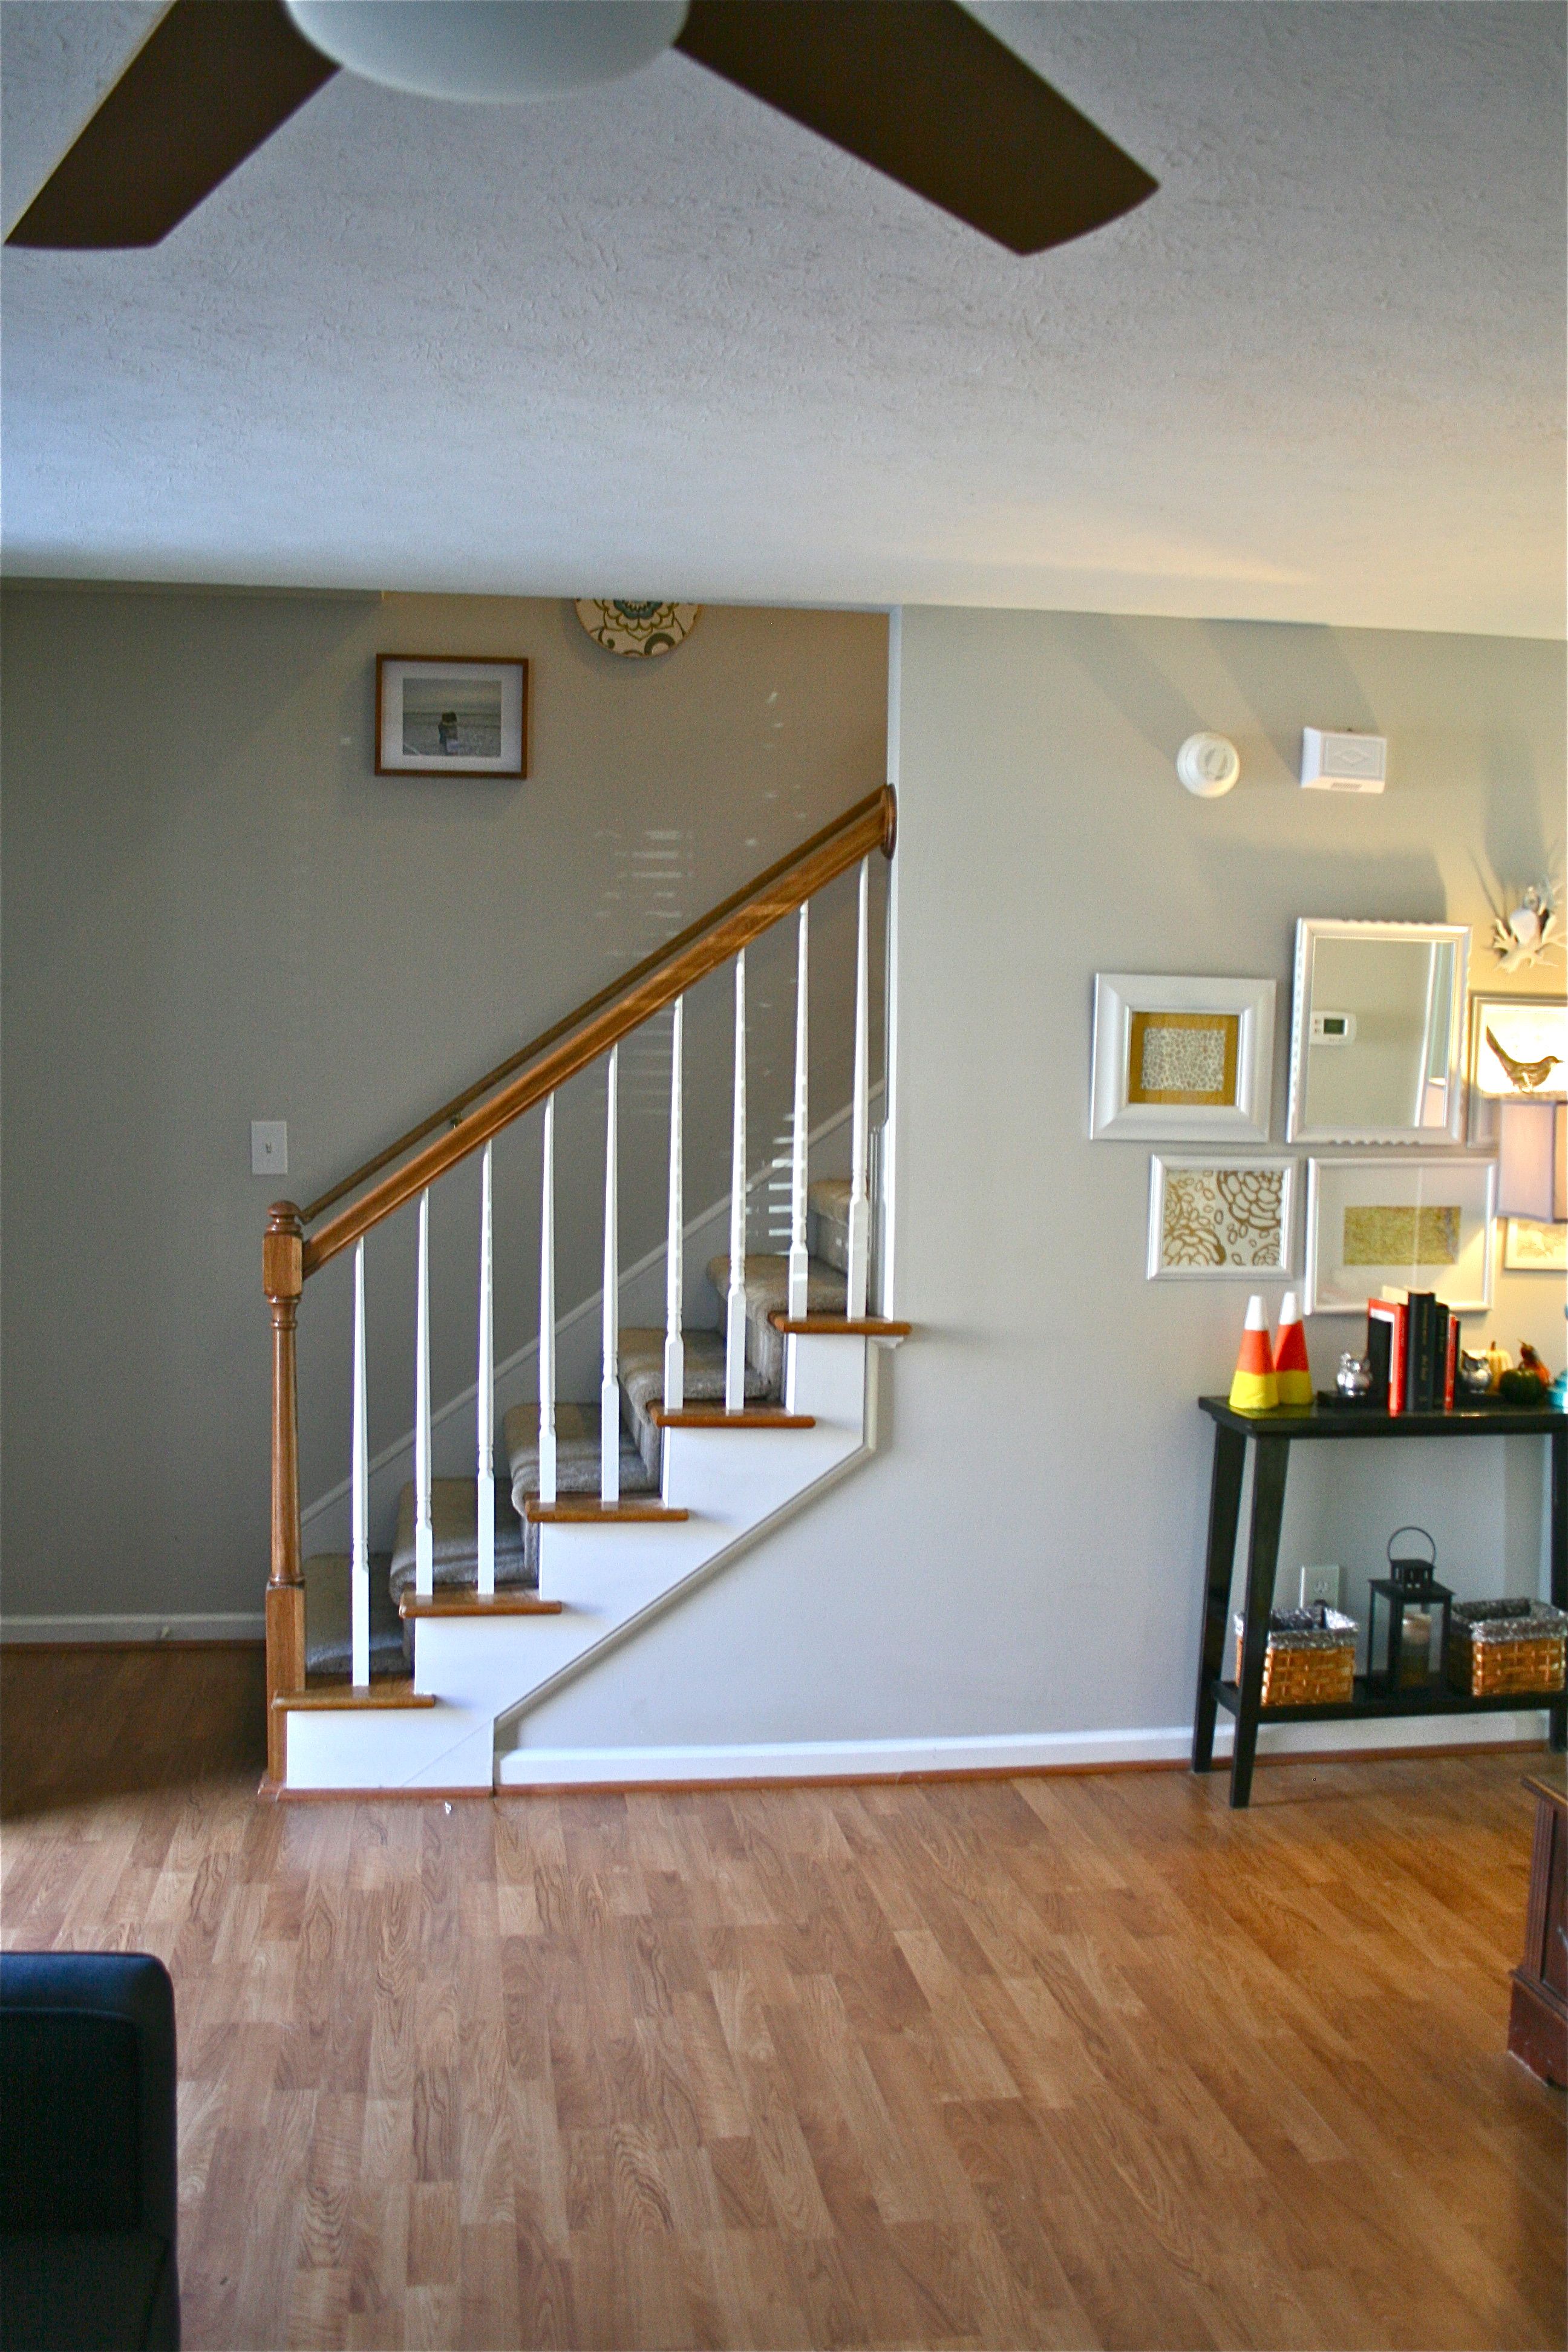
Anyway, I even like that you can see a hint of the collection from the living room – This photo below shows the vantage point from the sofa.
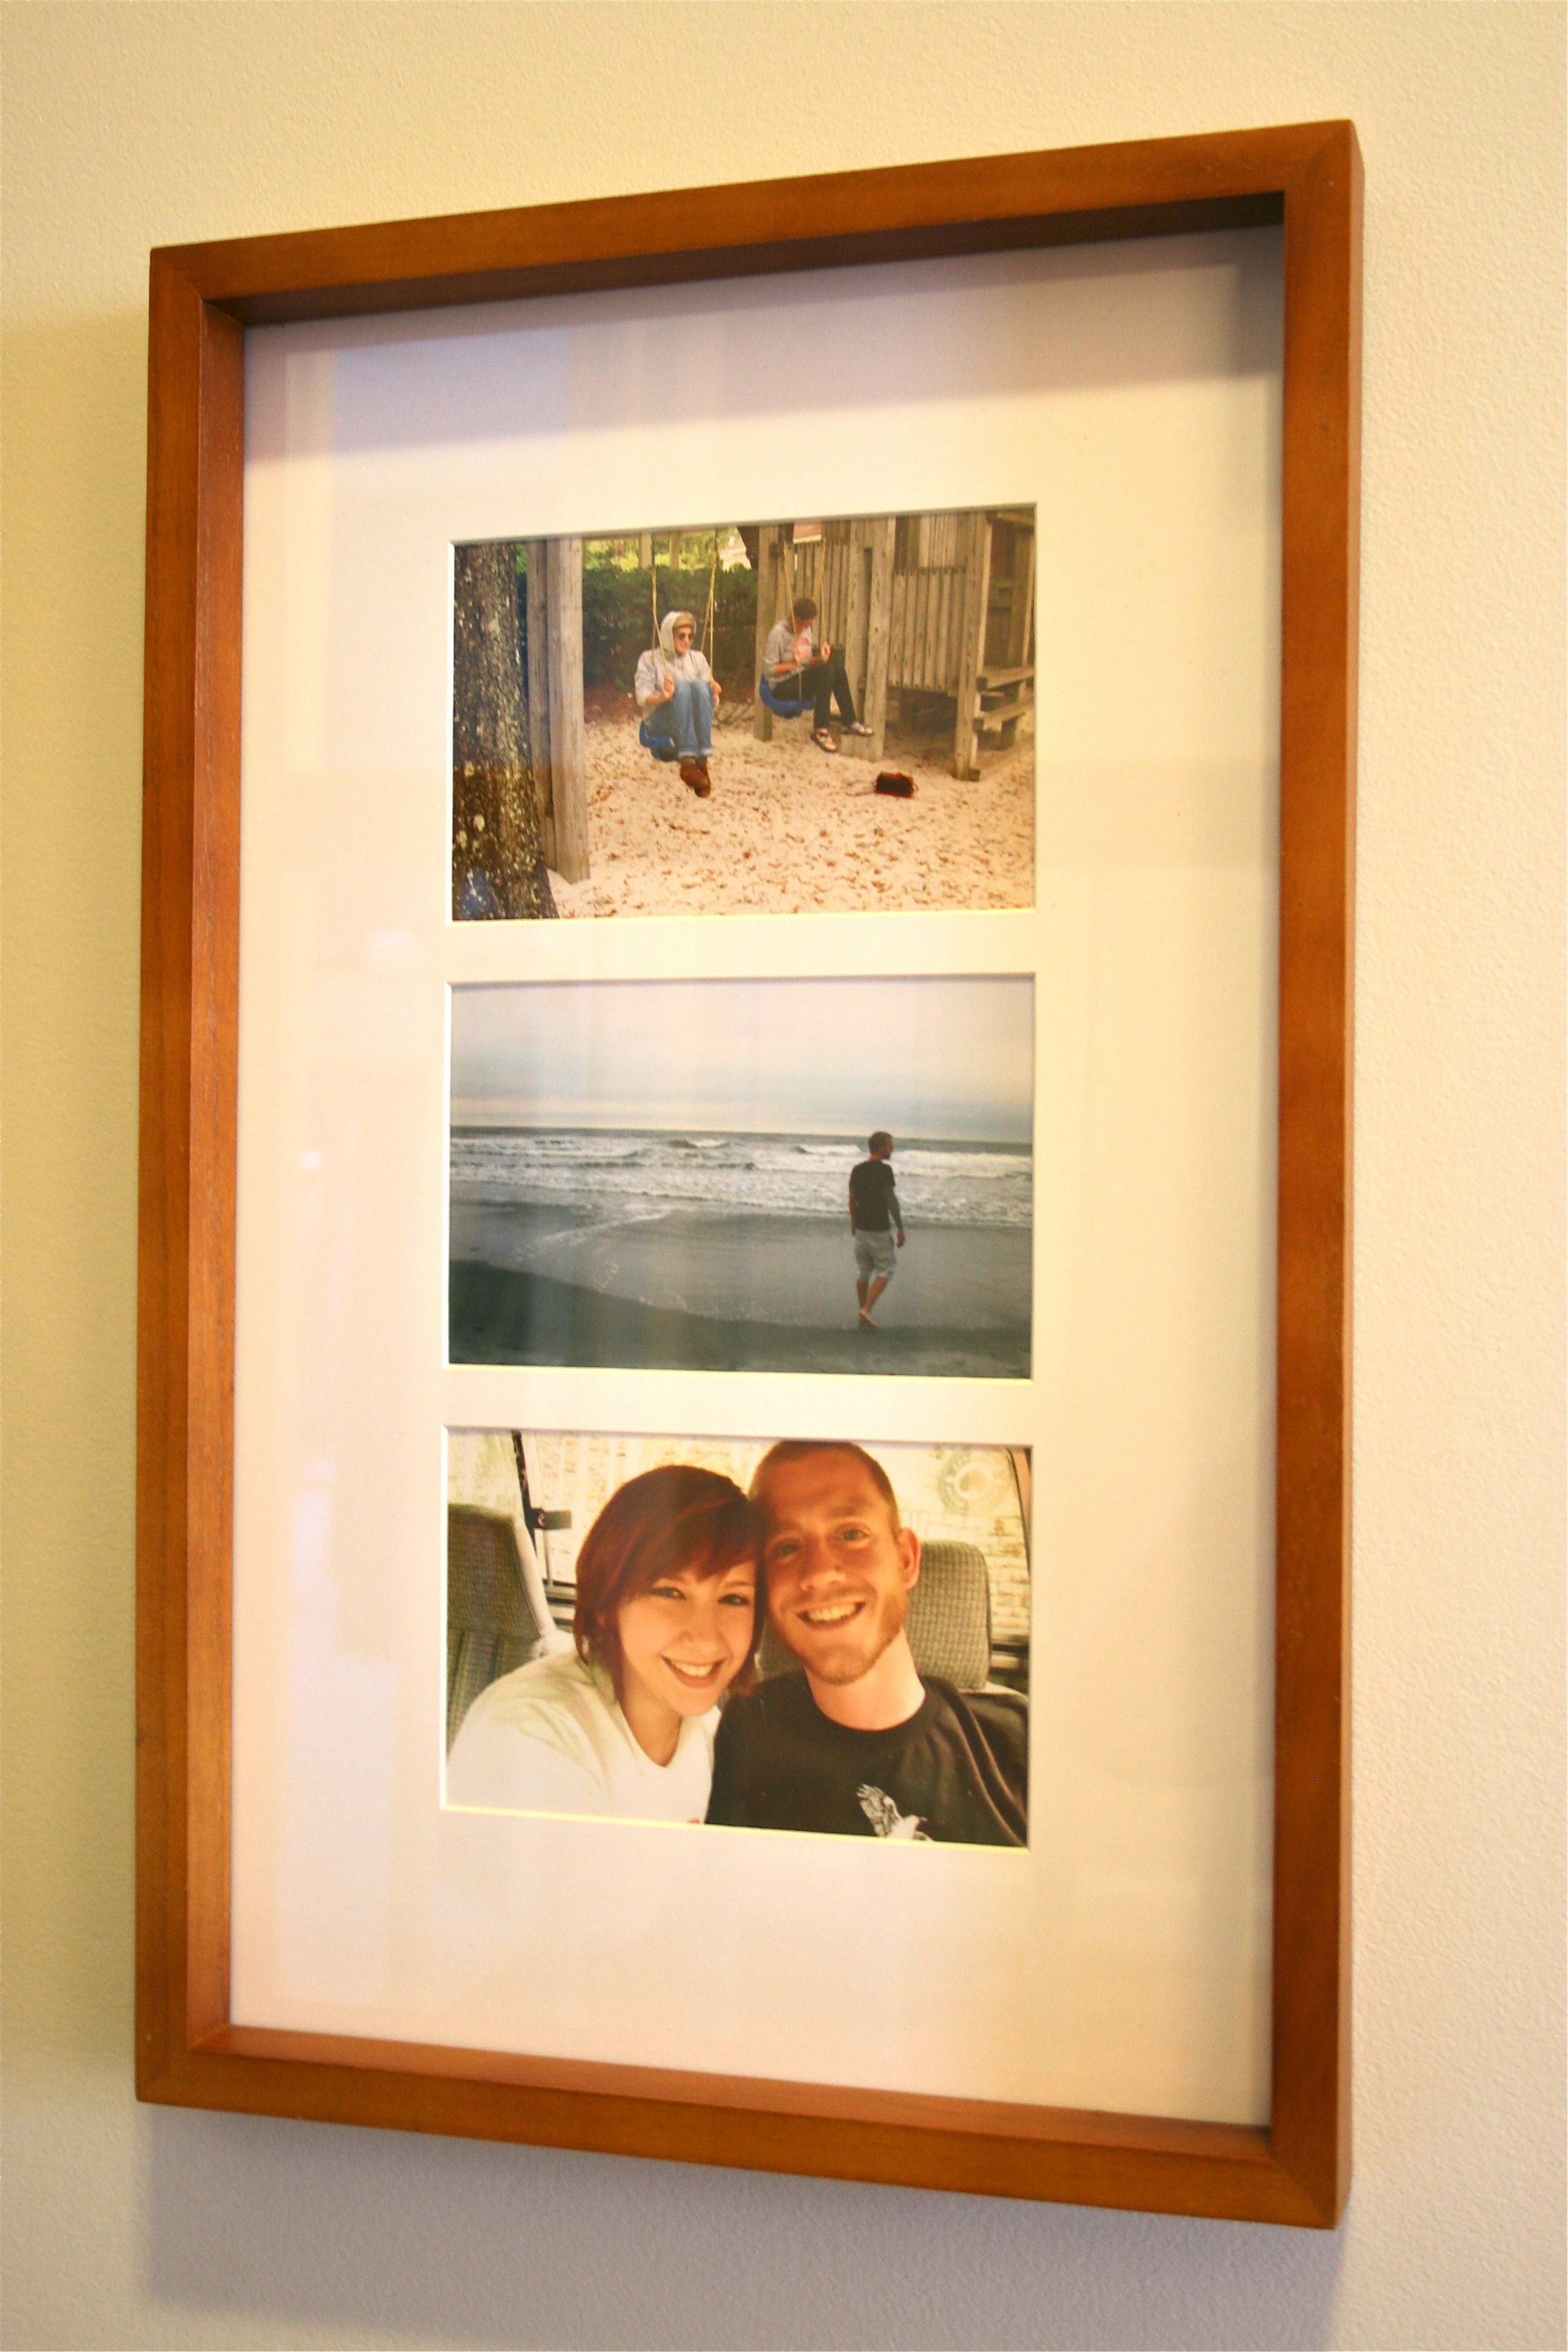
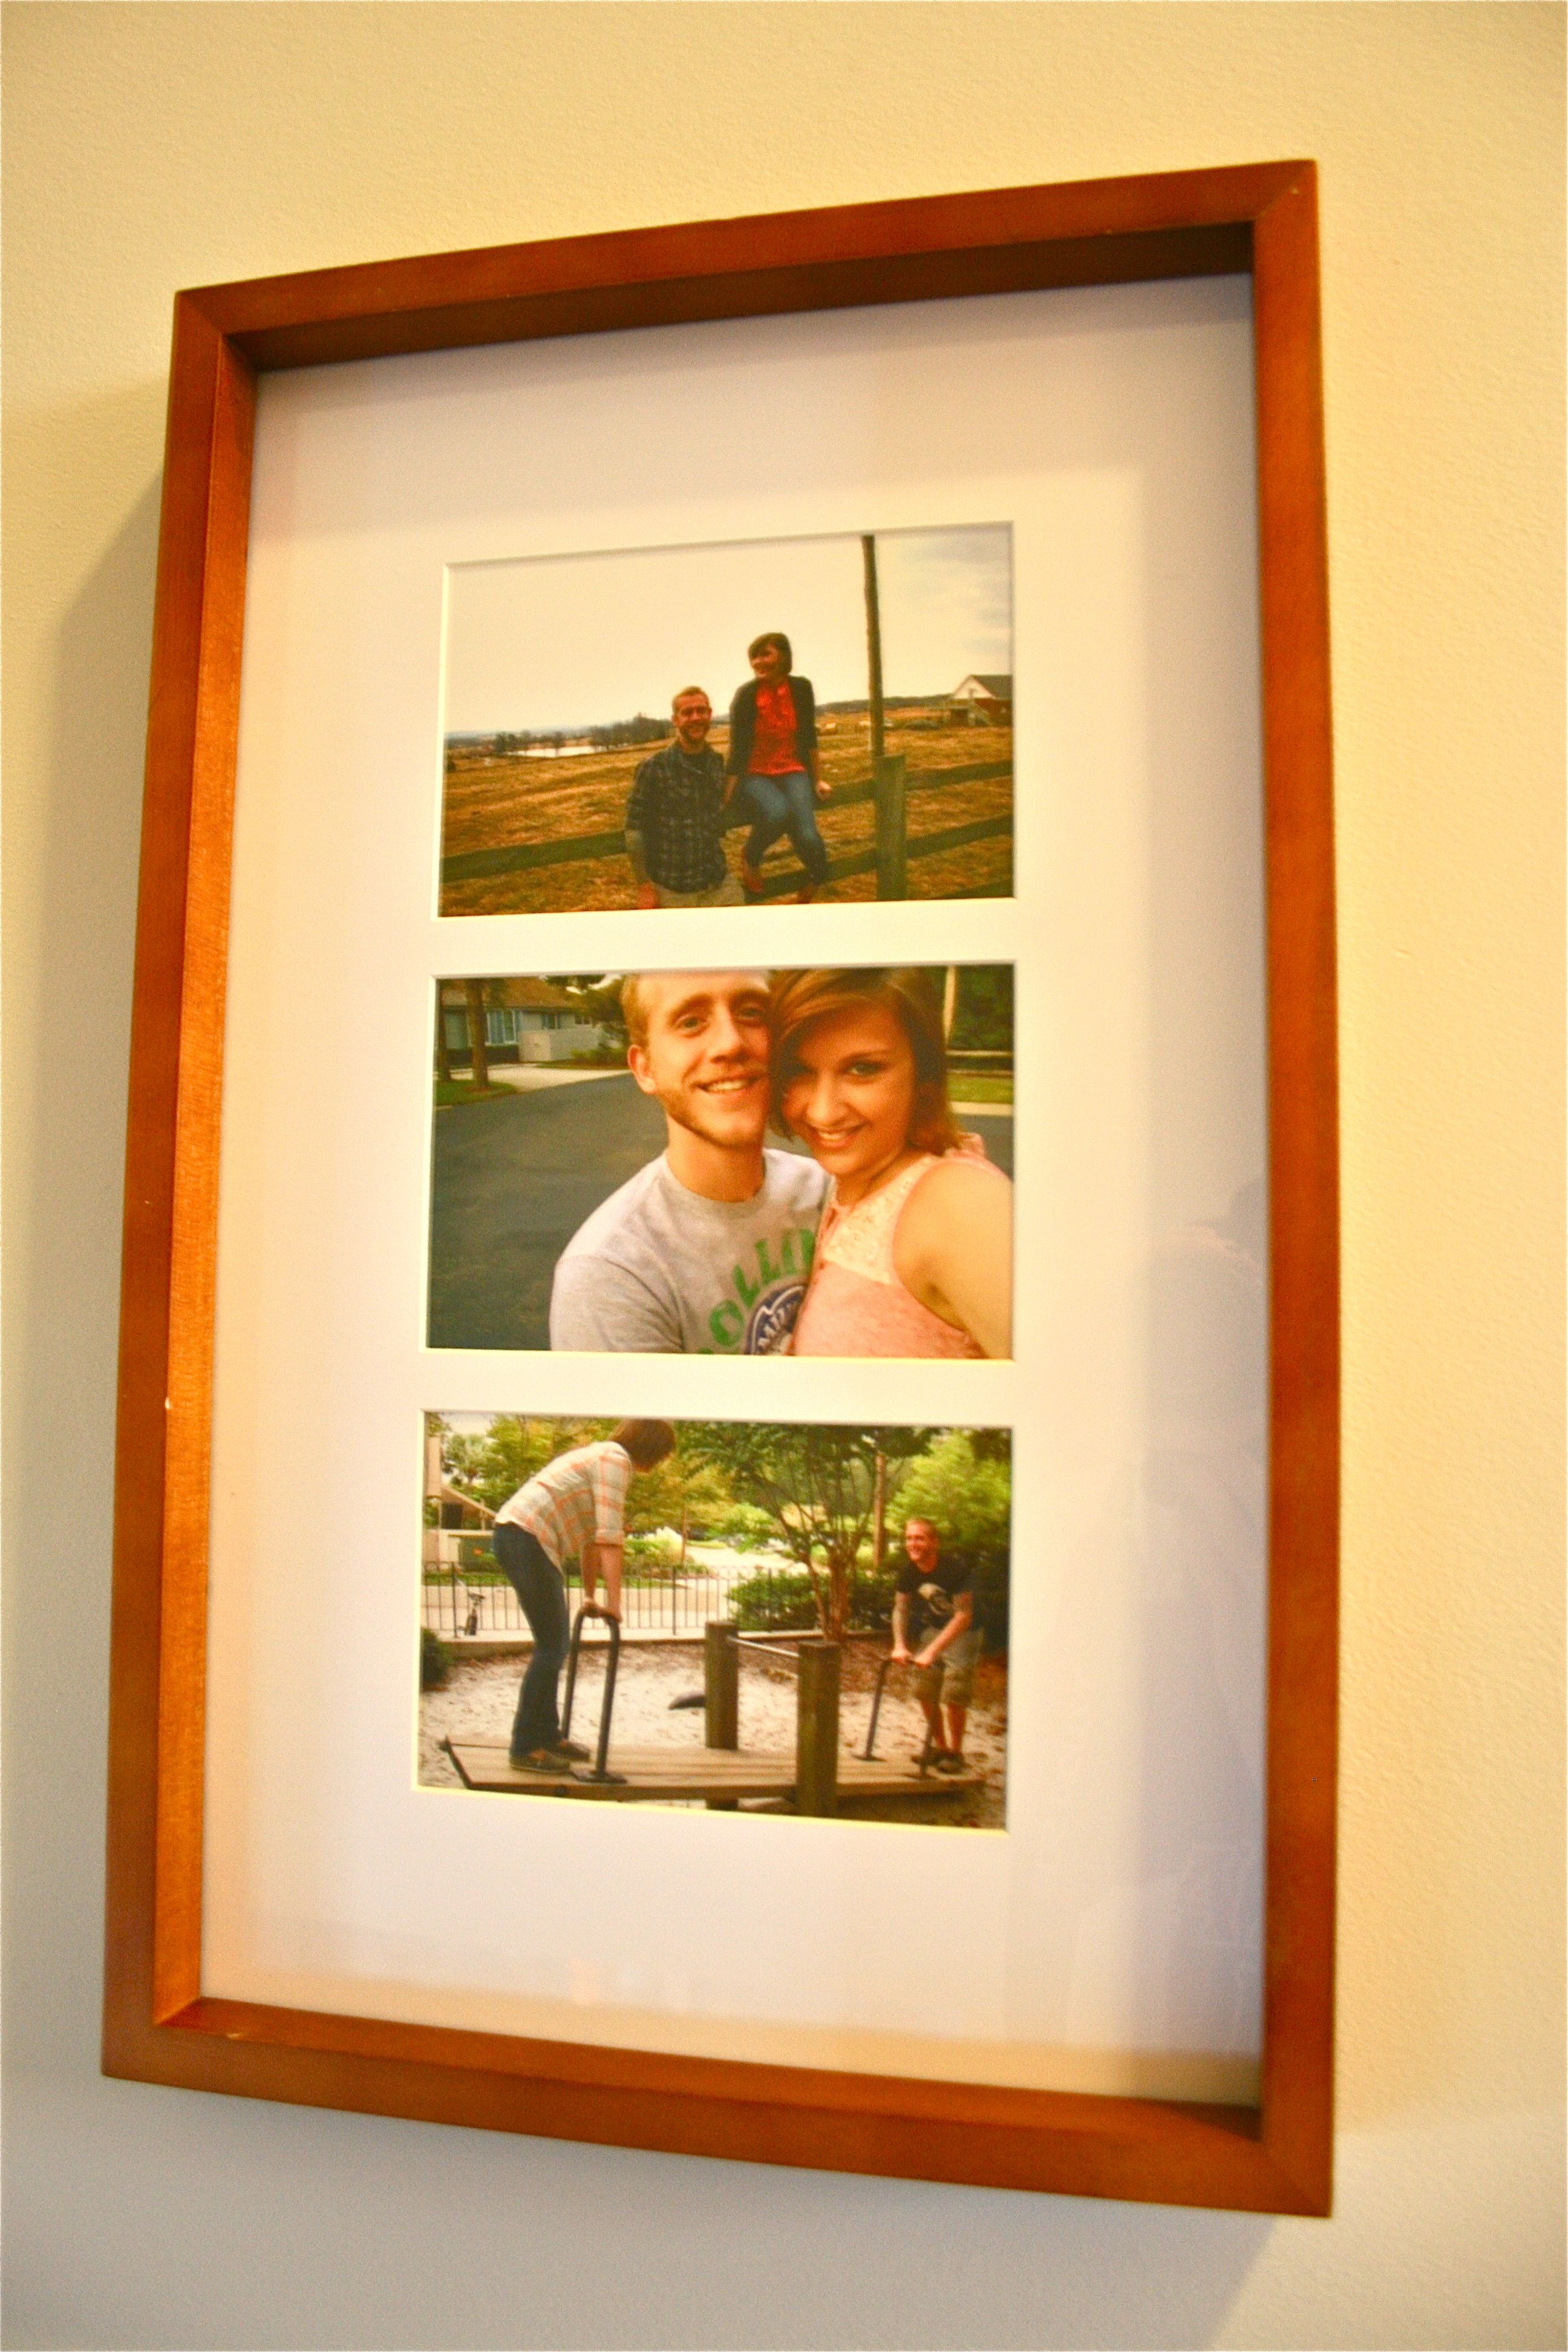
And finally, here’s a quick overview of our photos…
- Top: My sister and her roommate, Bryan, enjoying some time at the playground near the plantation we staying during vacation a couple of months ago.
- Middle: John getting his feet wet in the surf at the beach.
- Bottom: The photo we took of ourselves right after he proposed and I said “Yes!” 🙂
- Top: John and I hanging out on my best friend’s farm last Spring.
- Middle: Us before taking a walk to the pool near our rental house – Oh how I miss the beach…
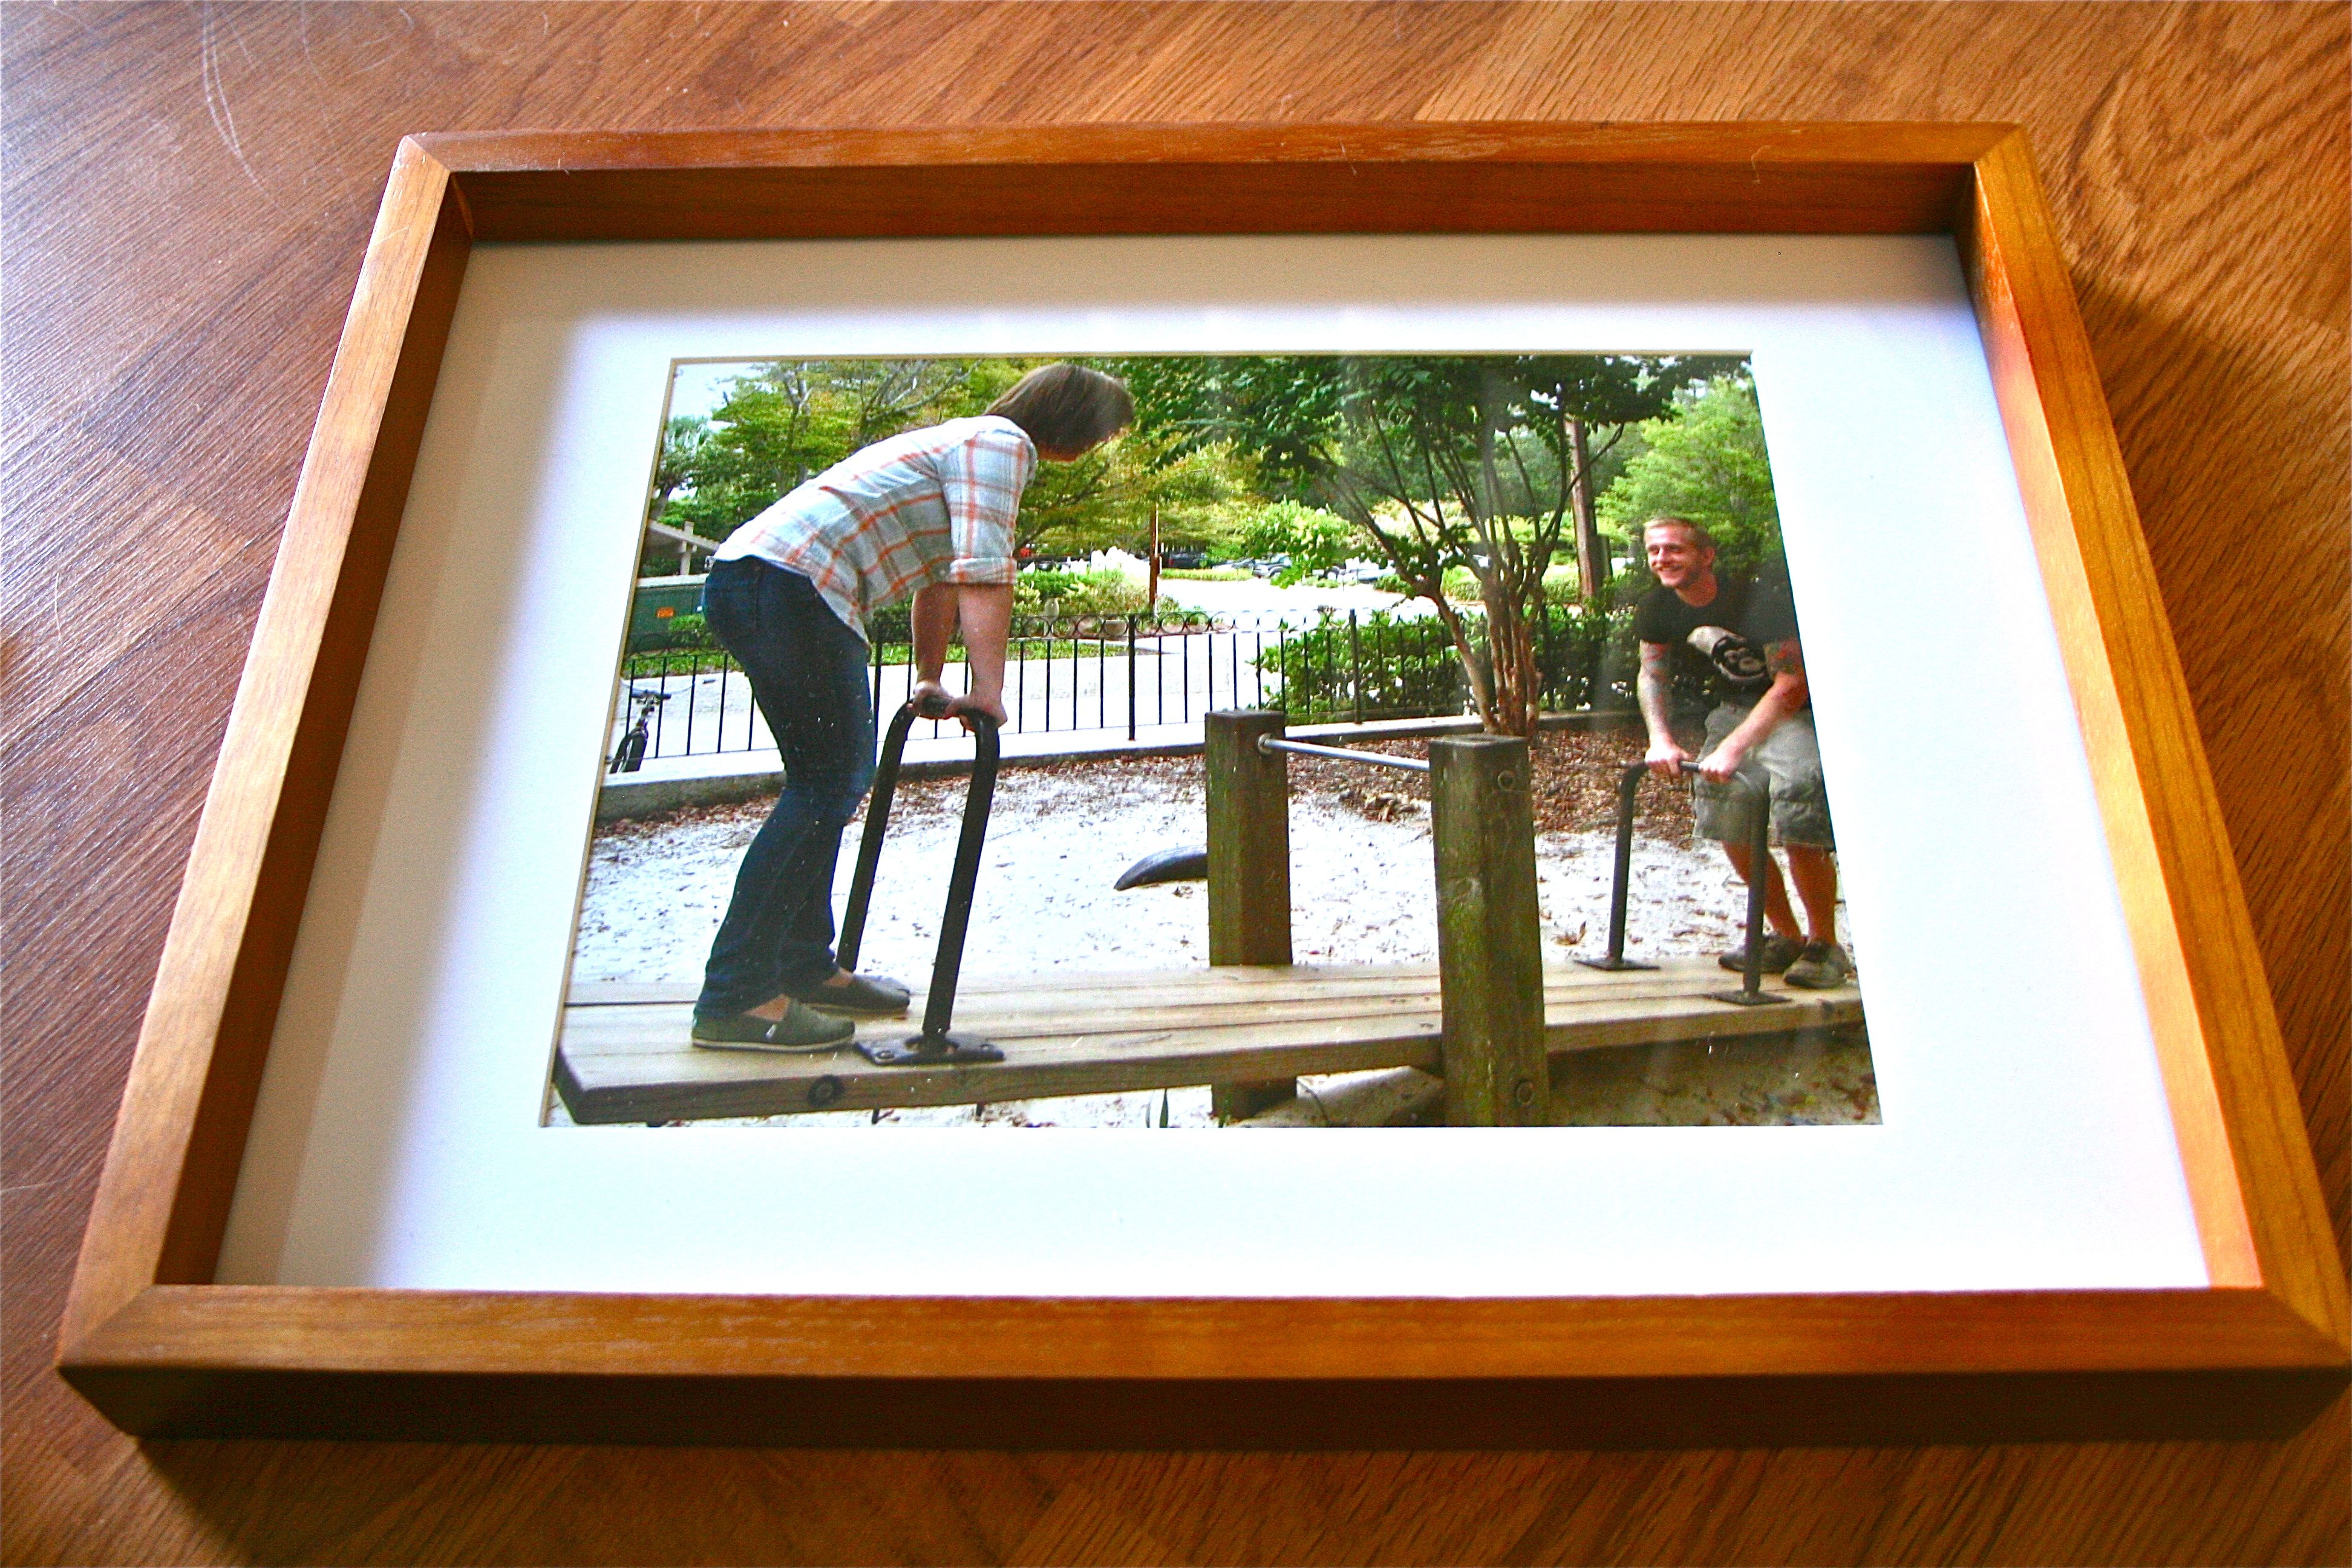
- Bottom: John and I playing on the seesaw at the playground.
Hope you enjoyed a little family history and our documentation of it in the house! With our engagement photo shoot in two weeks, I’m positive we’ll be changing out the art in the frames soon (you may have noticed the seesaw picture was used twice…once in the 8×10 frame and then again in the 4×6 – I ran out of options). But isn’t that the beauty of a photo wall? Changing things out as we meet new friends, go new places and make new memories is the best part of a family portrait wall. Yay, life 🙂
Hope you have a great Monday!

