For those of you who live in 1950s/60s homes, I just have one question for you…
Where on earth do you keep all of your extra junk?!!
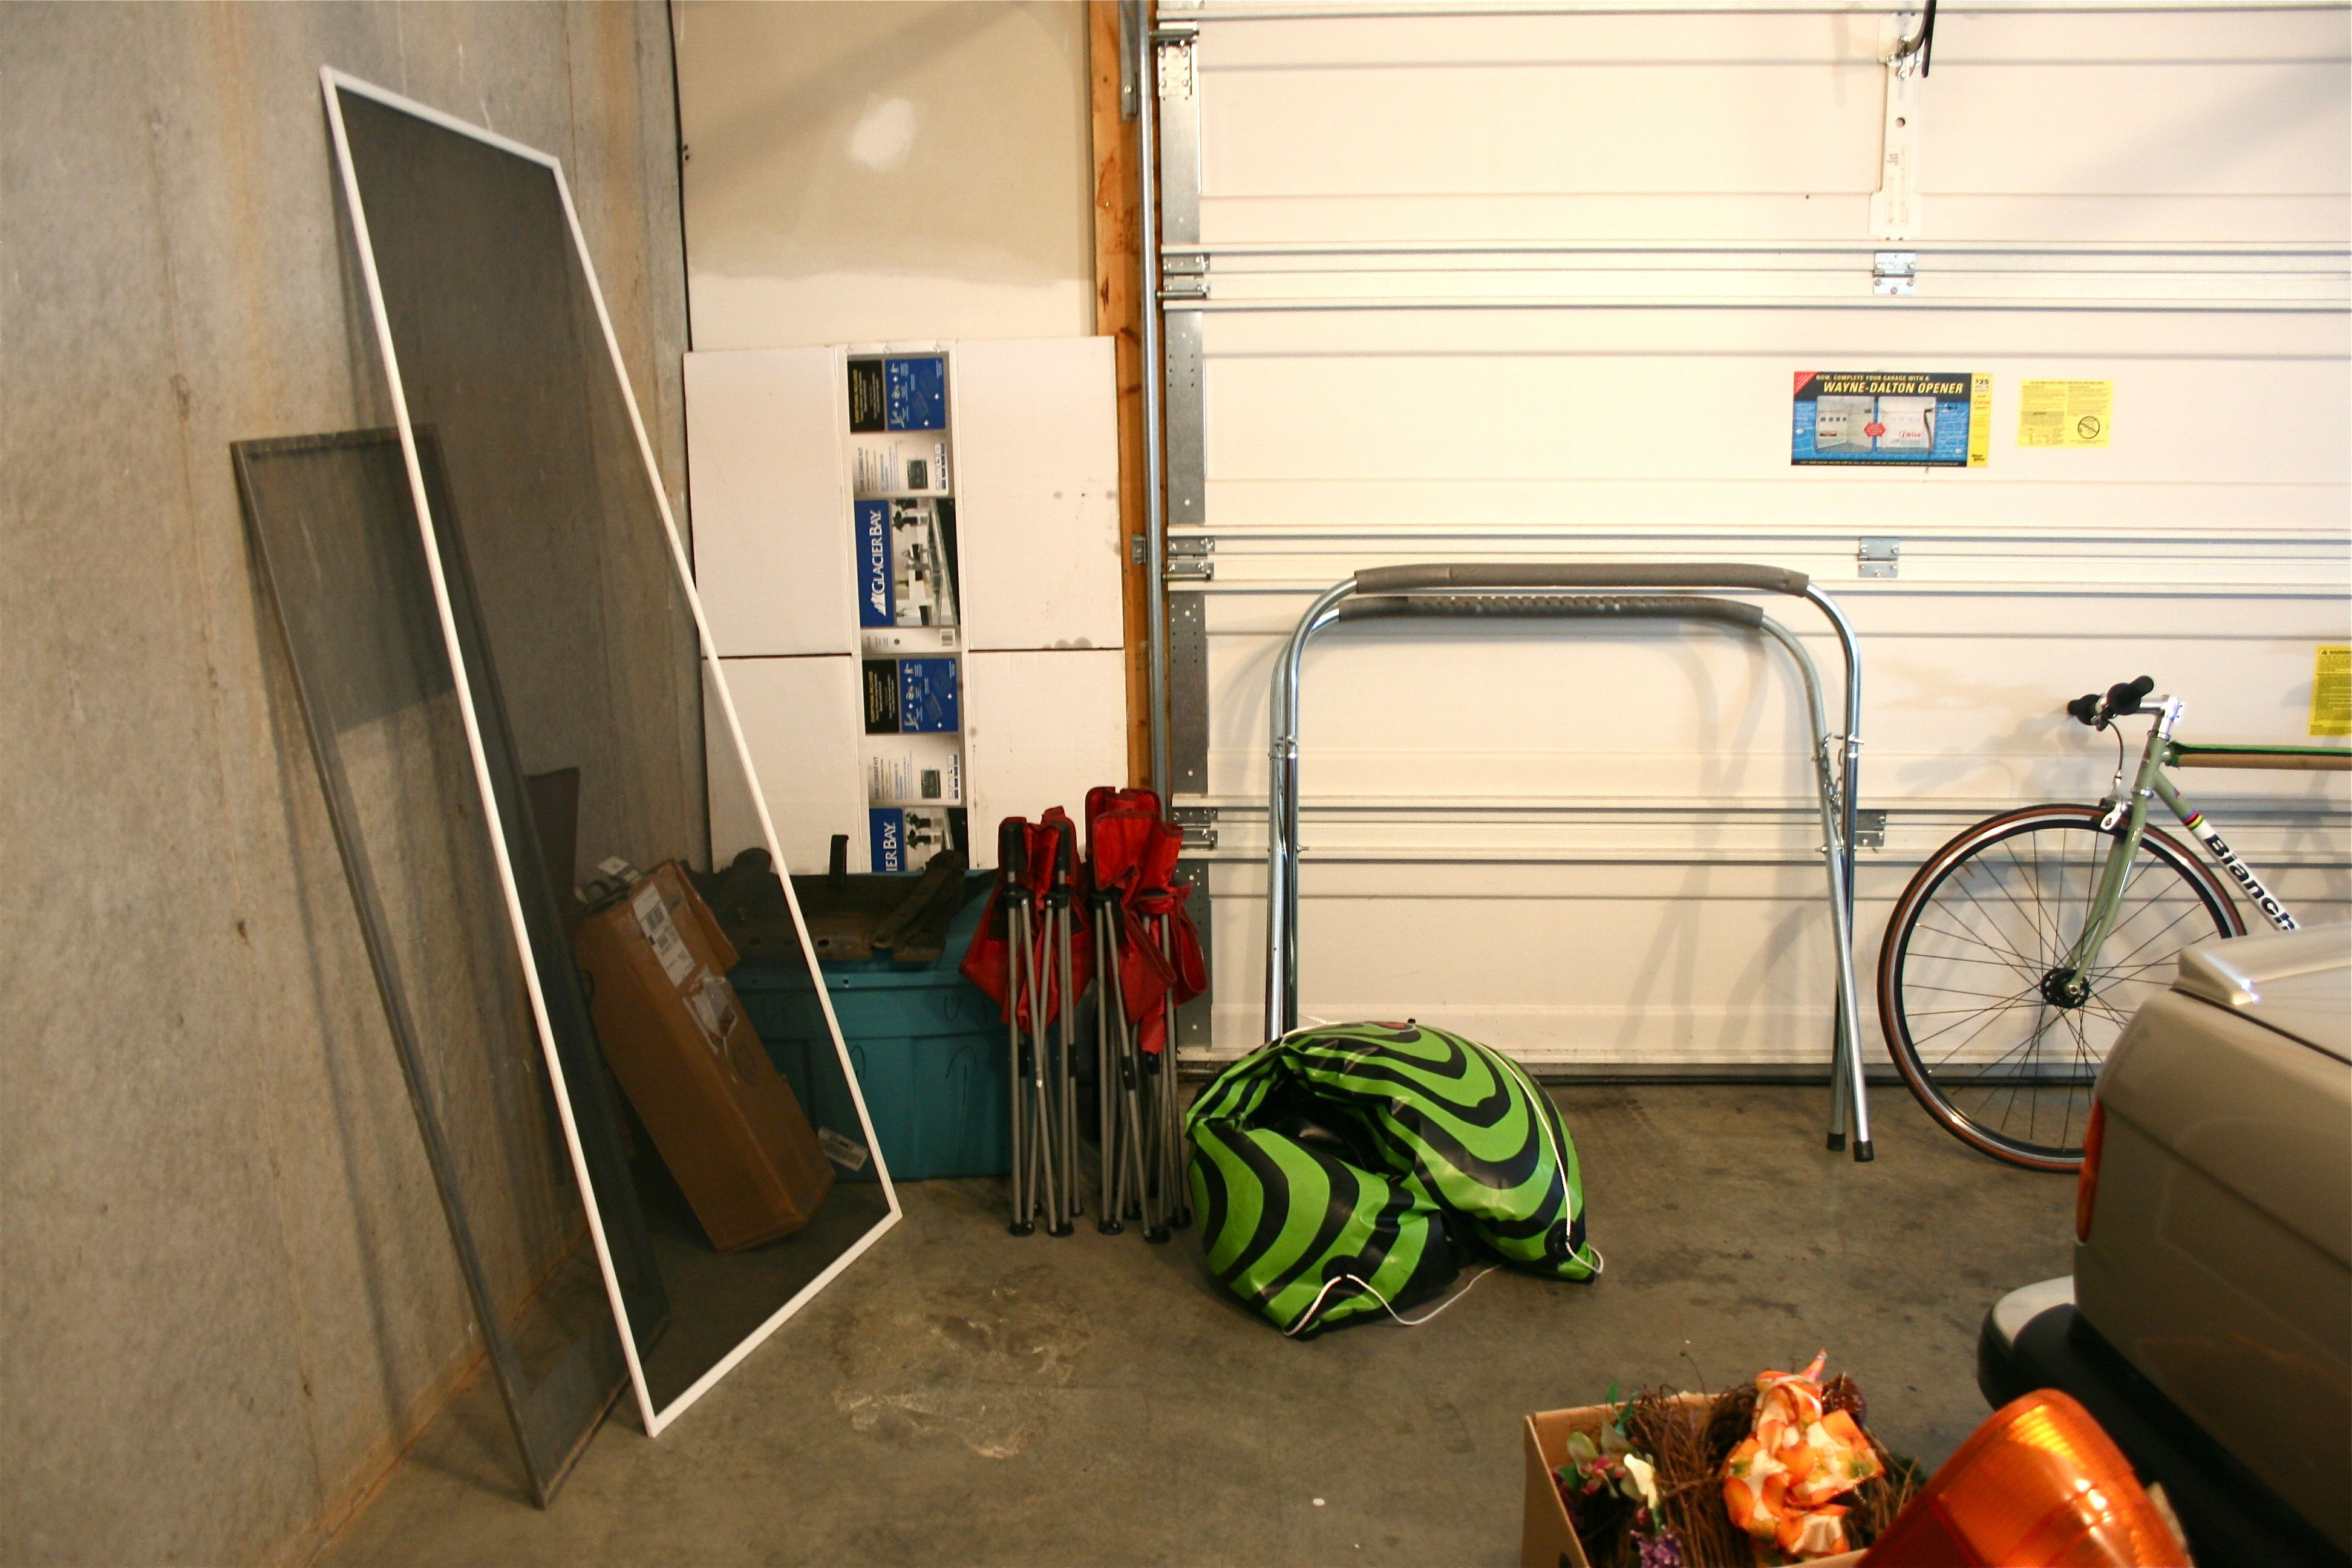
I am the very first to admit that I would be the happiest homeowner in the UNIVERSE to own an authentic, mid-century home – But seriously…did people just not have things back then?? Where do you keep your fake Christmas tree, your assortment of seasonal wreaths, your torn screens for DIY projects, your river tubes and spare car parts??? Okay maybe all this extra STUFF is a modern conundrum, but John and I are definitely feeling the pain when it comes to having to store all of our plethora o’possessions.
We really lucked out with the bounties of storage space in the house, but we still have times when we need to make a special effort to corral it all in a nice, organized way.
Case in point: the garage.
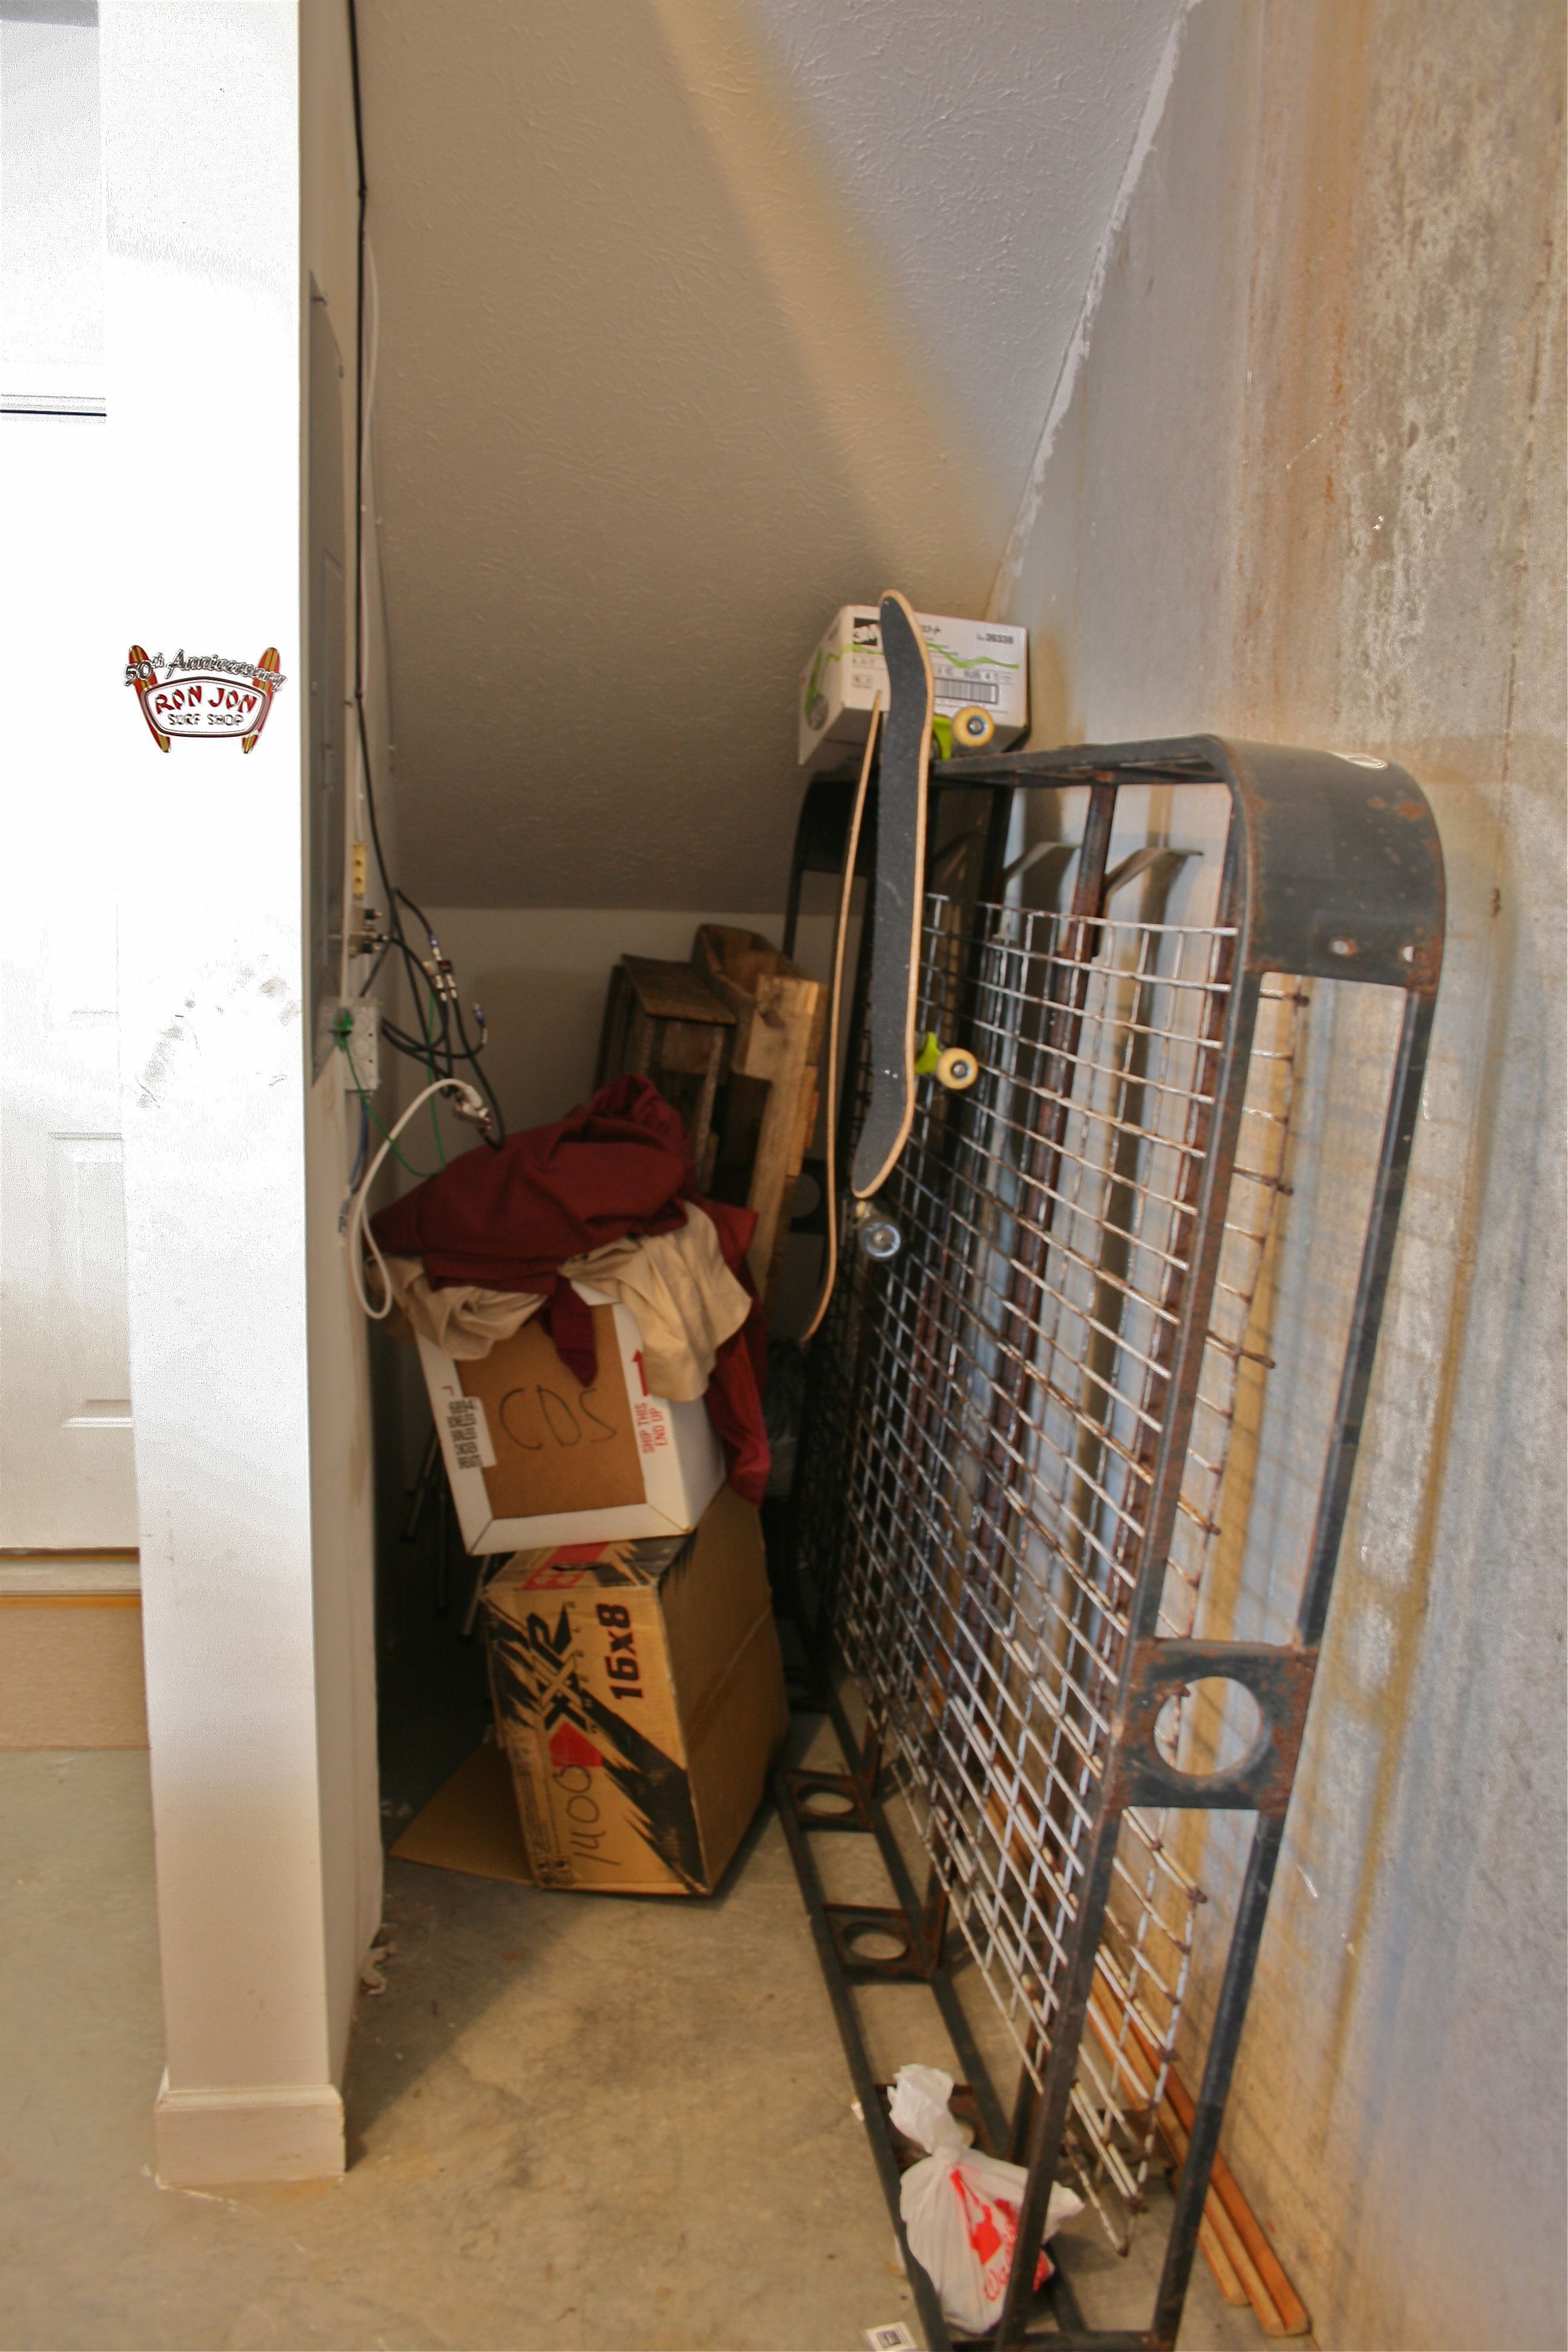
John’s favorite room in the house had to expand a bit when I moved in and brought with me all of the seasonal/occasional aforementioned items (well minus the car parts and inflatable tube – Those are all John). I hated to see his special spot in the house all cluttered with my boxes, but there really wasn’t anywhere else for it to go. As you can see in the photo below, it was starting to get a little desperate.
This under-the-staircase nook is pretty much the only place for me to put the things that don’t need to be out year-round – Looks pretty bad, huh…?
Oh, that big metal thing? It’s NOT mine, just for the record. That’s a car-top rack from one of John’s old Land Cruisers. Also for the record, said car is no longer in our possession. I think it’s time for the big metal behemoth to find a new home, don’t you think?
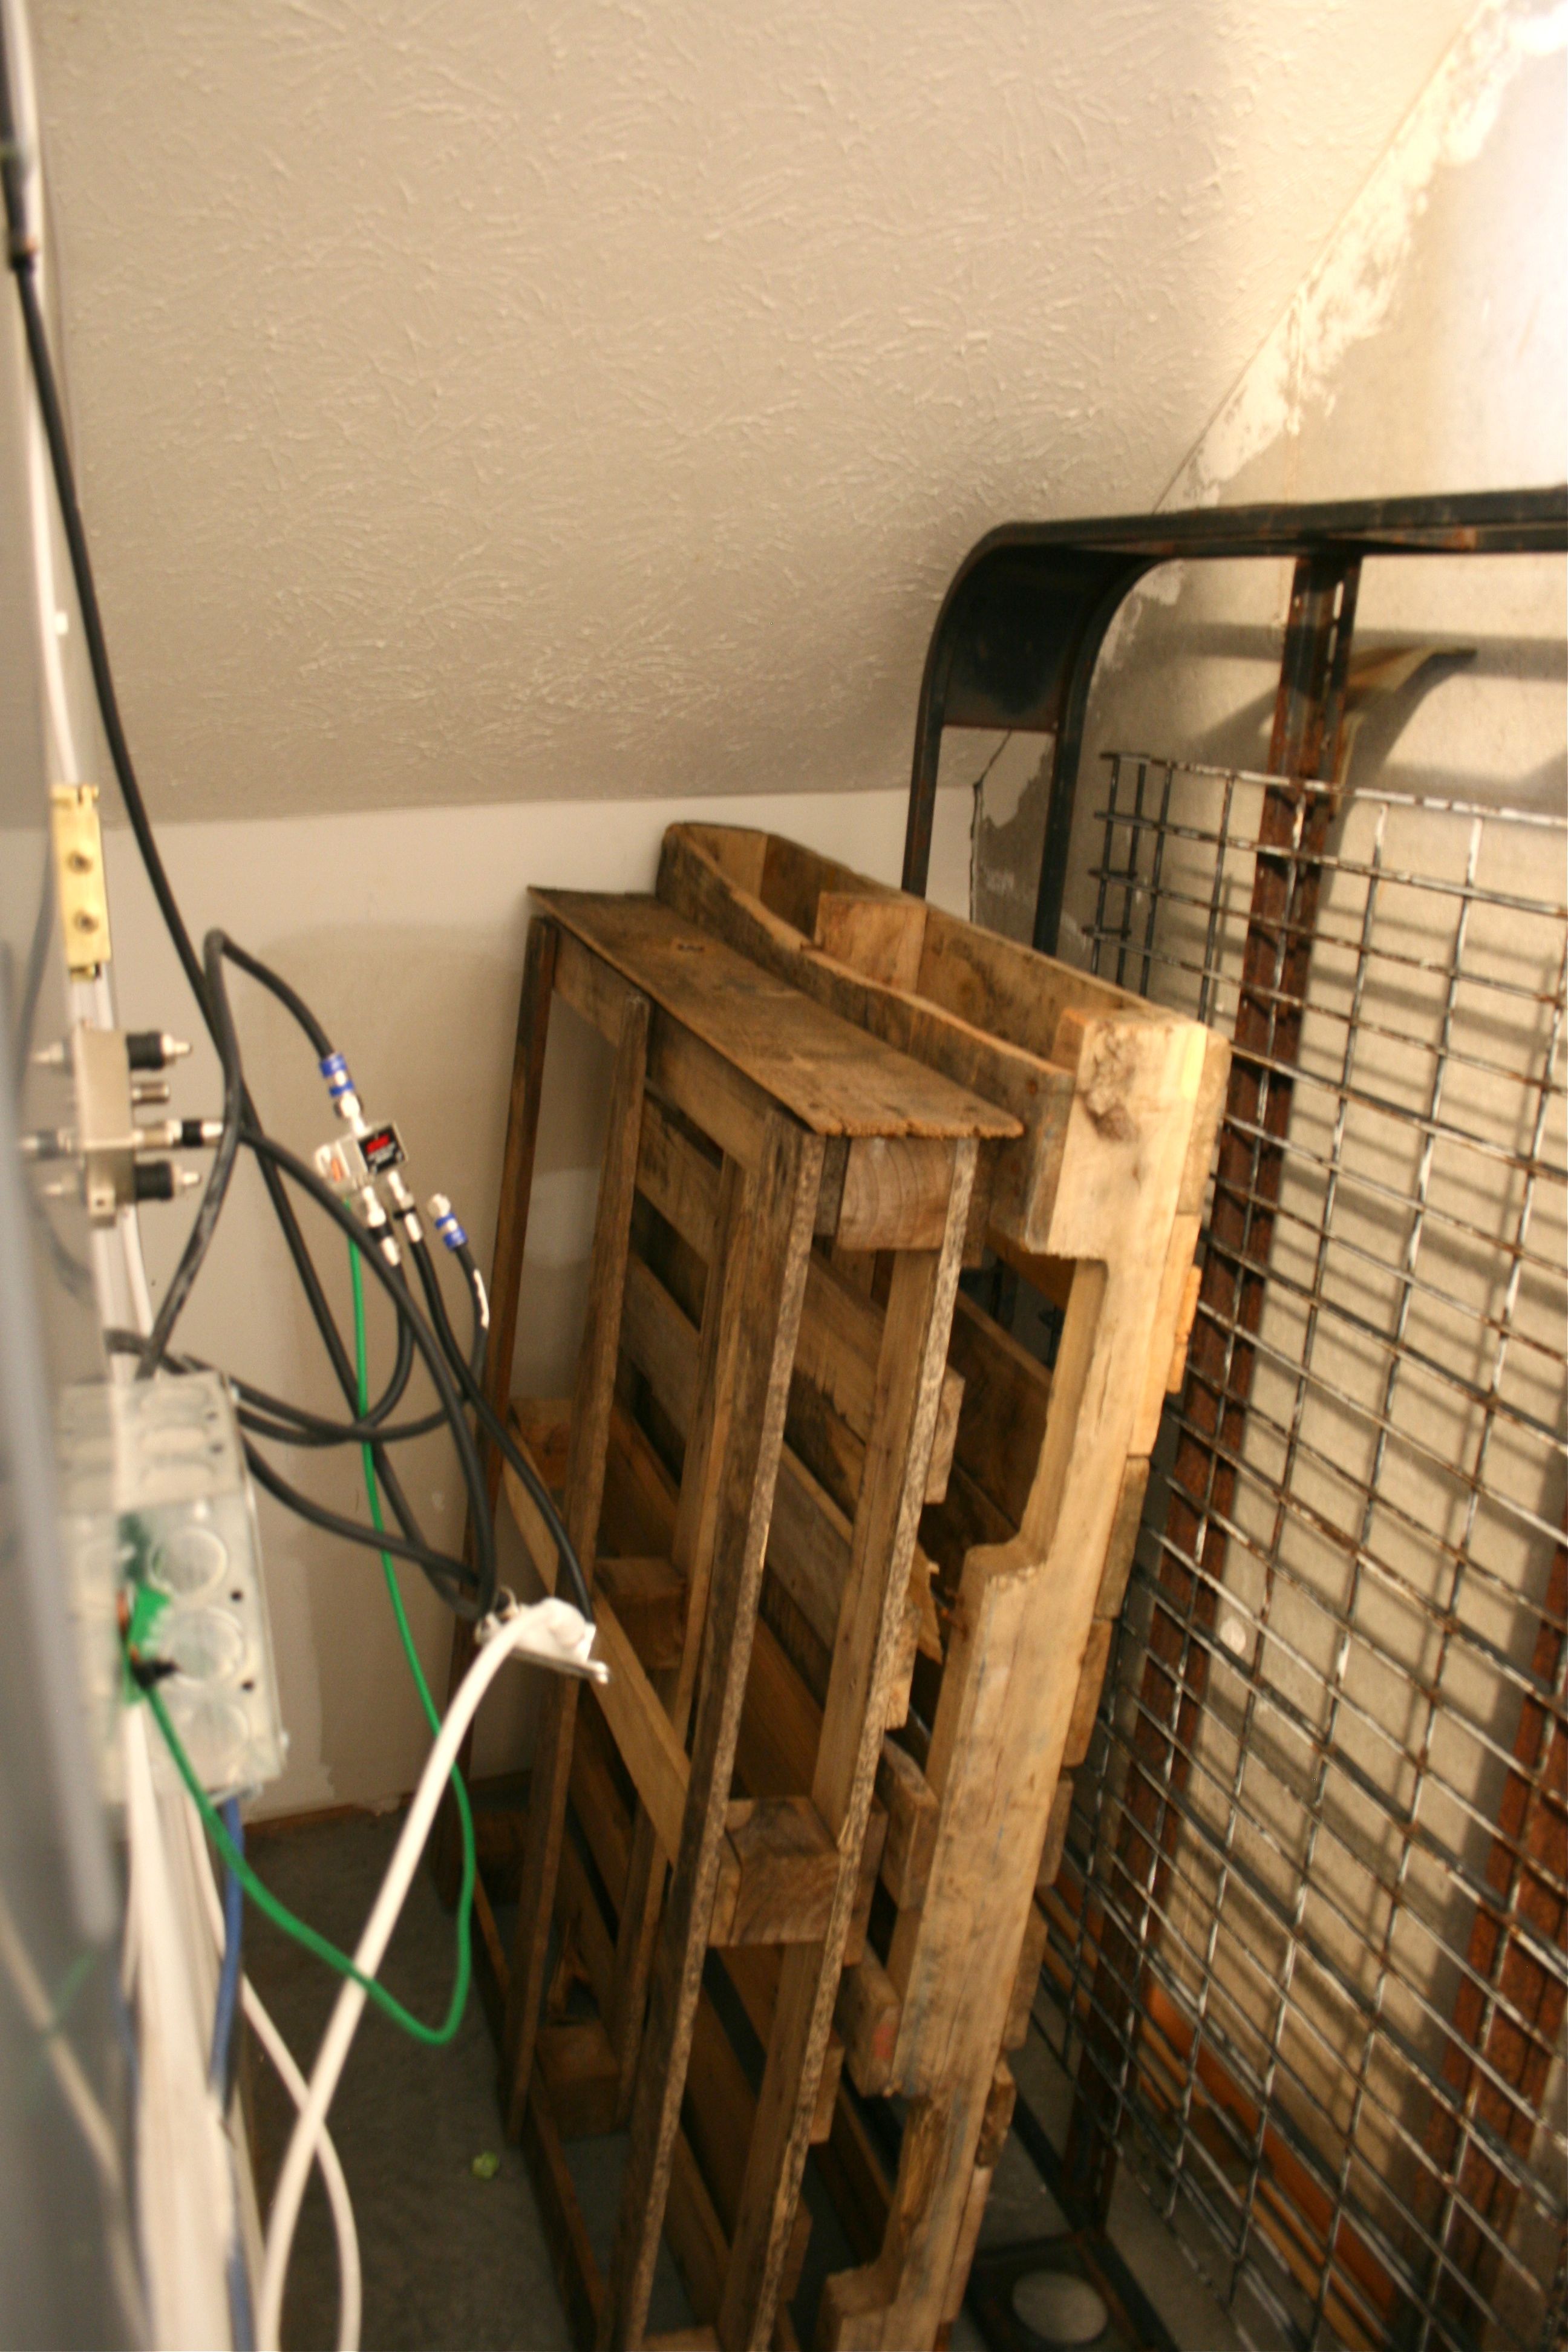
Tucked allllll the way into the back corner are two pallets that I had John rescue for me – I figured they’d come in handy for a future DIY project down the road. Little did I know, though, how annoying they would be to store.
Spoiler alert: I ended up chucking them. I’ve seen so many cool Pinterest projects using pallet wood, but after a bit of work trying to pry the old boards off the frame, I decided it wasn’t worth the effort. Power to anyone who has made it work though!!!
But anyway, Target came to the rescue…
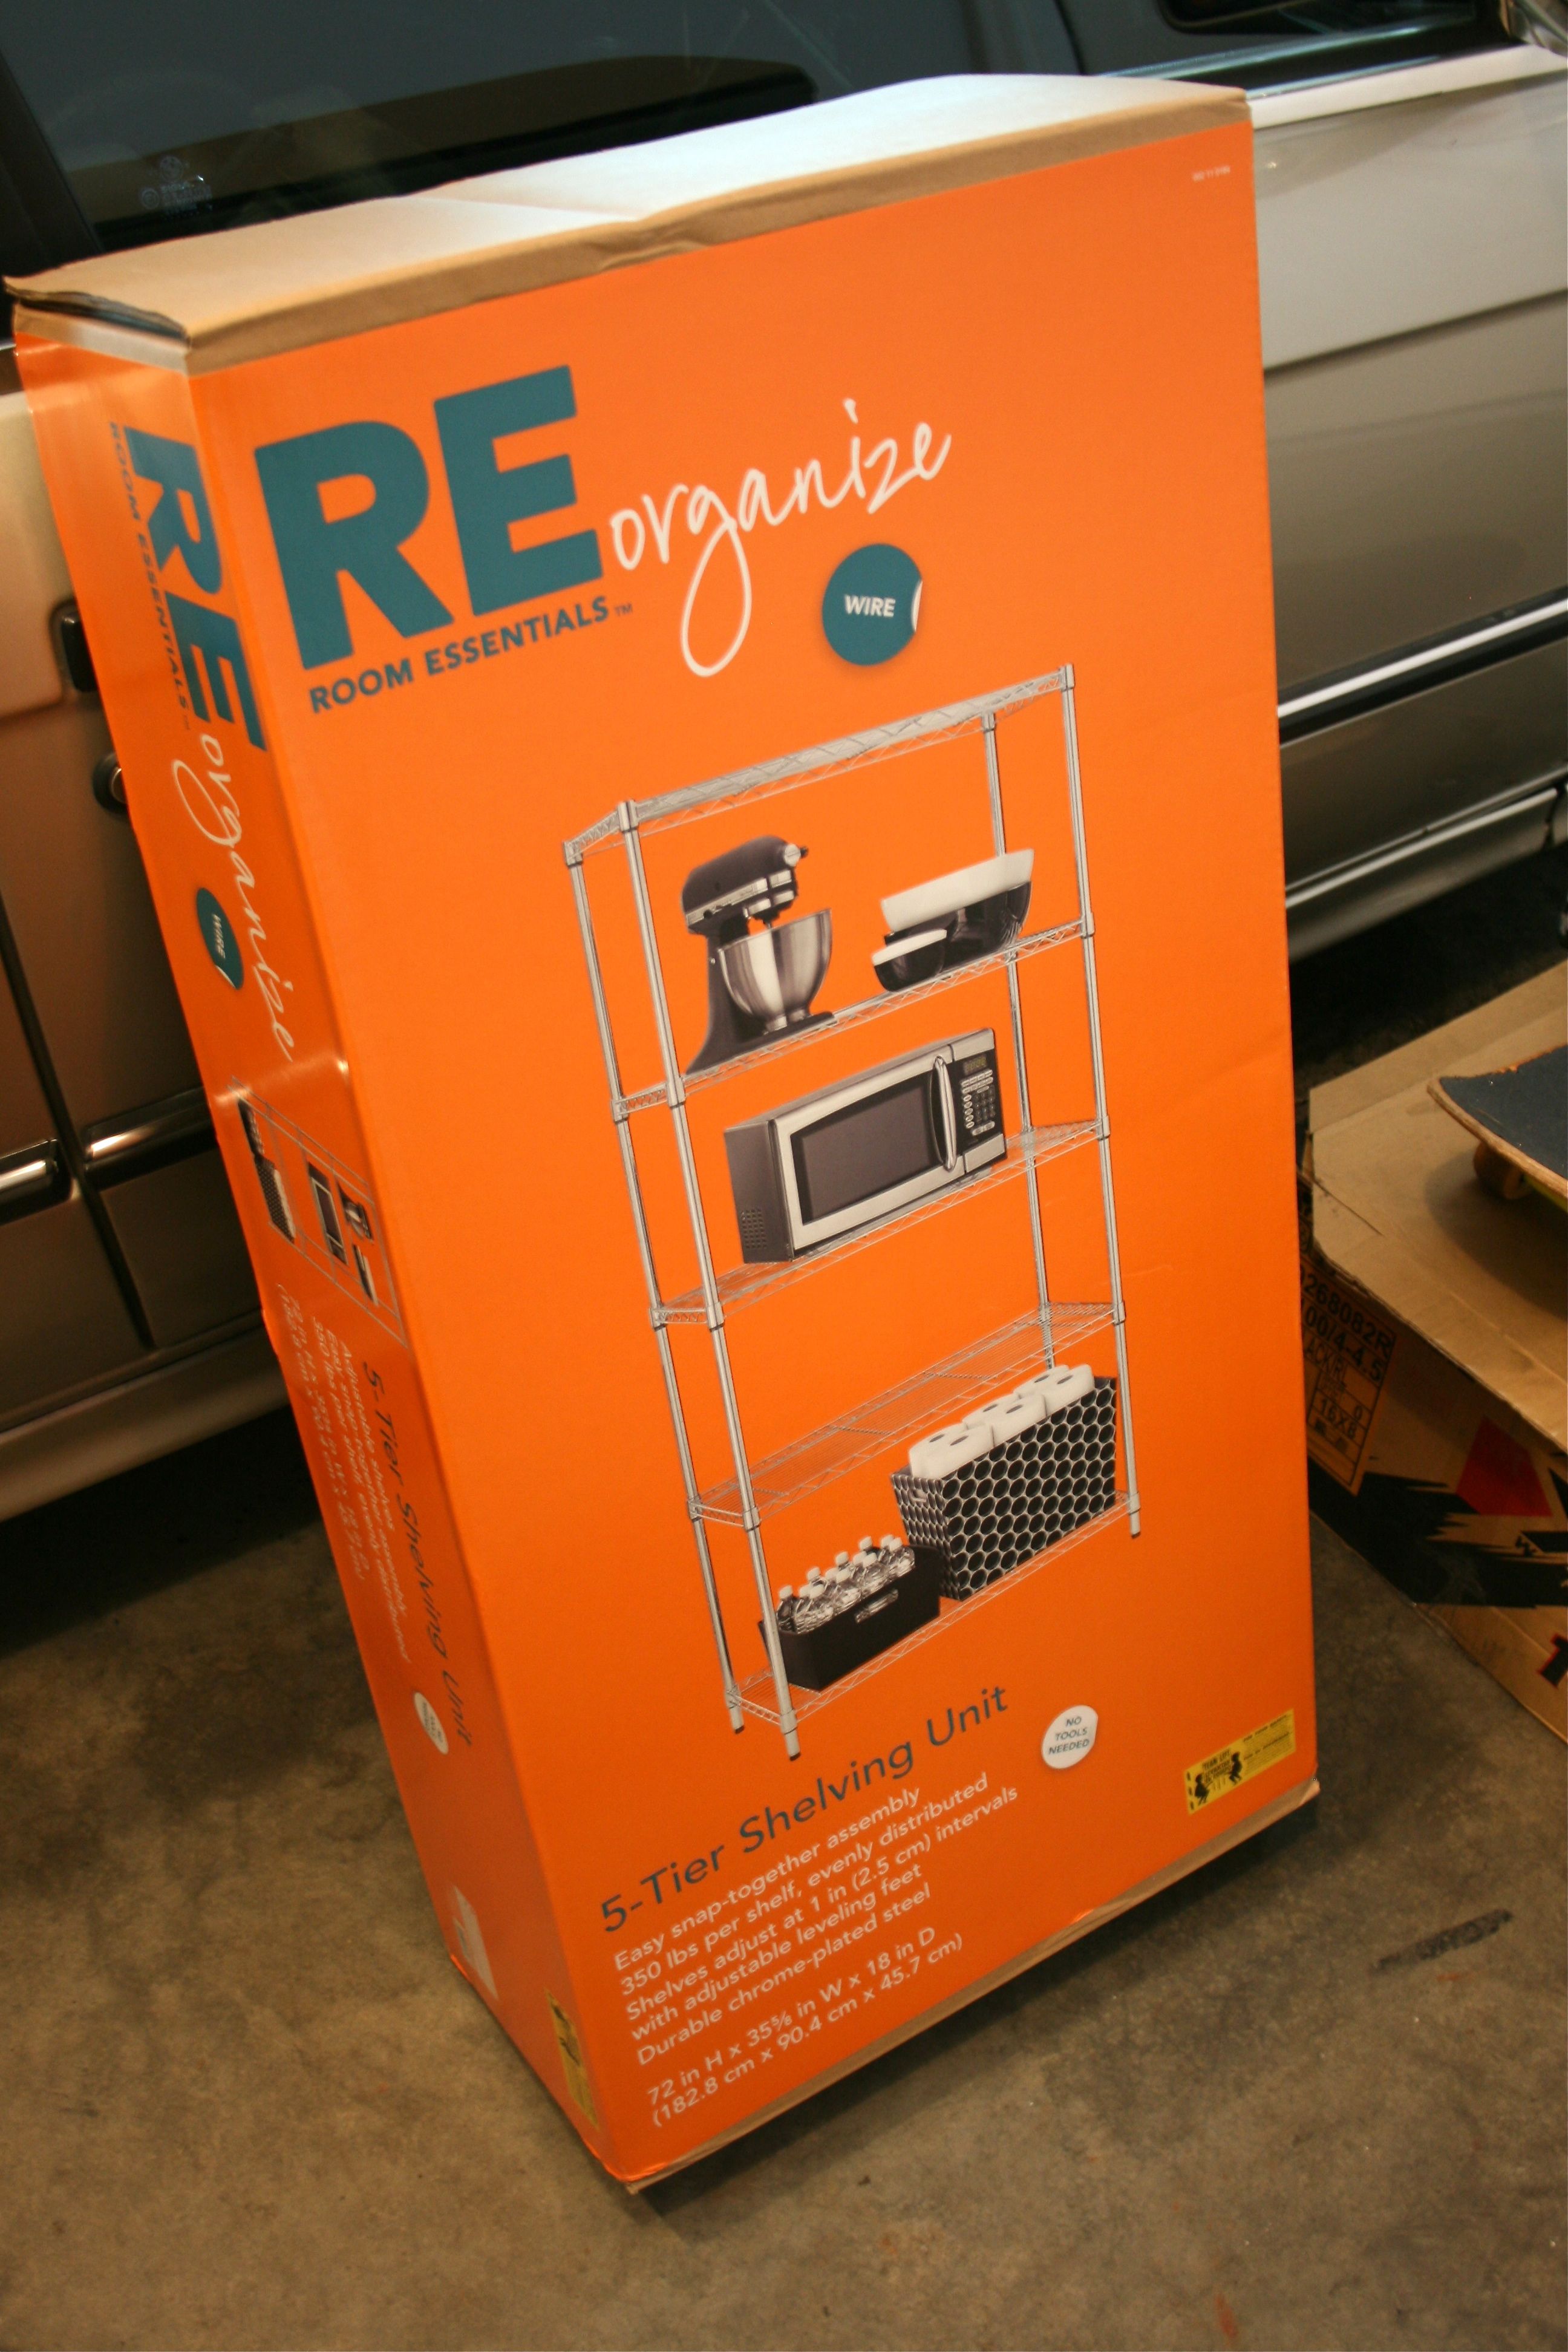
The store recently had a sale on their industrial shelving units so we snagged one for around $30, hoping it would solve all of our problems. Luckily, it did!!
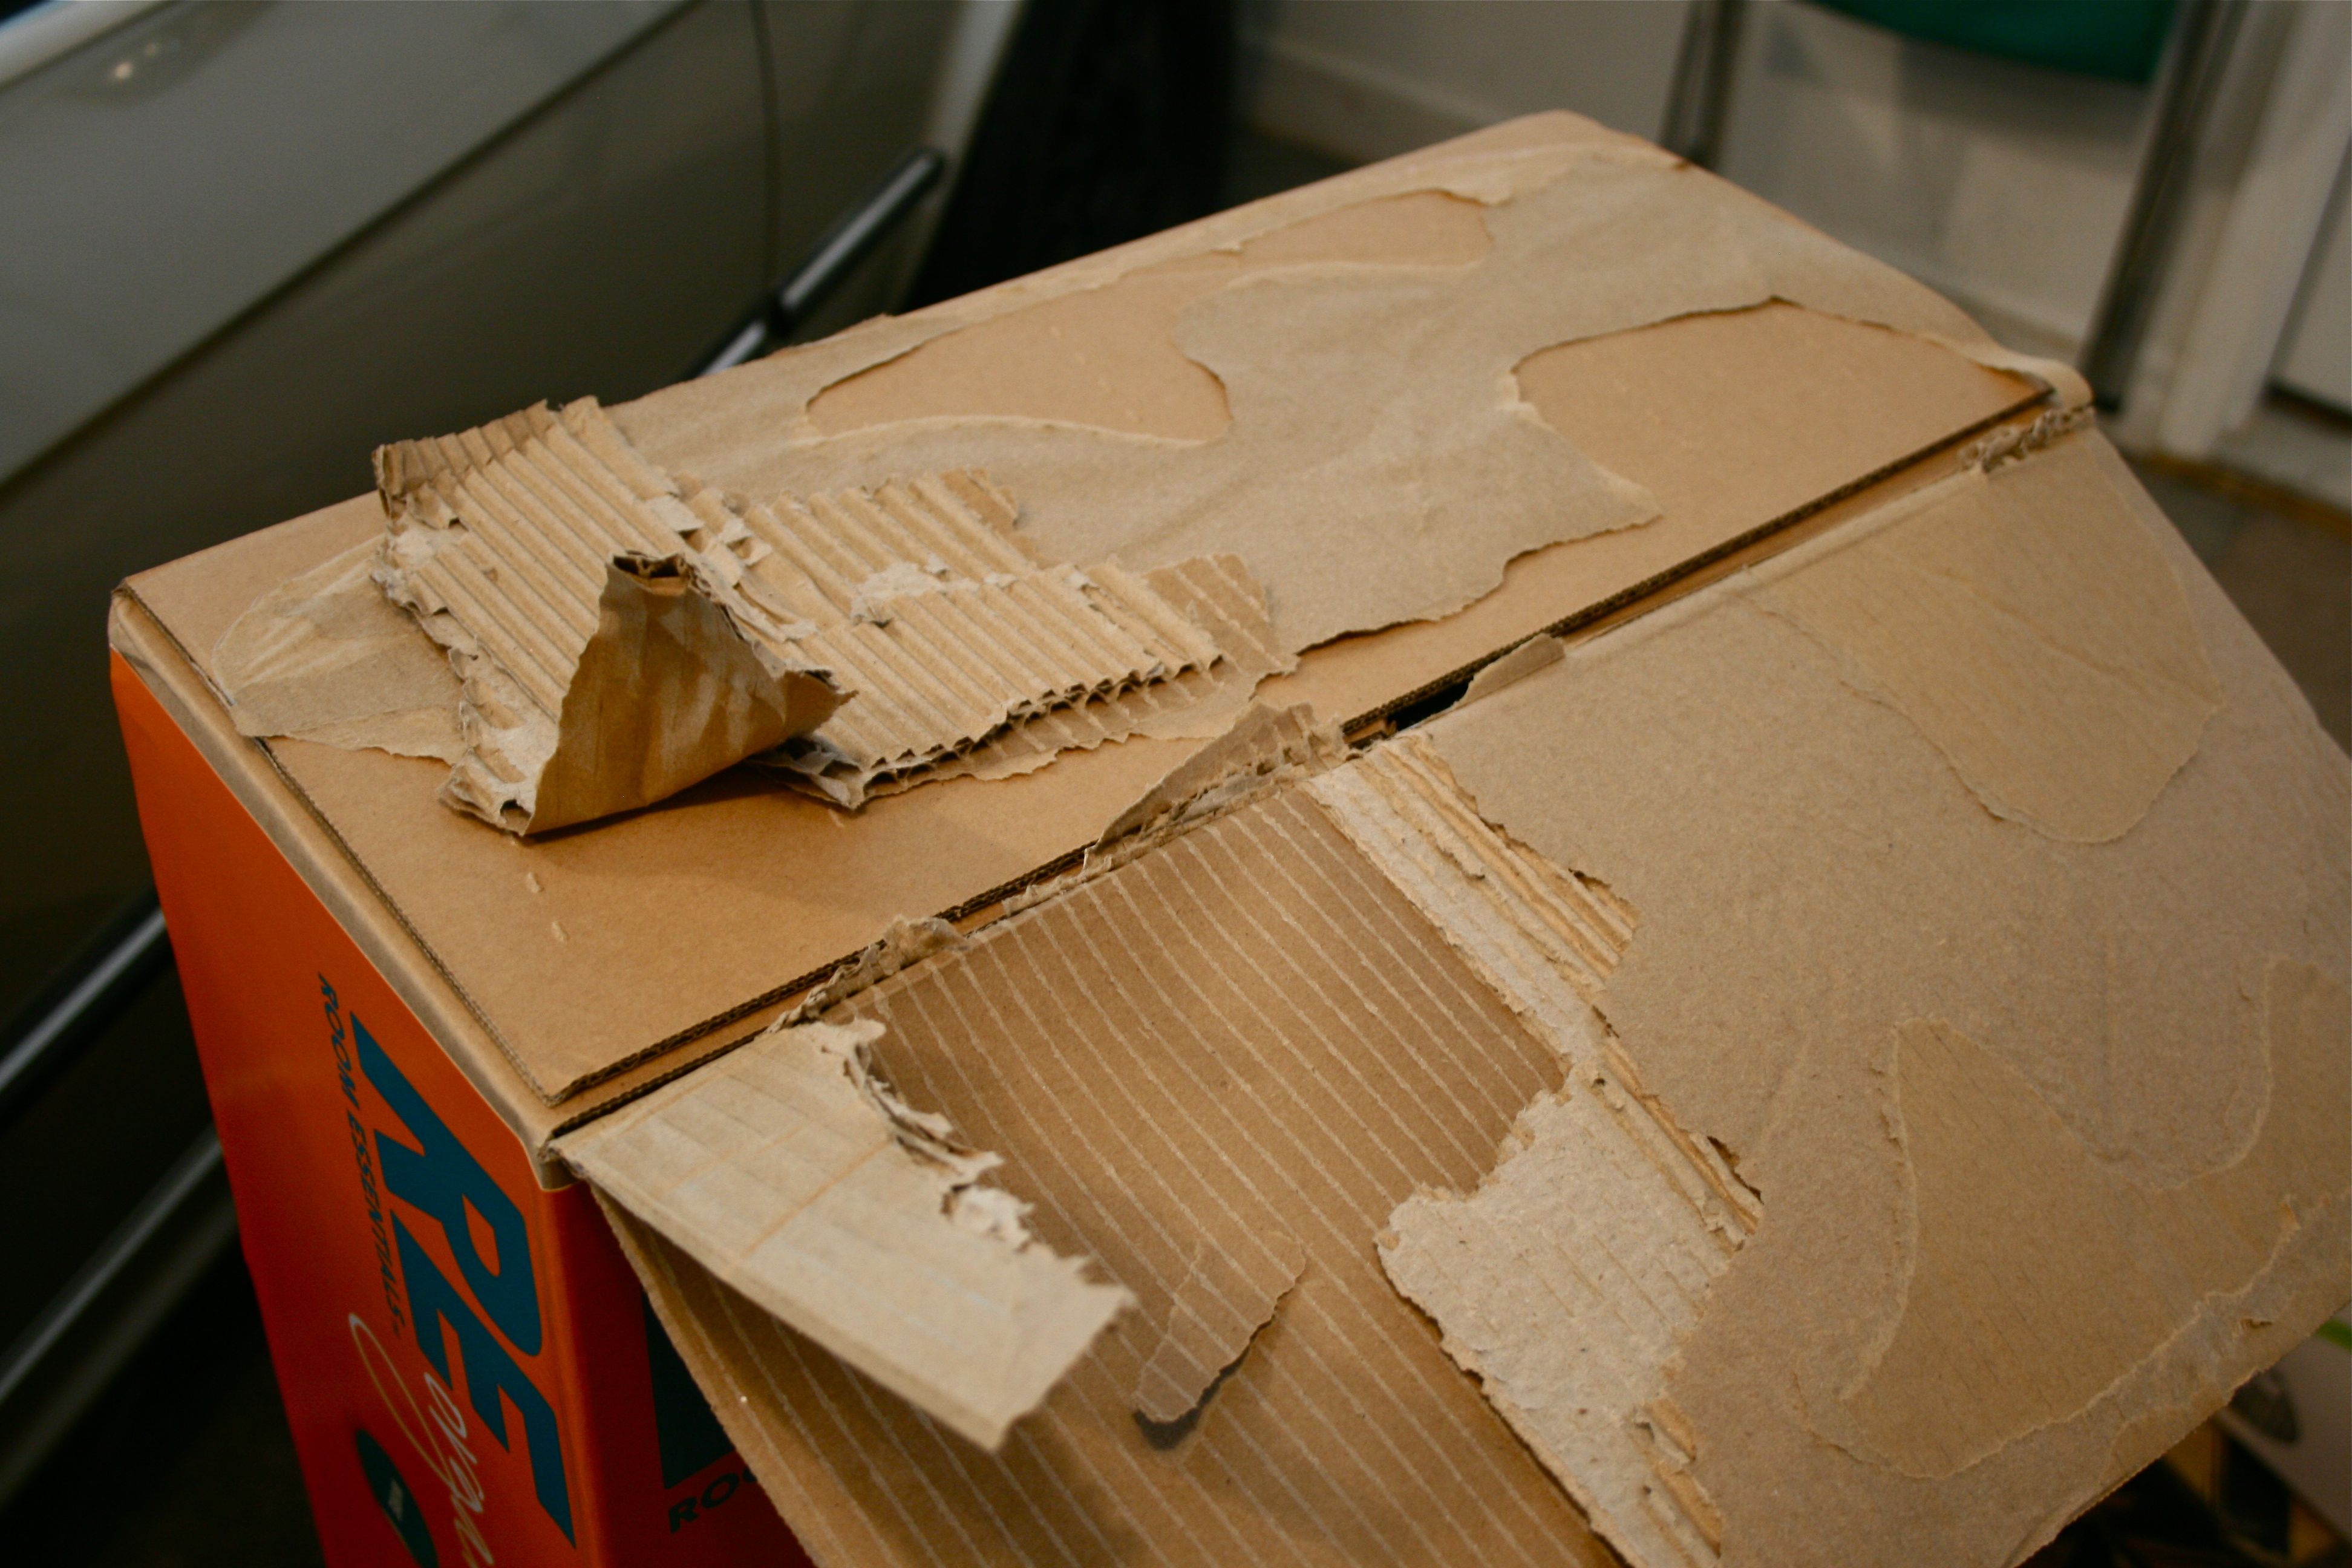
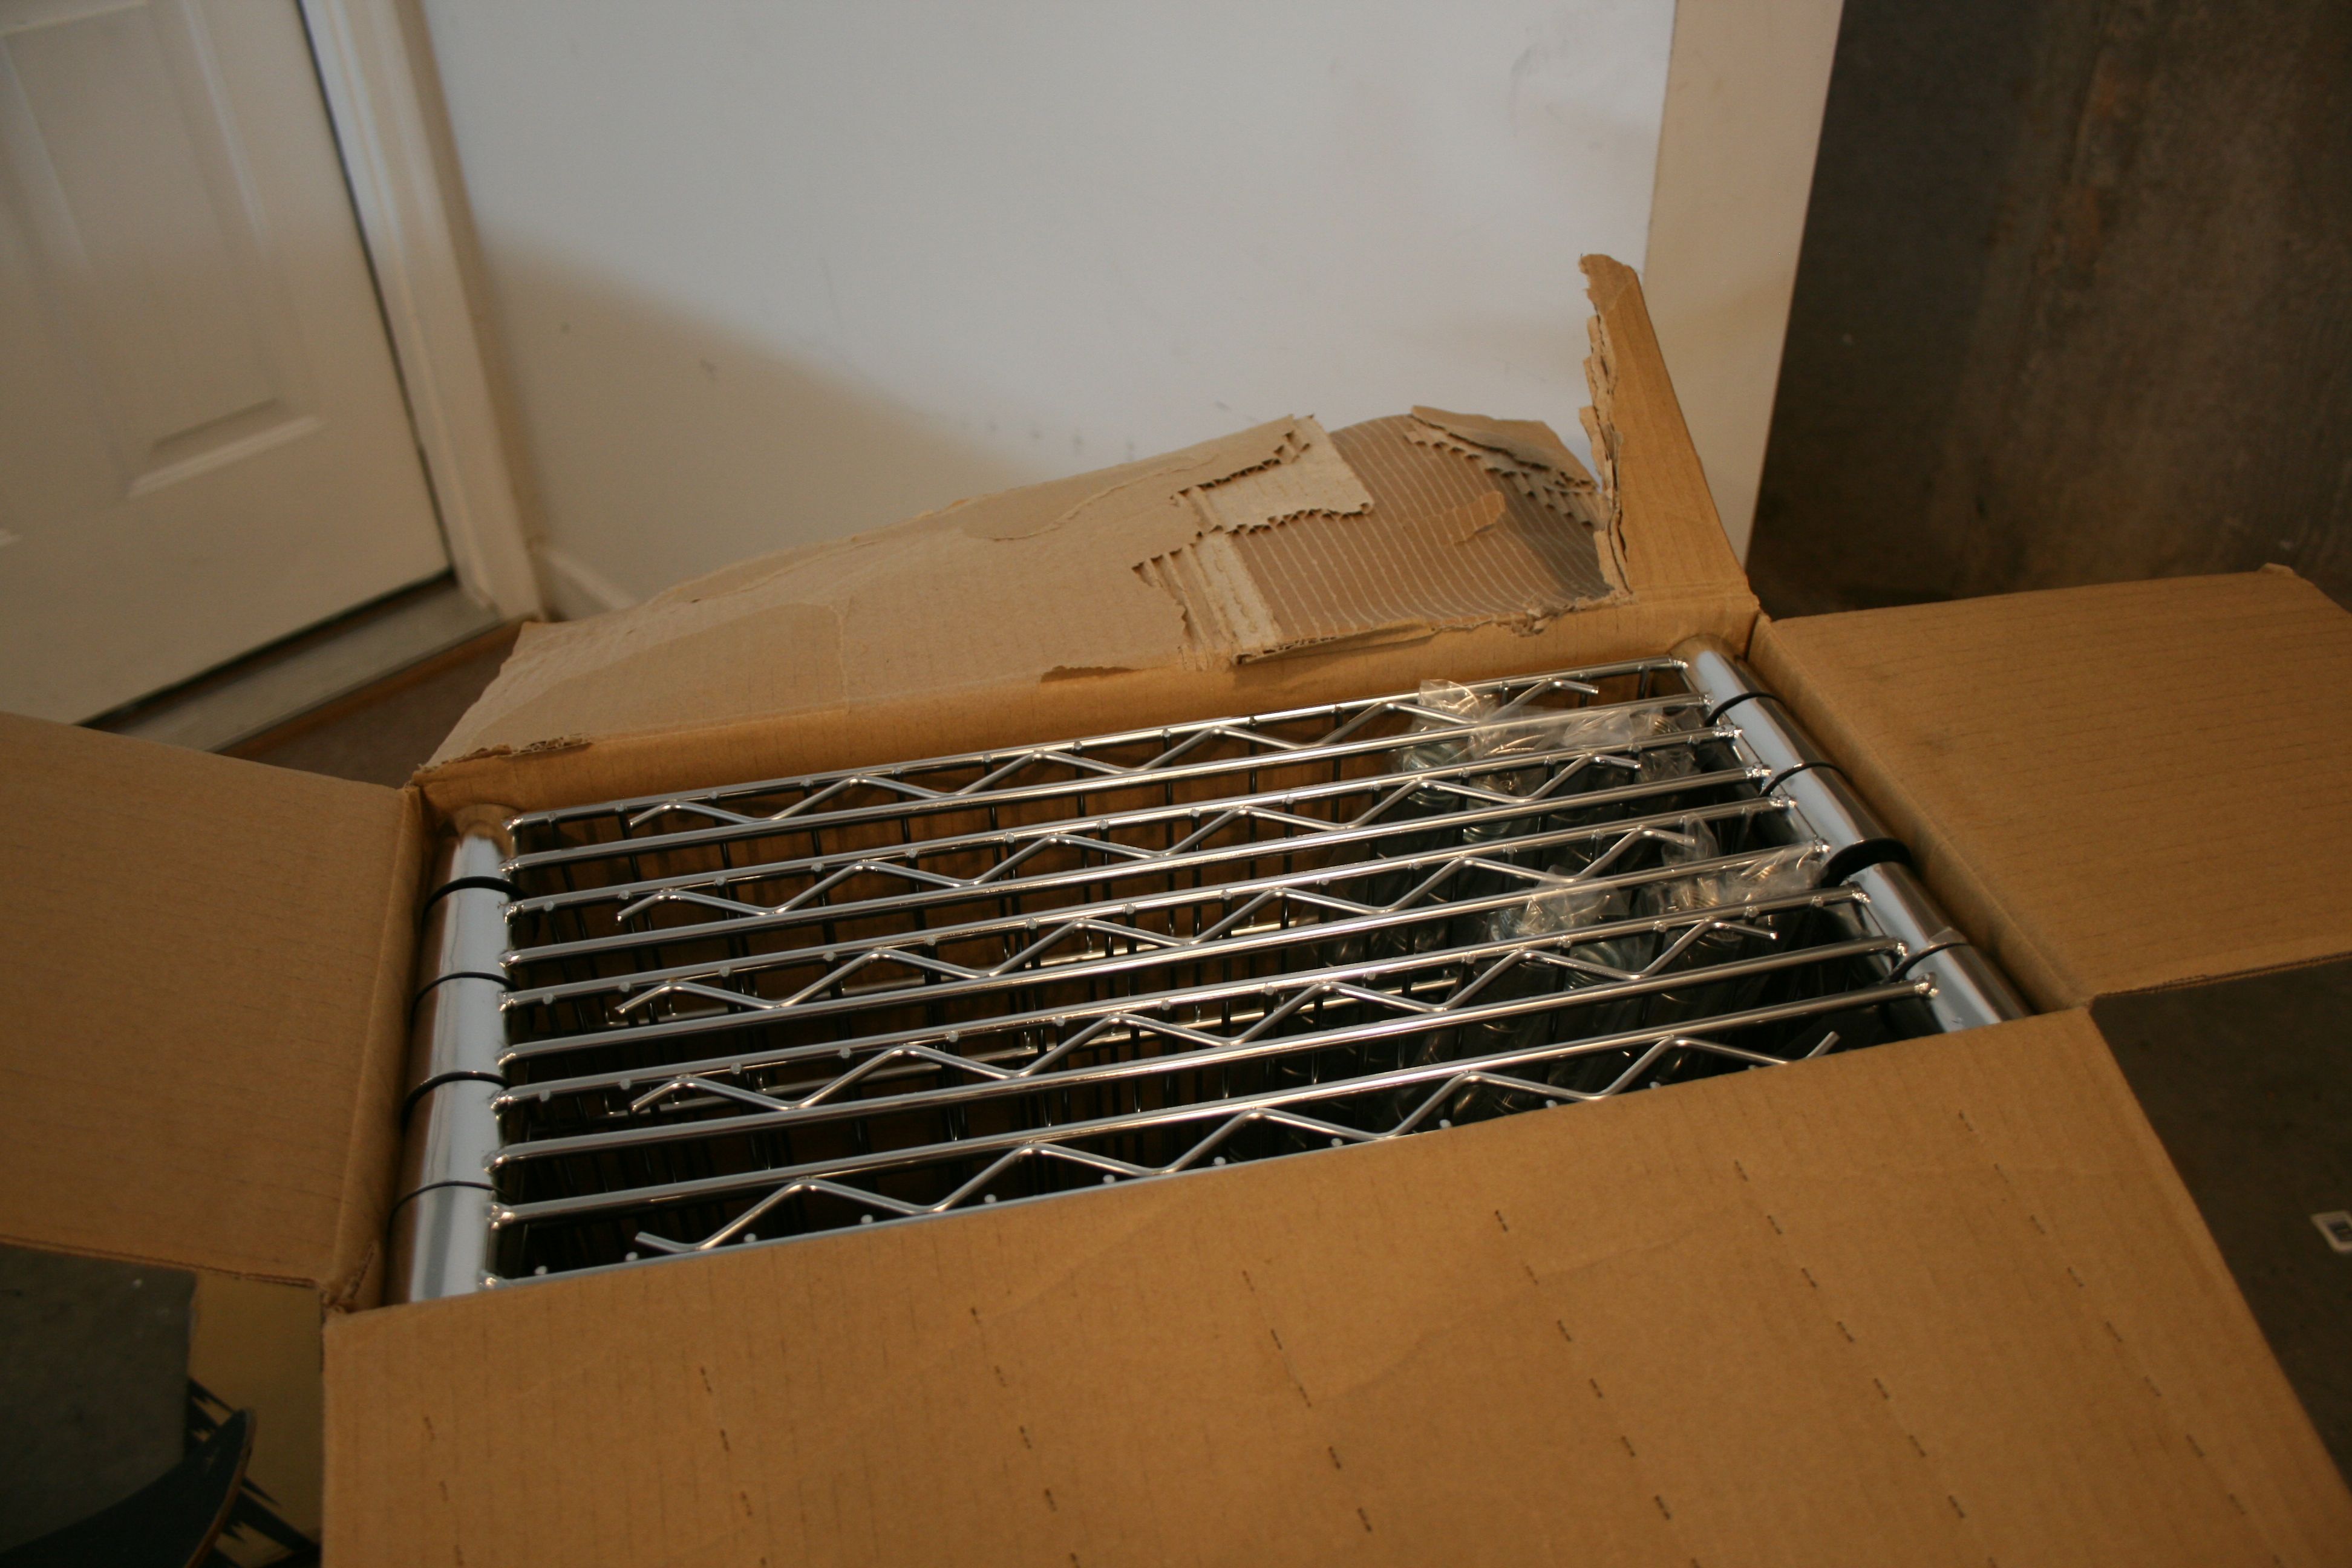
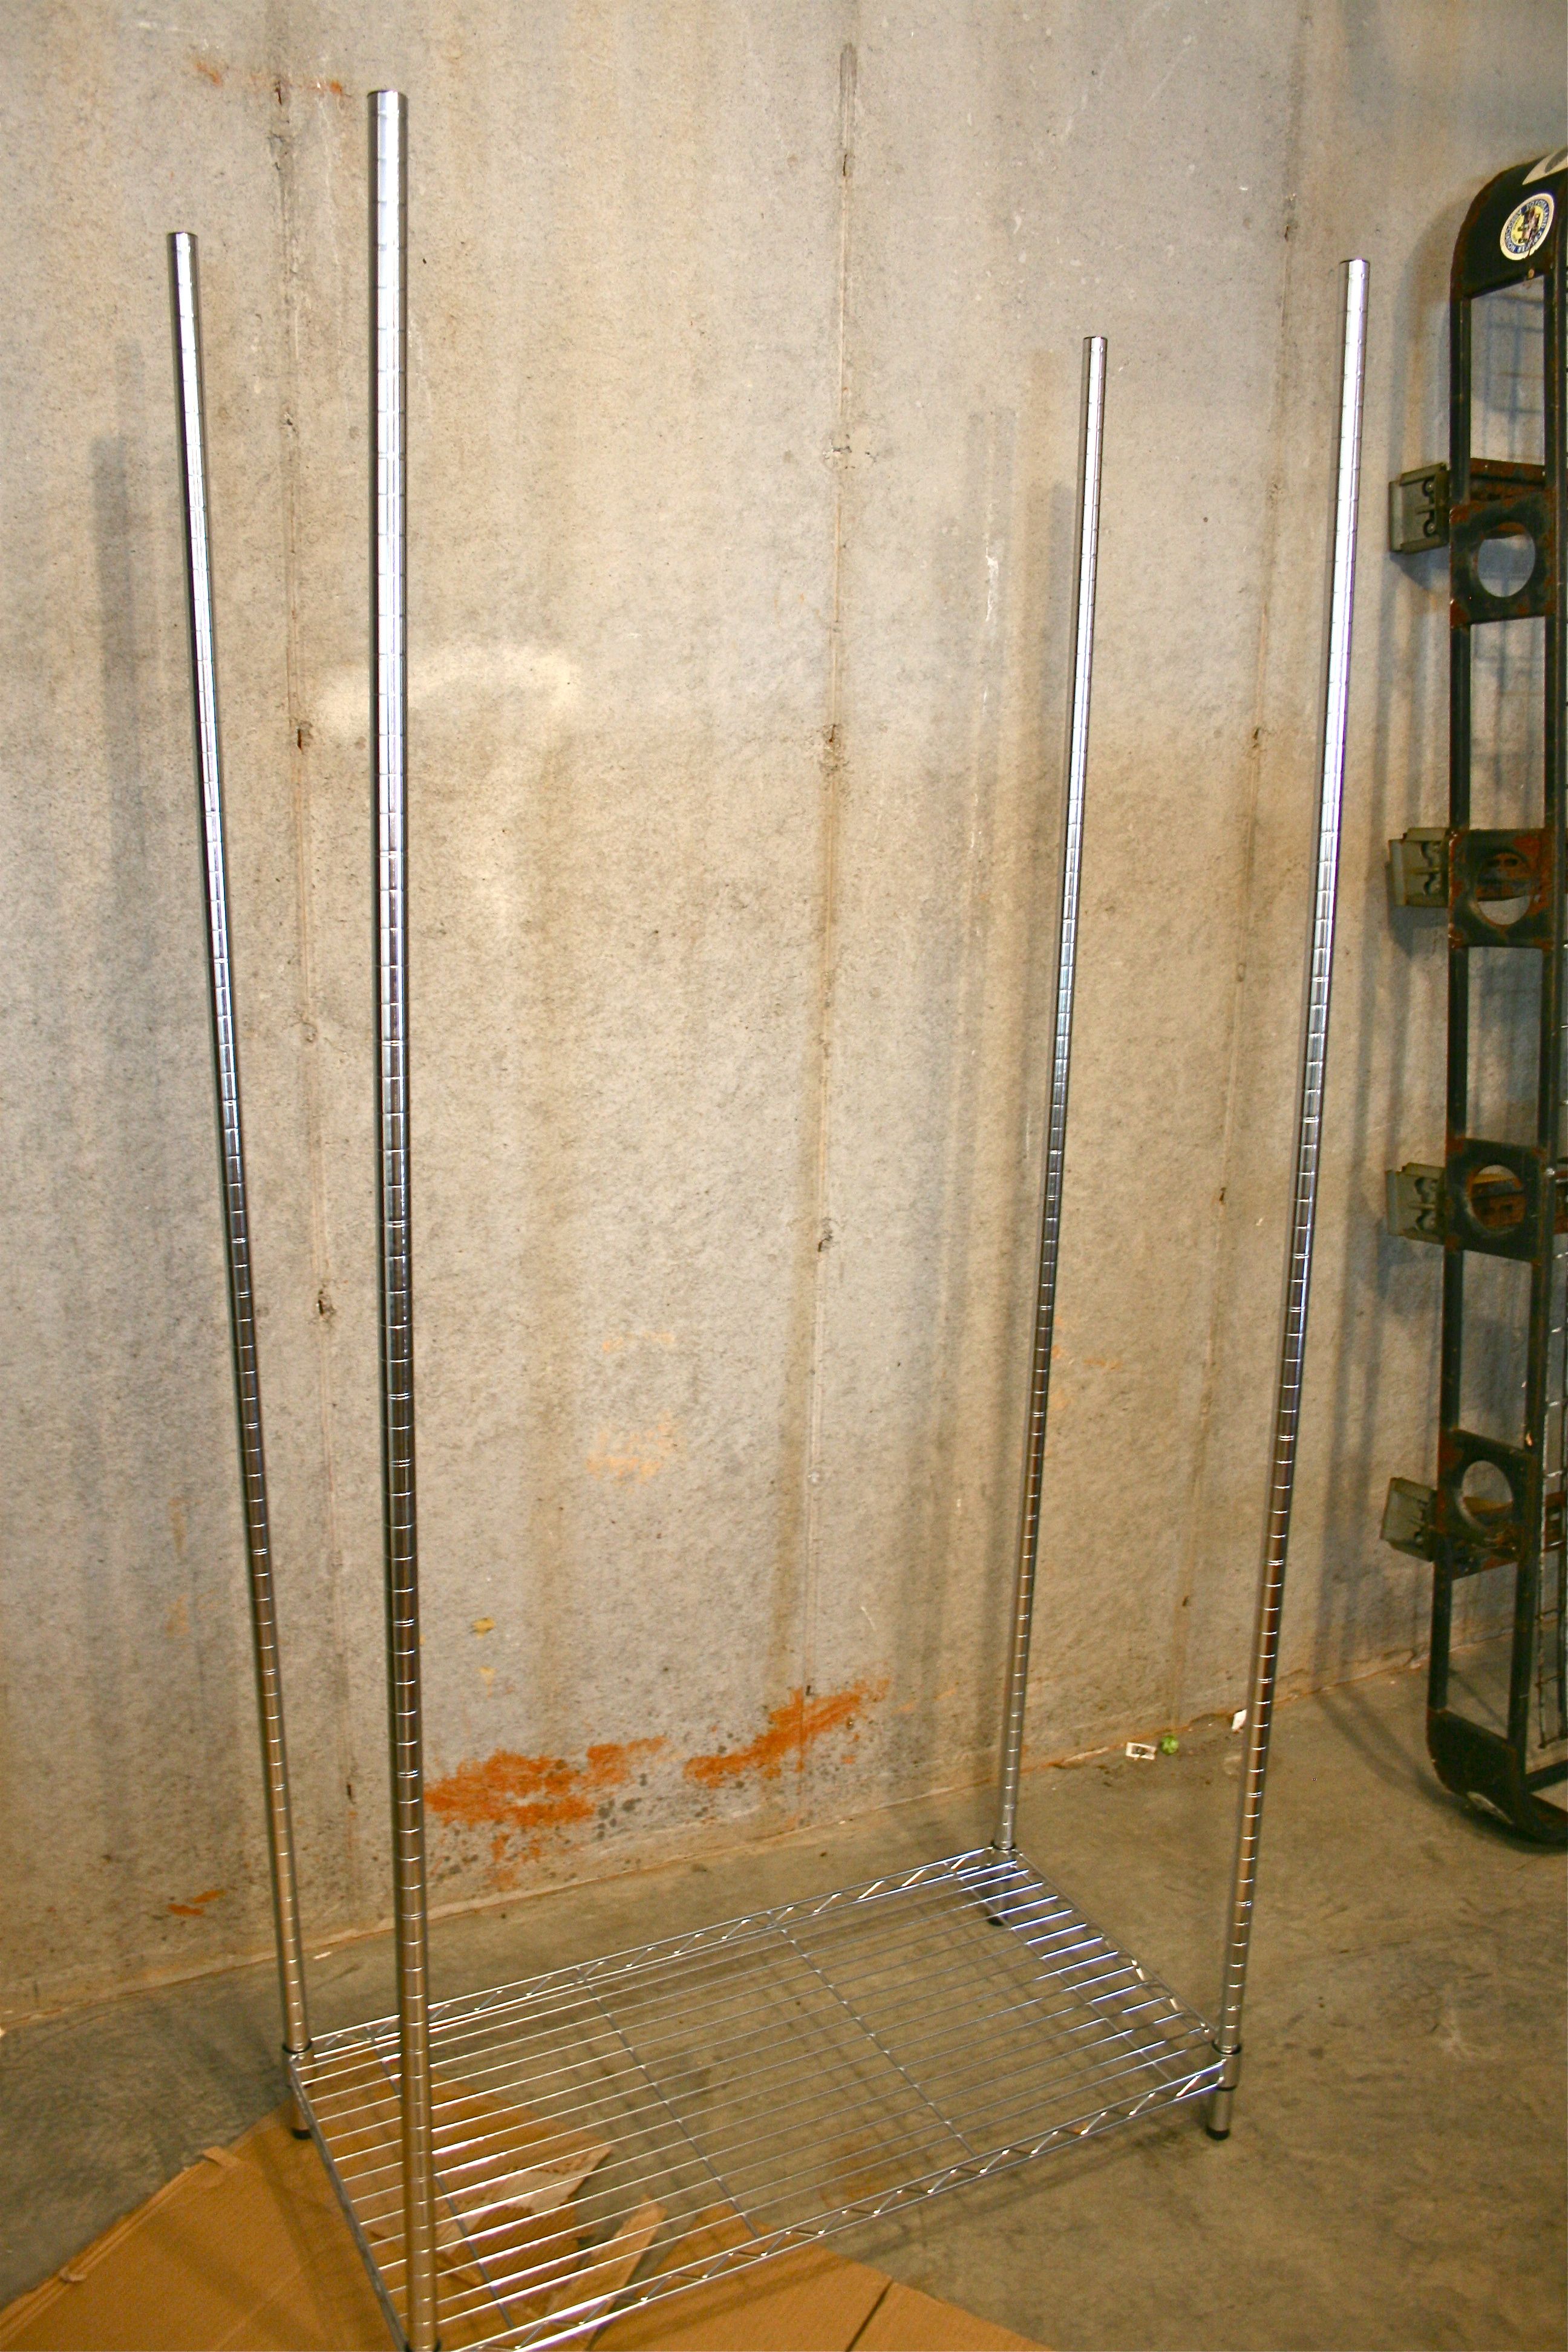
The hardest part of the assembly was probably opening the package…It wasn’t easy. But the rest of it went pretty smoothly!
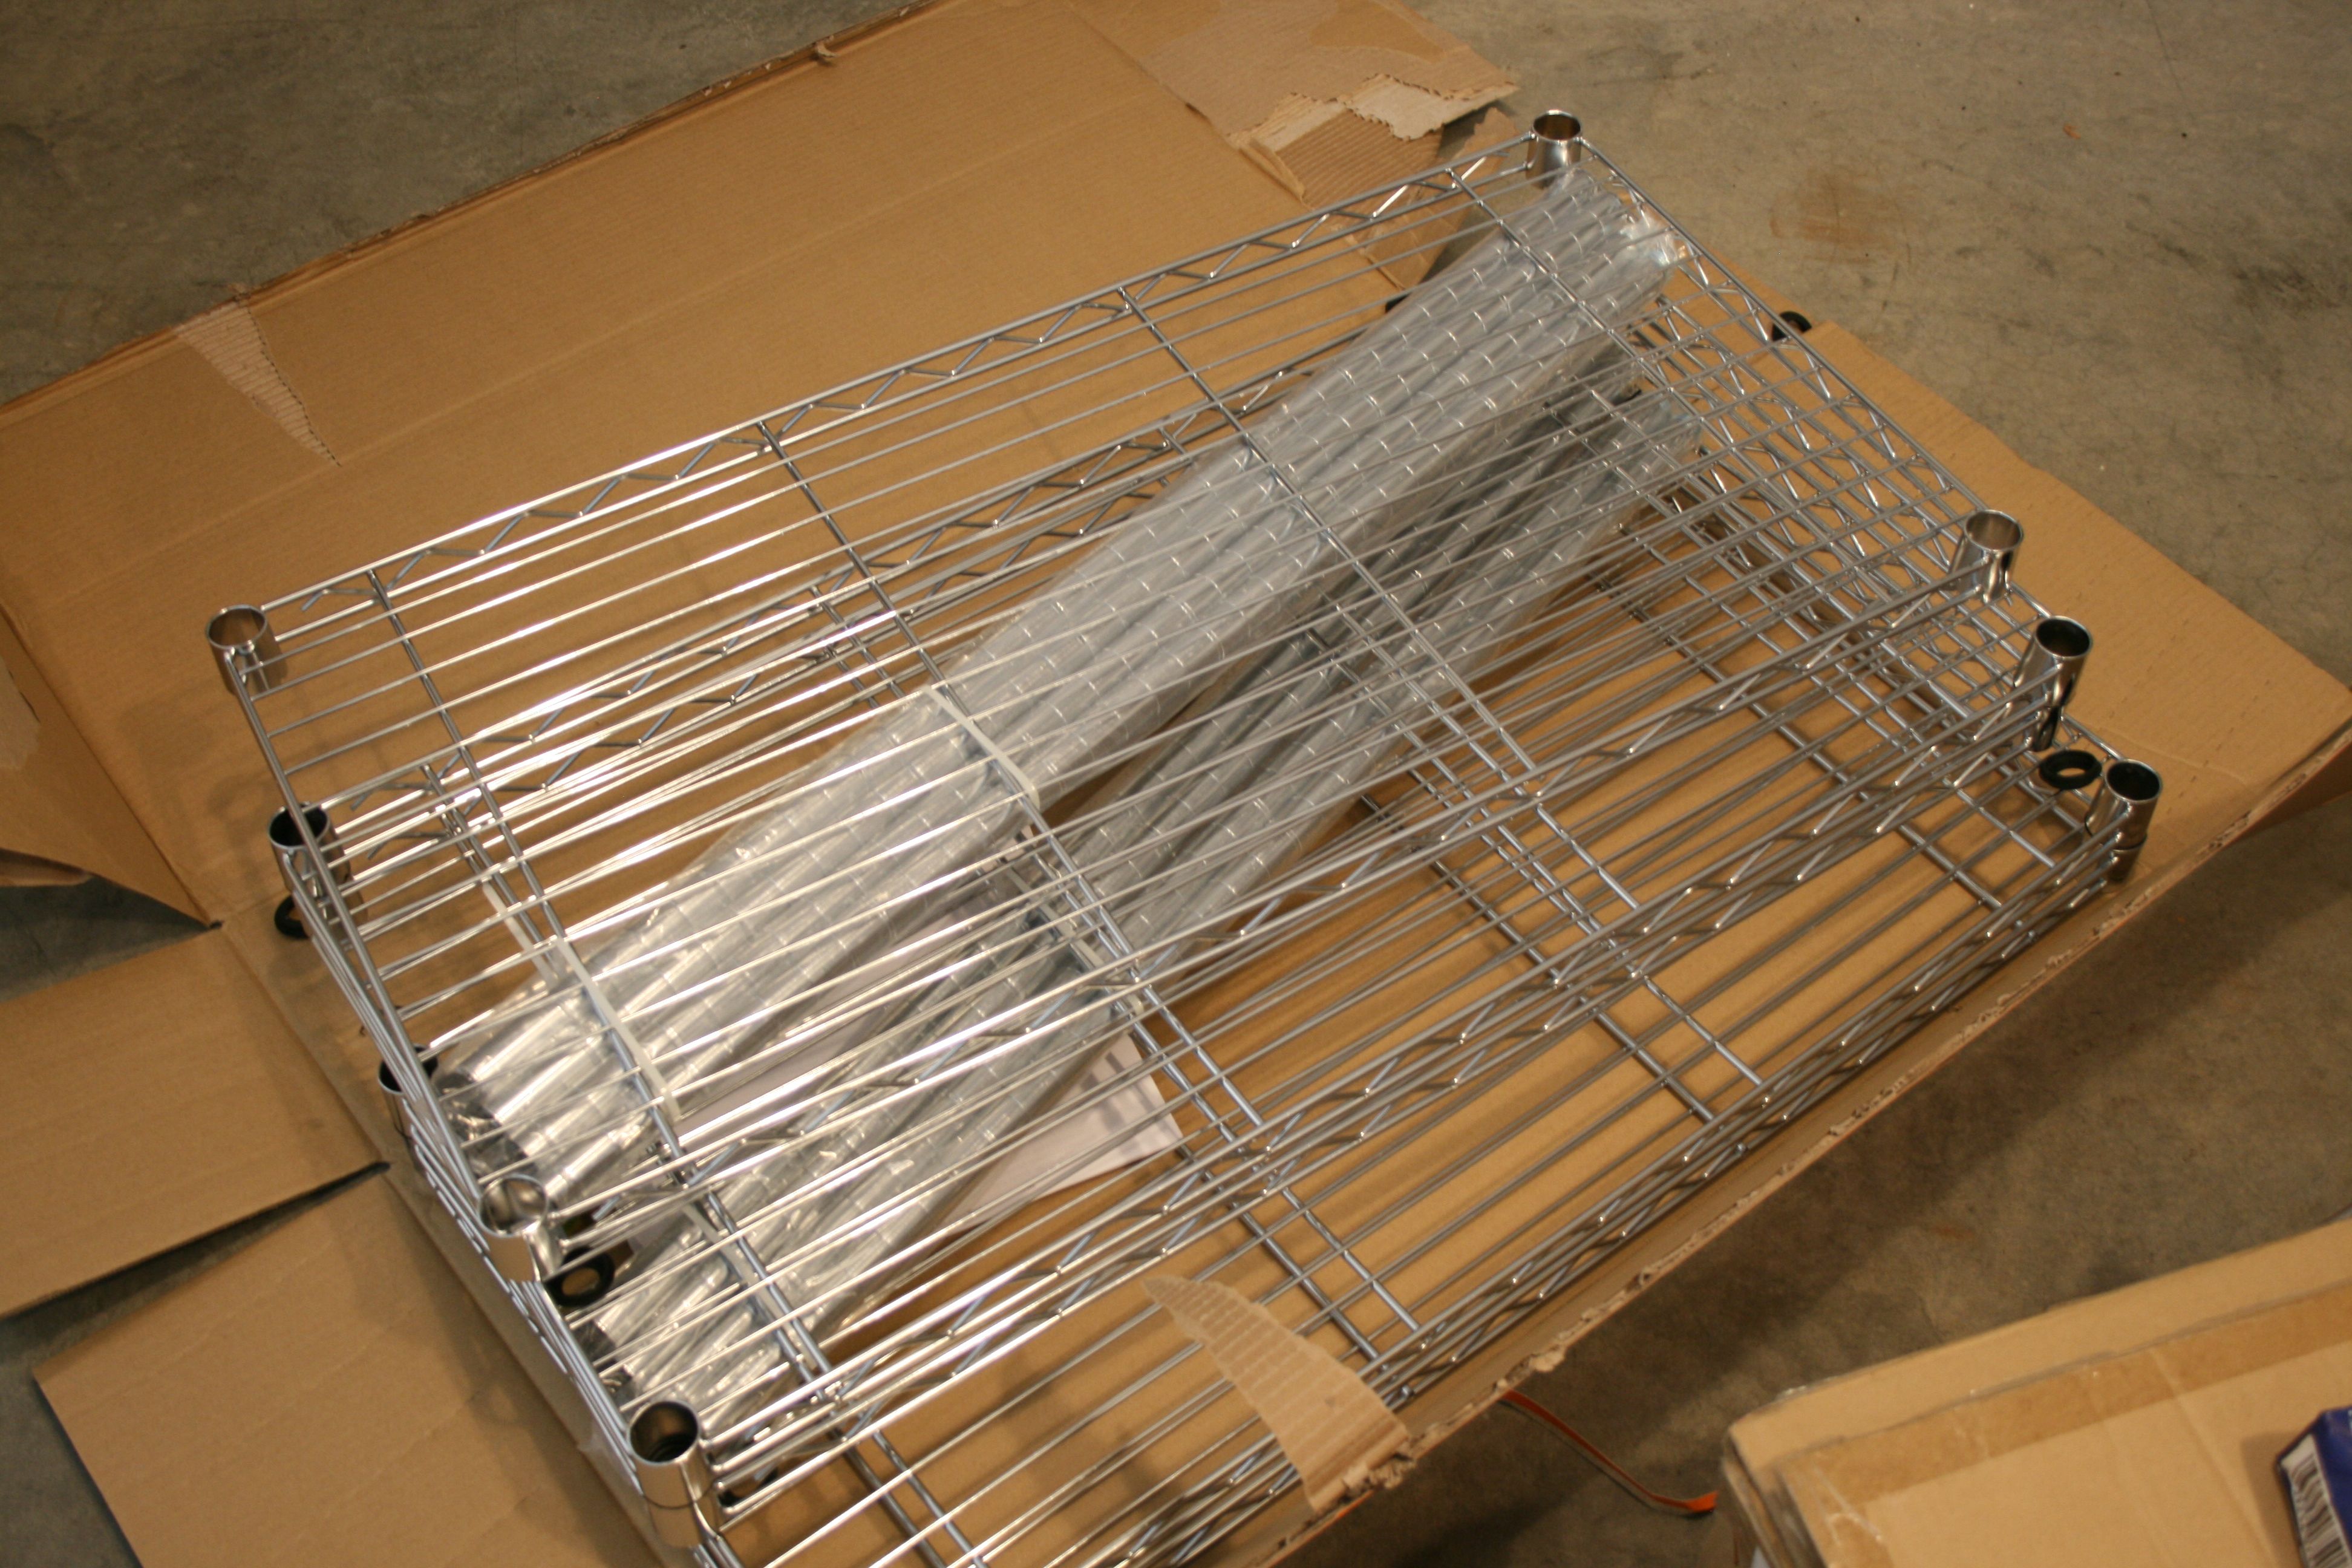
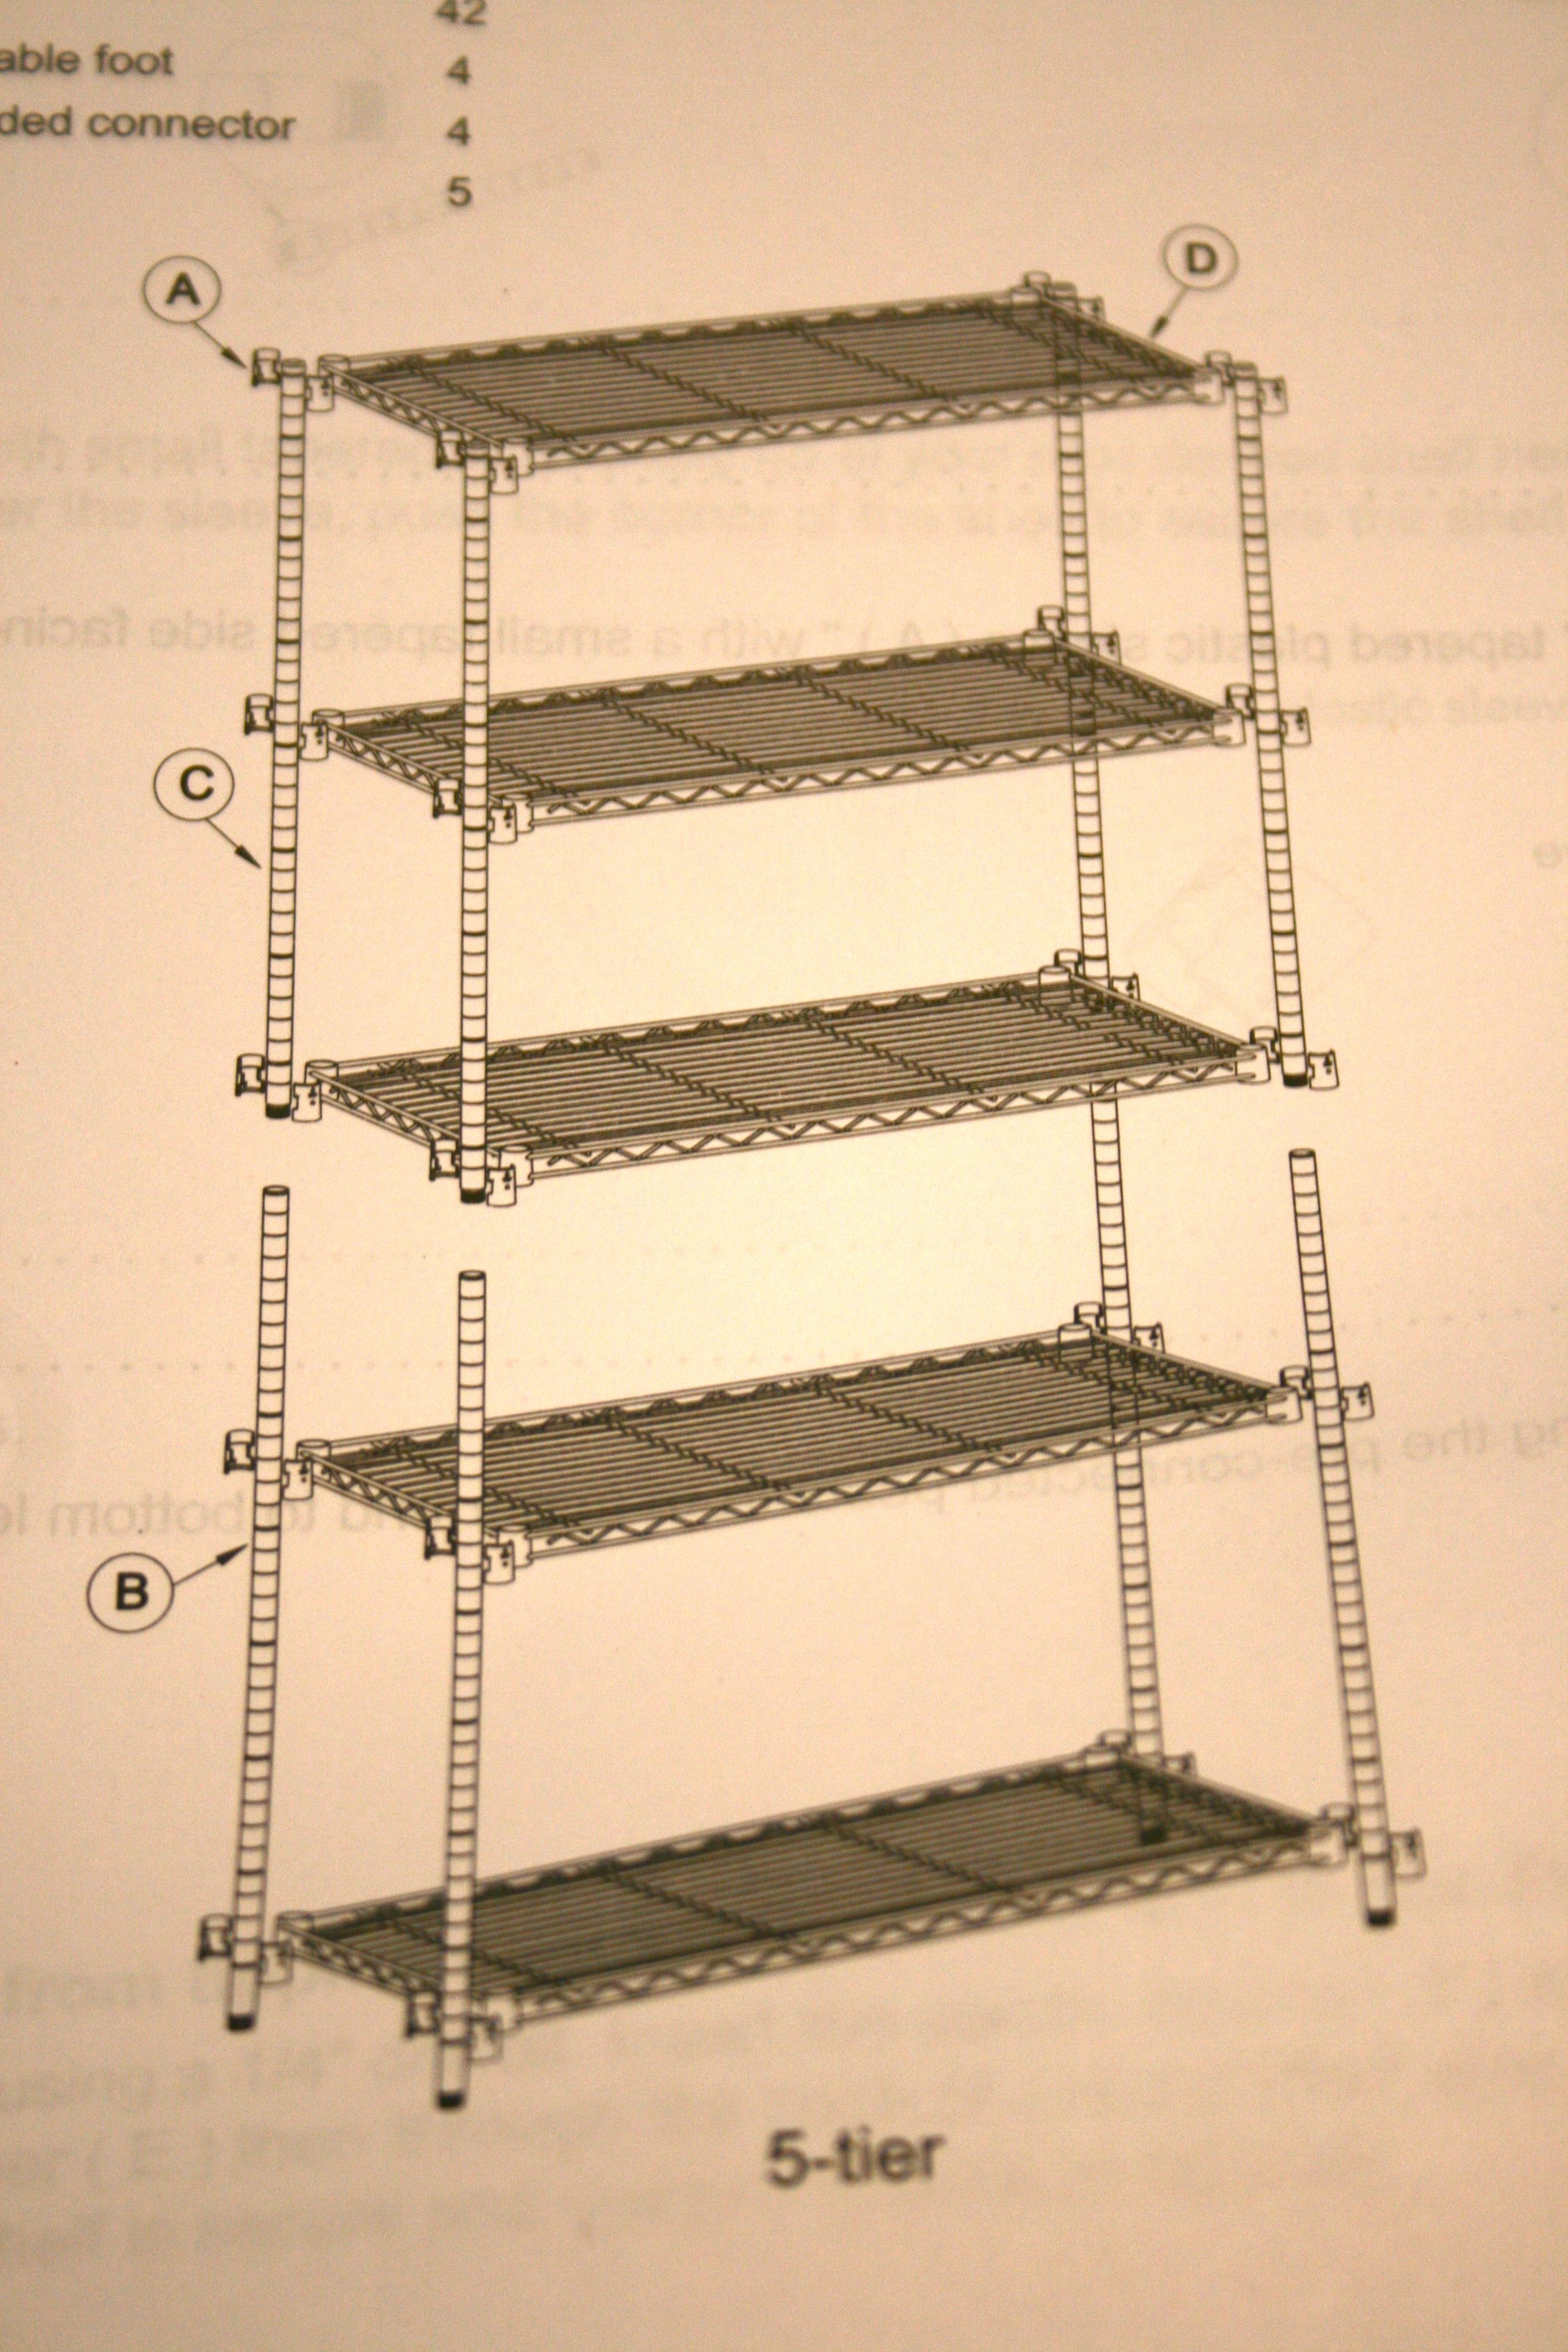
We just laid out all of the parts and followed the instructions. Ten minutes later, our shelf was coming along nicely!
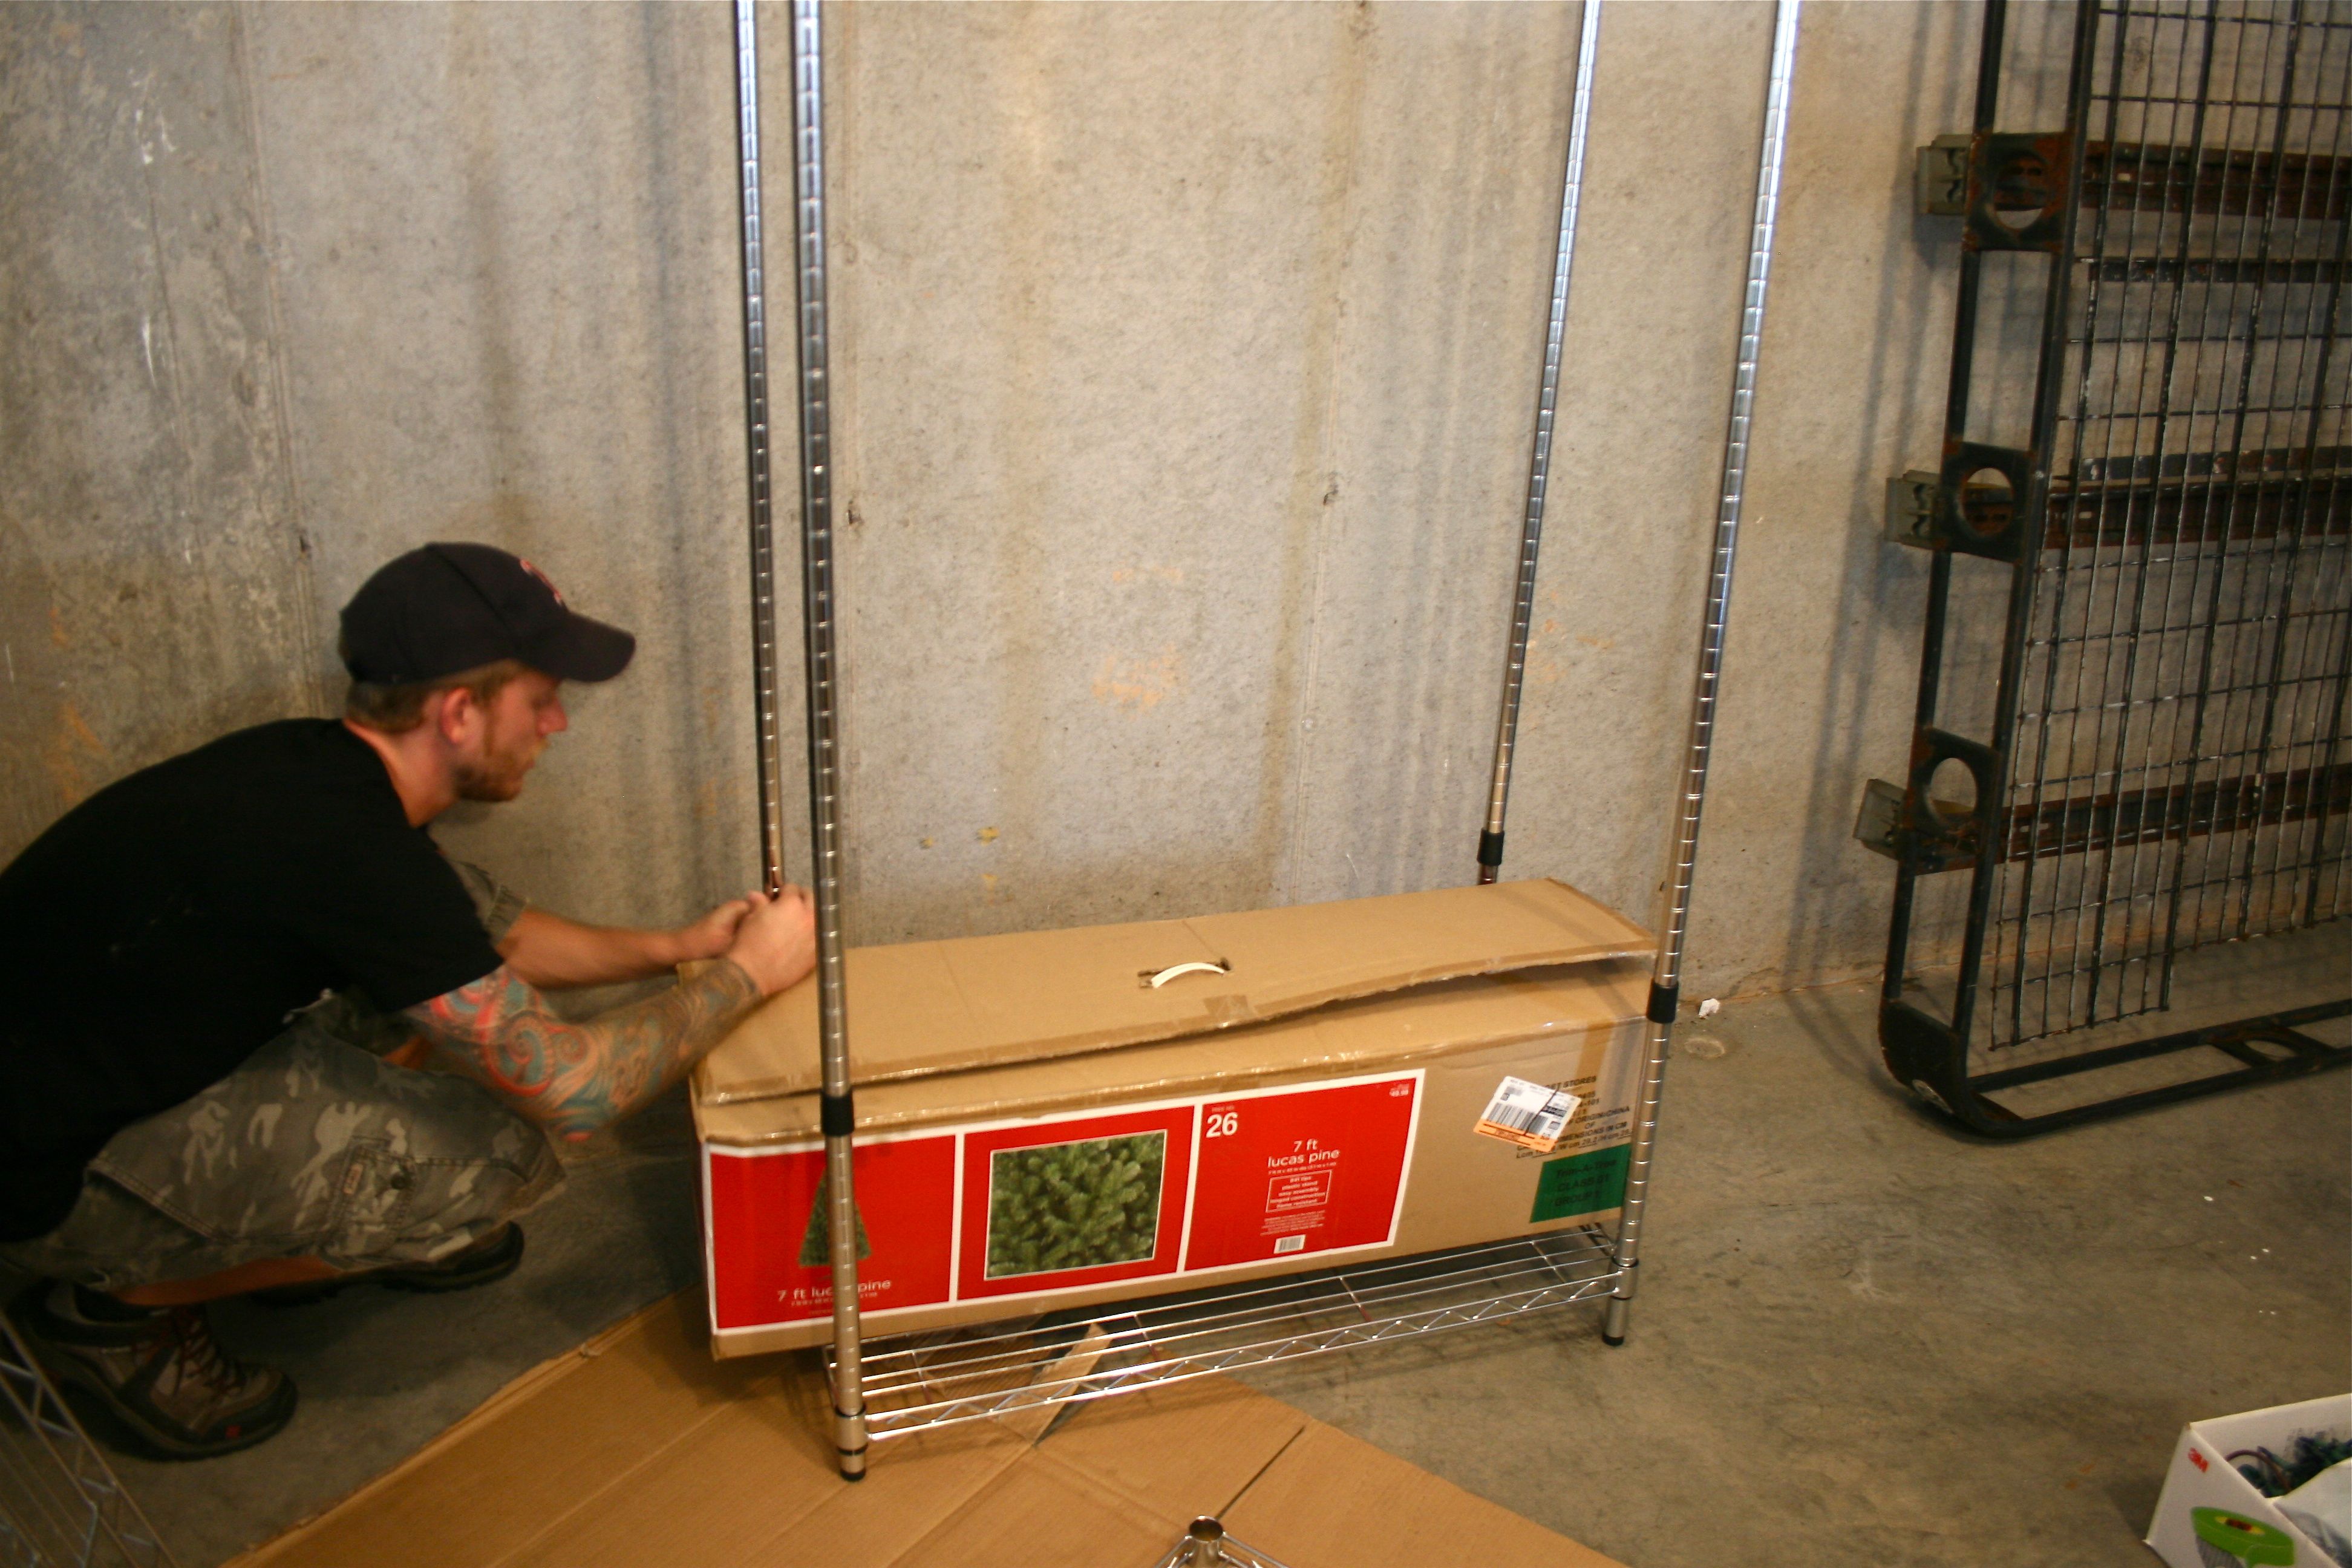
Once we had the bottom and sides in place, we put our heaviest and bulkiest item (which happened to be the Christmas tree) on the shelf to see where the next one should sit above it.
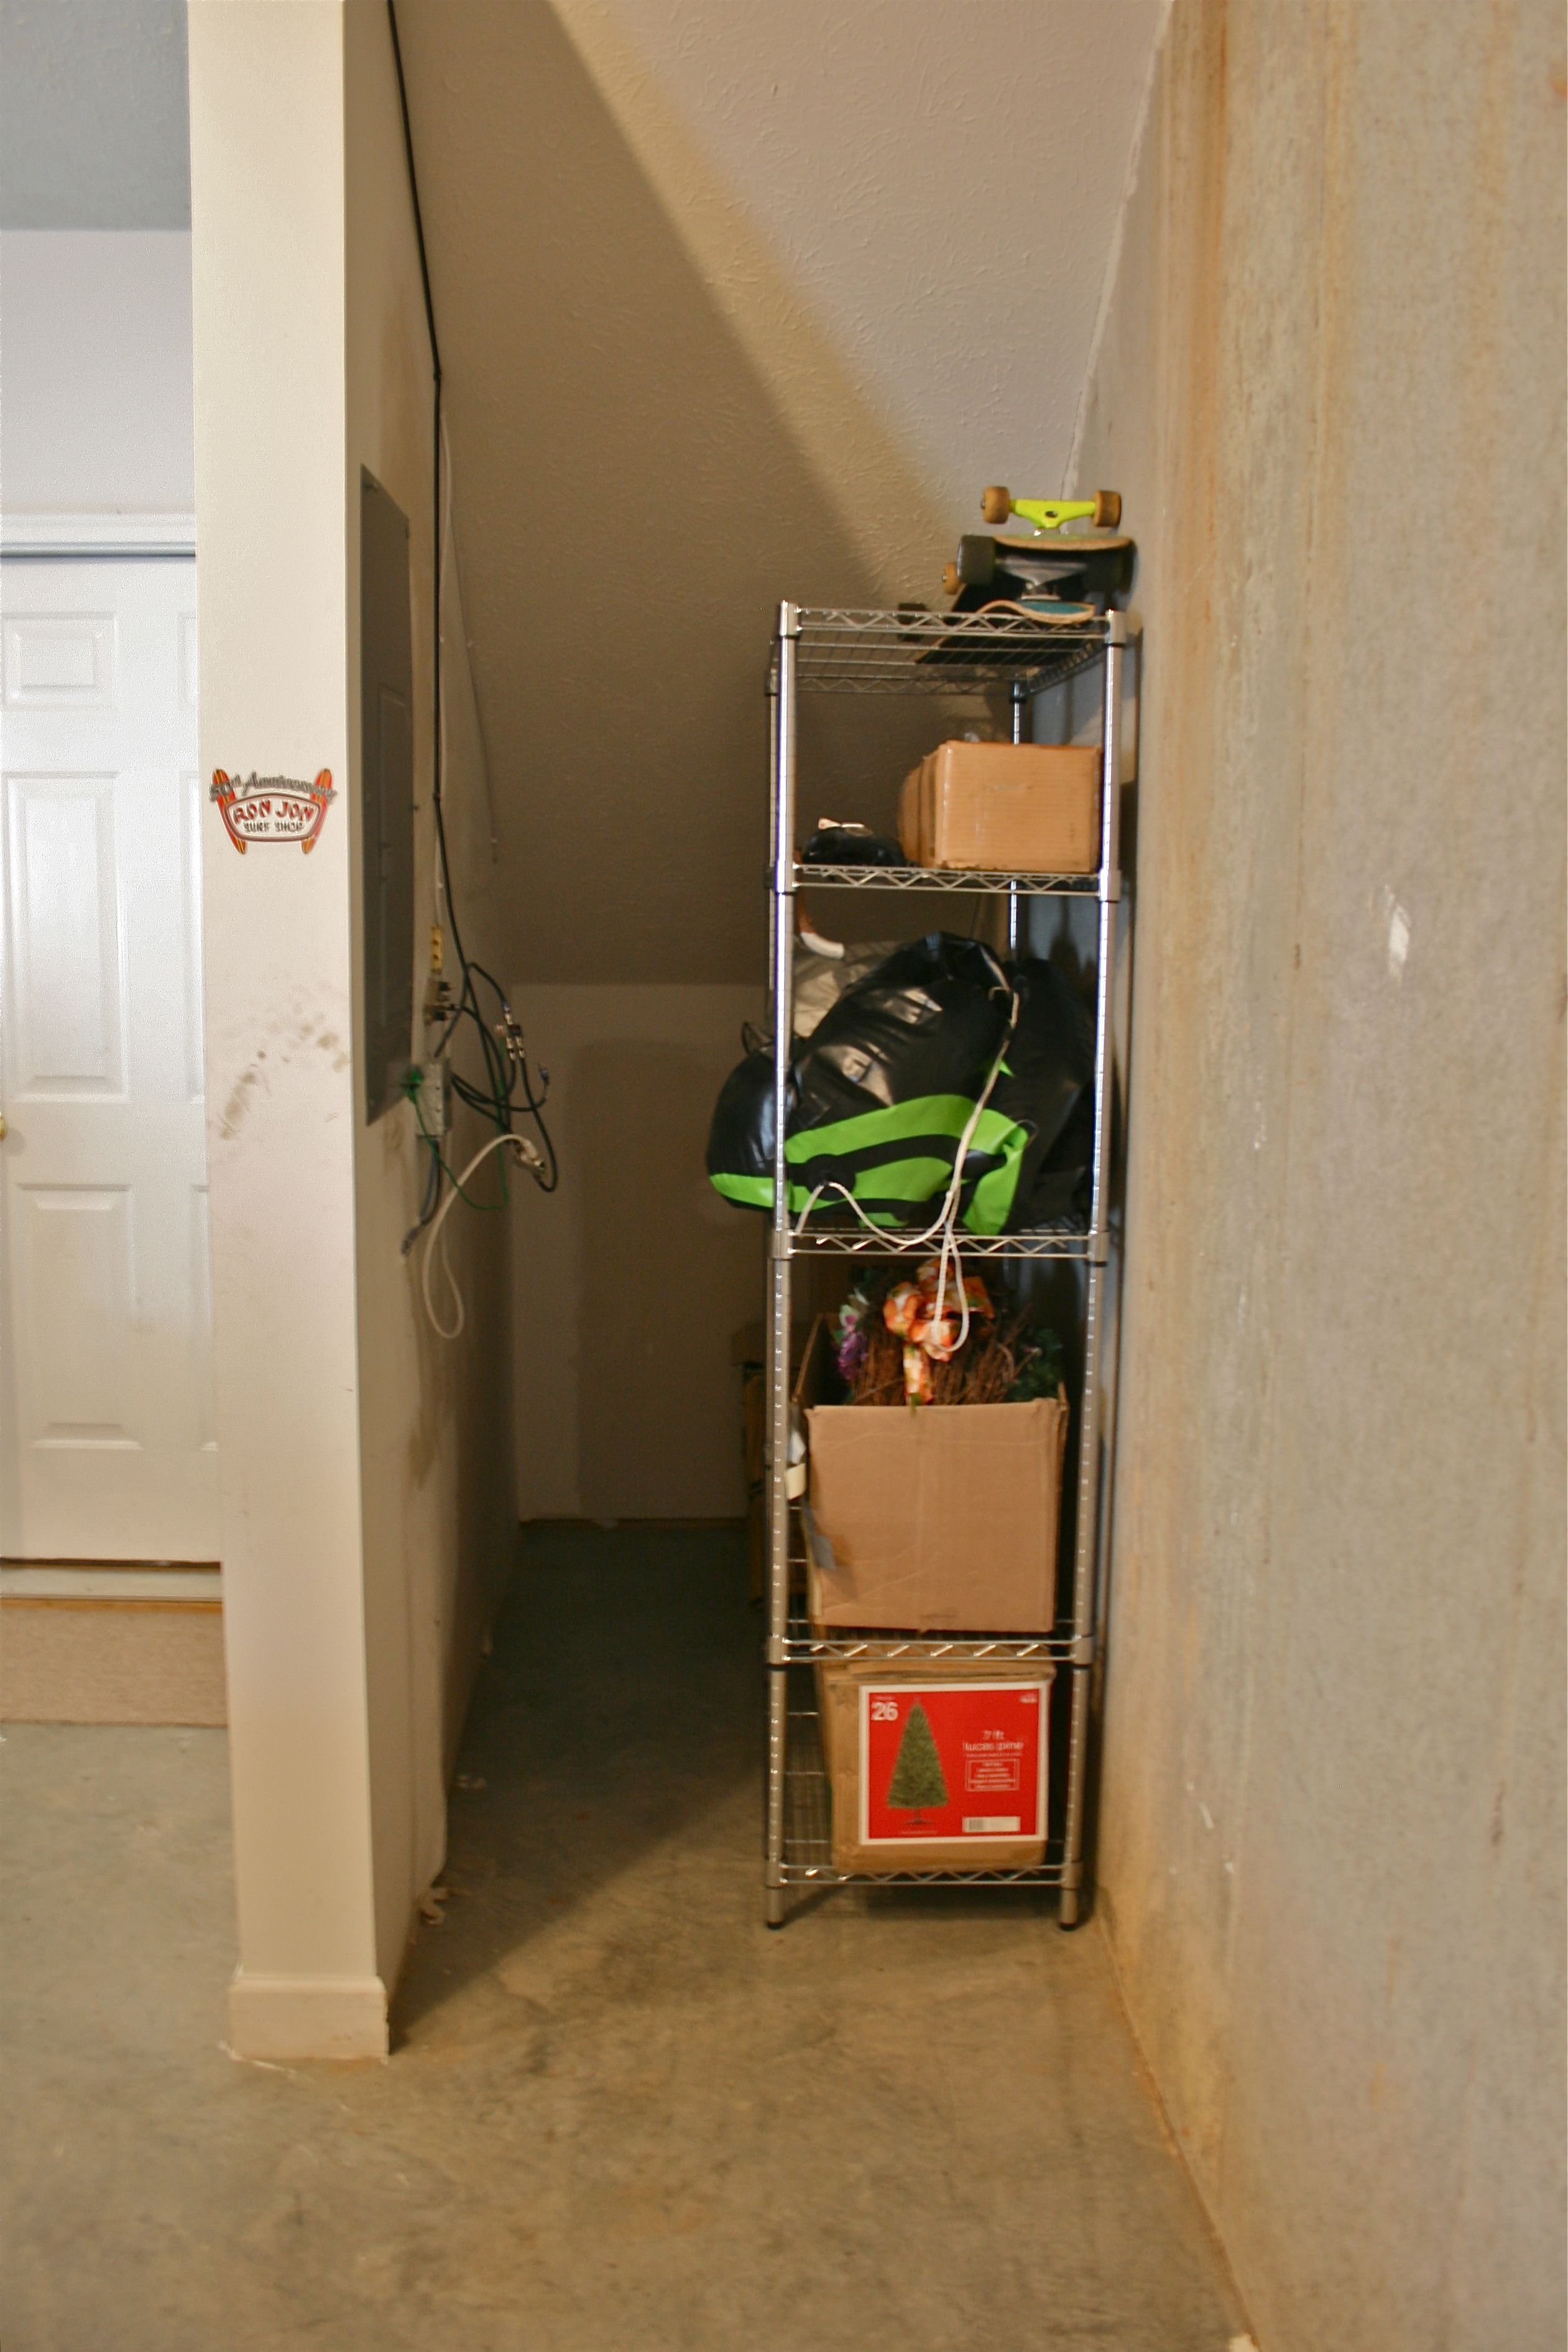
Didn’t get too many photos of the finish-up since I was helping, but here it is in place under the stairs and full of our things! It’s soooooooooo nice to have everything in its place and out of John’s way…
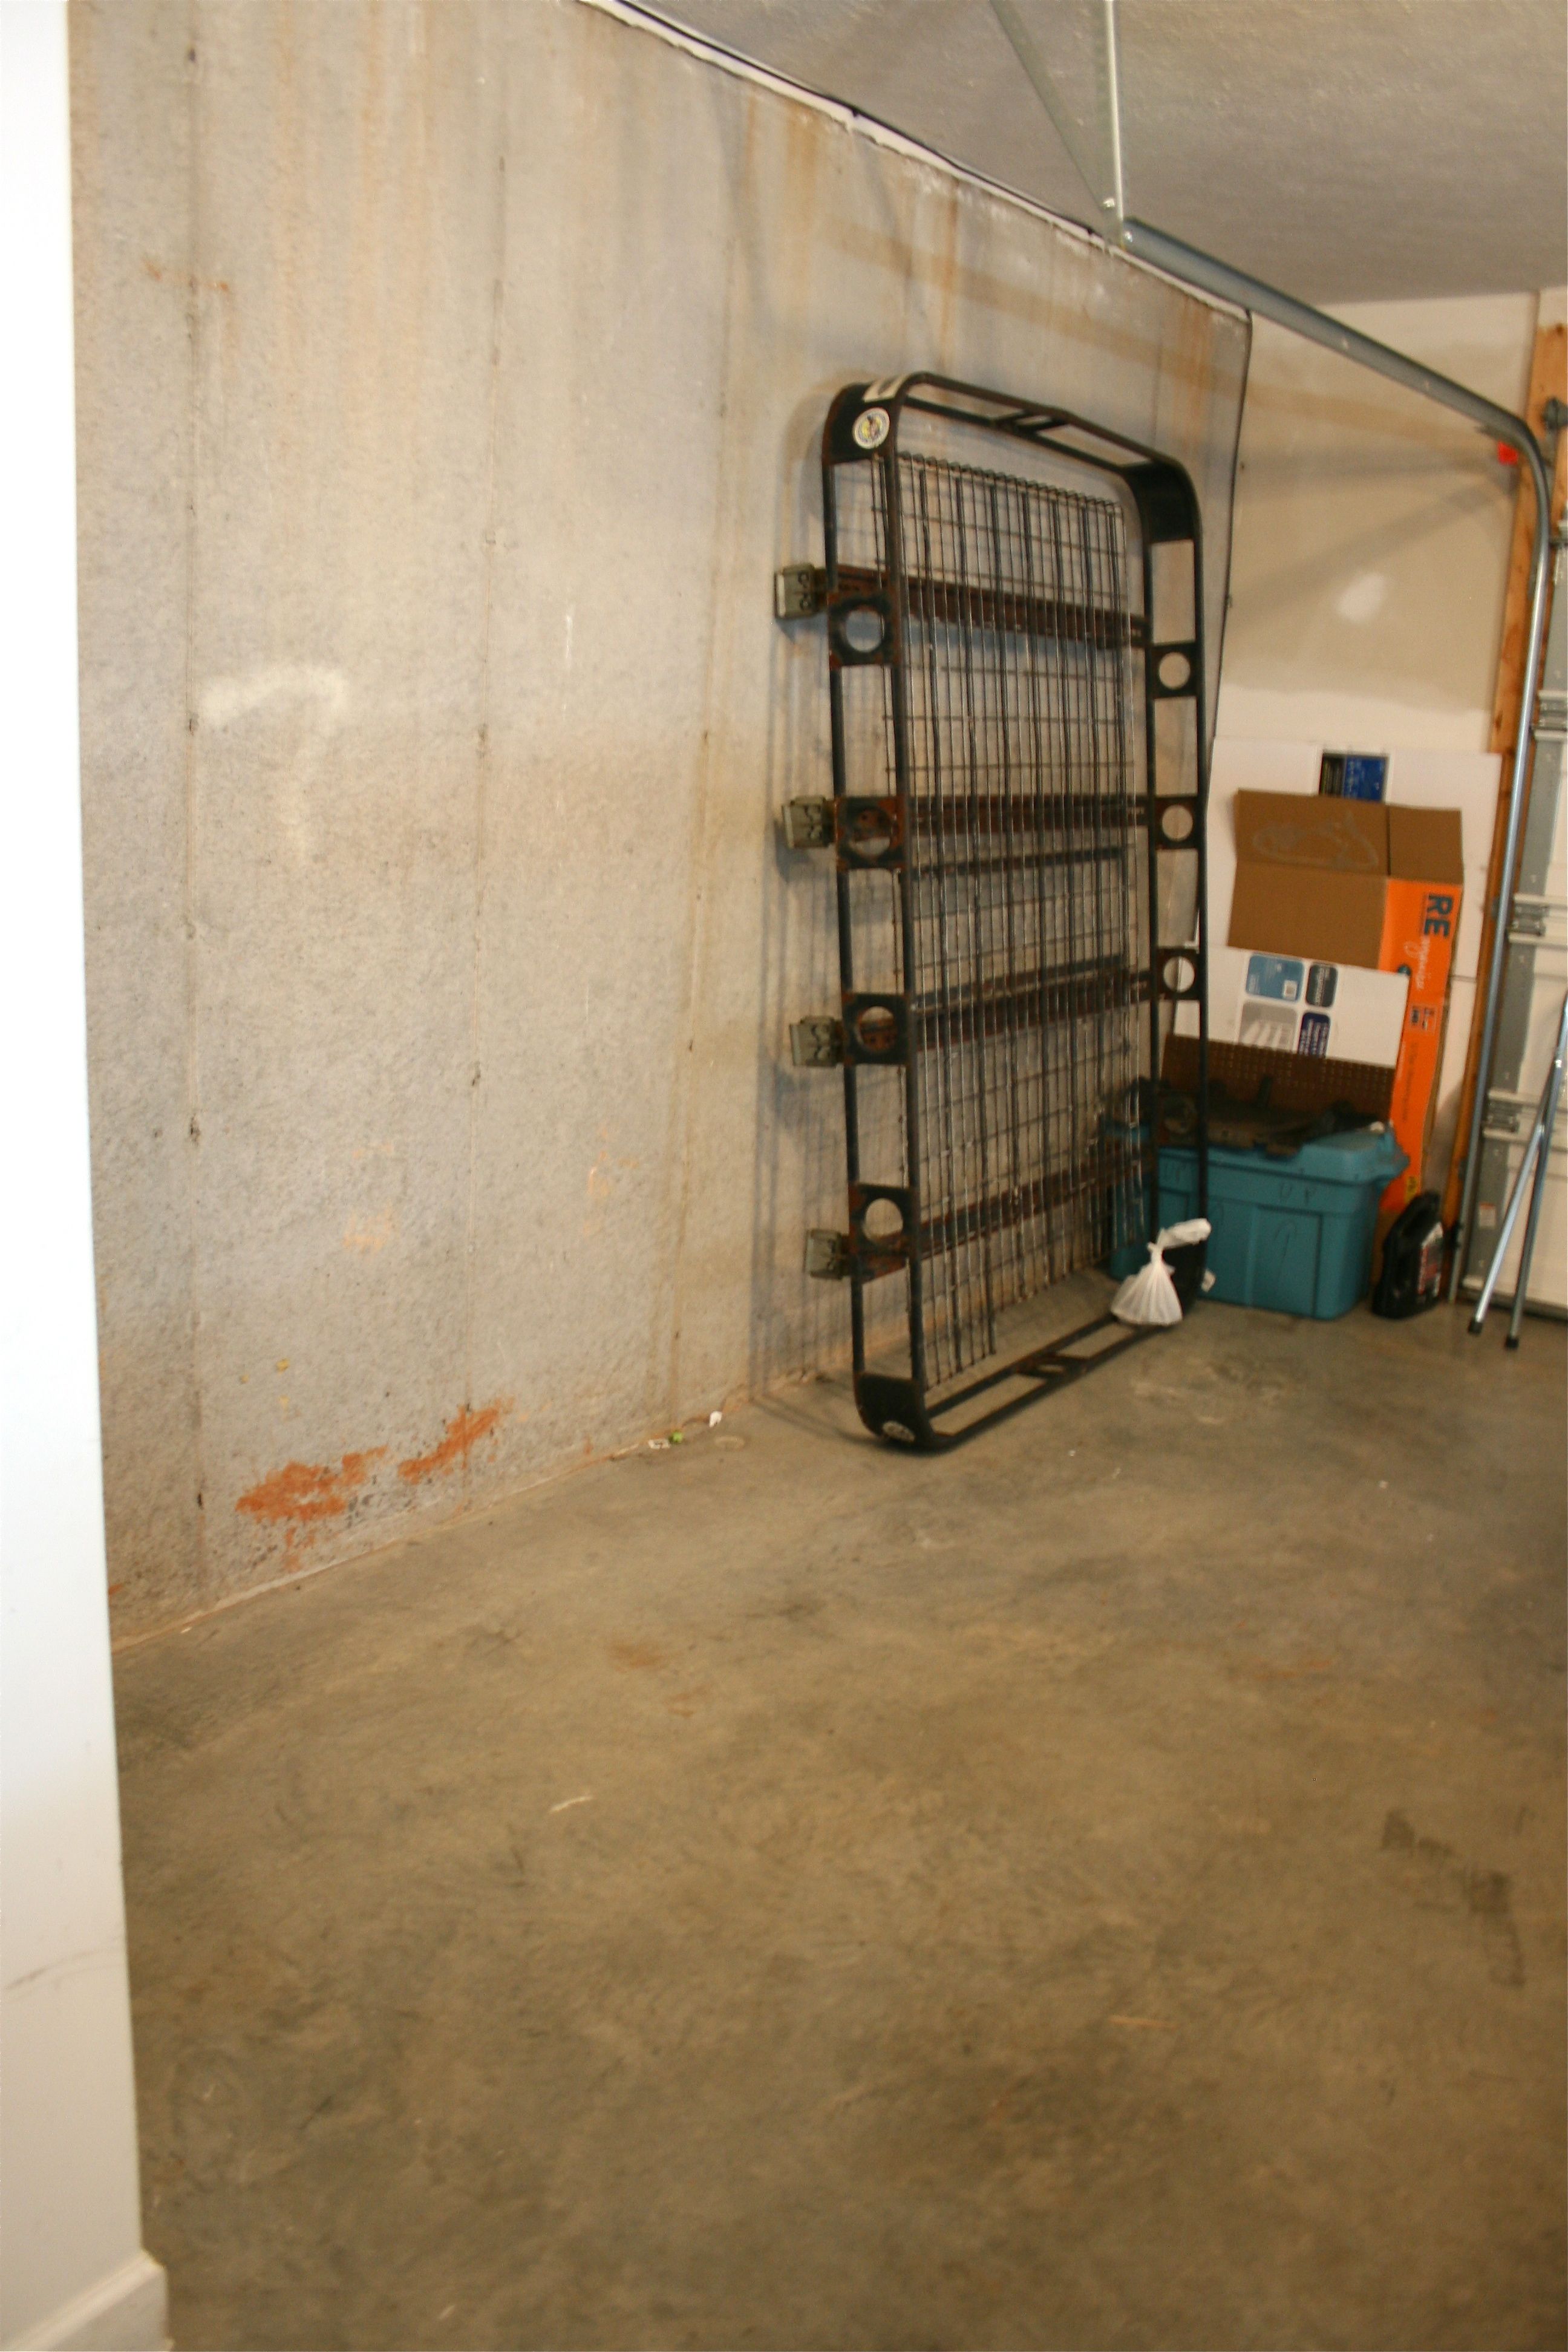
Oh, and John decided to get rid of the metal car-top rack, so we pulled it out and left it off to the side. That’ll be a fun project whenever we get around to it ::sarcasm:: Maybe you can’t exactly tell from the photo but it’s taller than John and I and weighs an INORDINATE amount of pounds…But it’ll be good to finally be free of it so that John can build the nice work bench he’s dreaming of along that wall. I think we’ll paint the wall too to cover up the exposed, stained concrete.
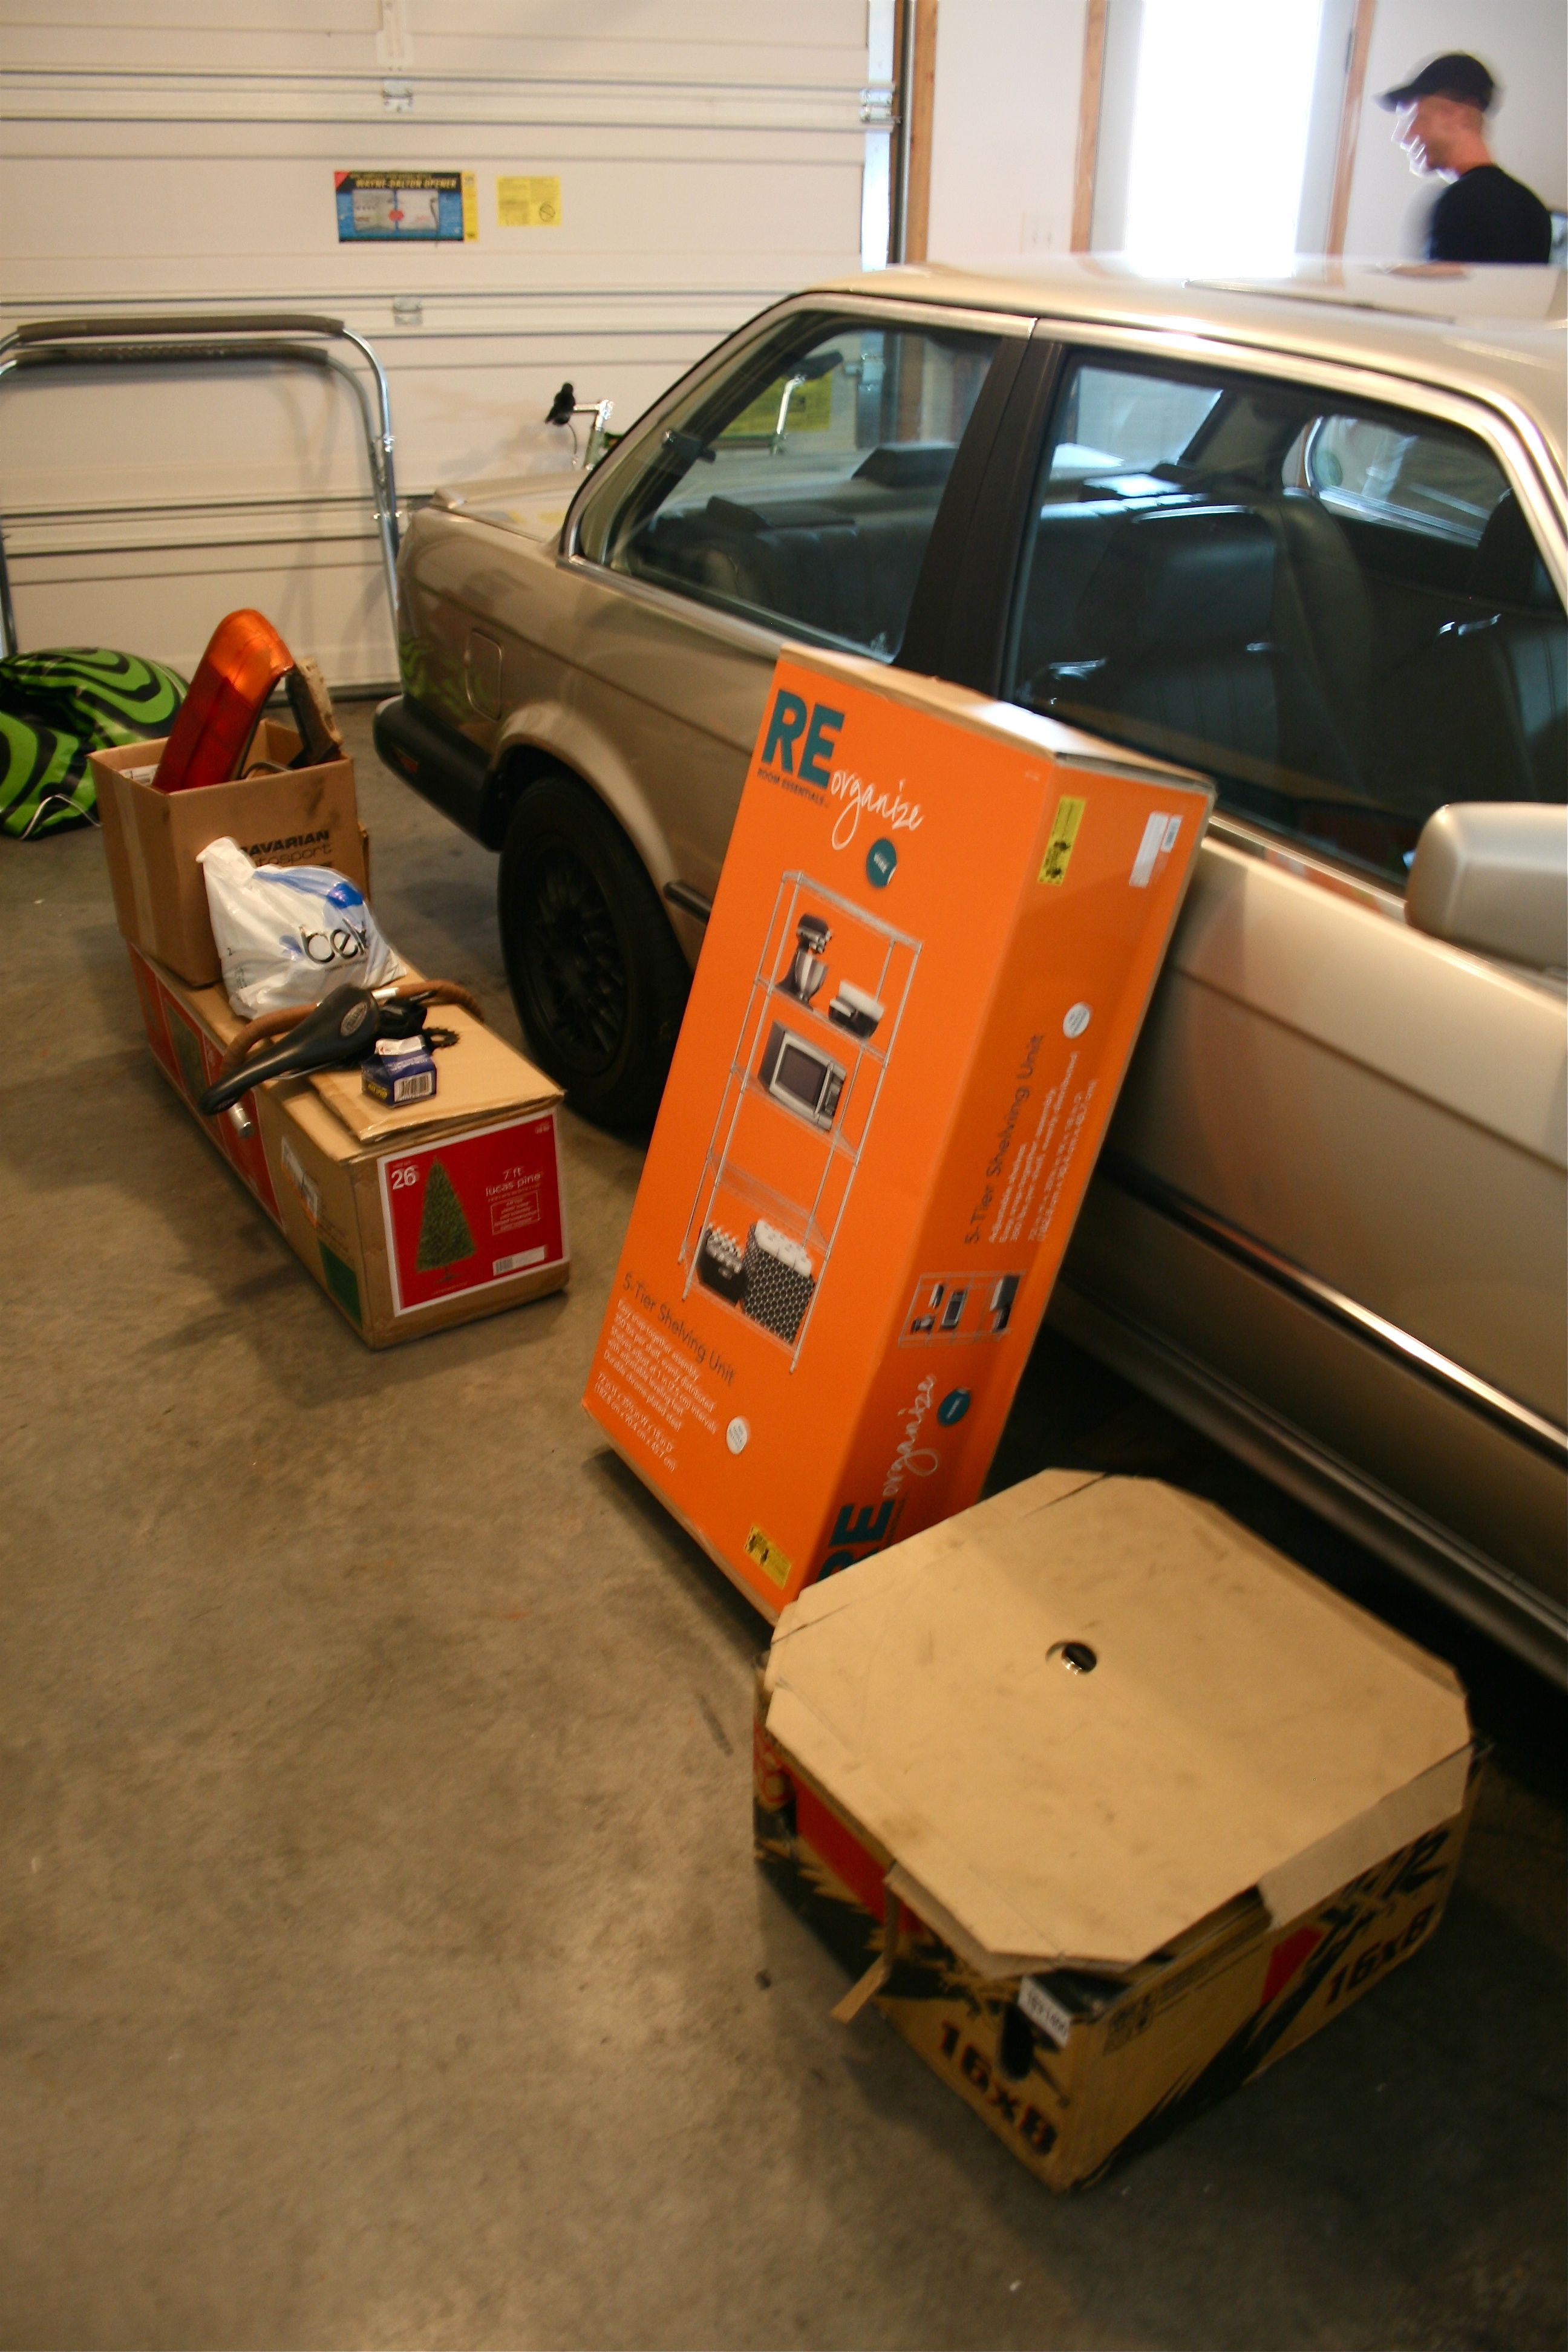
Here’s a quick “before and after” sequence for you!!! This is a photo as we were pulling everything out of the storage space to evaluate our plan of attack:
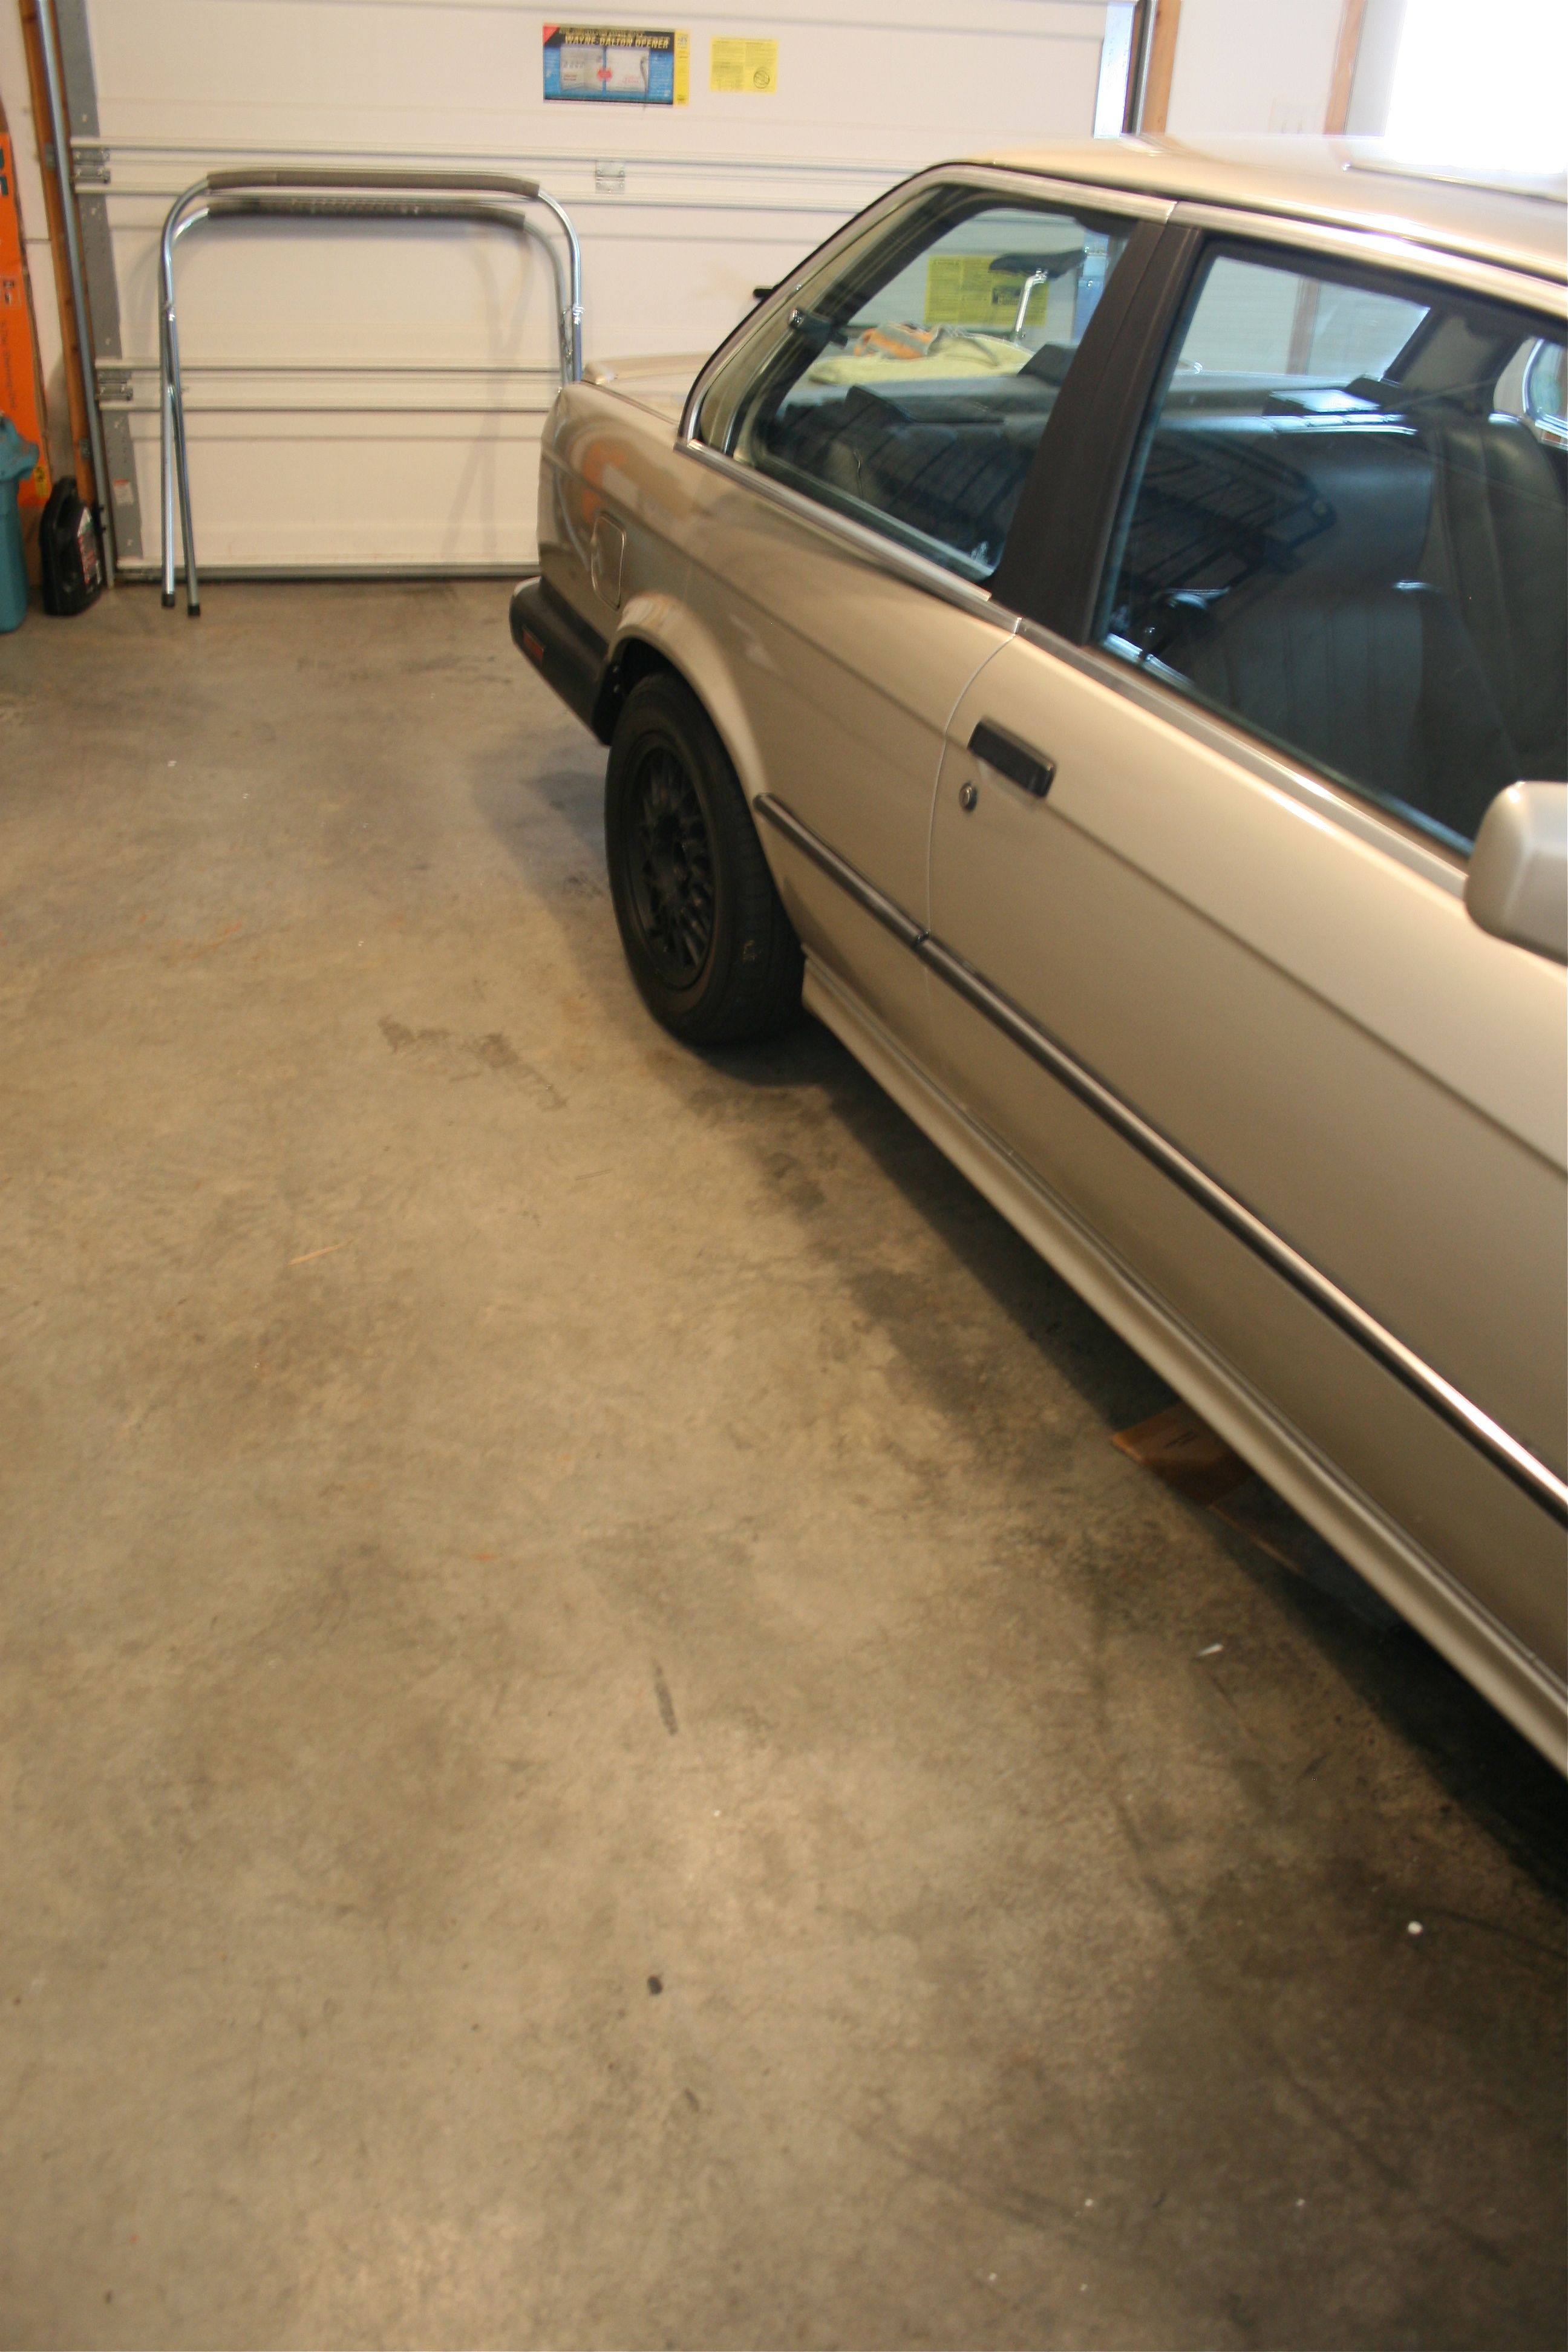
And here’s the garage all nice and clean!!!
(Sidenote: we did move that parts stand that’s leaning up against the garage door…But I guess it was after our photo shoot of the clean floor space. Oops!)
Here’s the perfectly straightened corner one more time! I know I’m sighing happily just looking at it 🙂
Have a great Wednesday! Halfway to the weekend…

