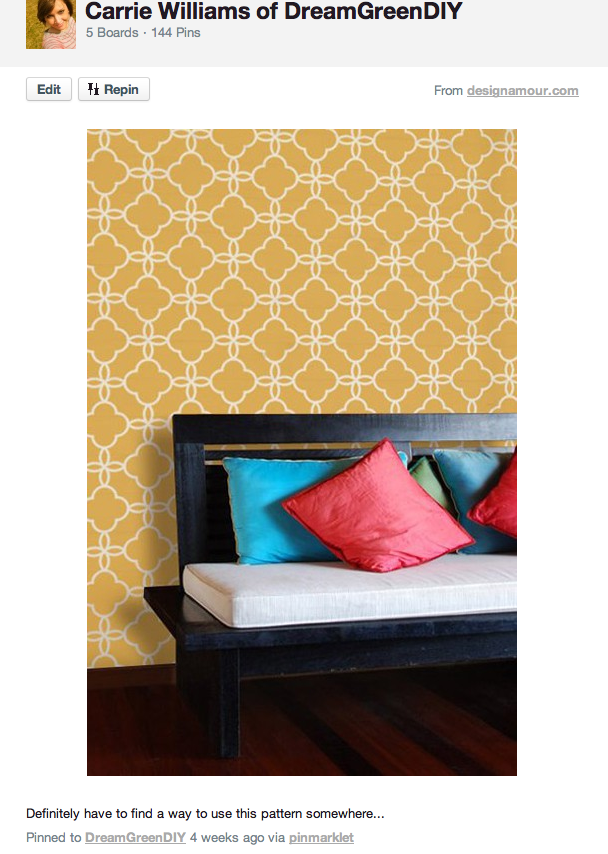
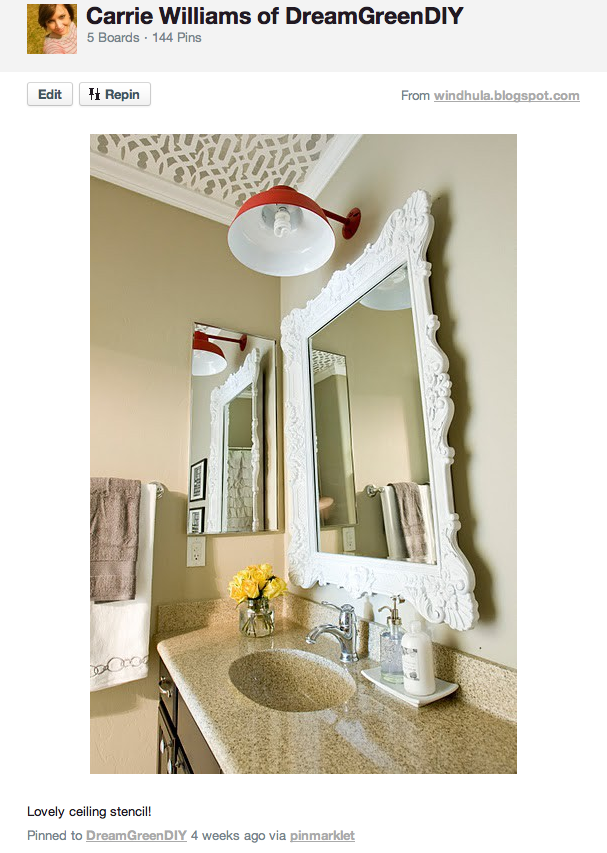
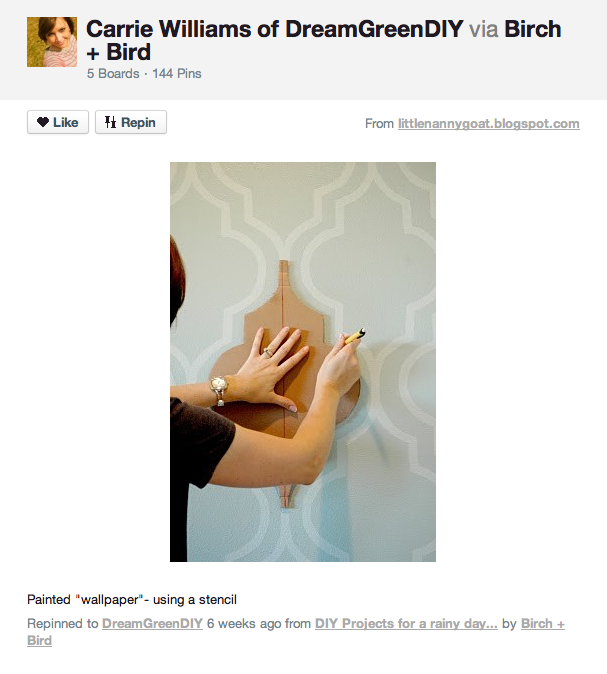
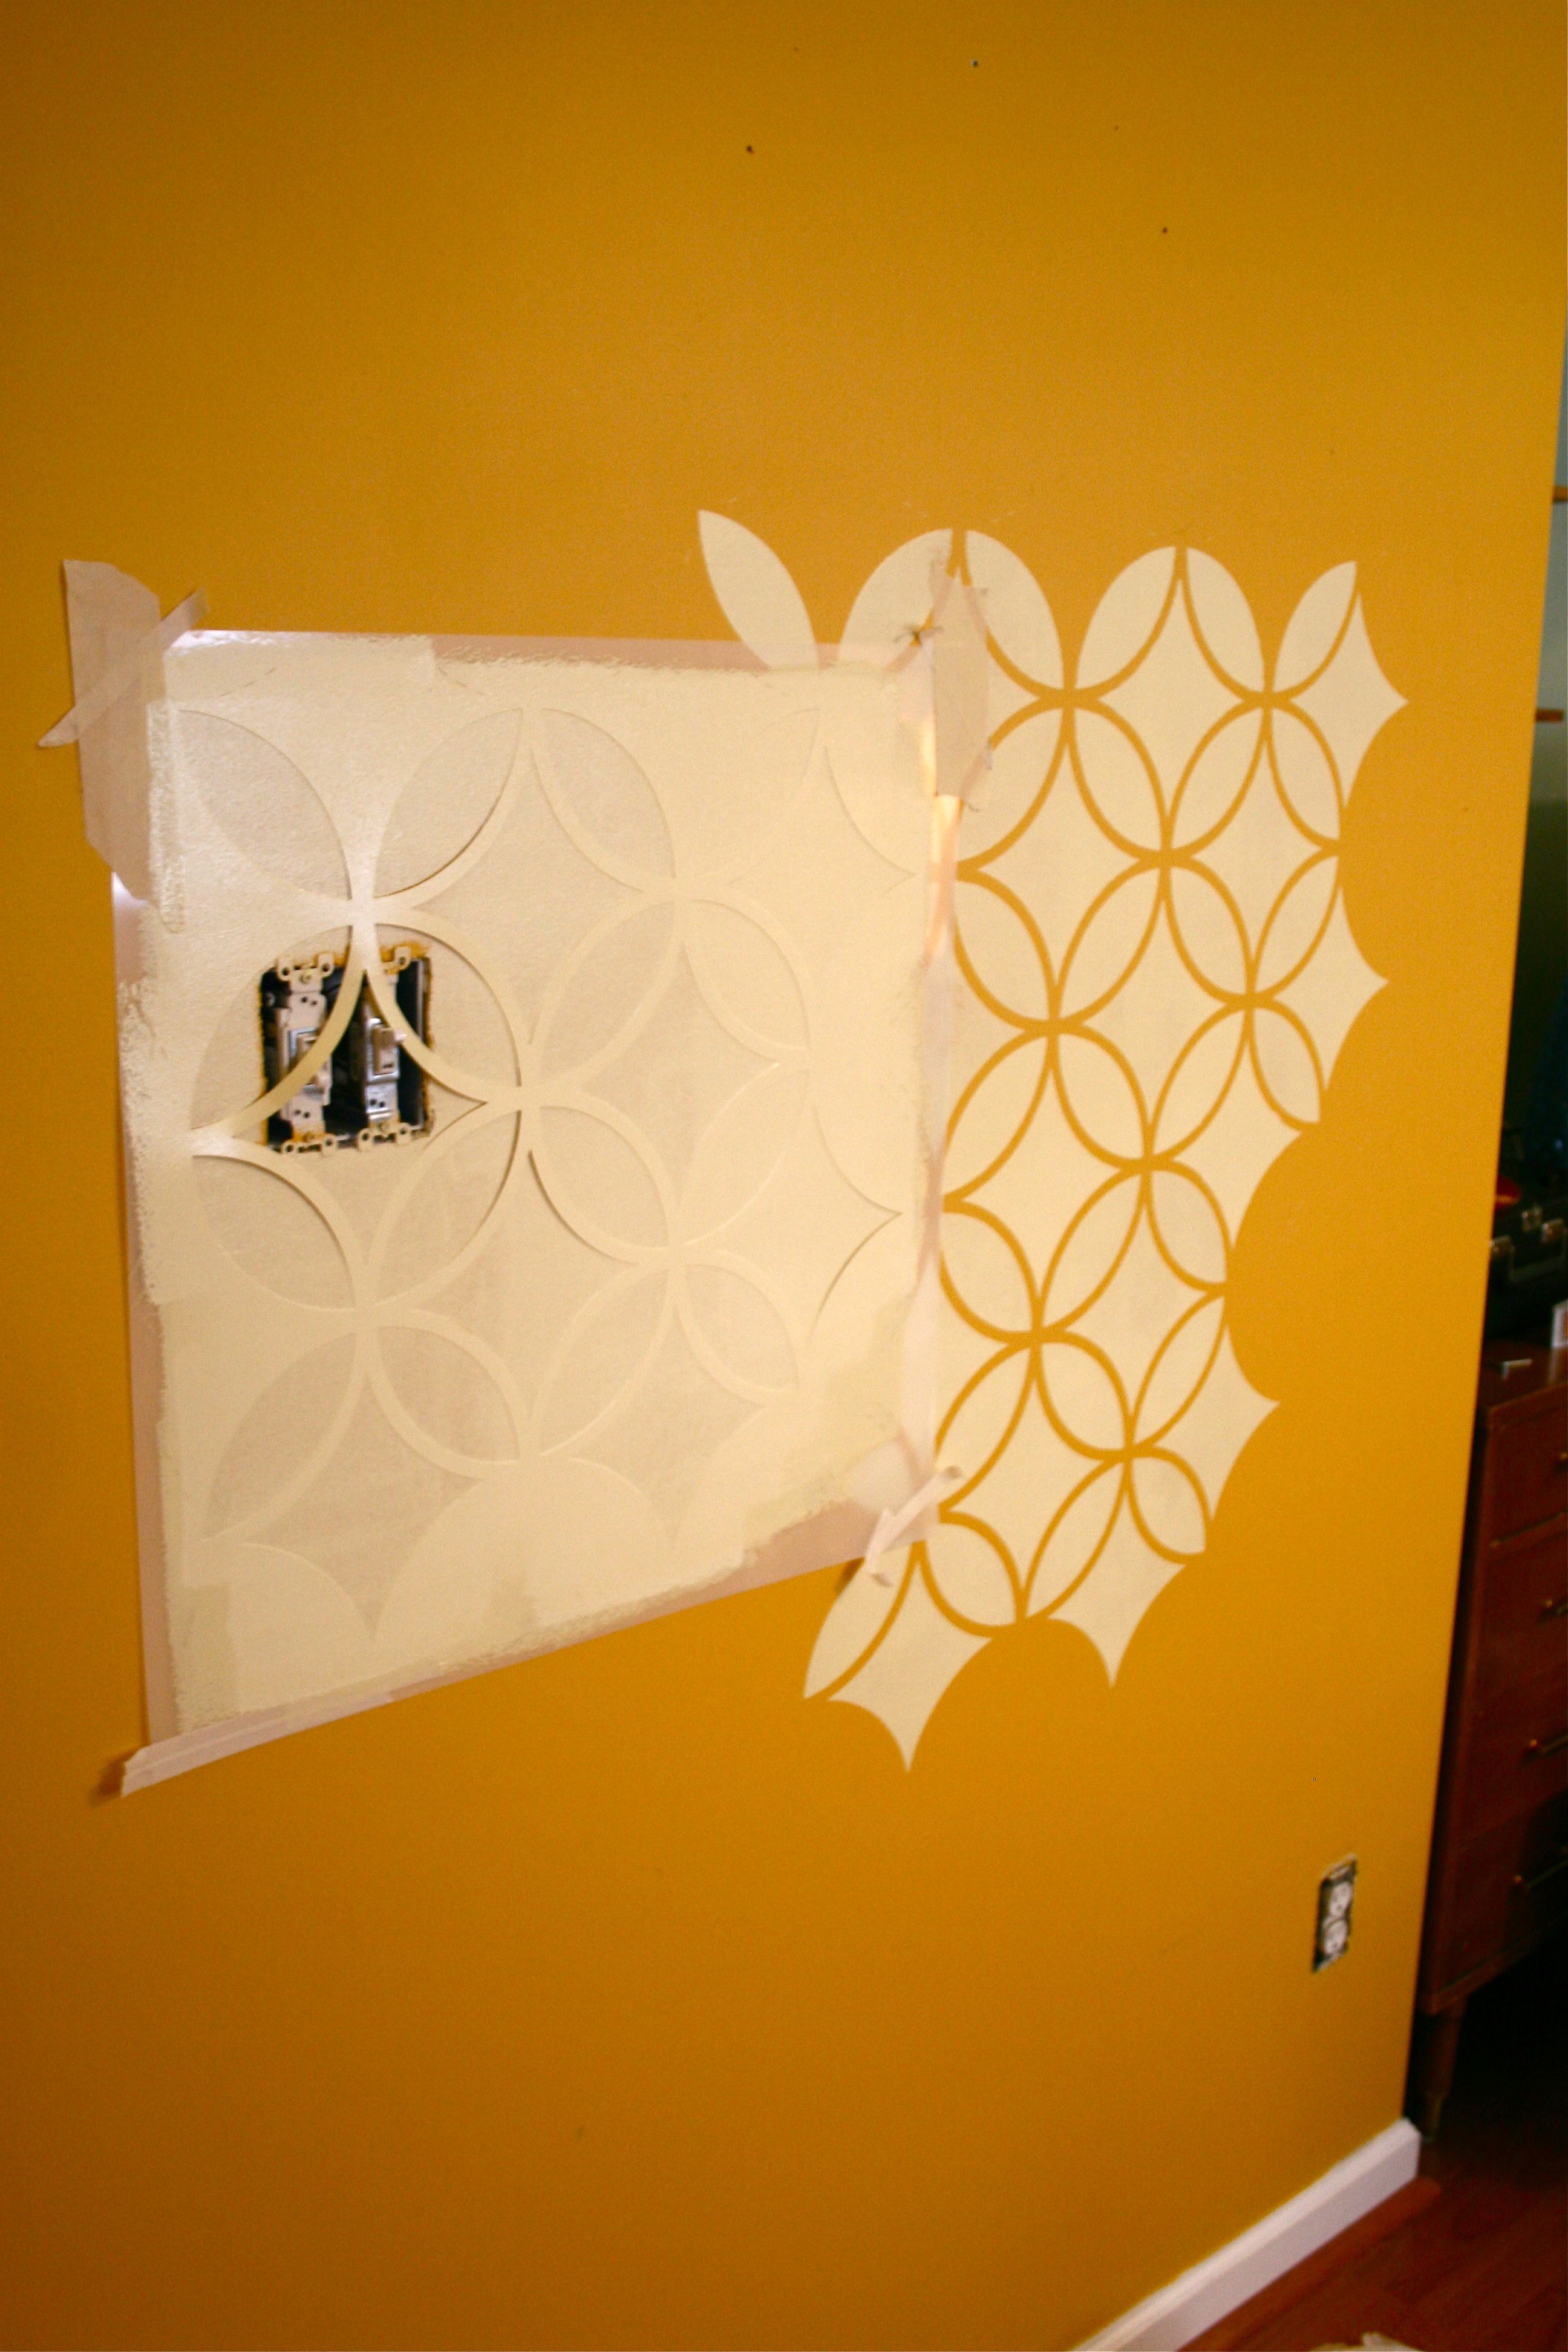
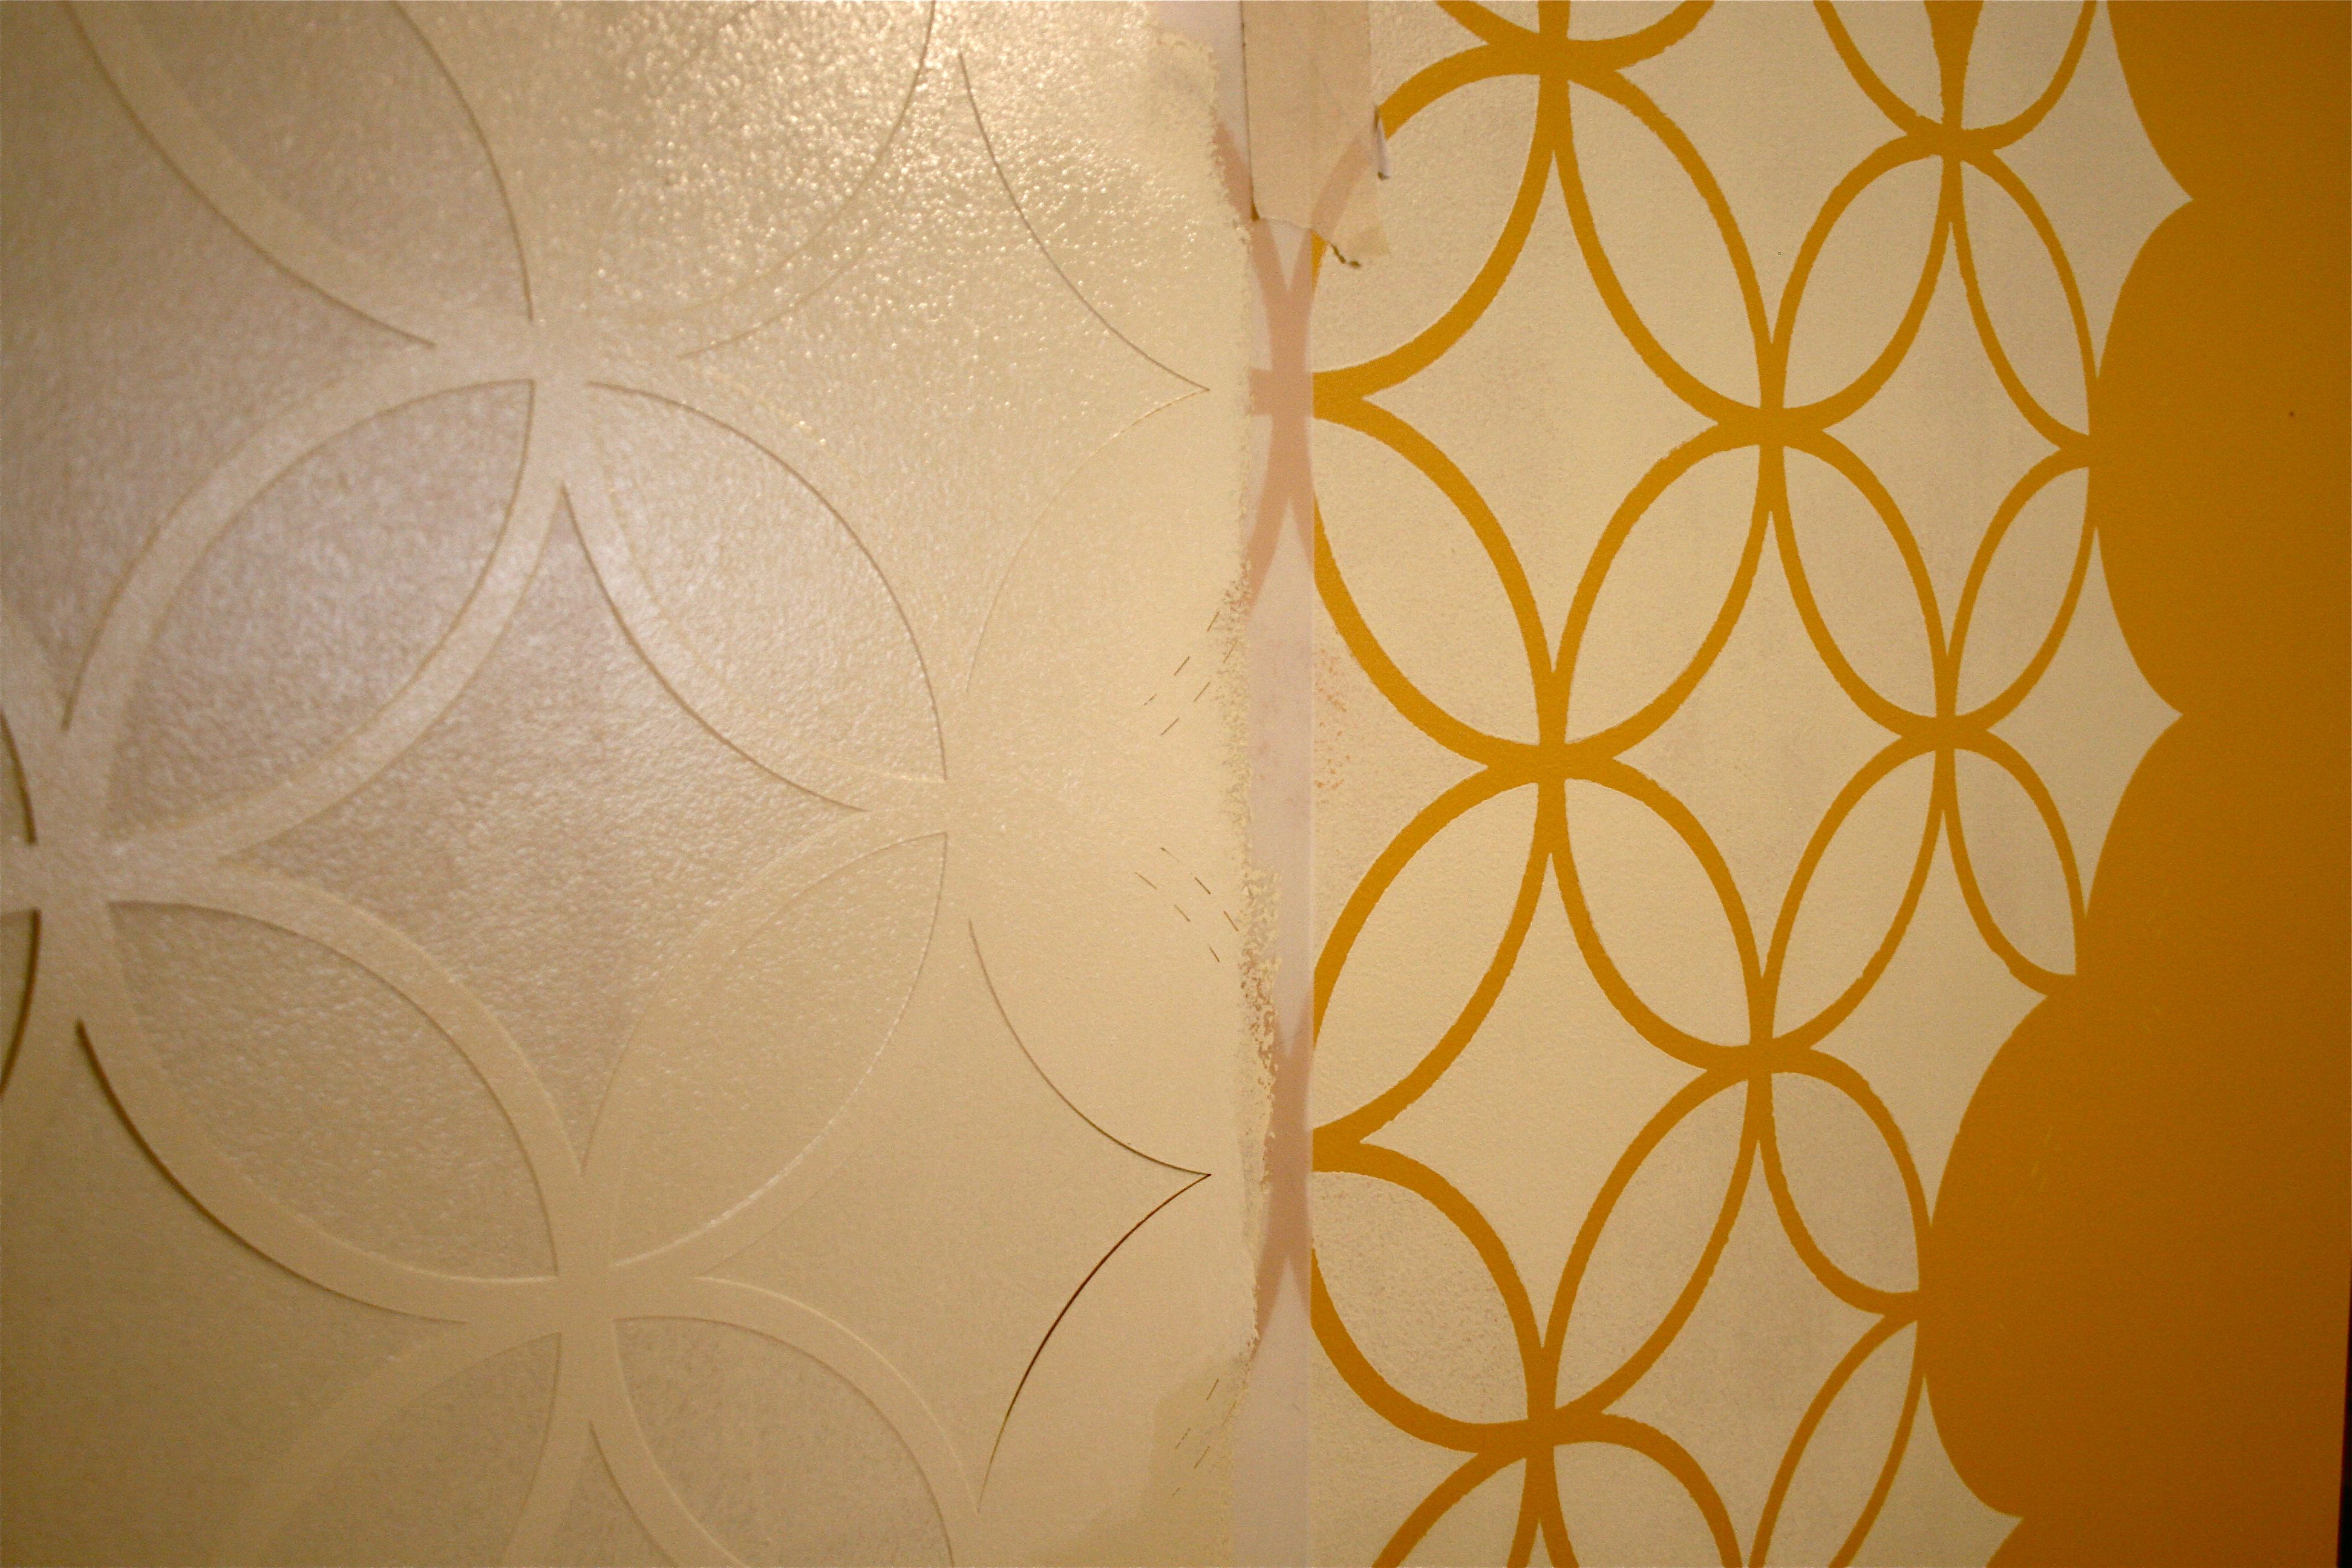
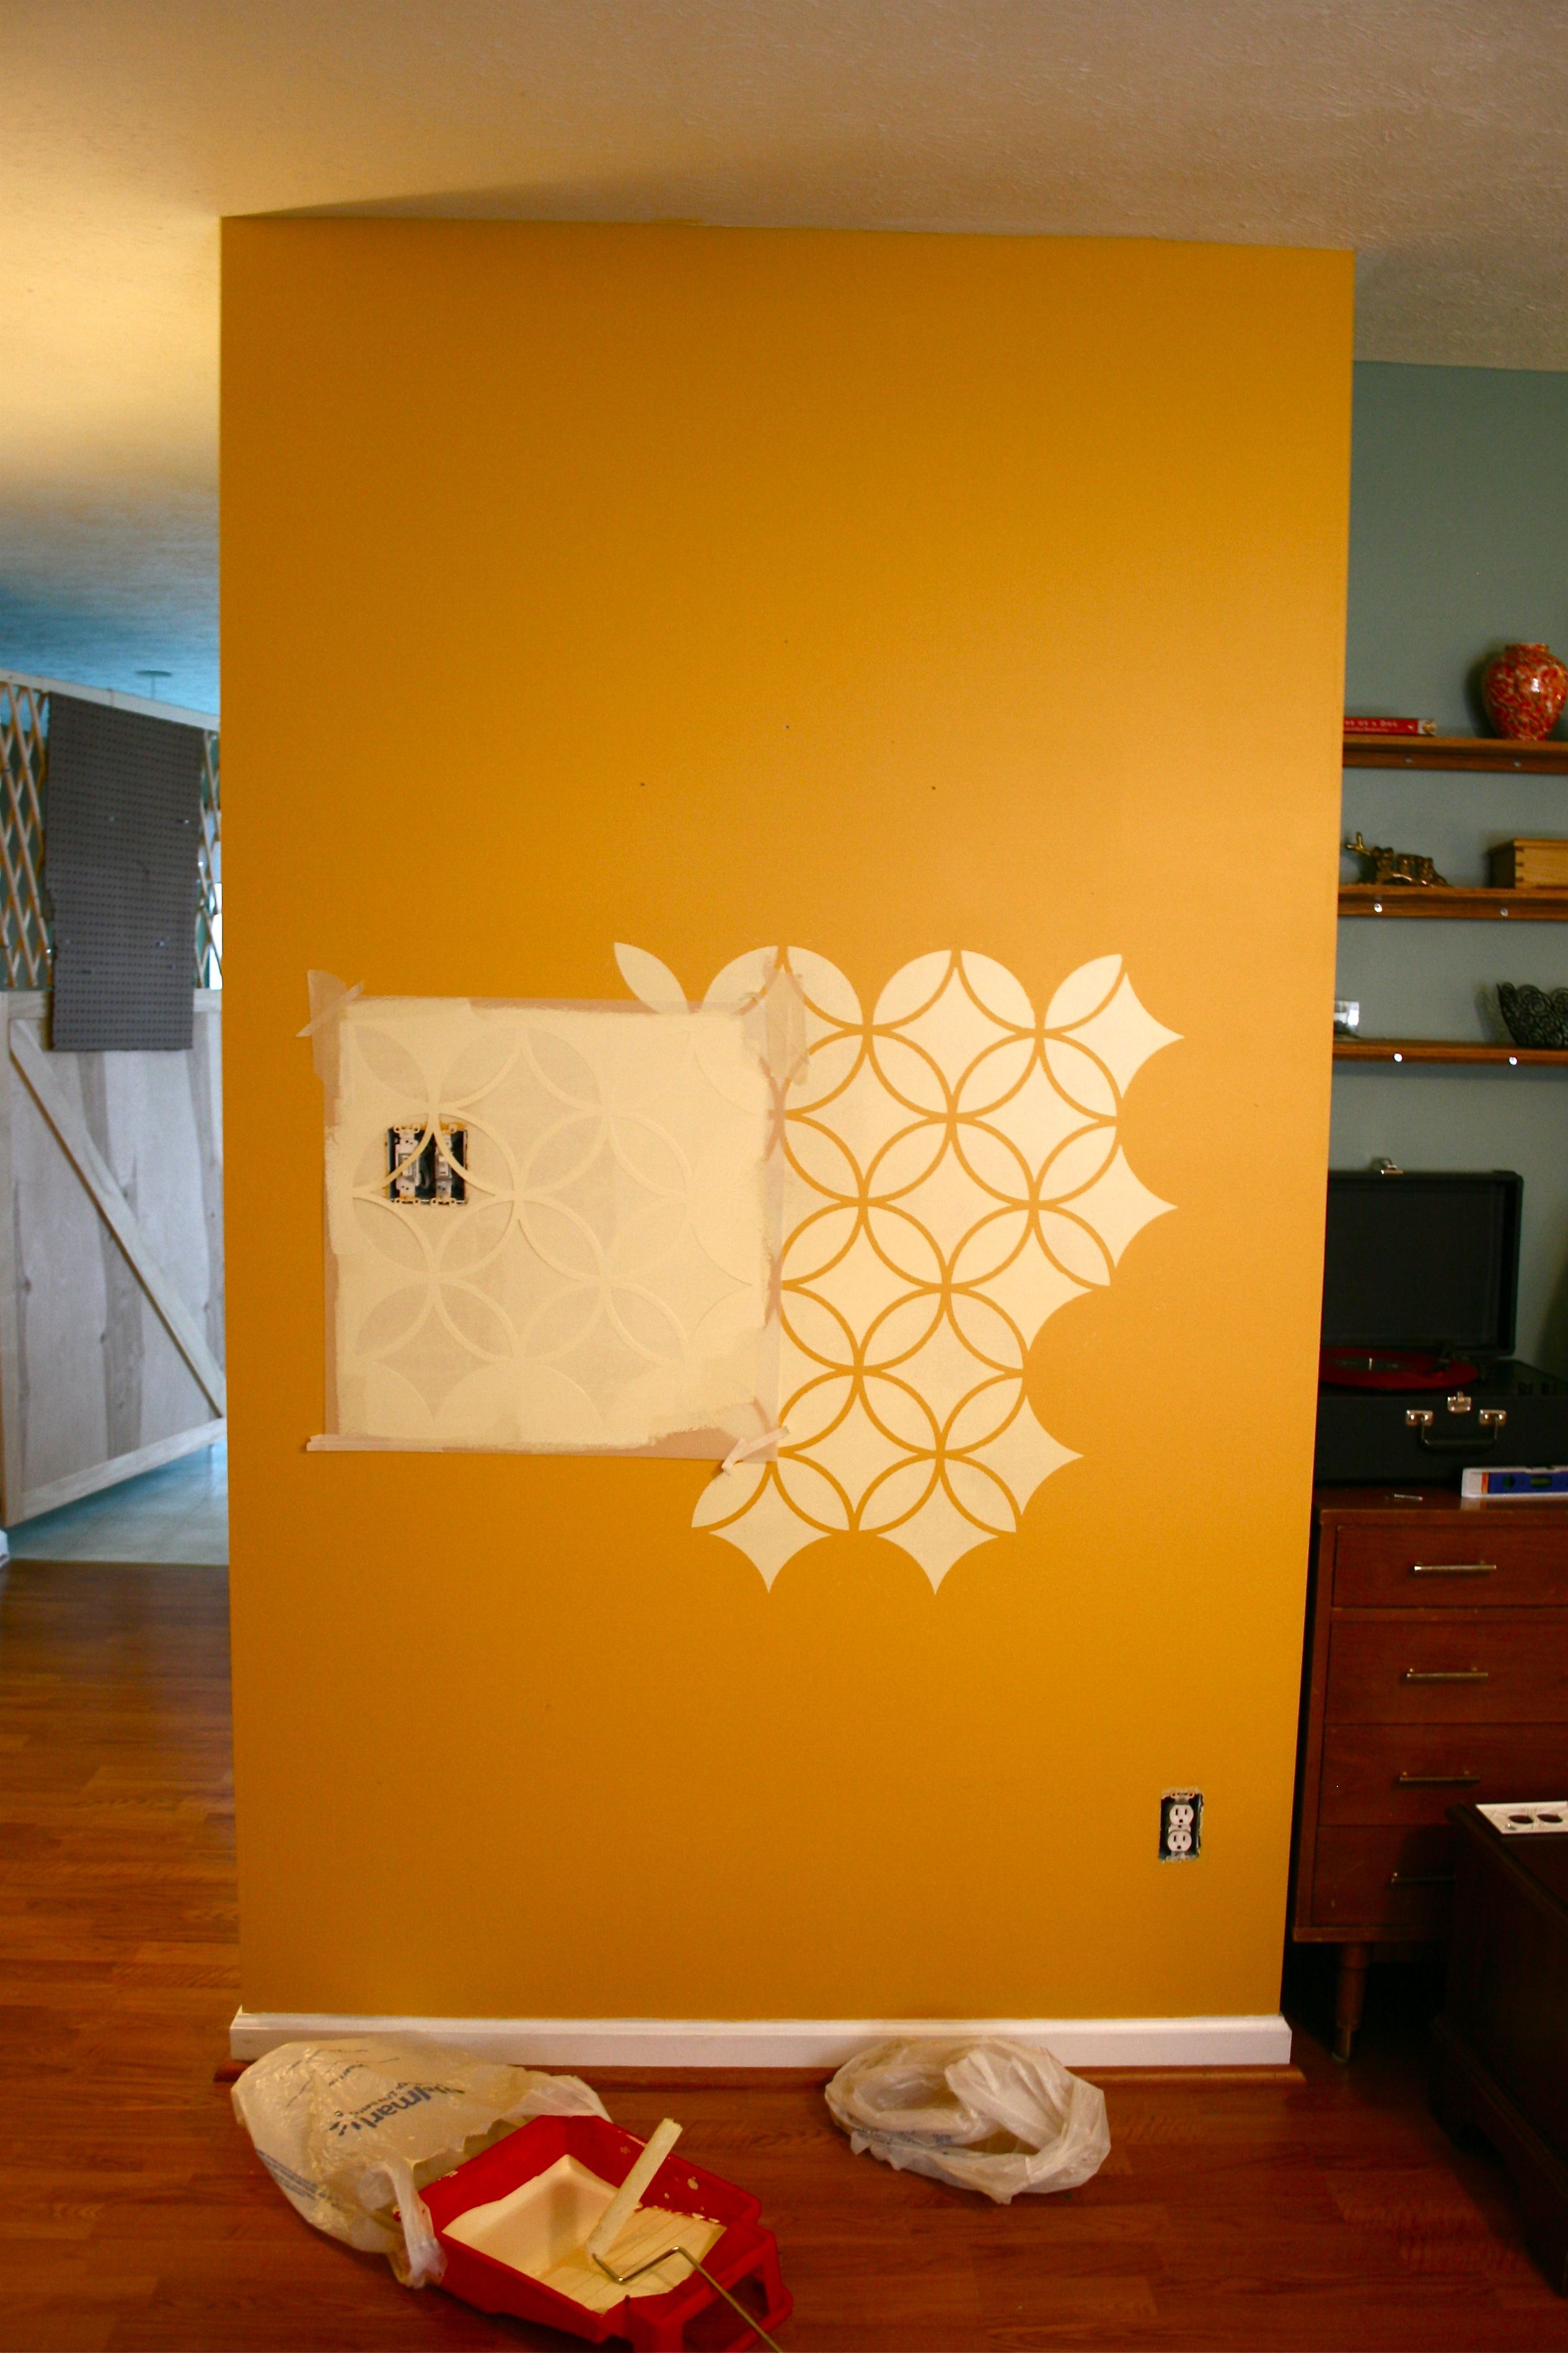
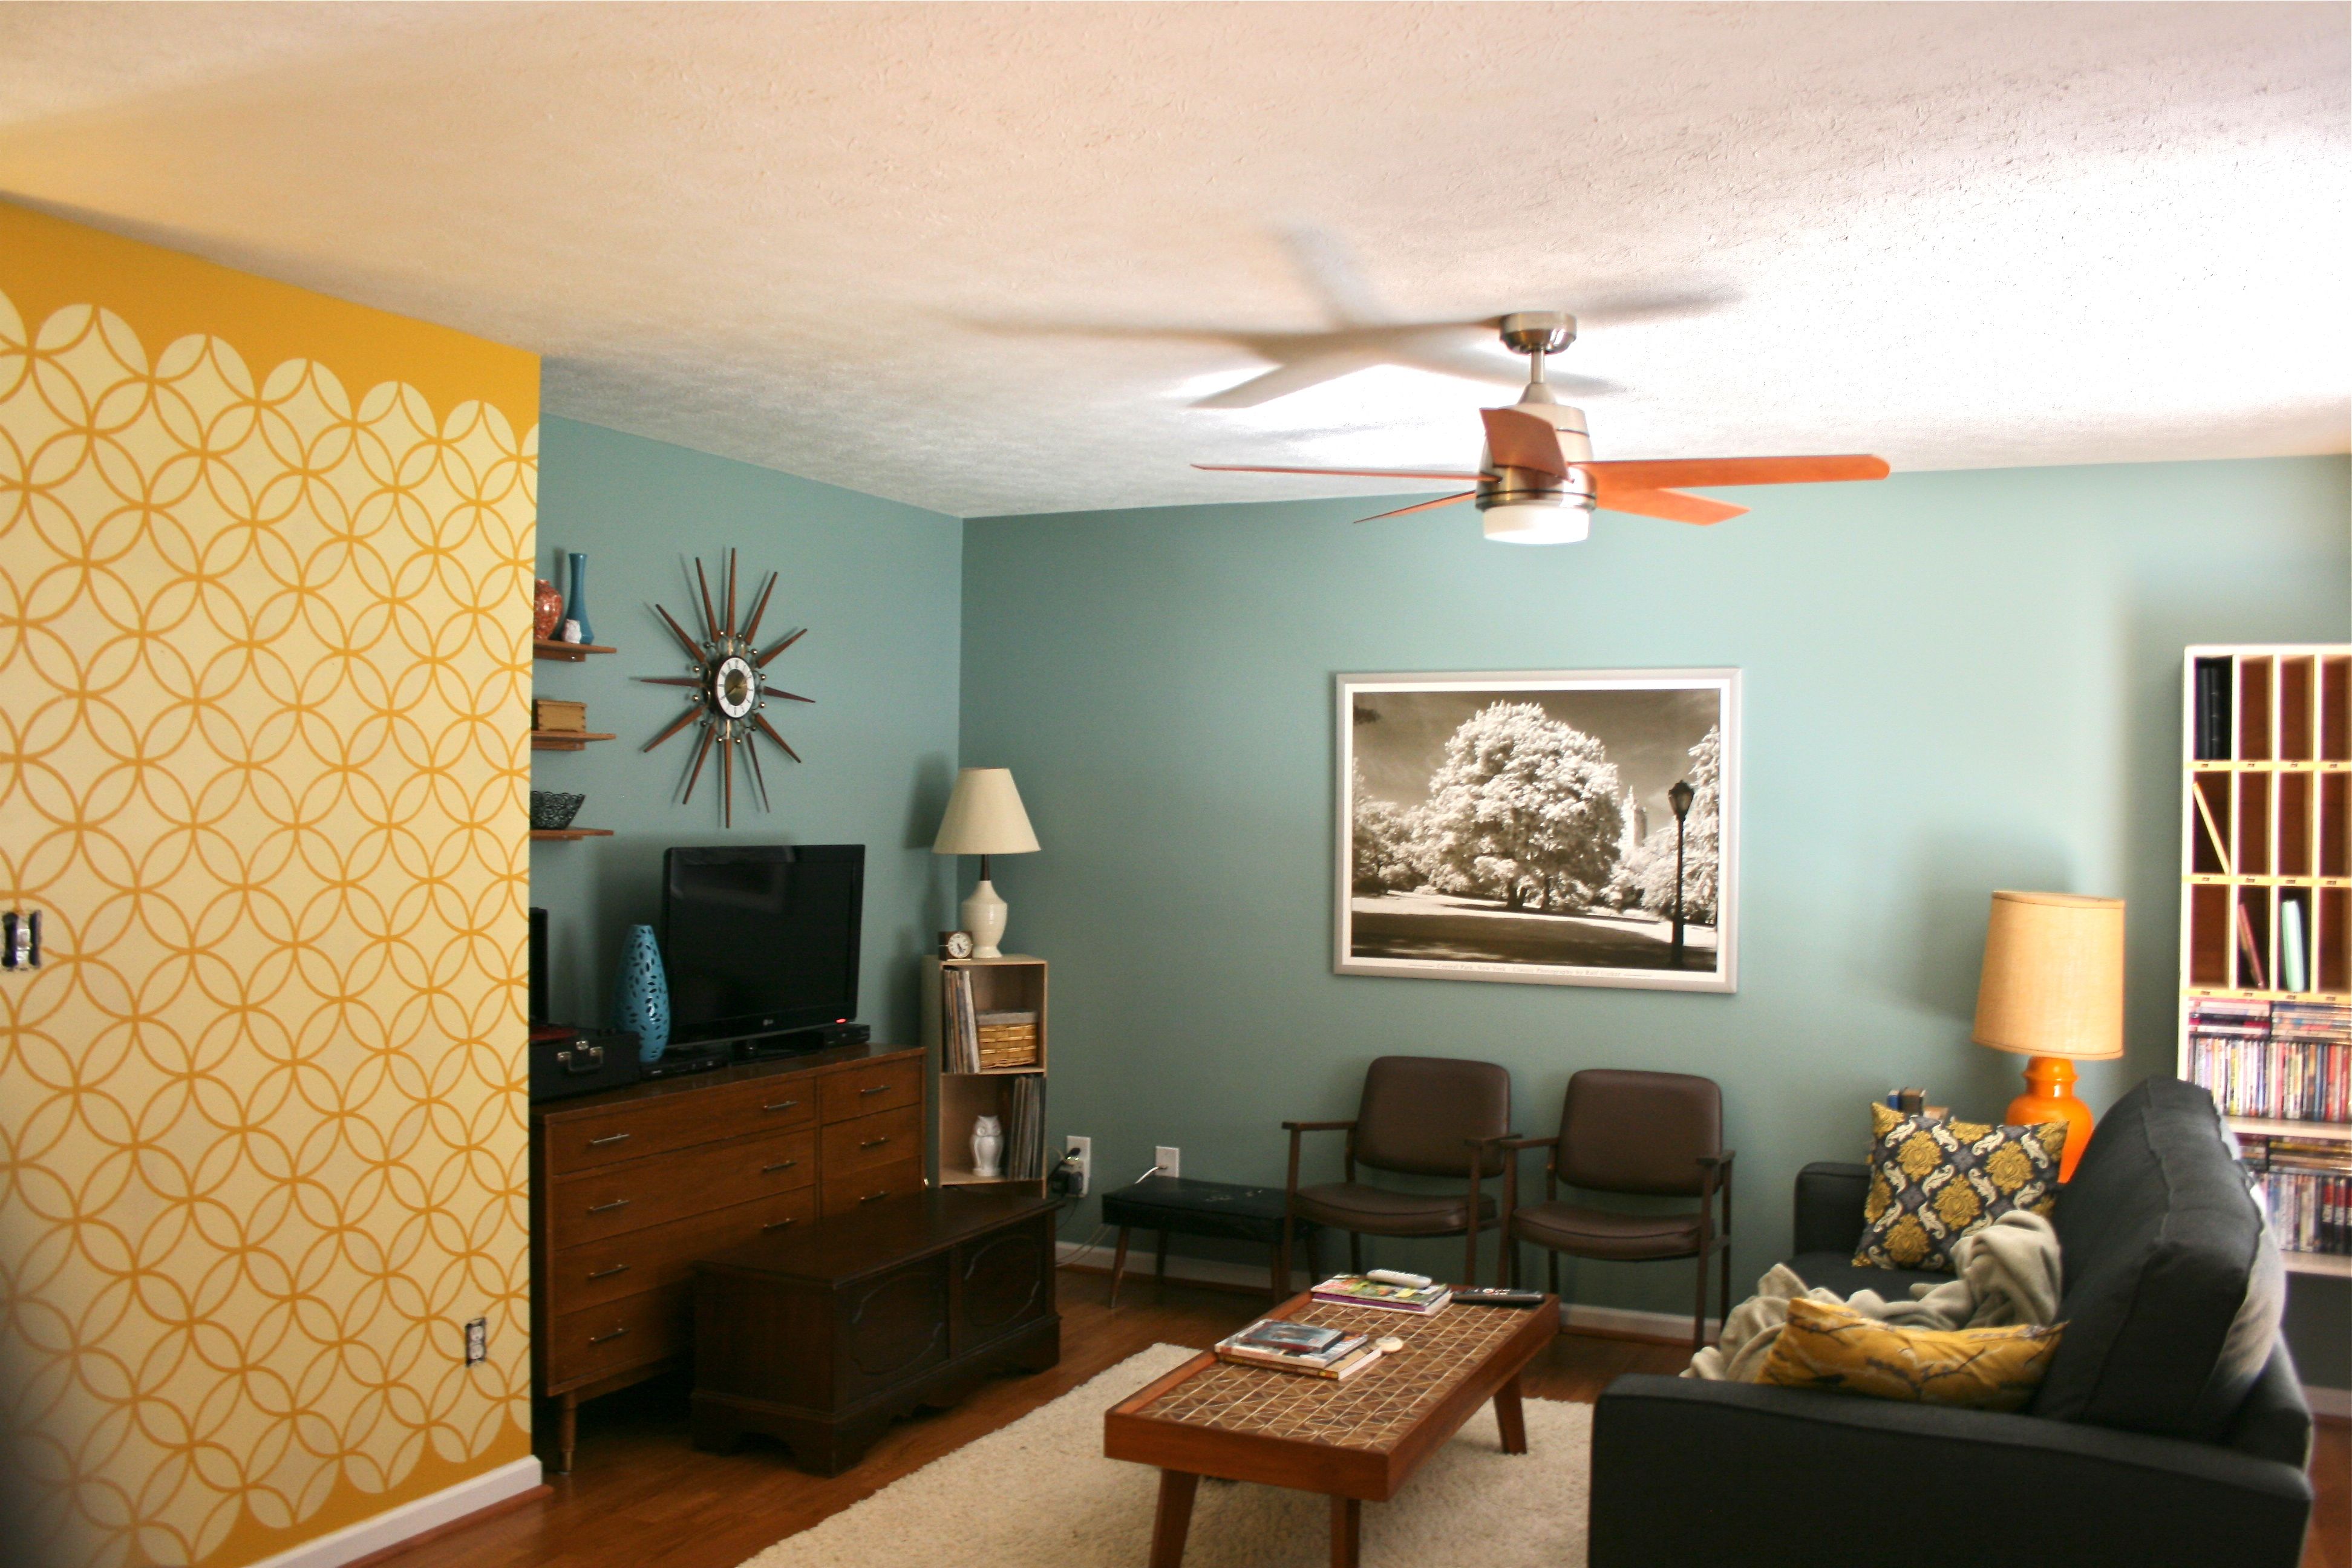
So, as with all Pinterest-inspired projects, it allllllll started with a little virtual musing:
Are you seeing the trend?? (As if the title of this post didn’t give it away…) Stencils!!!
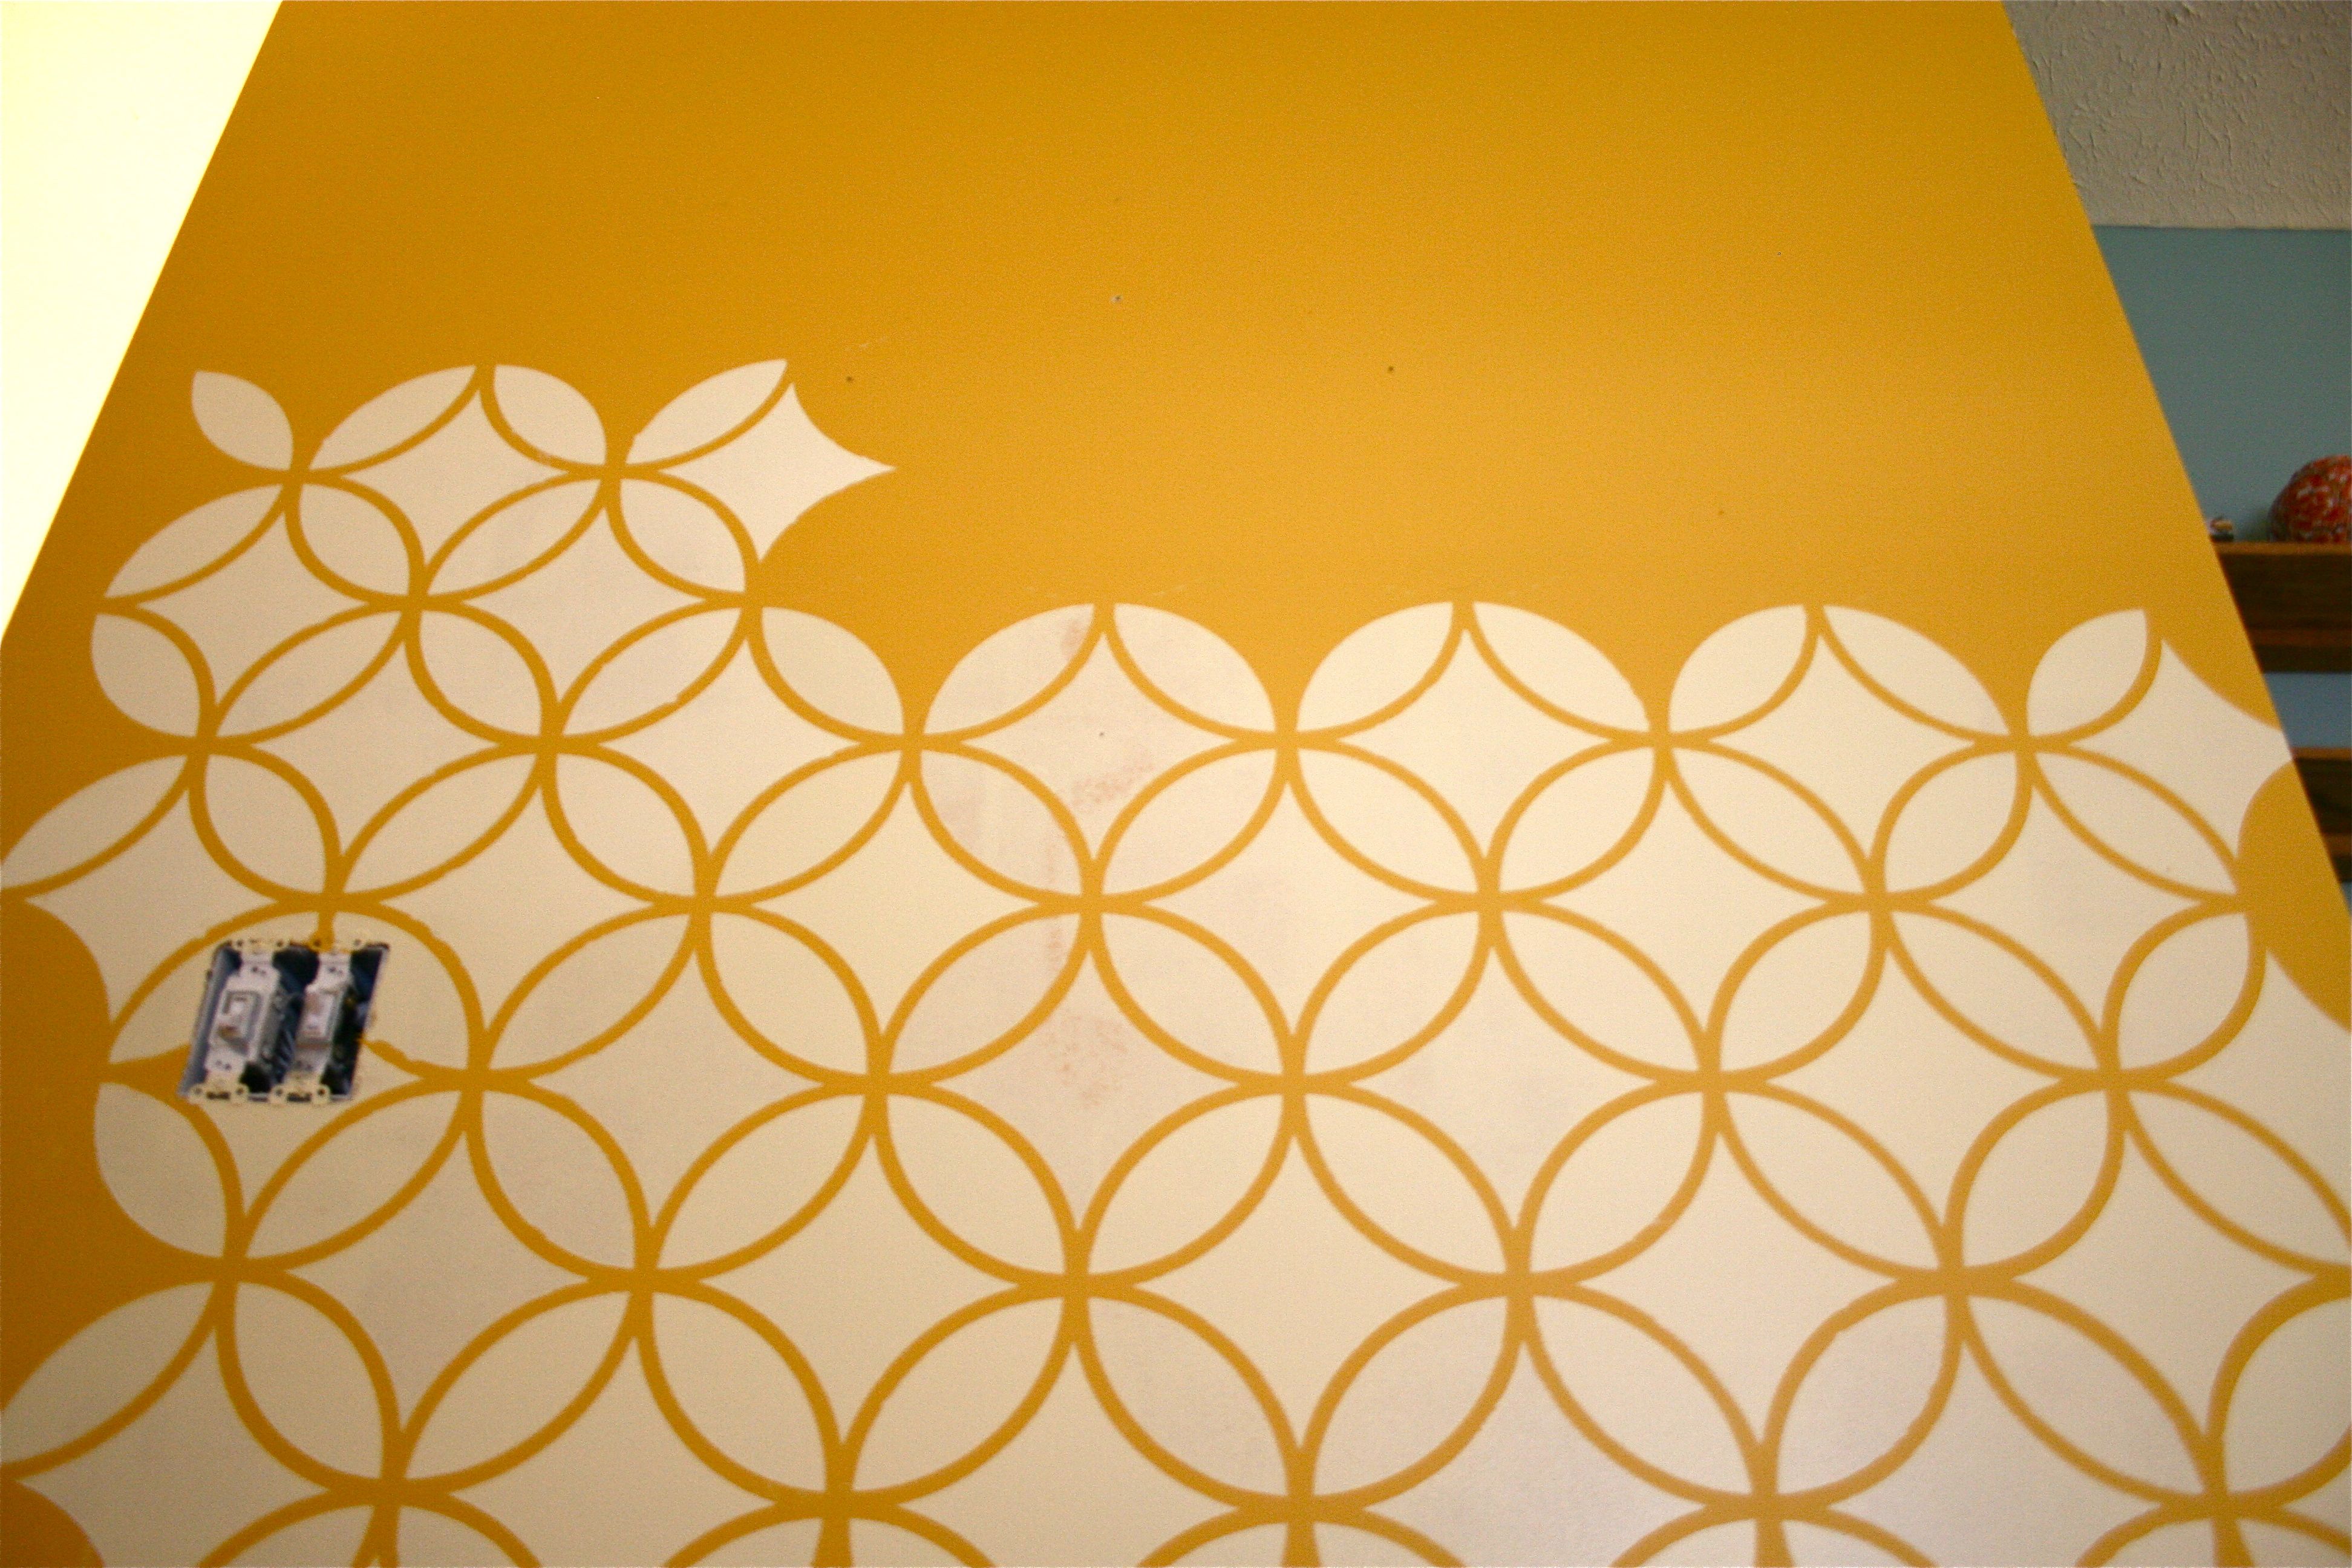
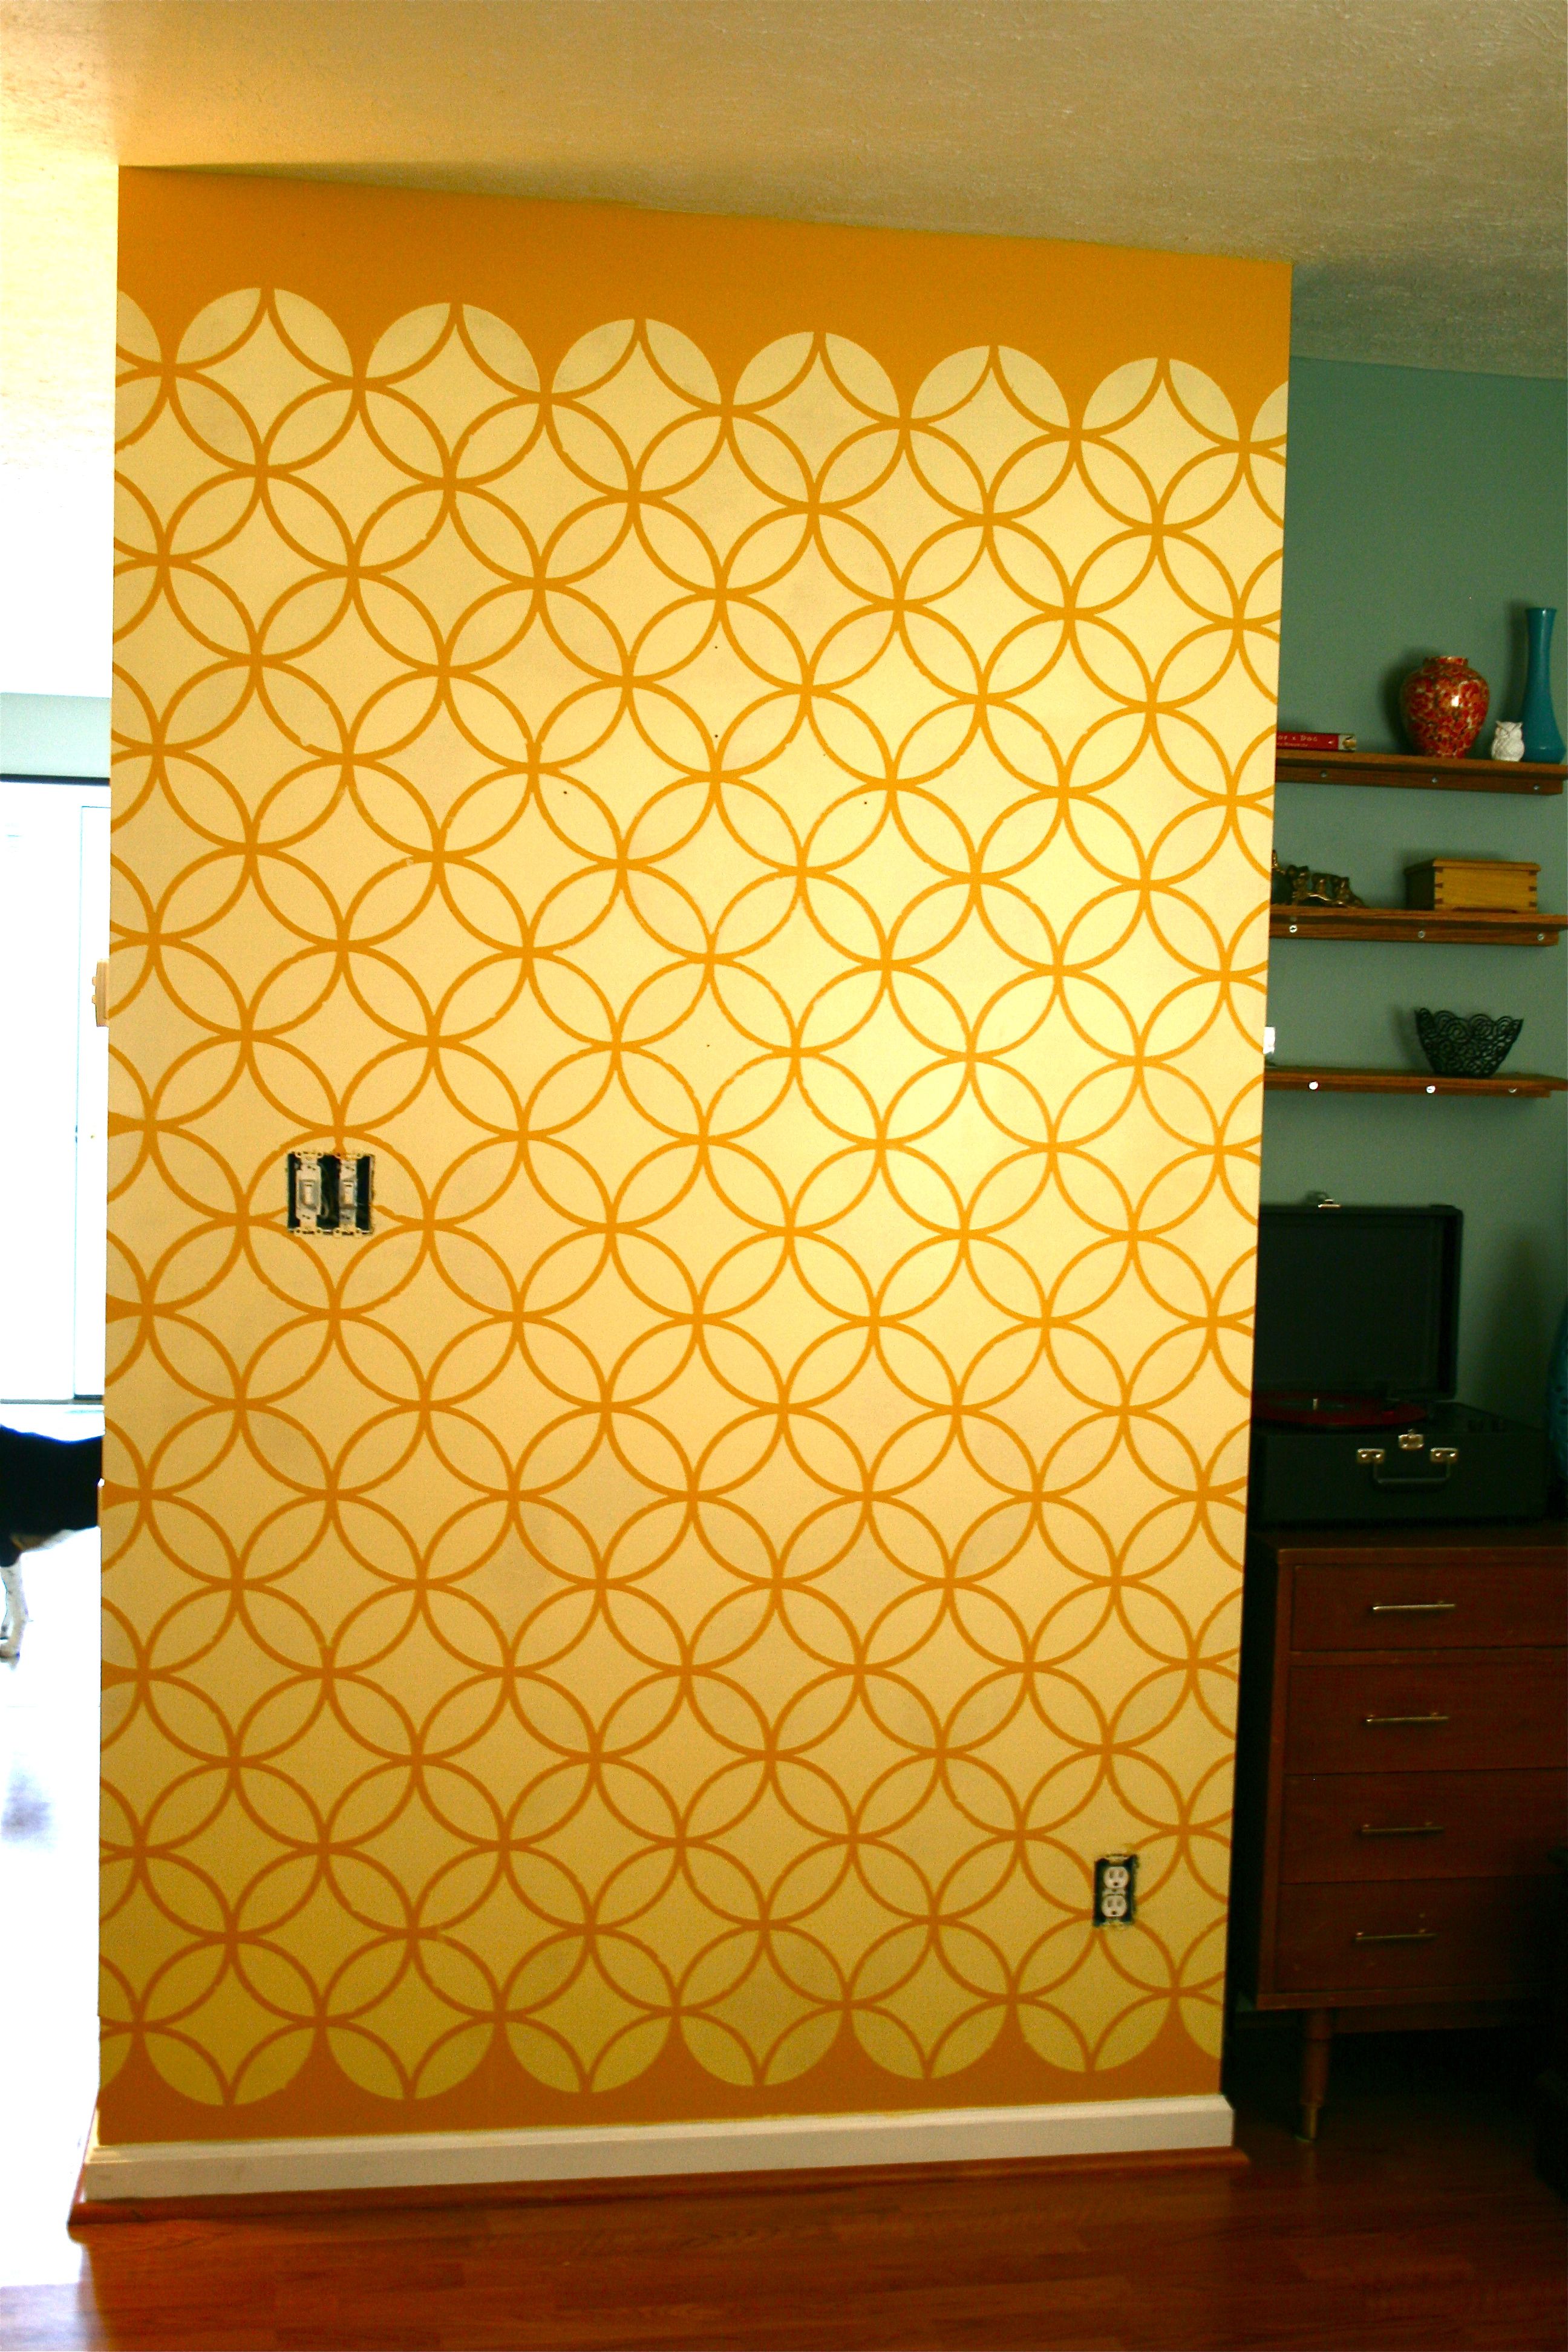
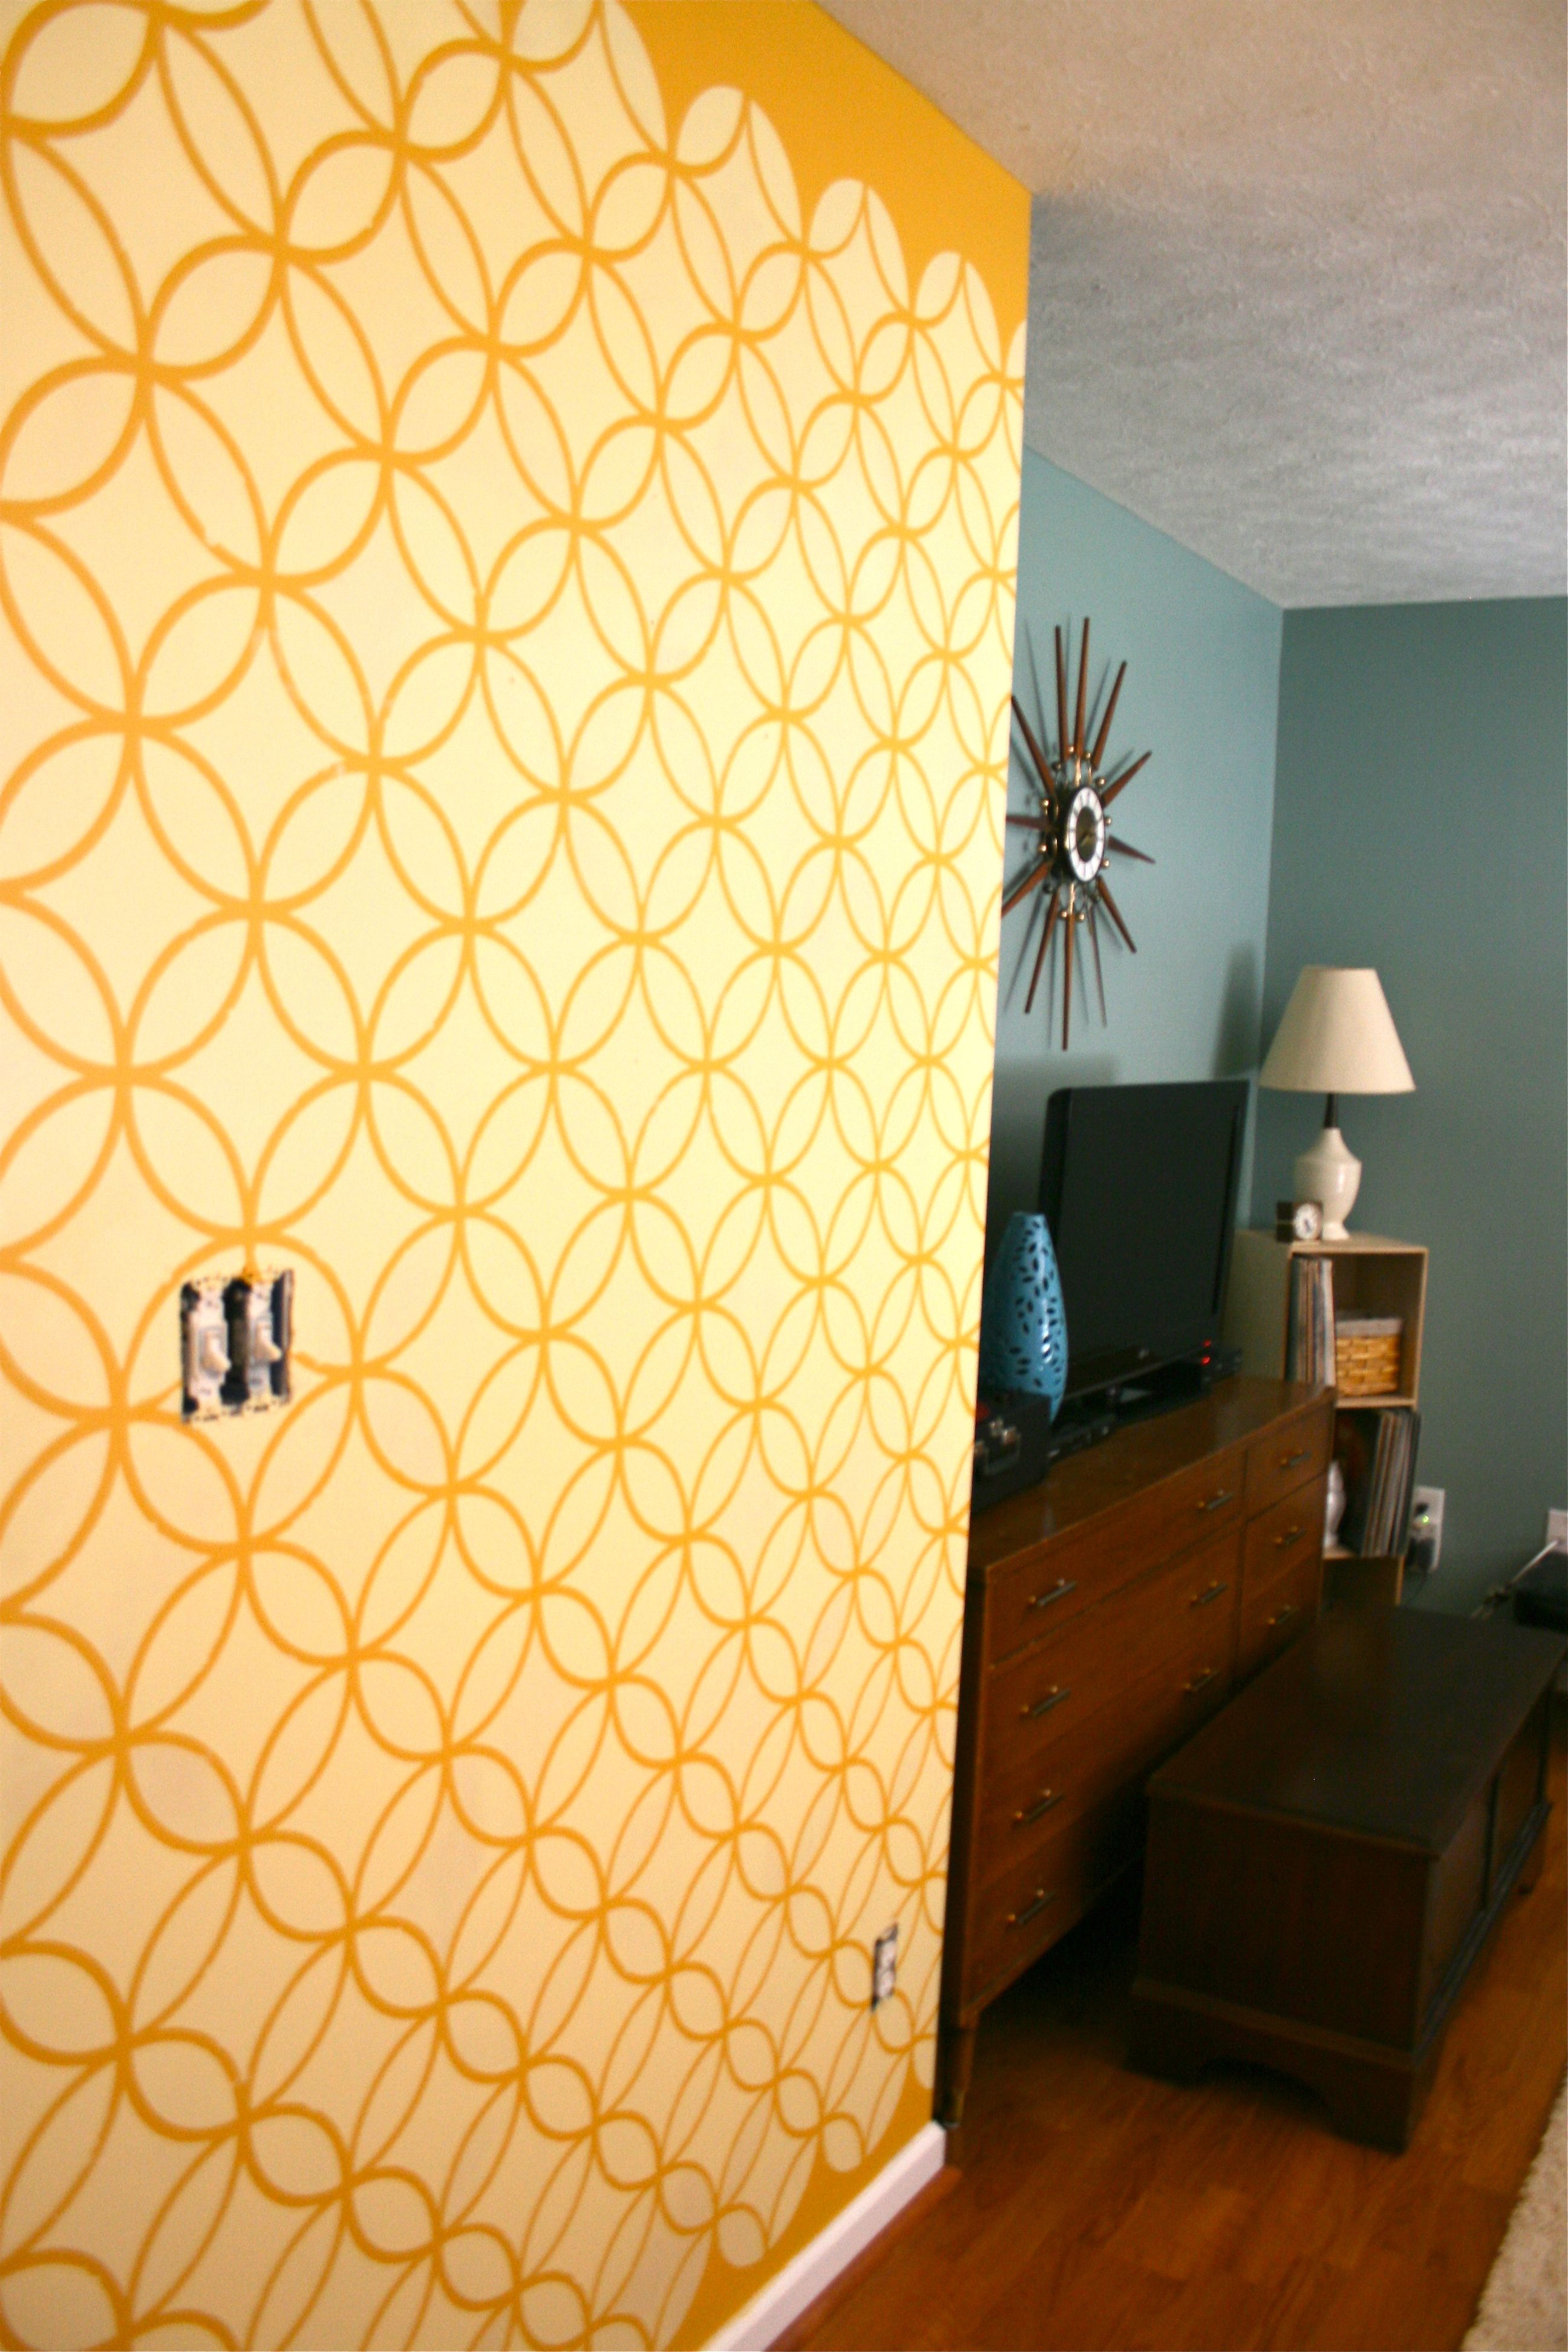
You’ve seen me gush over stencils before, and you’ve even seen me try it on a clock project of yore and a certain painting project that will never end…But never have I tried to stencil a whole wall before. Let’s just say this project has HUGE impact but is not for the impatient of heart – Something I must admit to being.
But we’ll get to those repercussions in a moment.
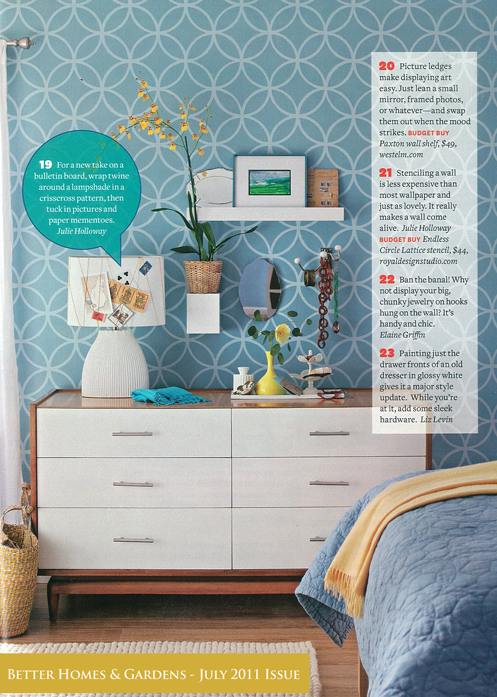
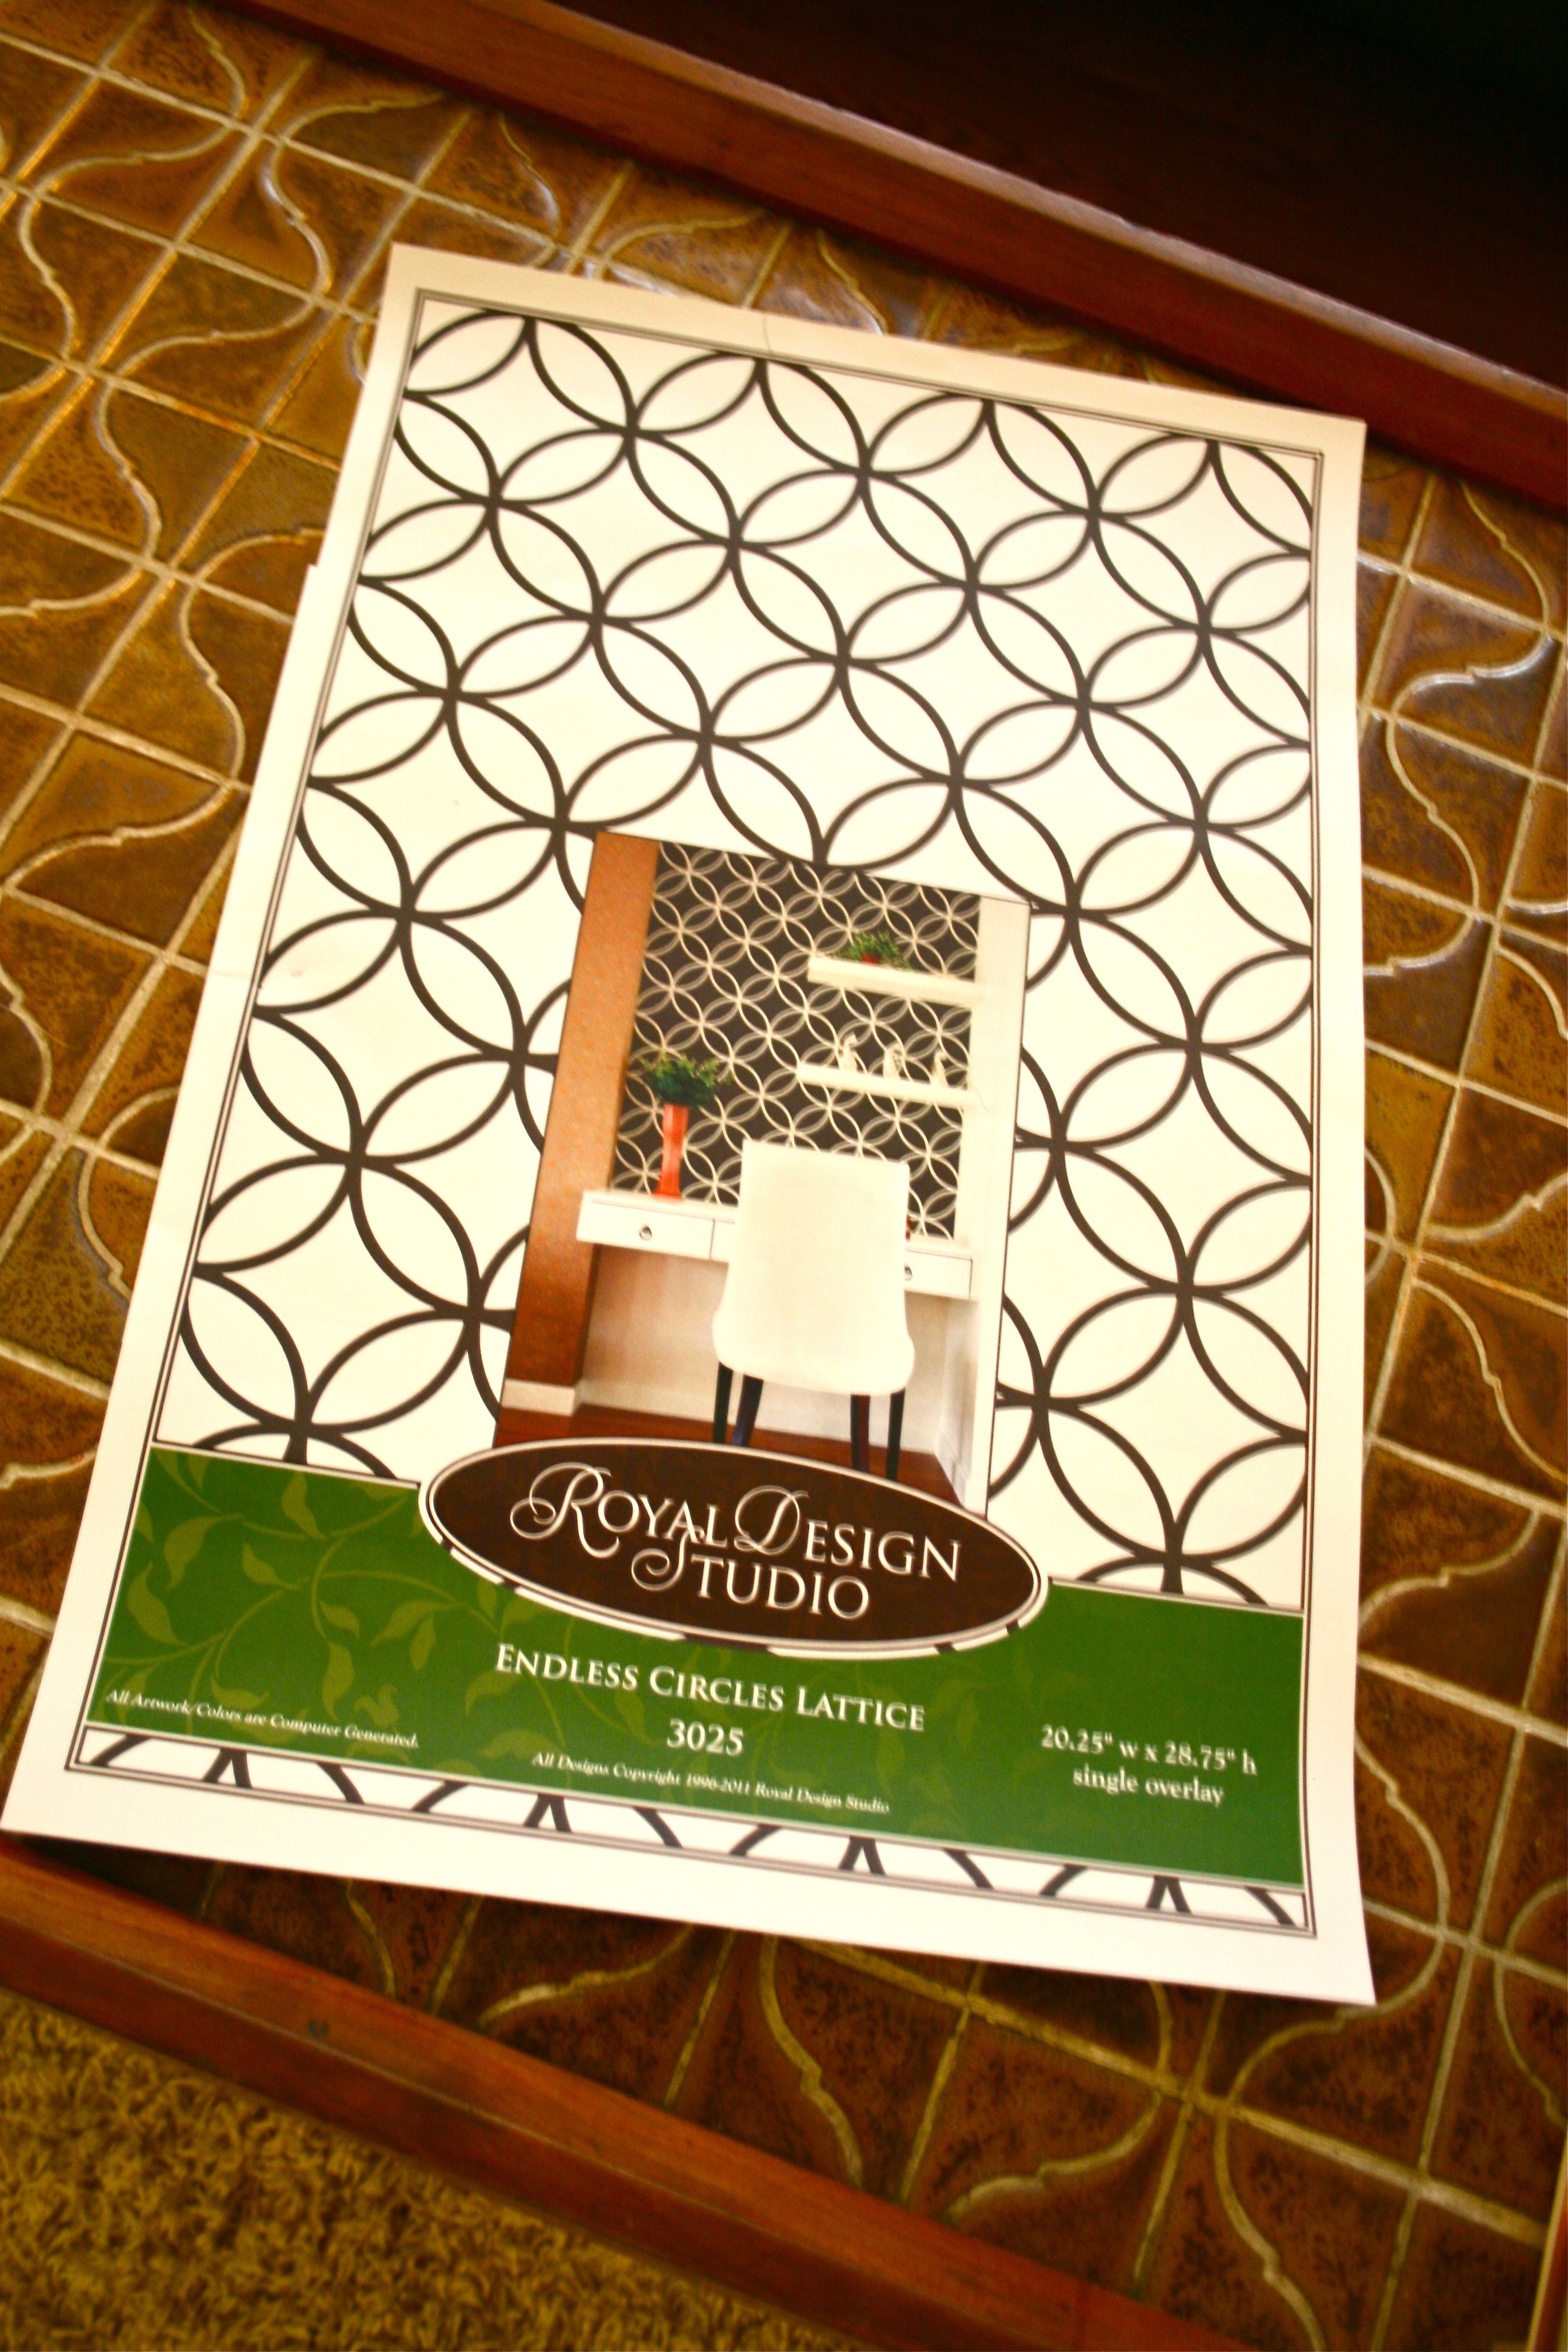
So, I started by purchasing a stencil from Royal Design Studio – I went with the endless circle lattice pattern because it screamed 1960’s/70’s Mid-Century Mod to me. Also a pretty cool bonus that the pattern was recently featured in an issue of Better Homes & Garden magazine (behind a FABULOUS Mid-Century credenza/dresser…I wanttttt).
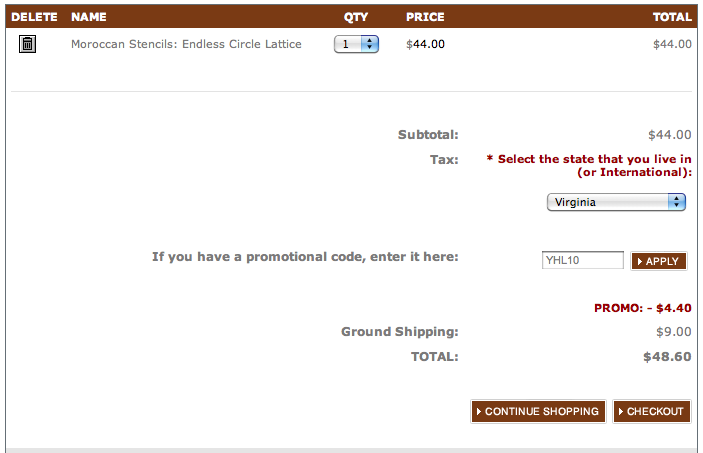
As for the price, the stencil wasn’t exactly cheap – But I was able to score a $4.40 savings thanks to a 10% promo code courtesy of Young House Love. I’ll take what I can get!
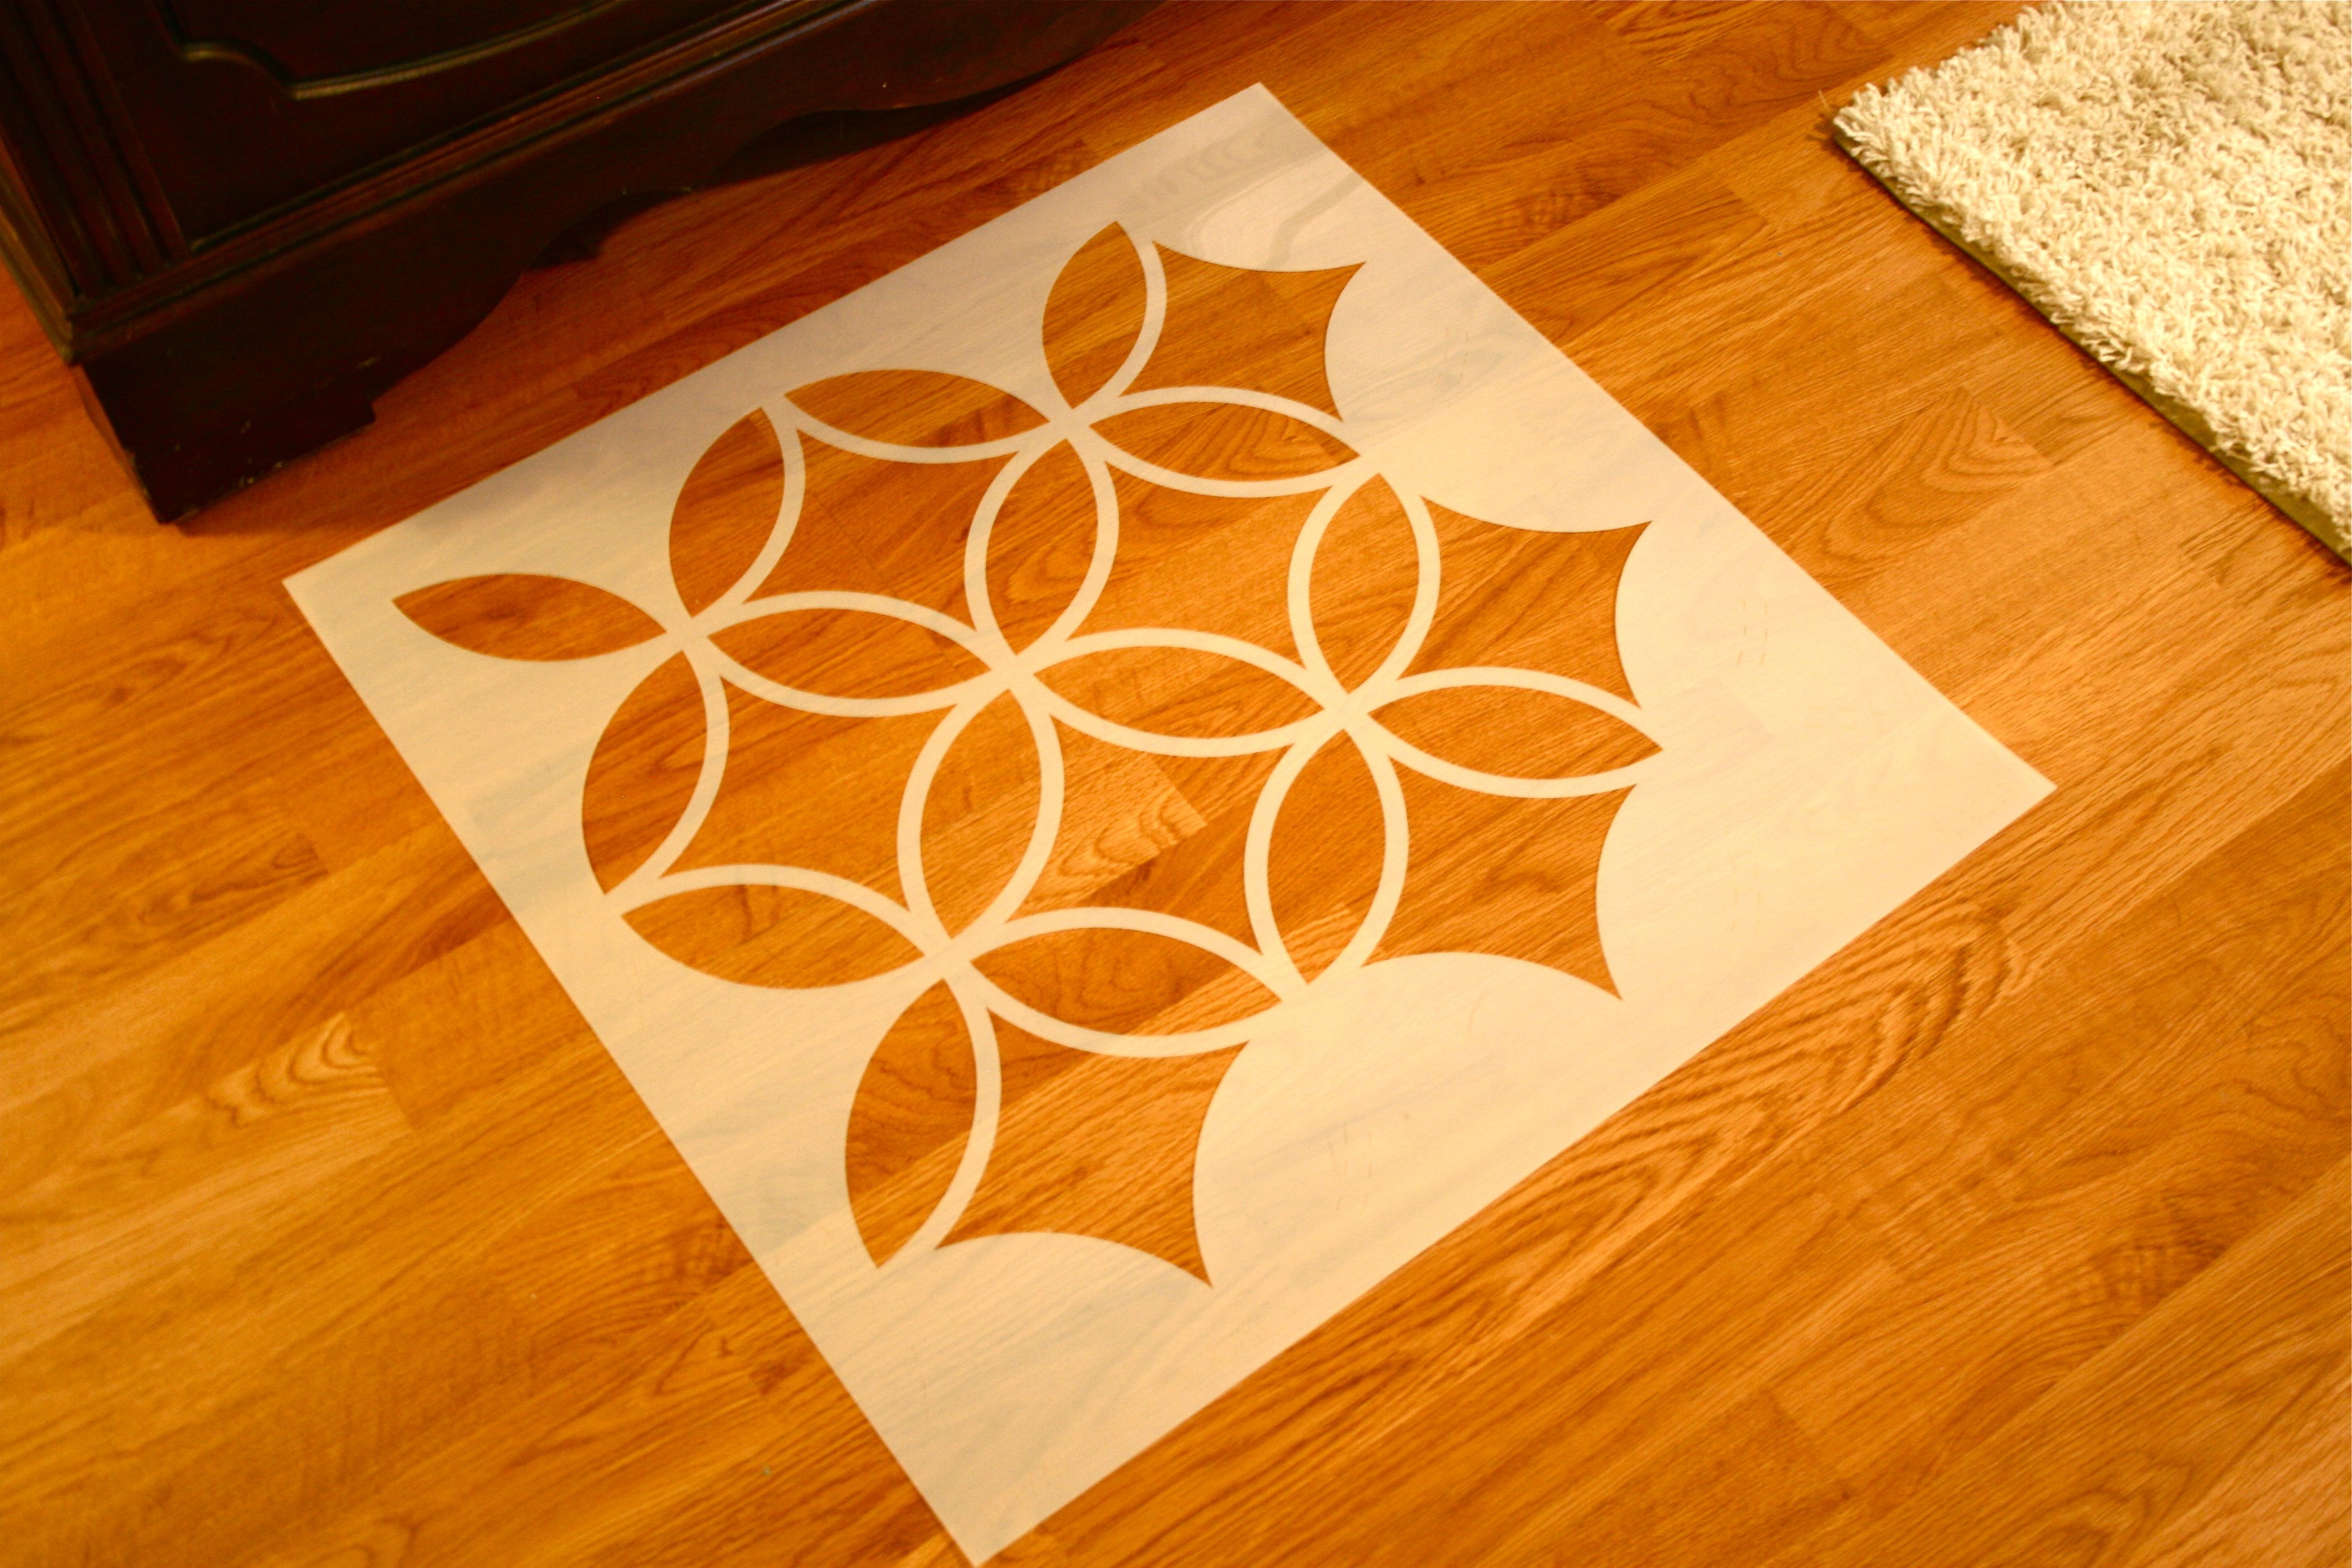
A week or so later, it showed up at our door!!! And I immediately got intimidated.
Paint isn’t always the easiest thing to work with, especially for someone as impatient and hurried as I am (I almost never wait for something to completely dry before I move it – I just have this insatiable need to see things in place and finished!). But this past weekend, I was FINALLY able to muster up the courage to dive right in.
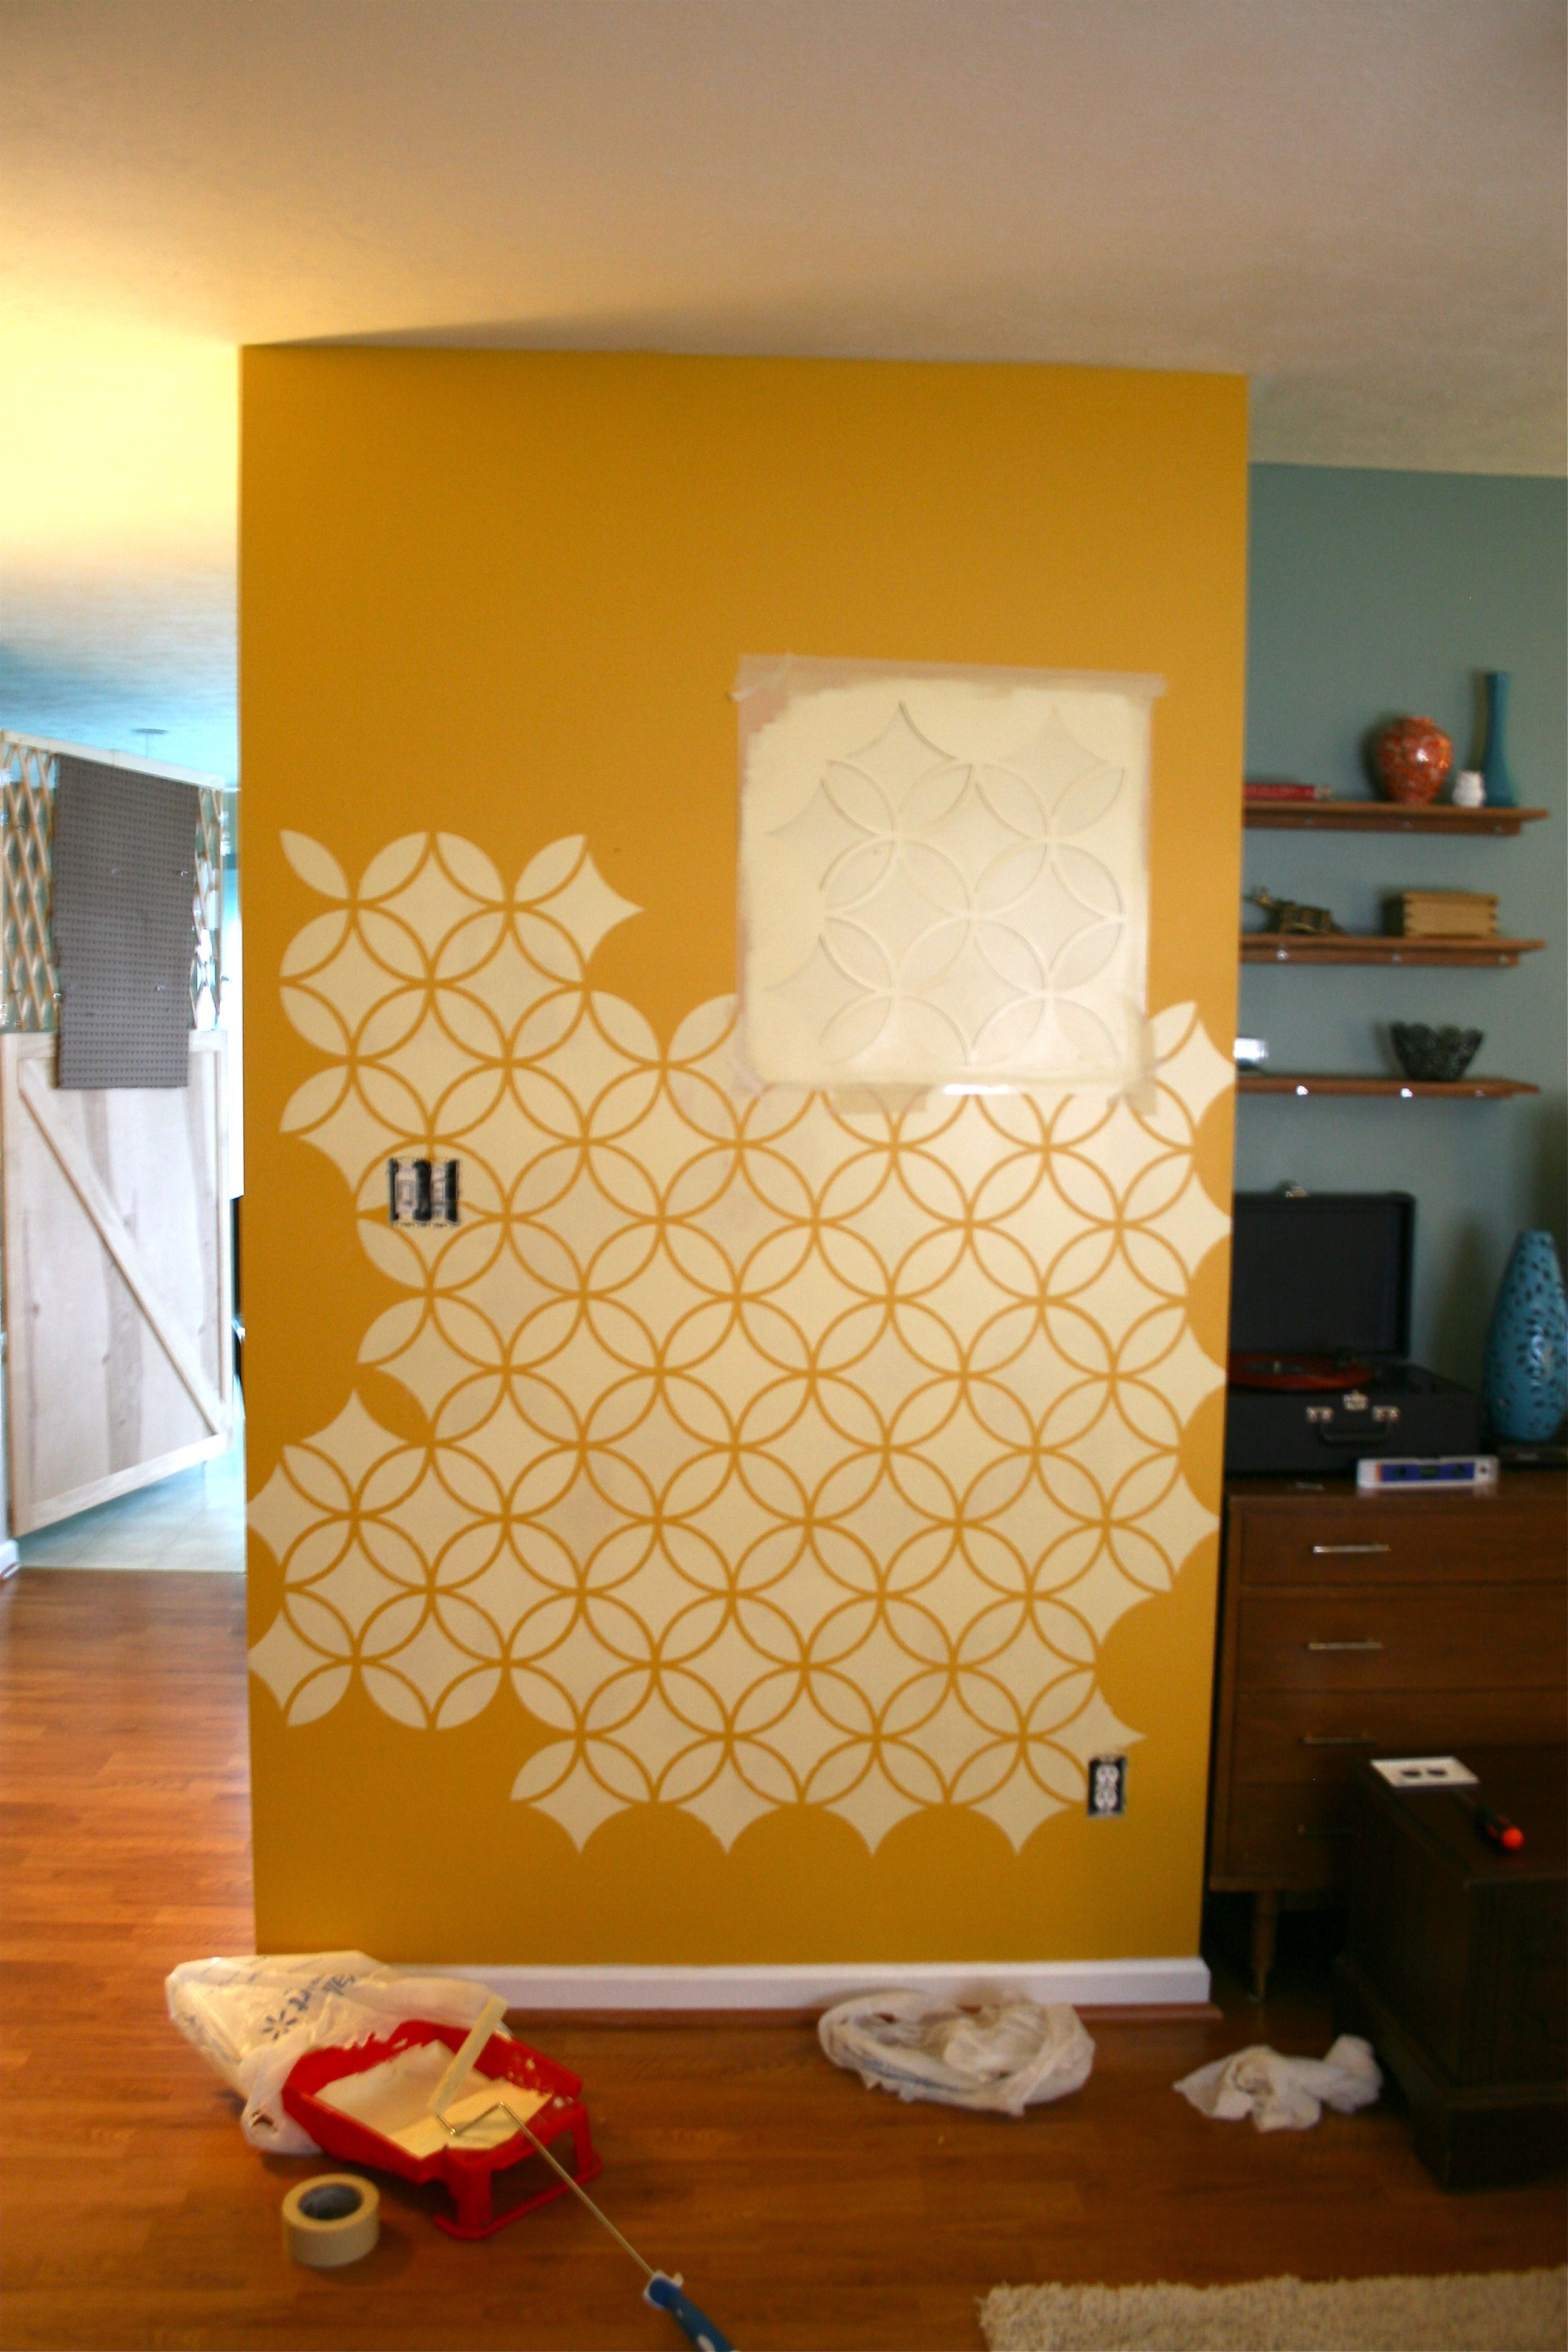
Here was my process (although I recommend slowing it down by at least a couple of days):
- Go outside and spray the back of the stencil with stencil adhesive (I bought mine from Michael’s on clearance for a little under $2.00 – It’s not permanent so it’s perfect for shifting a stencil around a wall)
- Allow it to dry for a bit so that the adhesive is sticky but not wet.
- Place the stencil on the wall (for the first placement I used a level to get it straight) and lightly press everything onto the wall – I also used some masking tape for added stability
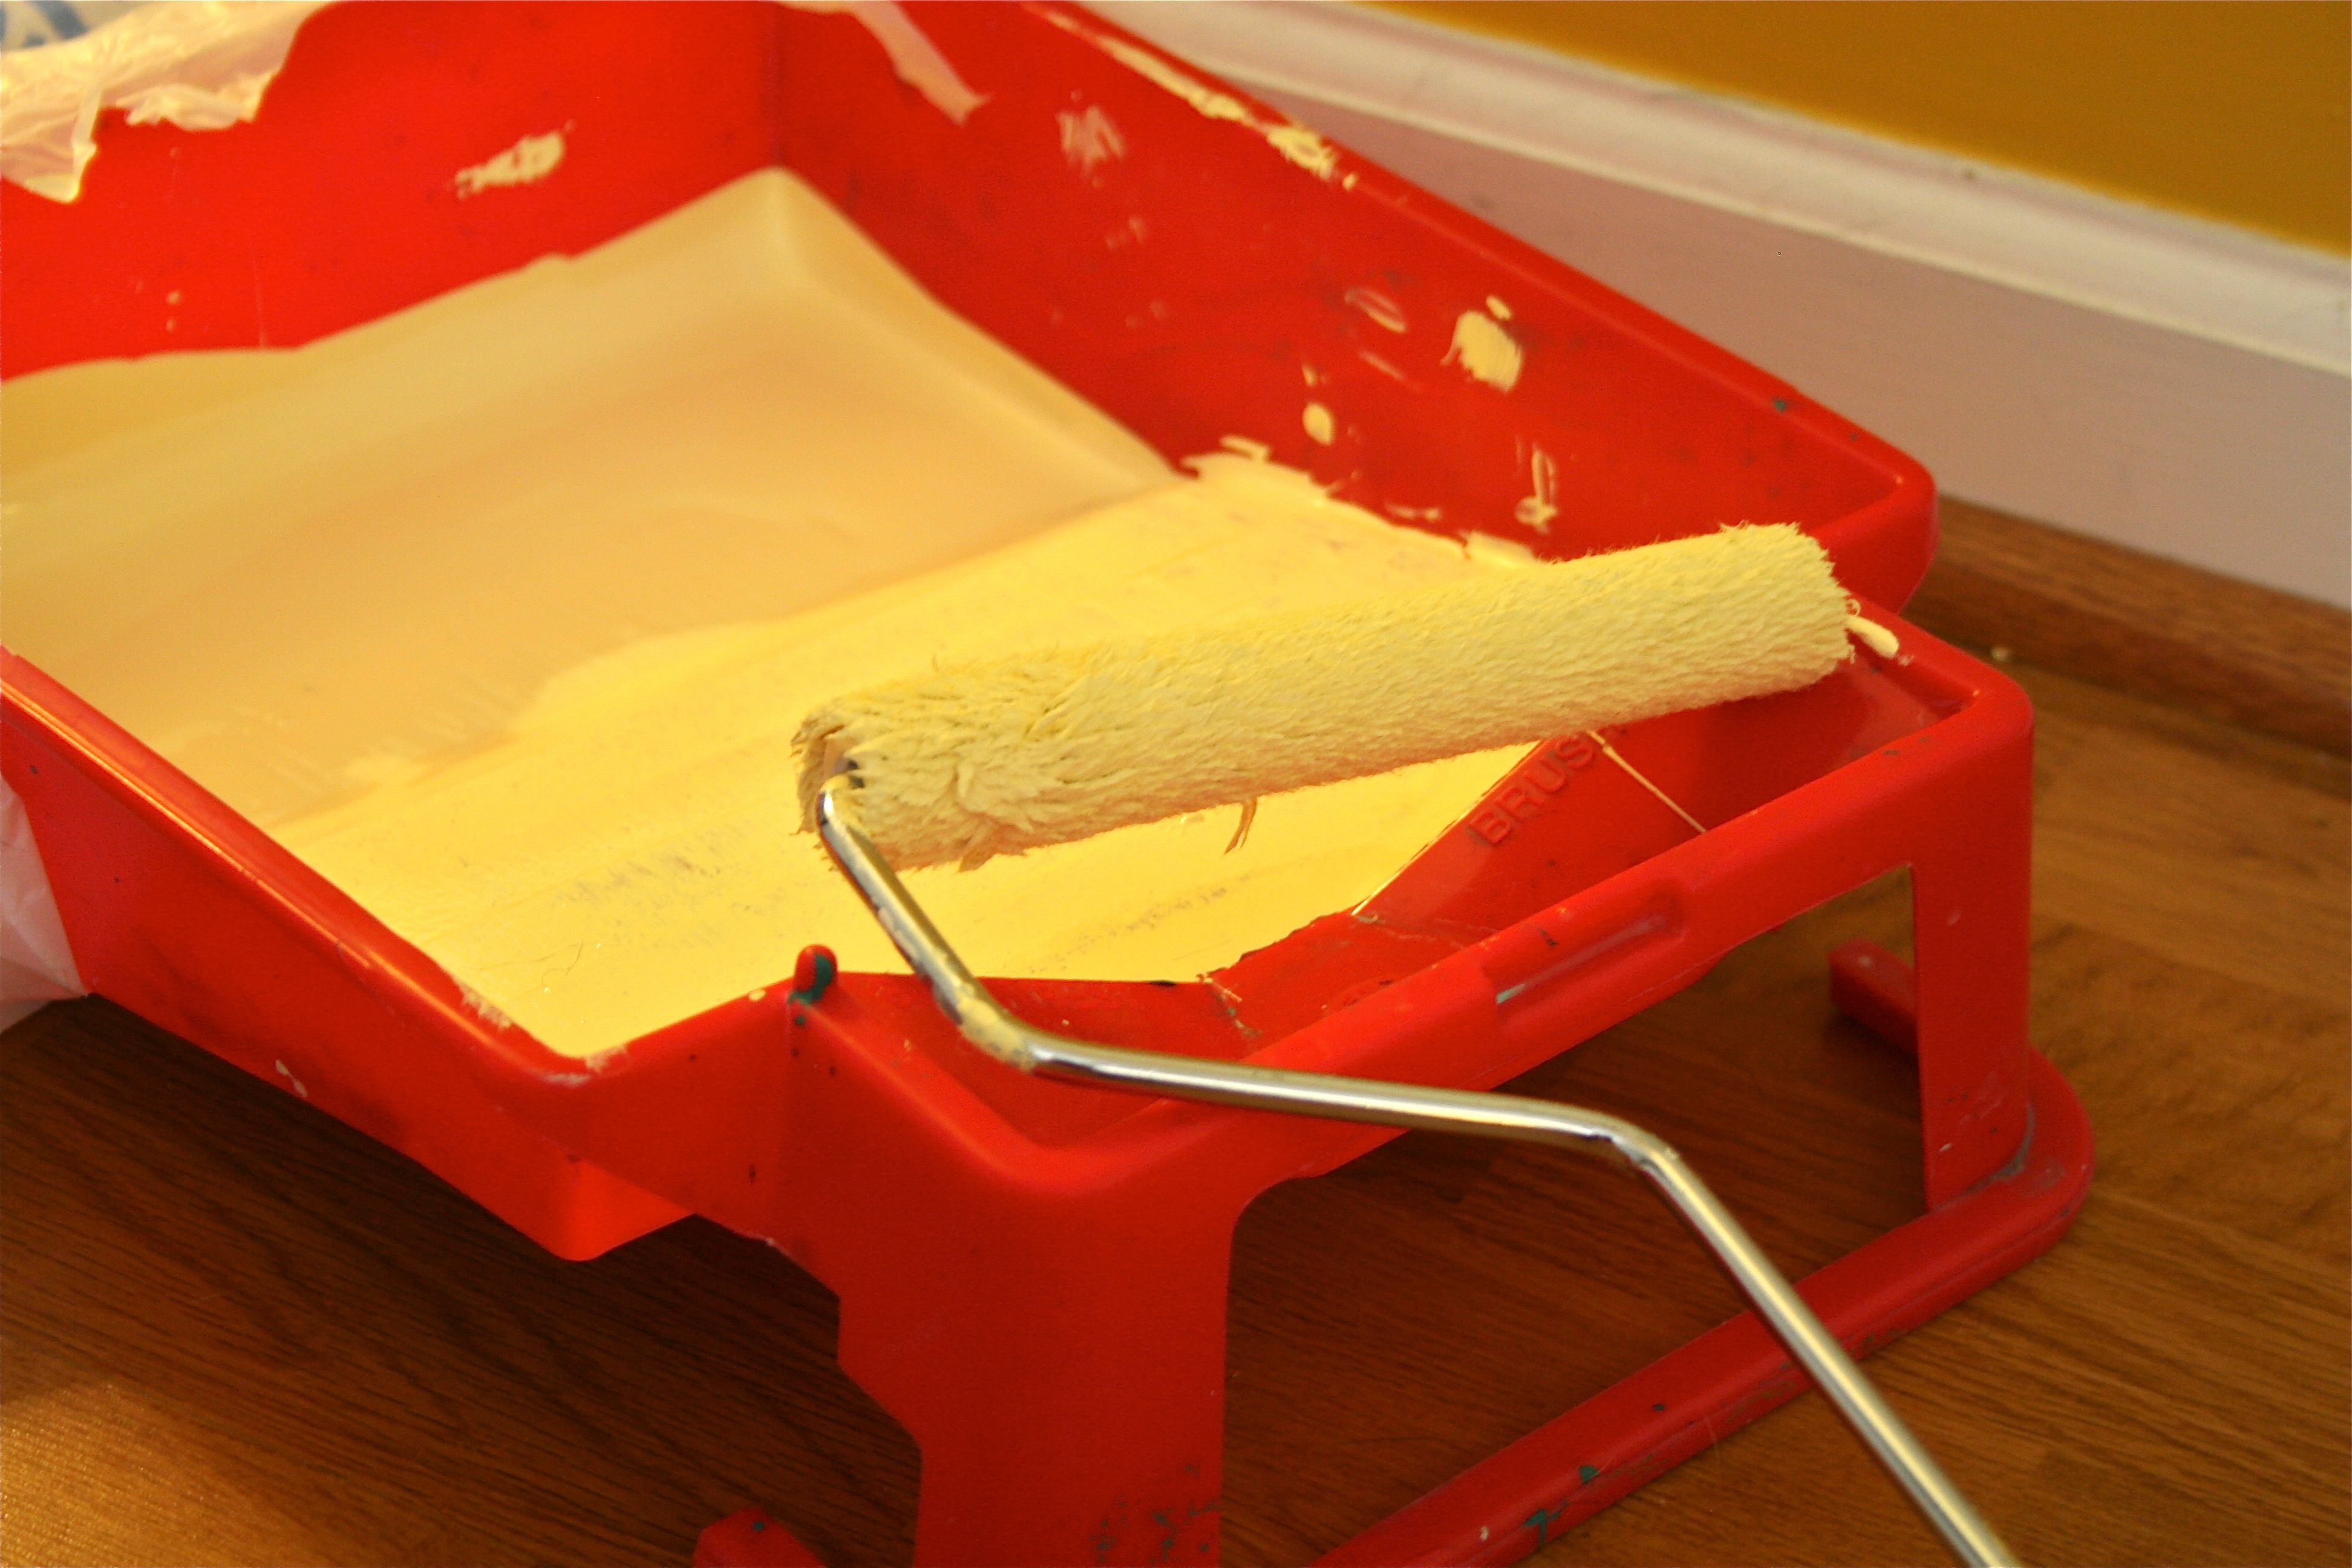
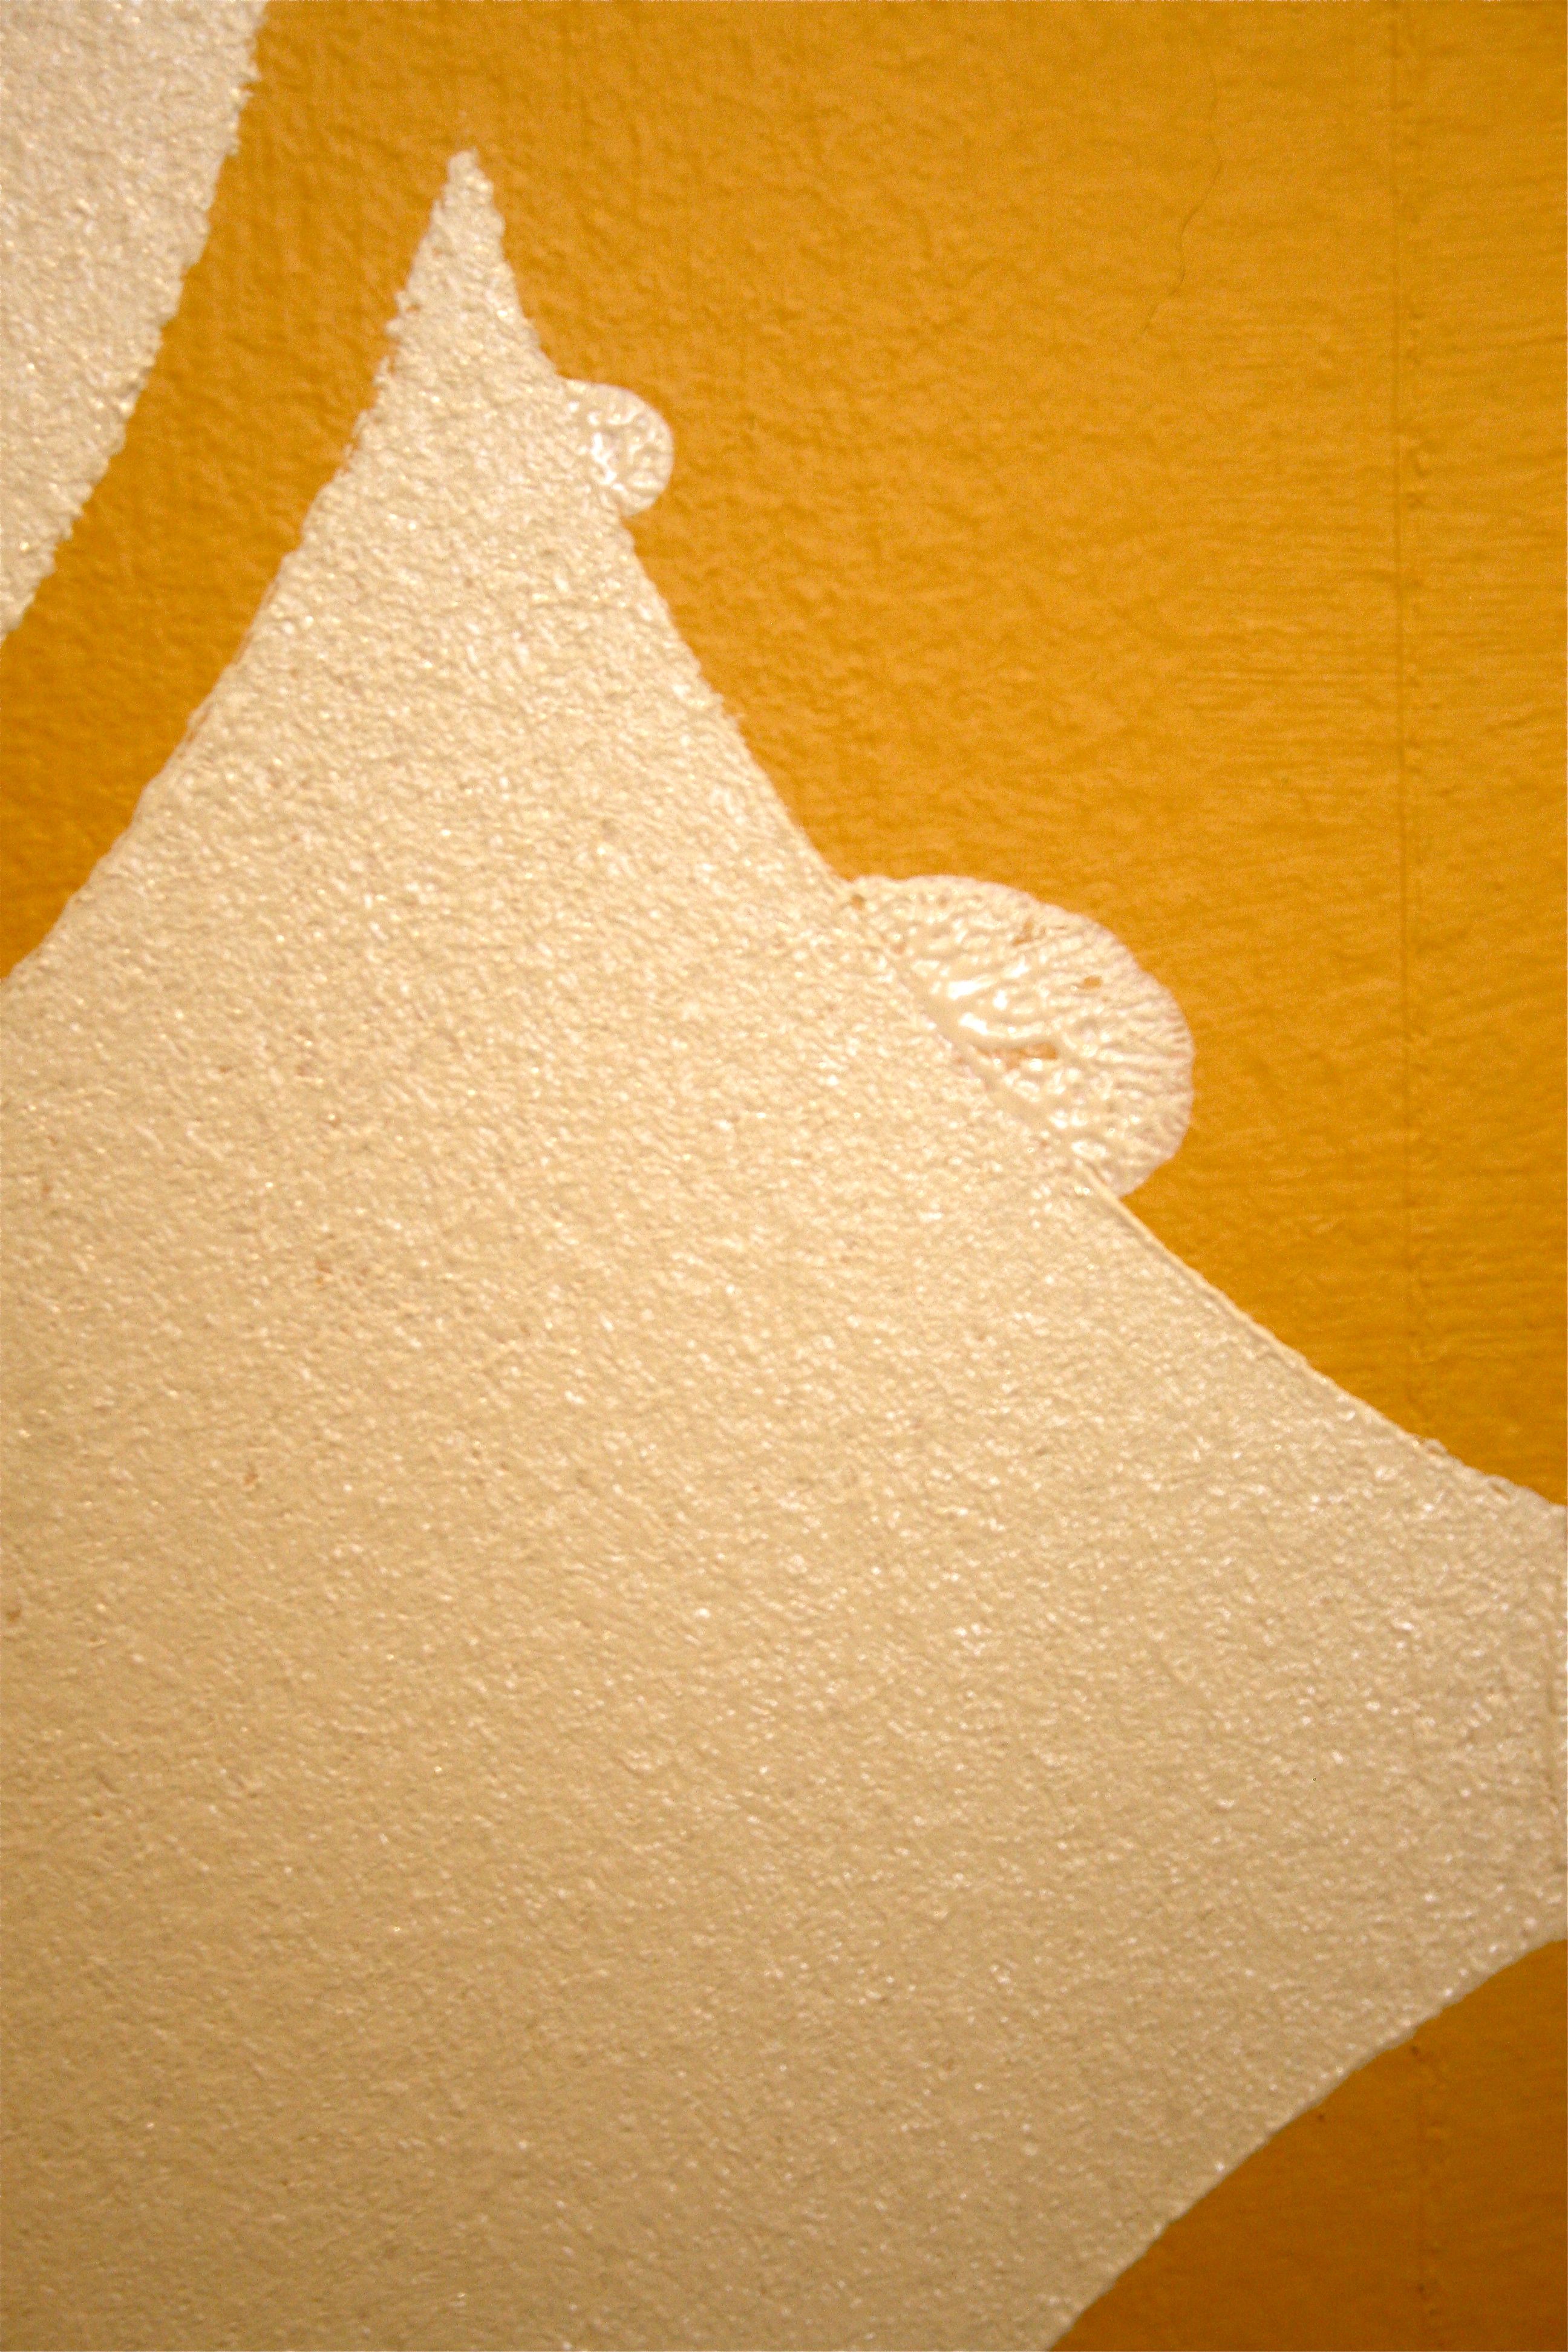
- Roll paint onto a small roller but try to go light as too much paint means seepage under the stencil
- Gently roll the paint-filled roller over the stencil – Avoid pressing too hard since this could result in too much paint and, again, seepage under the stencil (talking from experience here if you can’t tell)
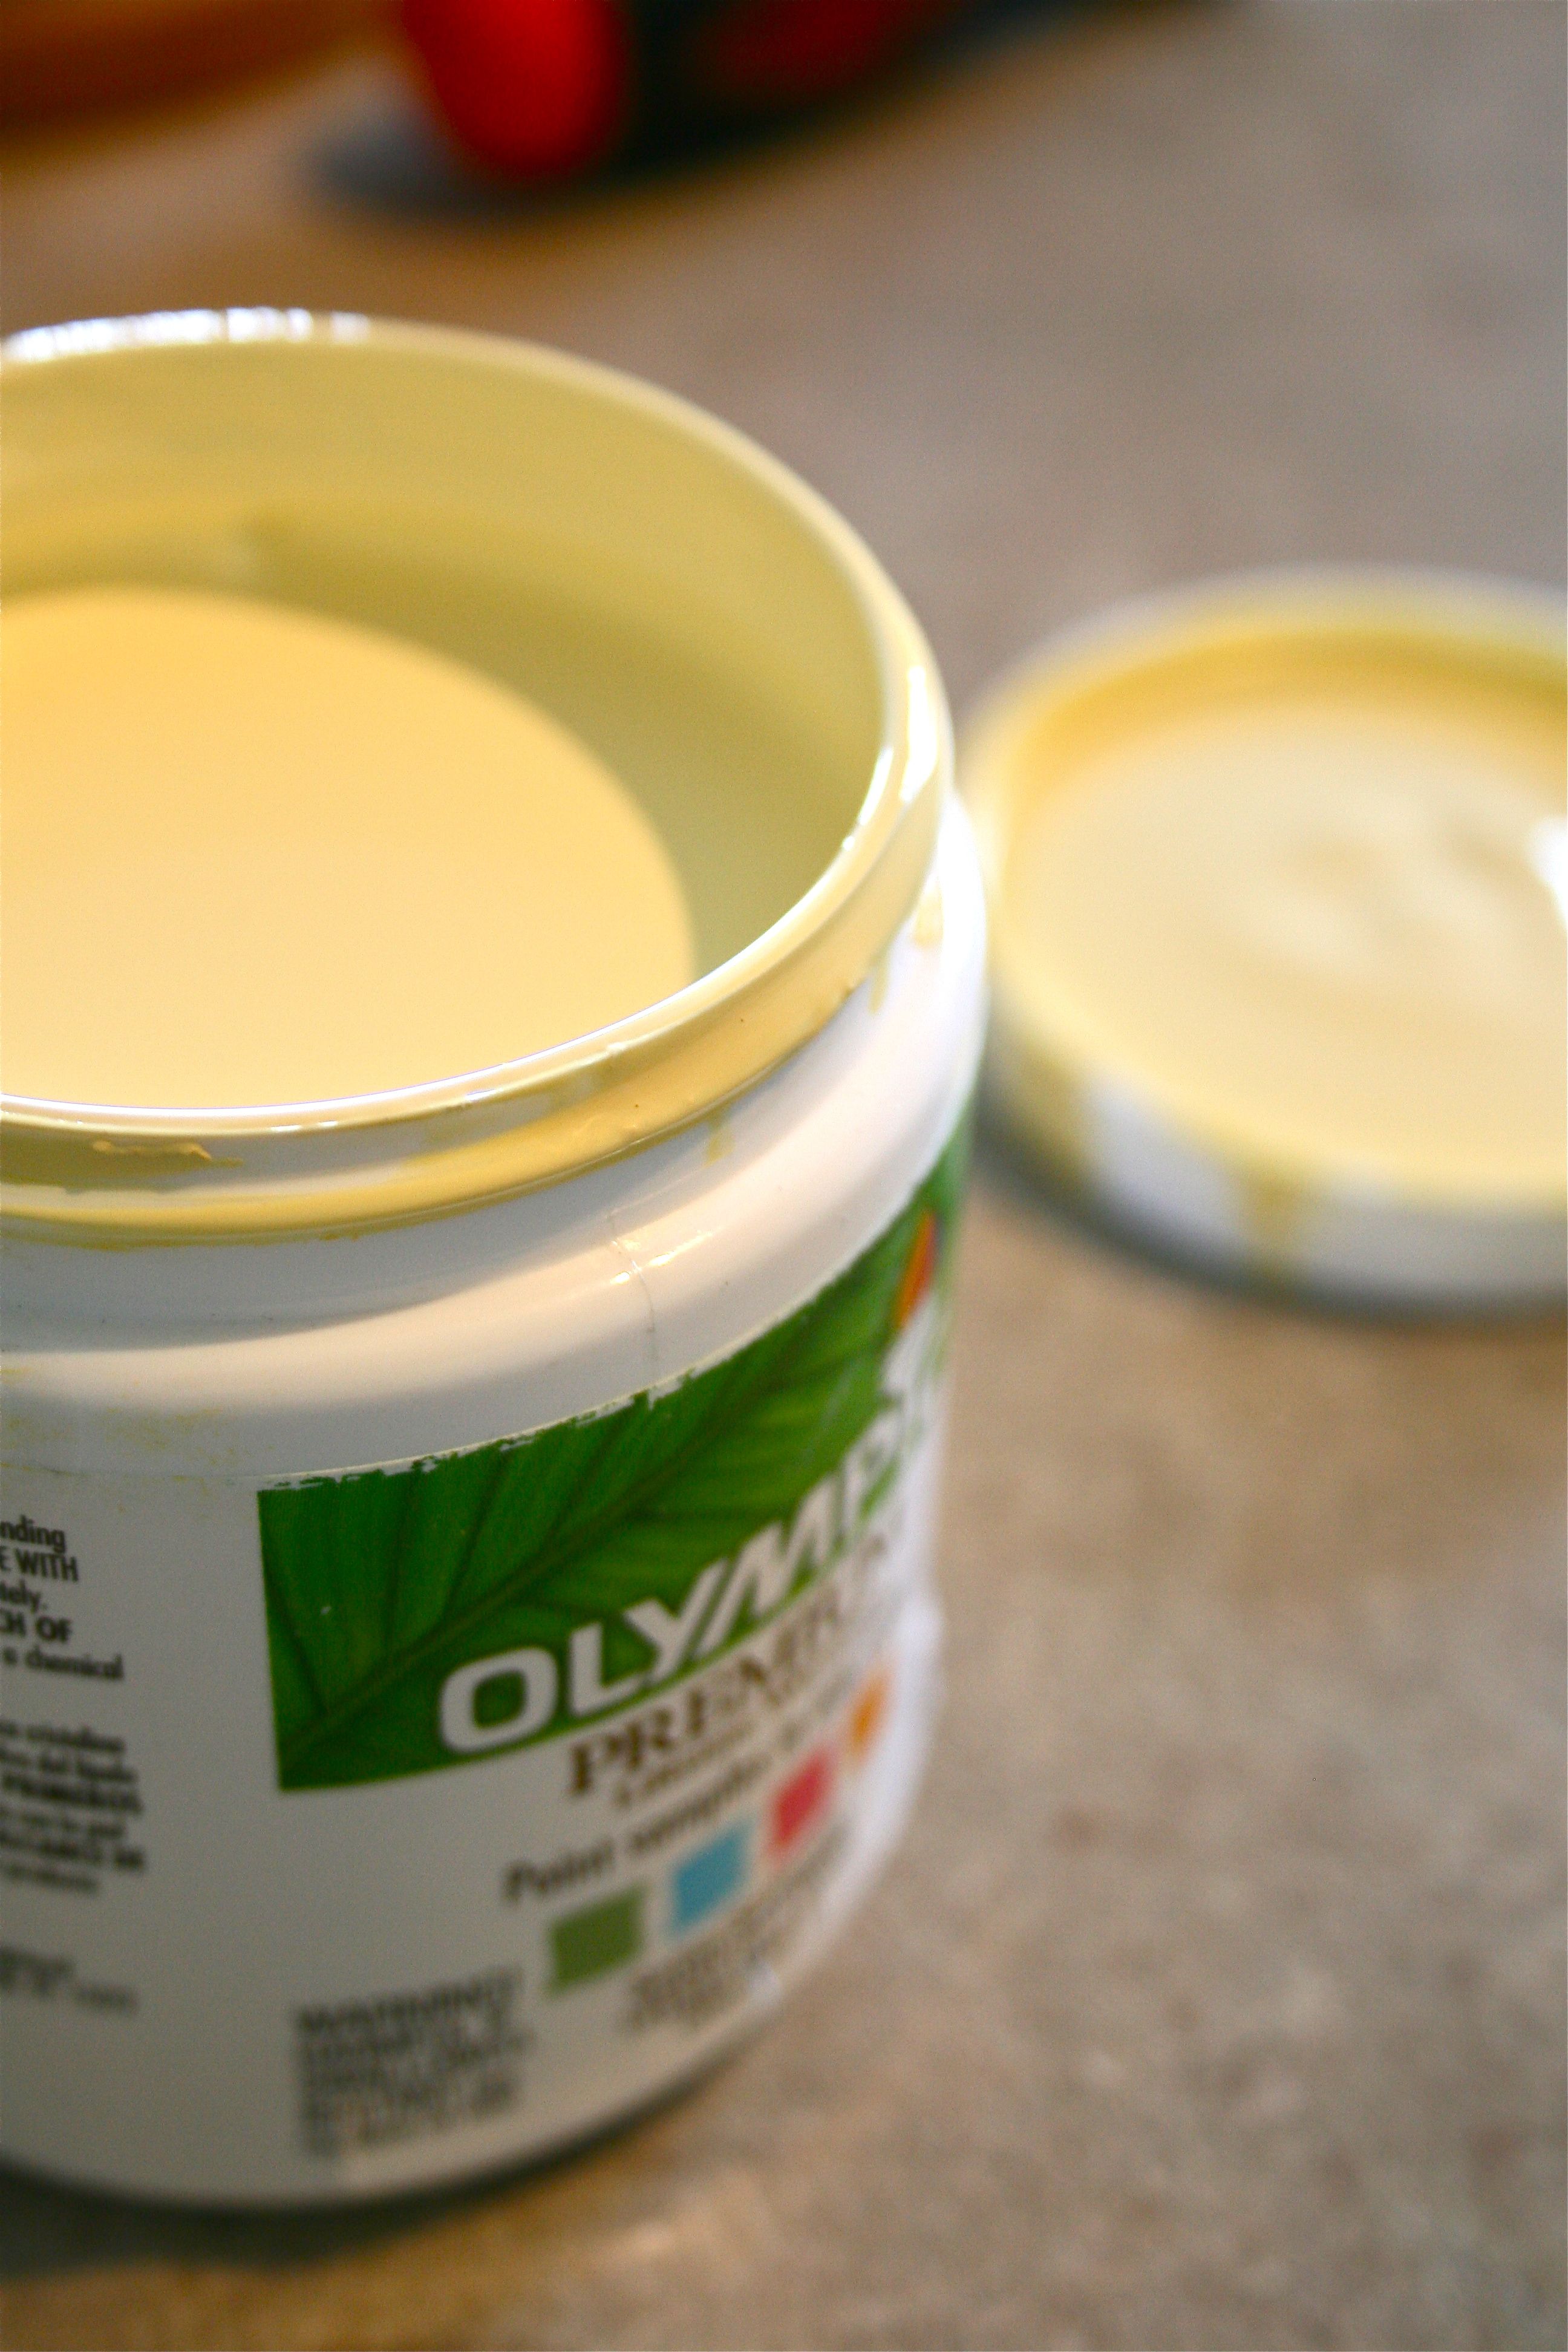
- If your paint color is thin like ours was, you may need to wait a few minutes and then roll on a second coat while the stencil is still in place
- Remove the stencil quickly from the wall while the paint is still wet (to avoid peeling partially-dried paint)
- Set the stencil down somewhere, cover your paint tray with a plastic bag and let the stencil and the wall dry for 15 or so minutes – This will allow you to overlap the stencil without picking up or spreading wet paint
- After things are dry, overlap the stencil on an outside section of the dried pattern on the wall and repeat!
