It’s a no-brainer that combining two households is going to yield a lot of stuff…Although I should probably admit that most of the “stuff” packed into the house right now is from “yours truly”. I have NO idea why I have so much stuff (well, maybe my “Thrift Store SCORE” posts each and every Thursday is a hint as to why) but I am definitely paying for that now.
Storage is a hot commodity in the “W” household so this past weekend we did a few things to contain the clutter, starting in the kitchen.
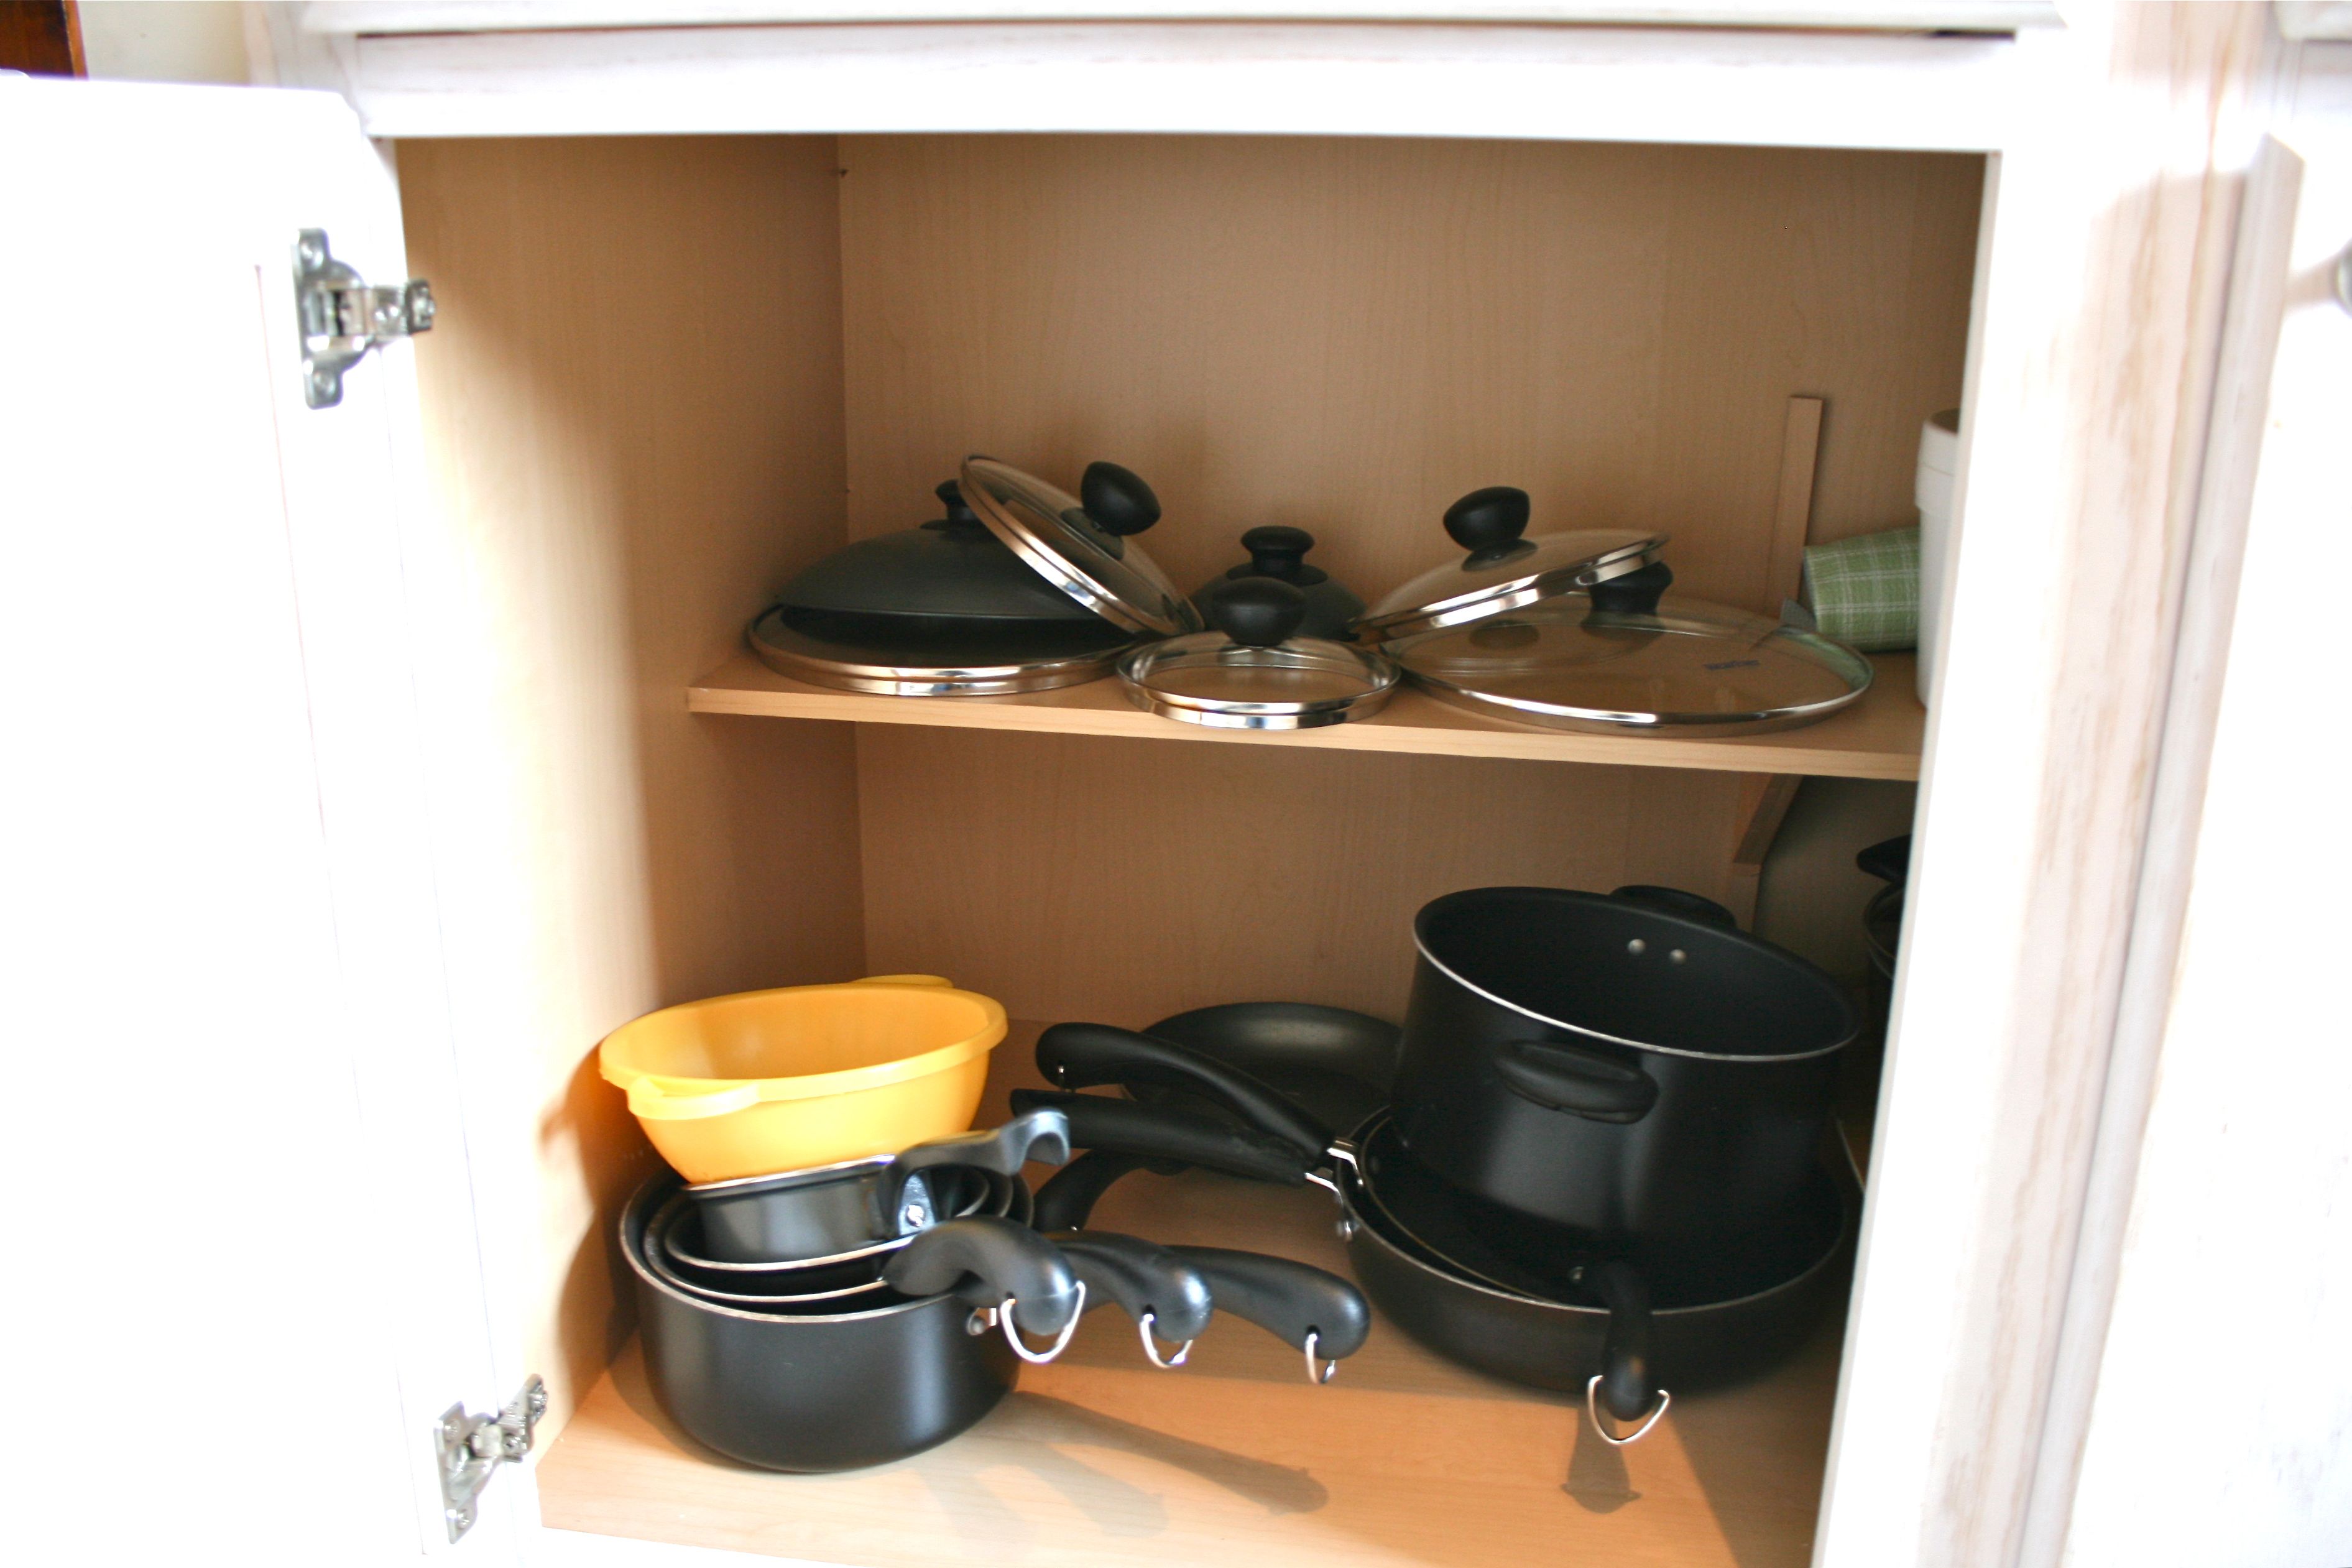
The first item on the list was the pots and pans…I ended up giving most of my pots and pans to my little sister who is ALSO moving and needed a supply of her own. But John’s collection had to be squished together with the addition of my fondu maker (not pictured below but in the right-hand side of the same cabinet).
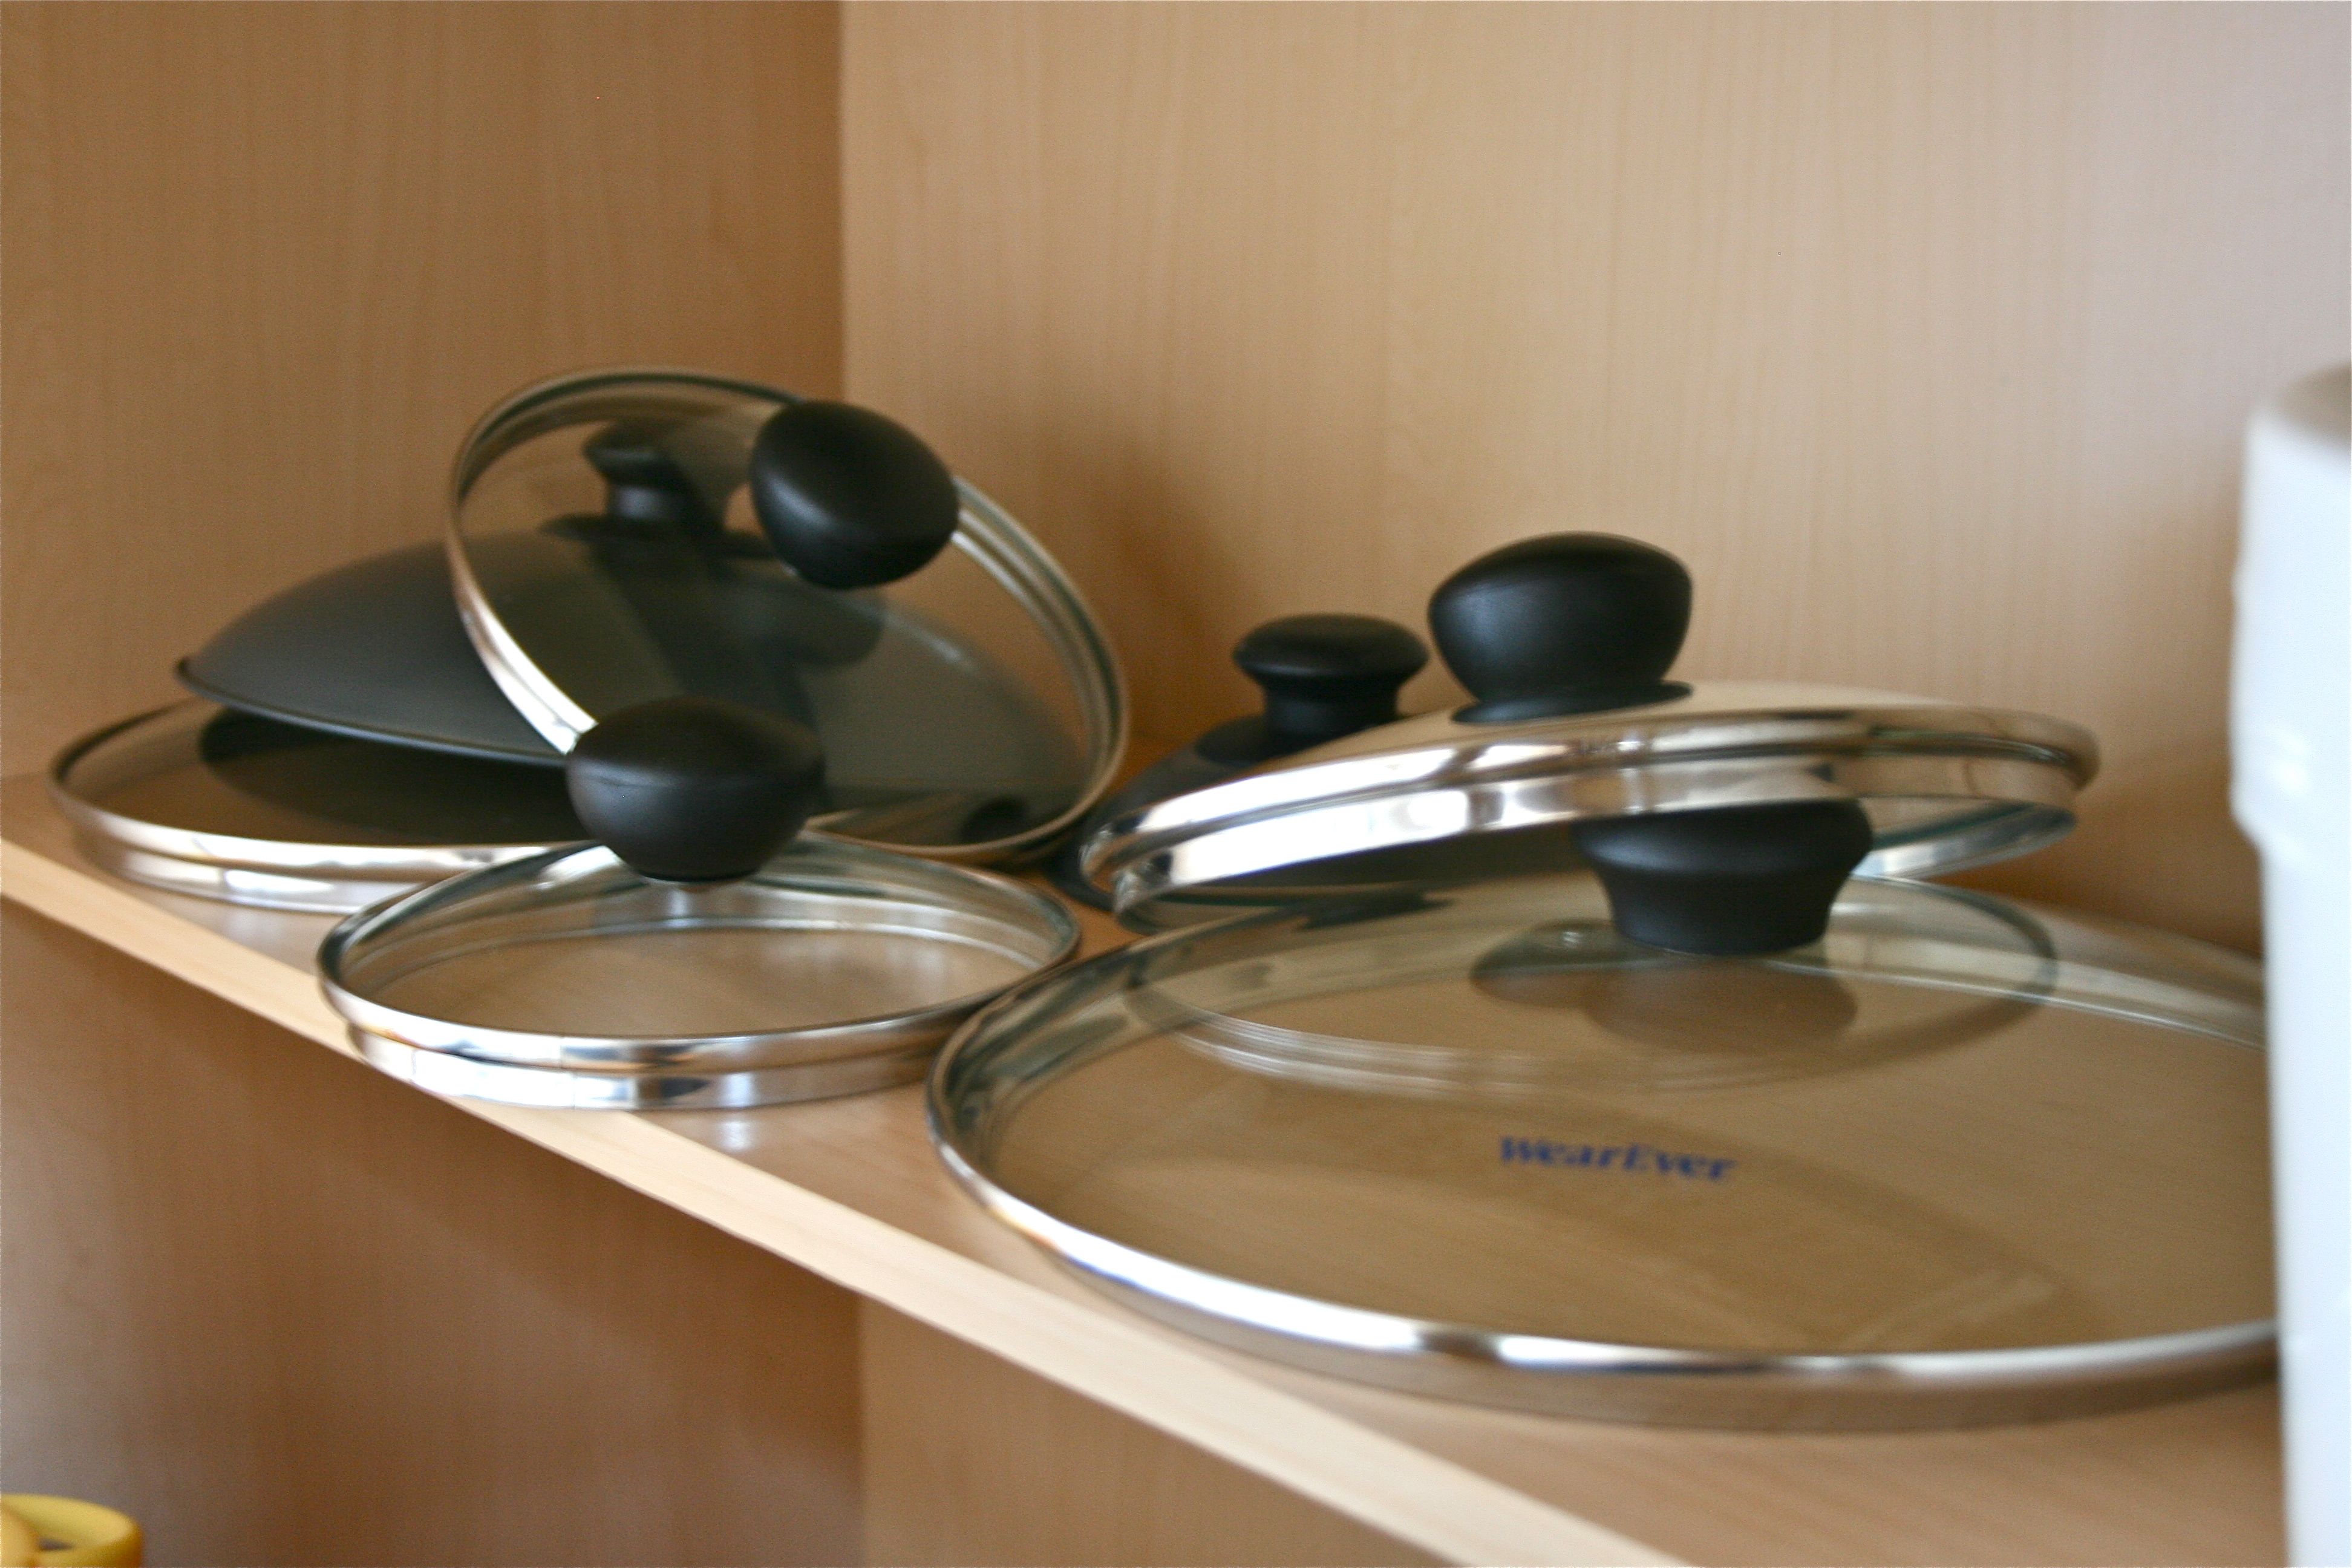
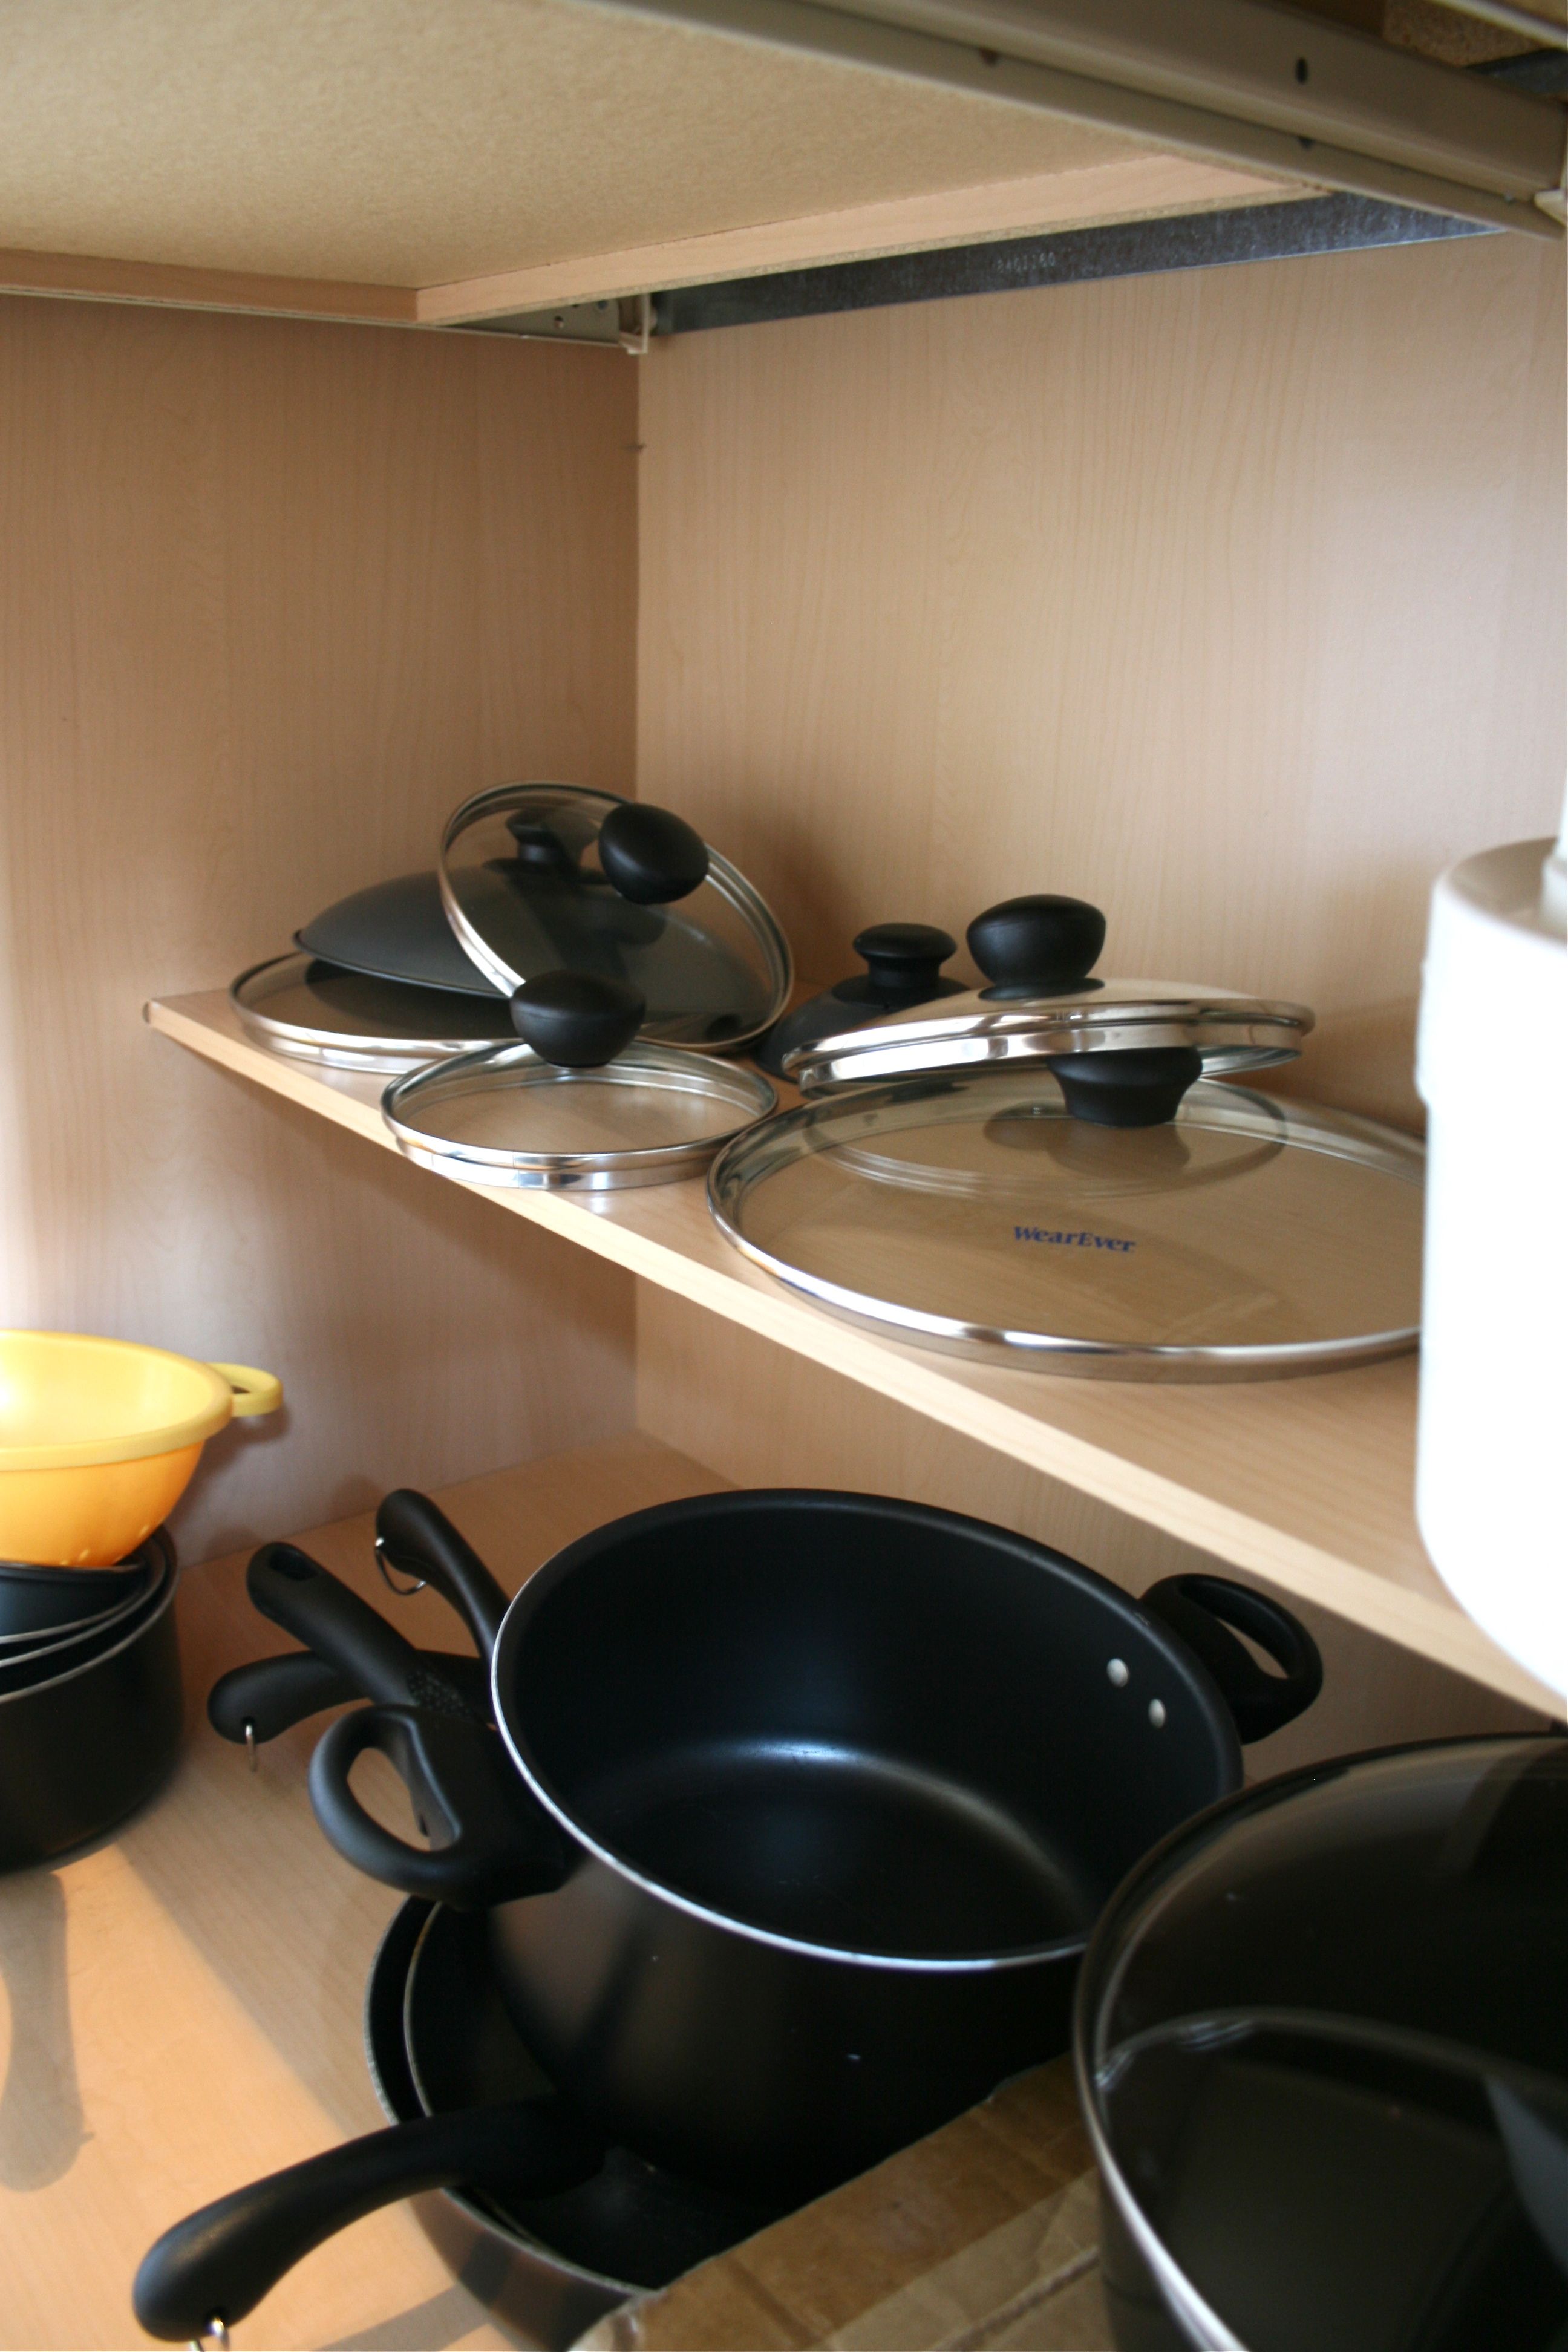
We plan on either registering or purchasing a hanging metal pot rack (anyone know where we can get a good one? Or is it possible to DIY one??) so the pots and pans are temporarily nested within one another. But the tops are a different story…
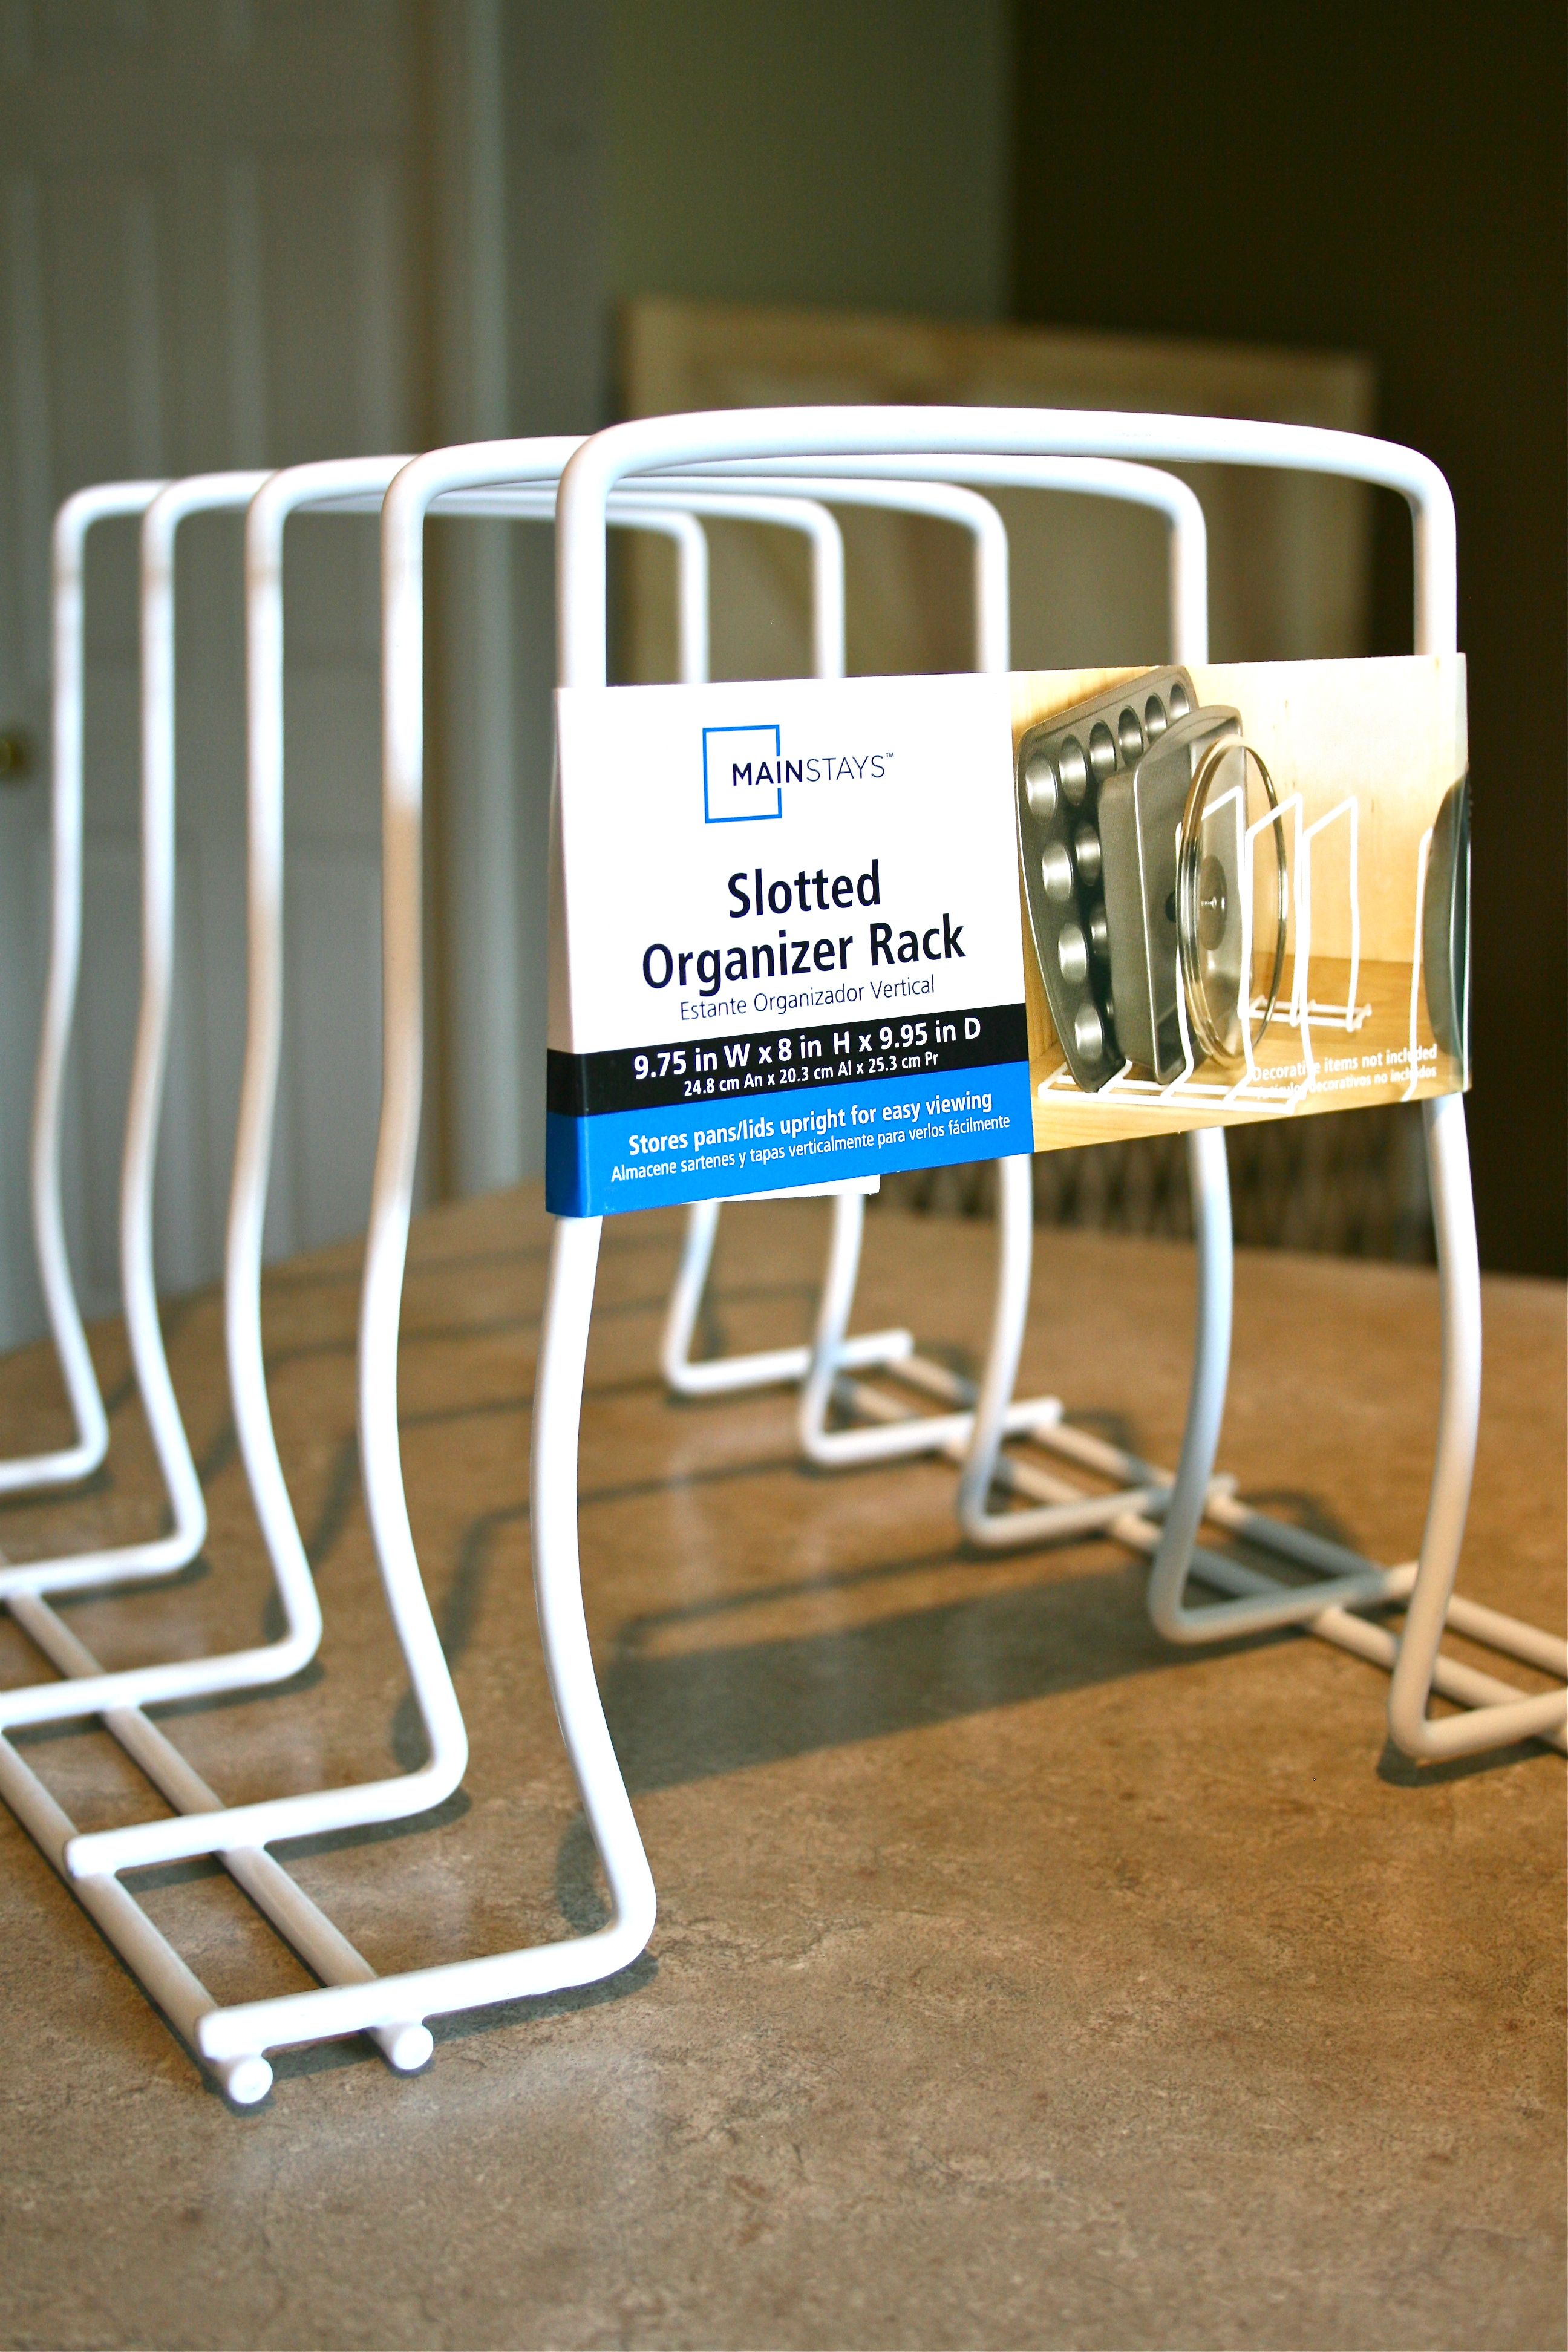
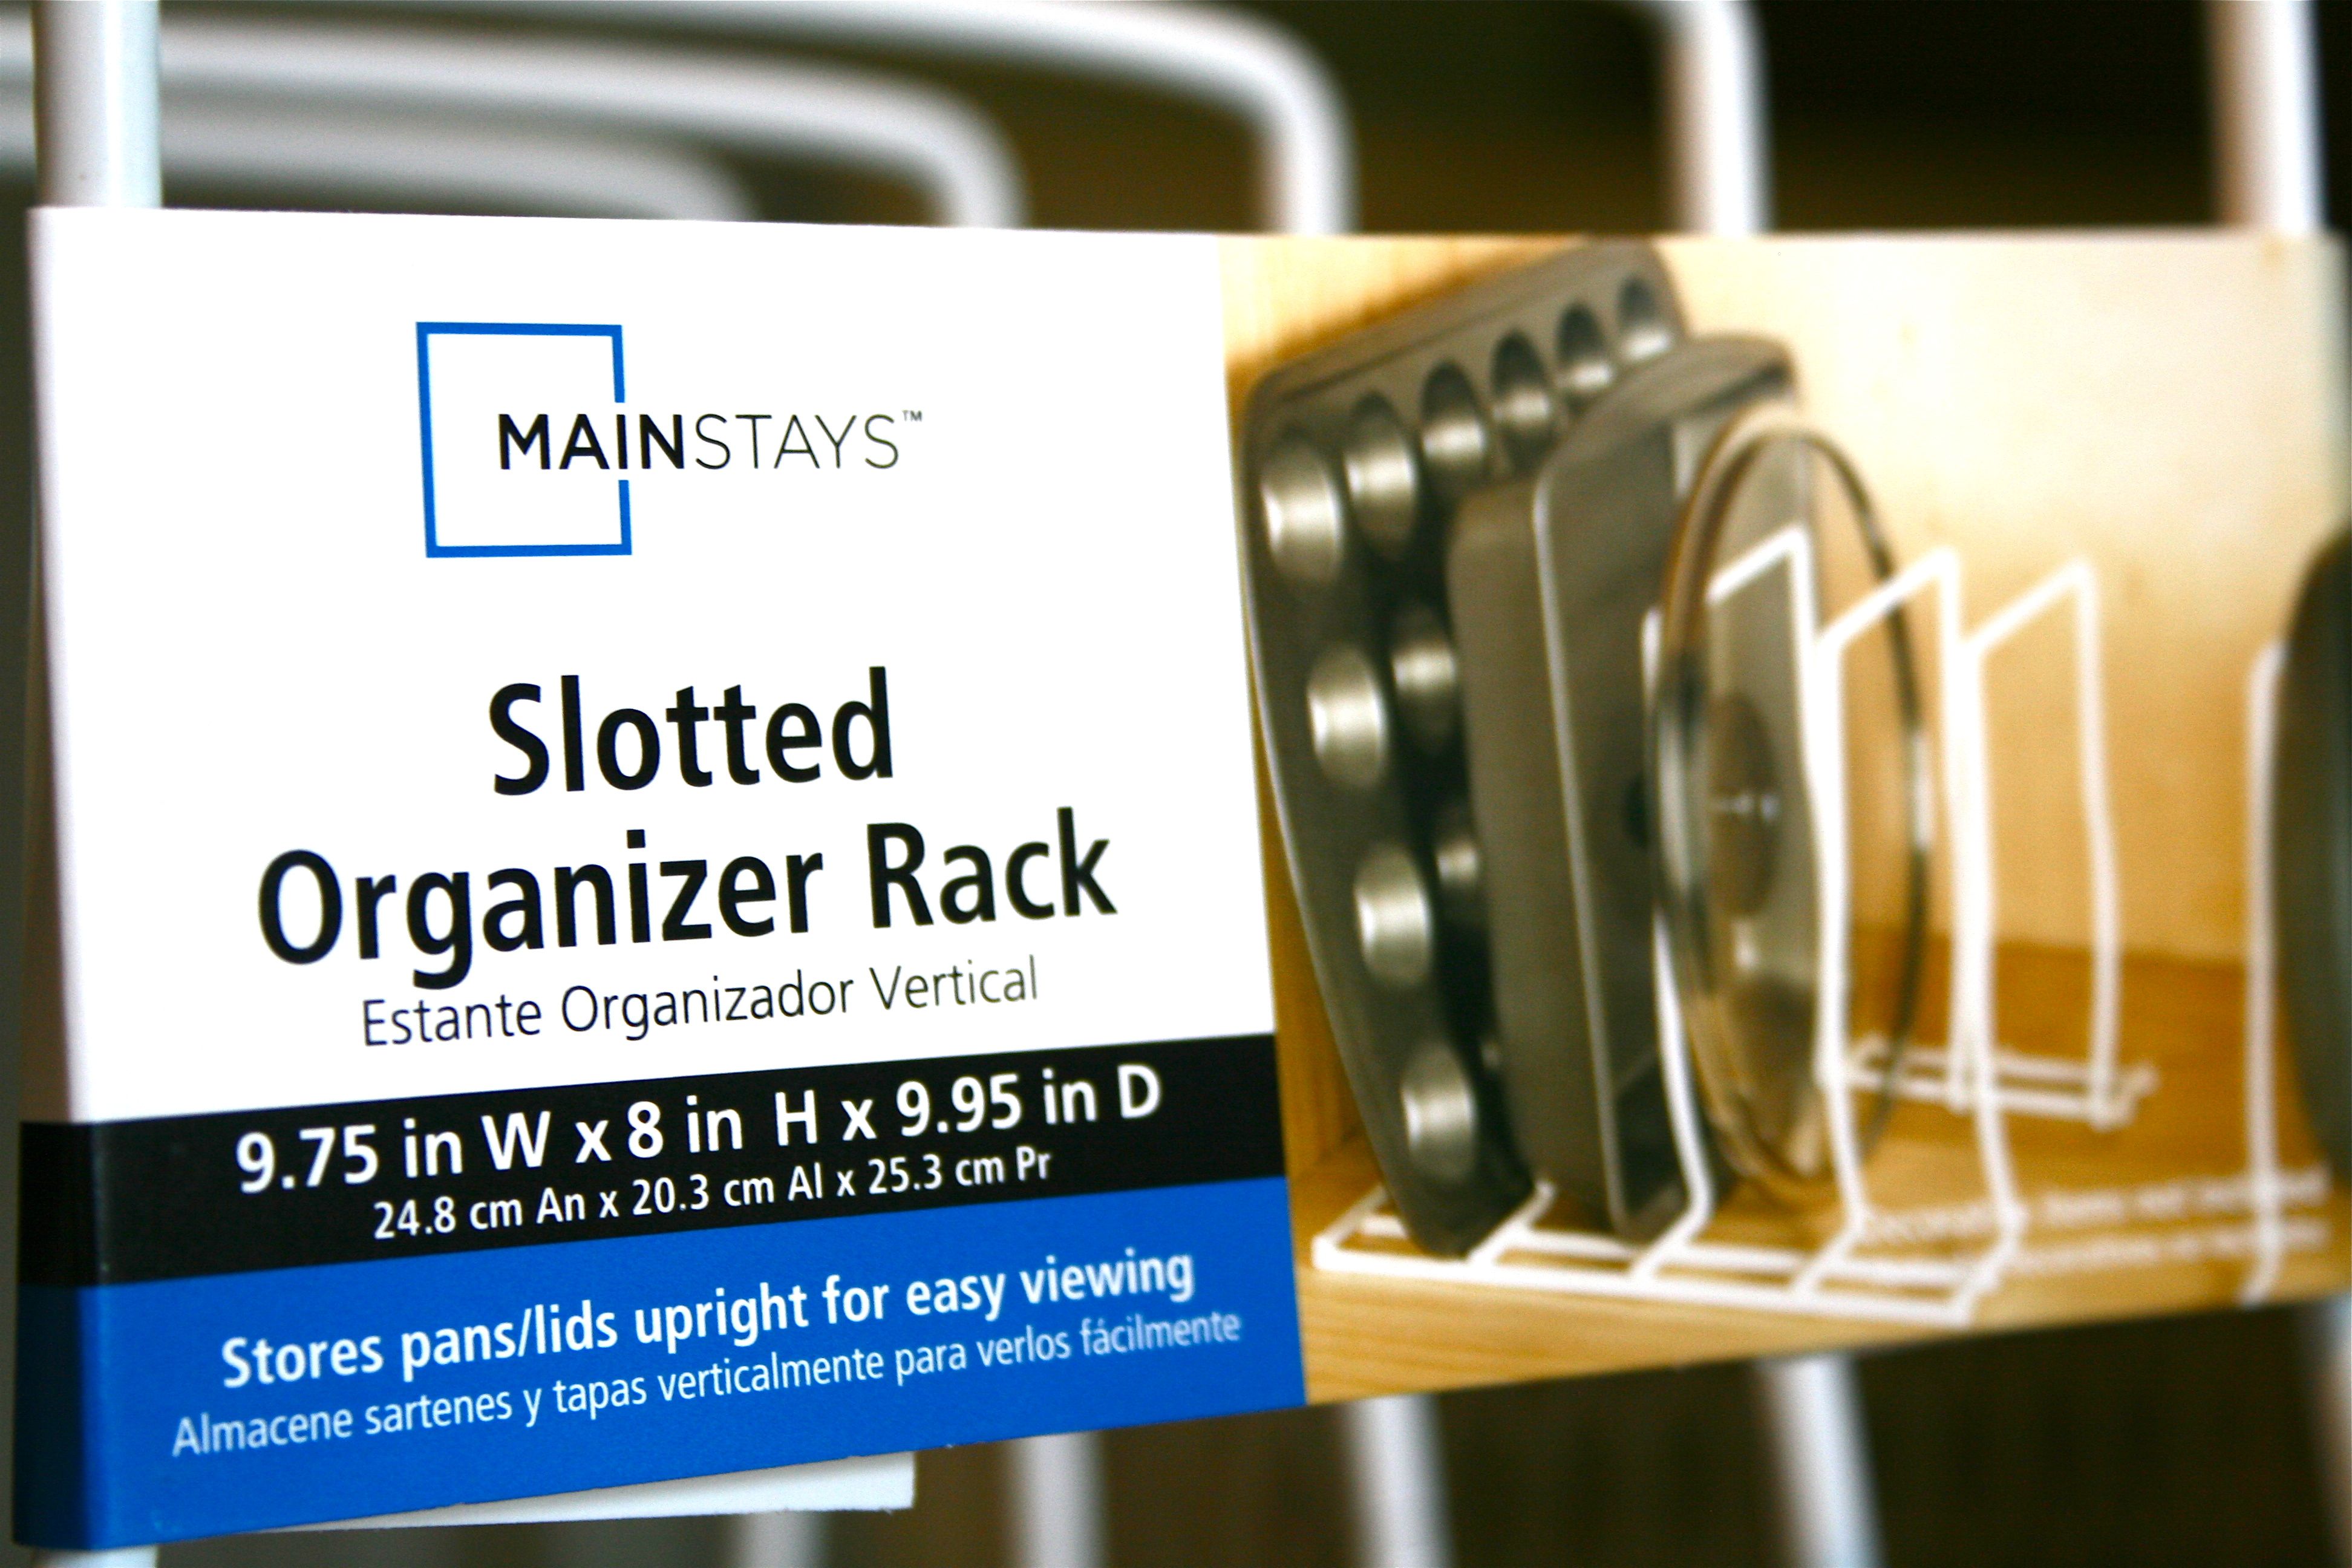
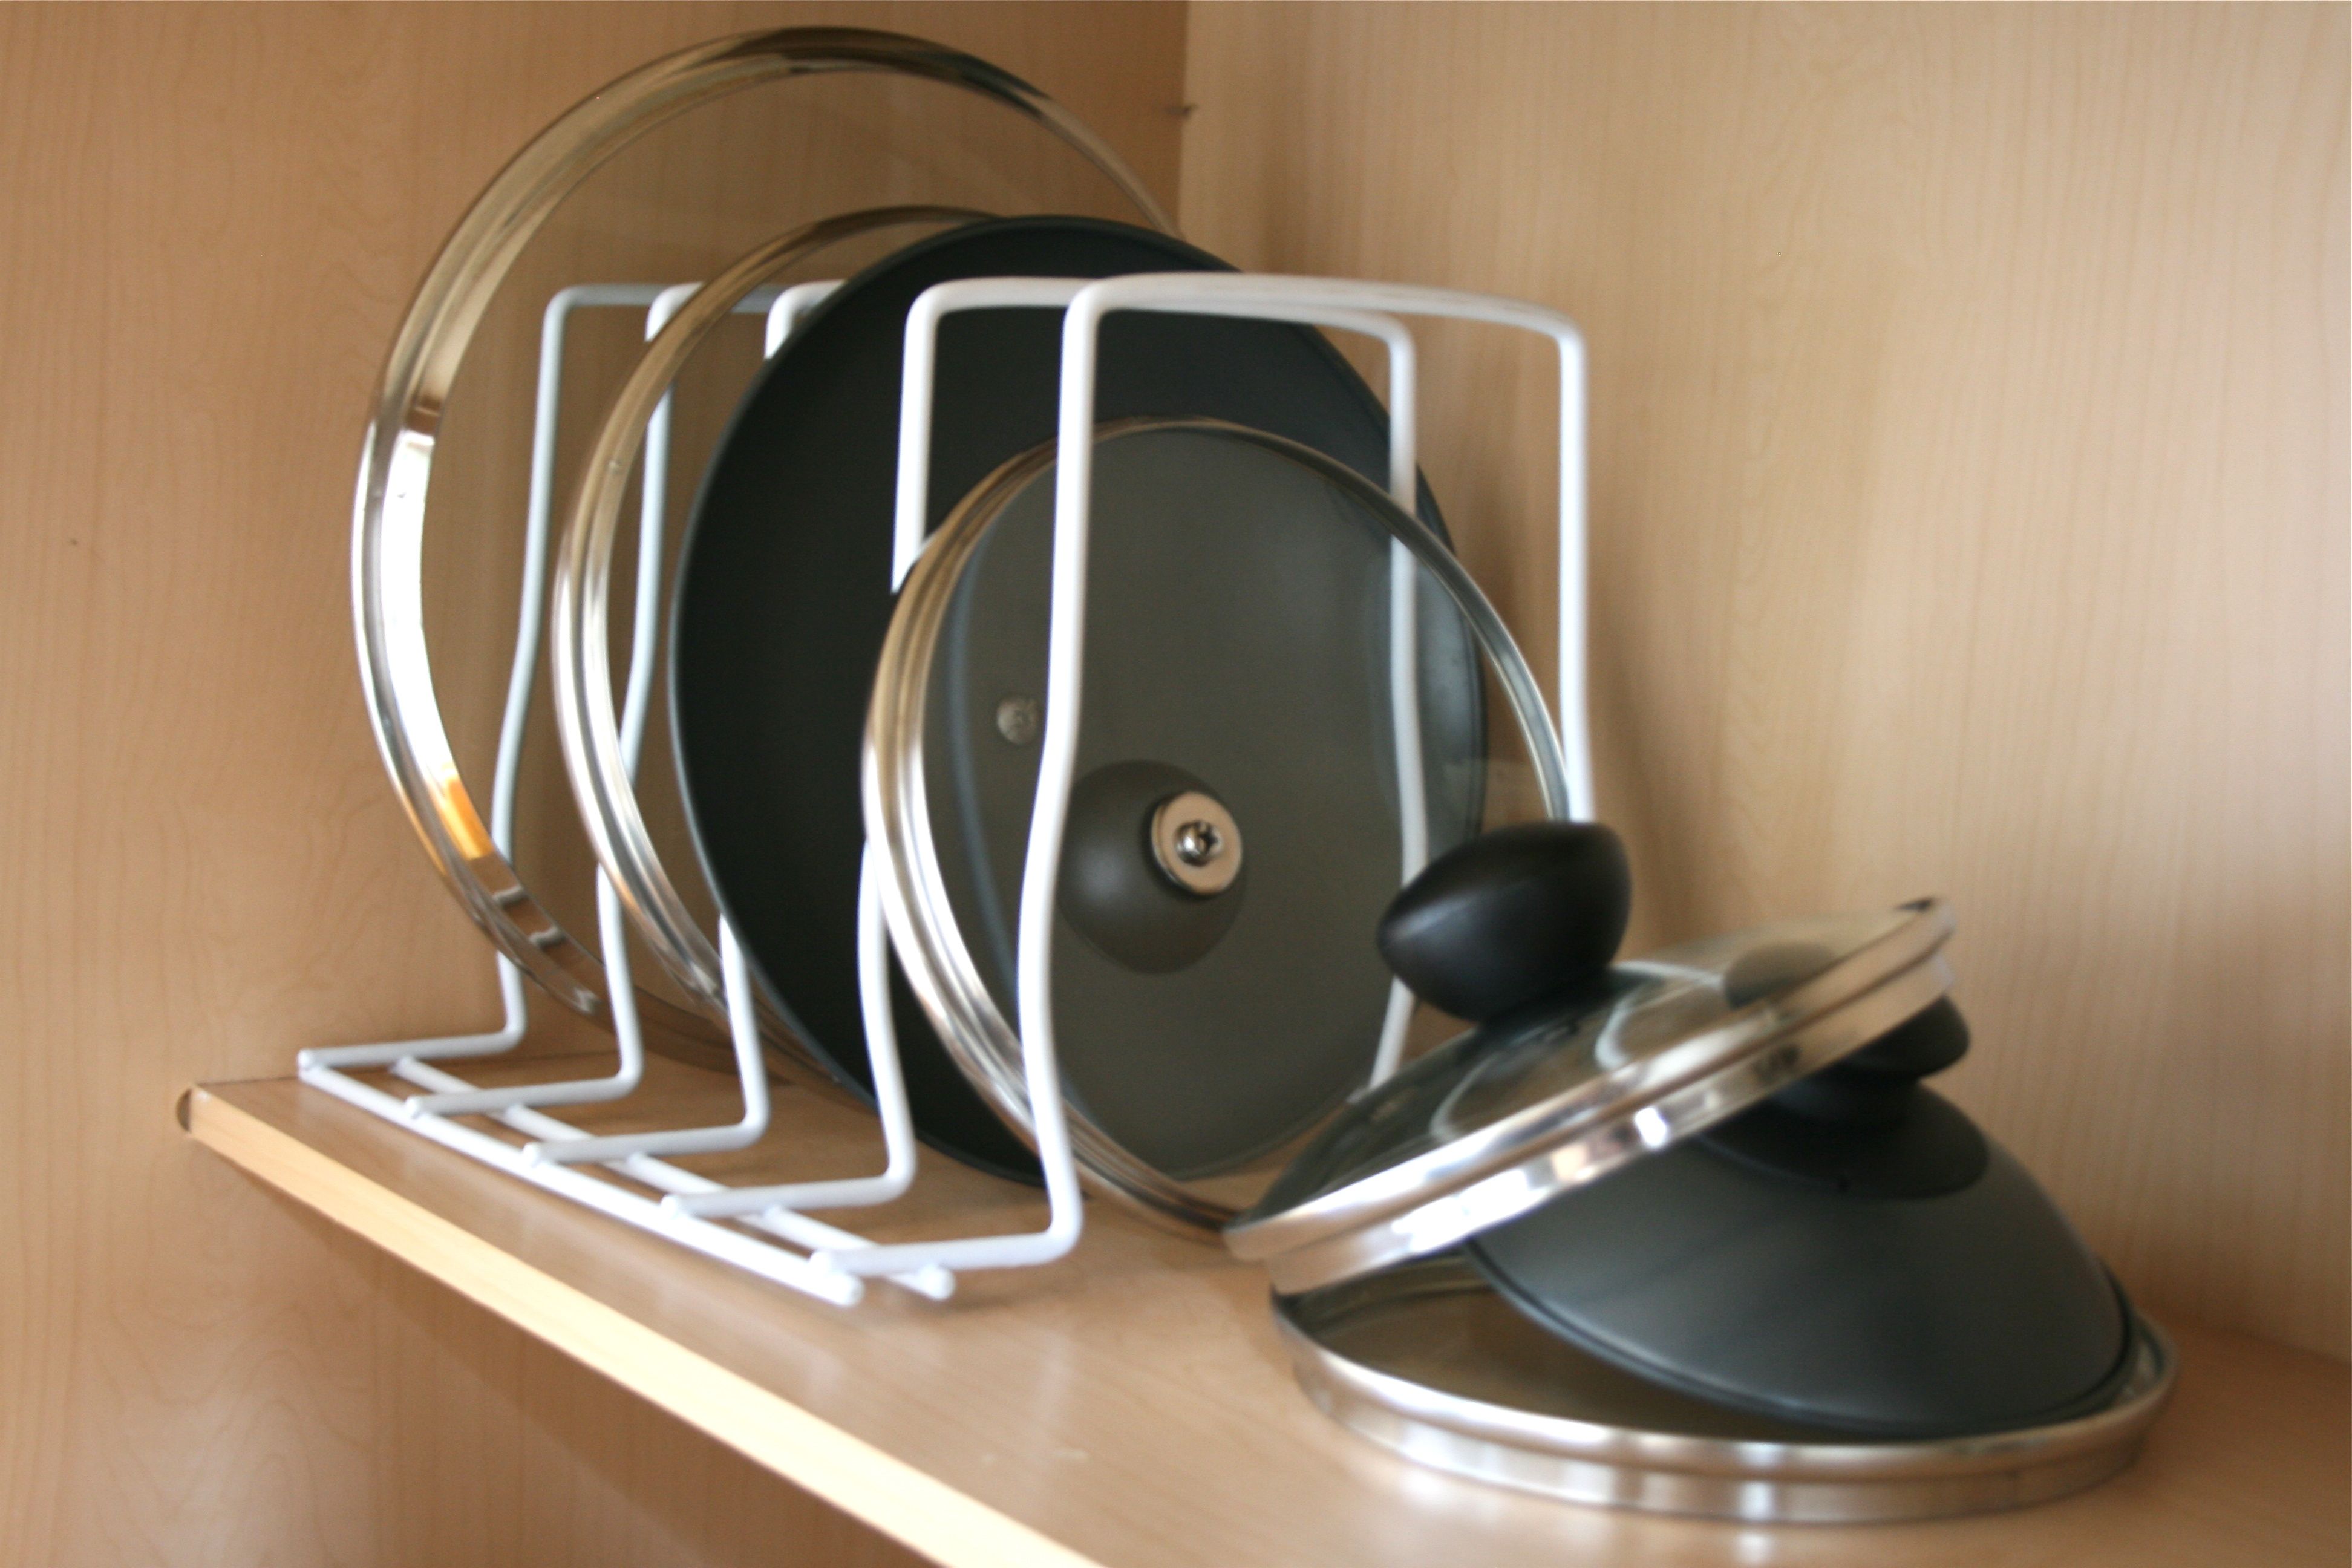
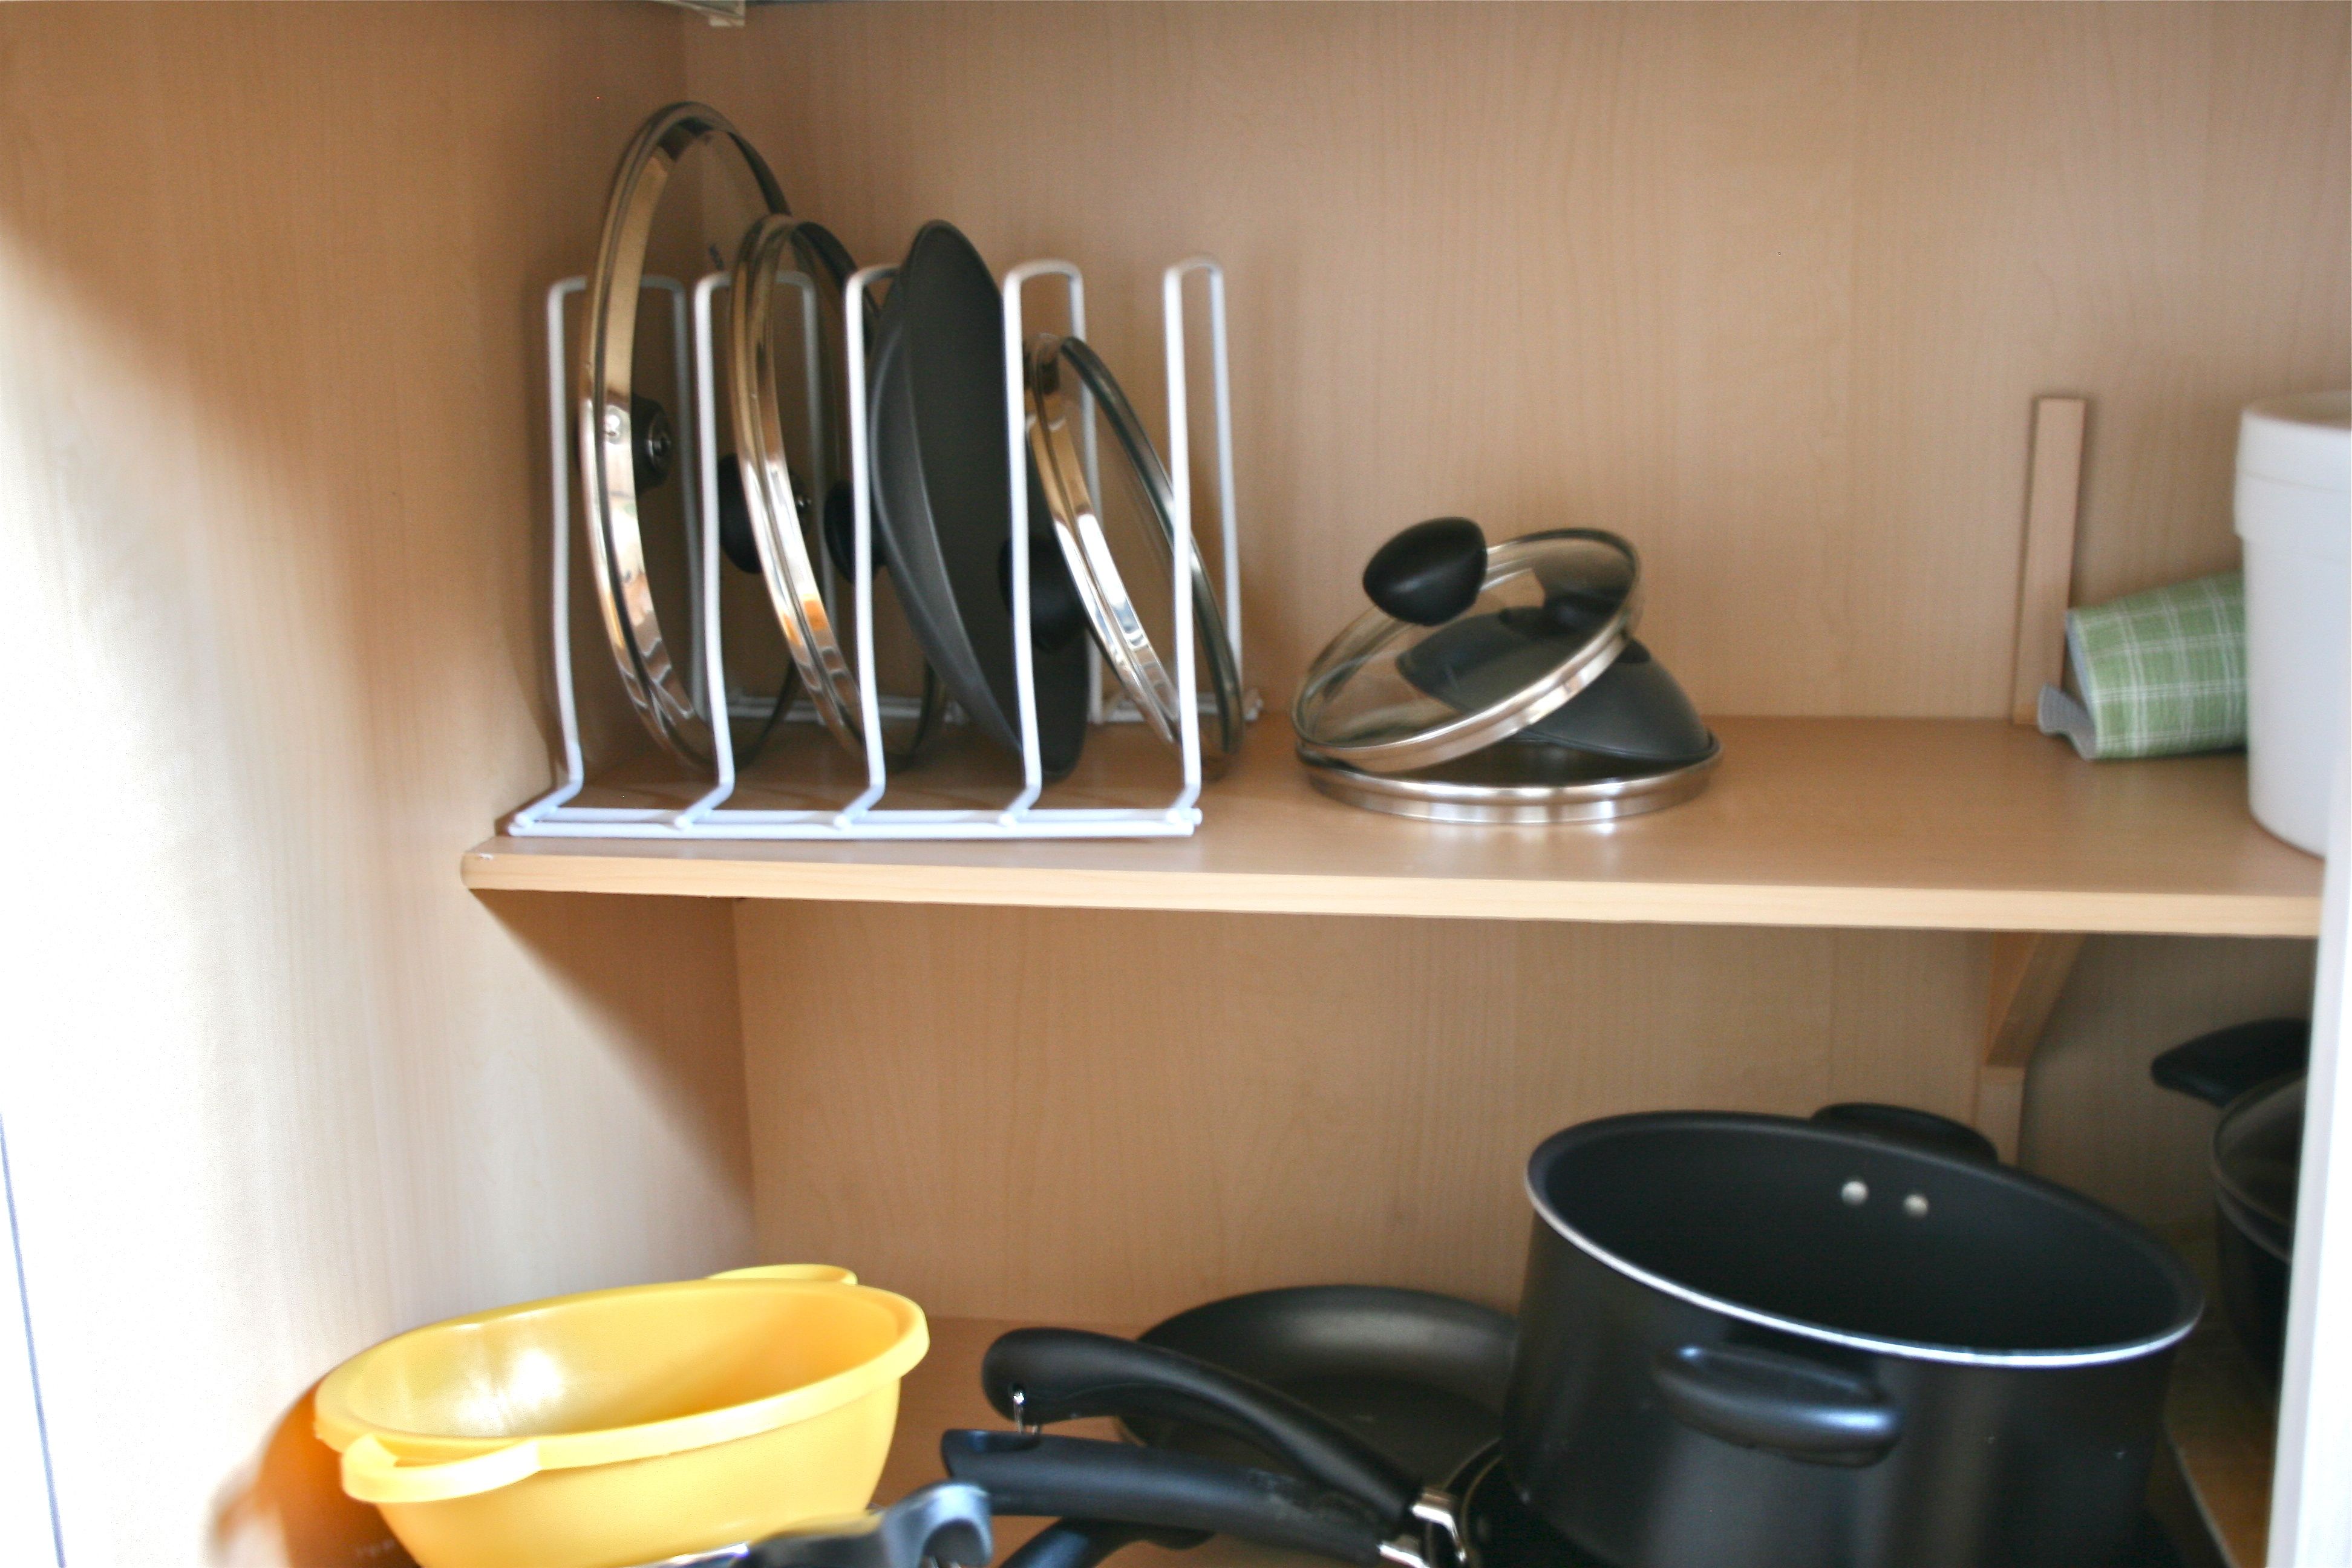
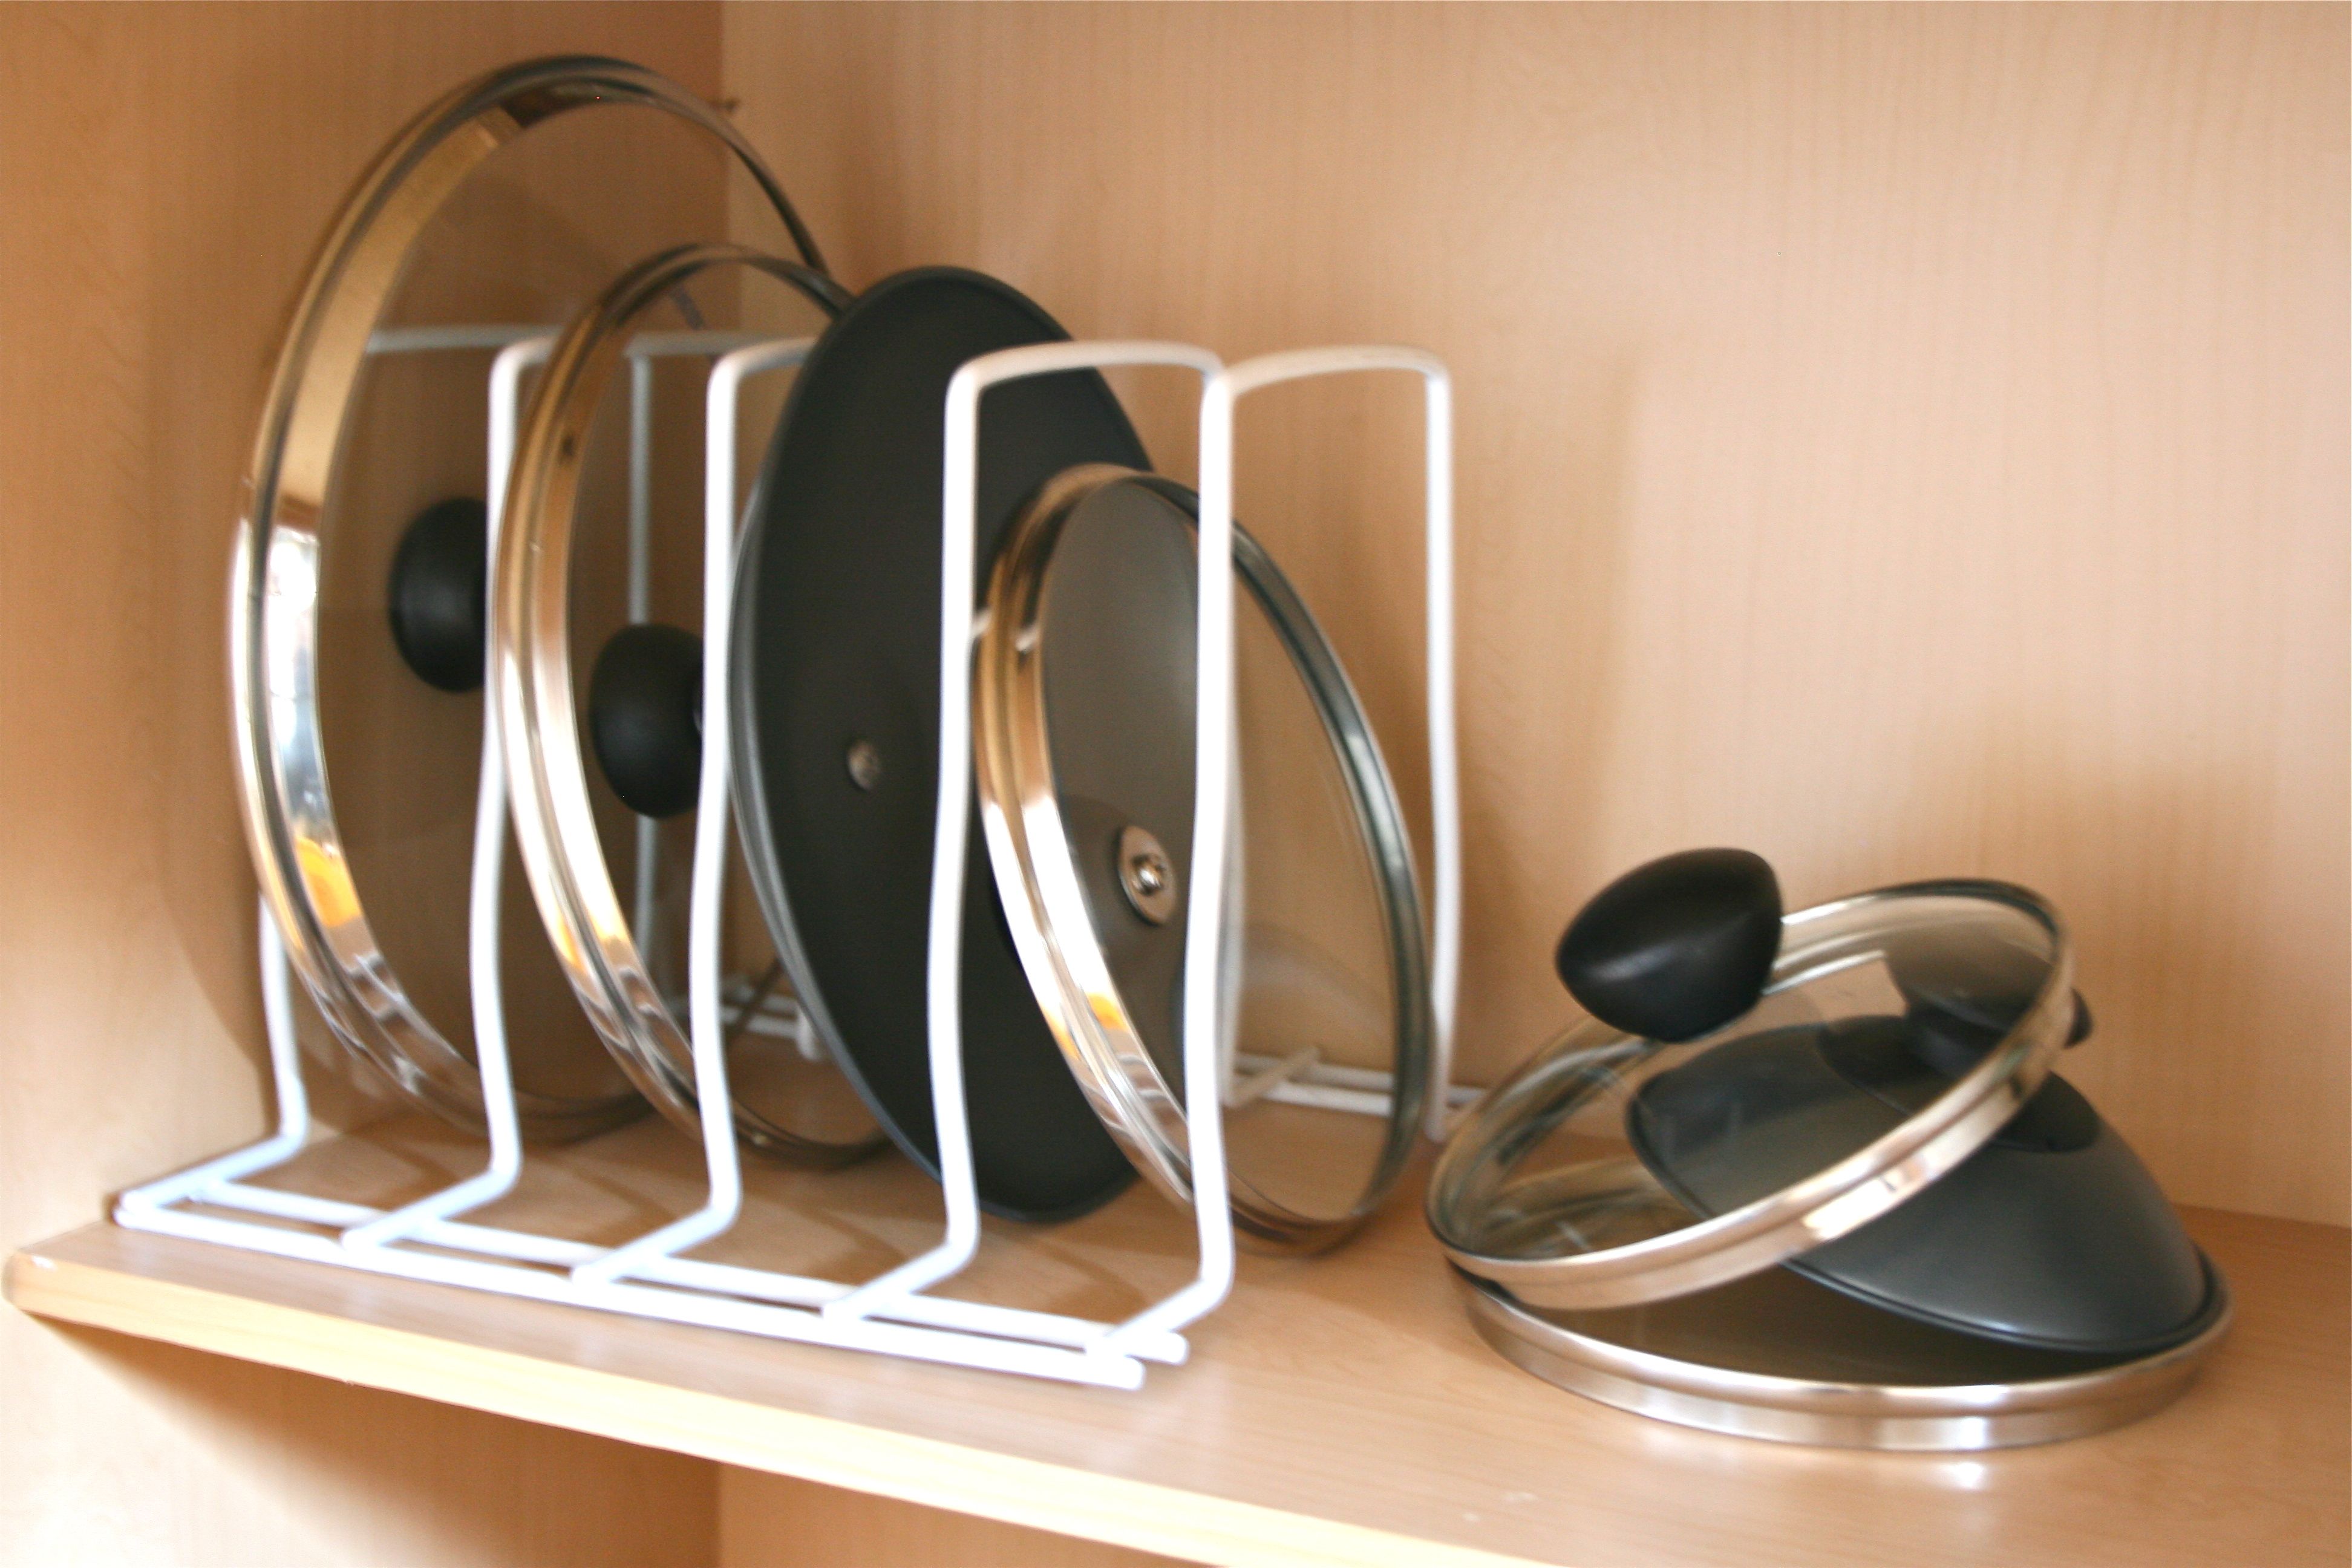
Luckily, we hit the jackpot walking through Wal Mart the other day when we found this little contraption!
We had unknowingly stumbled upon a GENIUS way to store those pesky little lids (does anyone else feel like they MUST be procreating? There’s no way that we should have 7 pot lids!!!) – And for less then $5, it was an easy decision to toss it into the cart.
After getting home, ripping off the label and taking a seat on the kitchen floor, our errant pot tops went from looking like this…
…to this in under a minute flat…
So simple and SO practical!! Now I can’t wait to get those cluttered-looking pots and pans taken care of…Might start researching a hanging system soon just to see what our options are.
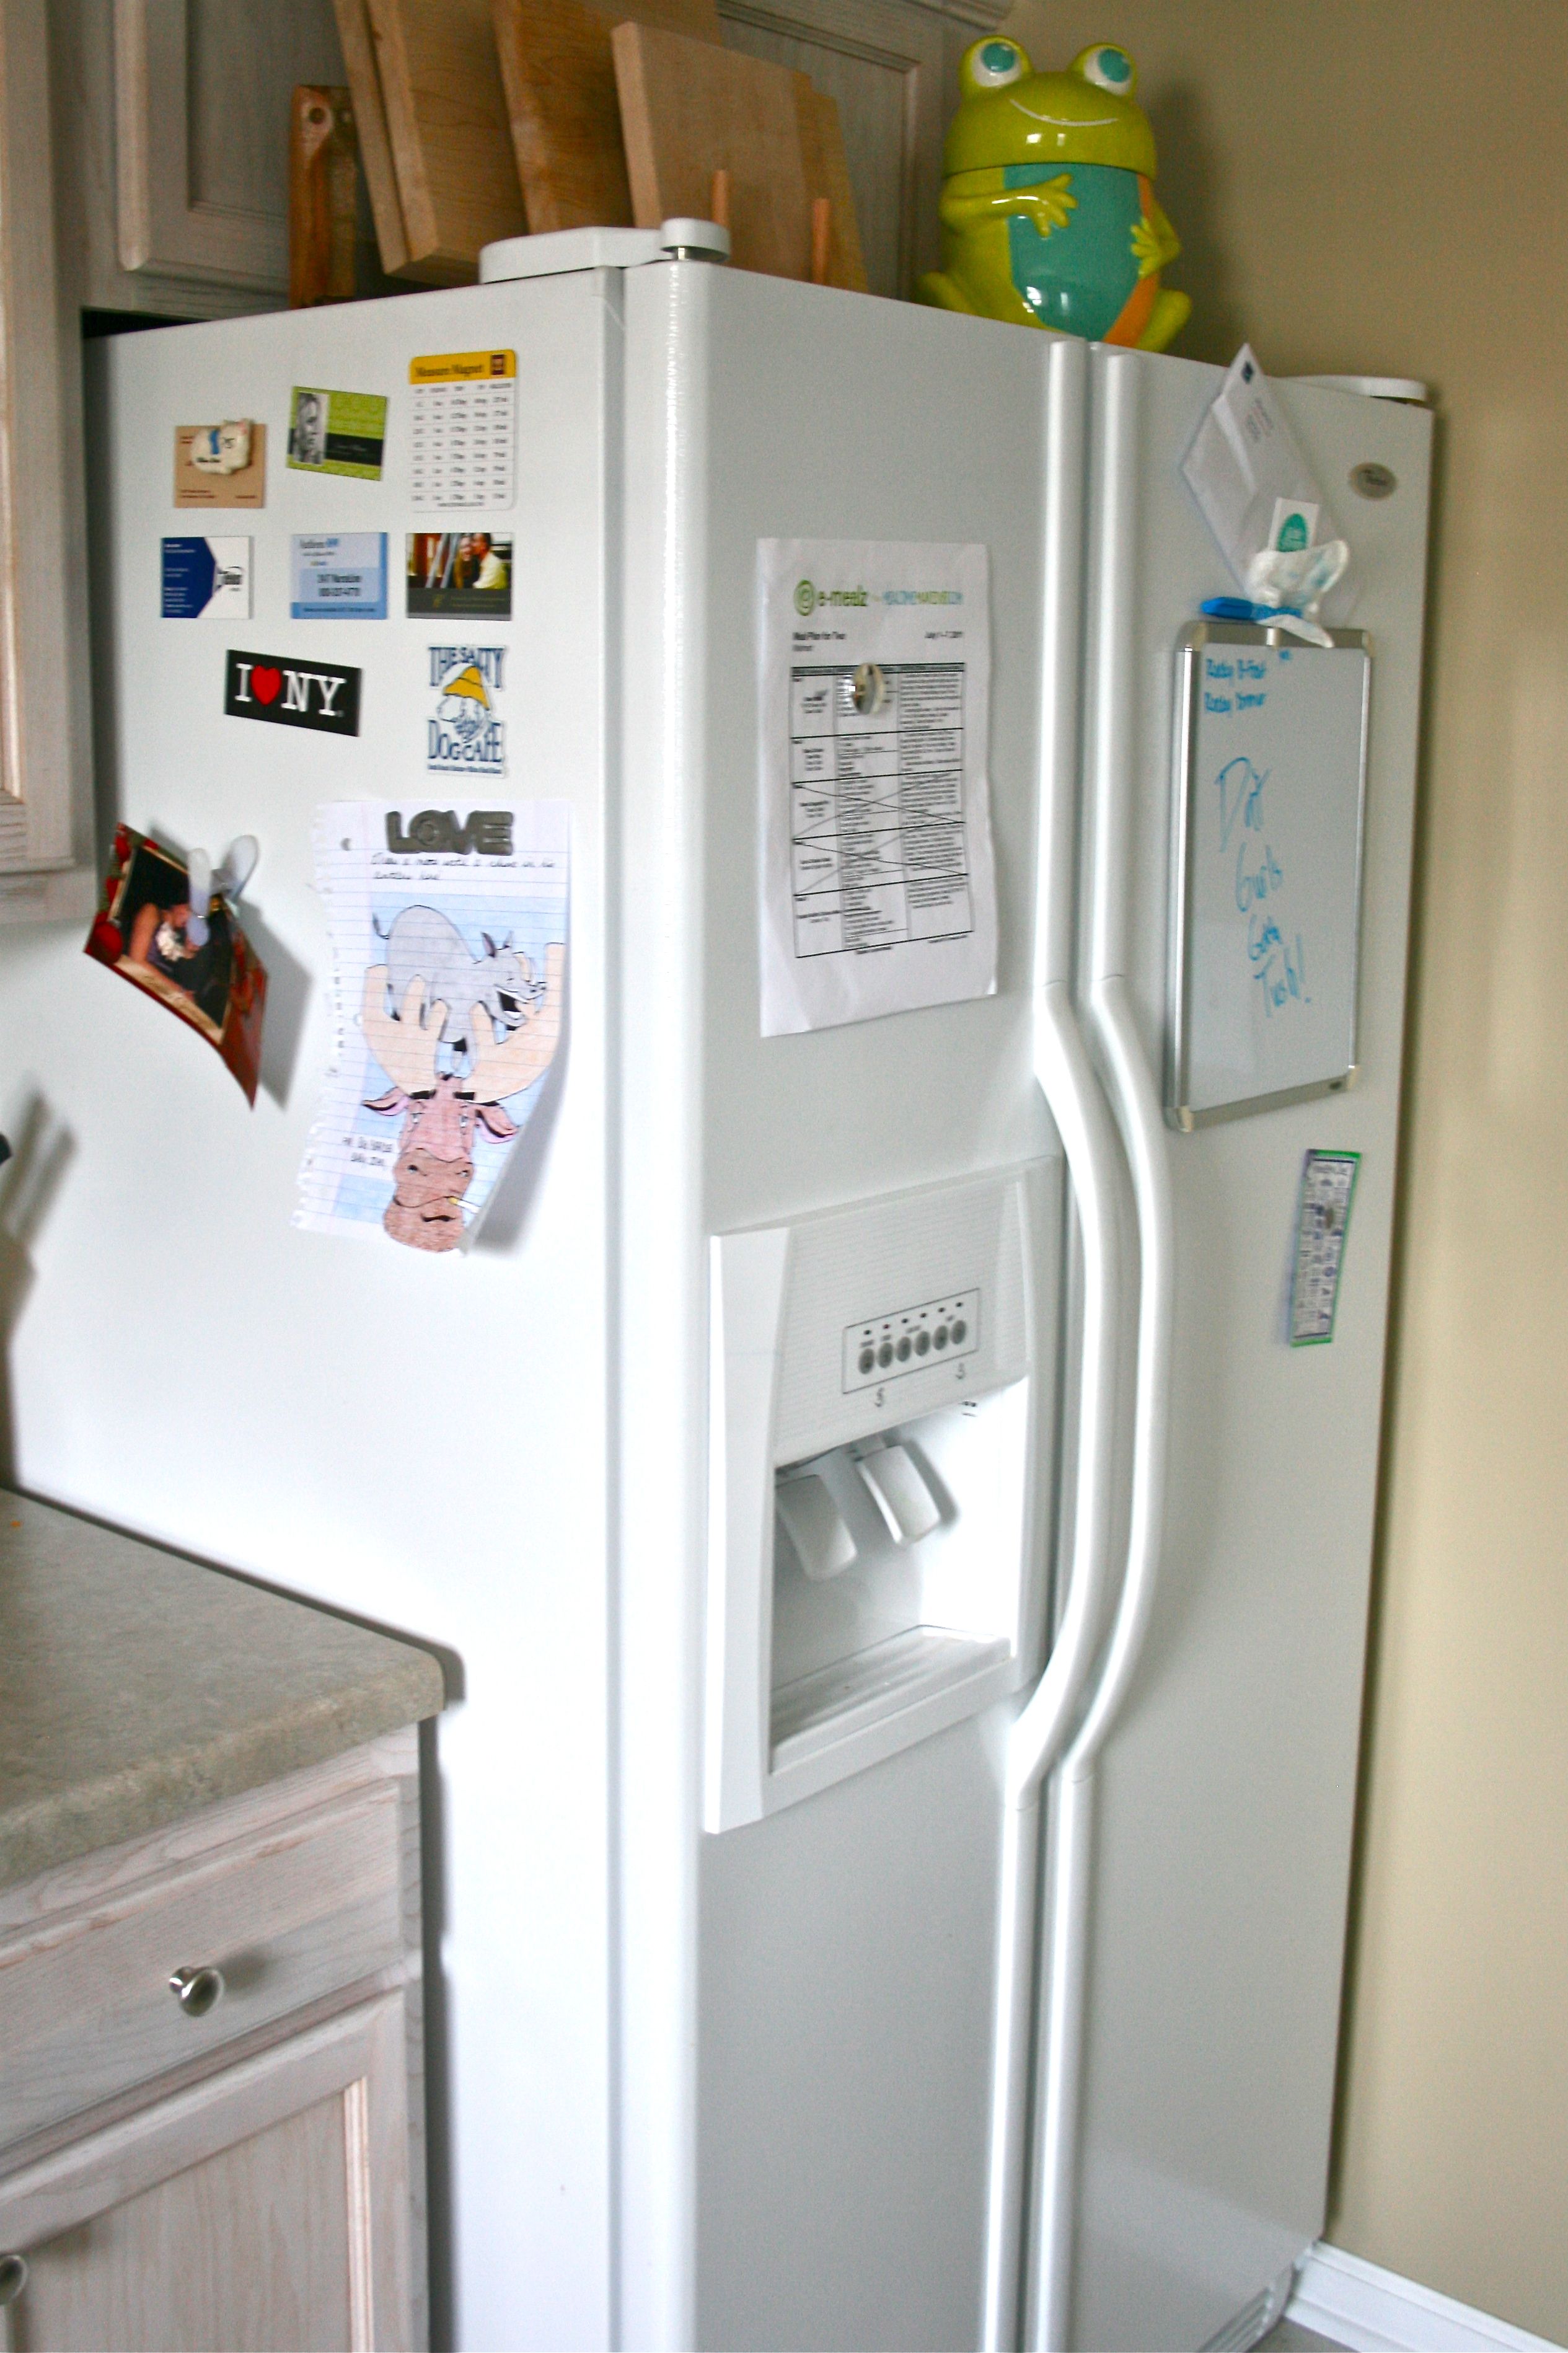
The next project we tackled was our refrigerator. It’s not an overly cluttered surface, but it could use a little paring down…Between magnets, business cards, weekly dinner menus, a dry erase board and other random things, it was starting to put my obsessive-compulsive need for cleanliness into overdrive.
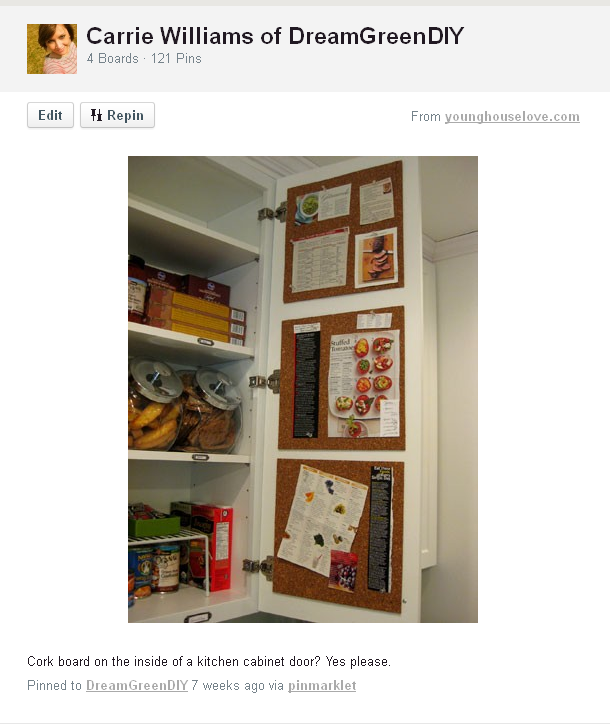
That’s when a little Pinterest inspiration gave me the push to do something about it.
Here’s an image (via YoungHouseLove.com) that I pinned to my board a few months ago. It’s a simple project involving the inside of your kitchen cabinet doors, some tape and a few squares of cork board.
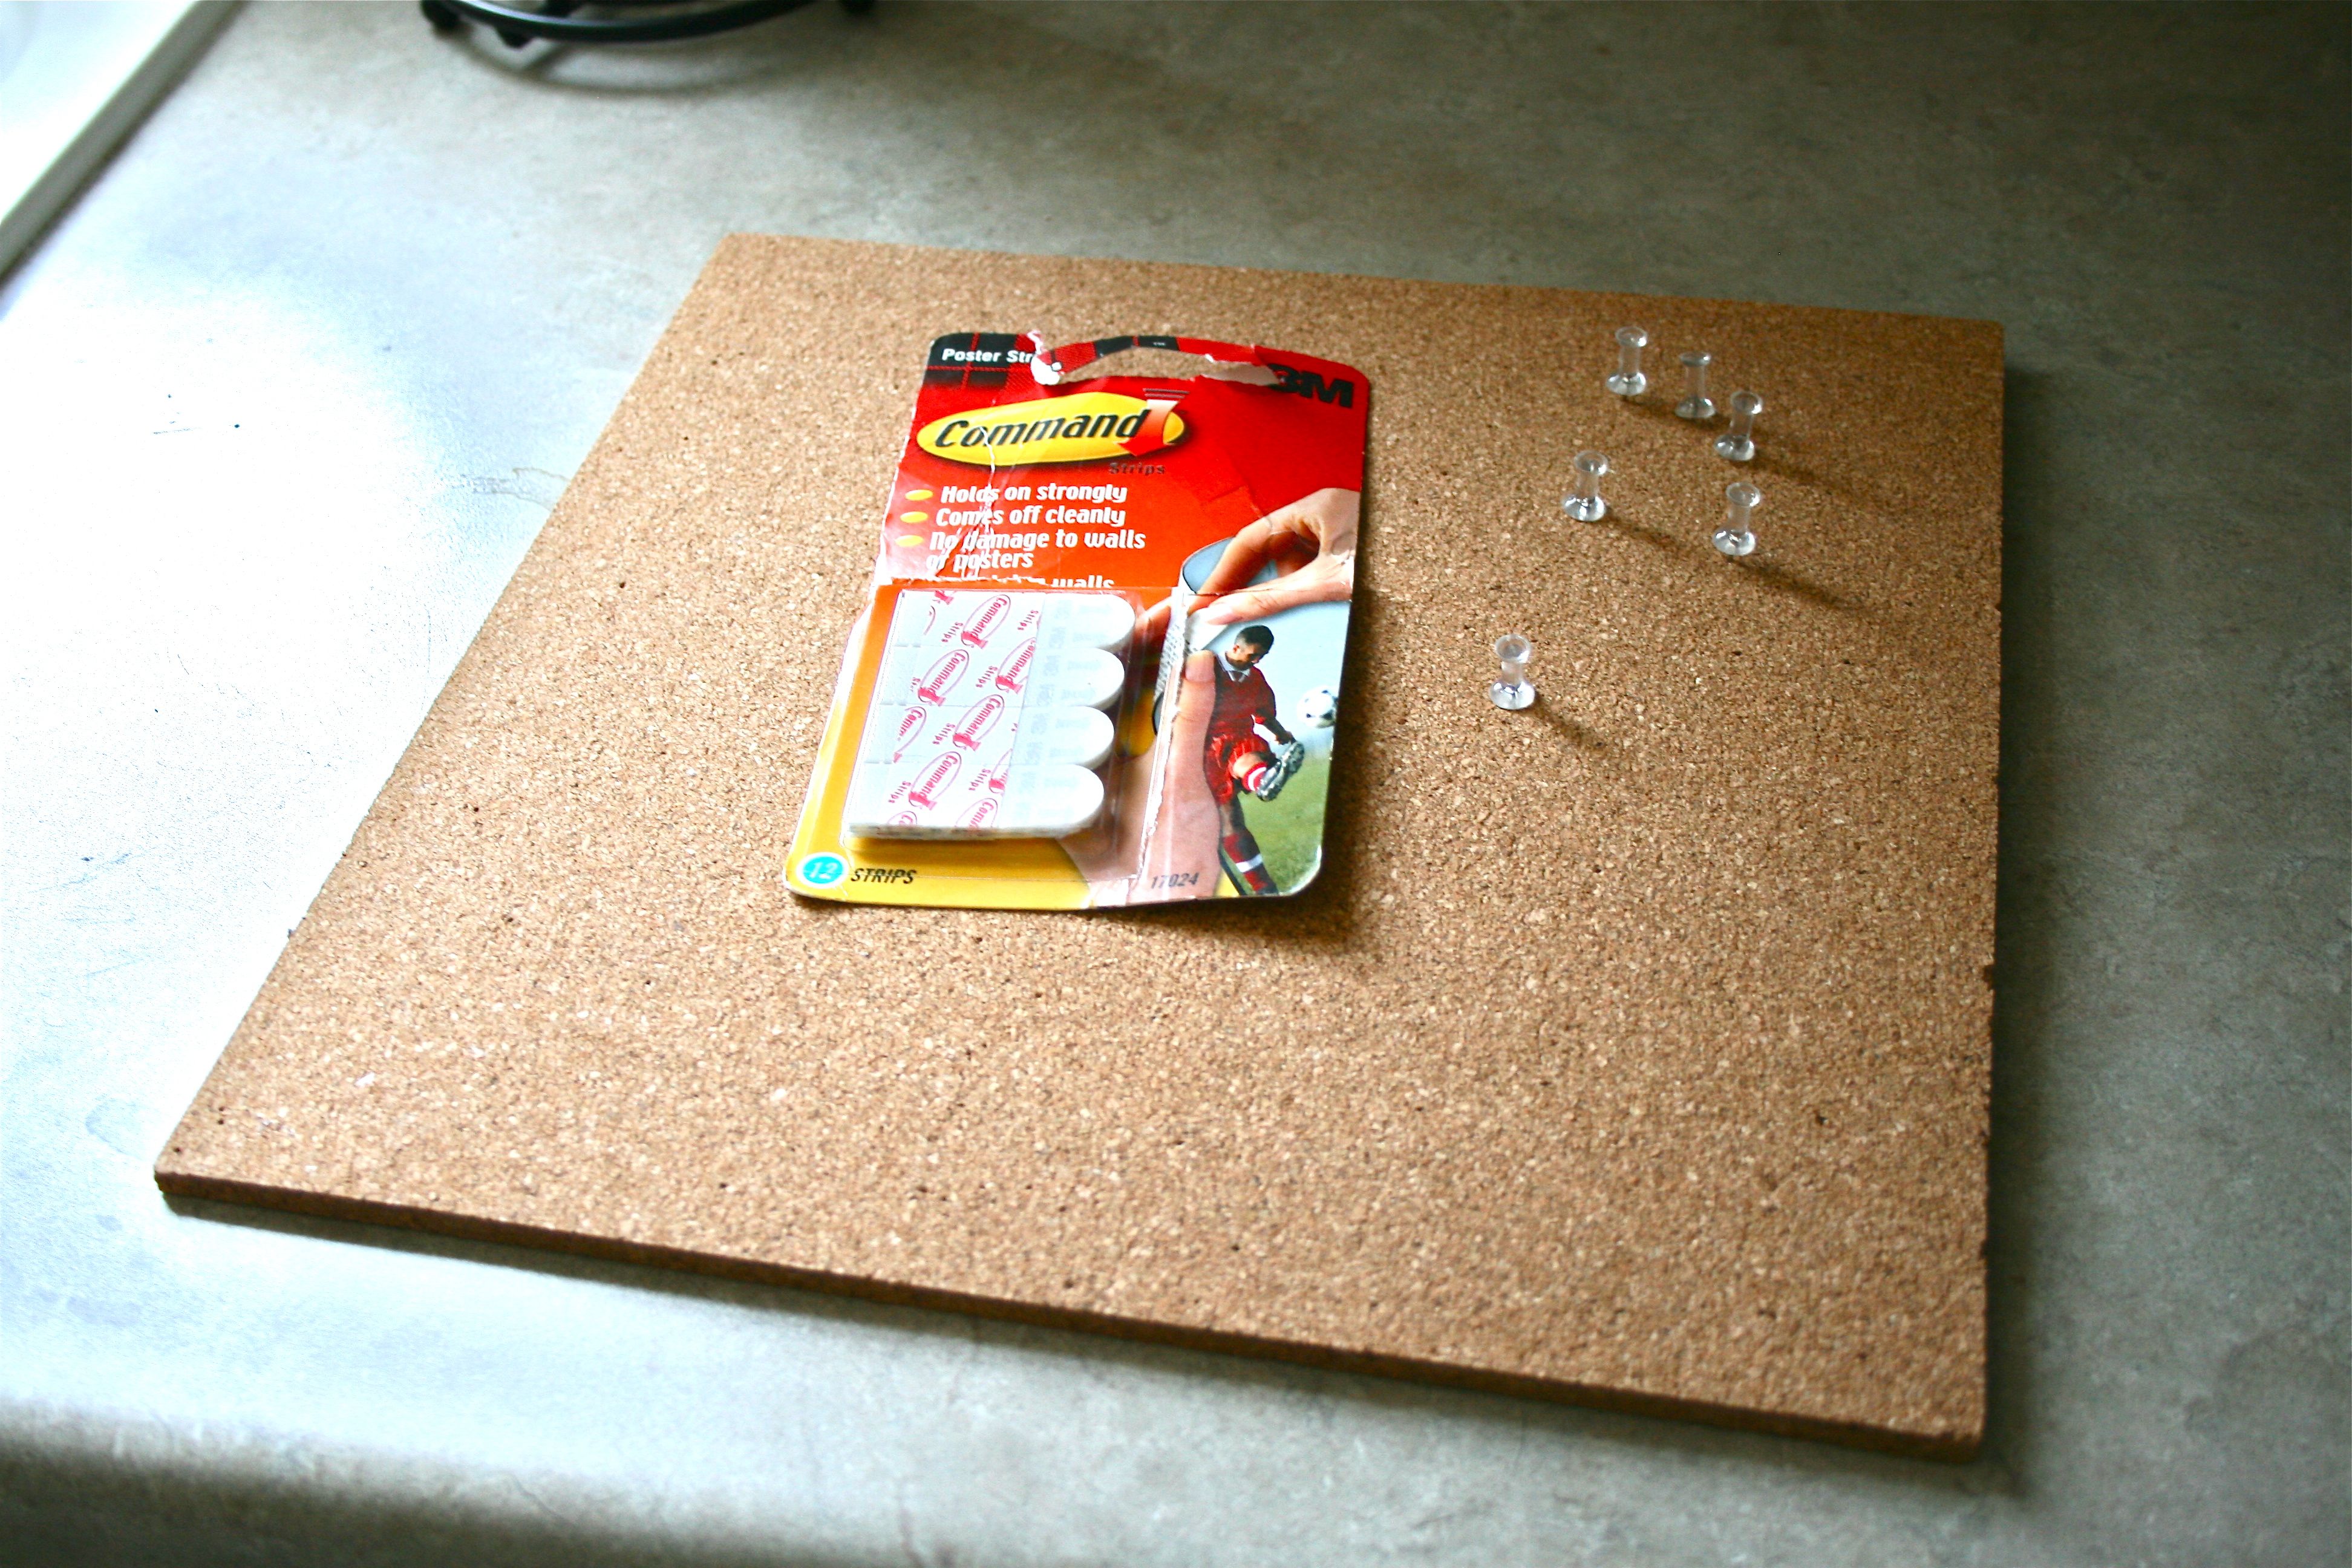
I have had a sheet of cork board in my desk since college, seemingly just WAITING for this moment of inspiration and motivation. So I grabbed that along with my other small amount of supplies and got to work.
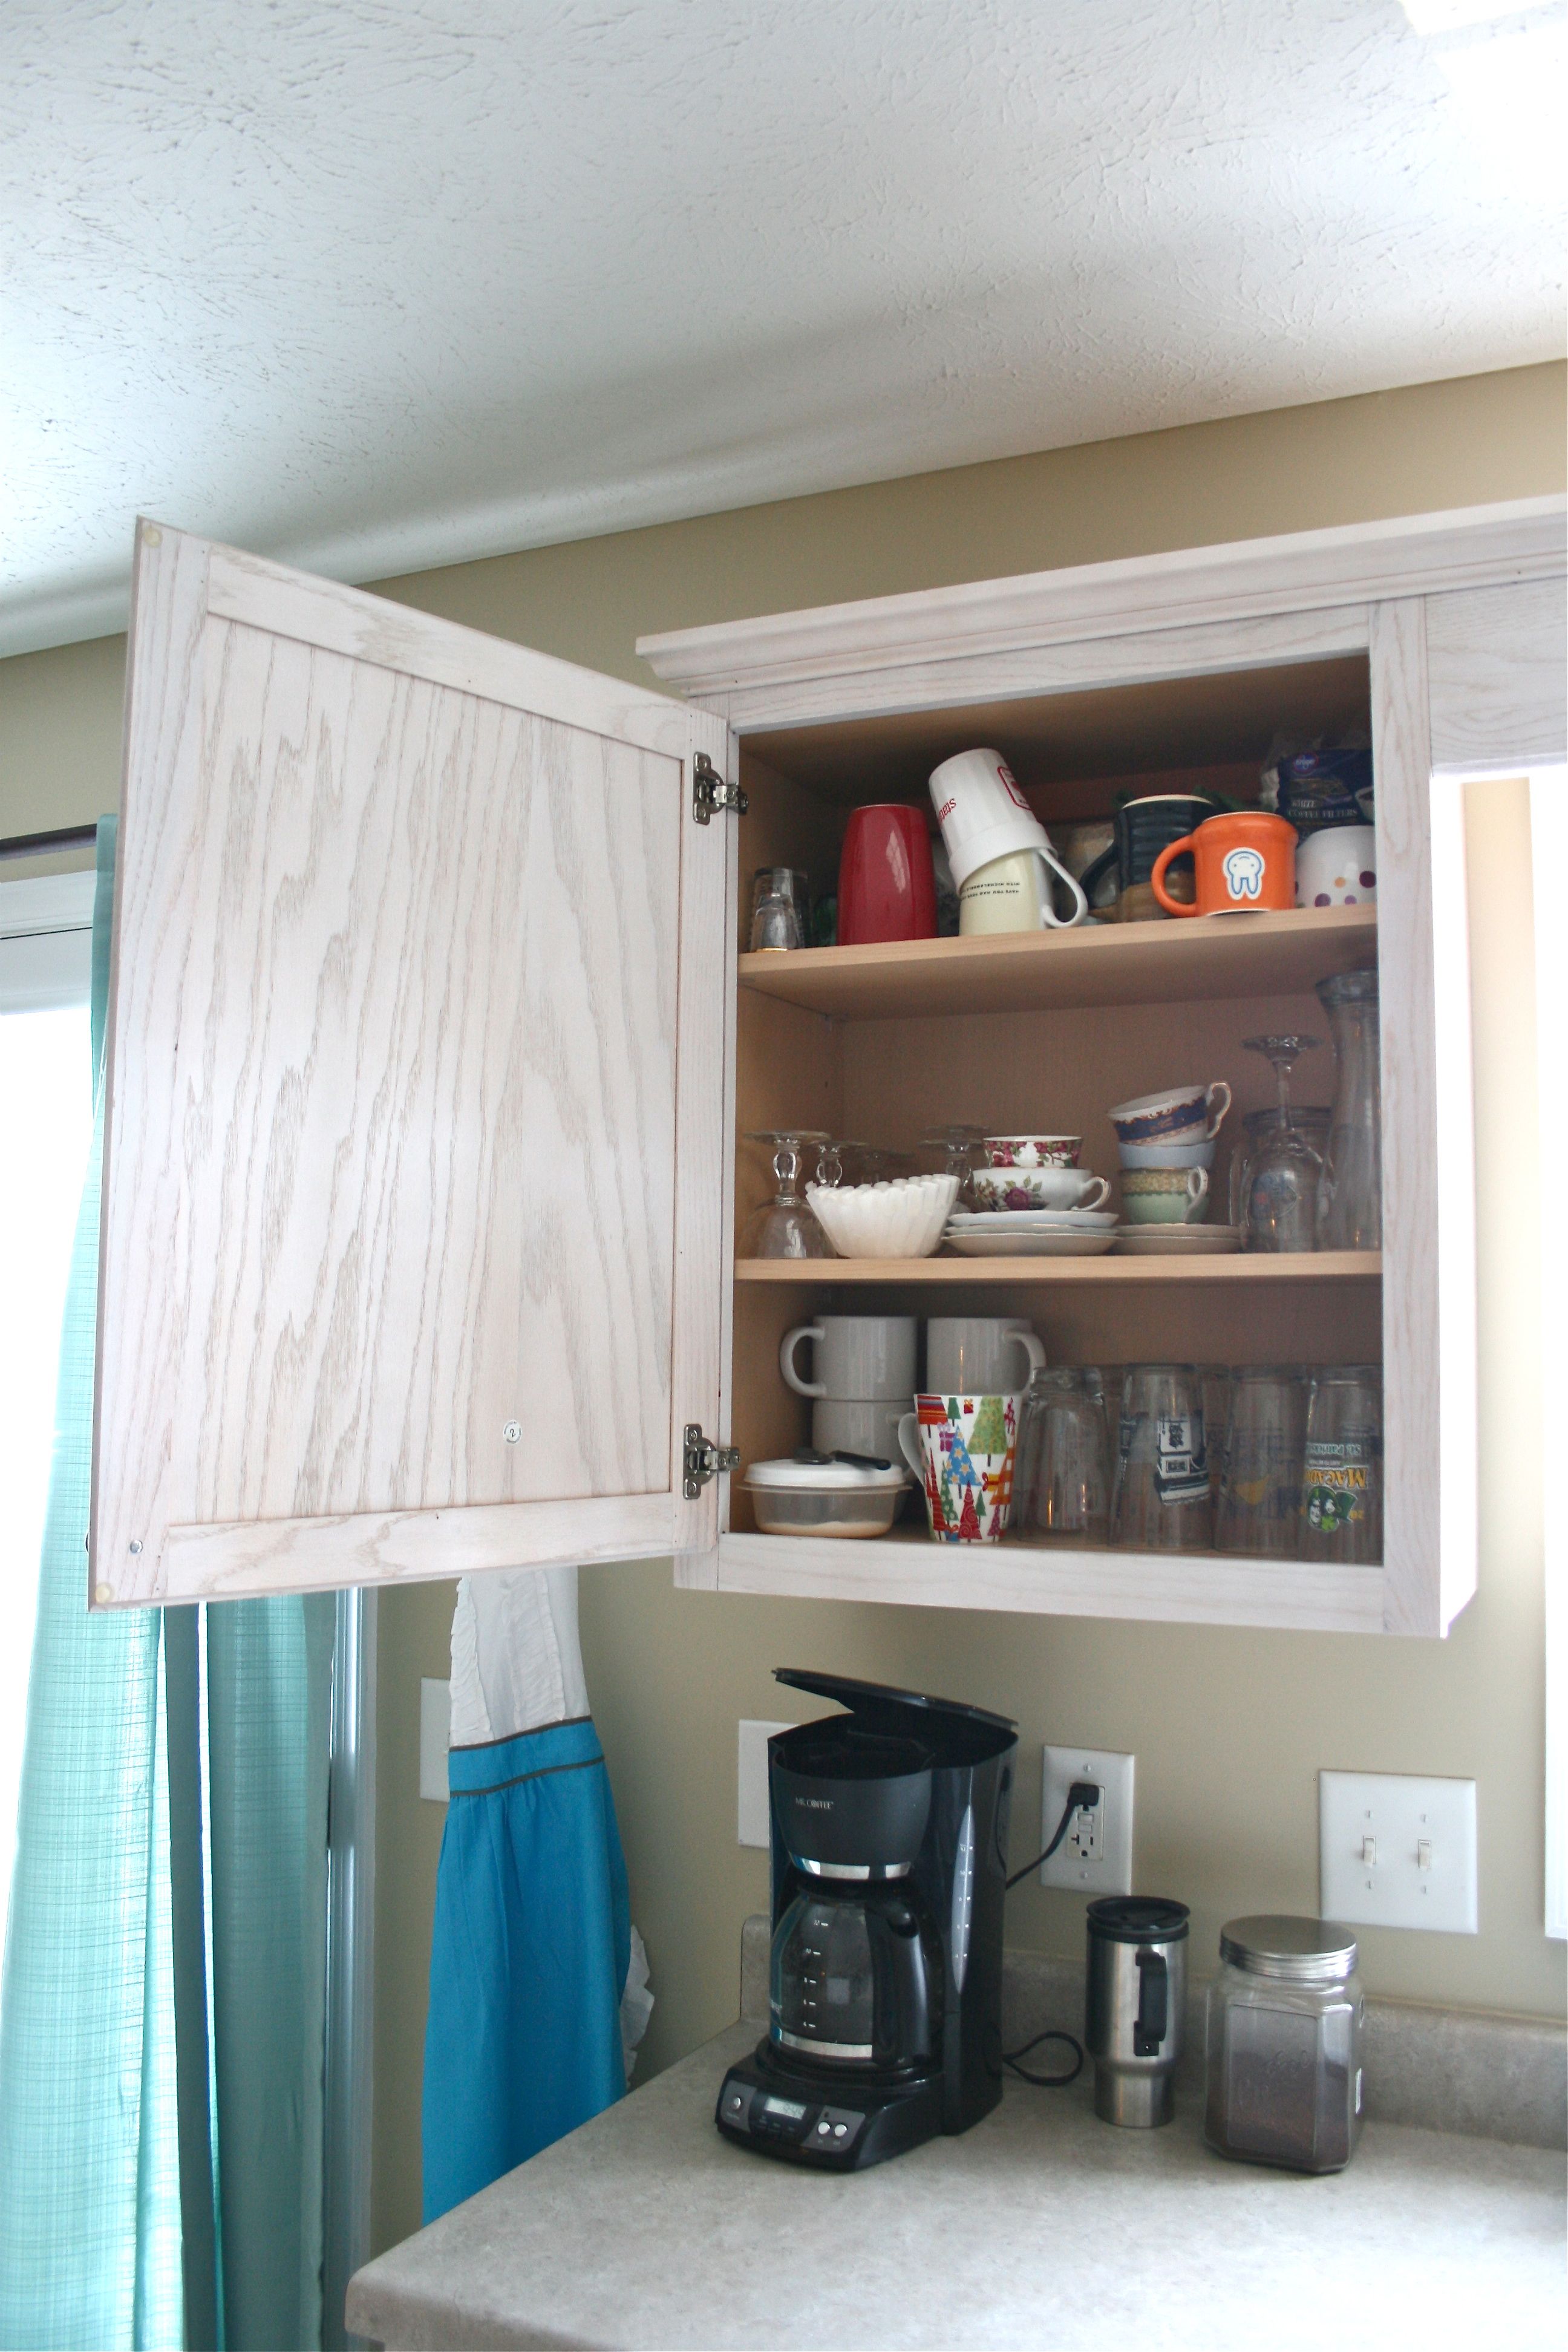
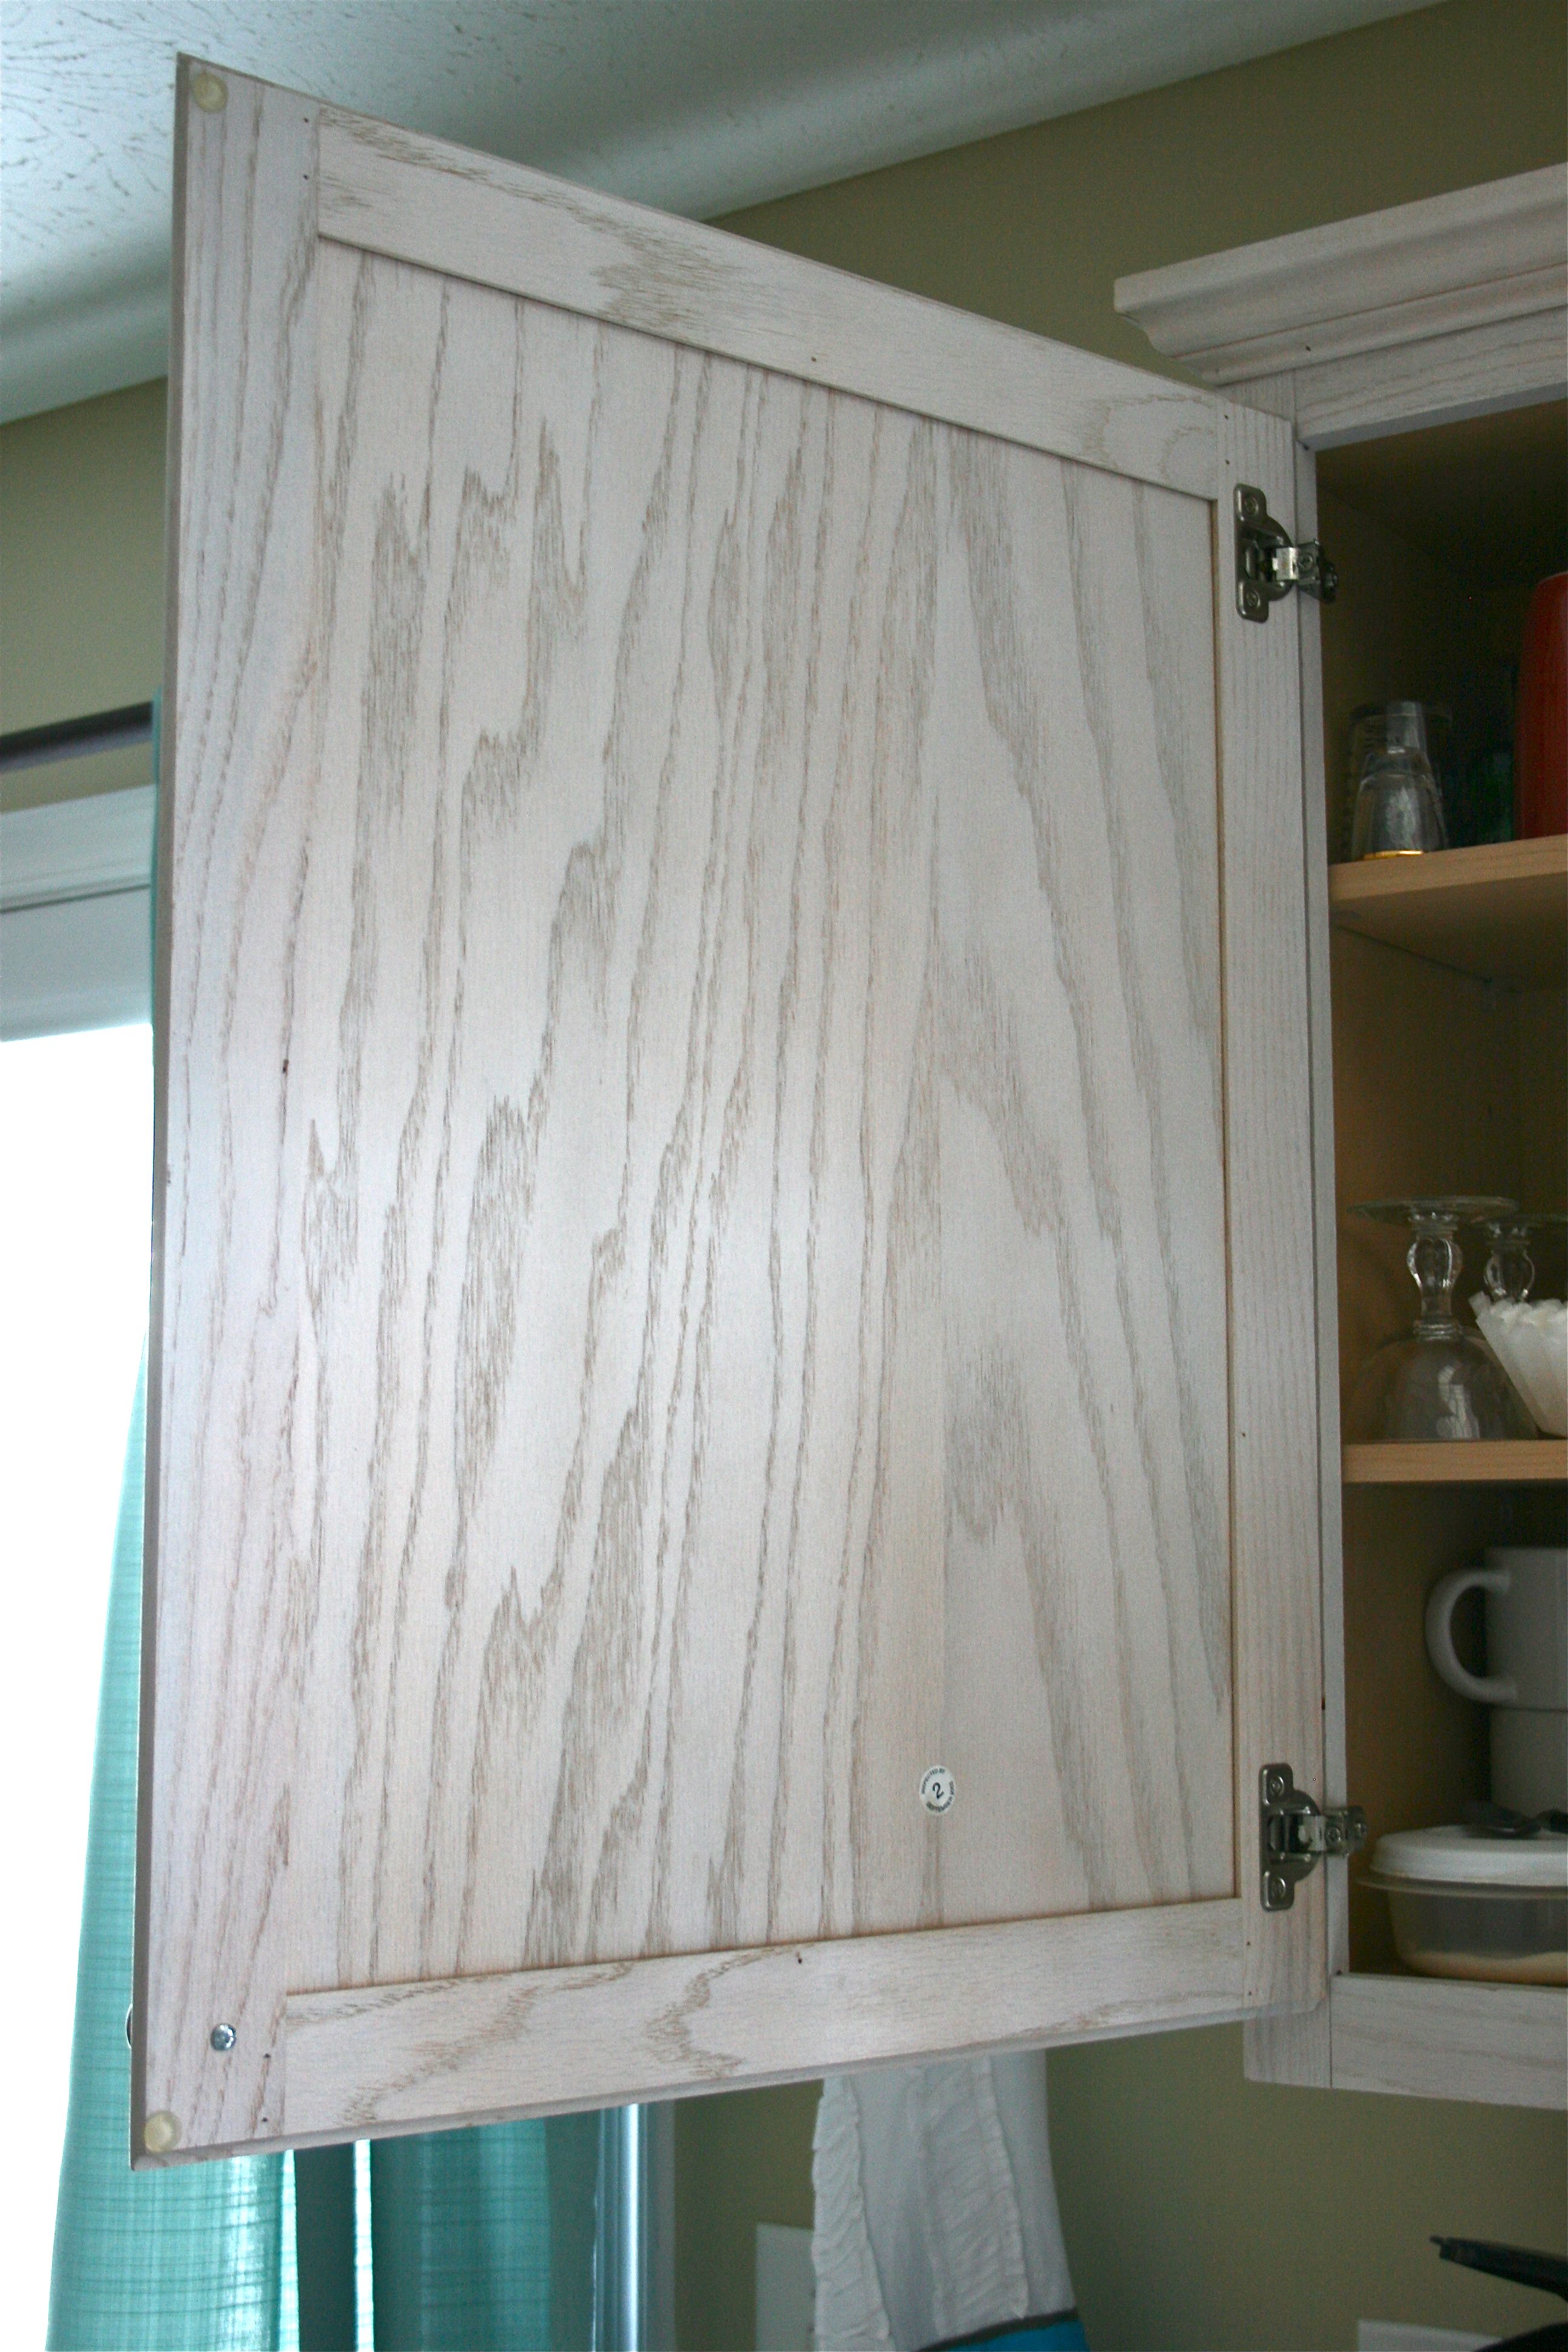
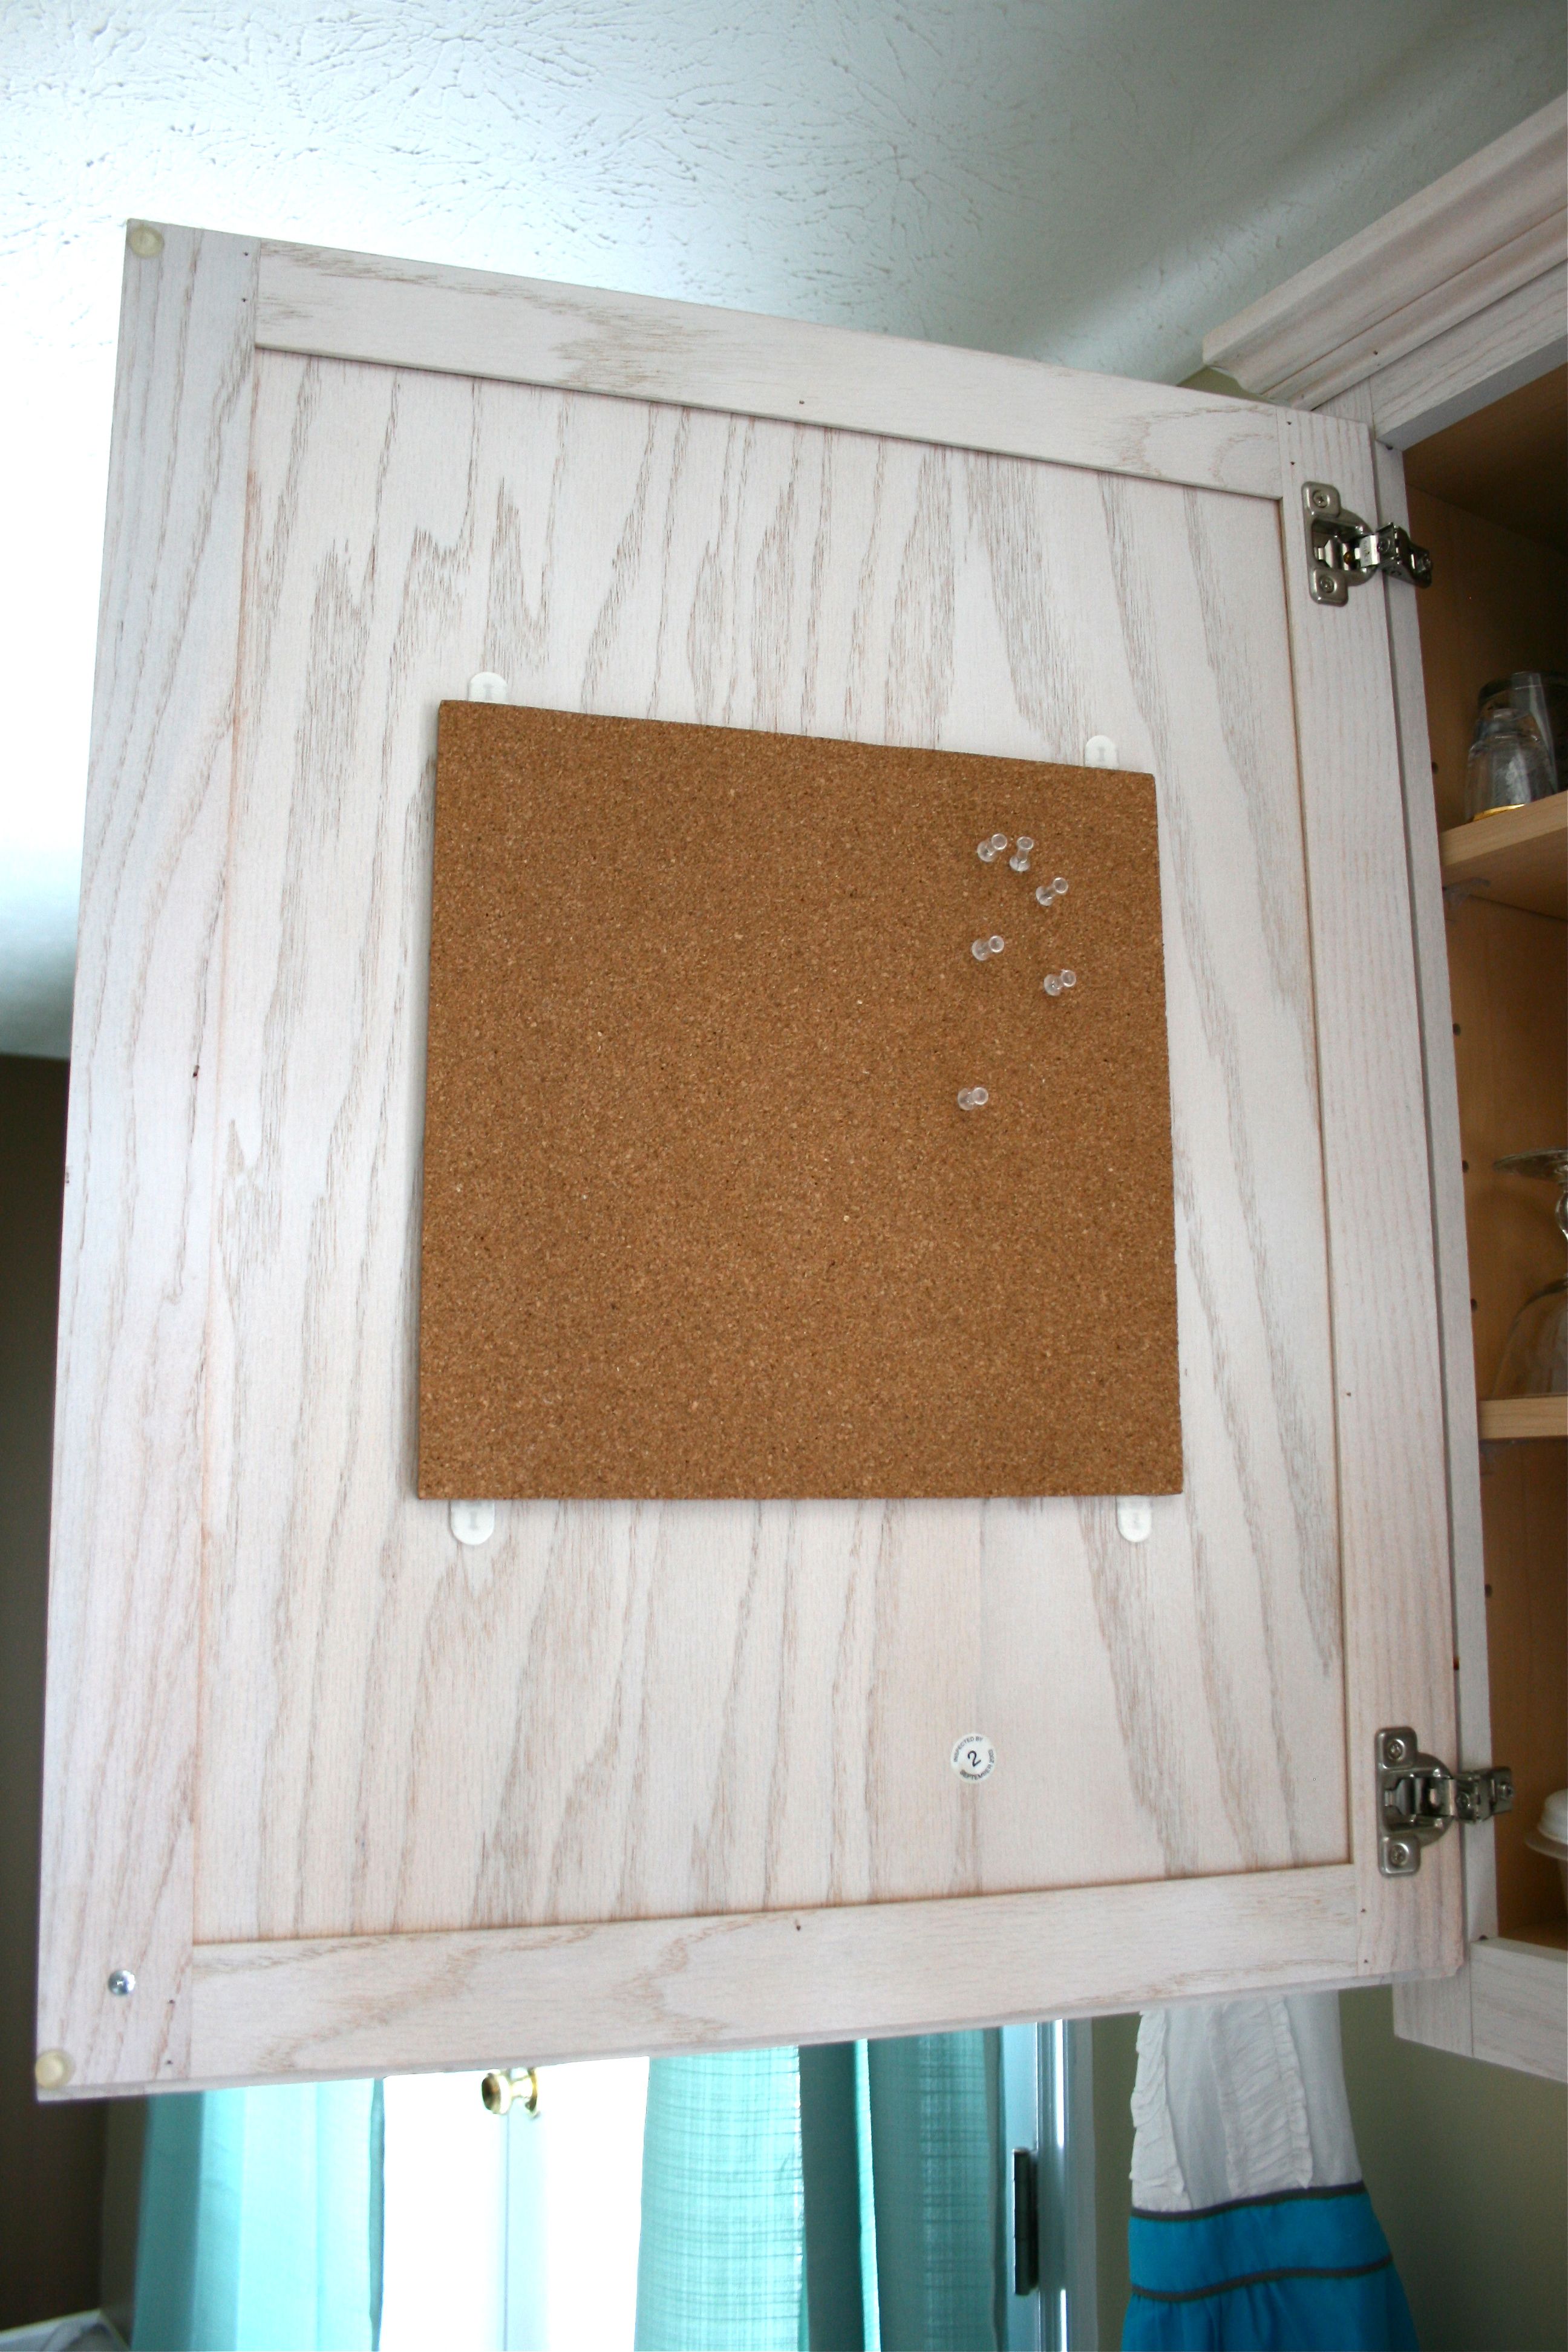
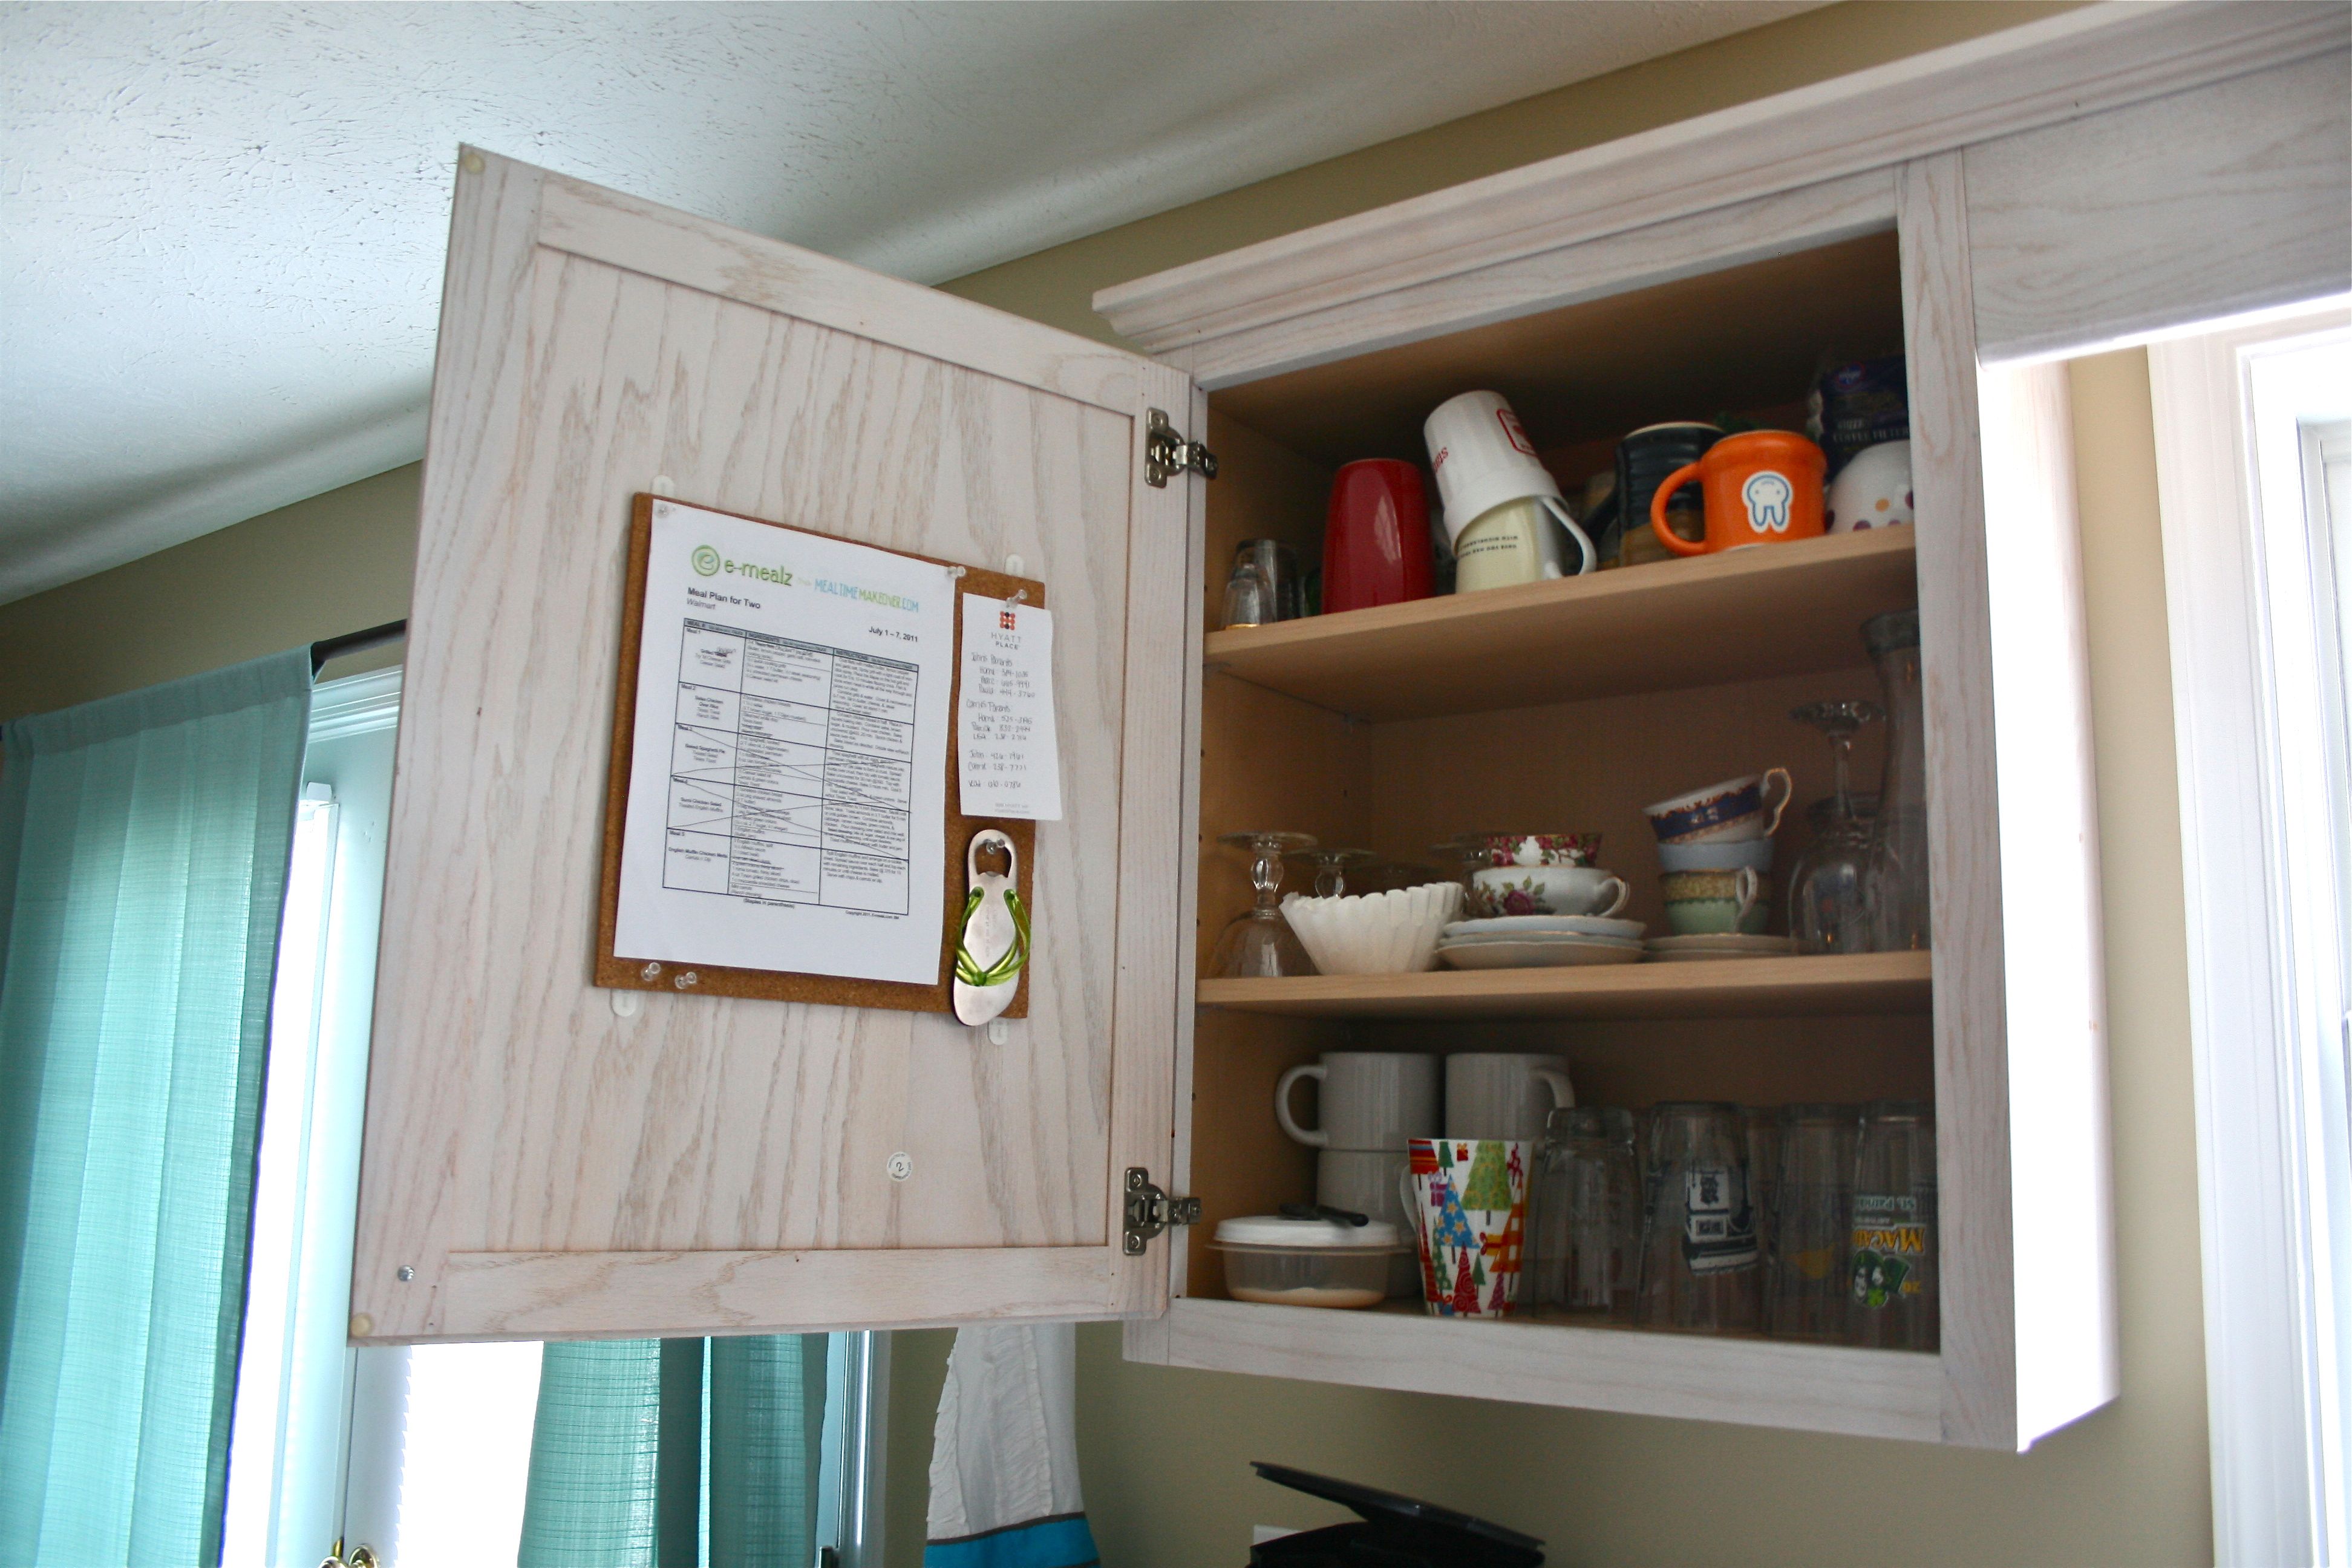
There was actually only one cabinet door that this 12×12 inch cork board would work on (most of the doors are pretty tall and skinny) so we didn’t really have much trouble deciding where to put it – I sort of love when decisions are made for us…
(Please try to ignore the less-than-glamorous interior of our cup cabinet…)
(Pssst…Did you catch a glimpse of our new kitchen curtains in the photos above?? More on that soon!)
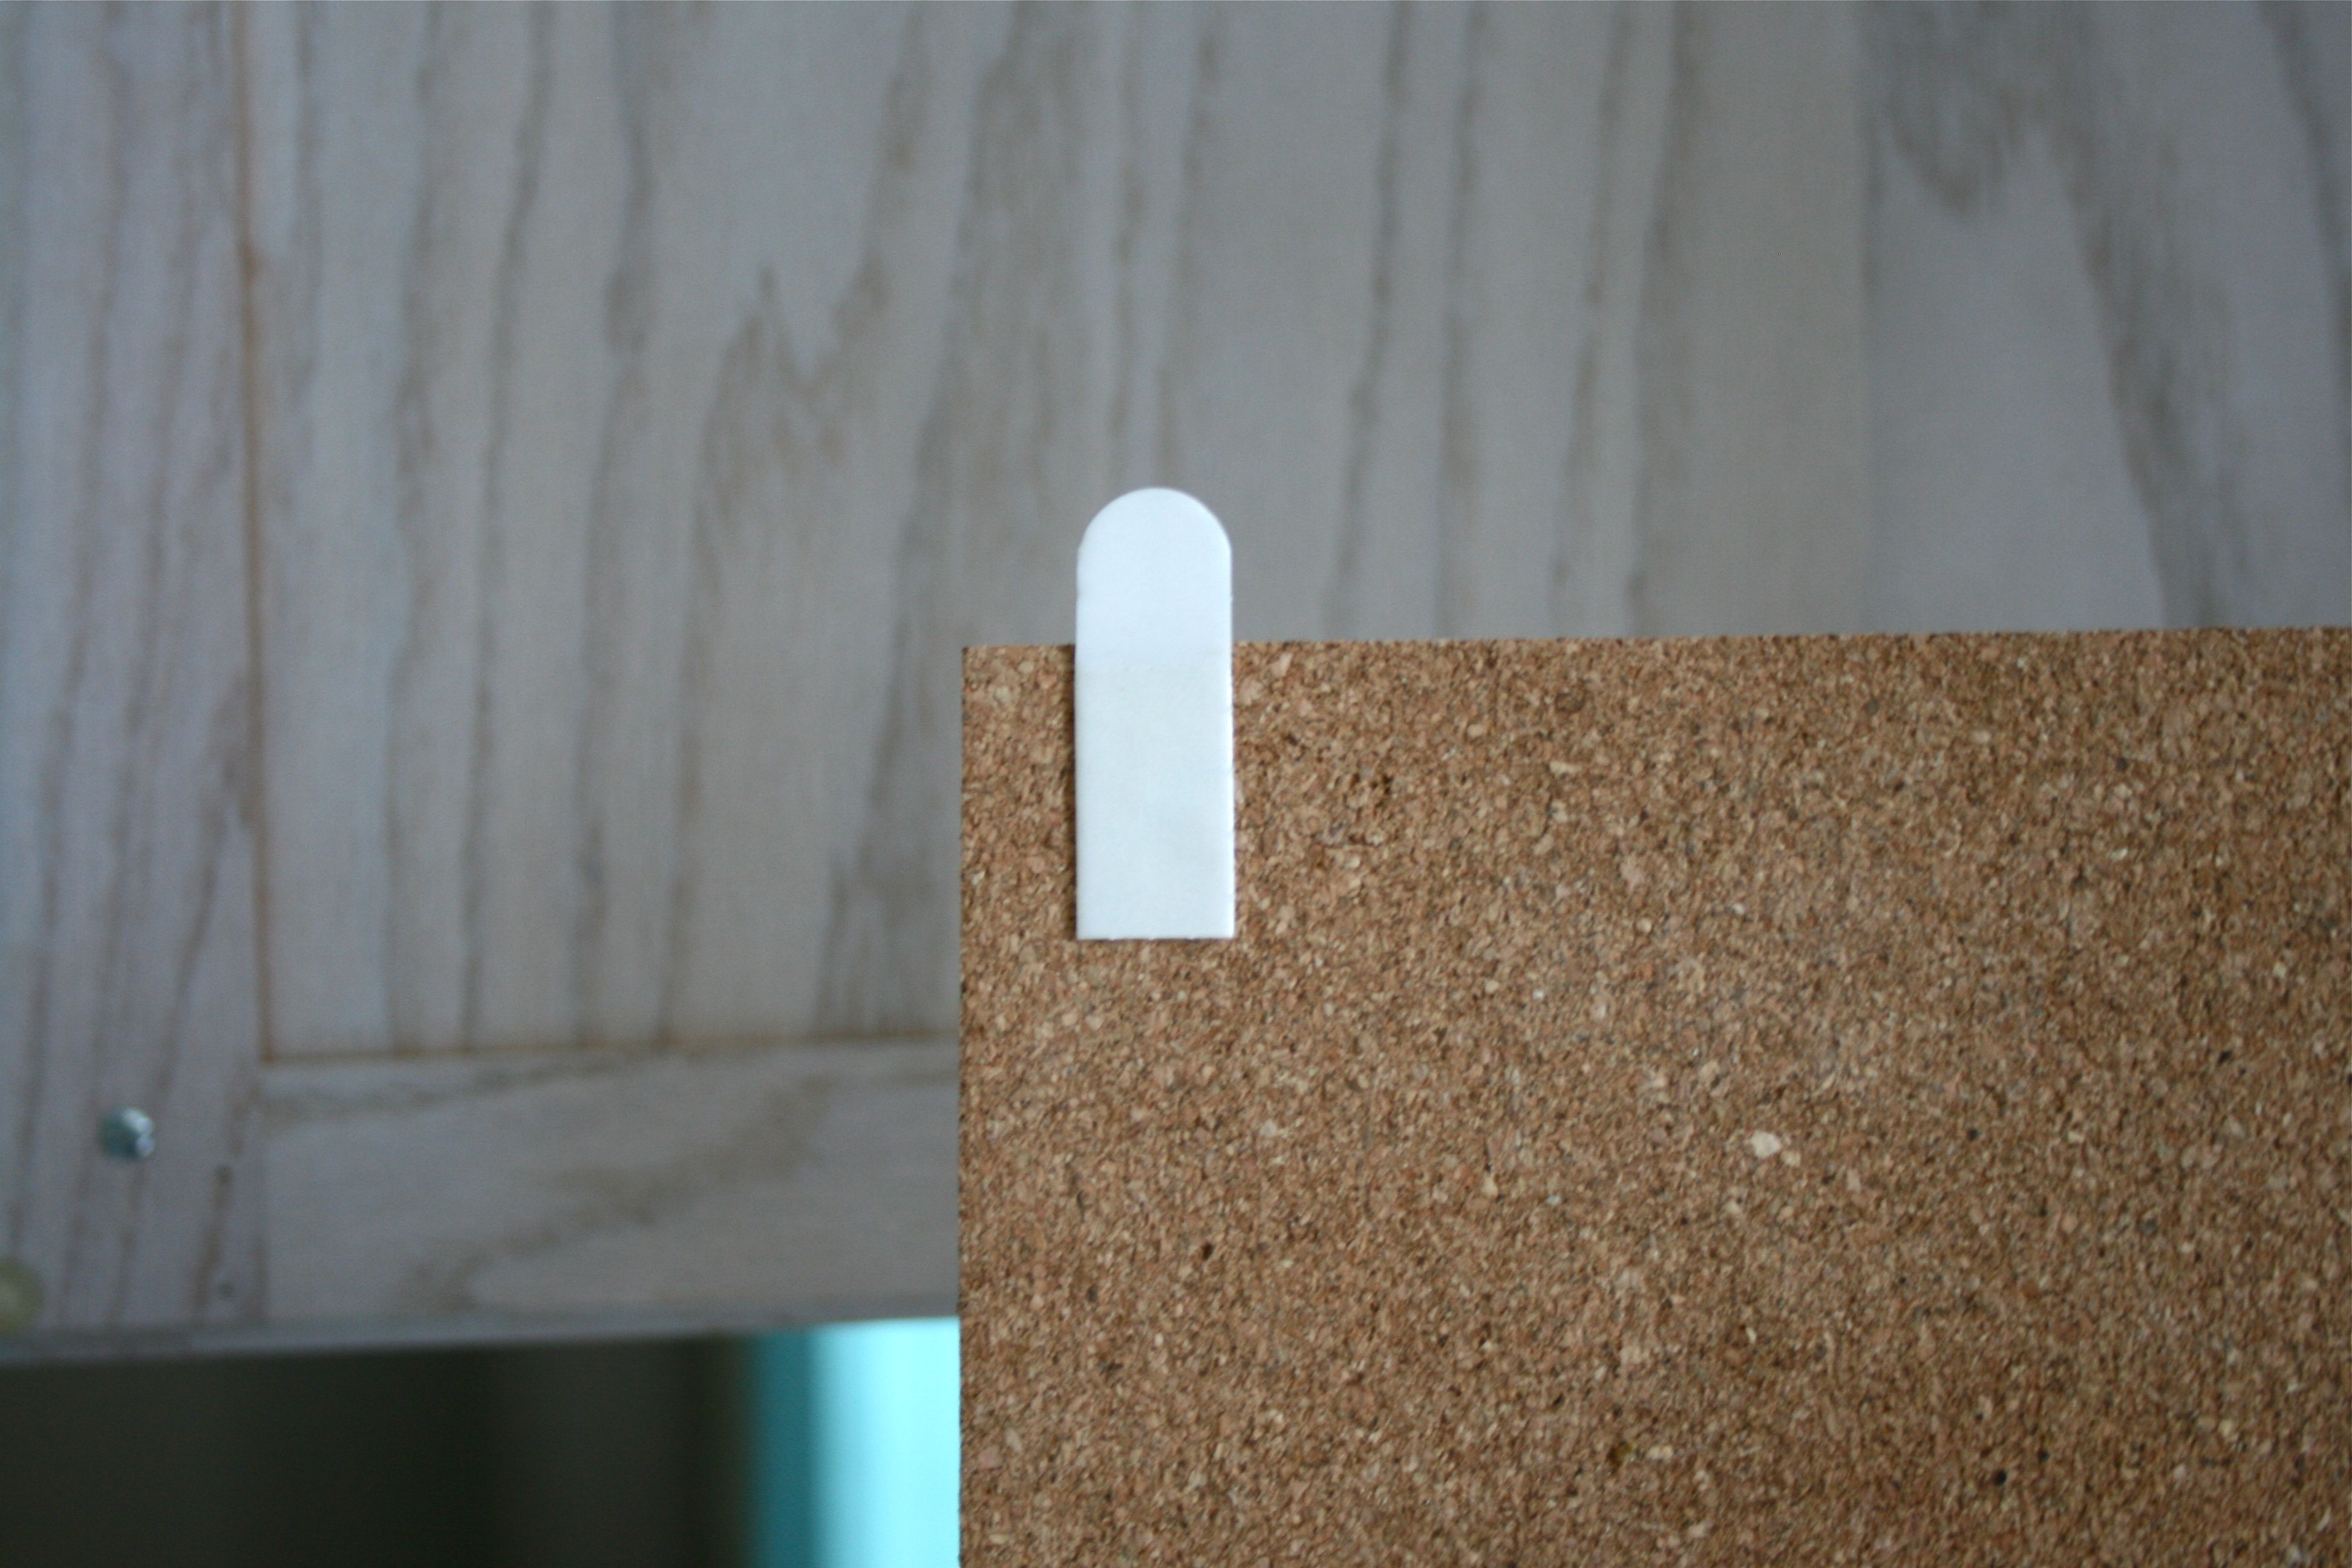
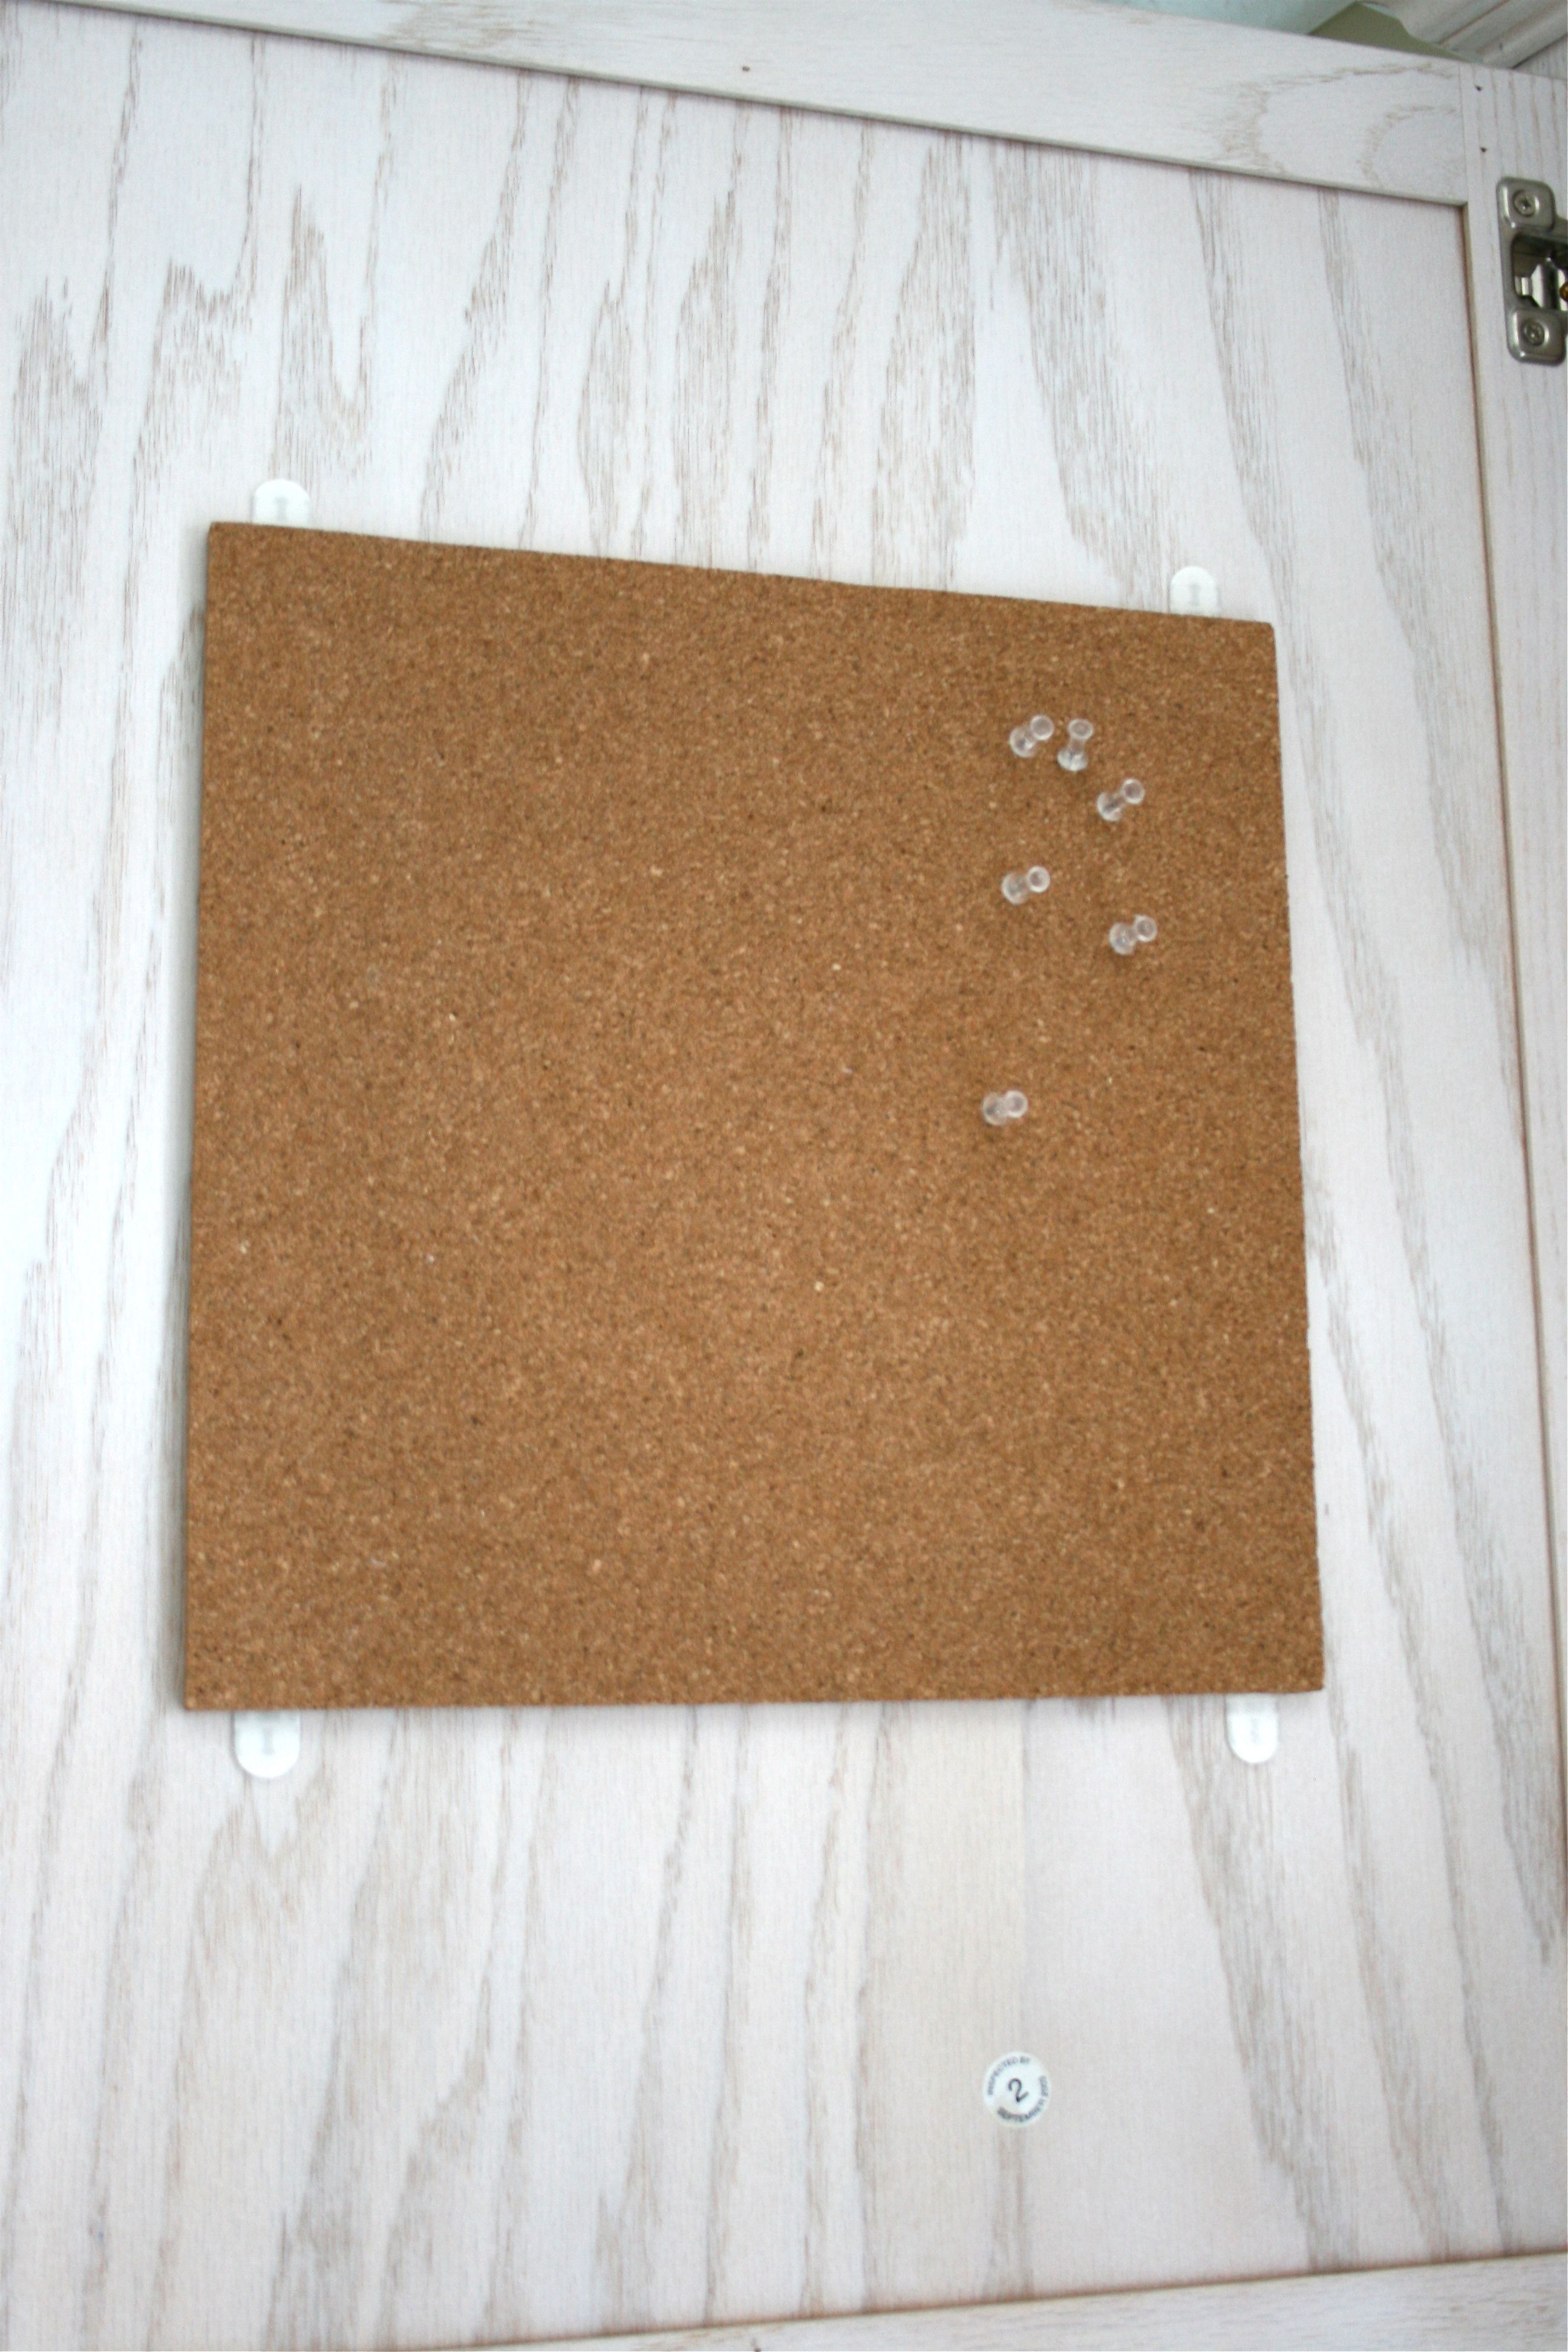
The process DEFINITELY wasn’t rocket science so I’m not going to bore you with the two to three lines of explanation on how to adhere the cork board to the cabinet. Instead, I’ll just show you the photos I took from which you can probably deduce the process 🙂
Time to fill ‘er up!!!
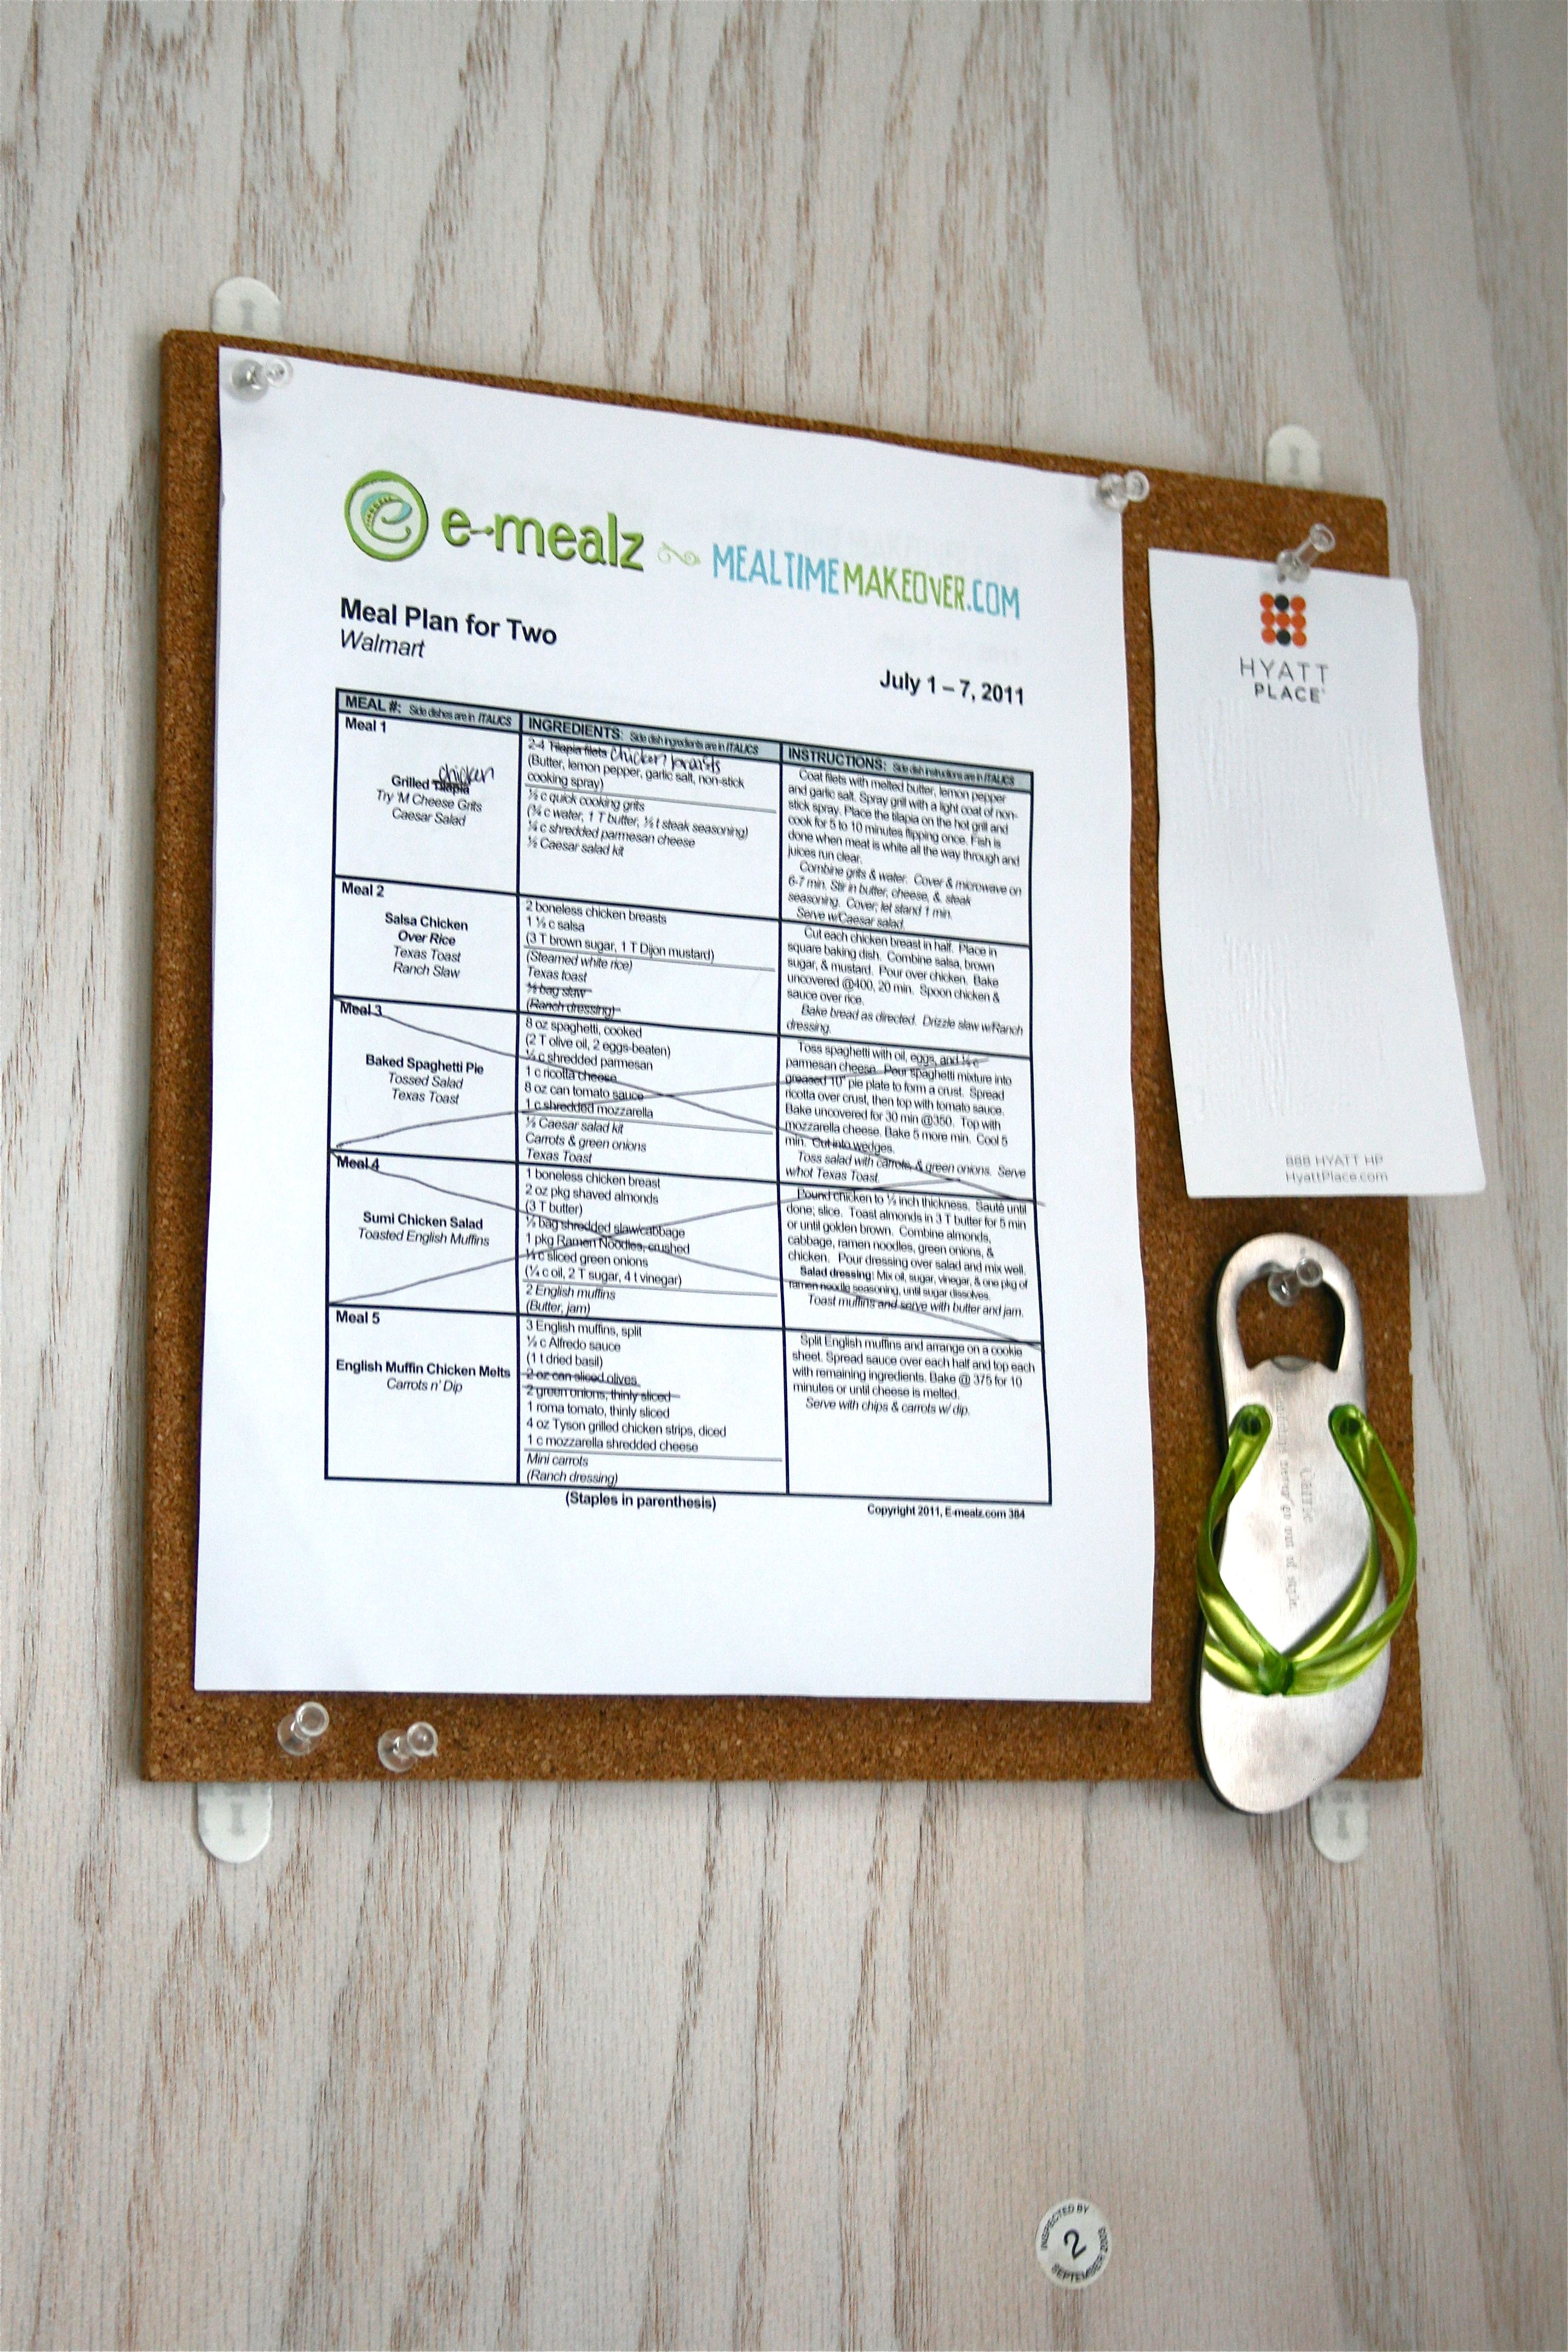
I put our weekly meal planning list and recipe sheet up there (a product I plan to post about very soon) as well as a phone number list for both of our family members and an engraved bottle top opener that was a gift from my best friend at her wedding. Since this message/paper cork board is on the inside of our drinking glass cabinet, it seemed like a fitting place for a bottle opener.
Just FYI, the slip of paper isn’t really blank…I just blurred out the phone numbers for privacy reasons!
Oh and what about all the other stuff on the fridge that didn’t fit on the new cork board? The dry erase board stayed in place because that’s our main message board for notes and running lists, but the business cards went into my organization binder, the random coupons went into a coupon file I keep in my purse and the drawing of the moose and rhino (something my sister’s roommate did for John) went into an upstairs redo I plan to unveil later this week. I forgot to take an “After” shot of the decluttered fridge, but just picture clean white ::happy sigh::
Two simple yet effective reorganization projects for the kitchen! I’m sure there will be many more to come, but just getting some of the menial things out of the way helps to get us excited to do bigger projects. Speaking of, our kitchen is going to change a LOT in the next few months…We’ve got the paint picked out for the cabinets and the hardware is sitting in a bag in the laundry room just waiting for our big project weekend. We just have to get our courage and patience meters up to par because this will EASILY be the biggest project we’ve ever tackled. Stay tuned for all of that craziness at the end of the Summer…
Until tomorrow, folks!

