Get ready…For the next week or so I am going to be inundating you with organization posts – Organizing closets, drawers, shelves, kitchen cabinets, etc.
You name it, we’ve organized it in the last three days. This move has me on a cleaning kick that I didn’t know was possible – I am E-X-H-A-U-S-T-E-D and, dare I say it, I am actually starting to loathe finding places for things. I’m sure you can probably tell that I’m a bit OCD when it comes to cleanliness and having everything in its place – Well folks, I’ve taken it to a new level this past weekend.
All of that dramatic whining aside though, boy do I love a neat and attractive space, surface, or closet…It’s the ULTIMATE validation for all of my hard work.
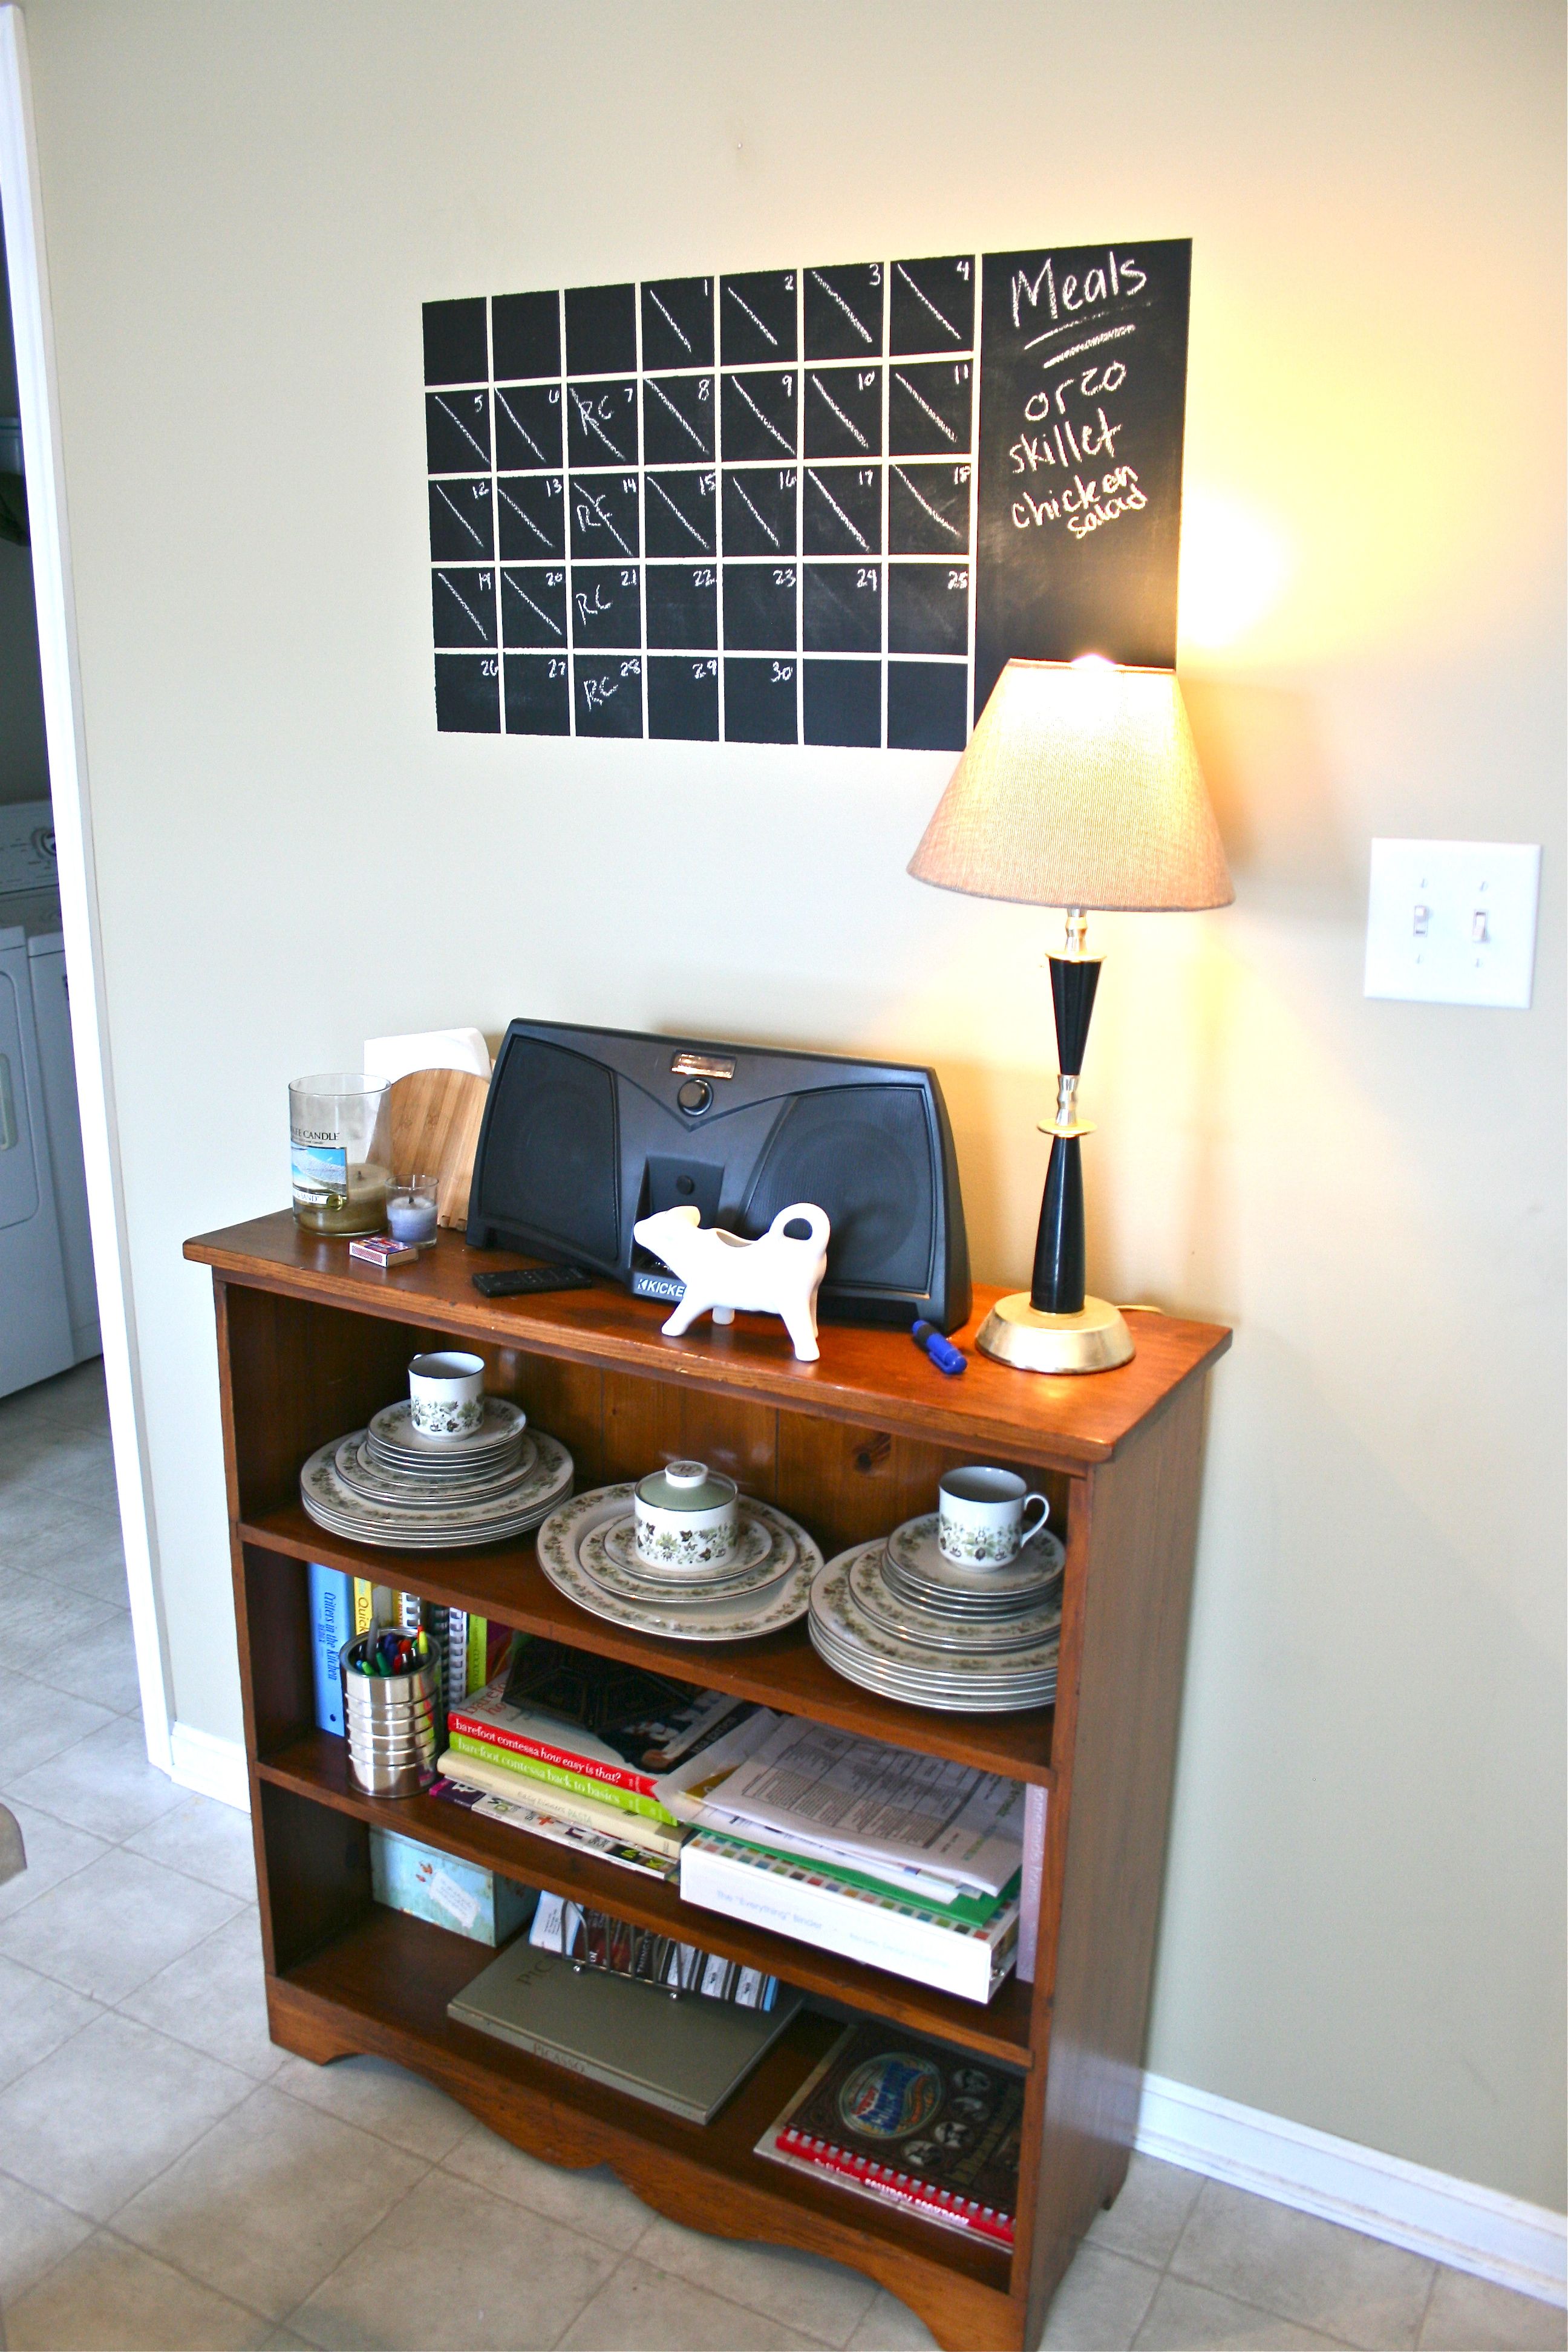
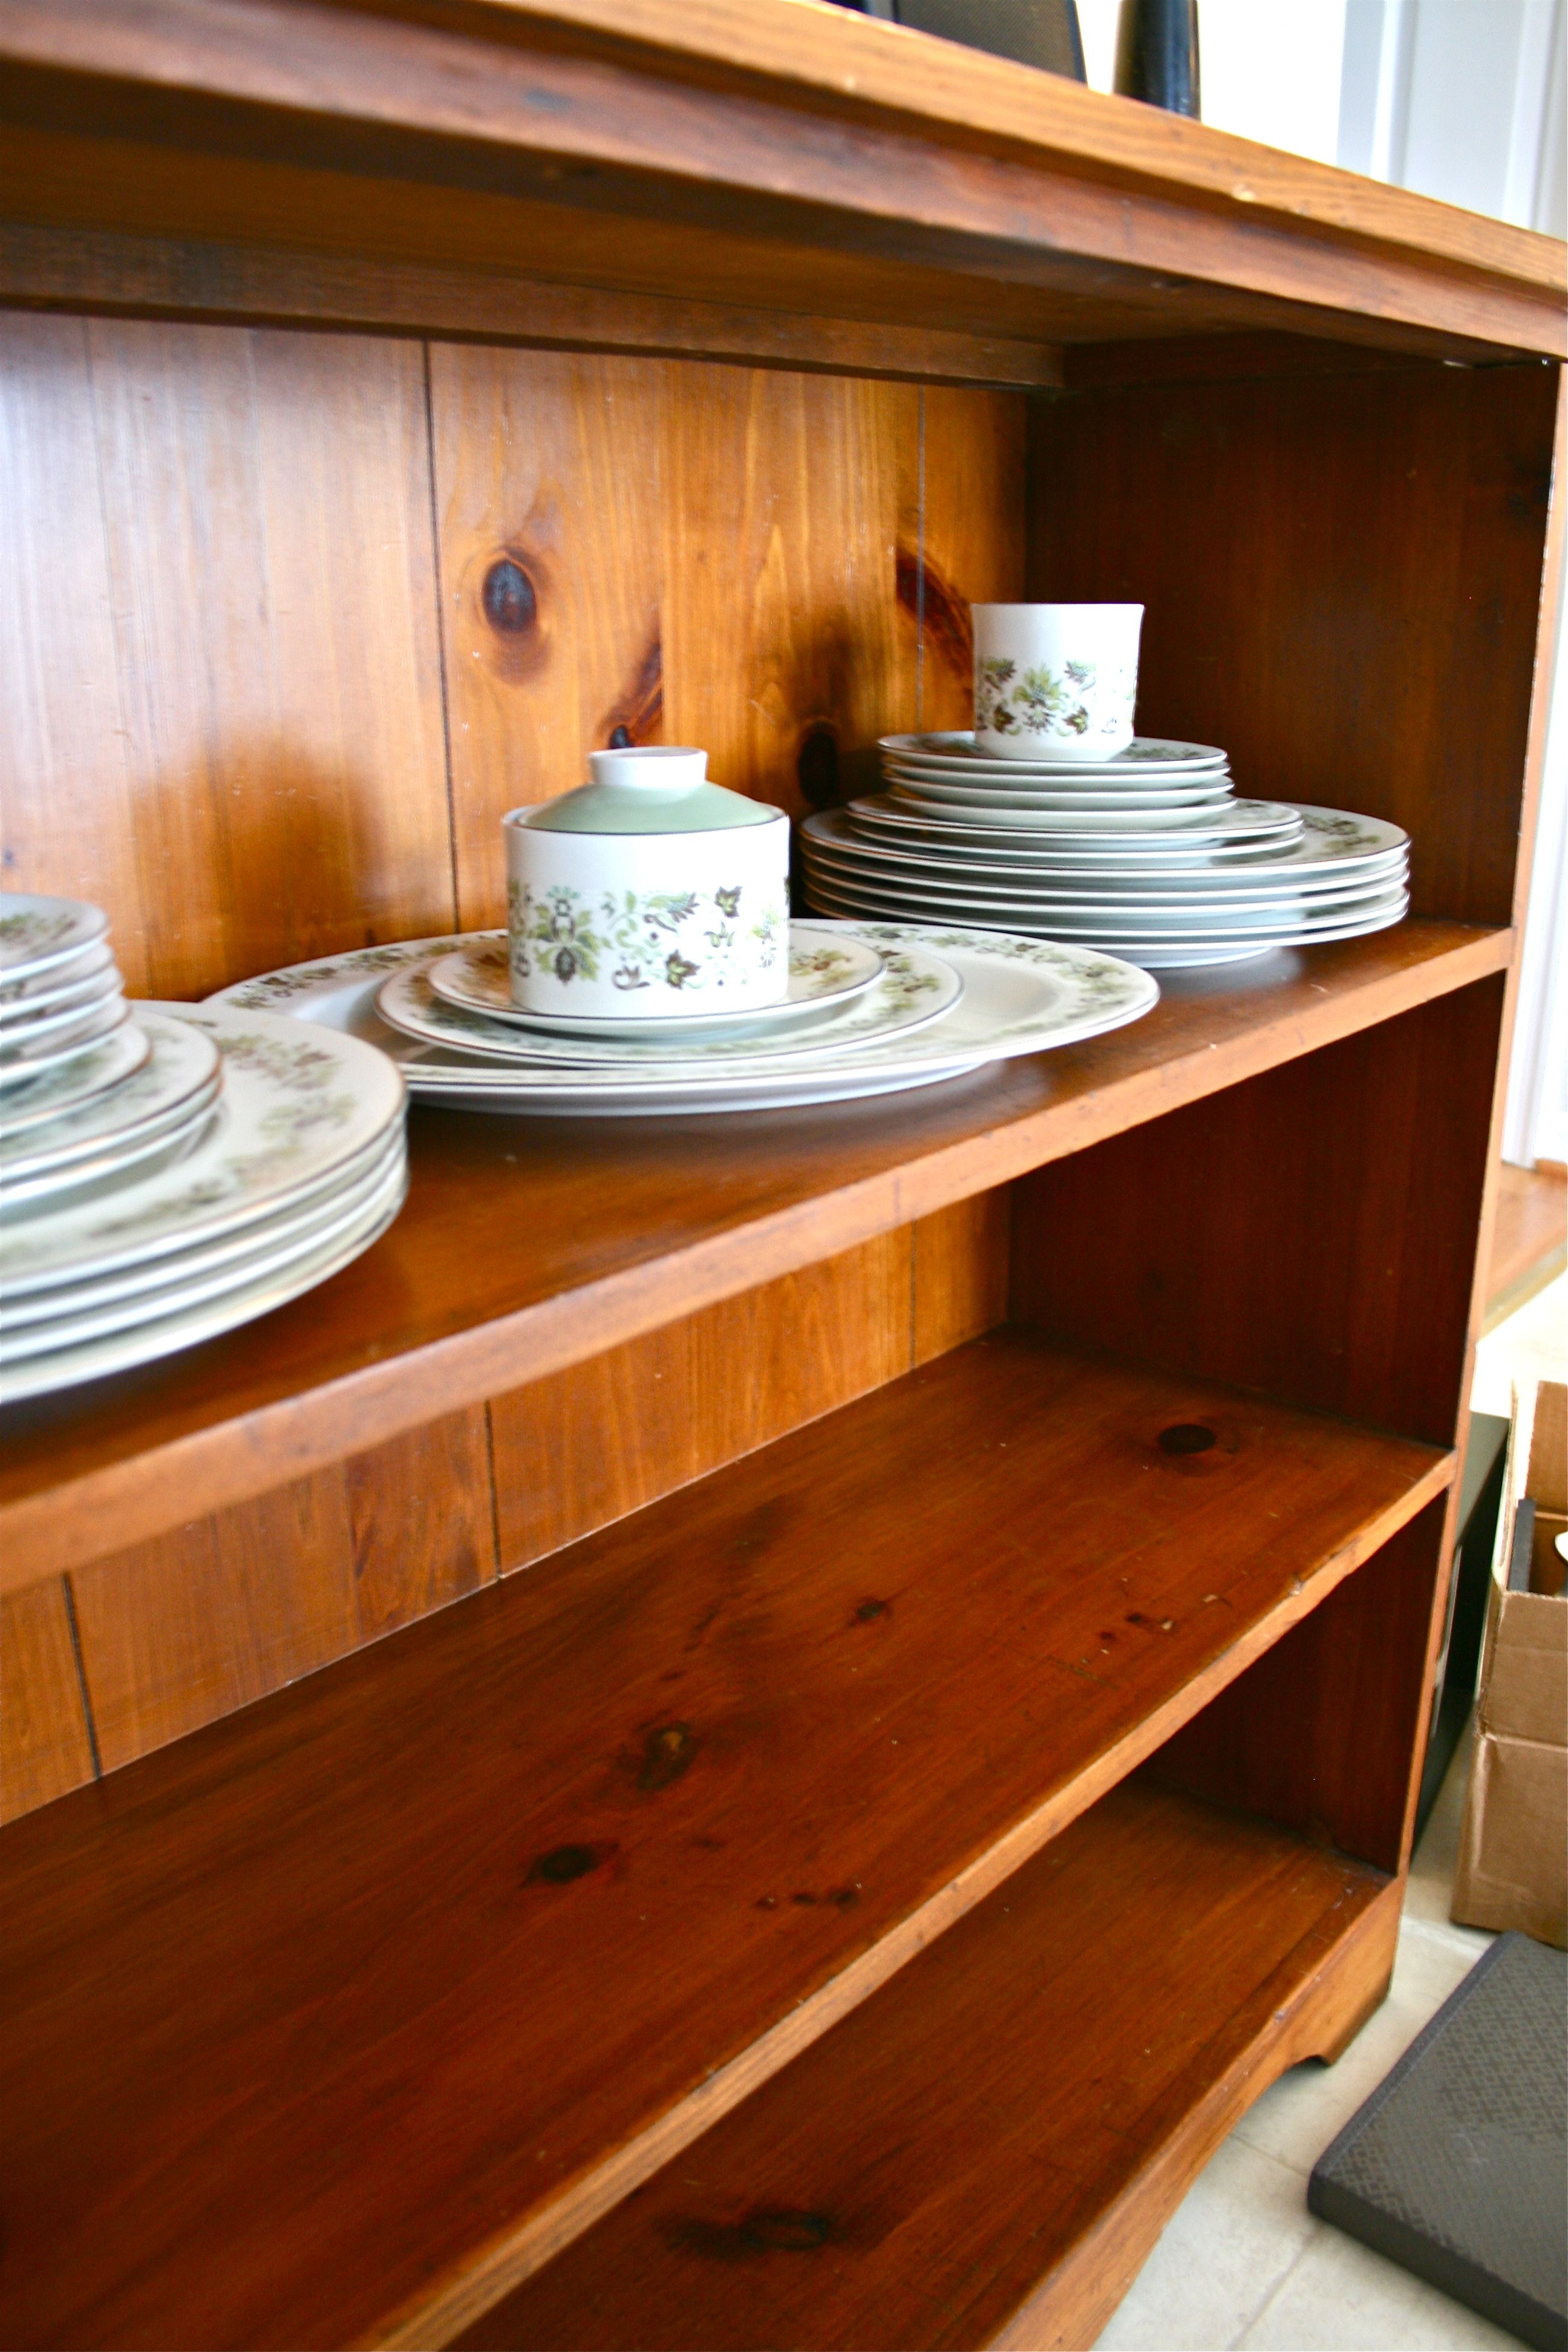
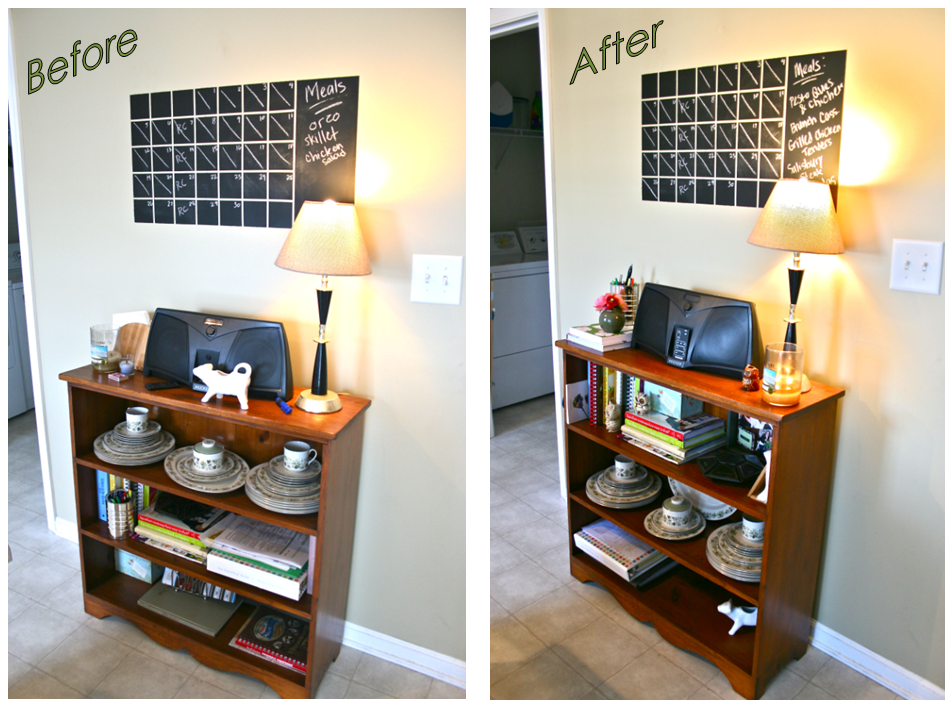
Let’s ease into this organization foray with a simple bookshelf overhaul in the kitchen. Here’s what it looked like before I took the little half hour project on:
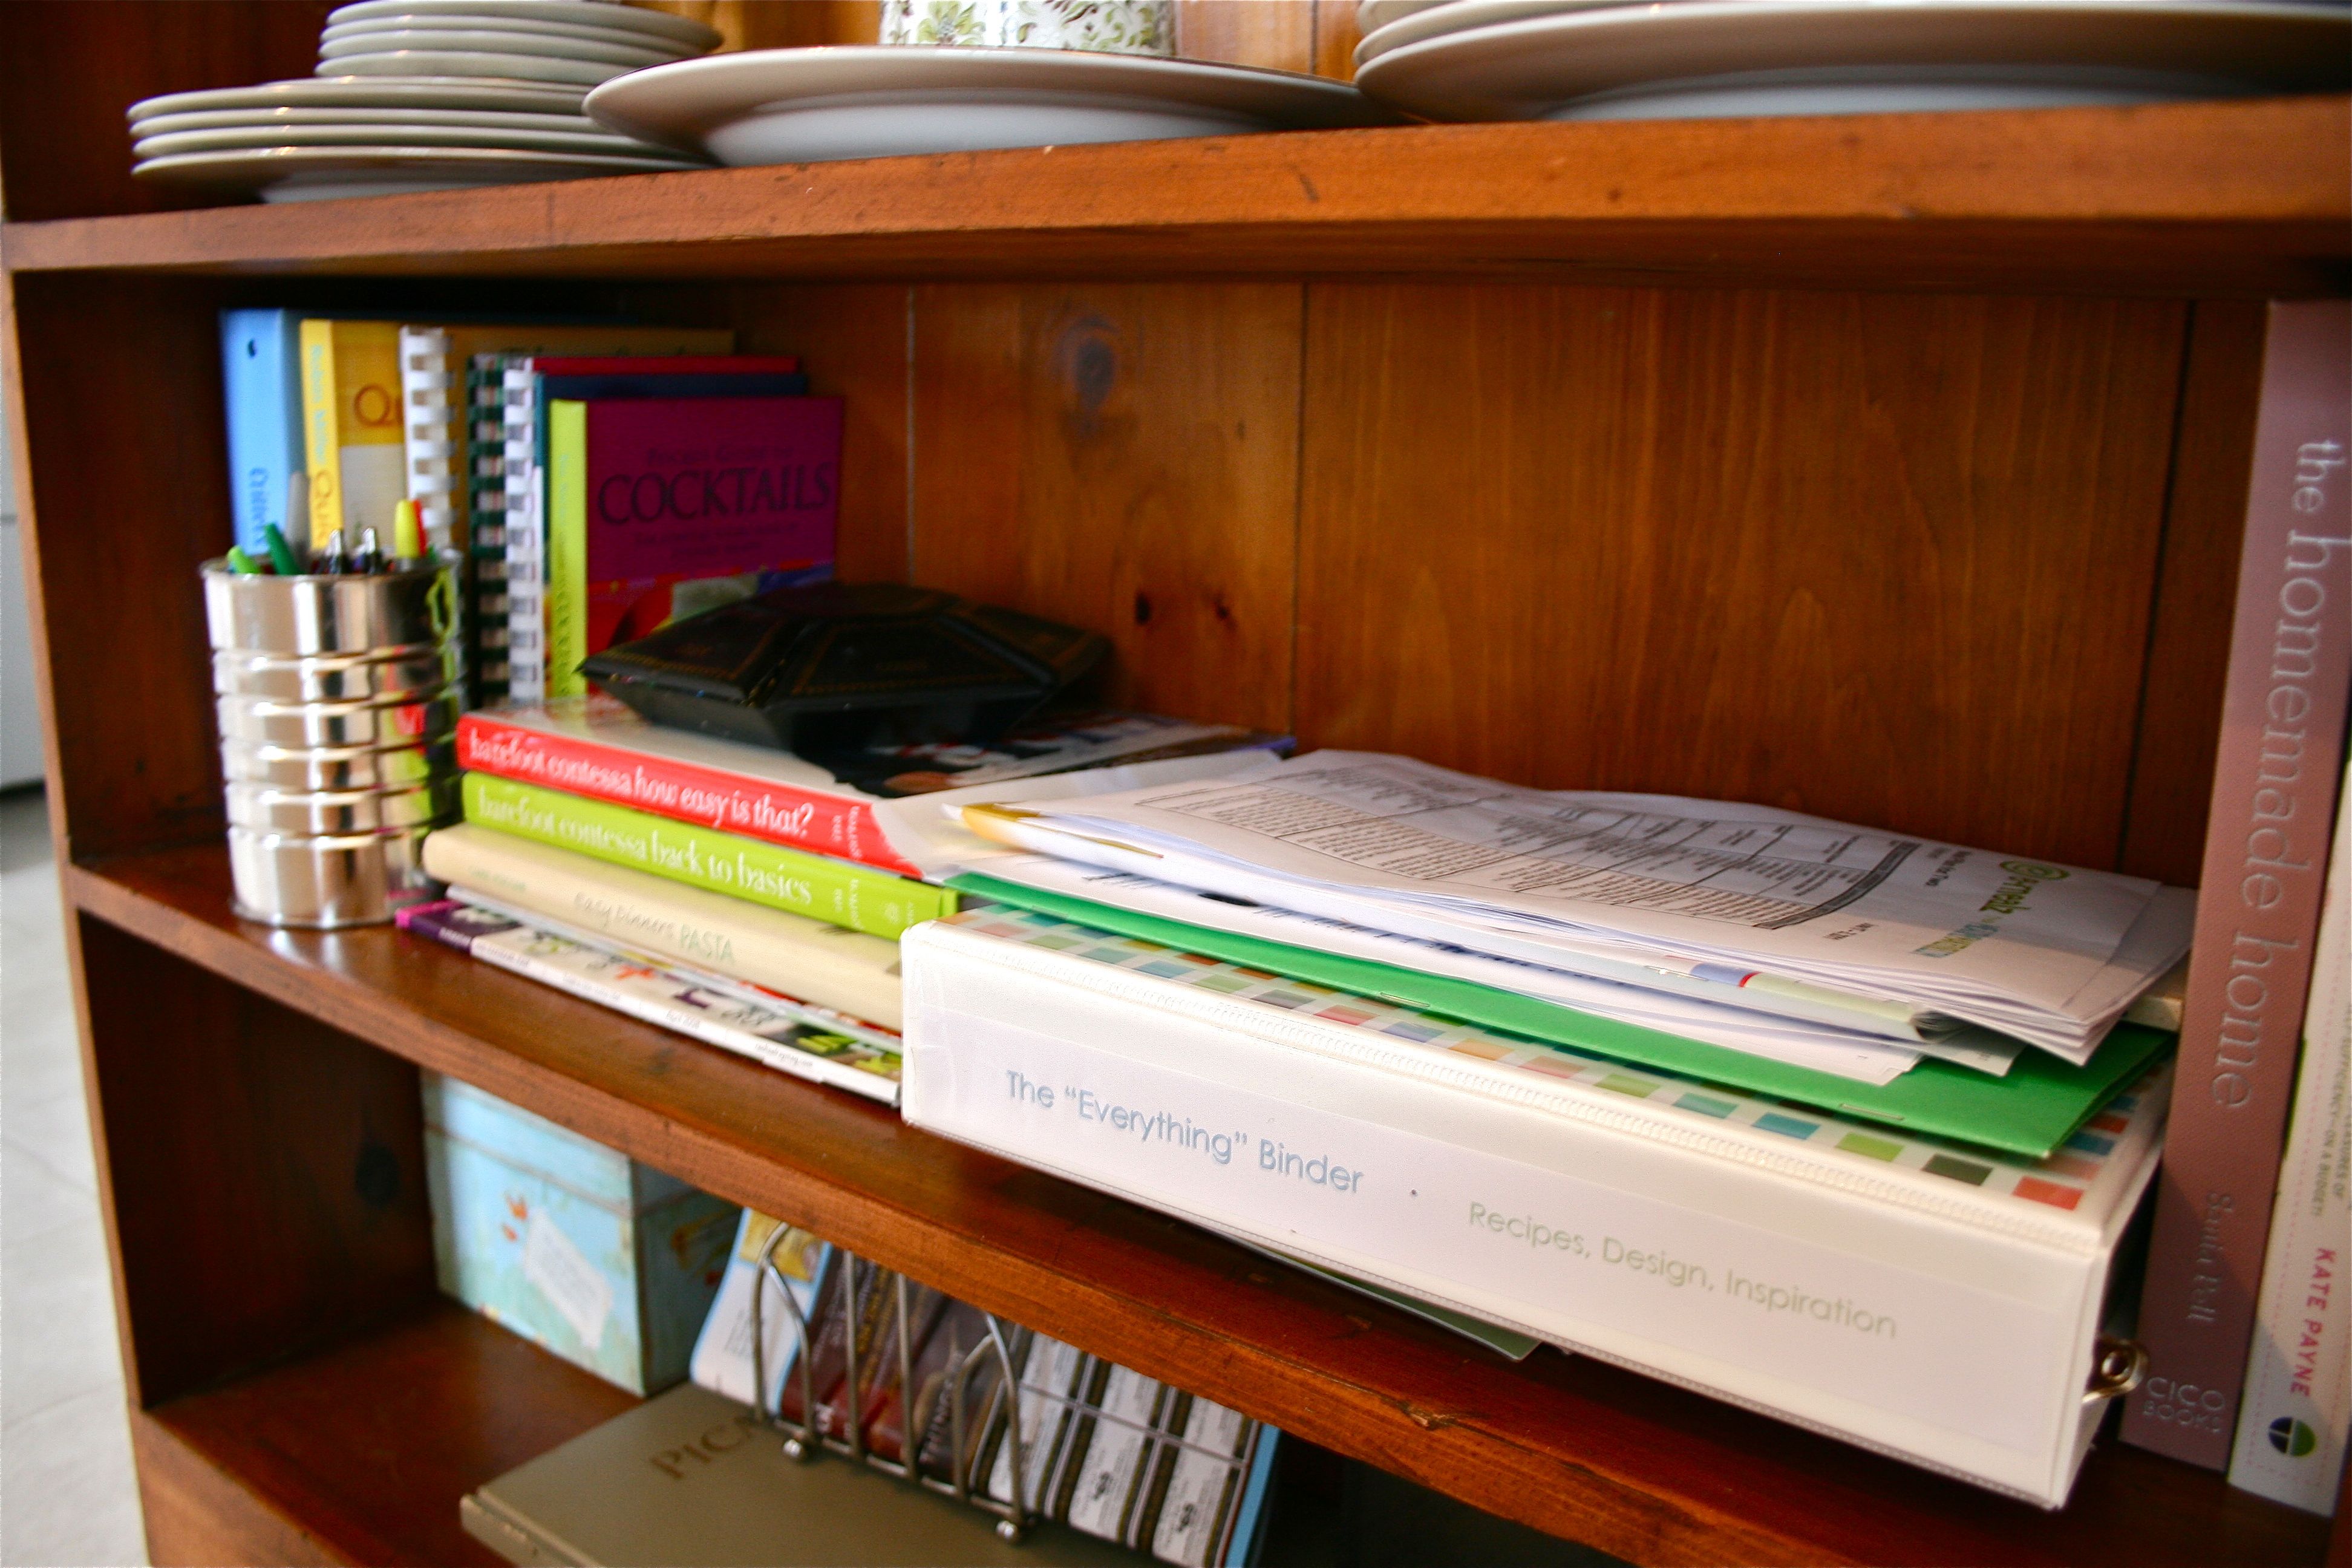
This bookshelf has proven to be excellent for being a cookbook catch-all and the perfect spot for our stereo (we LOVE to play music when we cook/bake/unwind from the day in the kitchen). But it was looking like a dumping ground at this point – Books and papers stacked haphazardly, the things we needed on a daily basis on the bottom shelf and “special occasion” stuff within easy reach. Plus, it lacked any kind of decoration or style.
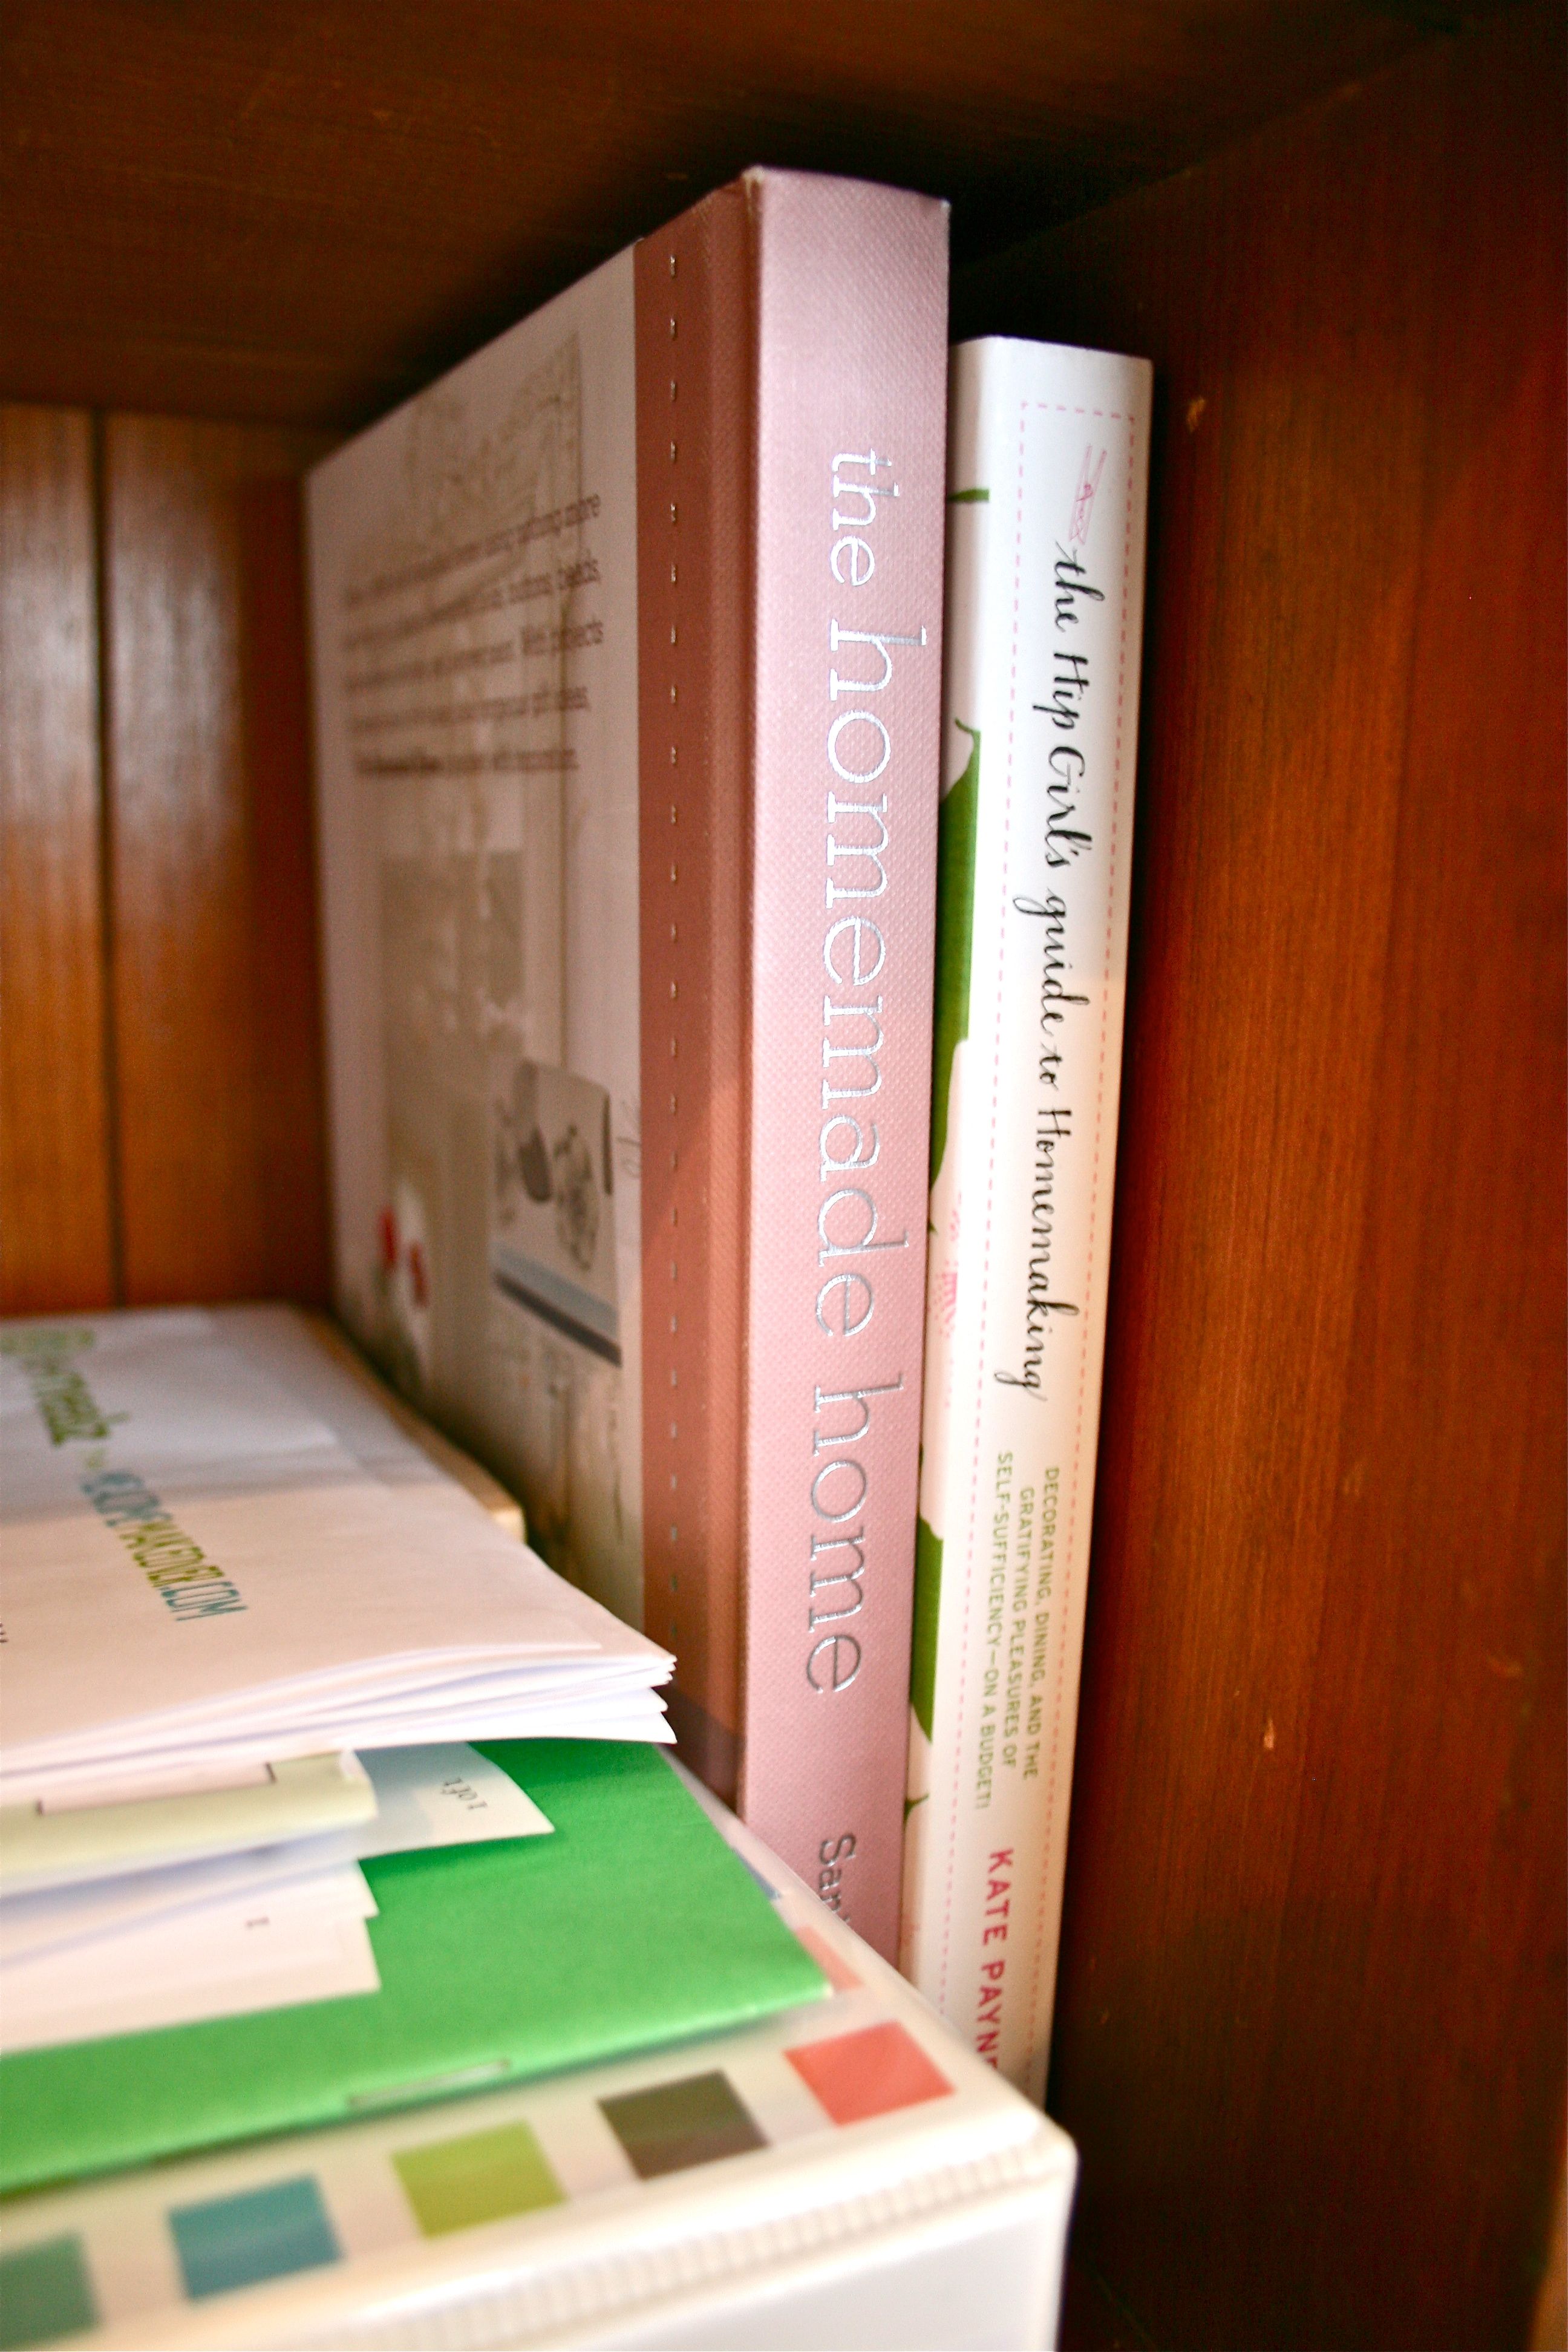
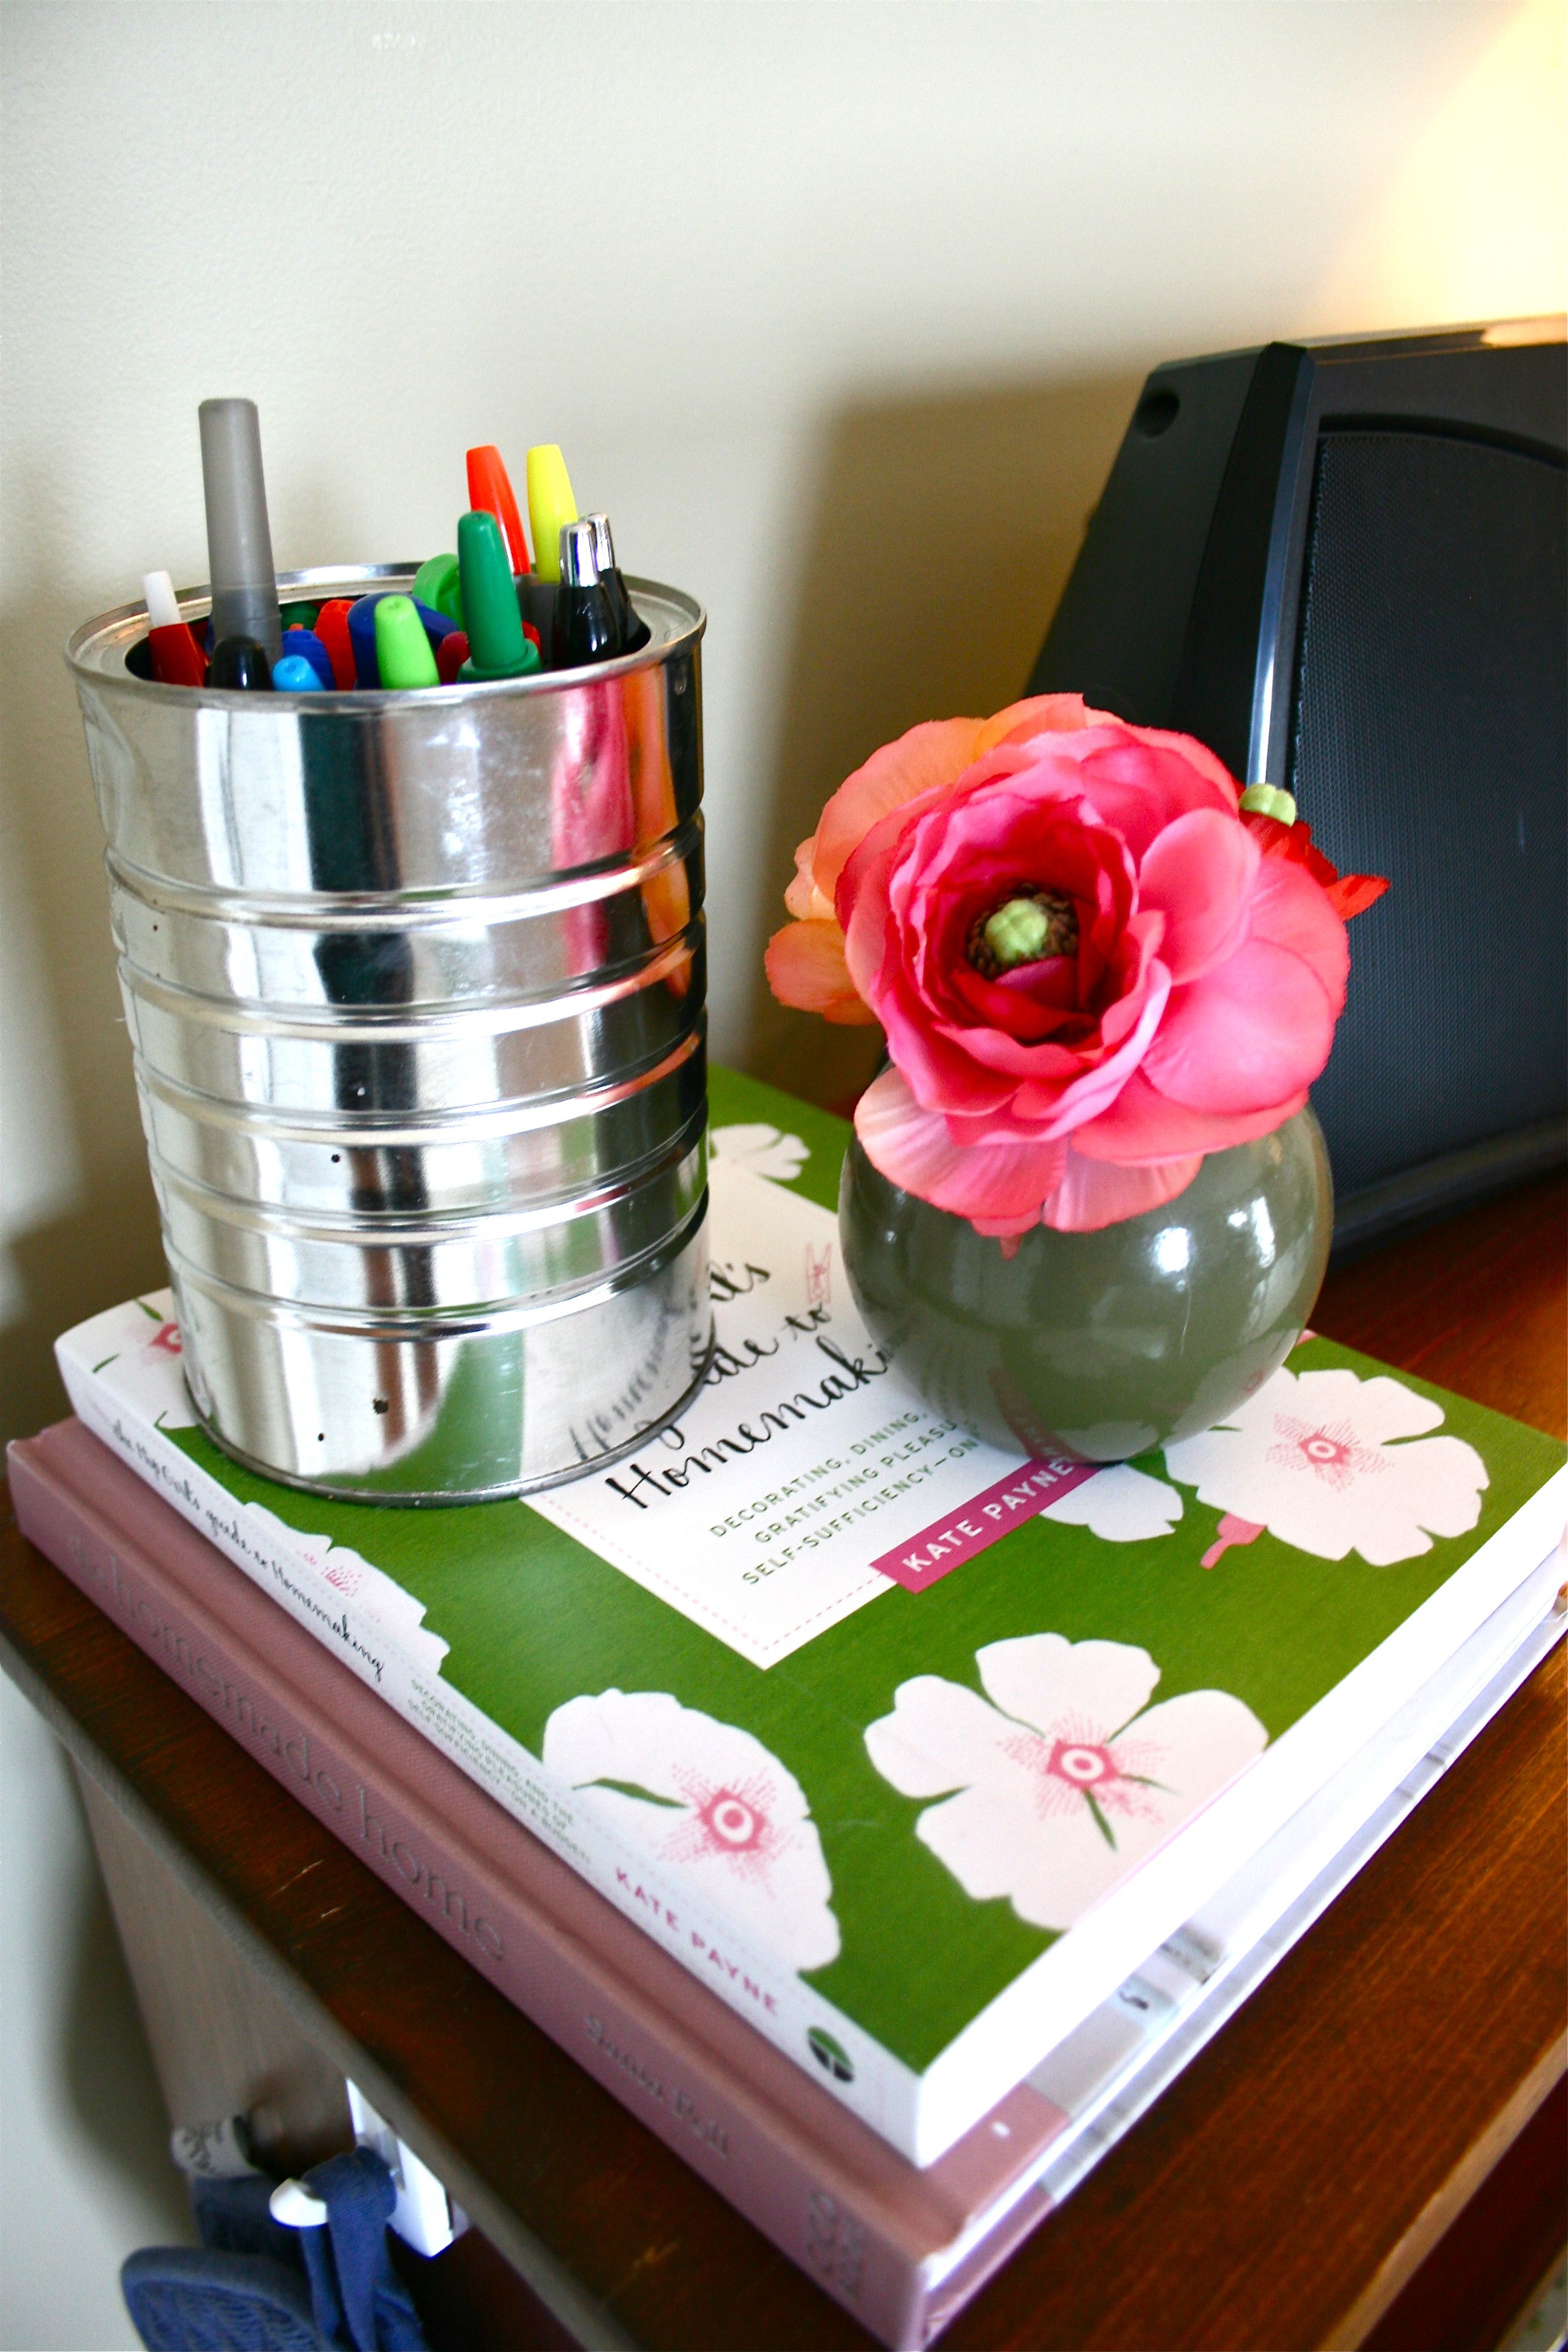
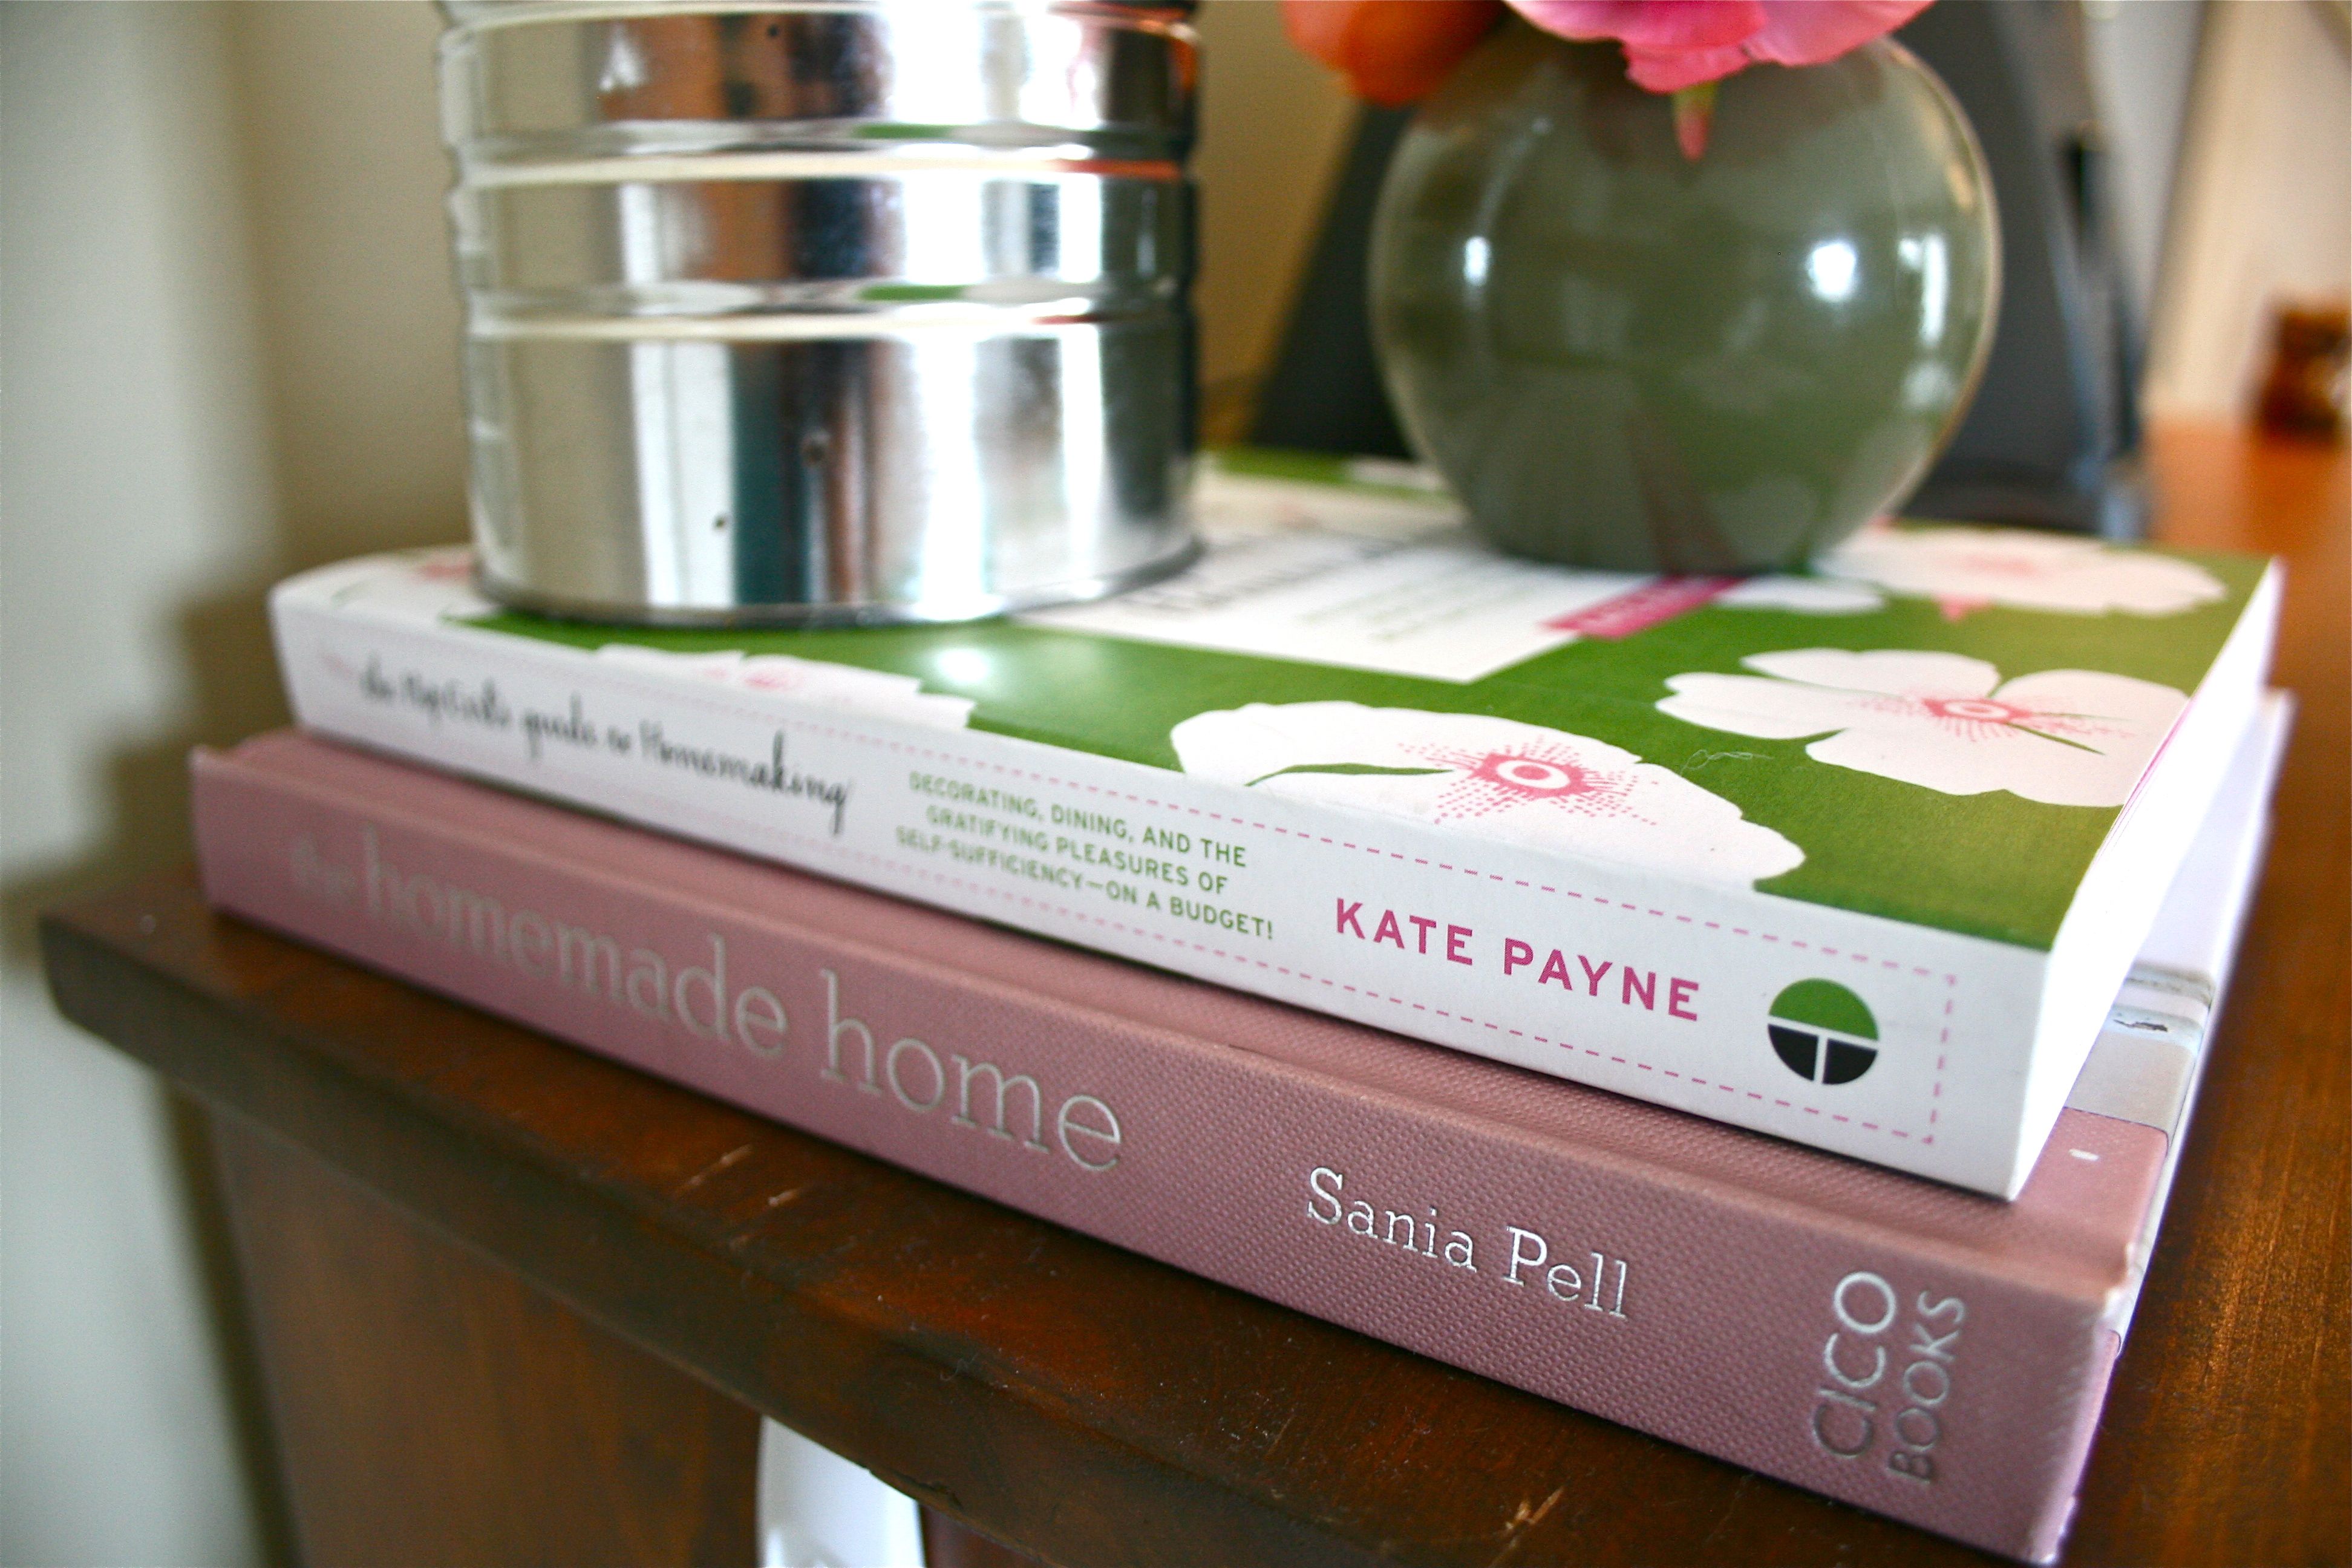
Plus, two of my go-to homemaking/inspiration books (The Homemade Home by Sania Pell and The Hip Girl’s Guide to Homemaking by Kate Payne) were tucked away in a rarely-seen corner…More on those someday soon.
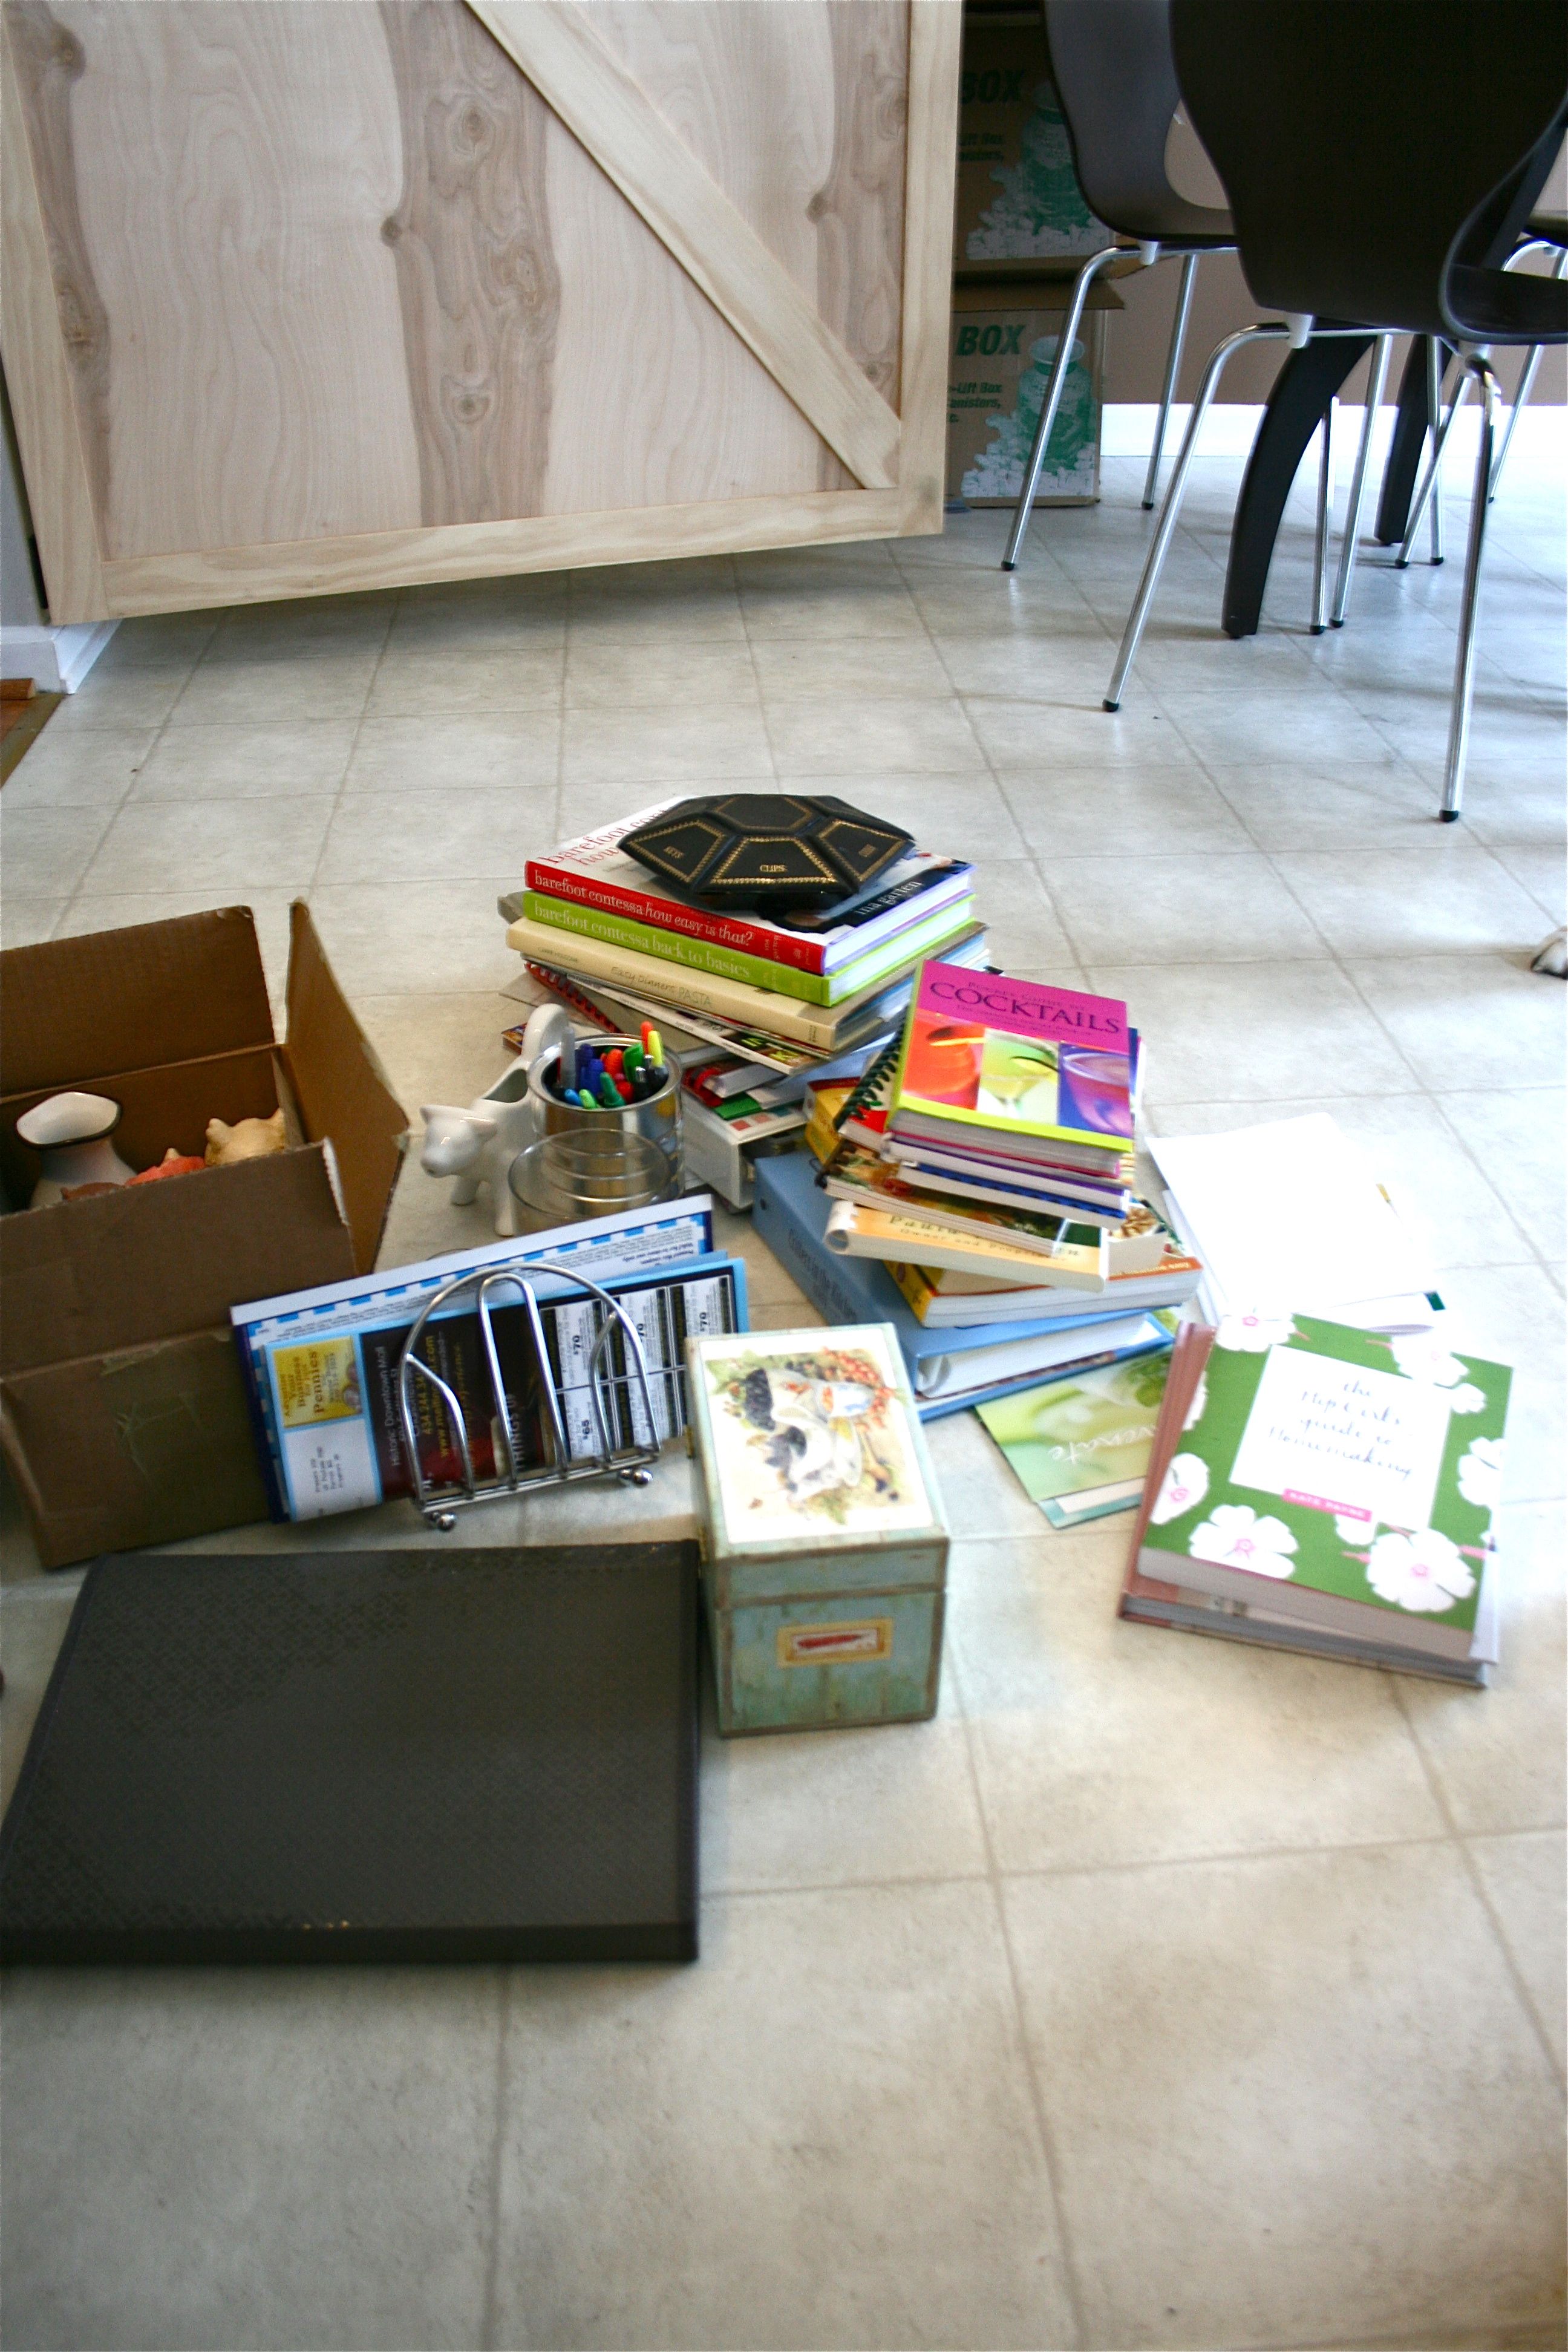
So the first thing I did was squat on the kitchen floor and take everything off the shelves, stacking books, papers, etc. on the floor in piles. I left my china in place because I wanted to avoid moving the delicate pieces any more than I had to.
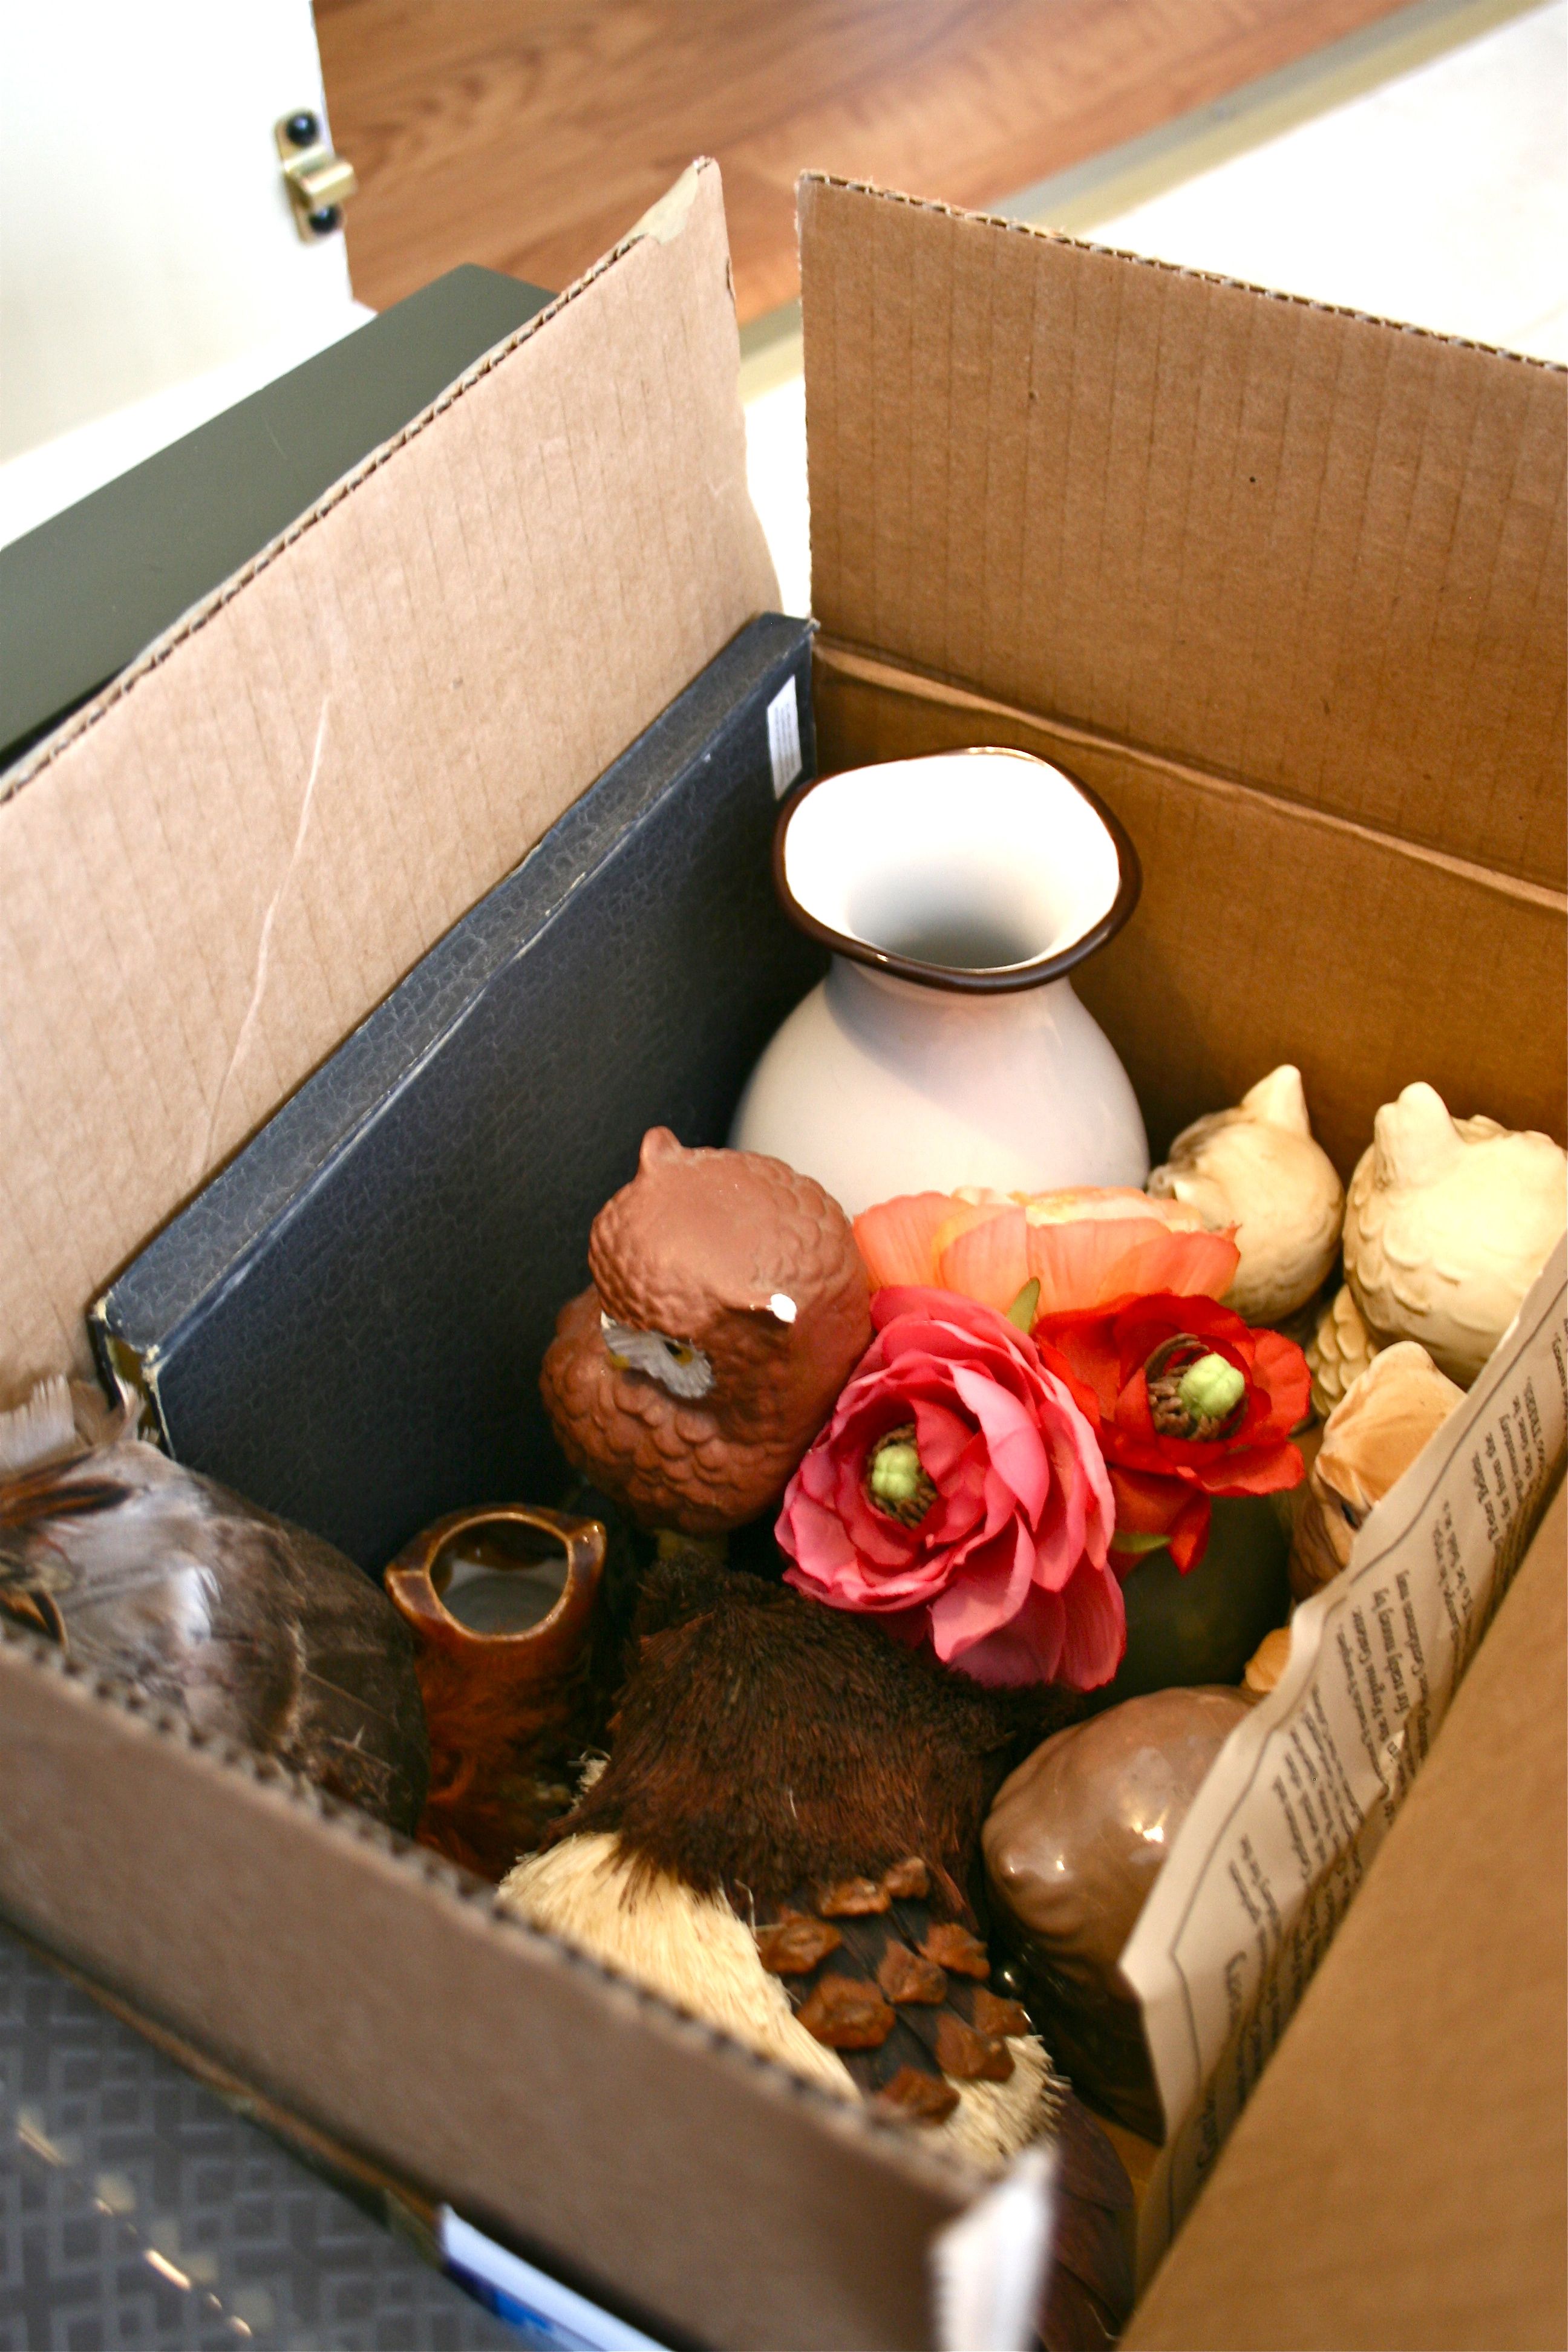
See that box in the left corner? That my friends is my “random decorations box” 🙂 It’s full of little trinkets and glass figures and vases that I can grab from if I want to make a surface feel a little more vintage or homey.
Yes, I have fake flowers in there – I love how much life plants give a room, but since I have a brown thumb (i.e. I kill plants like a serial killer), I have to resort to the immortal version. And yes, 90% of the box is filled with owls – Thrift stores NEVER fail me in their endless supplies of owl trinkets…
Time to put everything back in place!
Task #1 was prioritizing. The china, which as you saw started out on the top shelf (taking up prime real estate), was moved one shelf down. I didn’t want it on the bottom shelf for fear of the dog’s strong happy tail, but the middle shelf seemed safe enough.
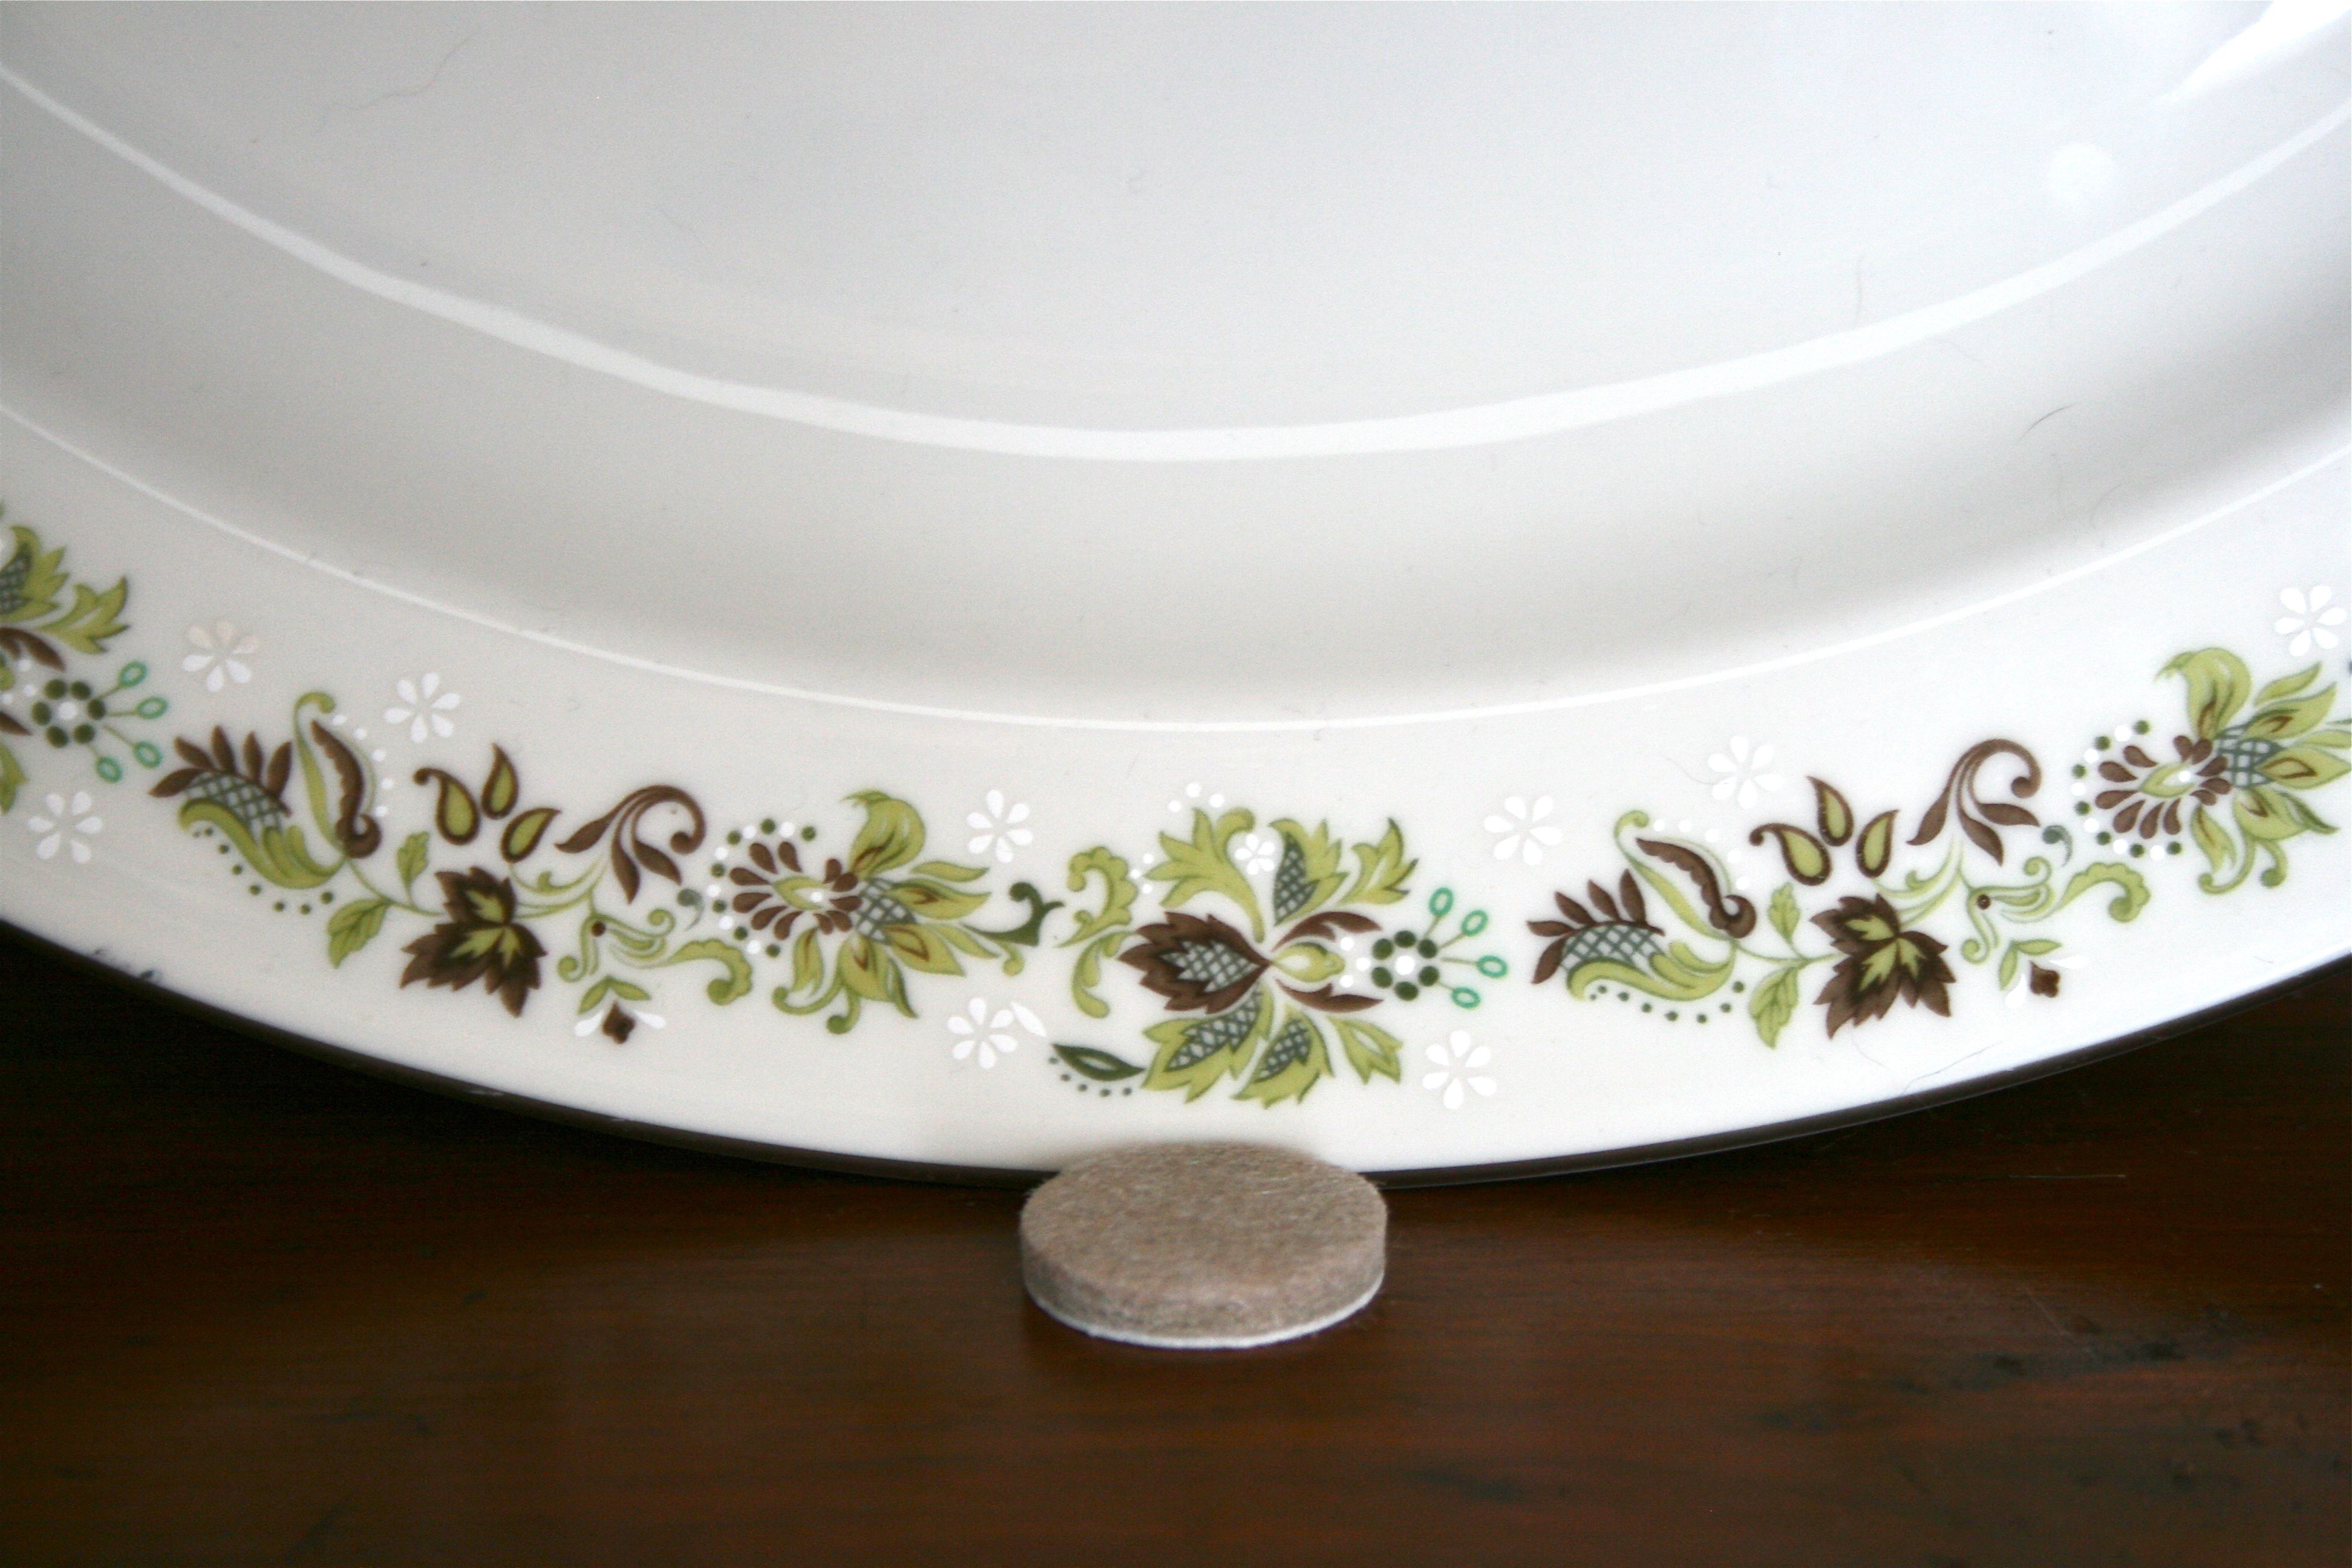
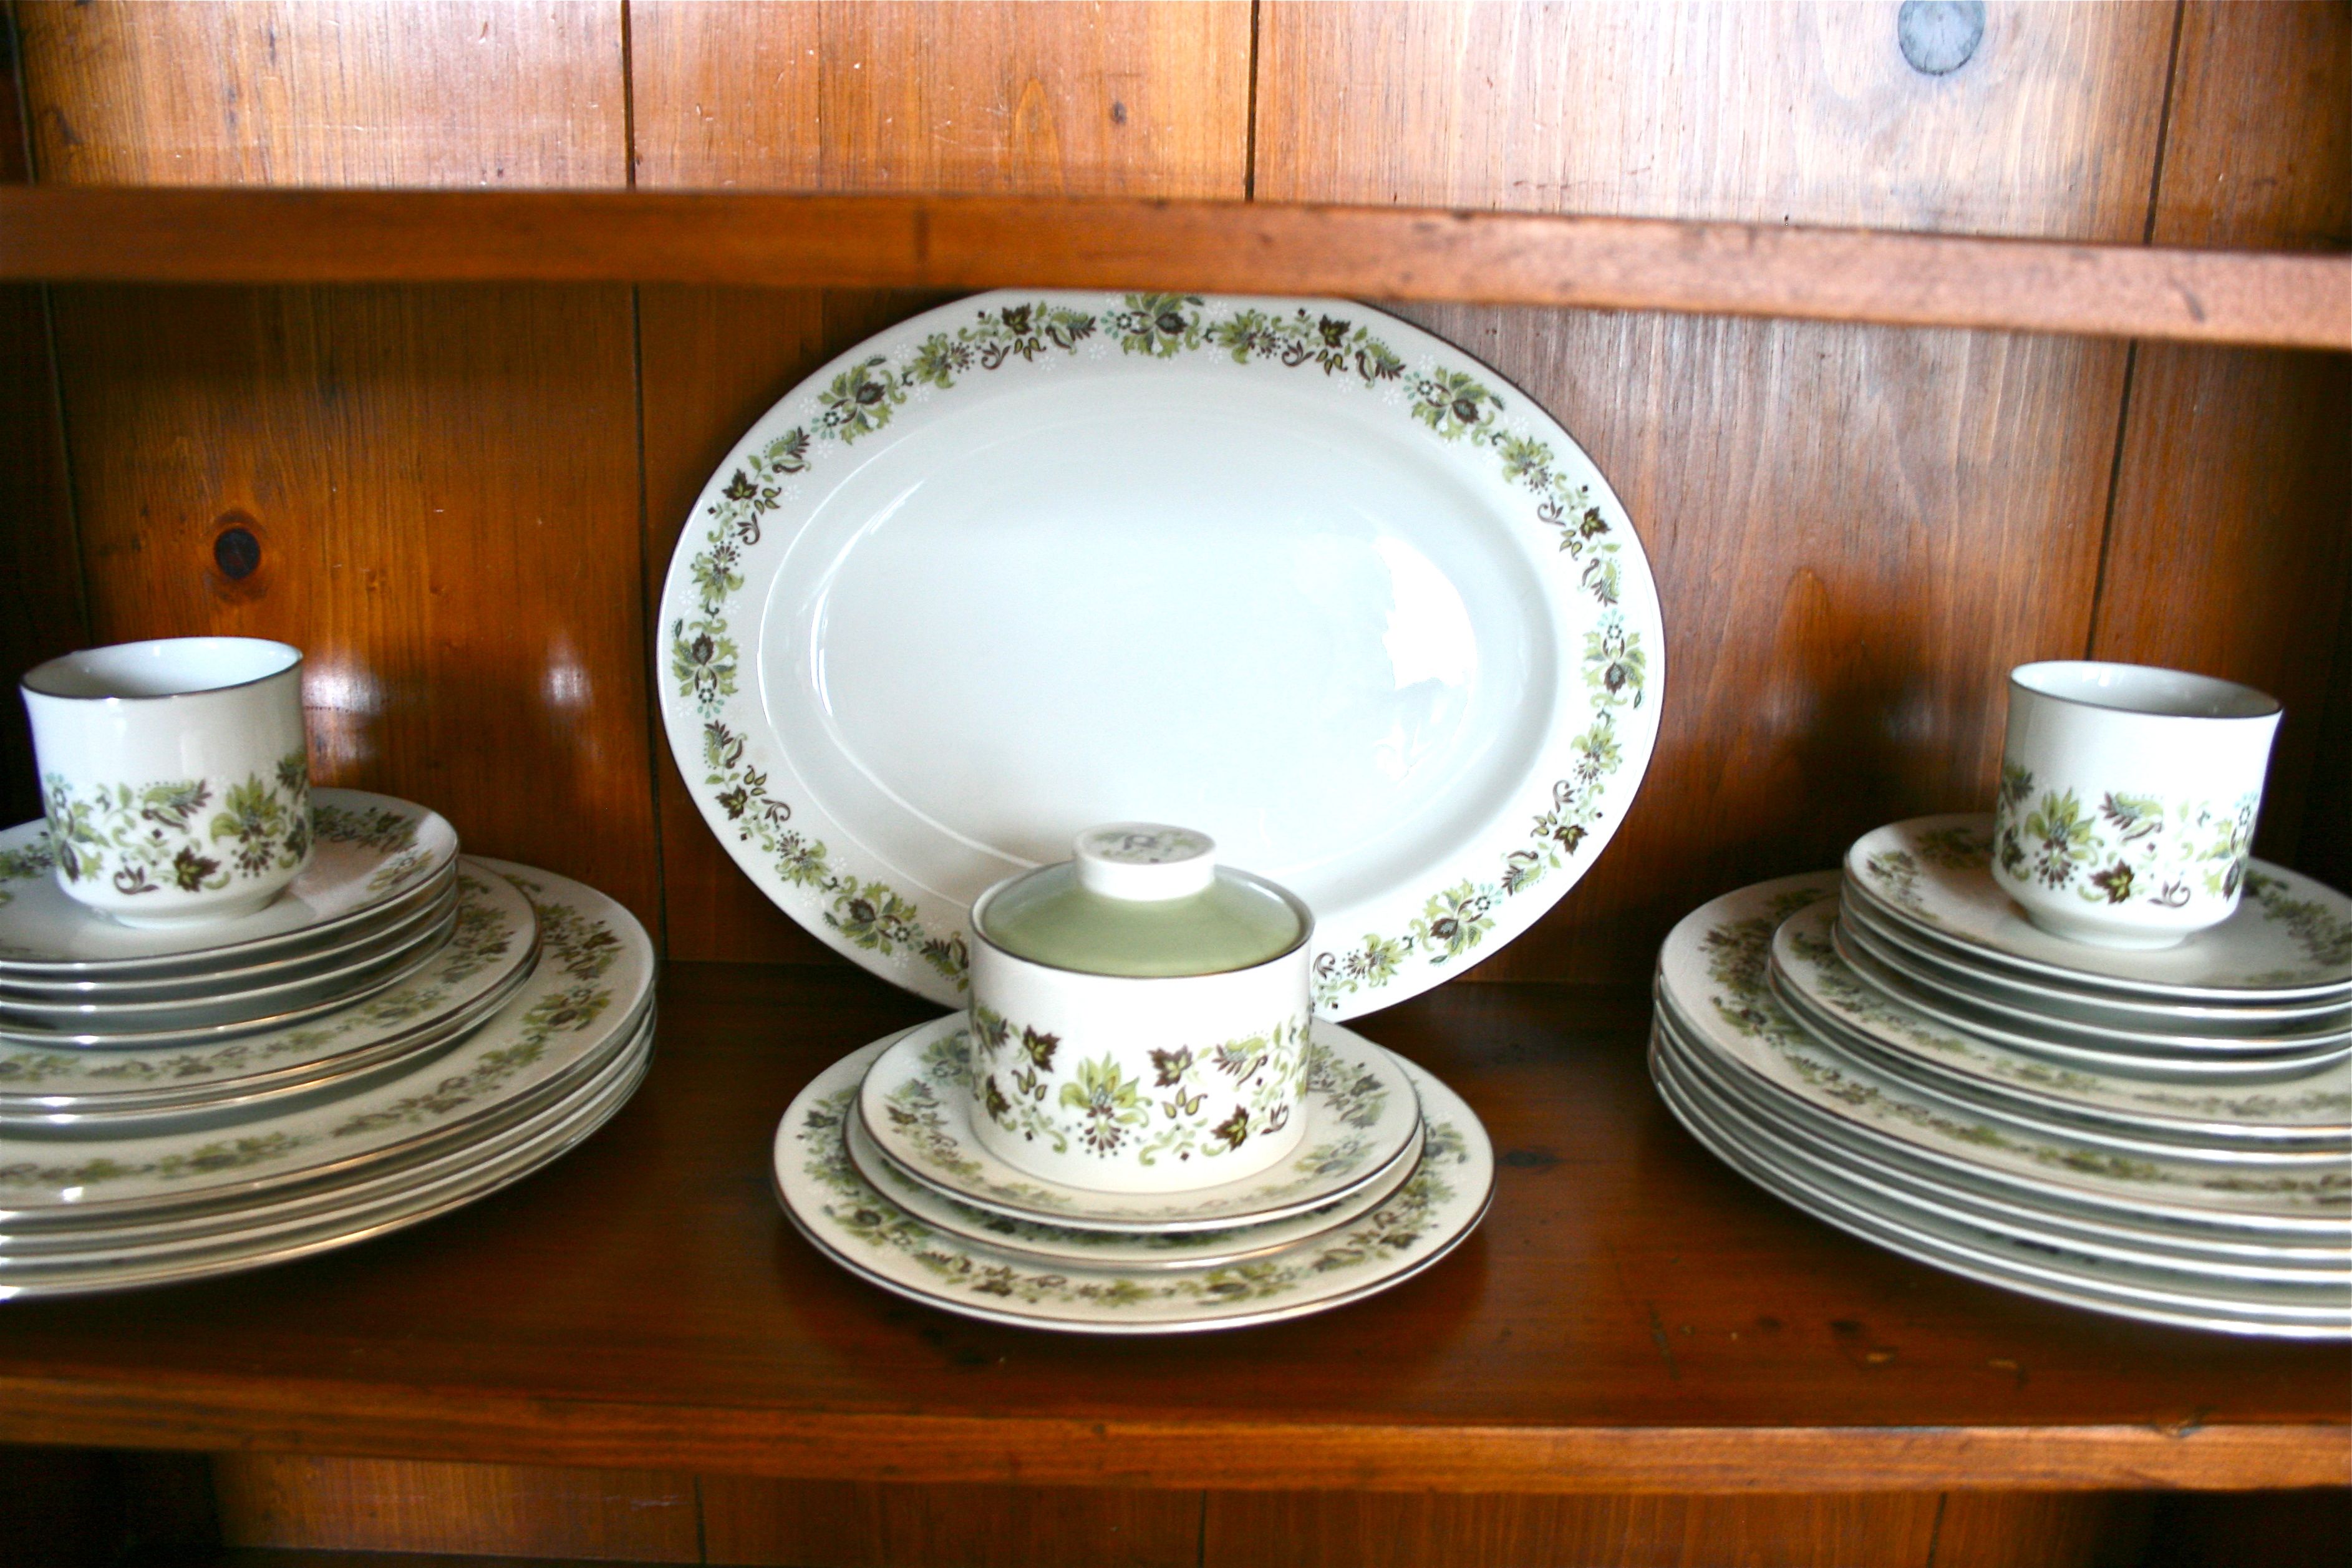
I also wanted to work on the display of the pieces, so I tilted the large platter dish up between the two stacks of plates and tea cups. It wouldn’t stay standing on its own though…So out came my handy-dandy felt pads again! One little pad did the trick to keep the plate steady and in place:
Once I set the sugar bowl and saucers in front of platter it hid the sneaky little felt pad:
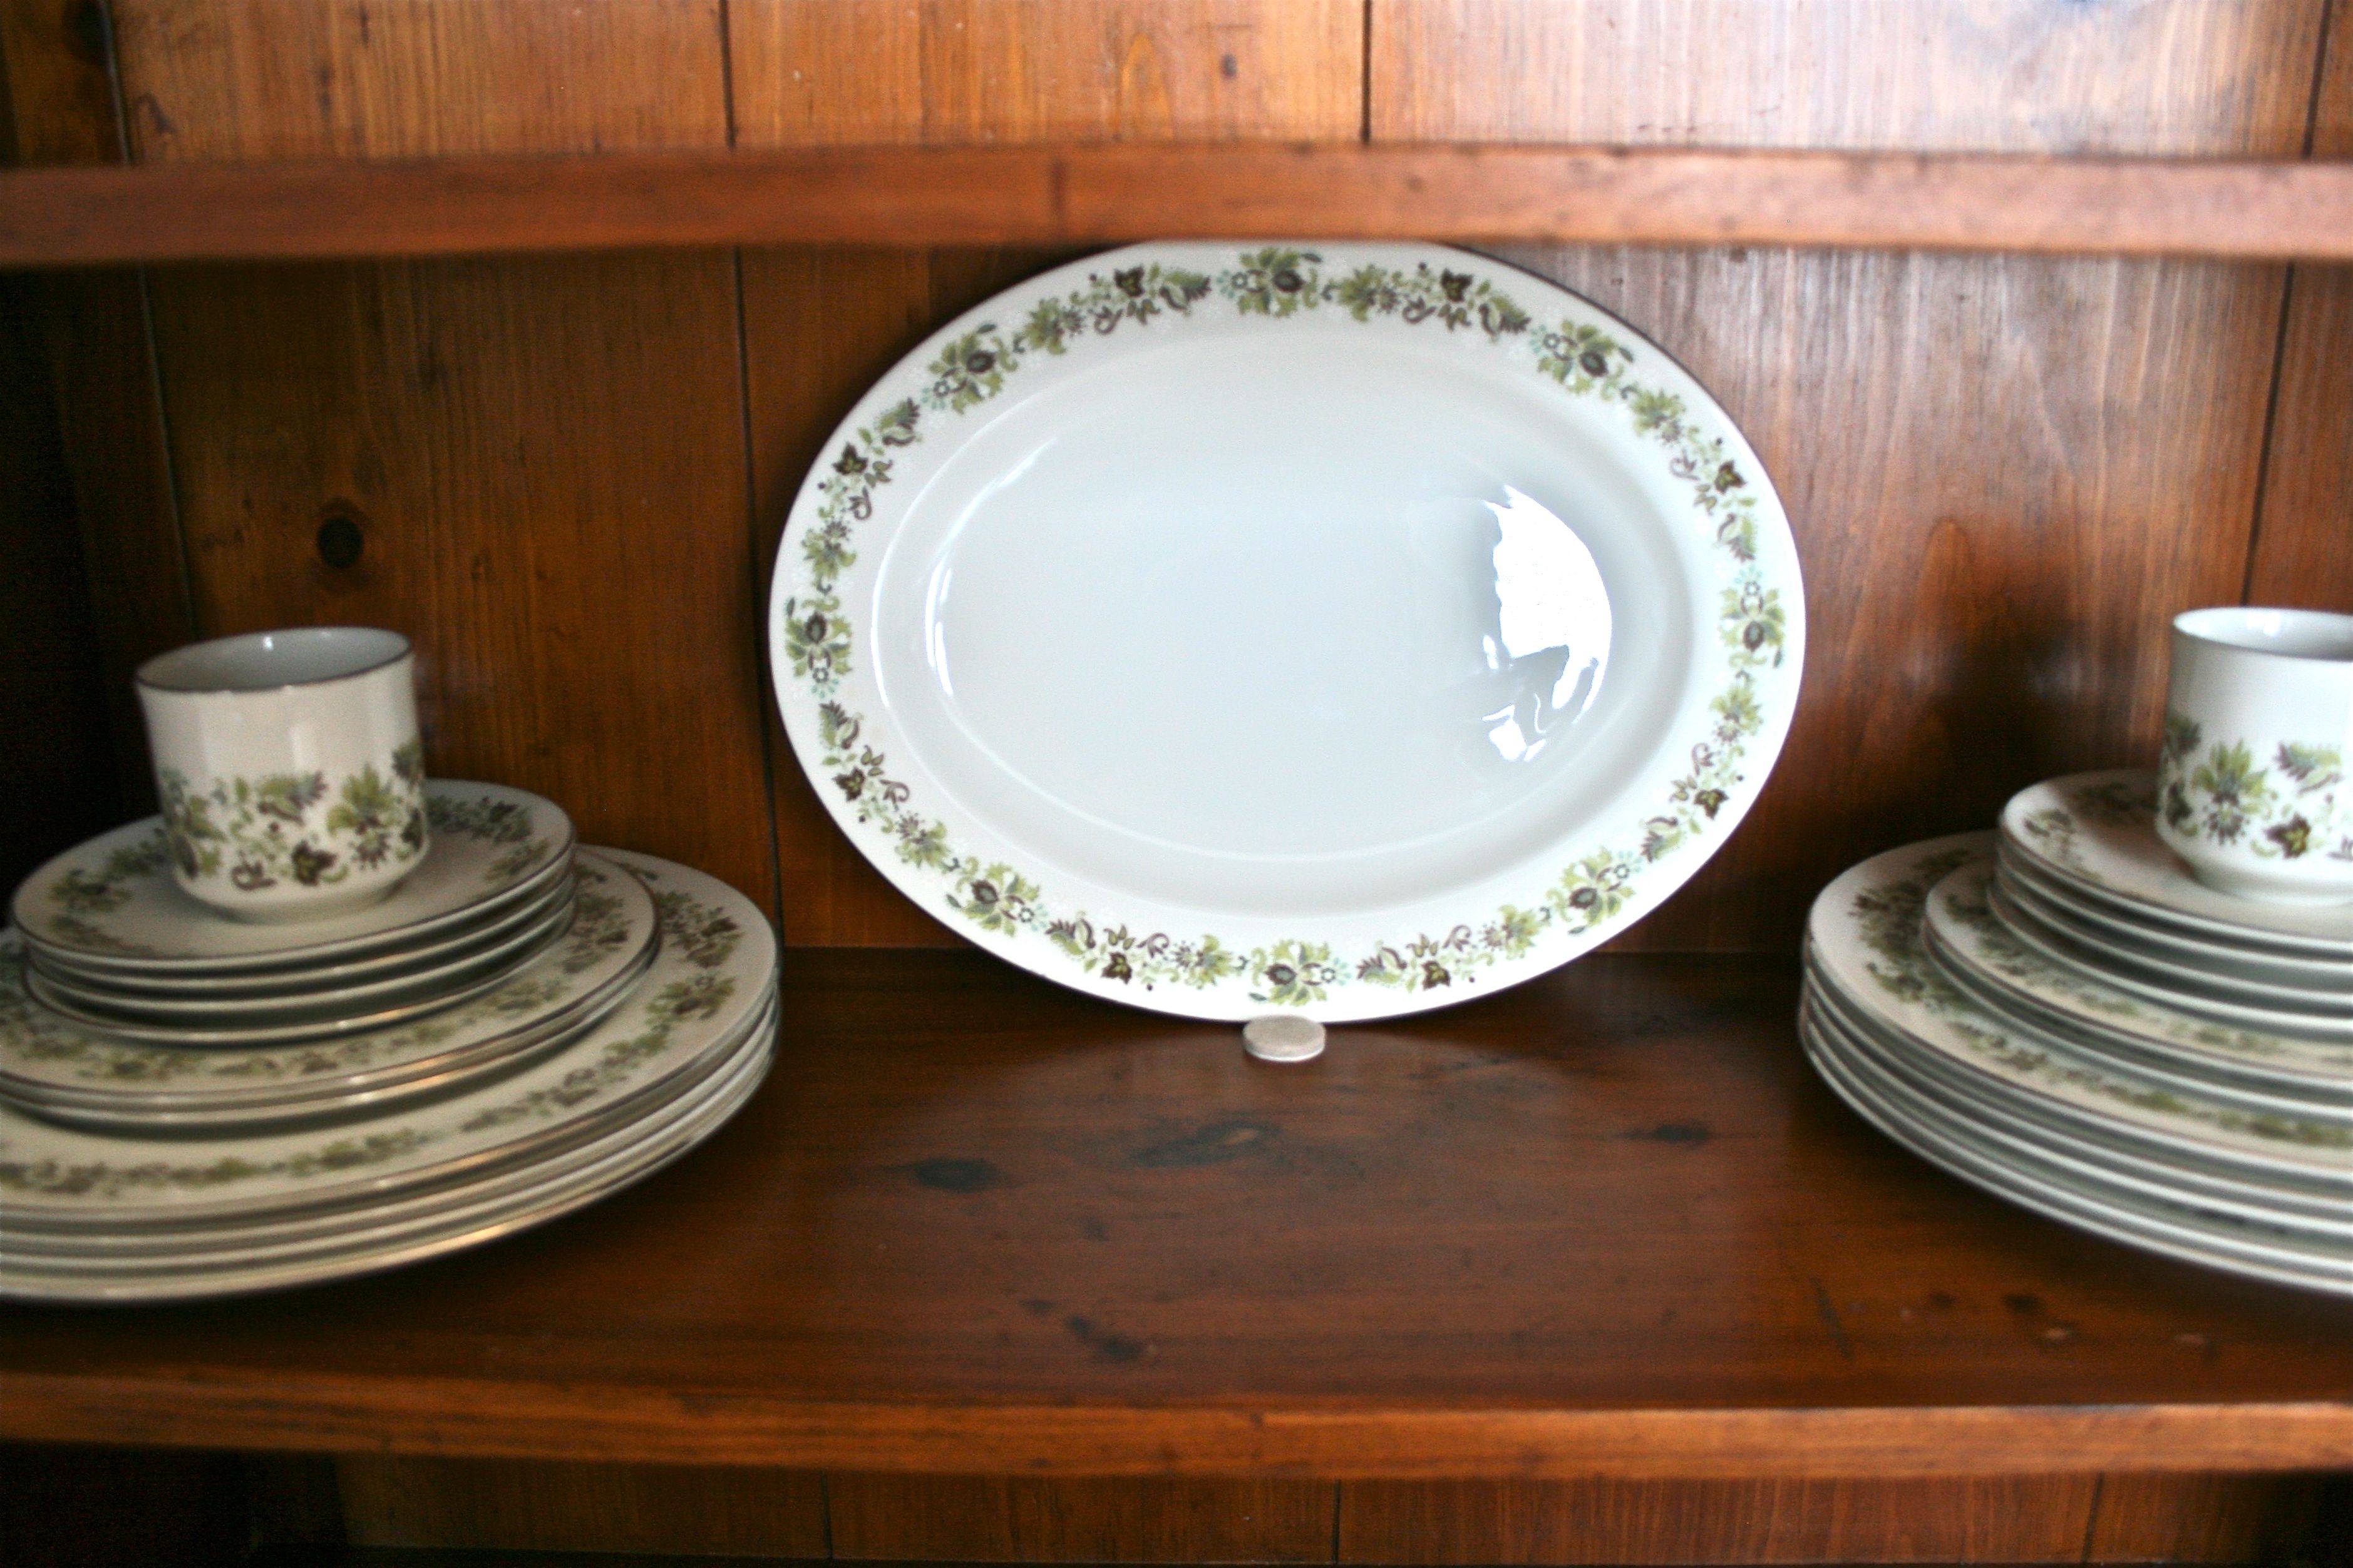
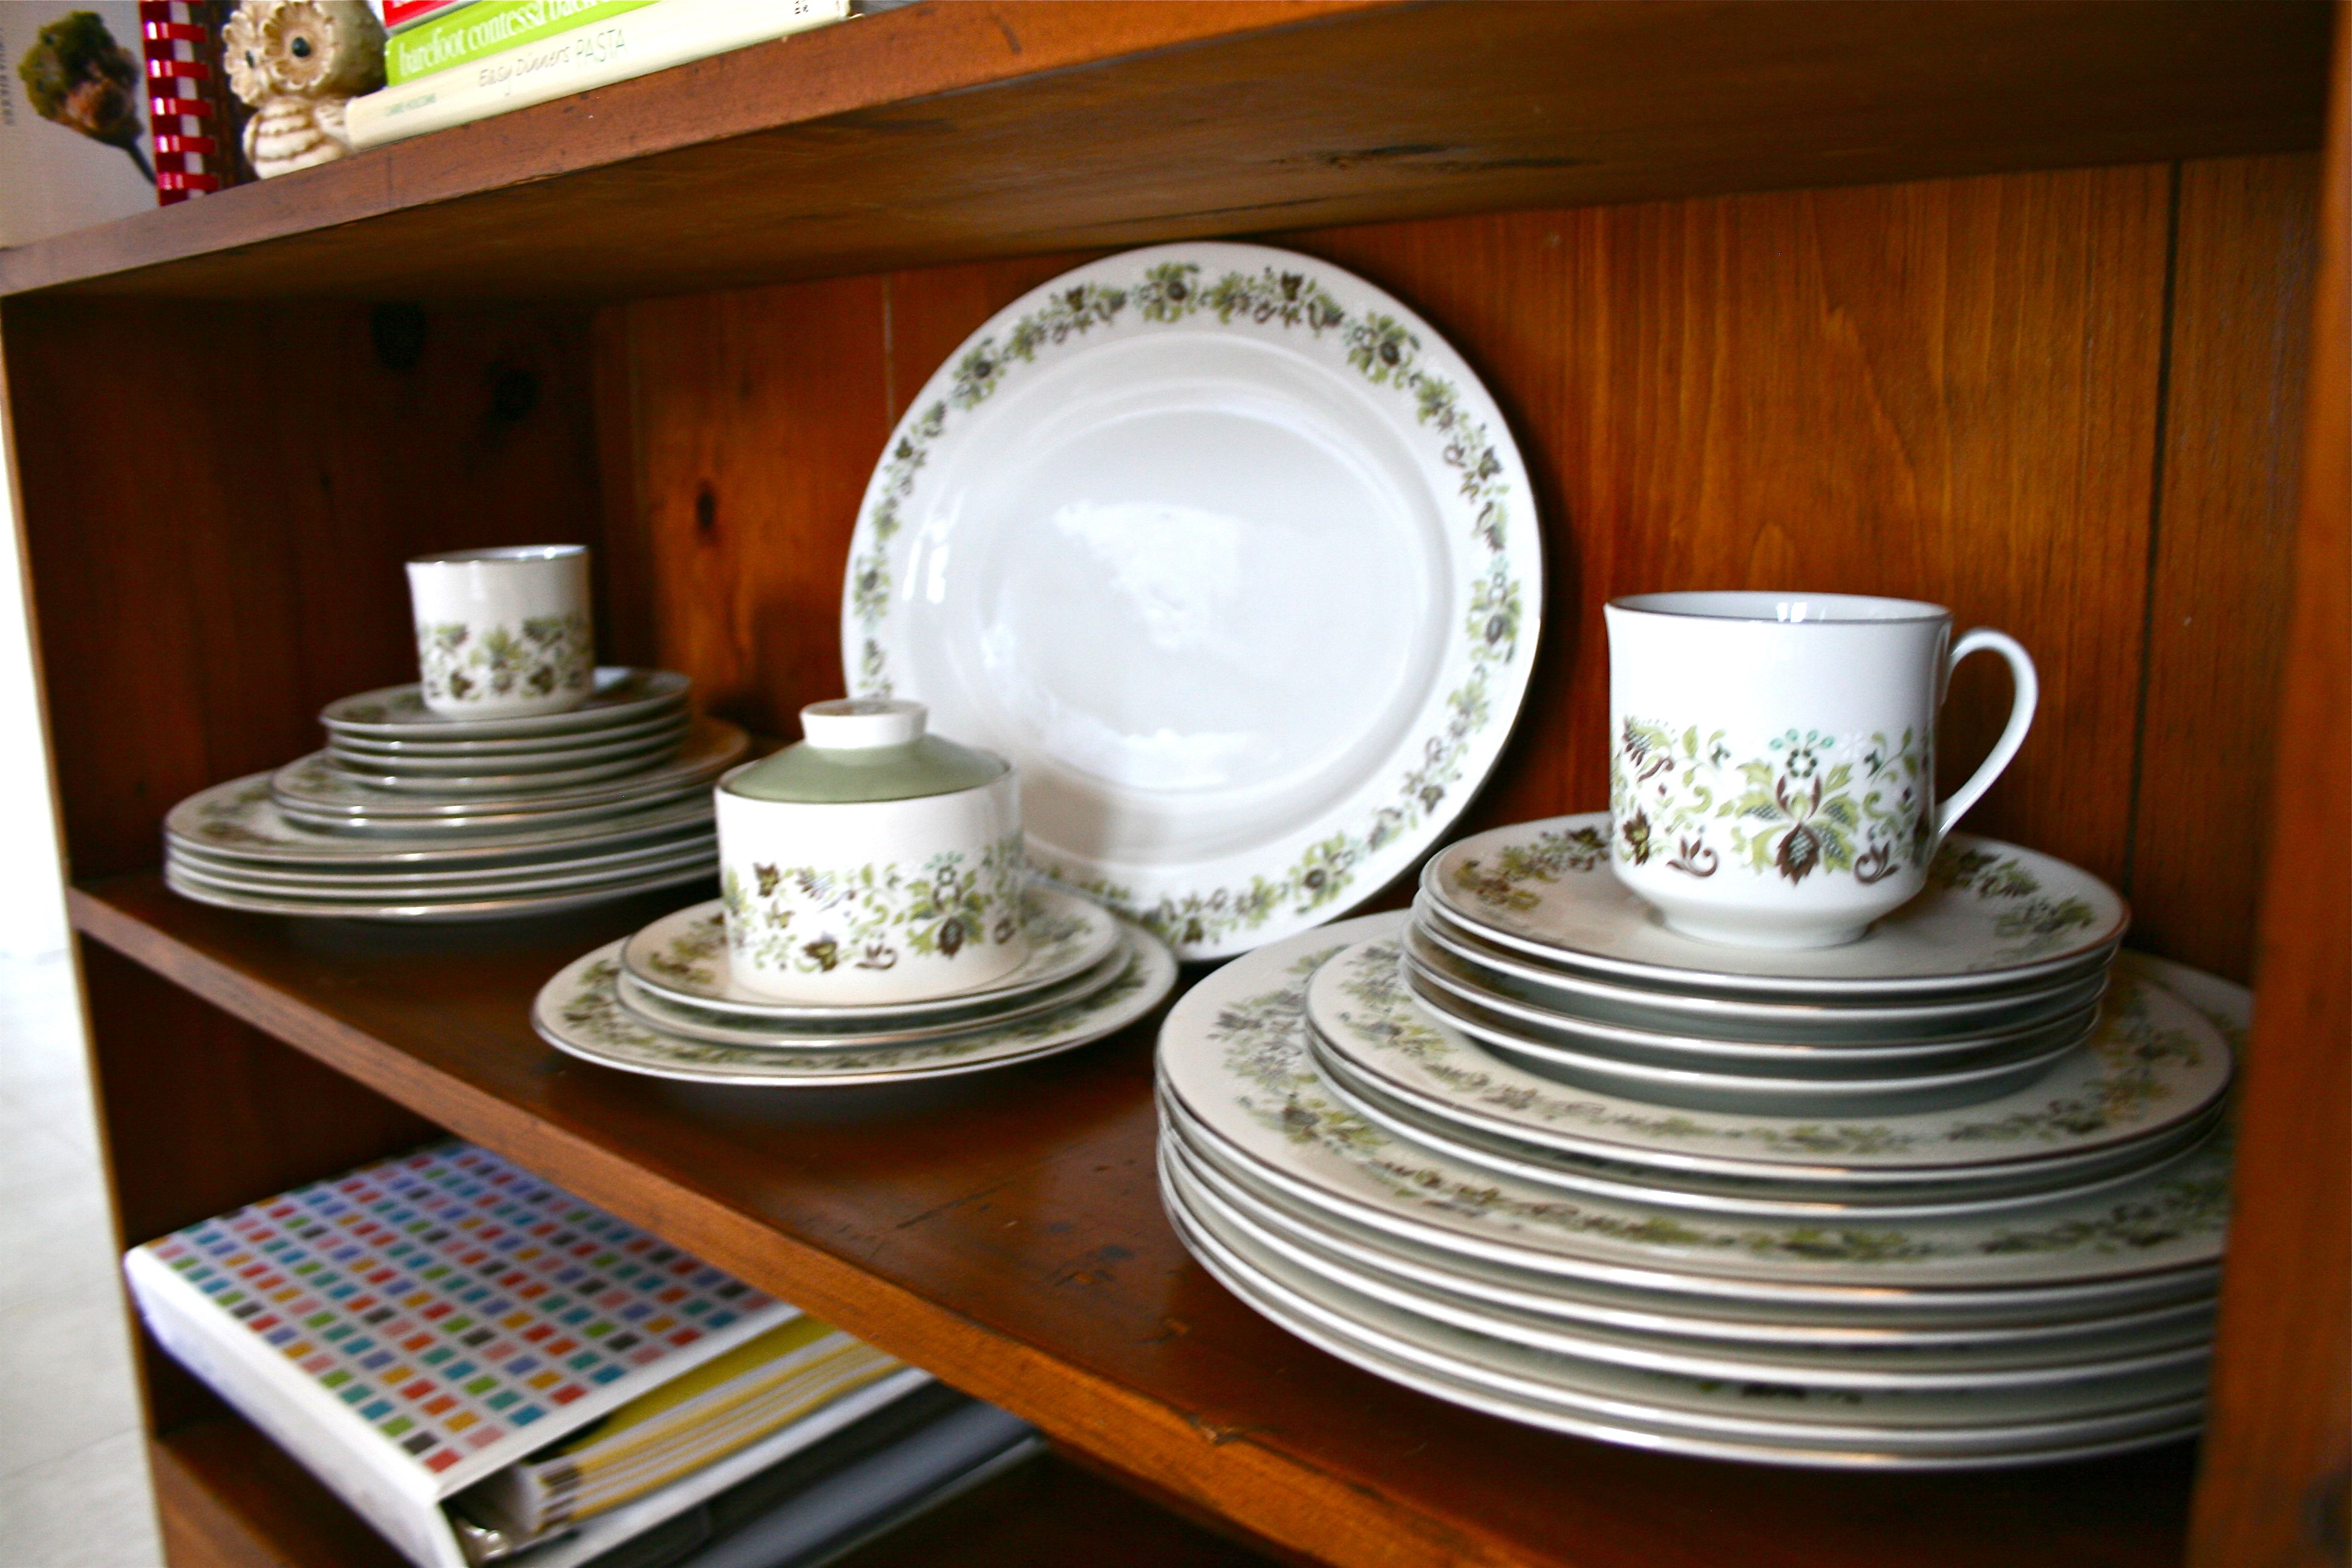
Oh and about my china? It’s a (slightly incomplete) set that I picked up from my favorite second hand shop in town for $32. I wasn’t with John at the time (in fact I was single), but I decided that I didn’t have to wait until I got married to have some gorgeous wedding china! I instantly fell in love with the green, brown, and eggplant pattern – In my opinion it’s sort of a mid-century version of floral.
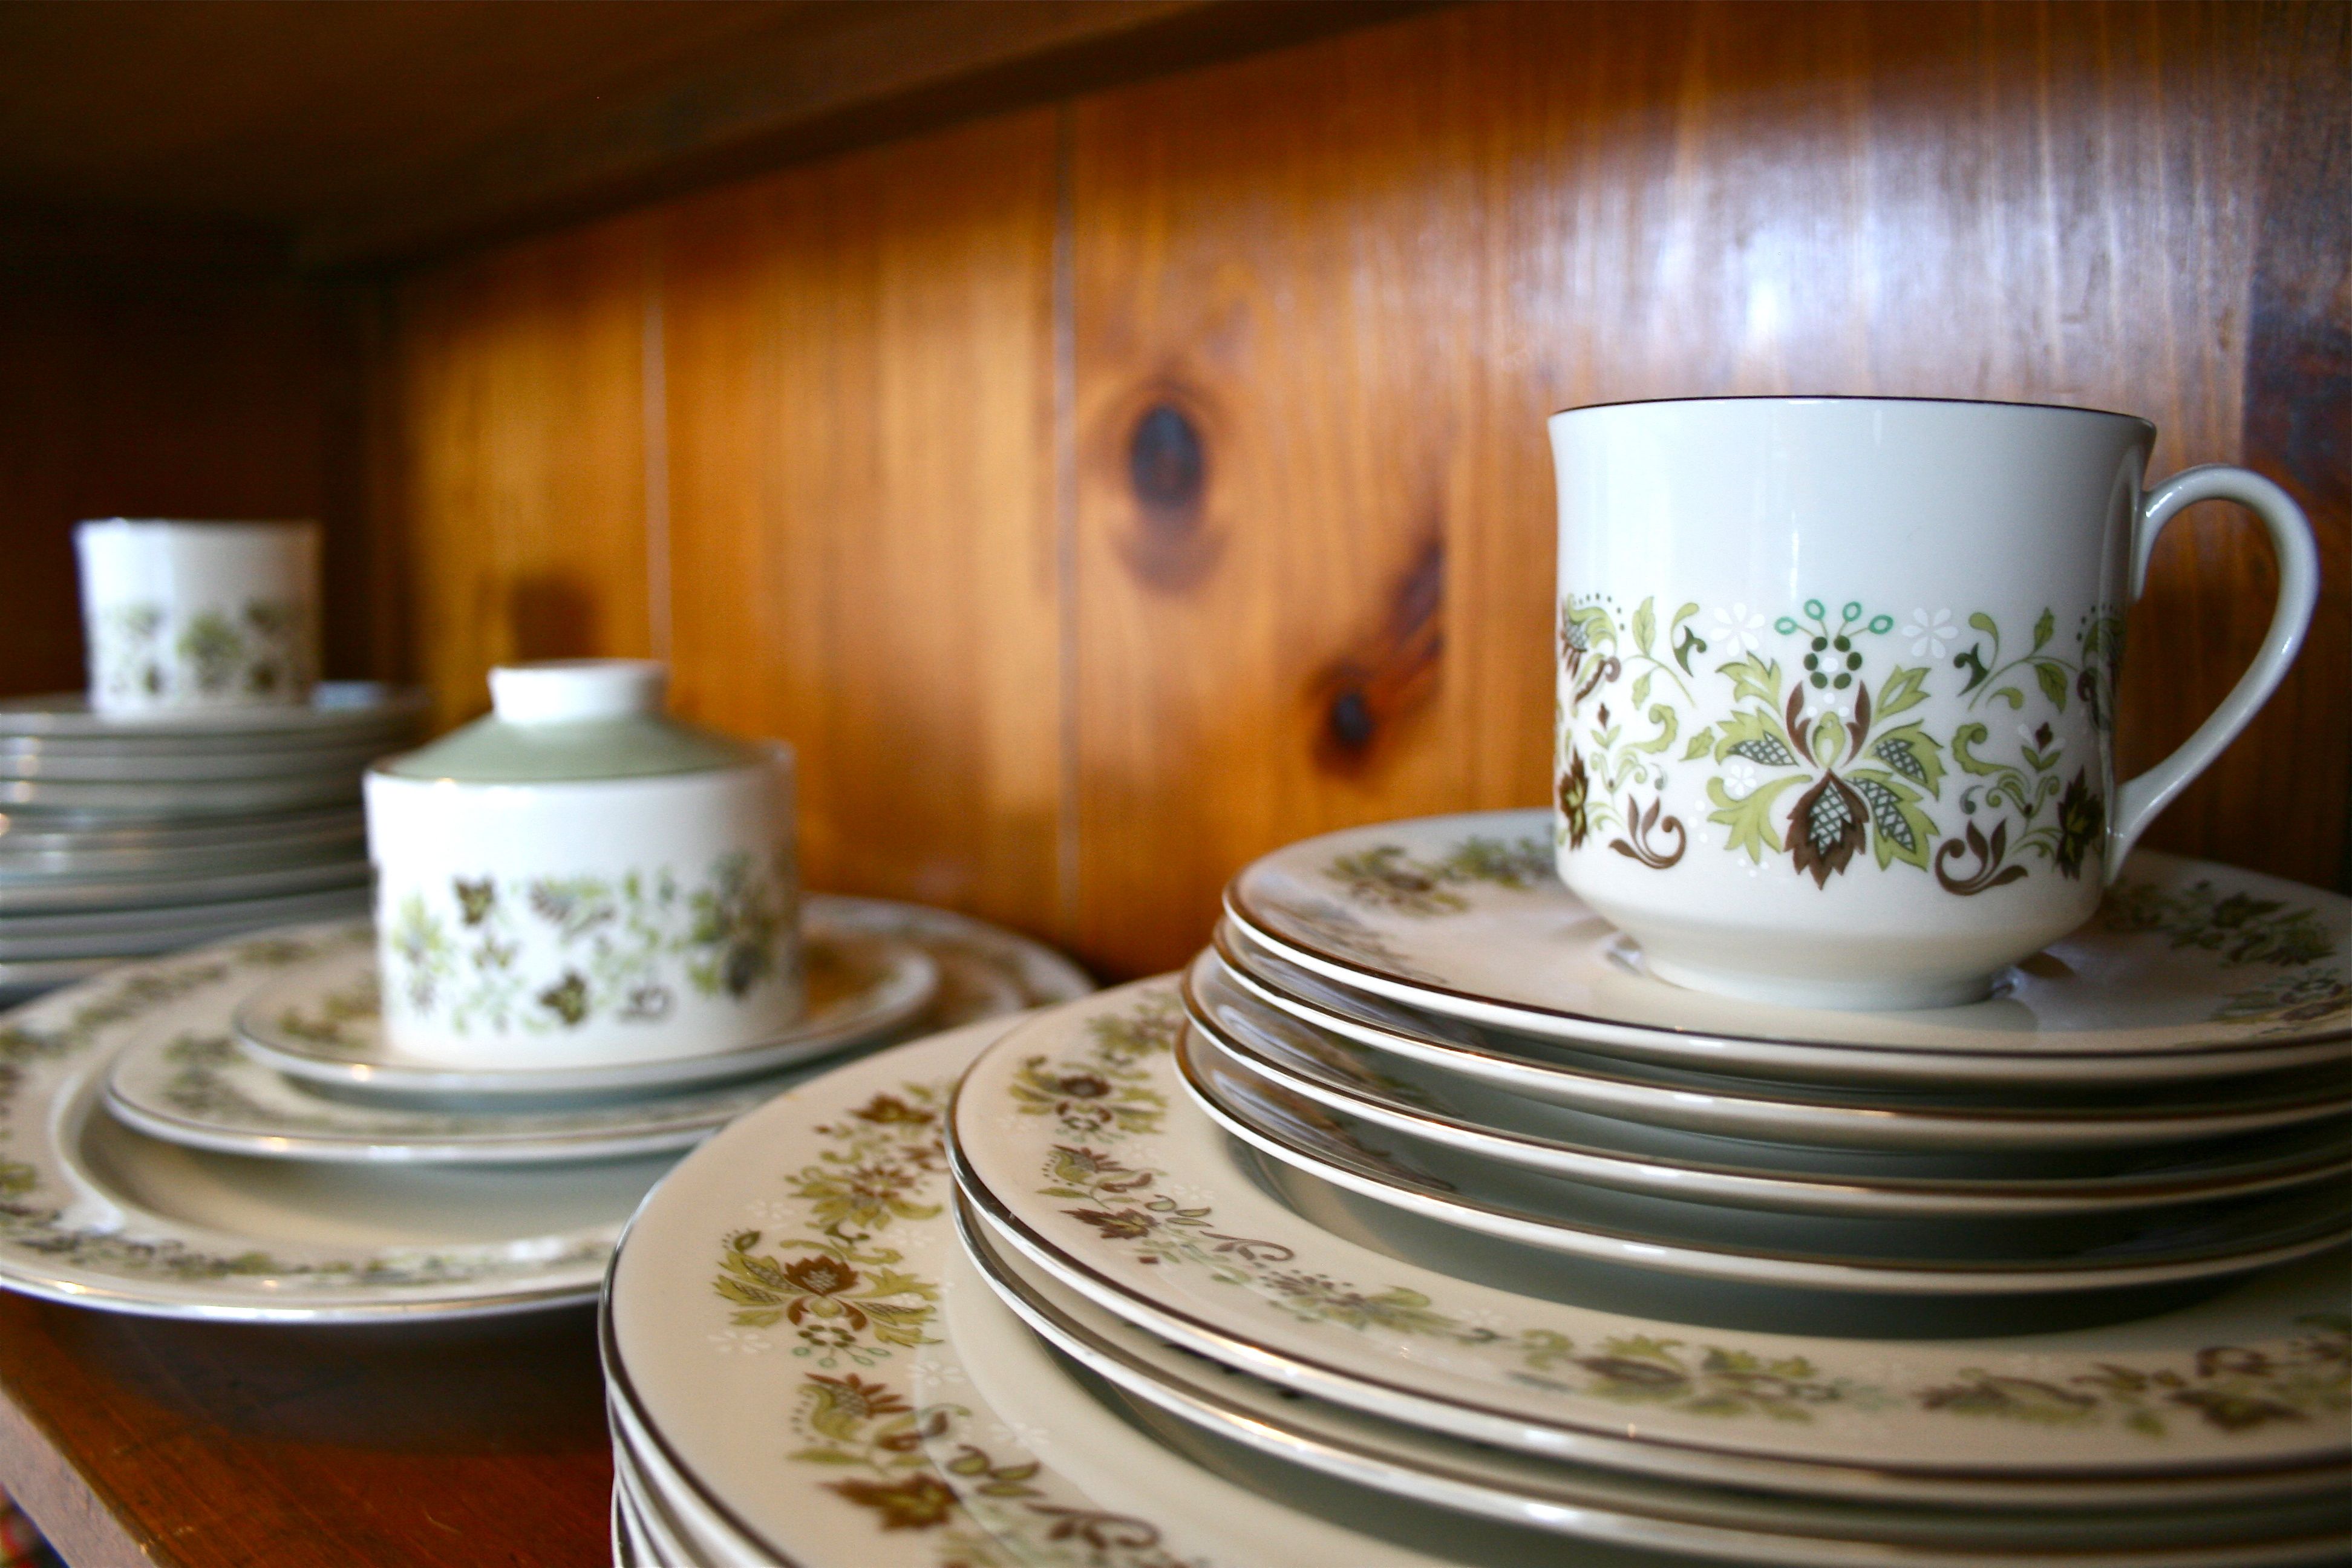
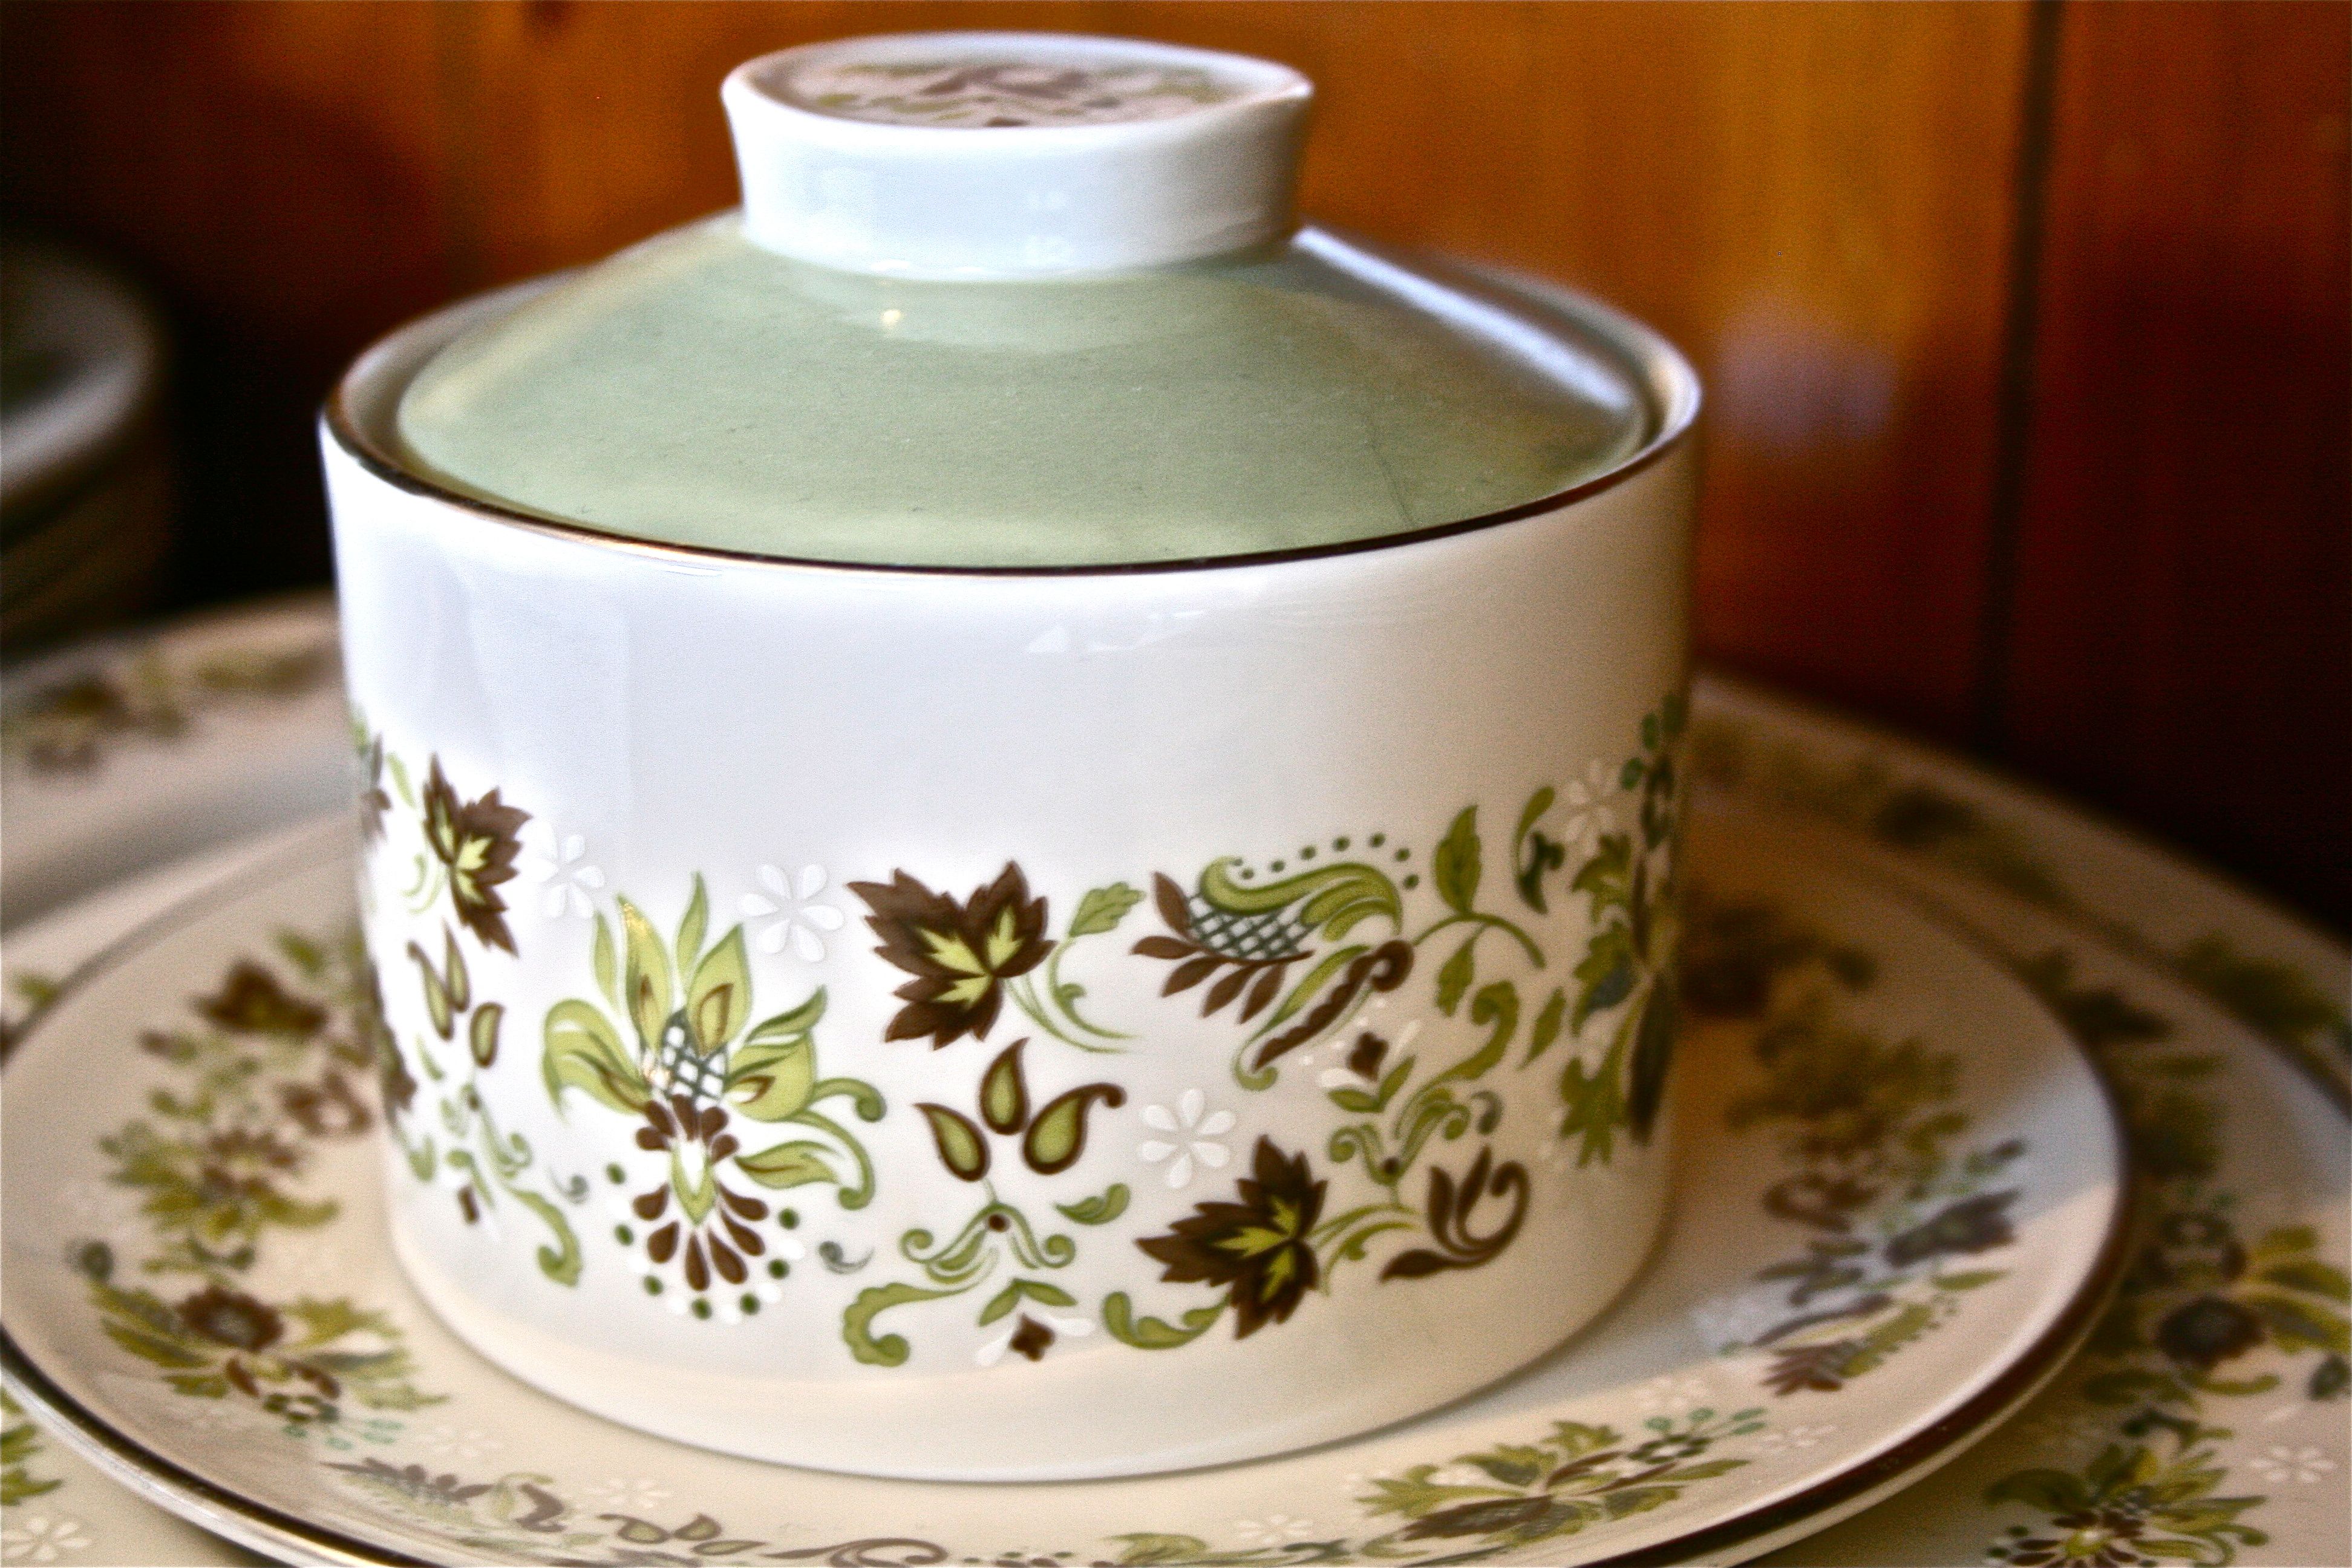
Here are some details I took before I moved the set down a shelf:
See how it kind of HINTS at floral, but isn’t overly feminine? I love that…And luckily John seems okay with my our “wedding china”.
But back to the organization project…
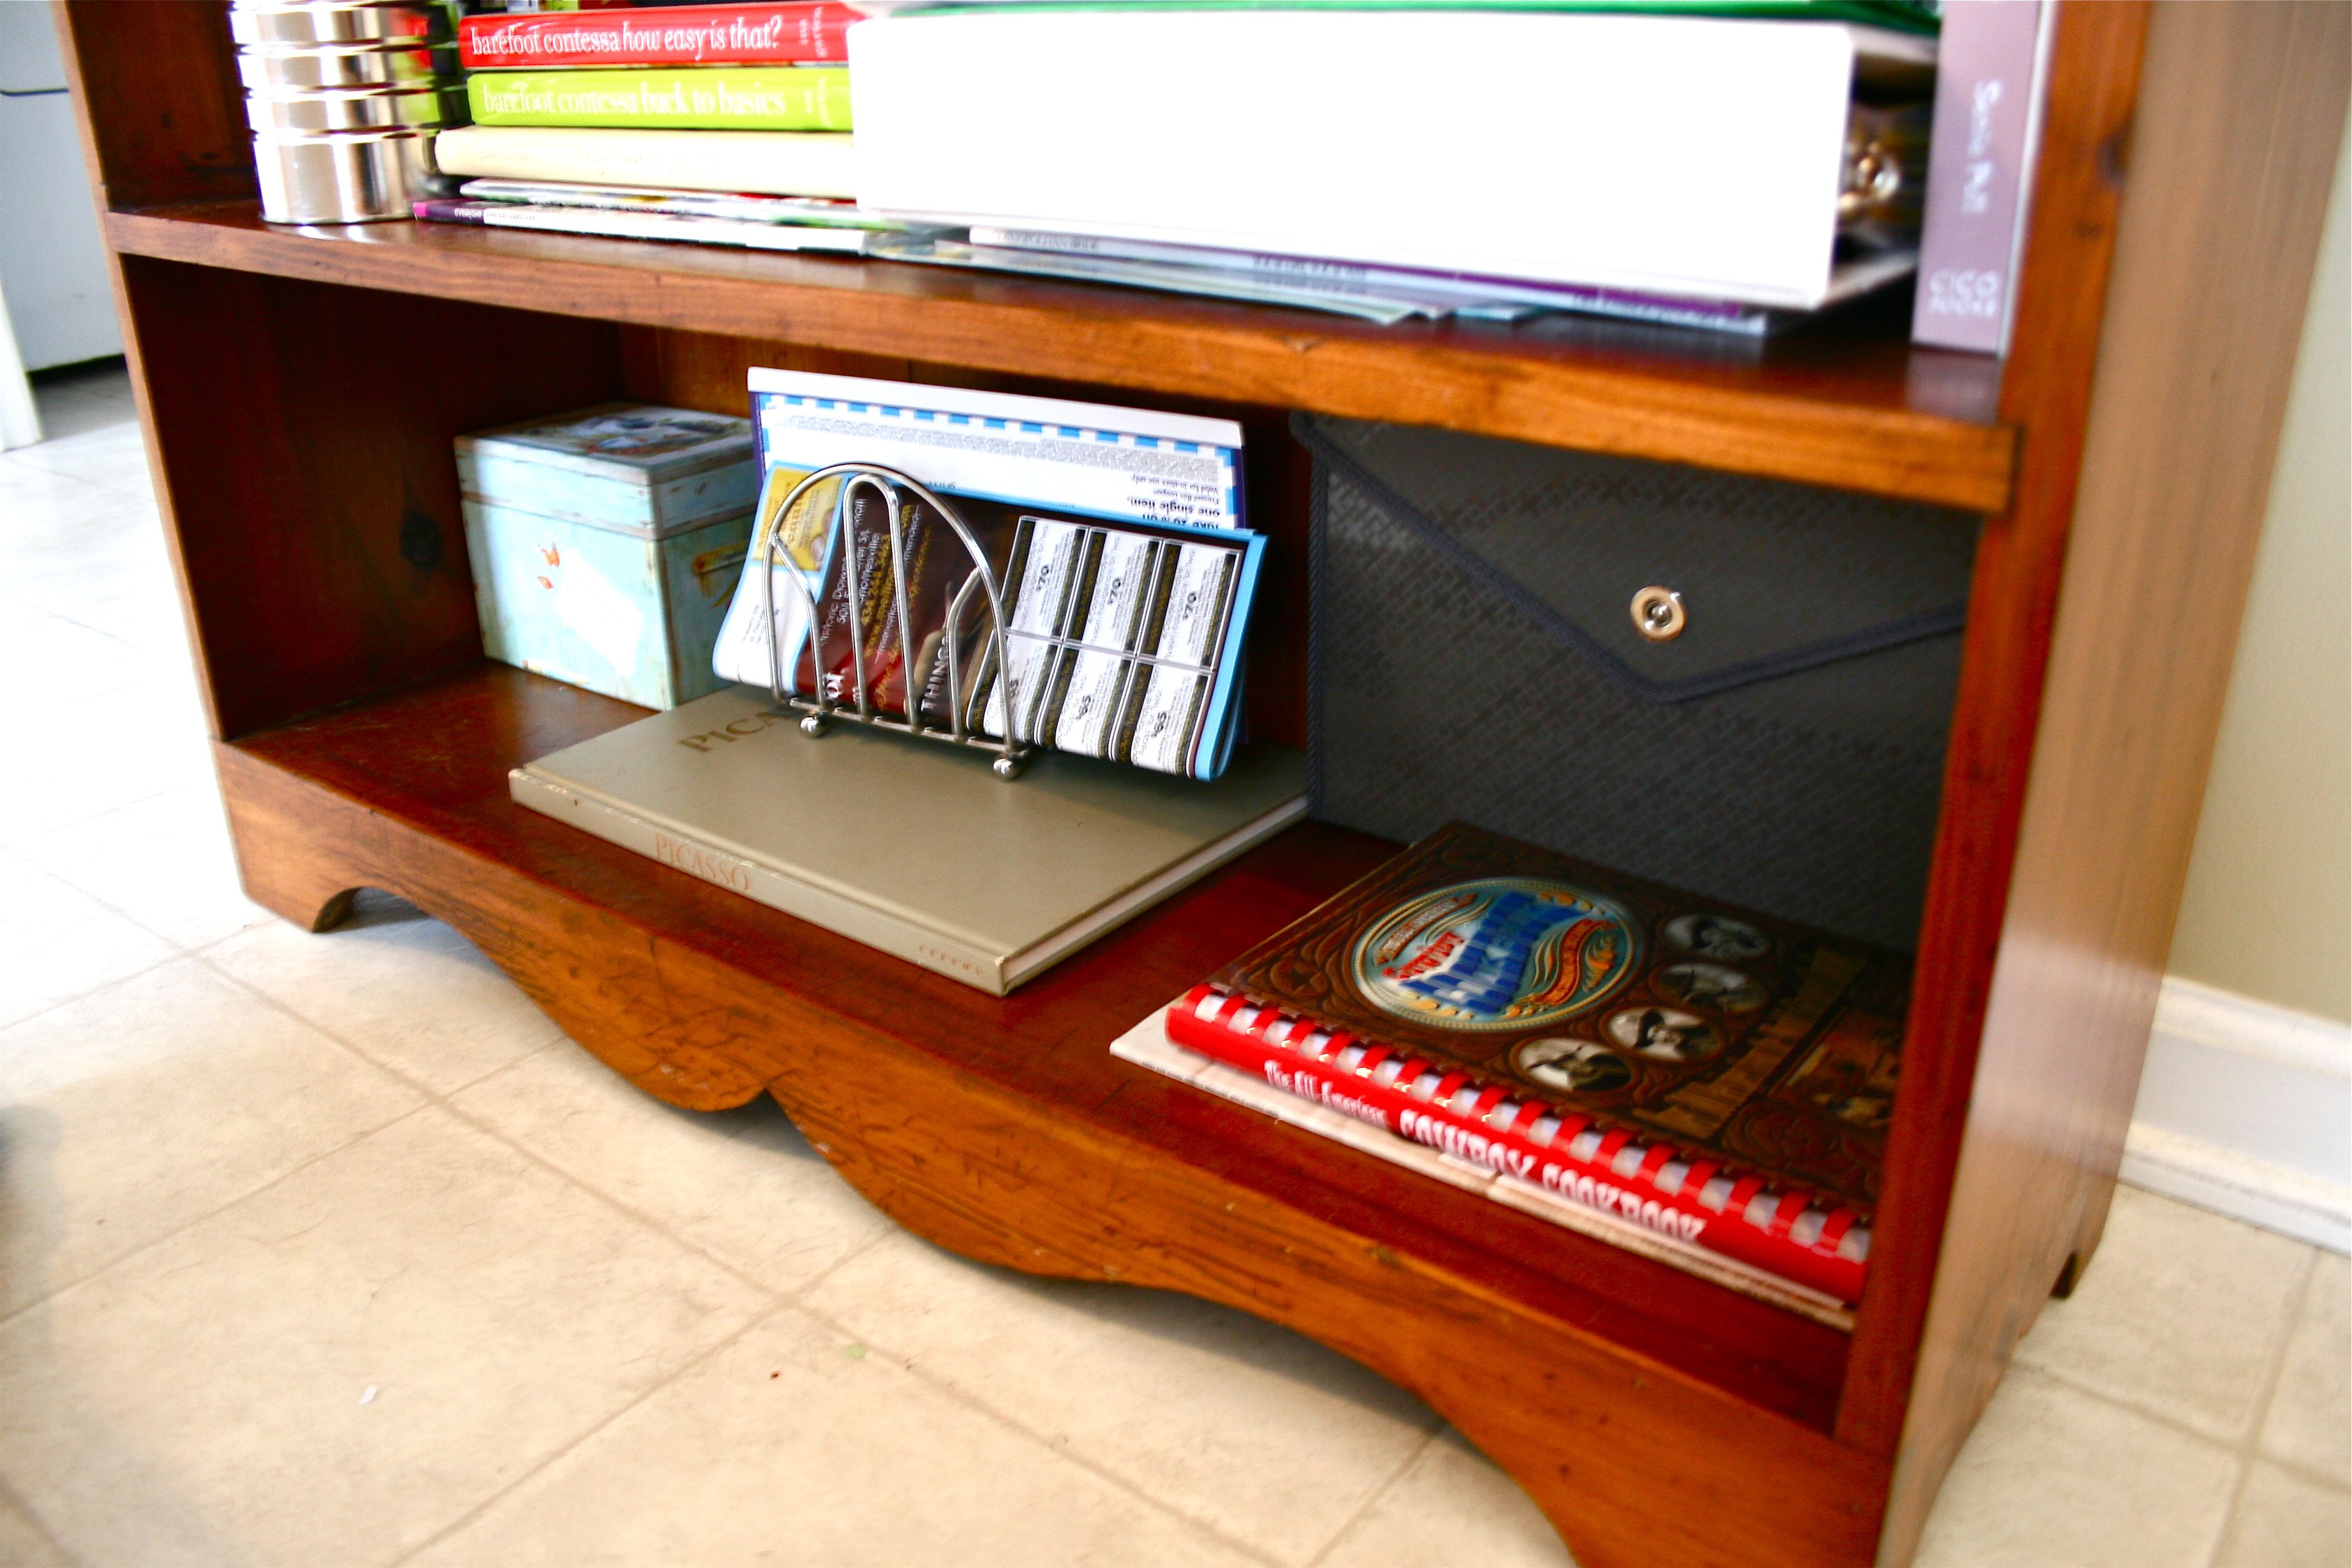
So from there I did some rearranging, putting cookbooks with cookbooks and magazine with magazines. I put all of the necessary stuff on the top shelf and the lesser-used items on the bottom. I ended up with extra space on the bottom where I’m thinking about putting a tray to hold mail and other papers that come in through the front door.
After incorporating a few pretty decorations, I was all done!
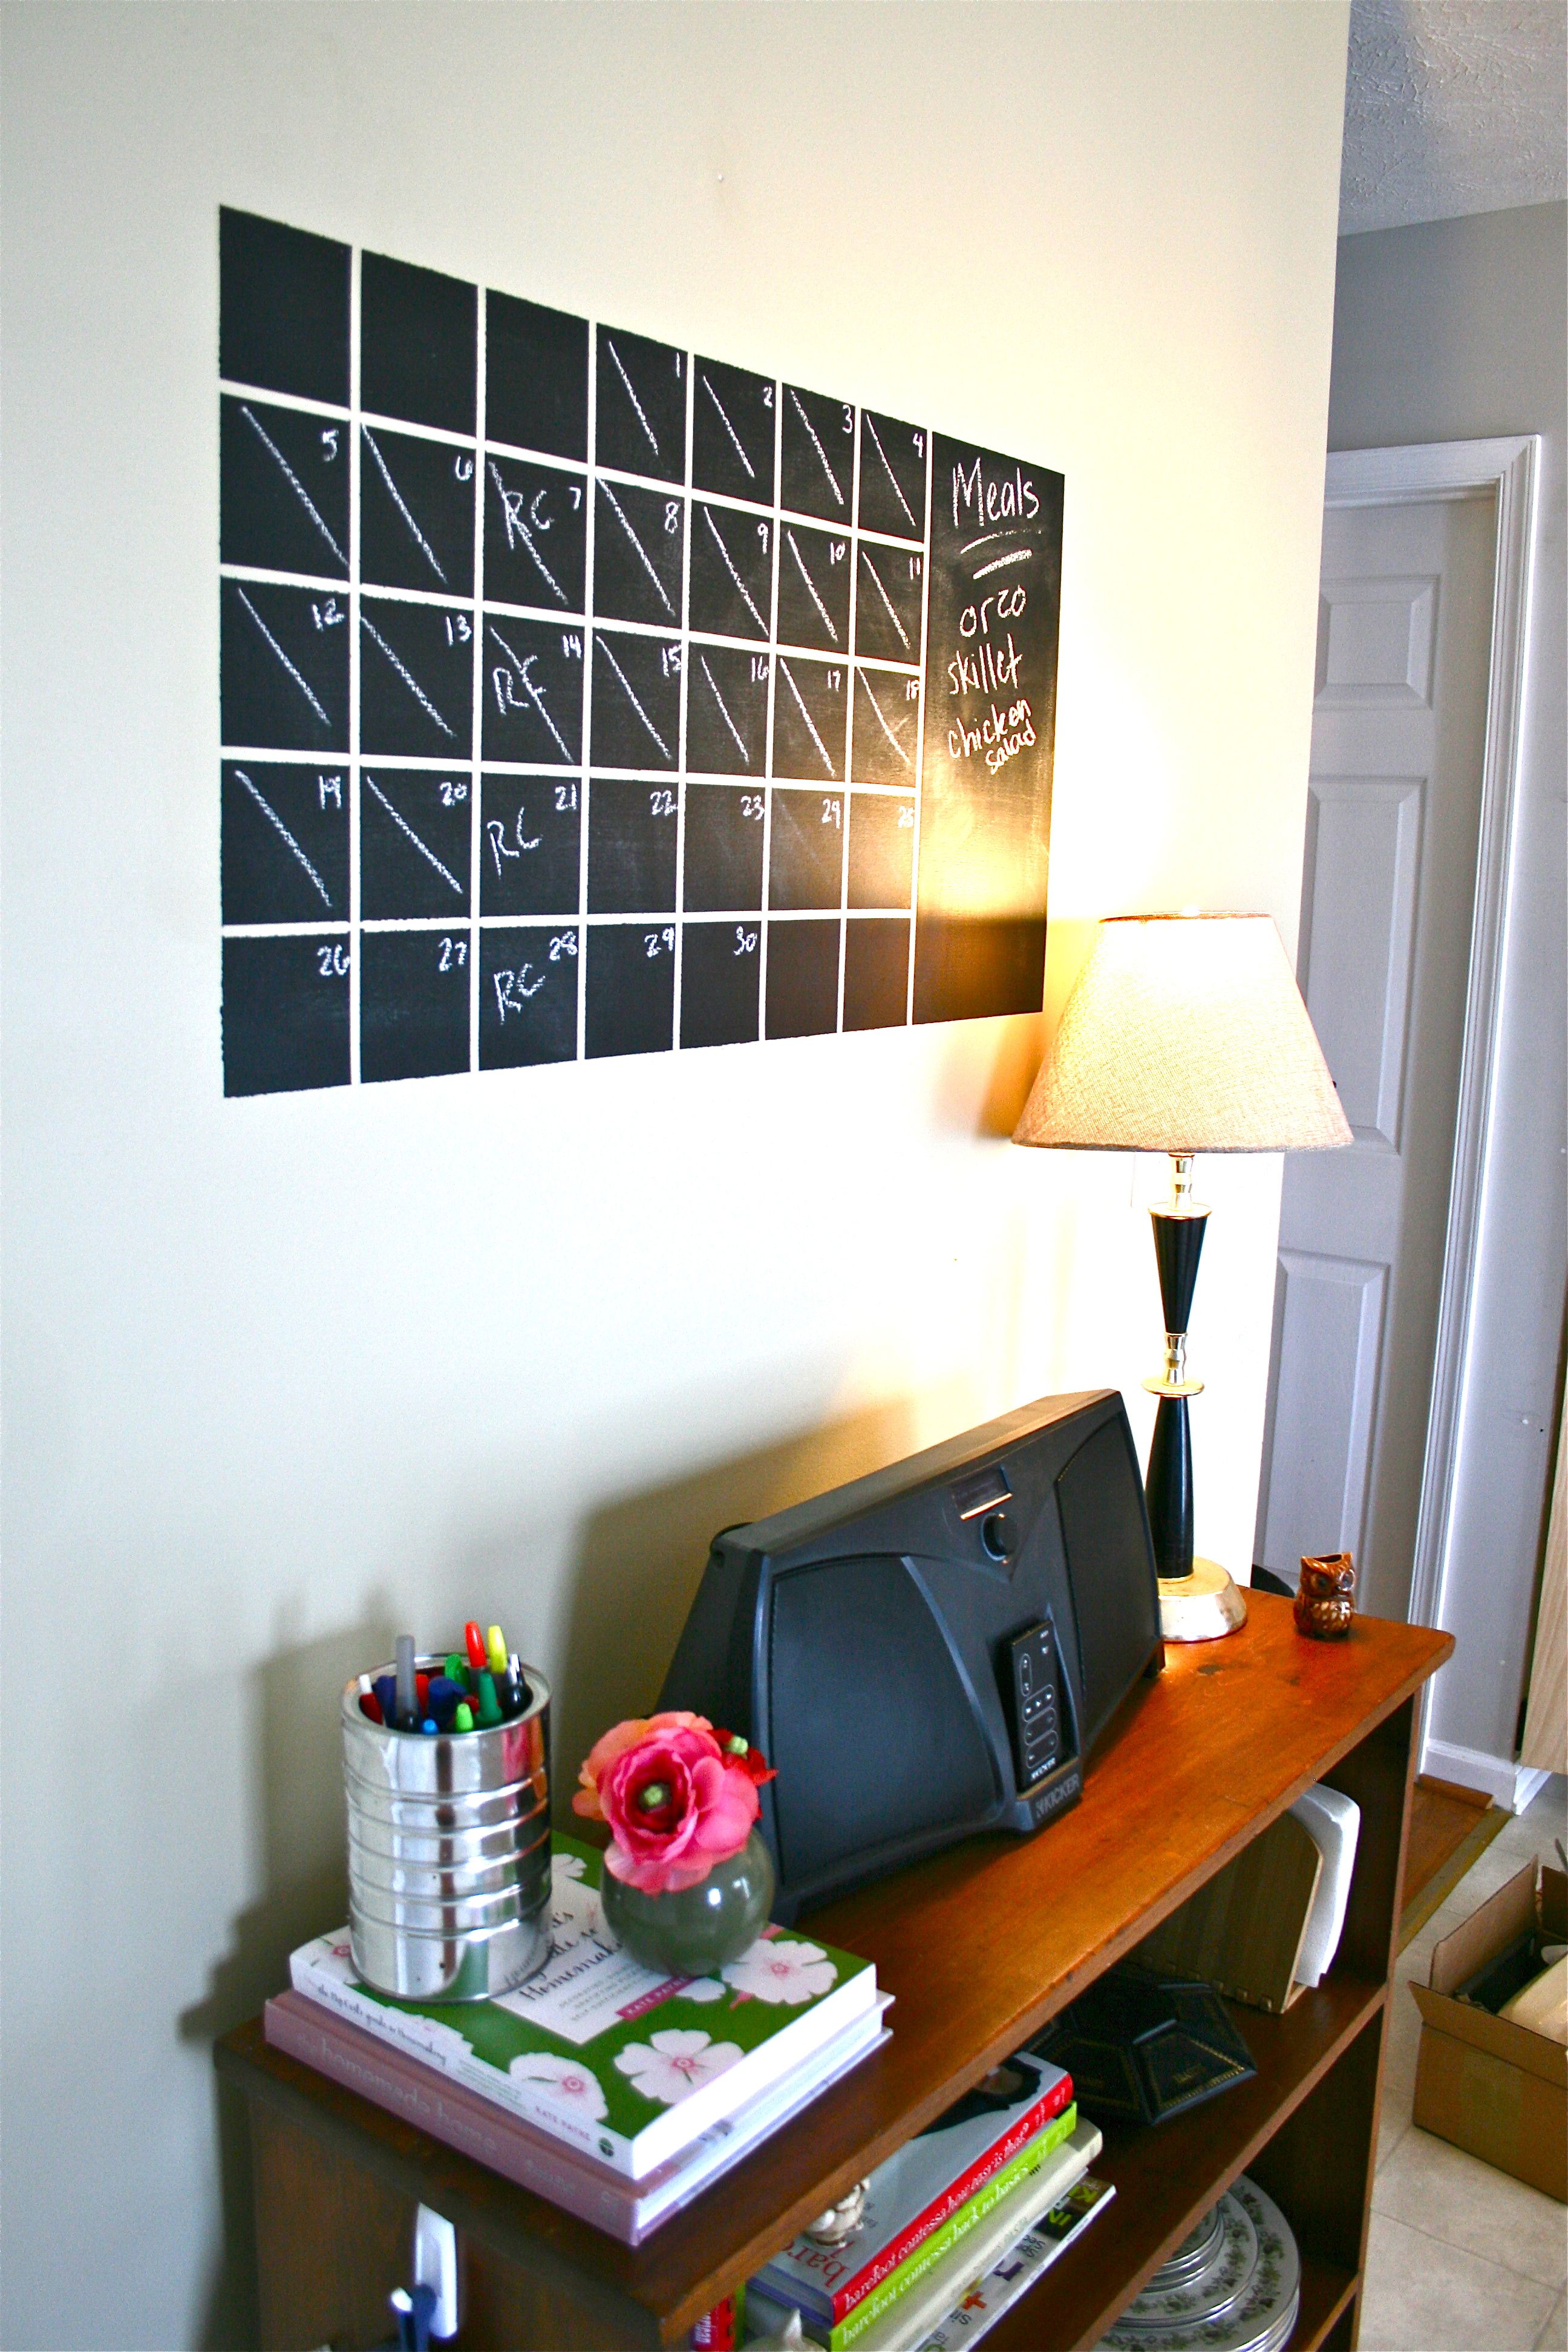
My handy home books made the cut onto the coveted TOP top shelf!!
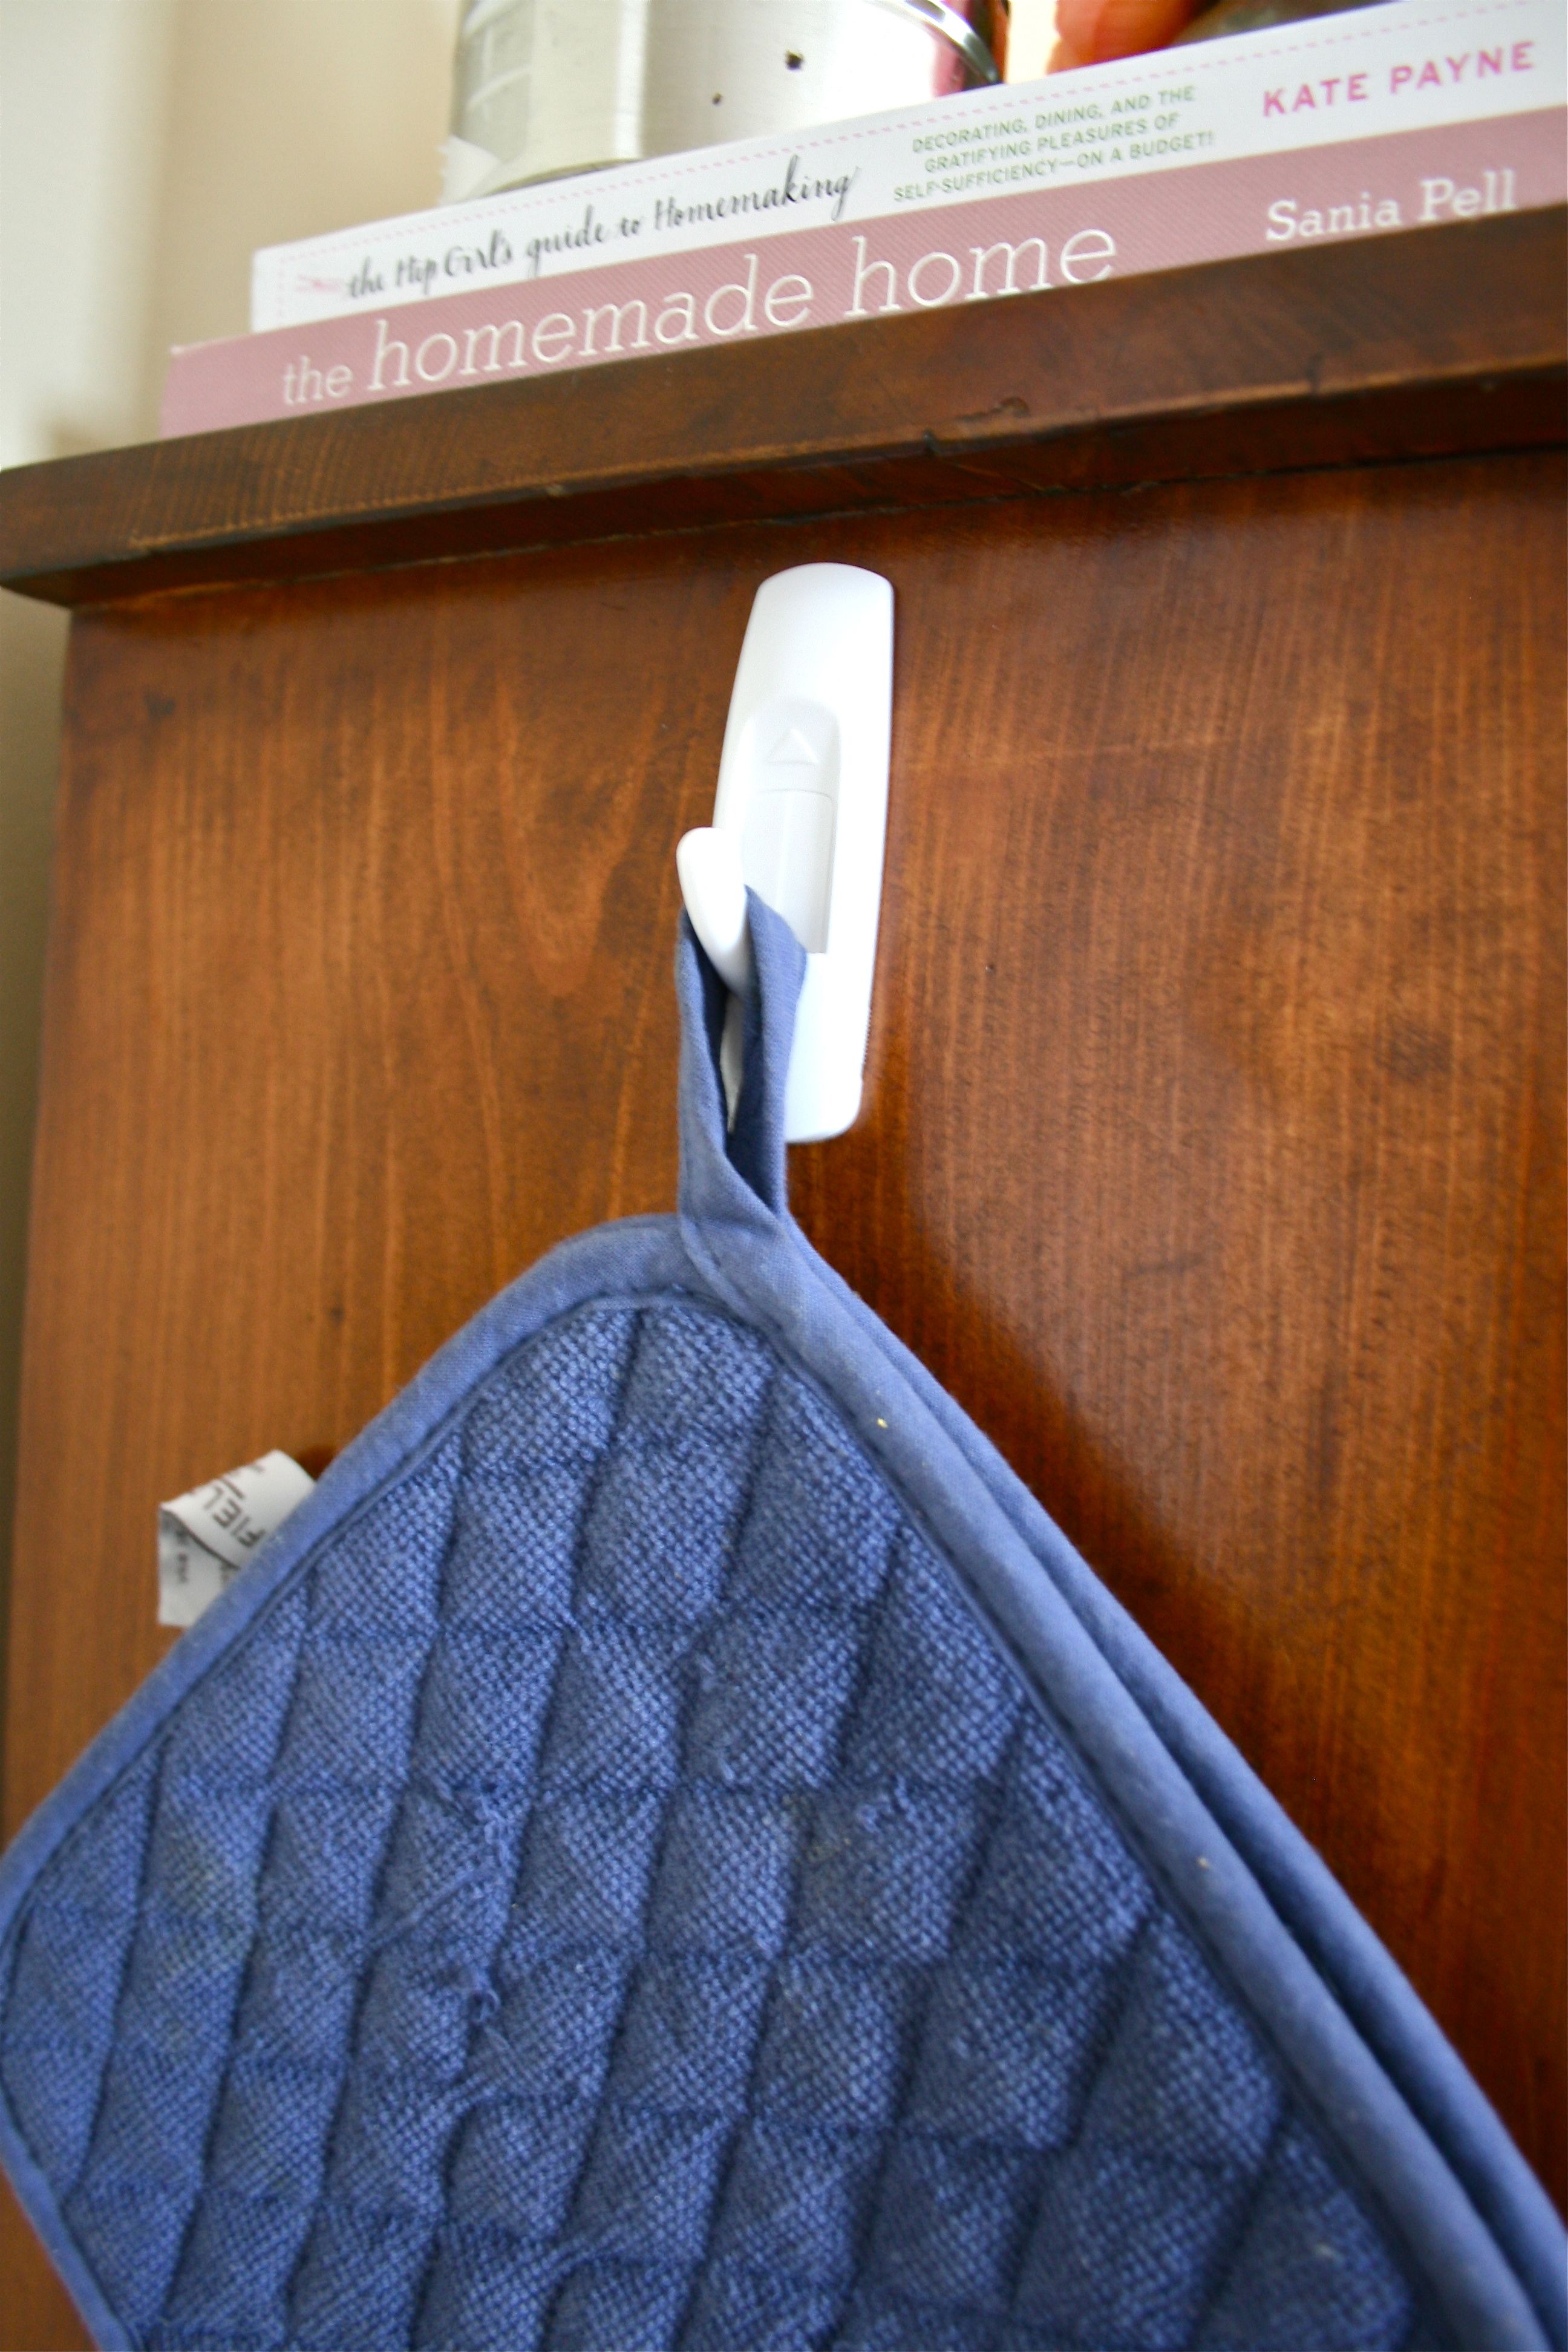
I also added a little 3M hook on the side of the shelf for oven mits to be within easy reach (but not clutter up the kitchen drawers):
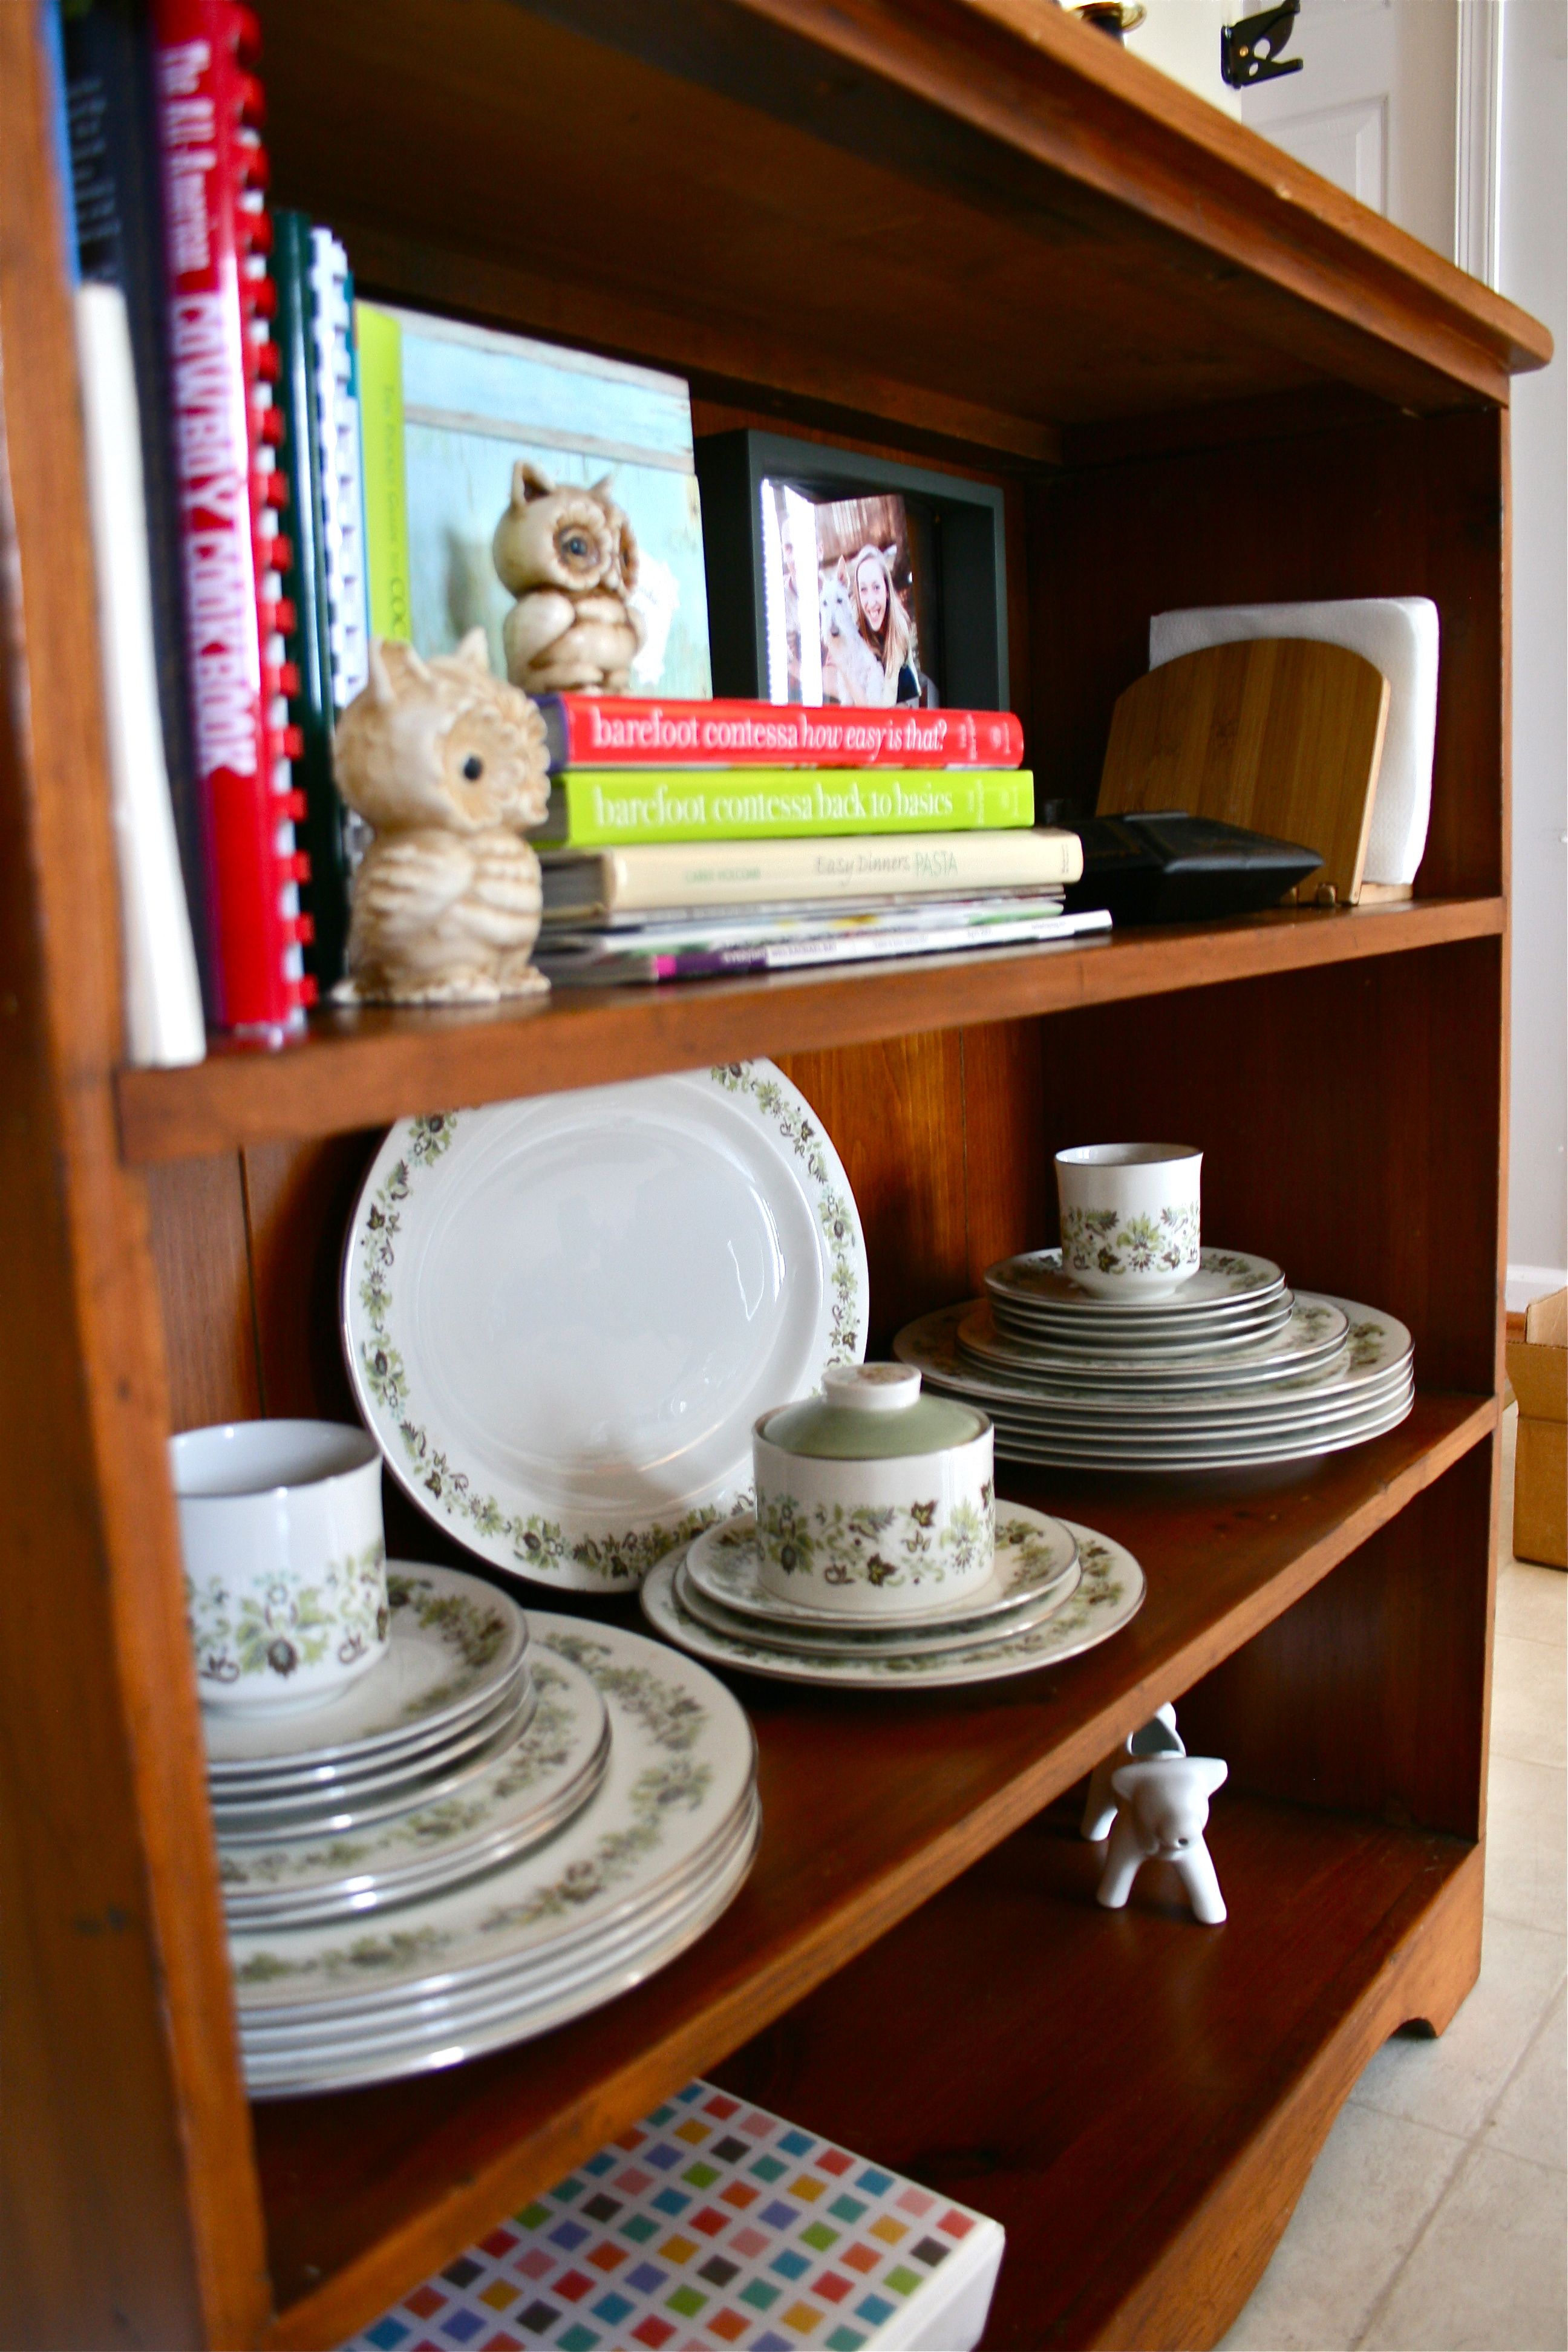
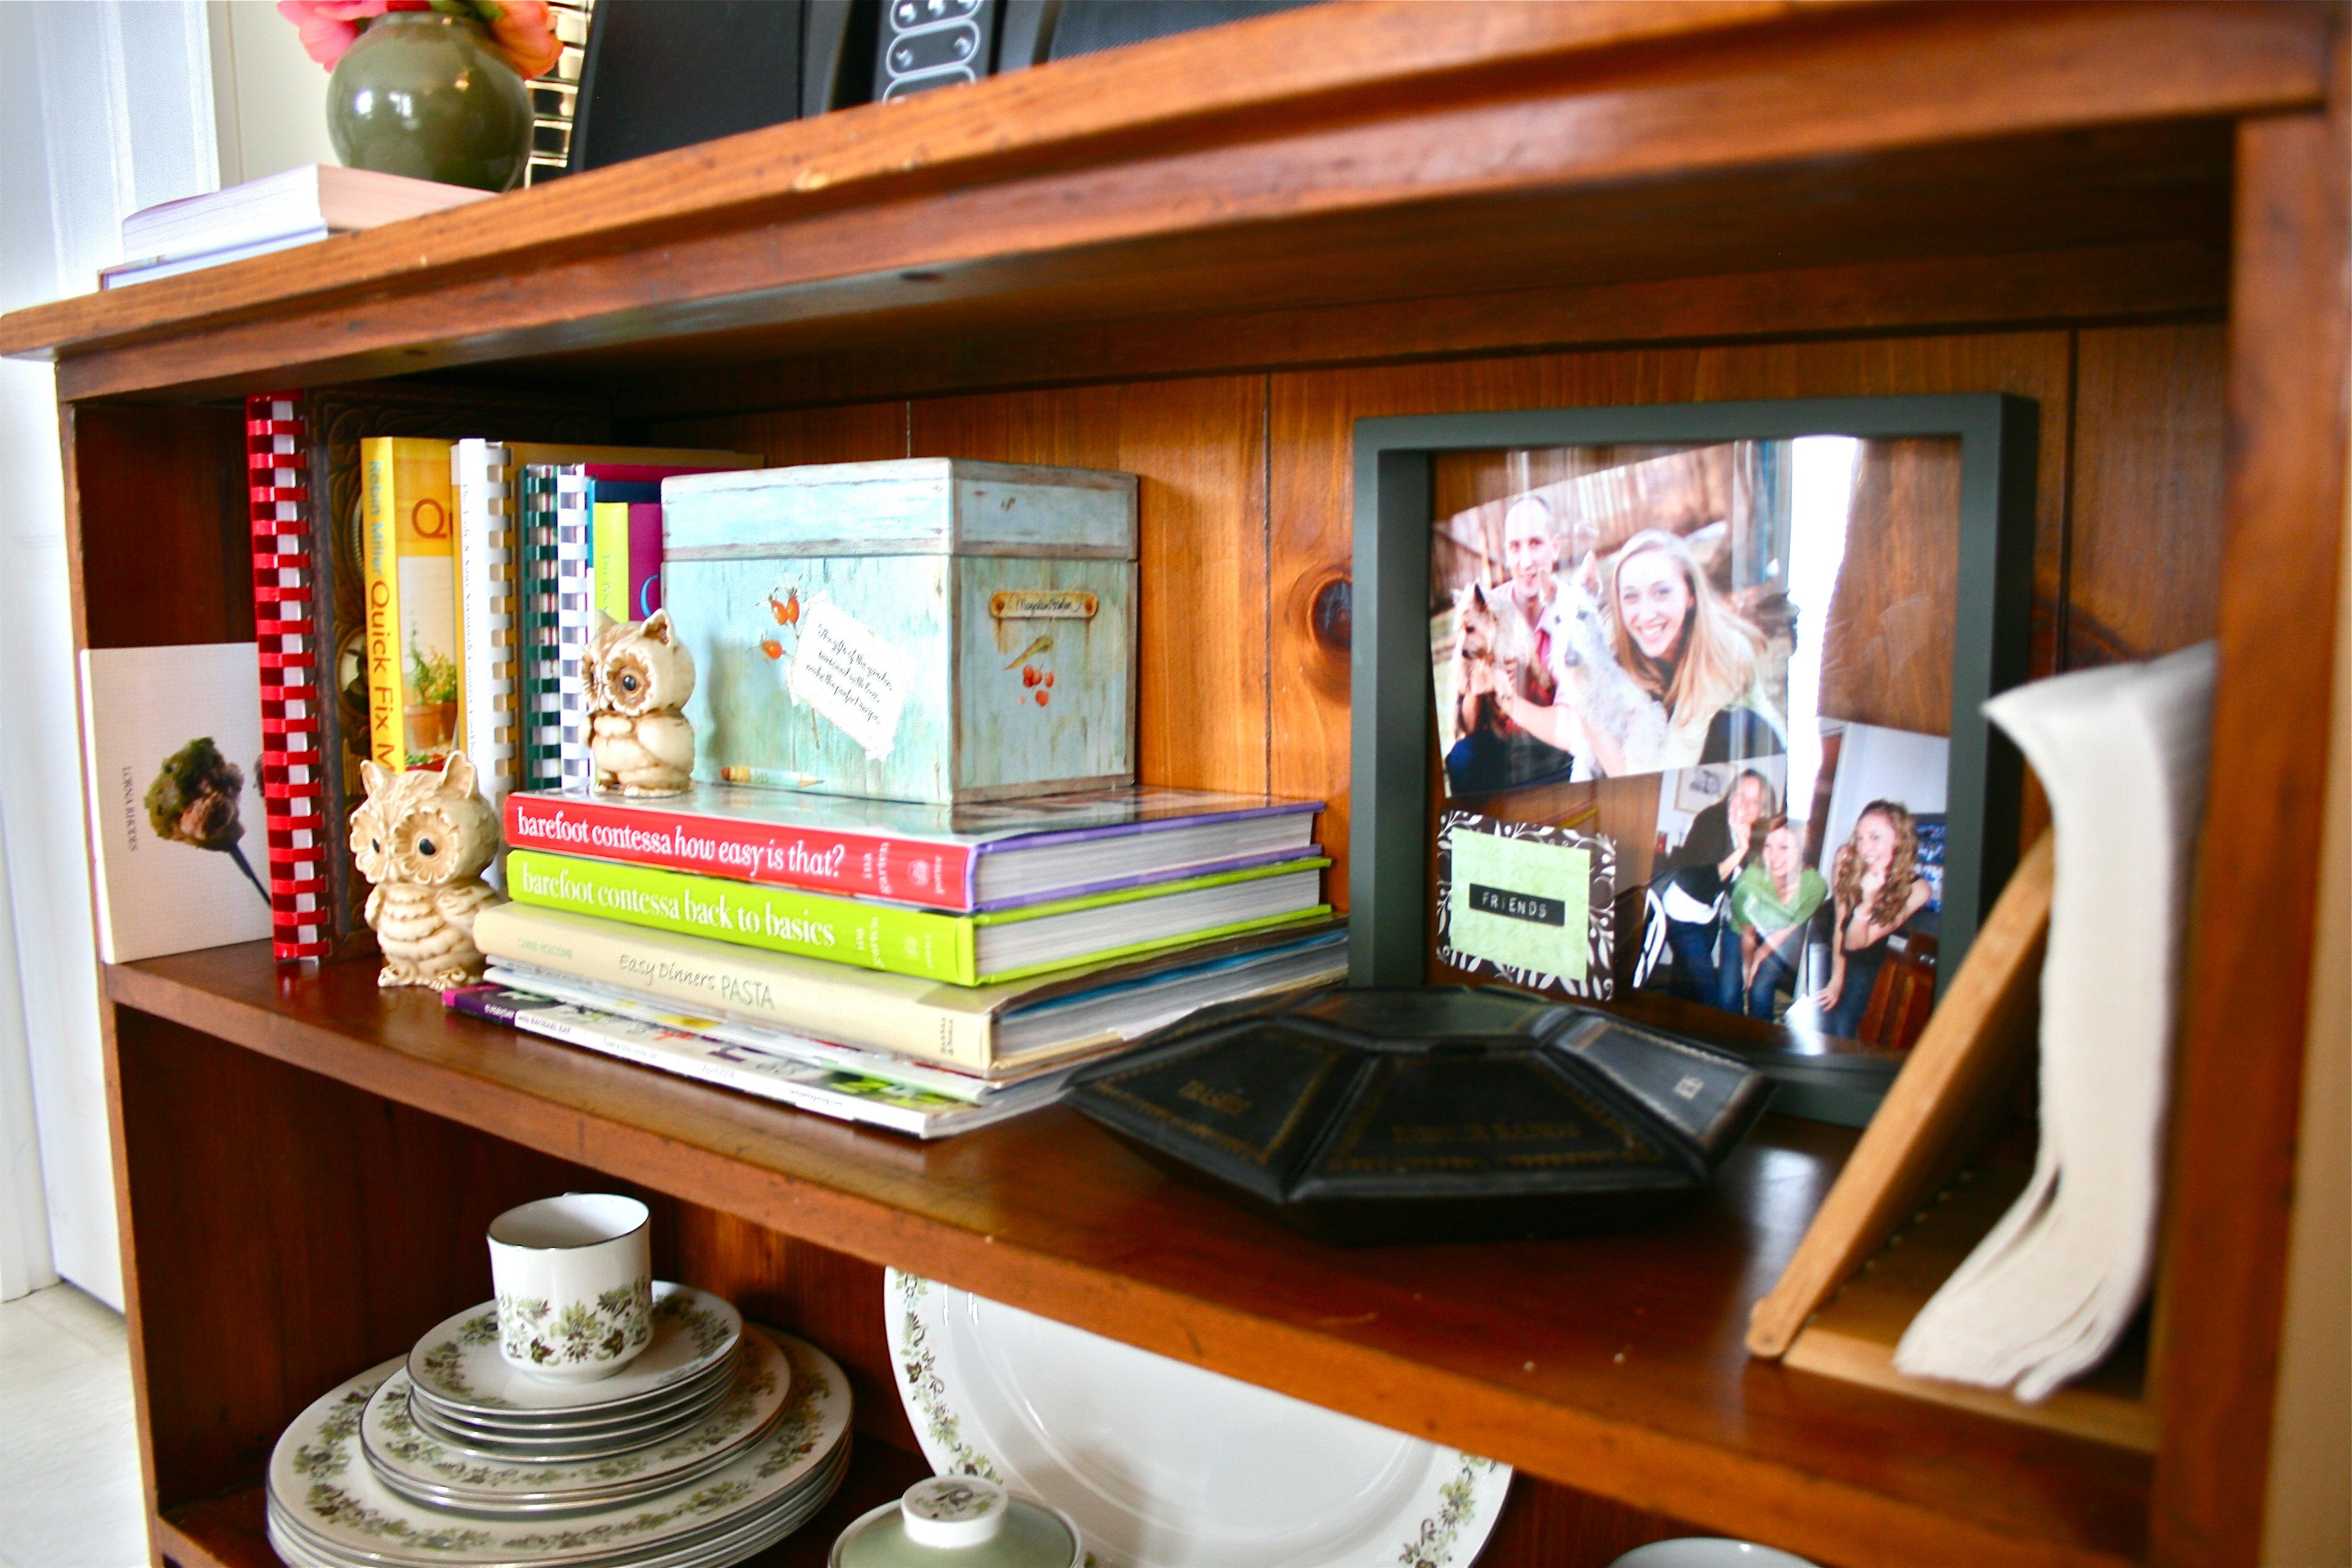
Here’s what made it onto the top shelf:
- Our cookbooks
- Recipe box full of recipe cards
- A napkin holder
- An old thrifted desk organizer with cubbies for clips, keys, rubber bands, safety pins, etc. (more on that this Thursday!)
- Some owls and a framed photo!
Here’s the middle shelf looking lovely with the vintage china…
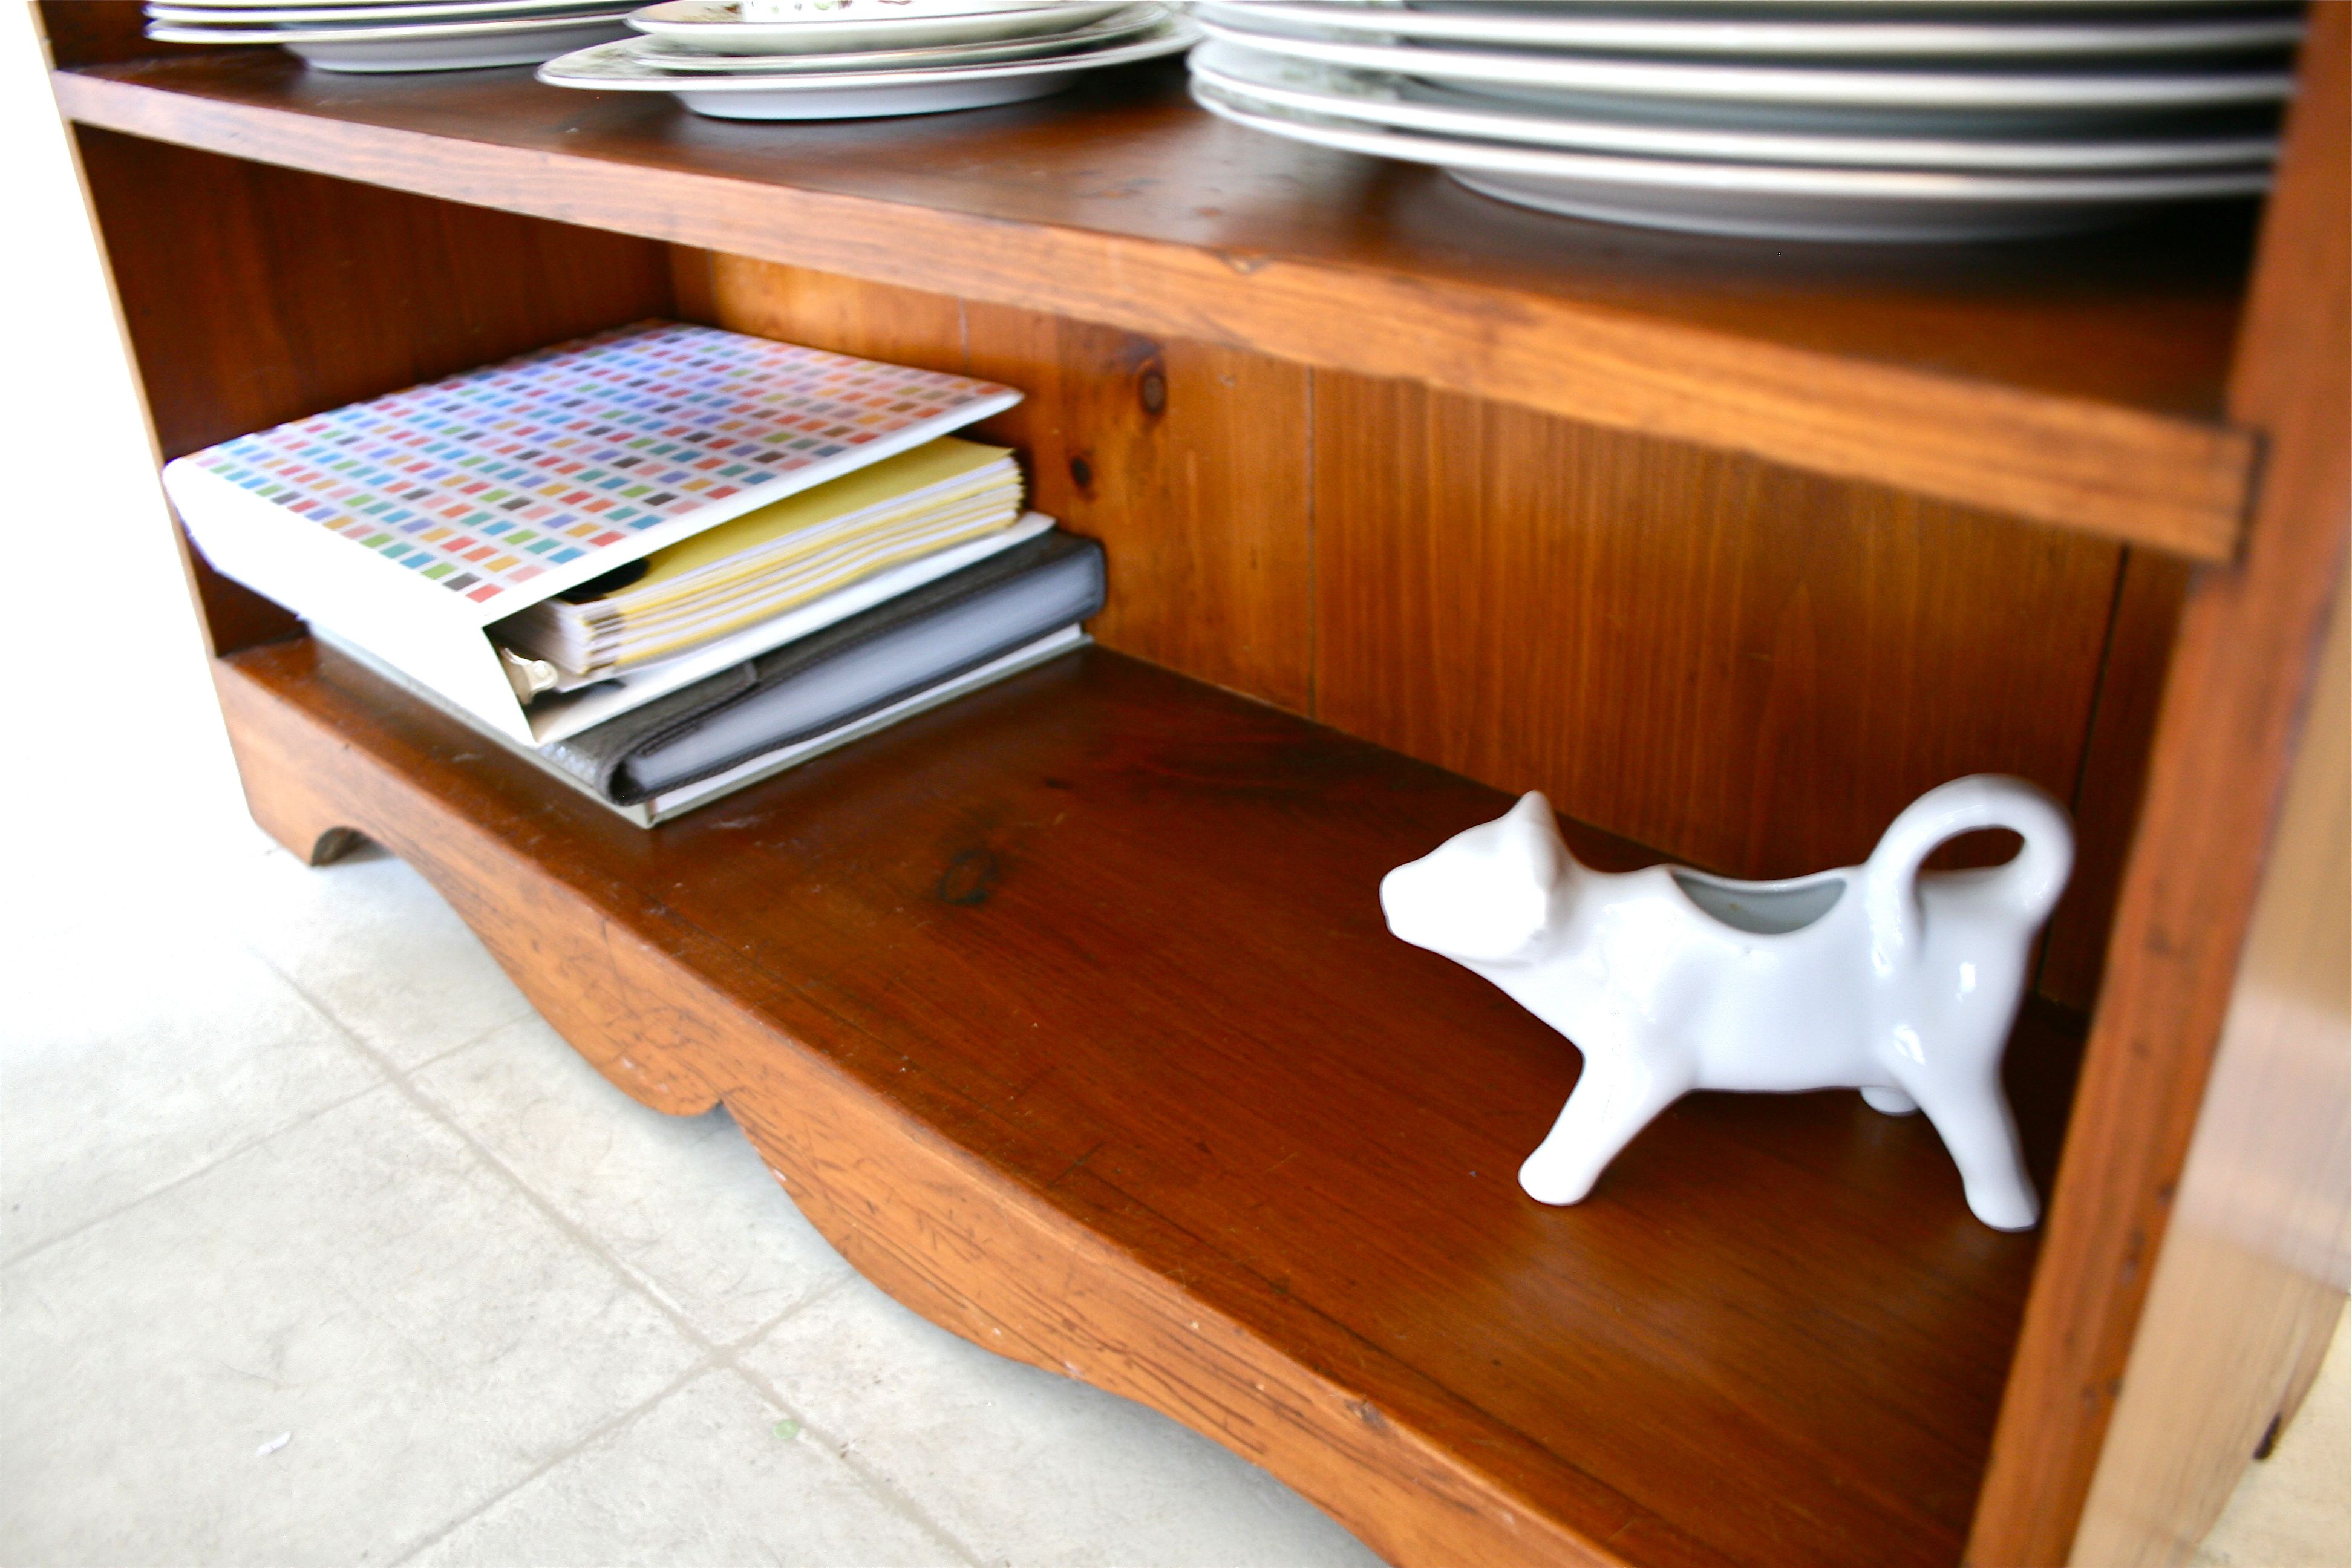
And the mostly empty bottom shelf which will eventually be the place for random papers and whatnot. (Plus a cream/gravy boat shaped like a cow that reminds me of my childhood and was just too cute to hide in a kitchen cabinet!)
All-in-all, it’s not a huge difference but it’s neater then it was before and it serves GREAT function for our everyday lives. And isn’t that what organization is all about??

