Oh where do I begin…
These pieces of DIY art have foiled me time and time again…But my sick determination refuses to allow me to give up. So we are back AGAIN to rehash the progress on these two framed posters (see how far they’ve come by clicking here, here and here).
As I mentioned before, “poster” is really a loose term because these are made with very high quality materials. They are sturdy pieces of board with expensive metal frames – “Poster” just seems to be the right term for them since they aren’t canvas or wood.
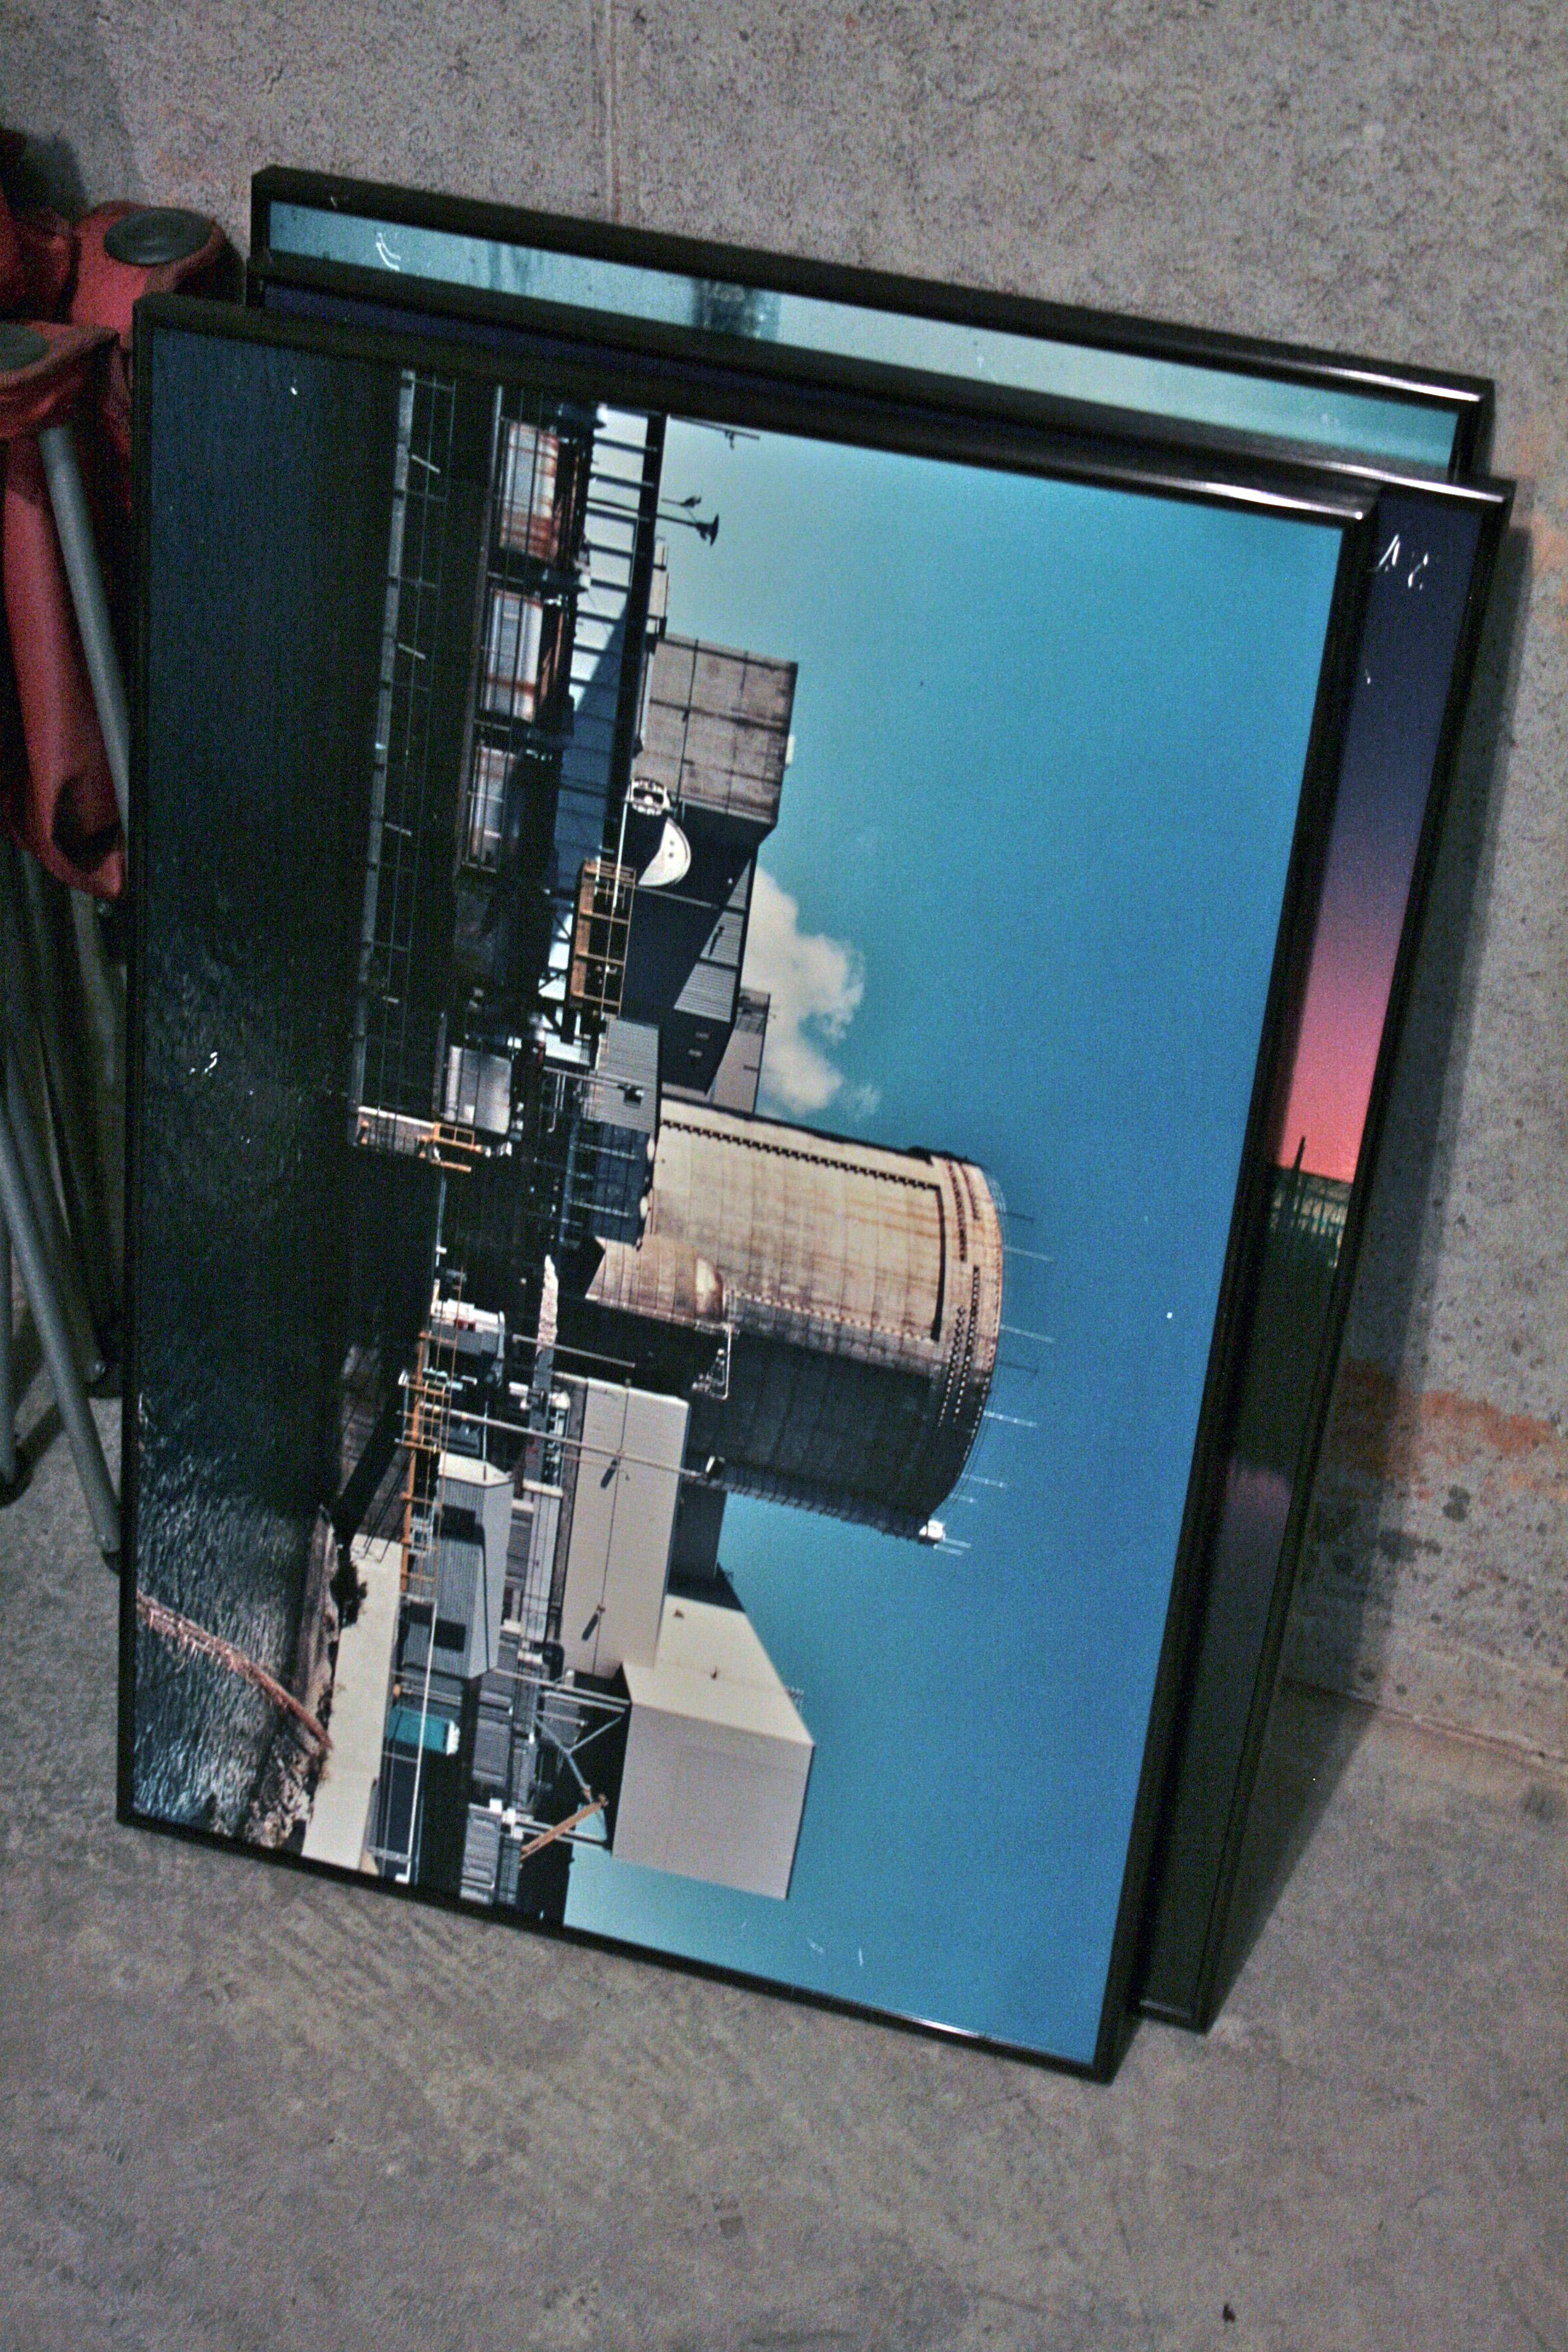
To take you back to the beginning, my dad gave me these three posters from work – Someone was tossing them out, but dad noticed the potential and brought them home. I quickly snagged them because I figured the possibilities were ENDLESS!! Boy was I right about that – Maybe TOO right…
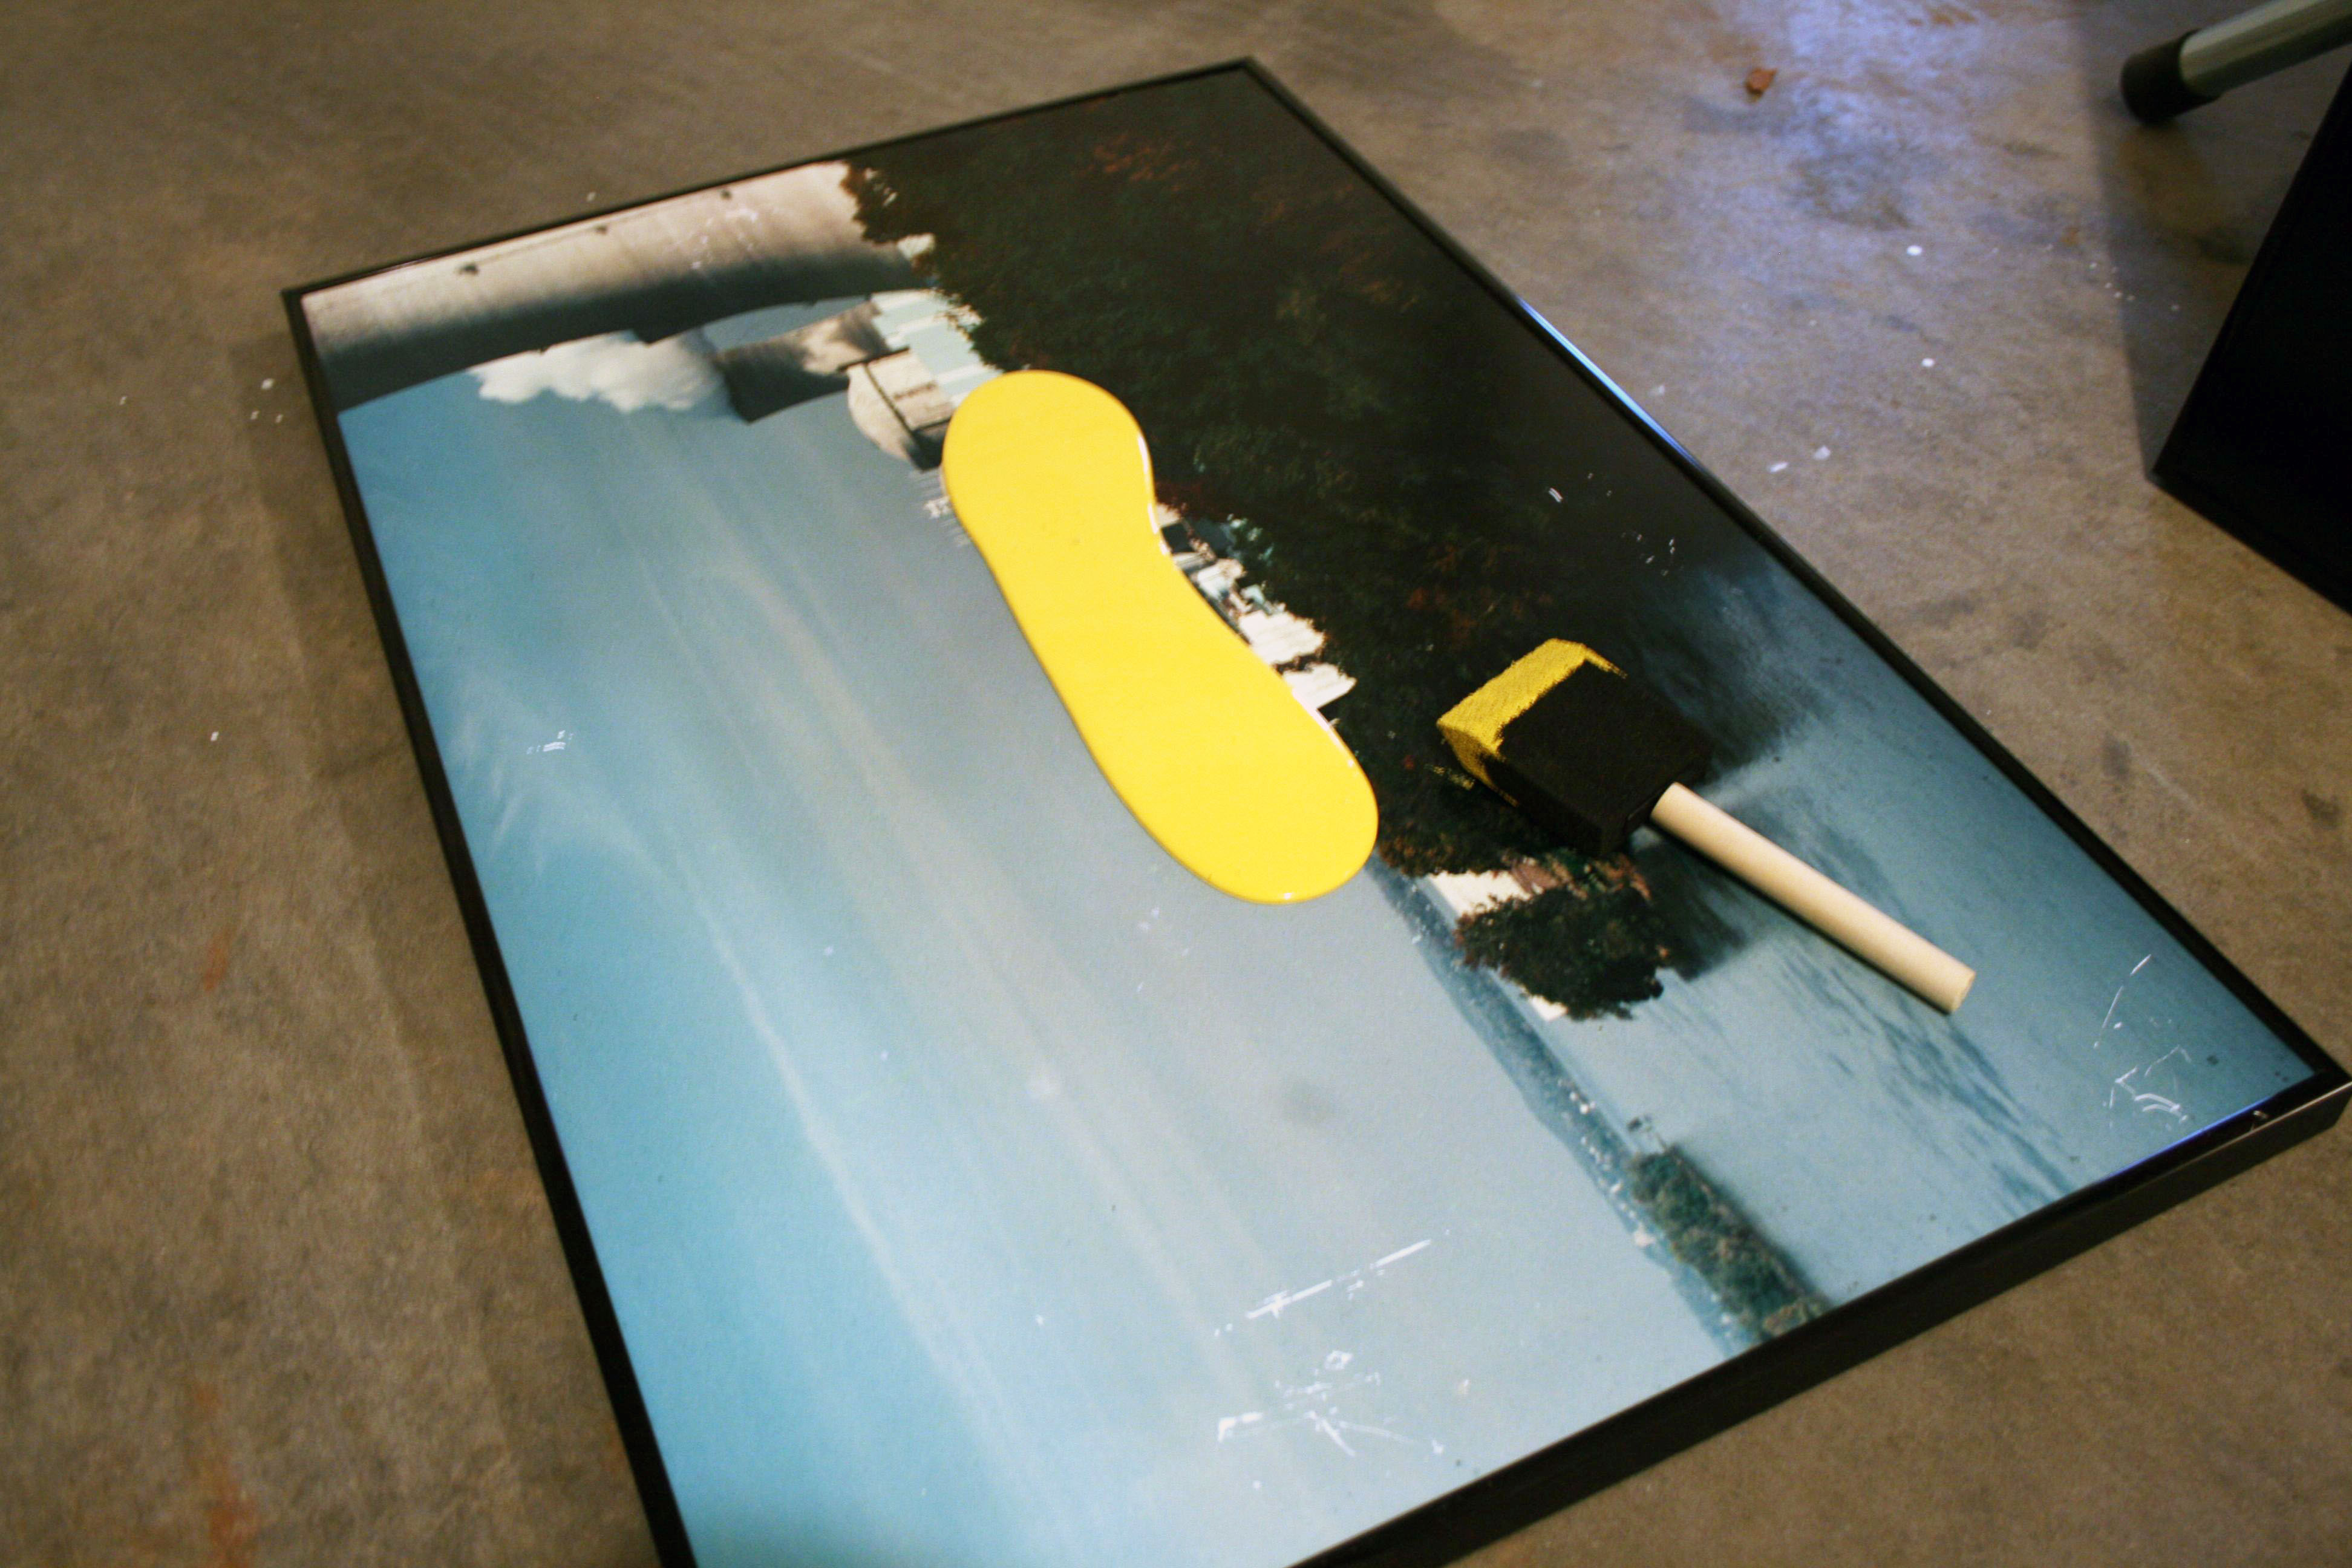
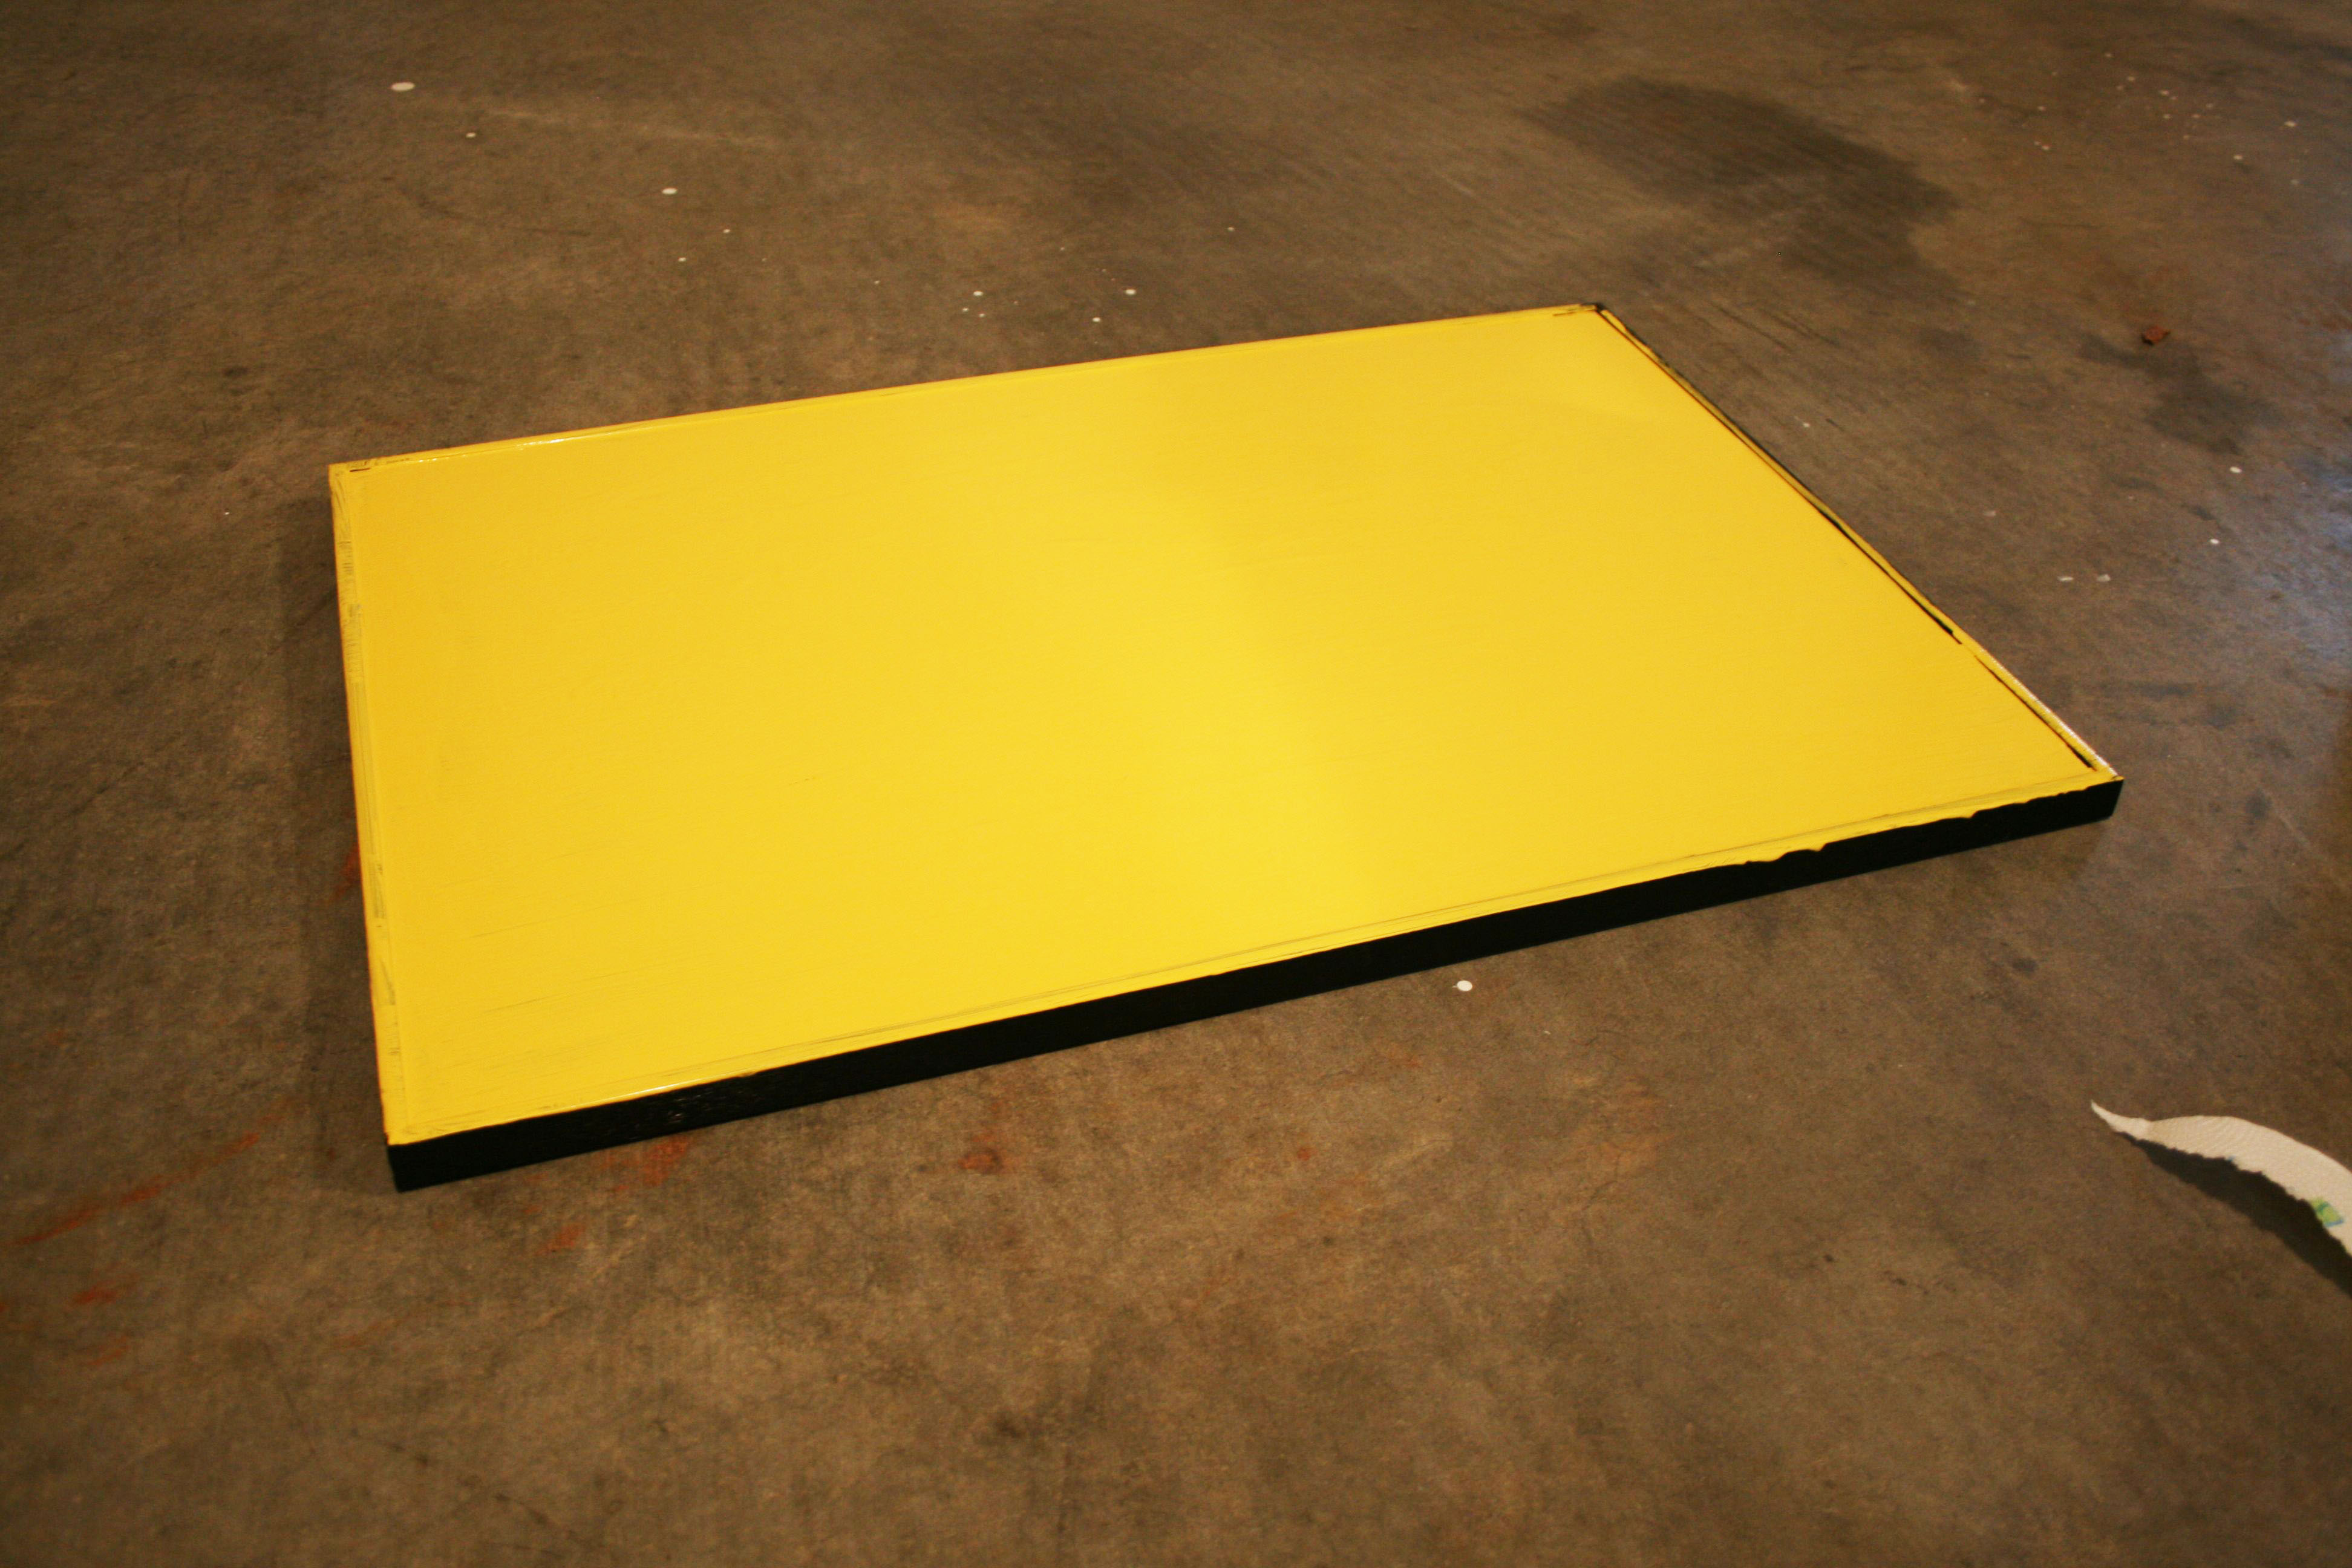
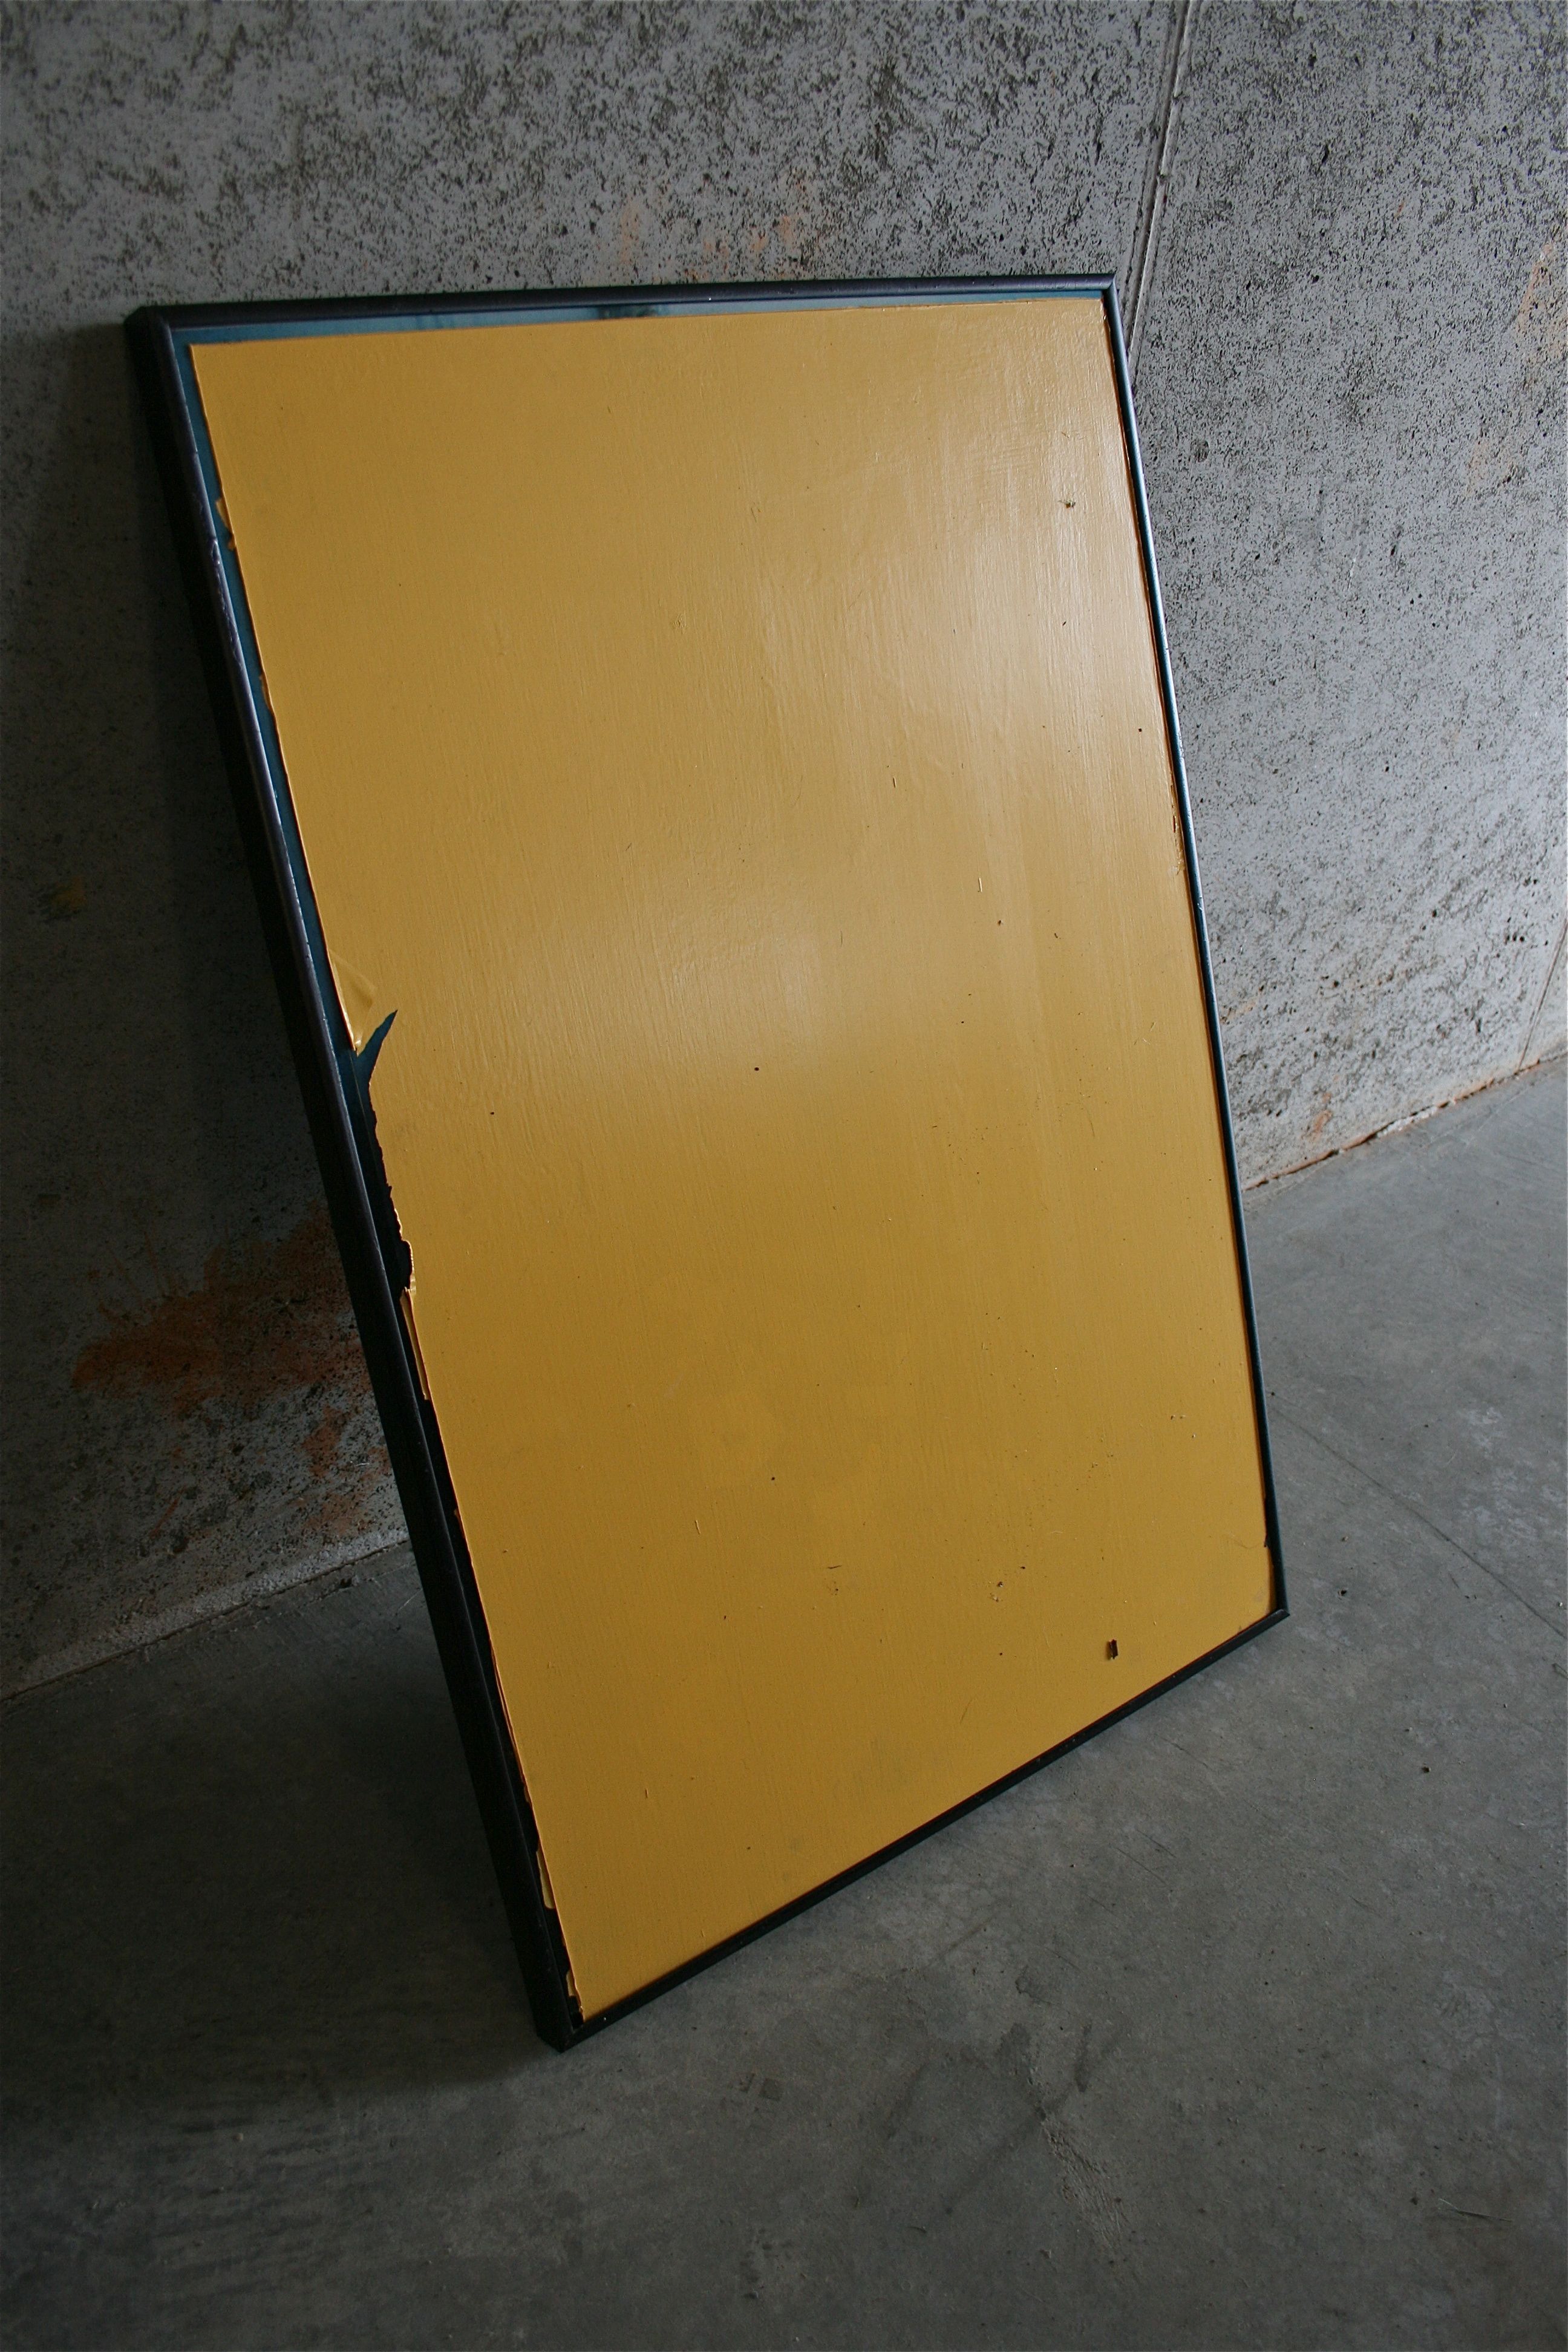
First I painted them (i.e. dumped paint on it and spread it around because I was looking for the quickest result):
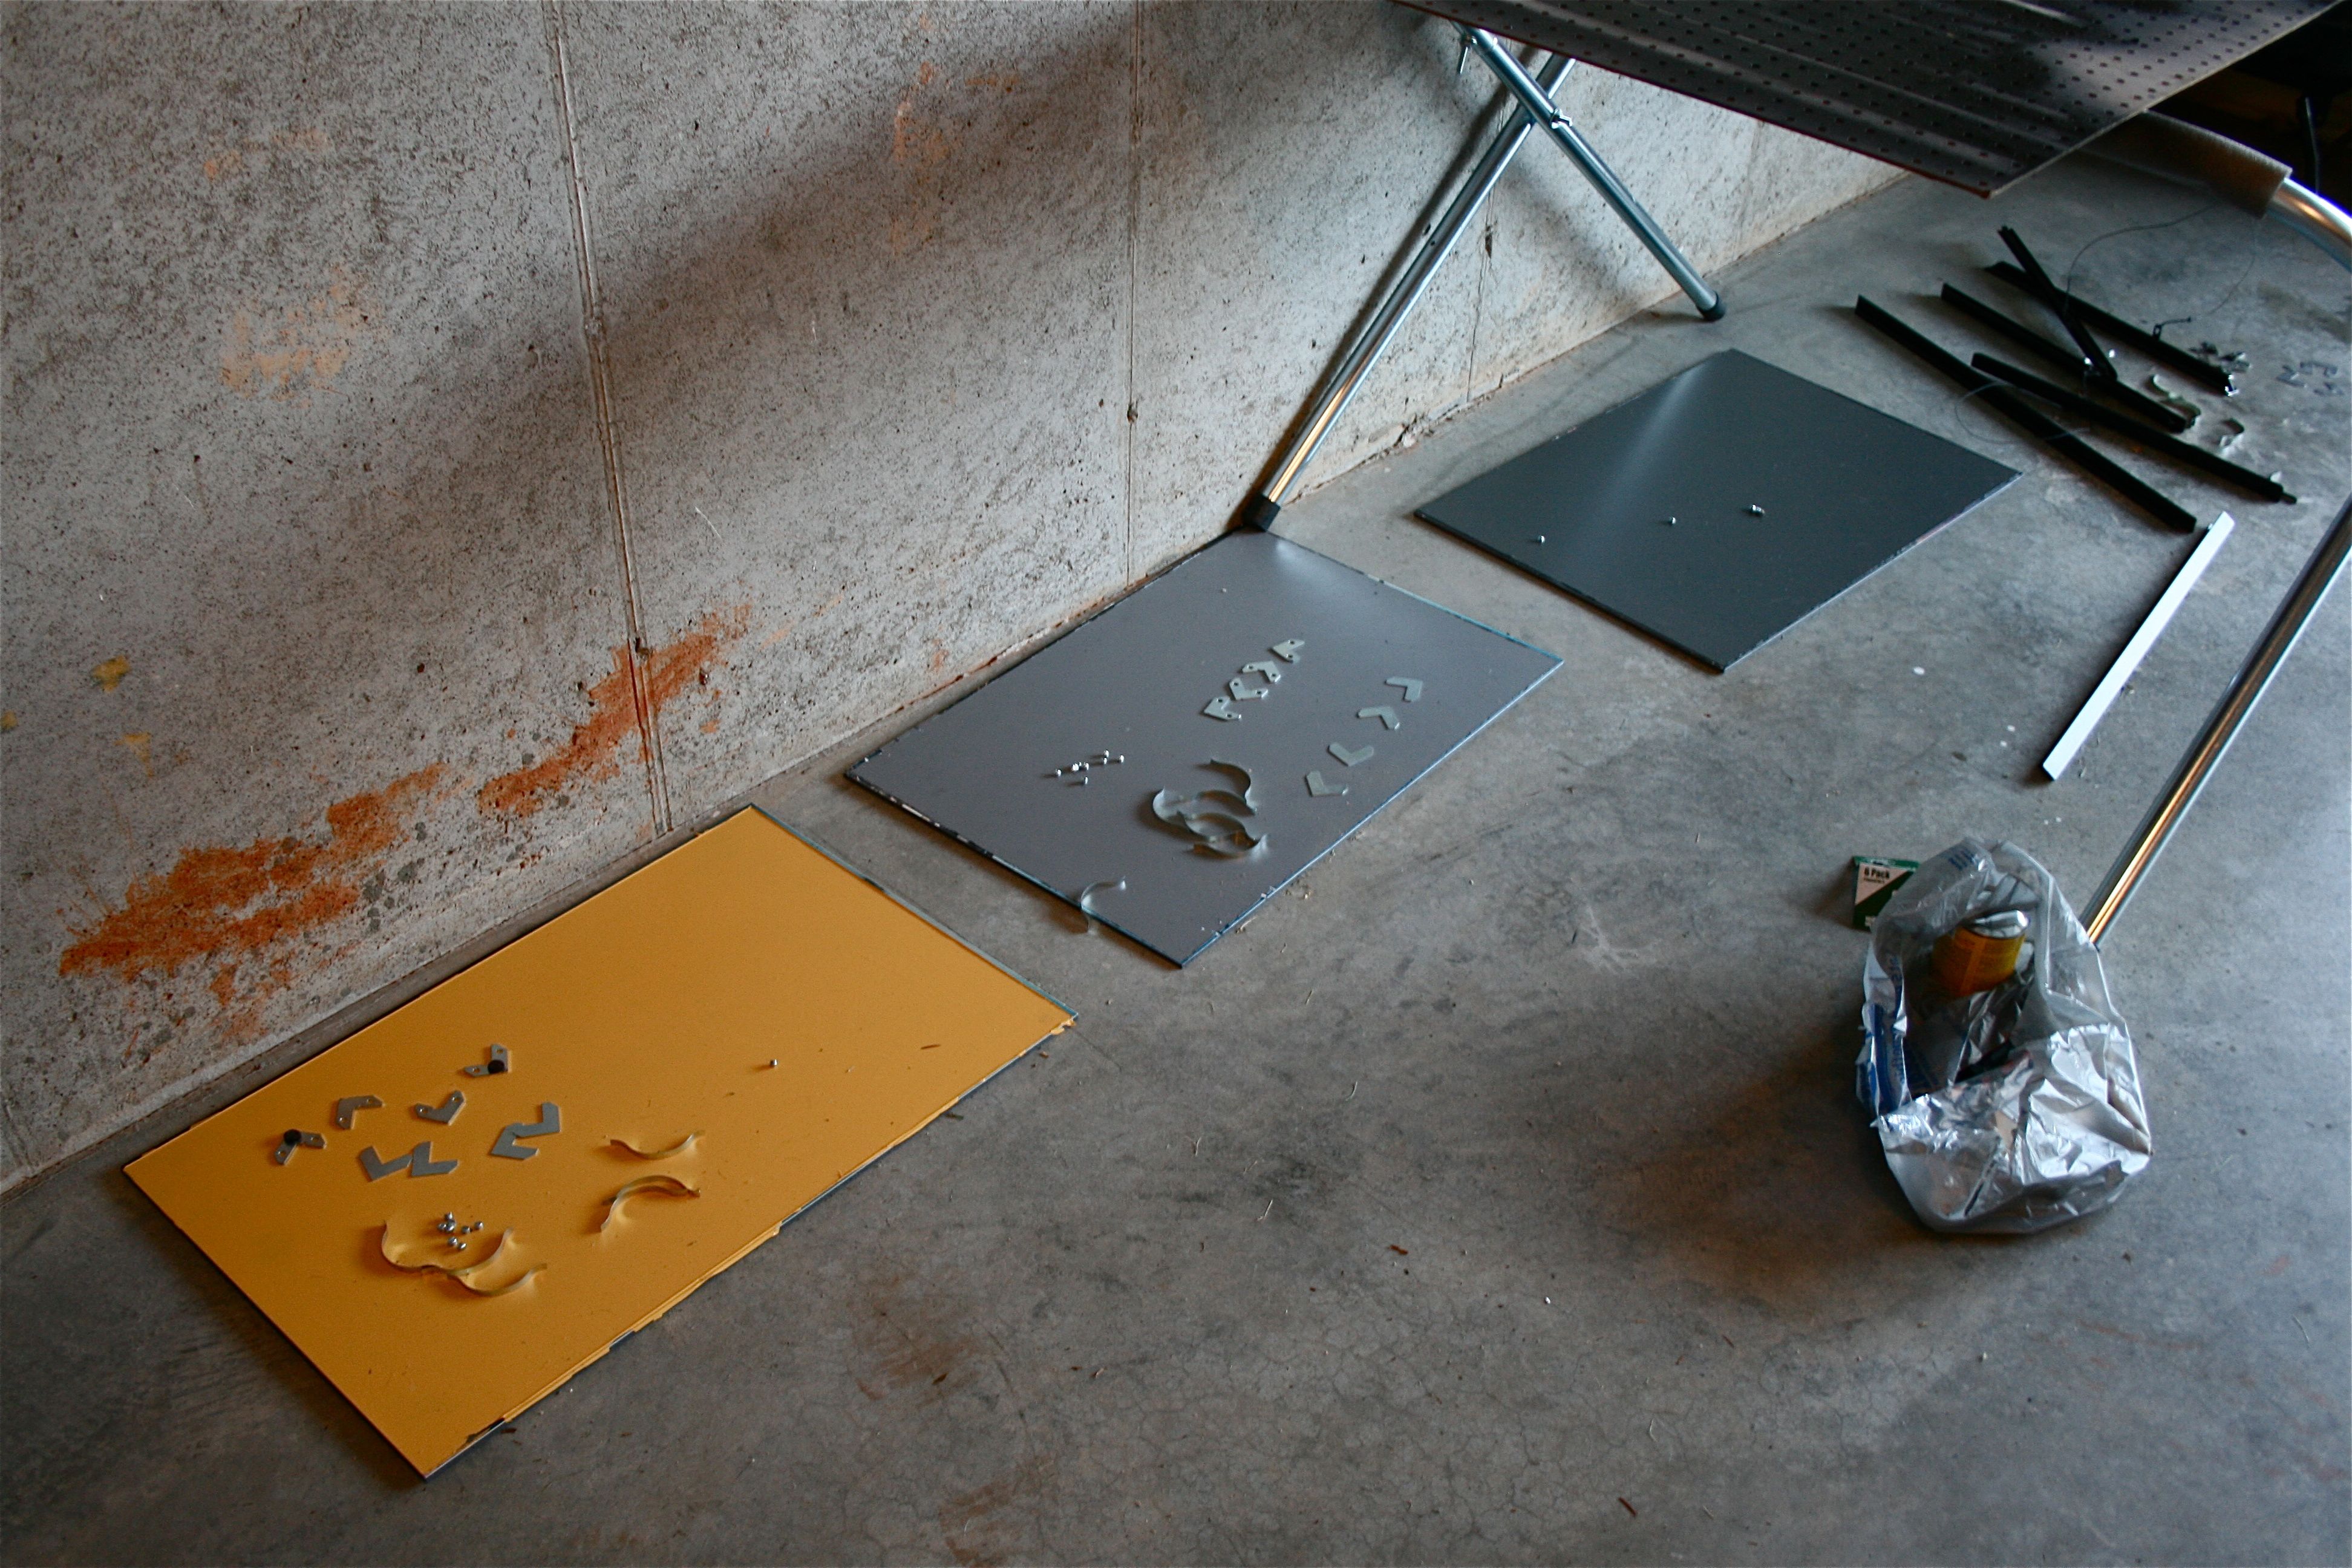
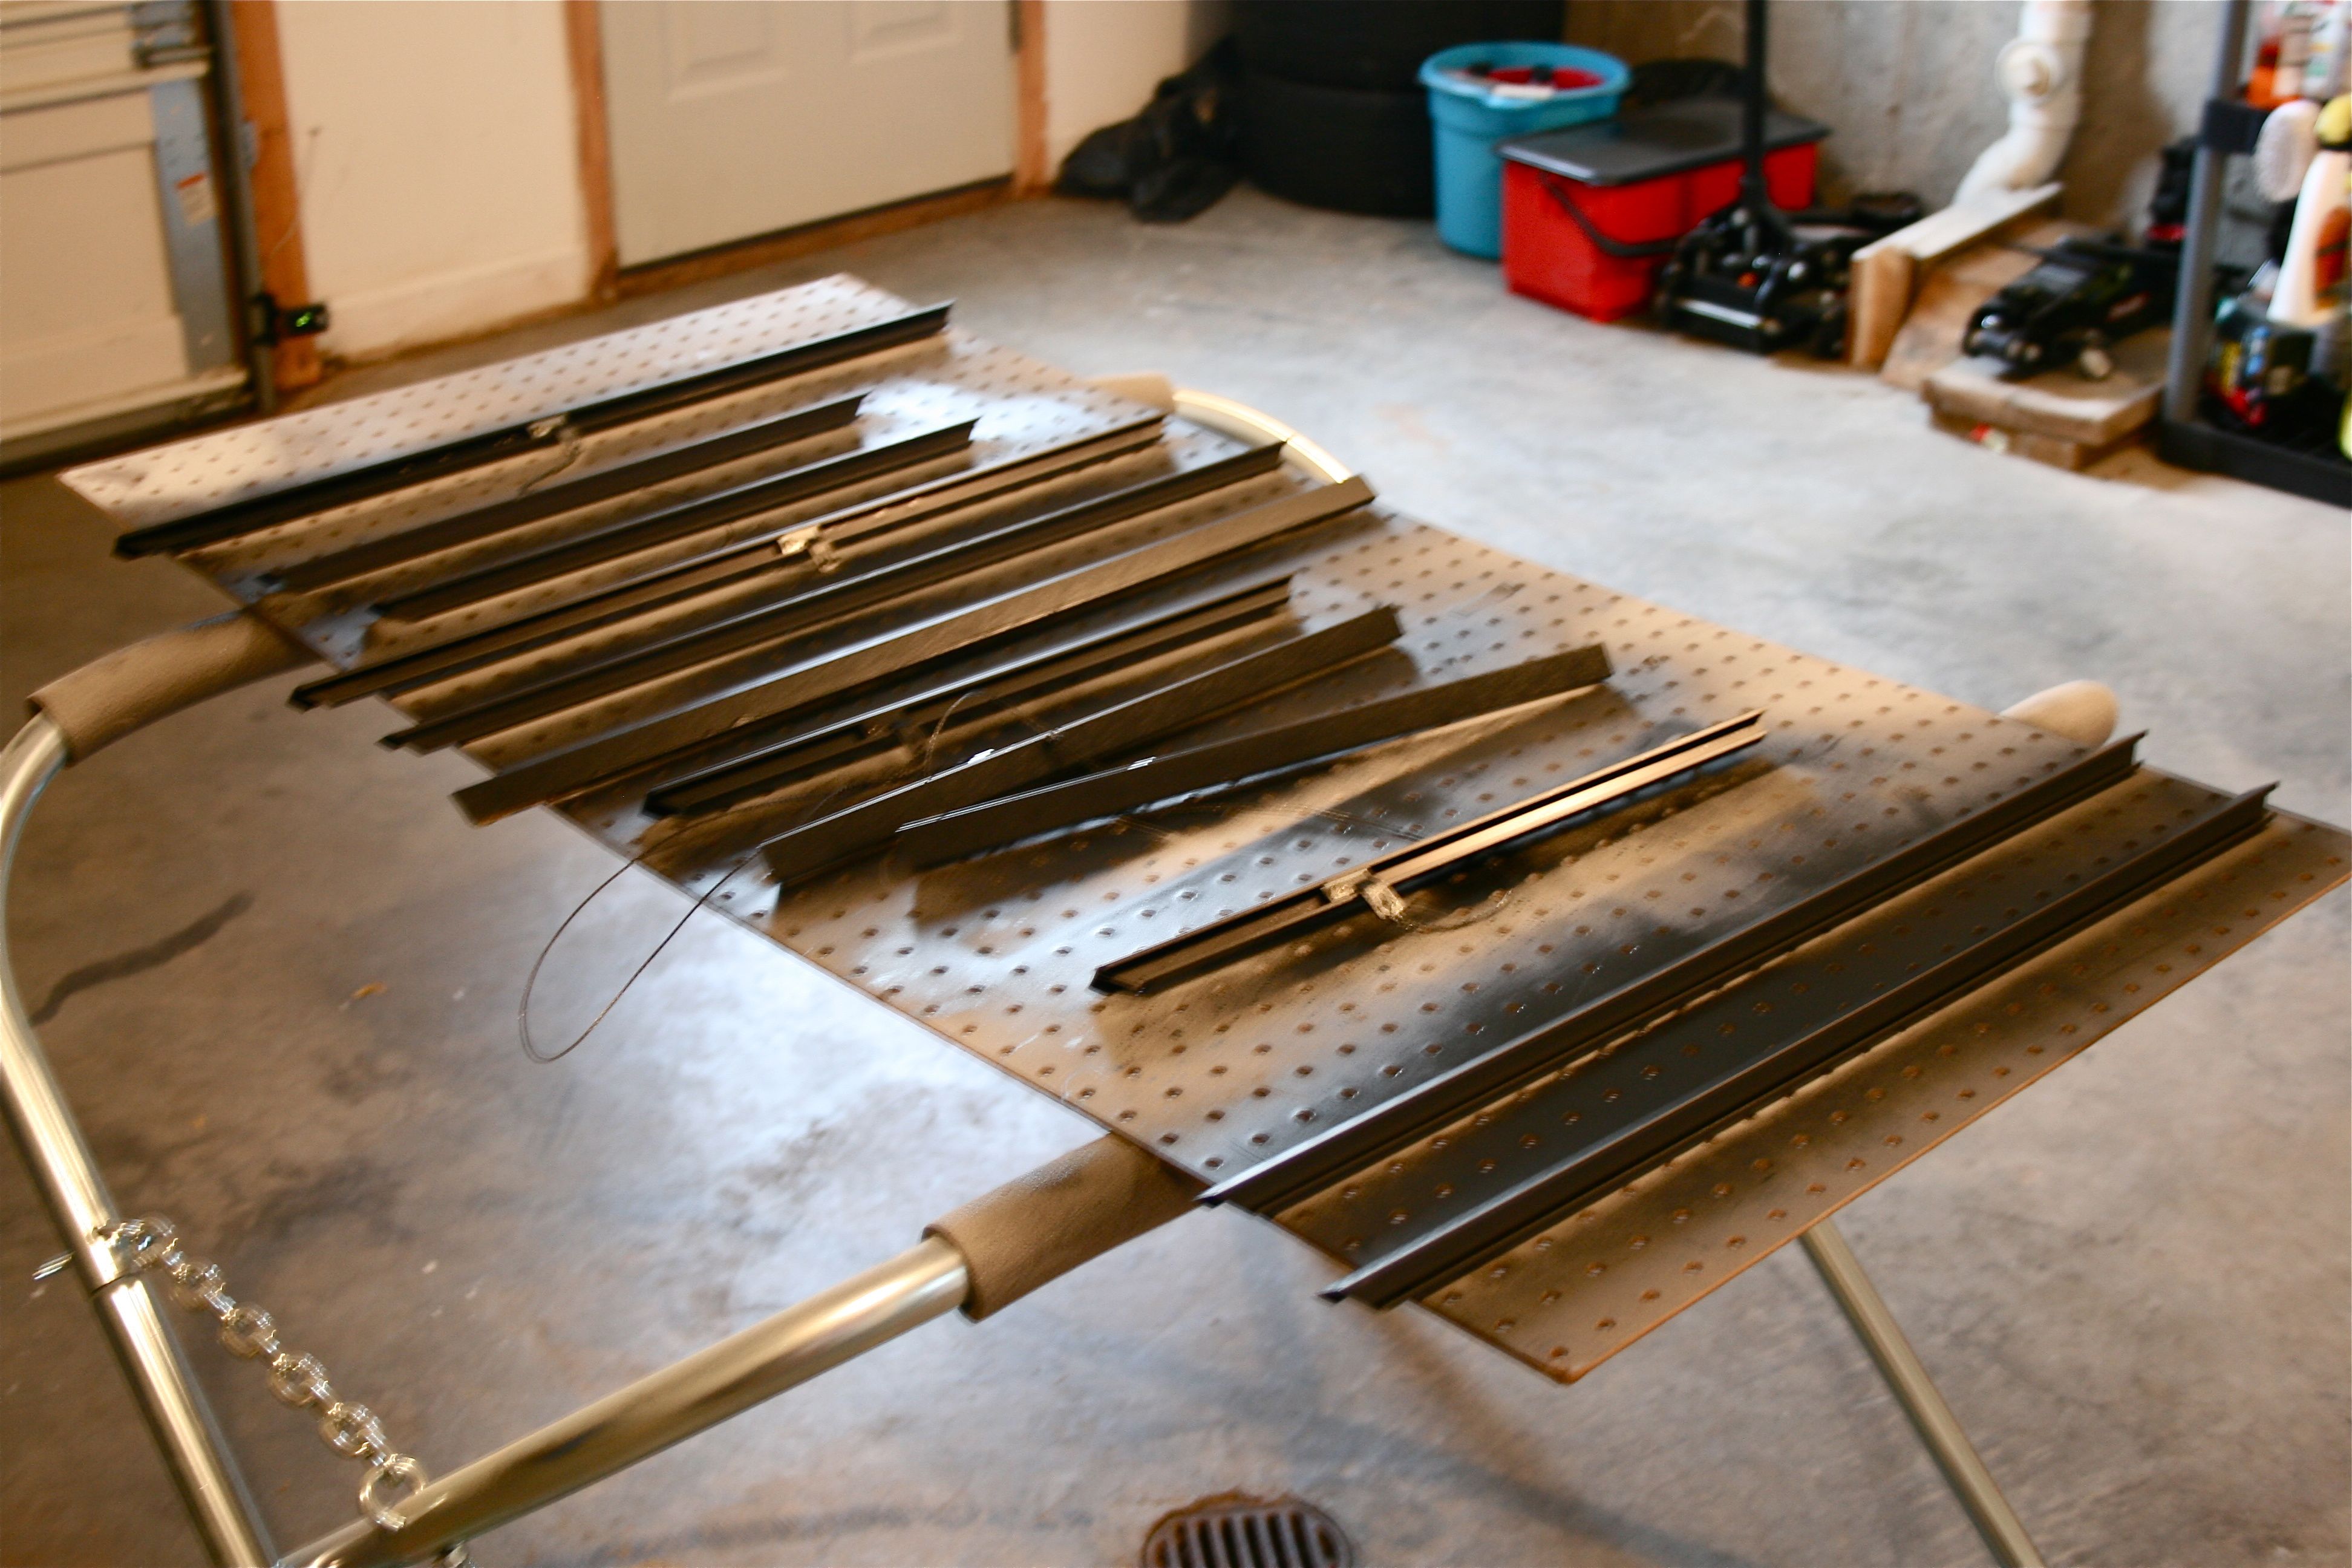
Not too shabby! But I went a little “outside the lines” in my impatience to get them painted, so we had to remove the frames and spray paint them back to black.
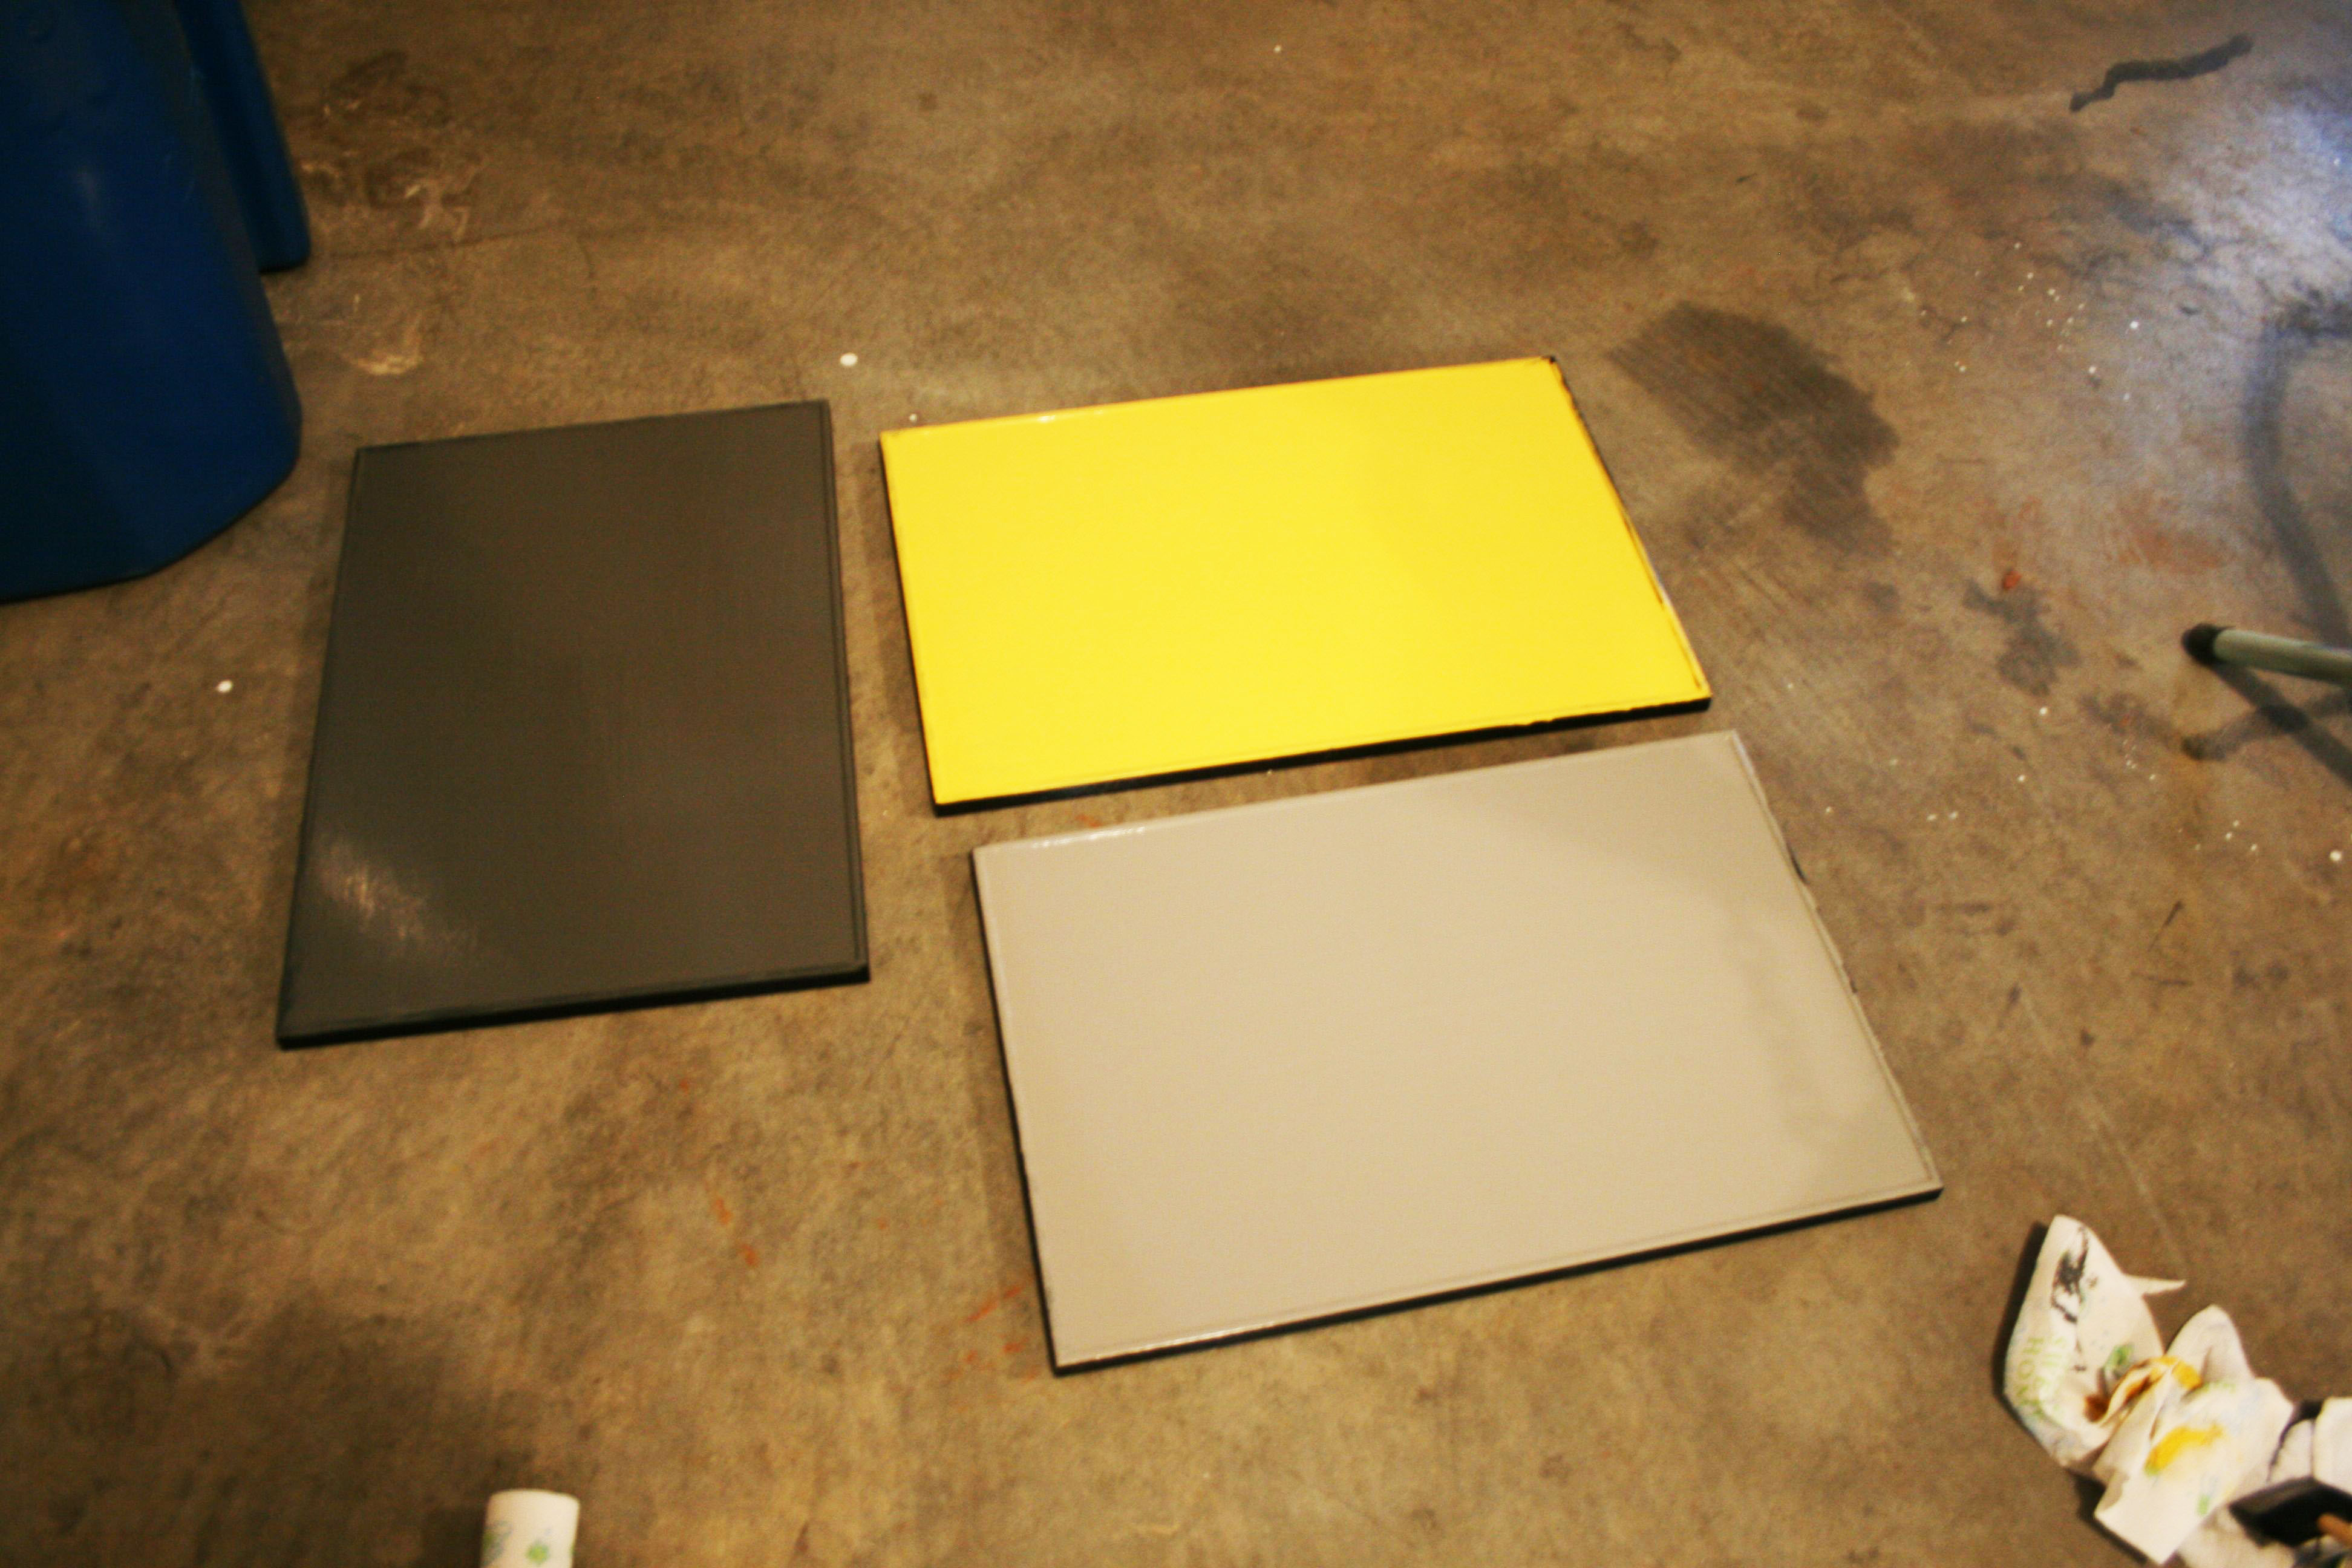
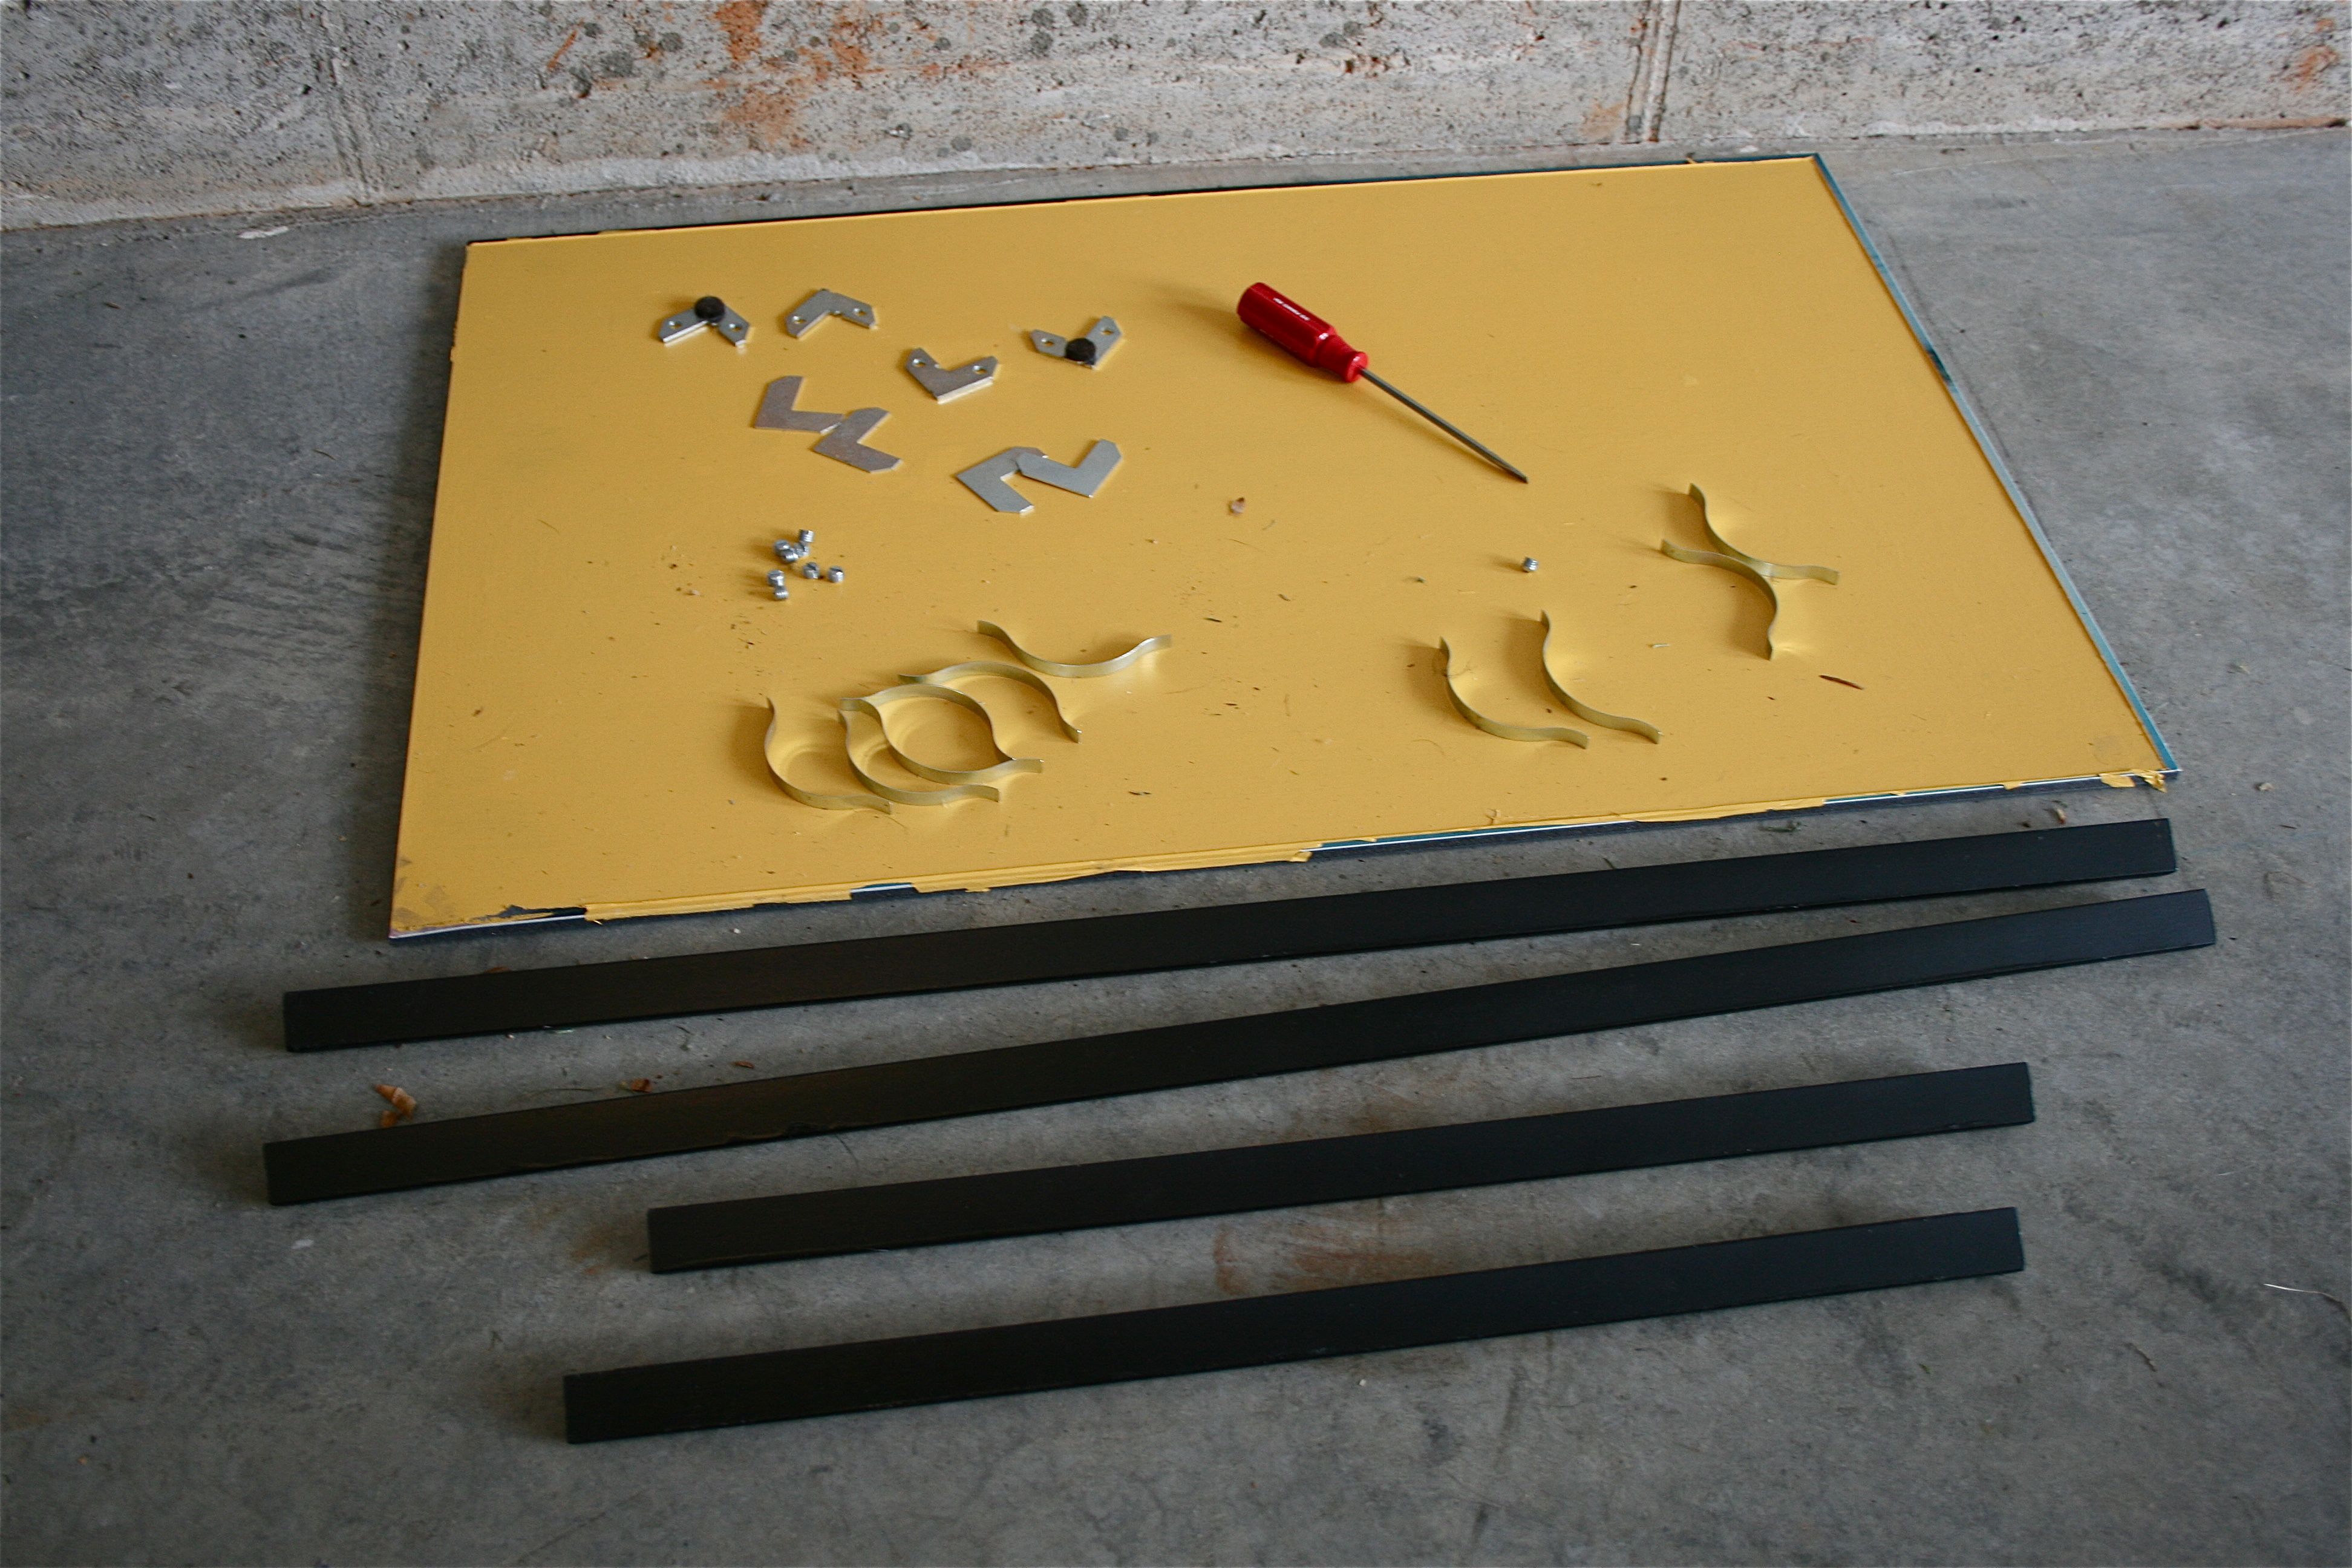
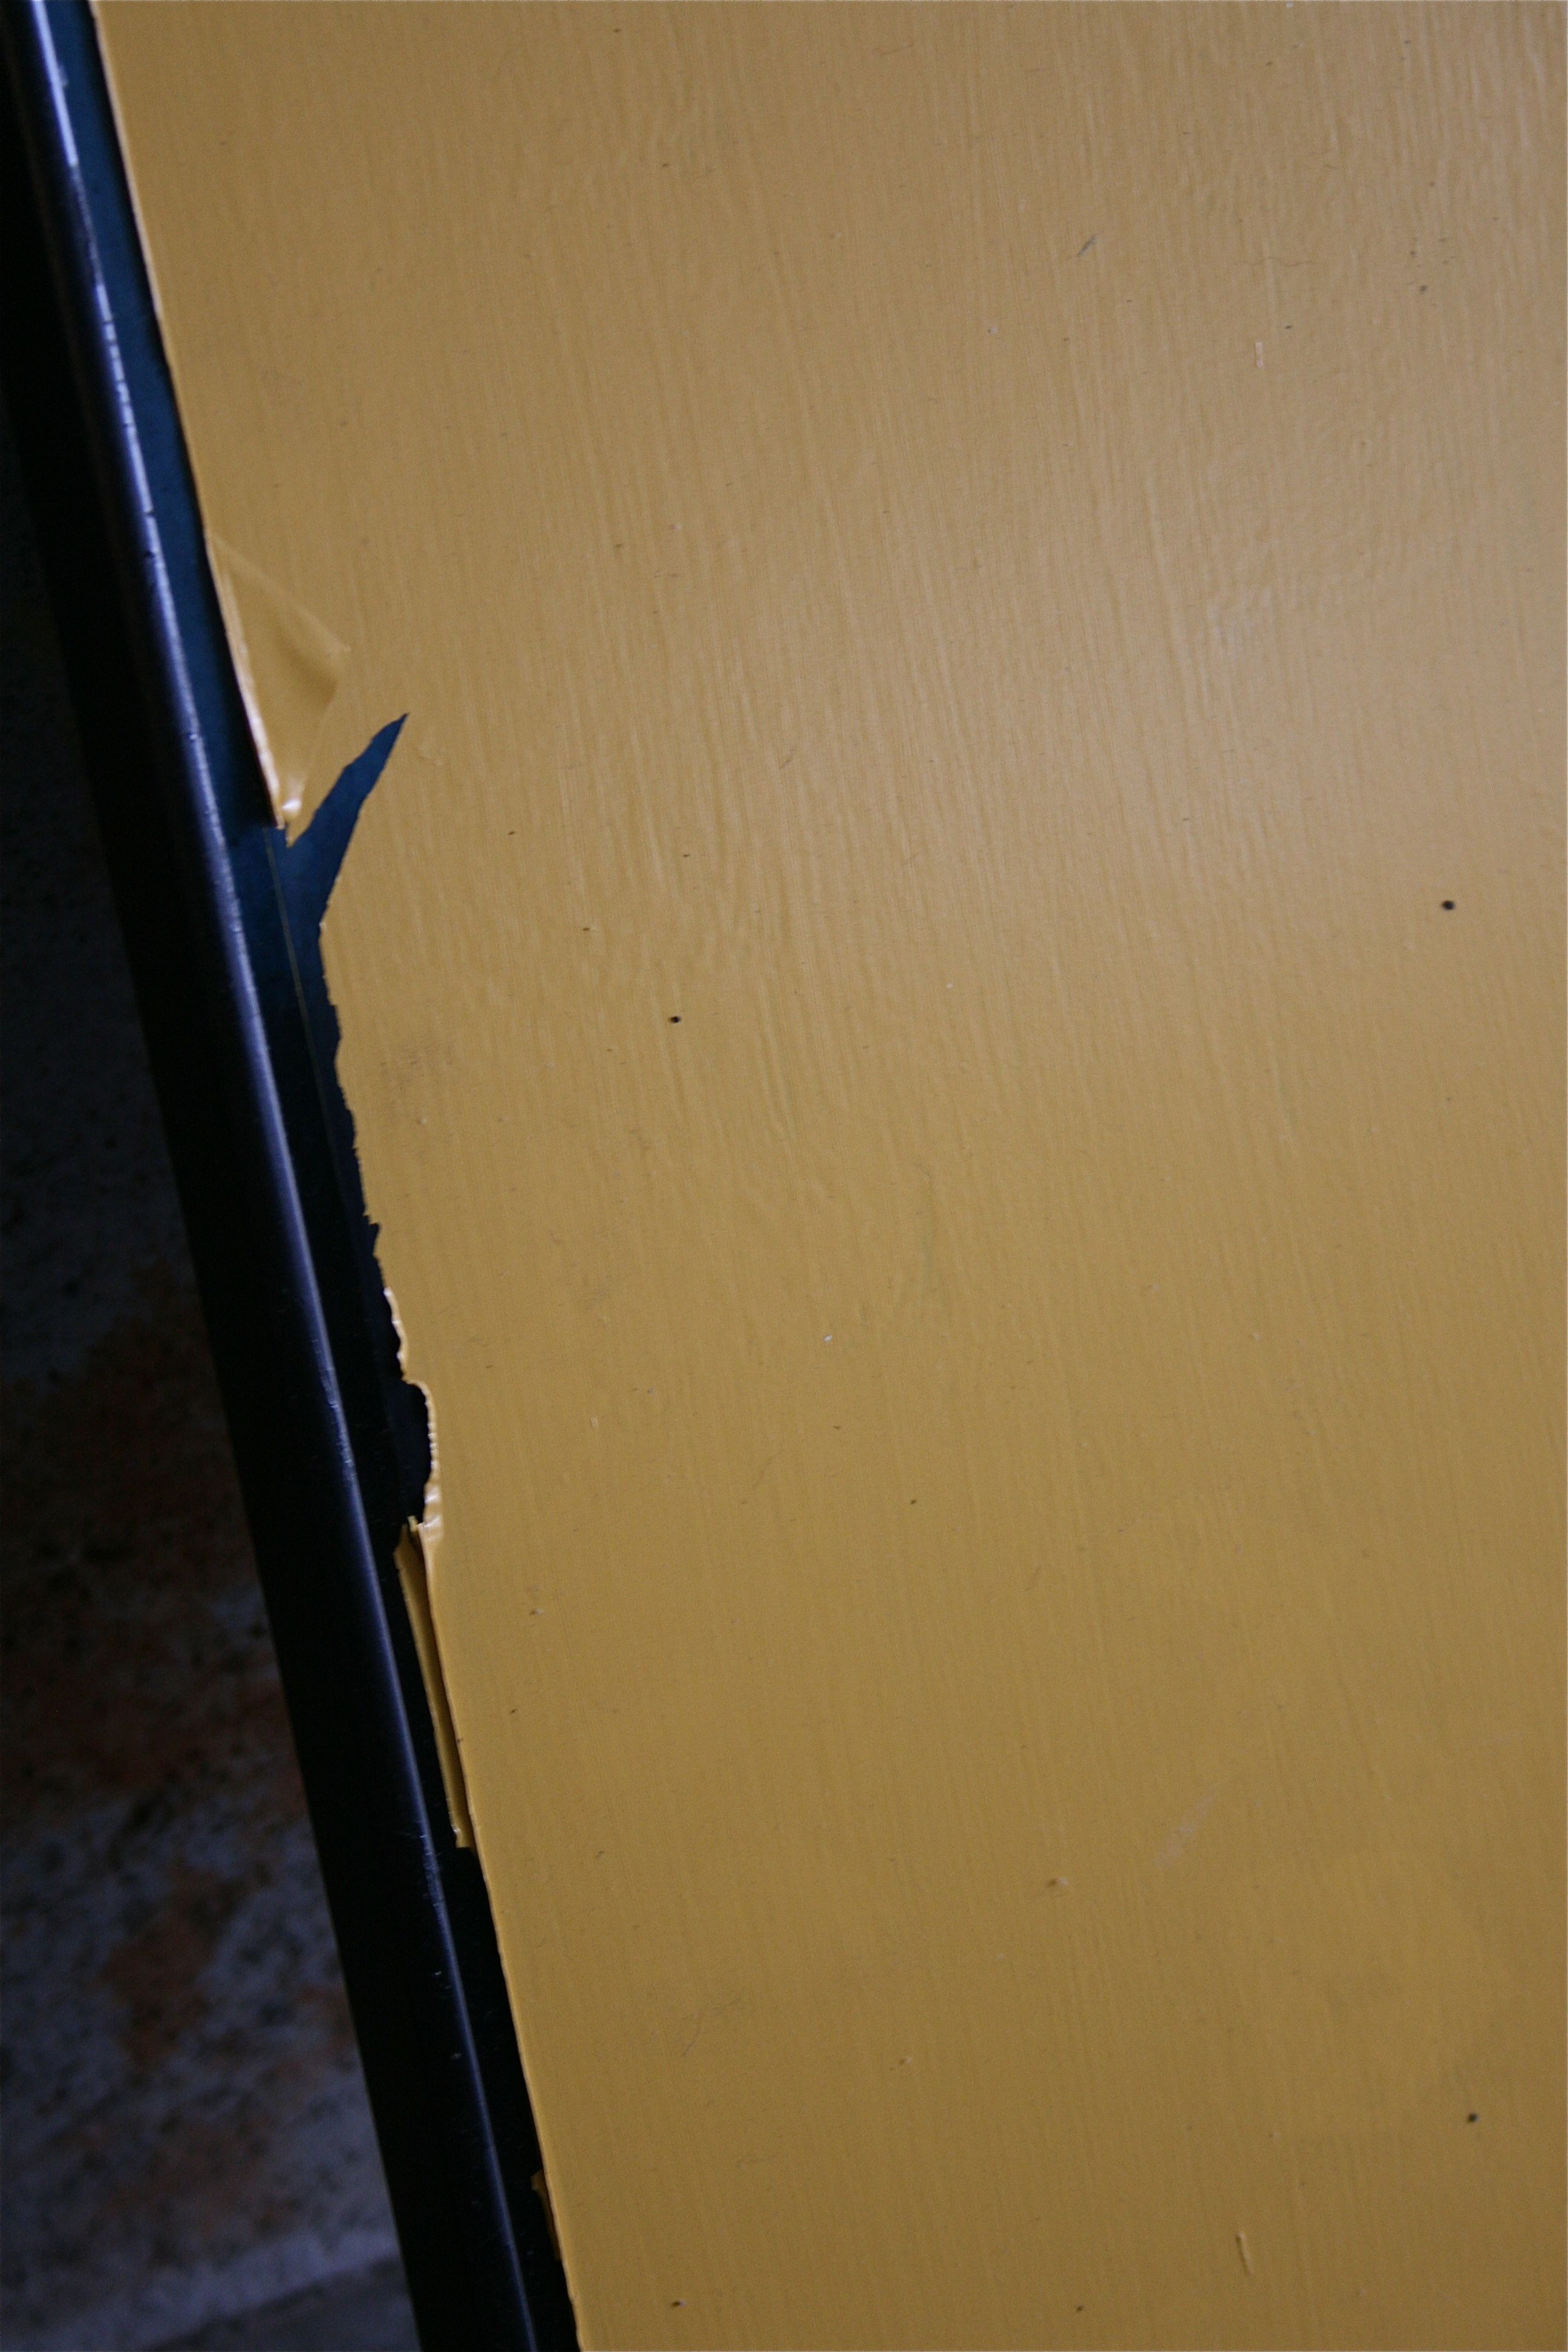
Good thought in theory! But those suckers were i-m-p-o-s-s-i-b-l-e to put back together…It ended up ruining the yellow poster, which we had to trash 🙁
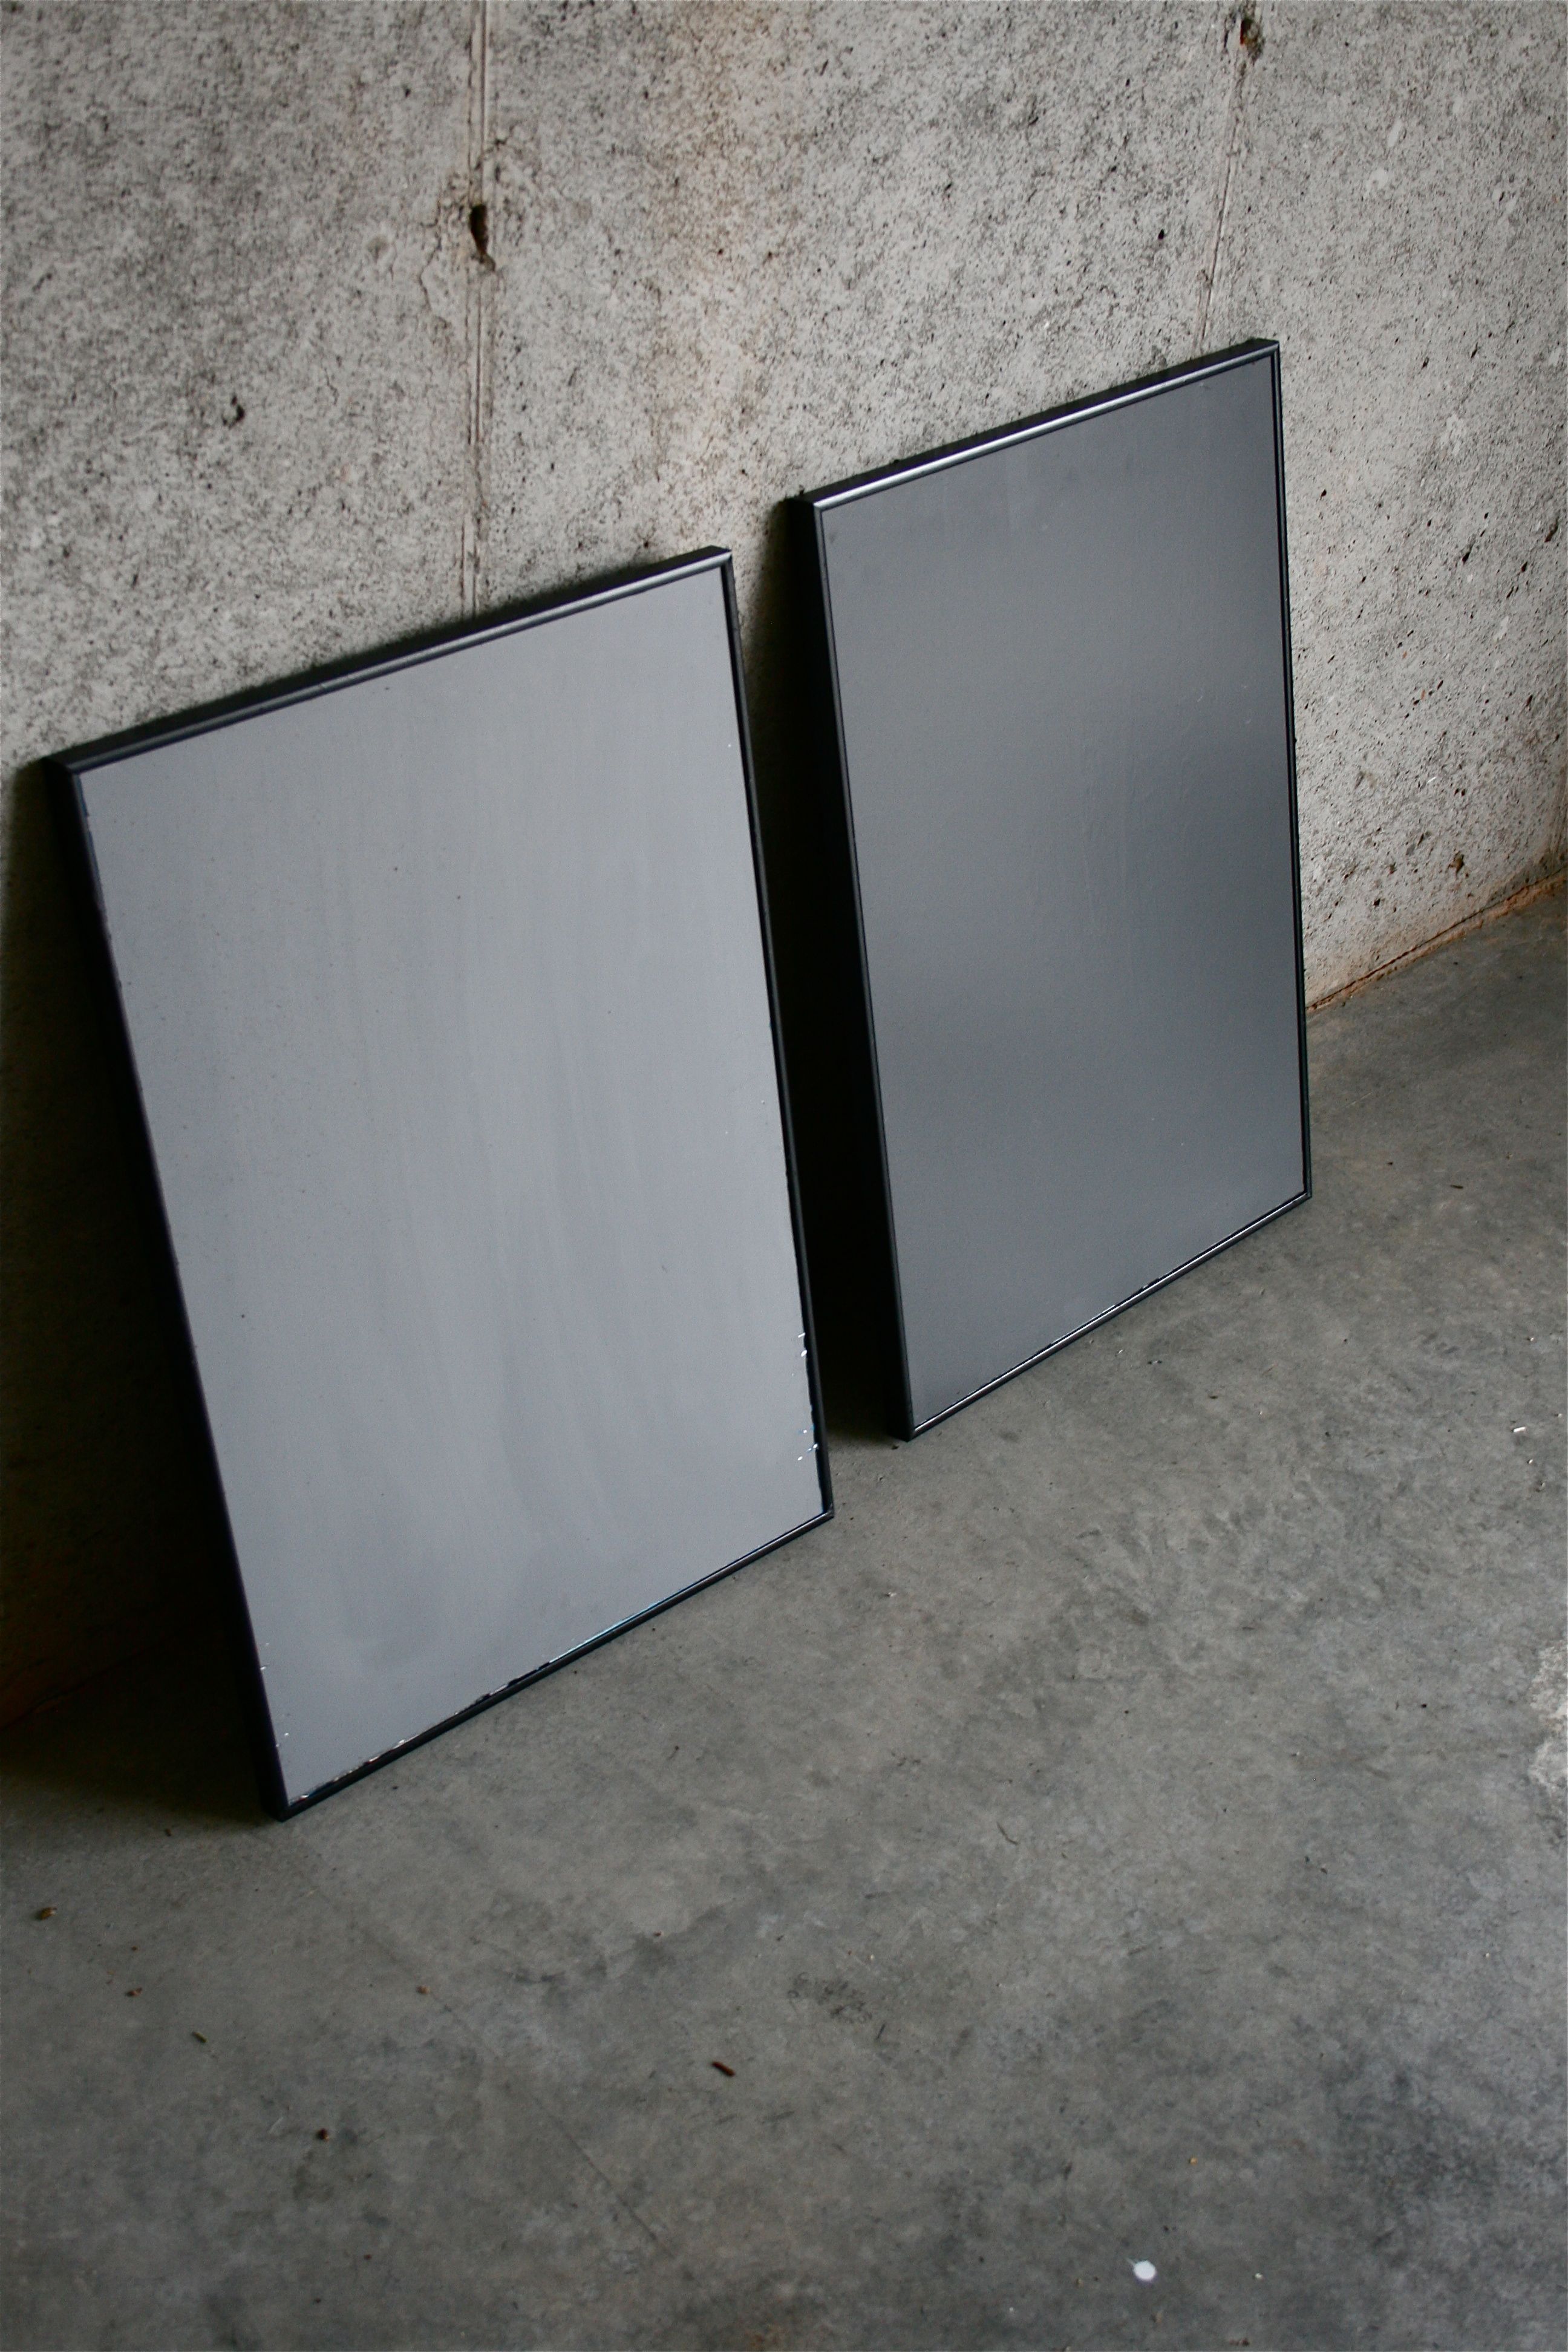
But the two gray posters were salvageable!
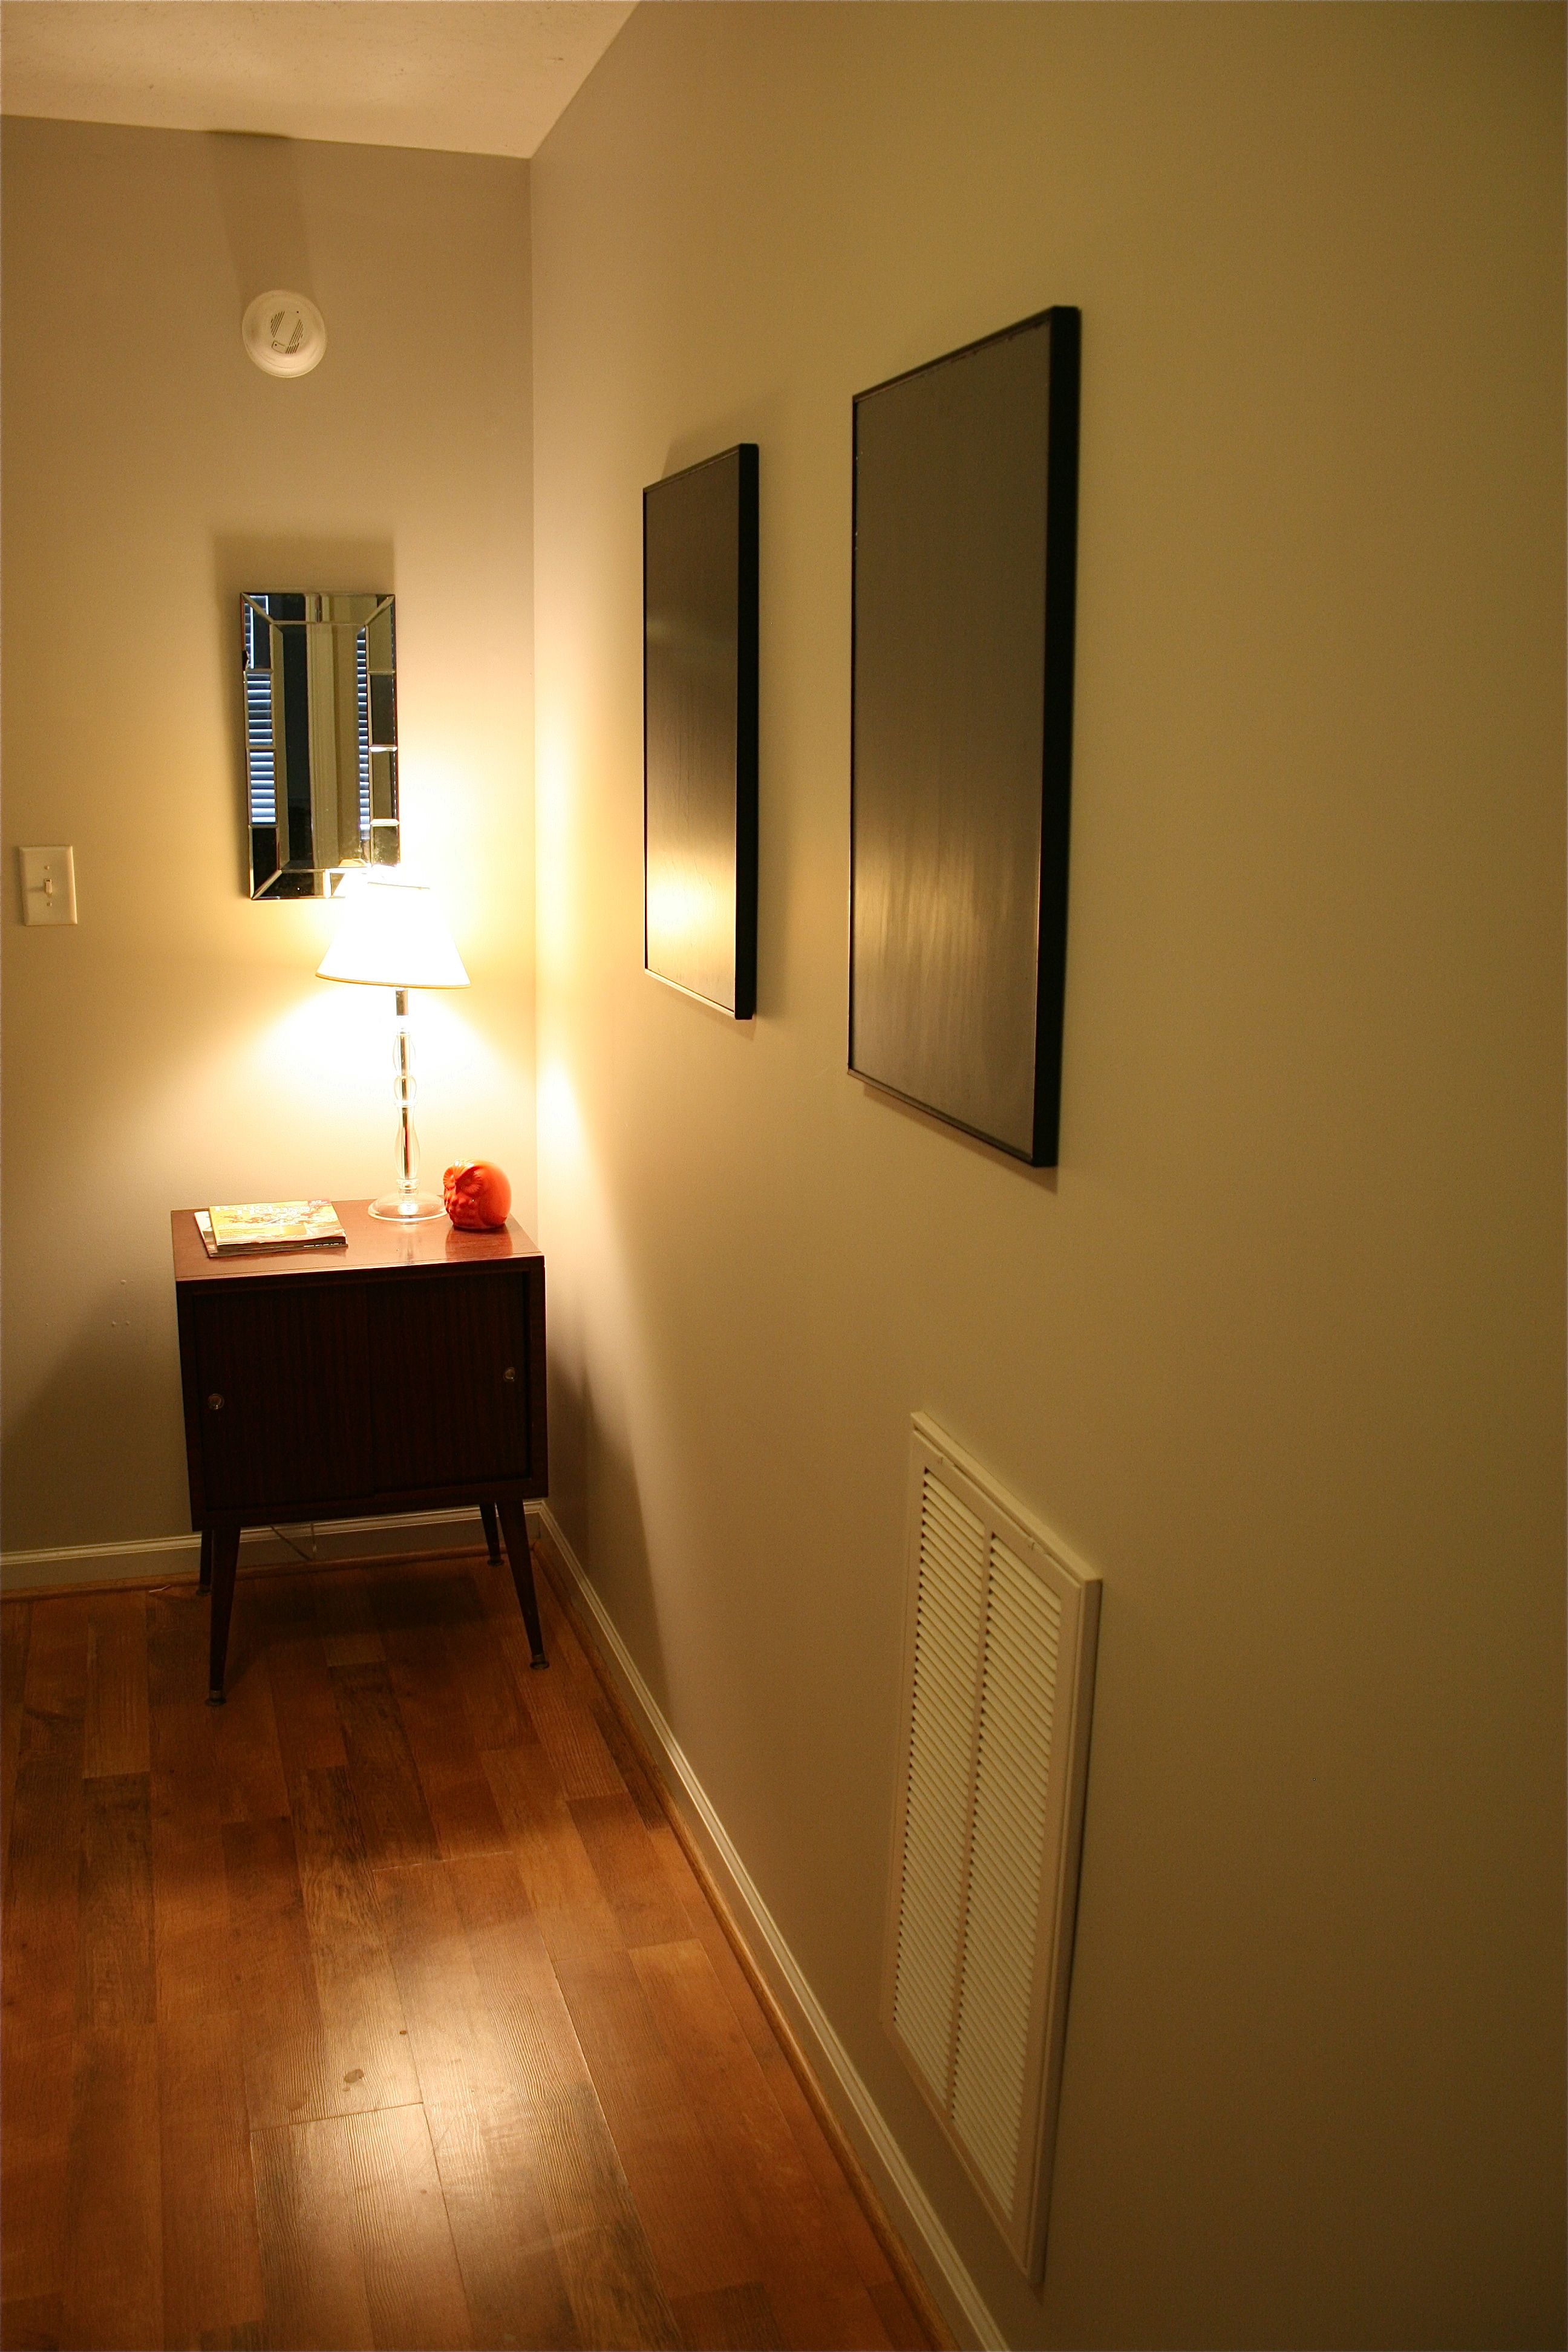
But in my frustration with the painting and framing, I just stuck them upstairs in a rarely admired hallway with no kind of pattern or interest…
Which brings us today…I recently tackled stenciling for the first time and fell in love with the easy process (and the lovely finished product!) – So I got it into my head that I would do the same treatment on the pesky framed posters.
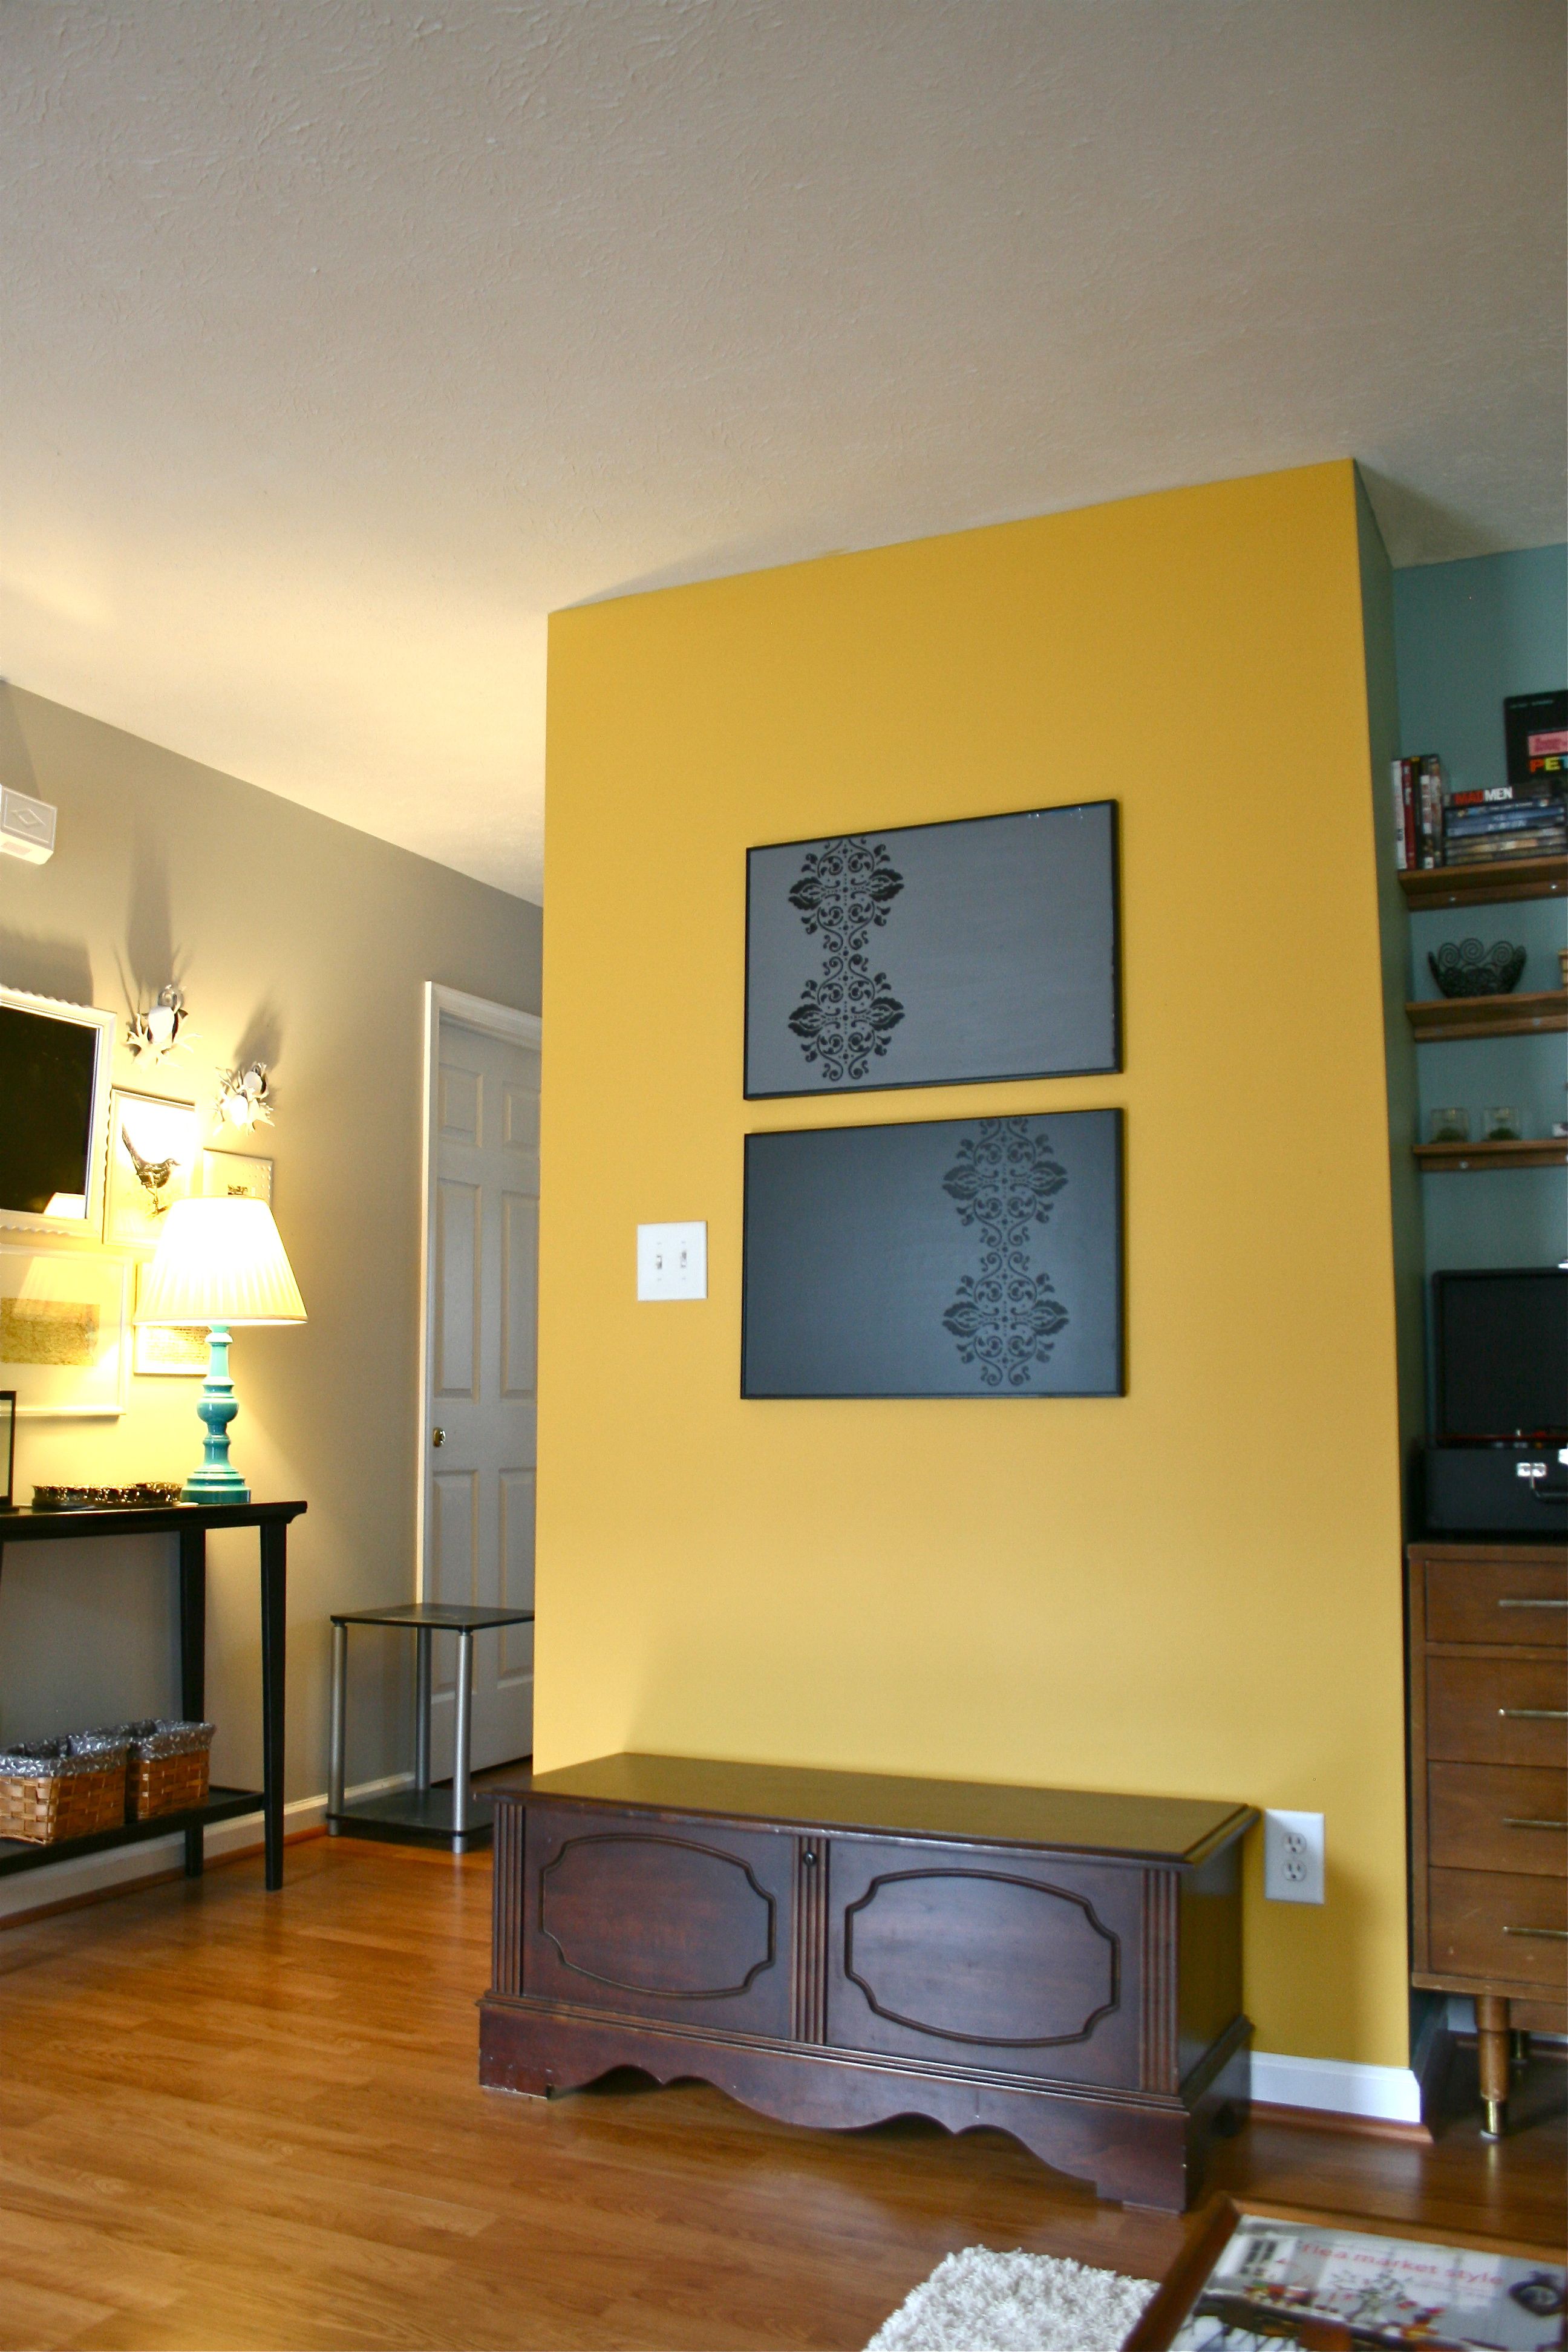
I also realized that they might actually work really well hung on the new bright yellow wall in the living room! The solid dark colors of the posters could be just the things to break up that bright yellow – I think it’s also kind of sentimental that the yellow paint for the wall is the exact same color of the yellow poster I had to chuck 🙂 Full circle…
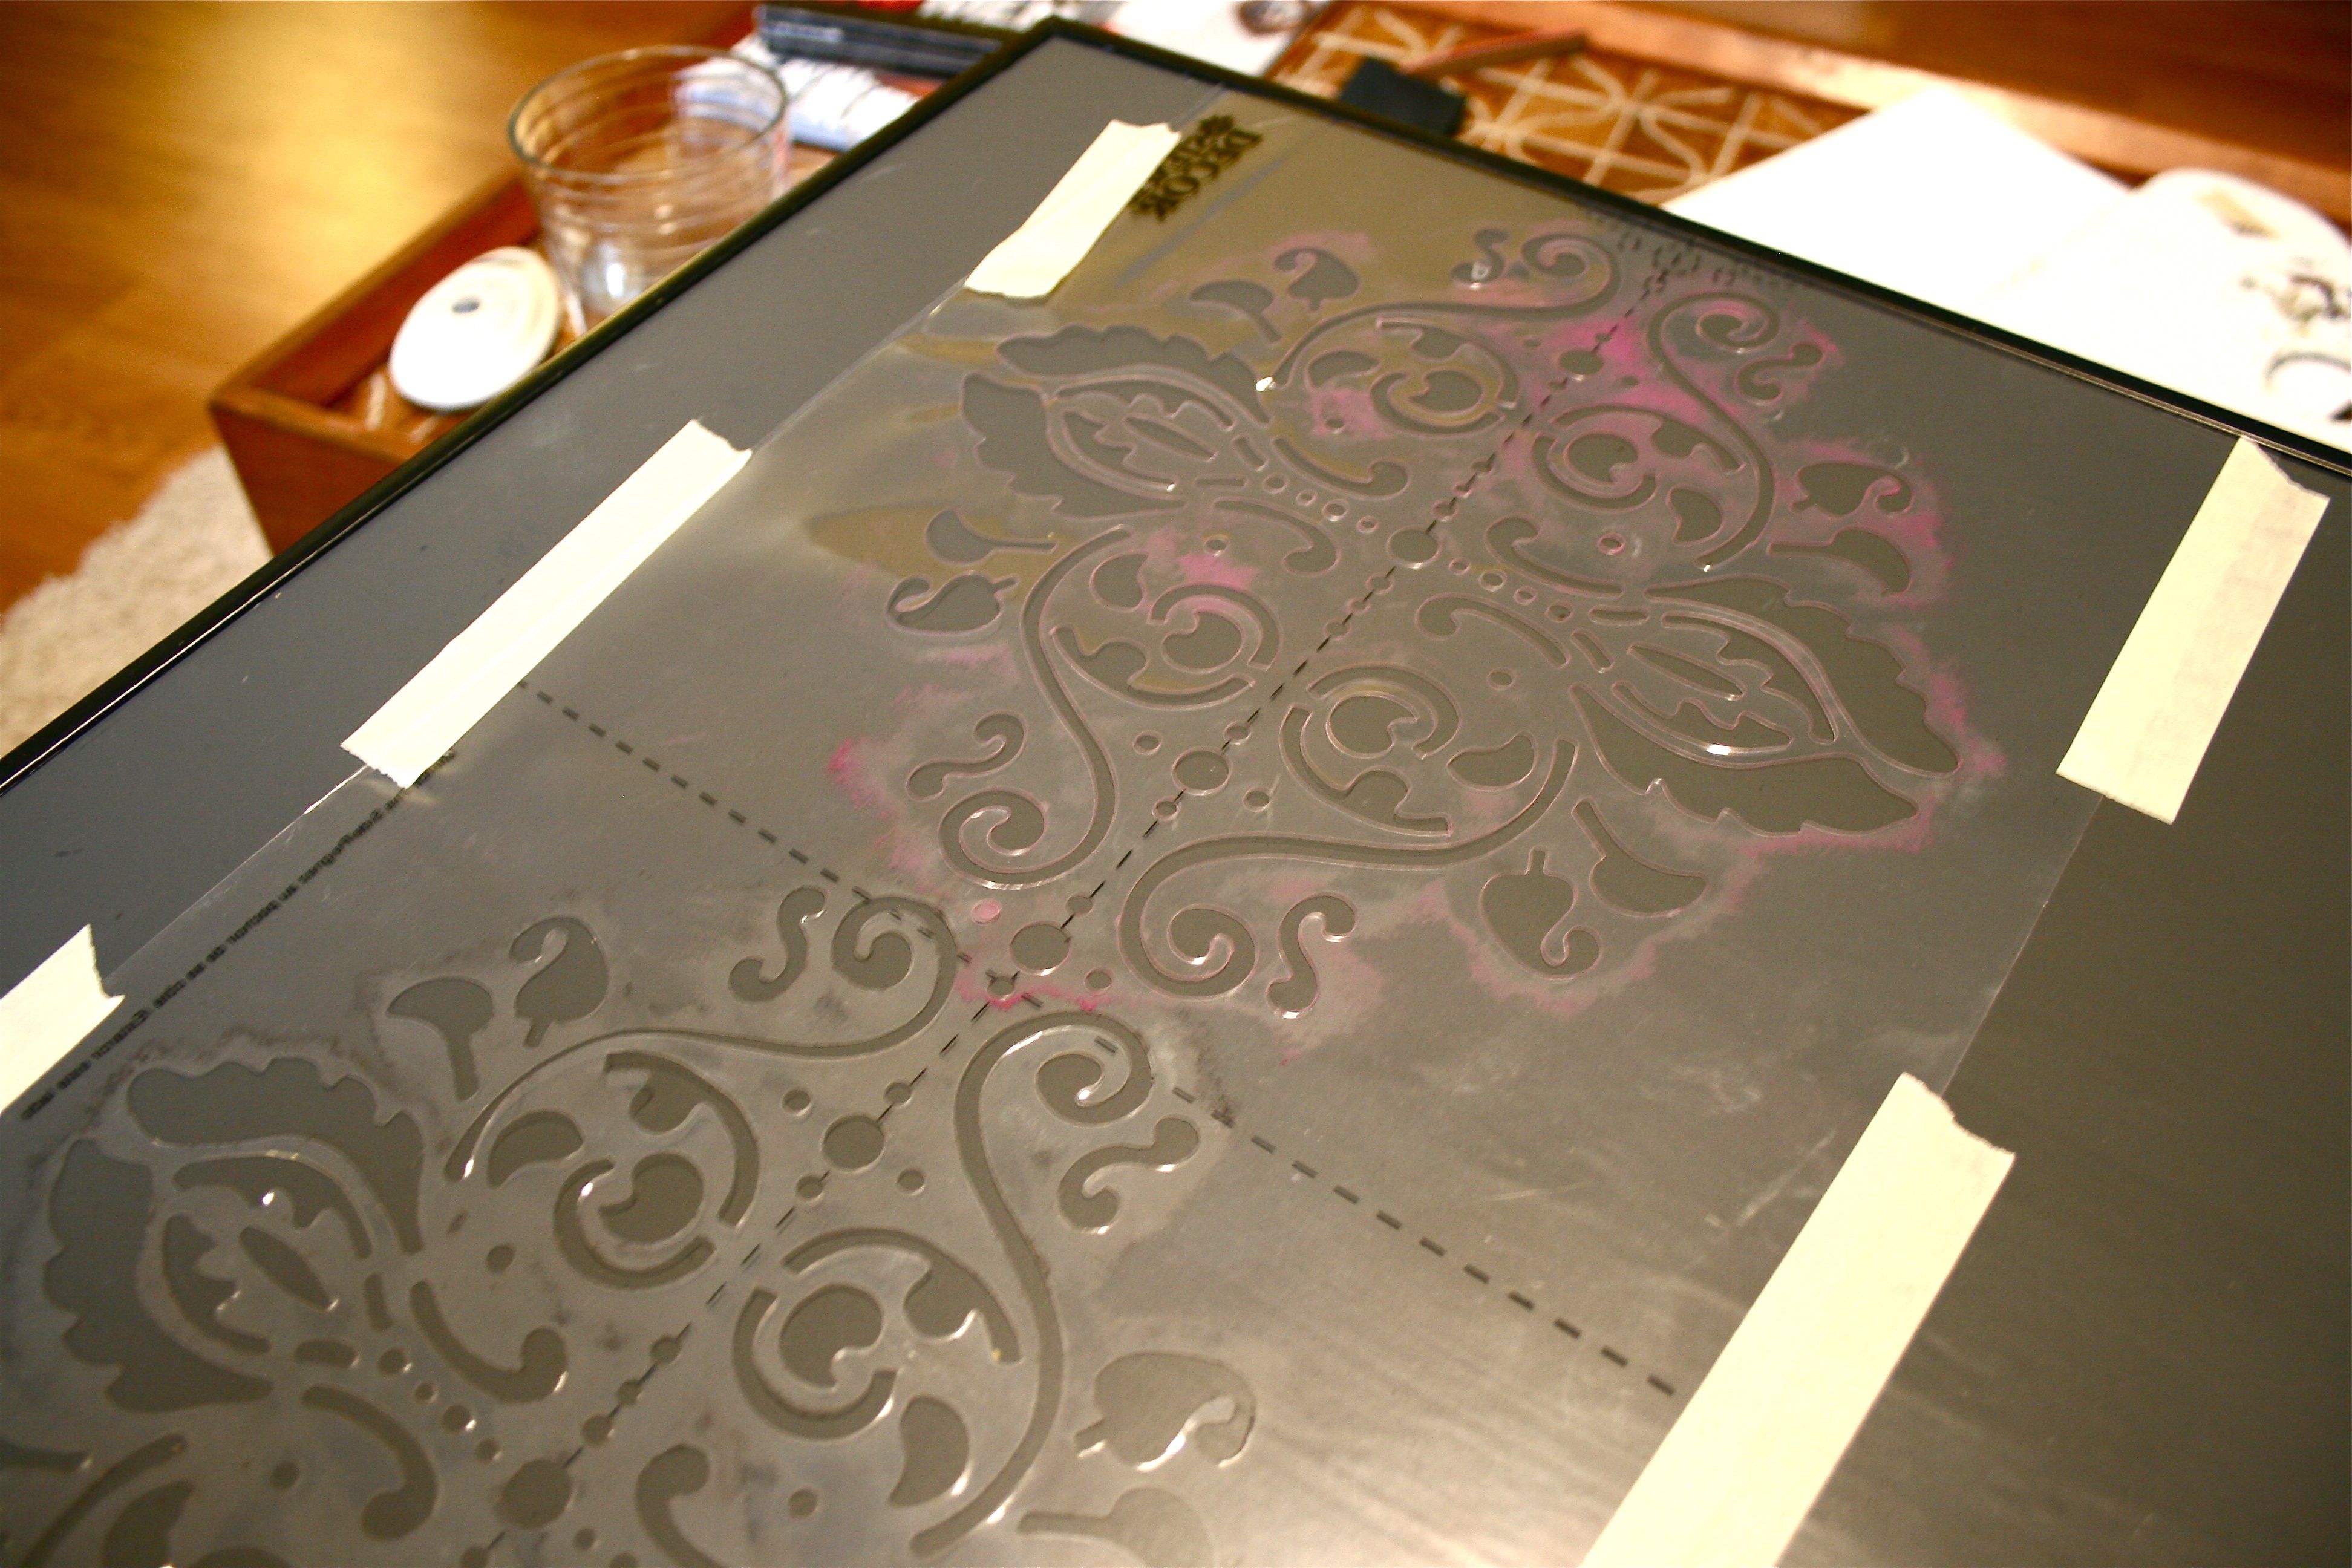
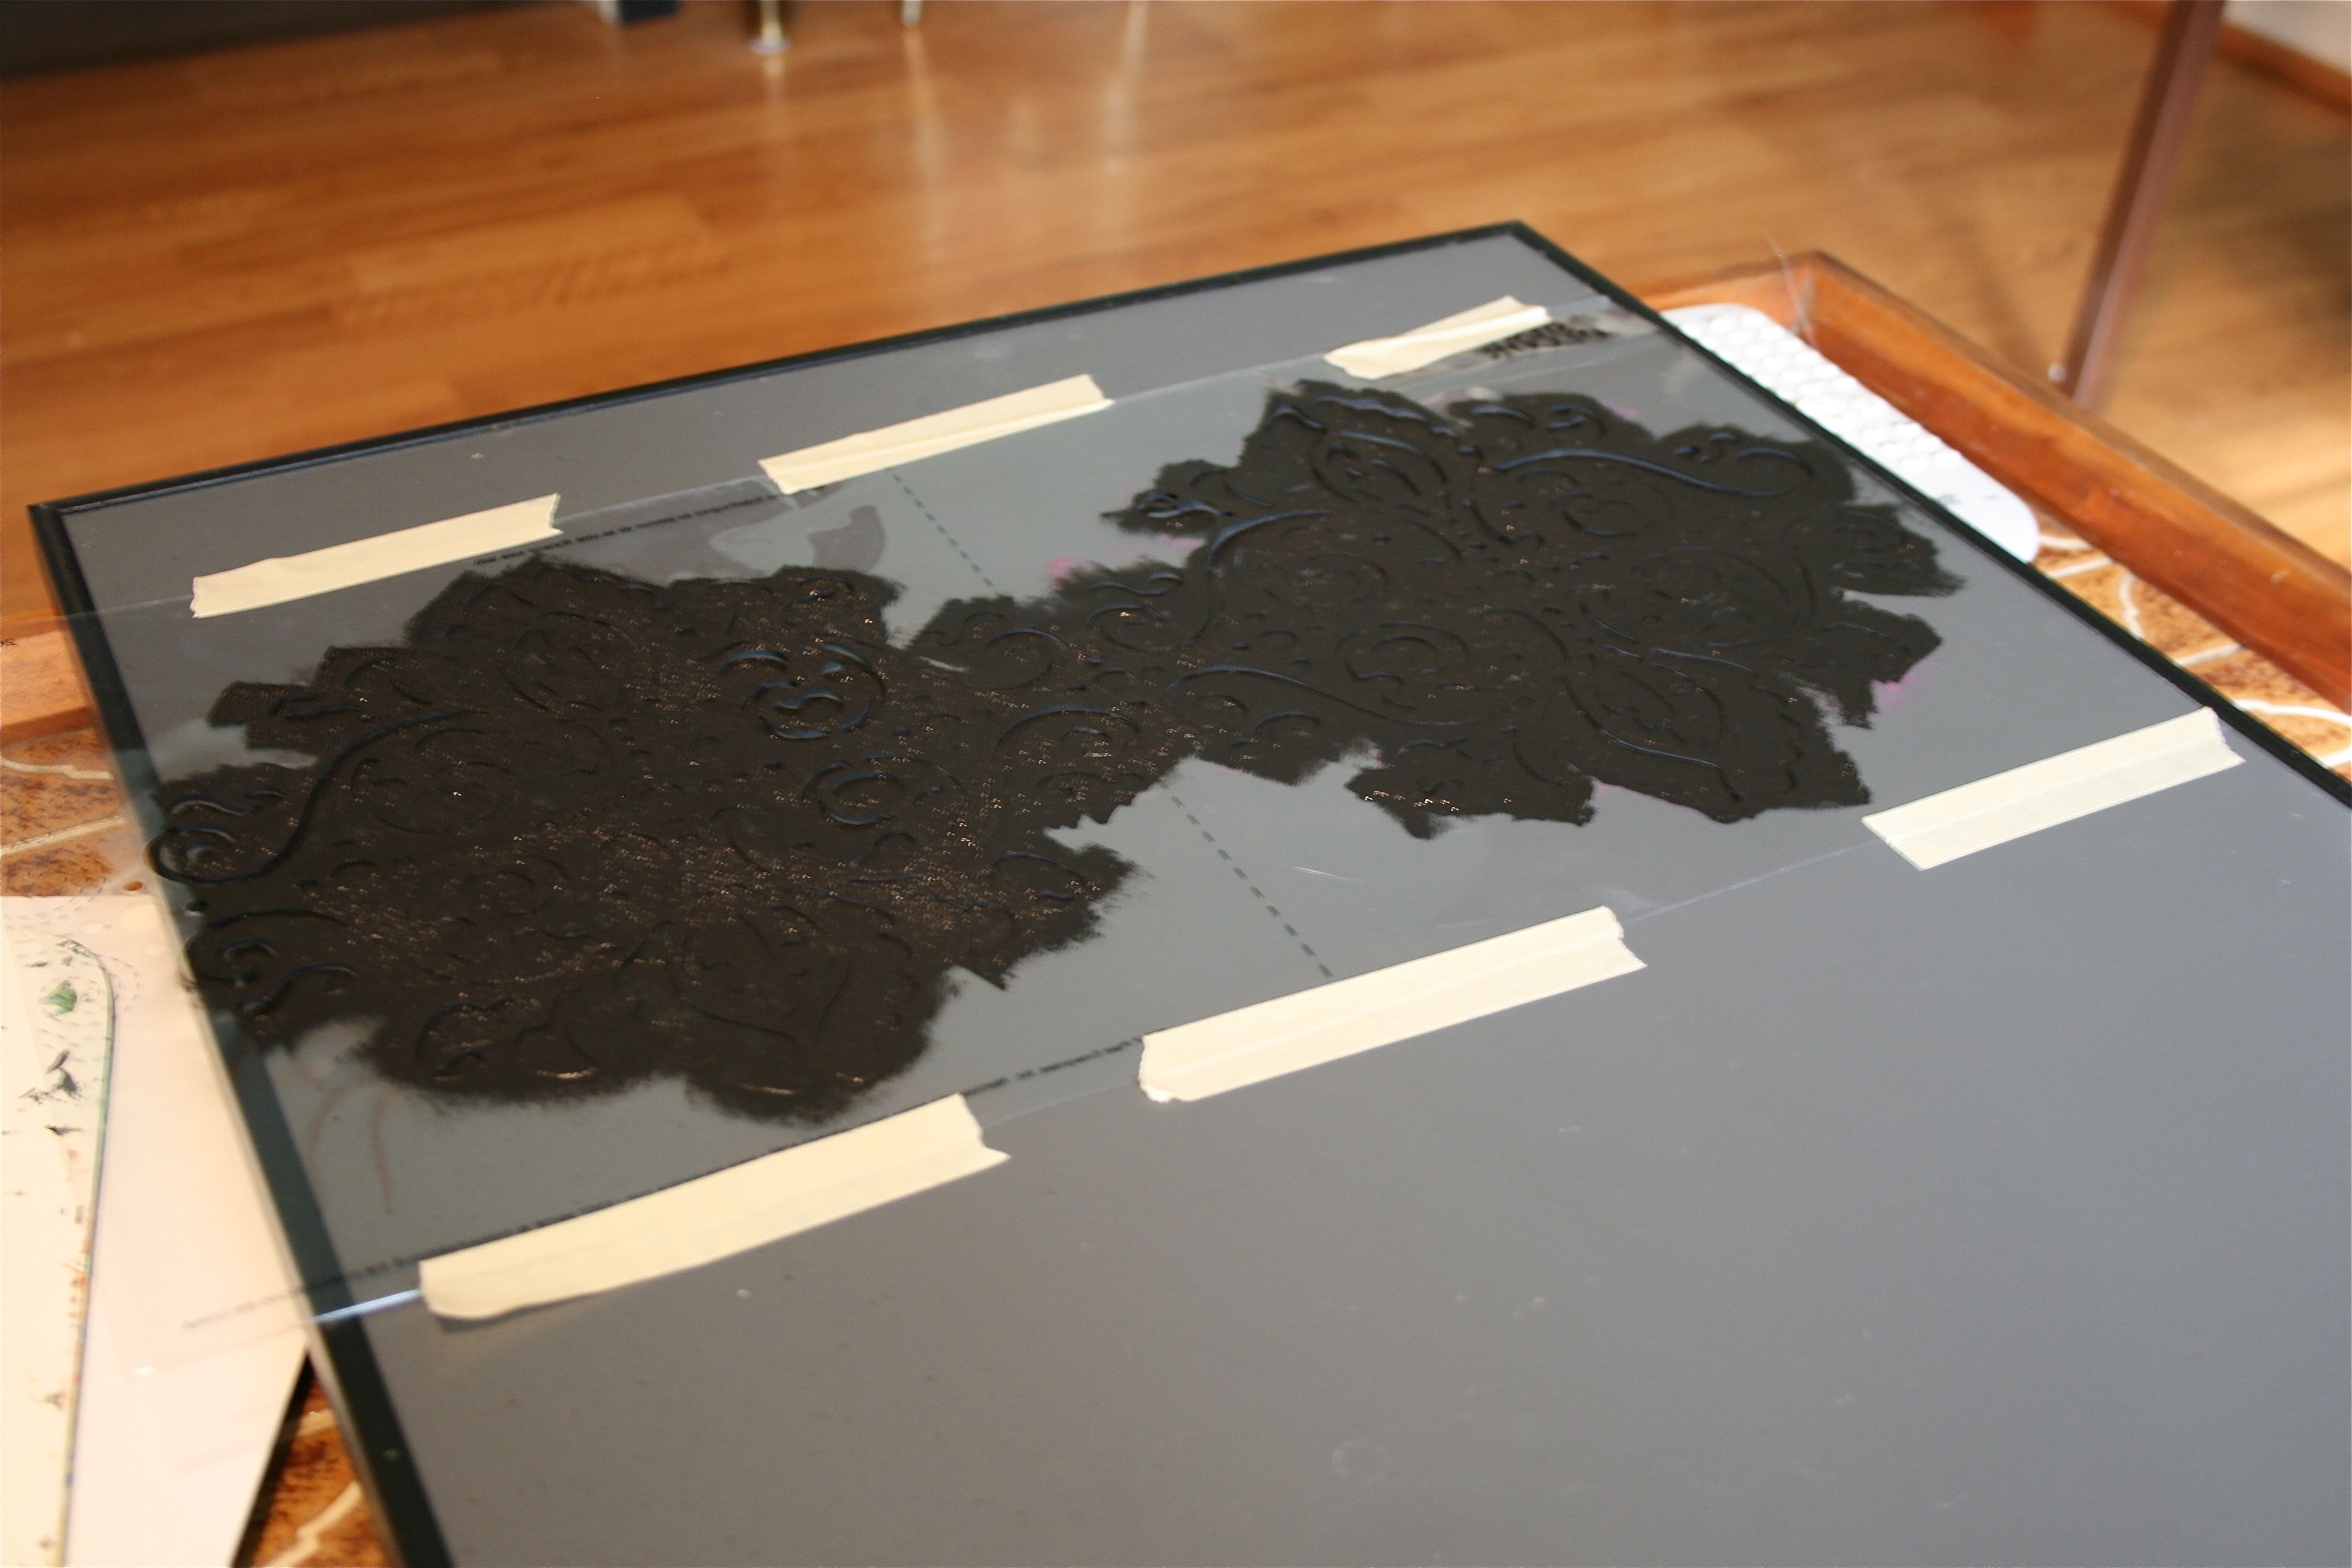
So I grabbed my stencil, some black paint, a sponge brush and an artist’s palette and got to work!
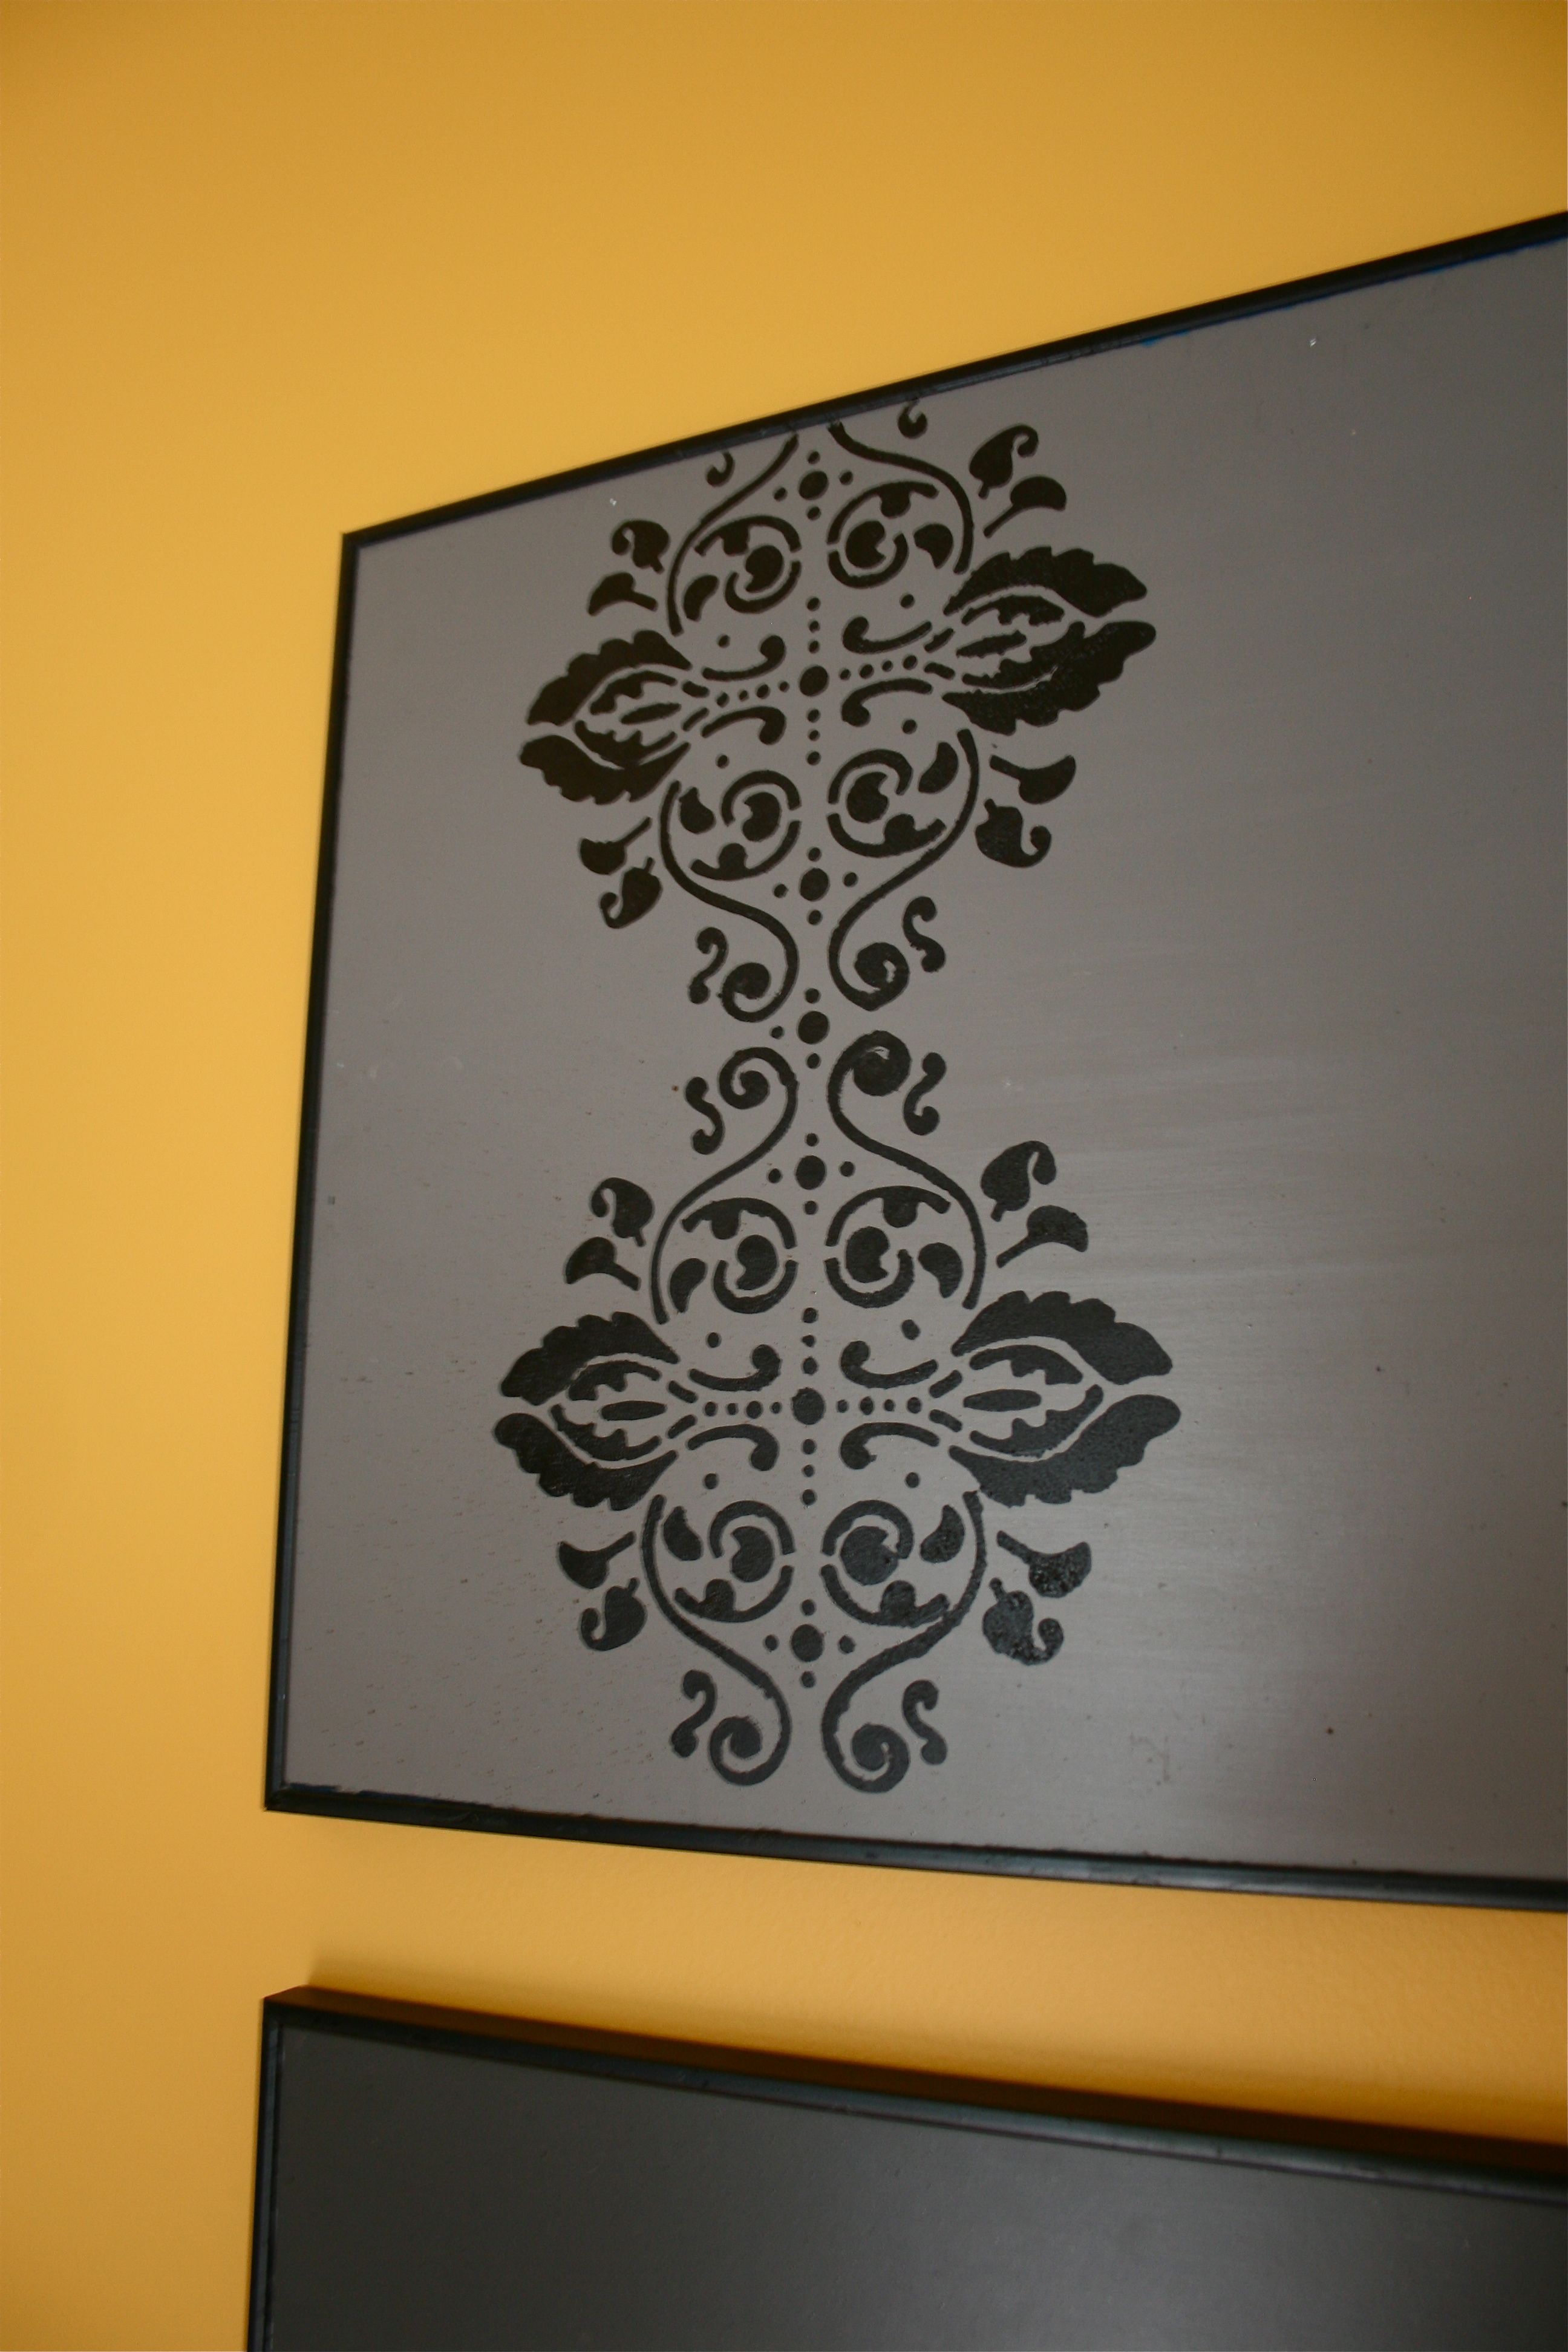
First I taped the stencil to the poster and then put a small amount of black paint on my brush. Dabbing the brush up and down over the cut outs in the stencil (no side-to-side swiping to avoid pushing paint under the stencil), I simply worked my way over the surface until the whole thing was covered.
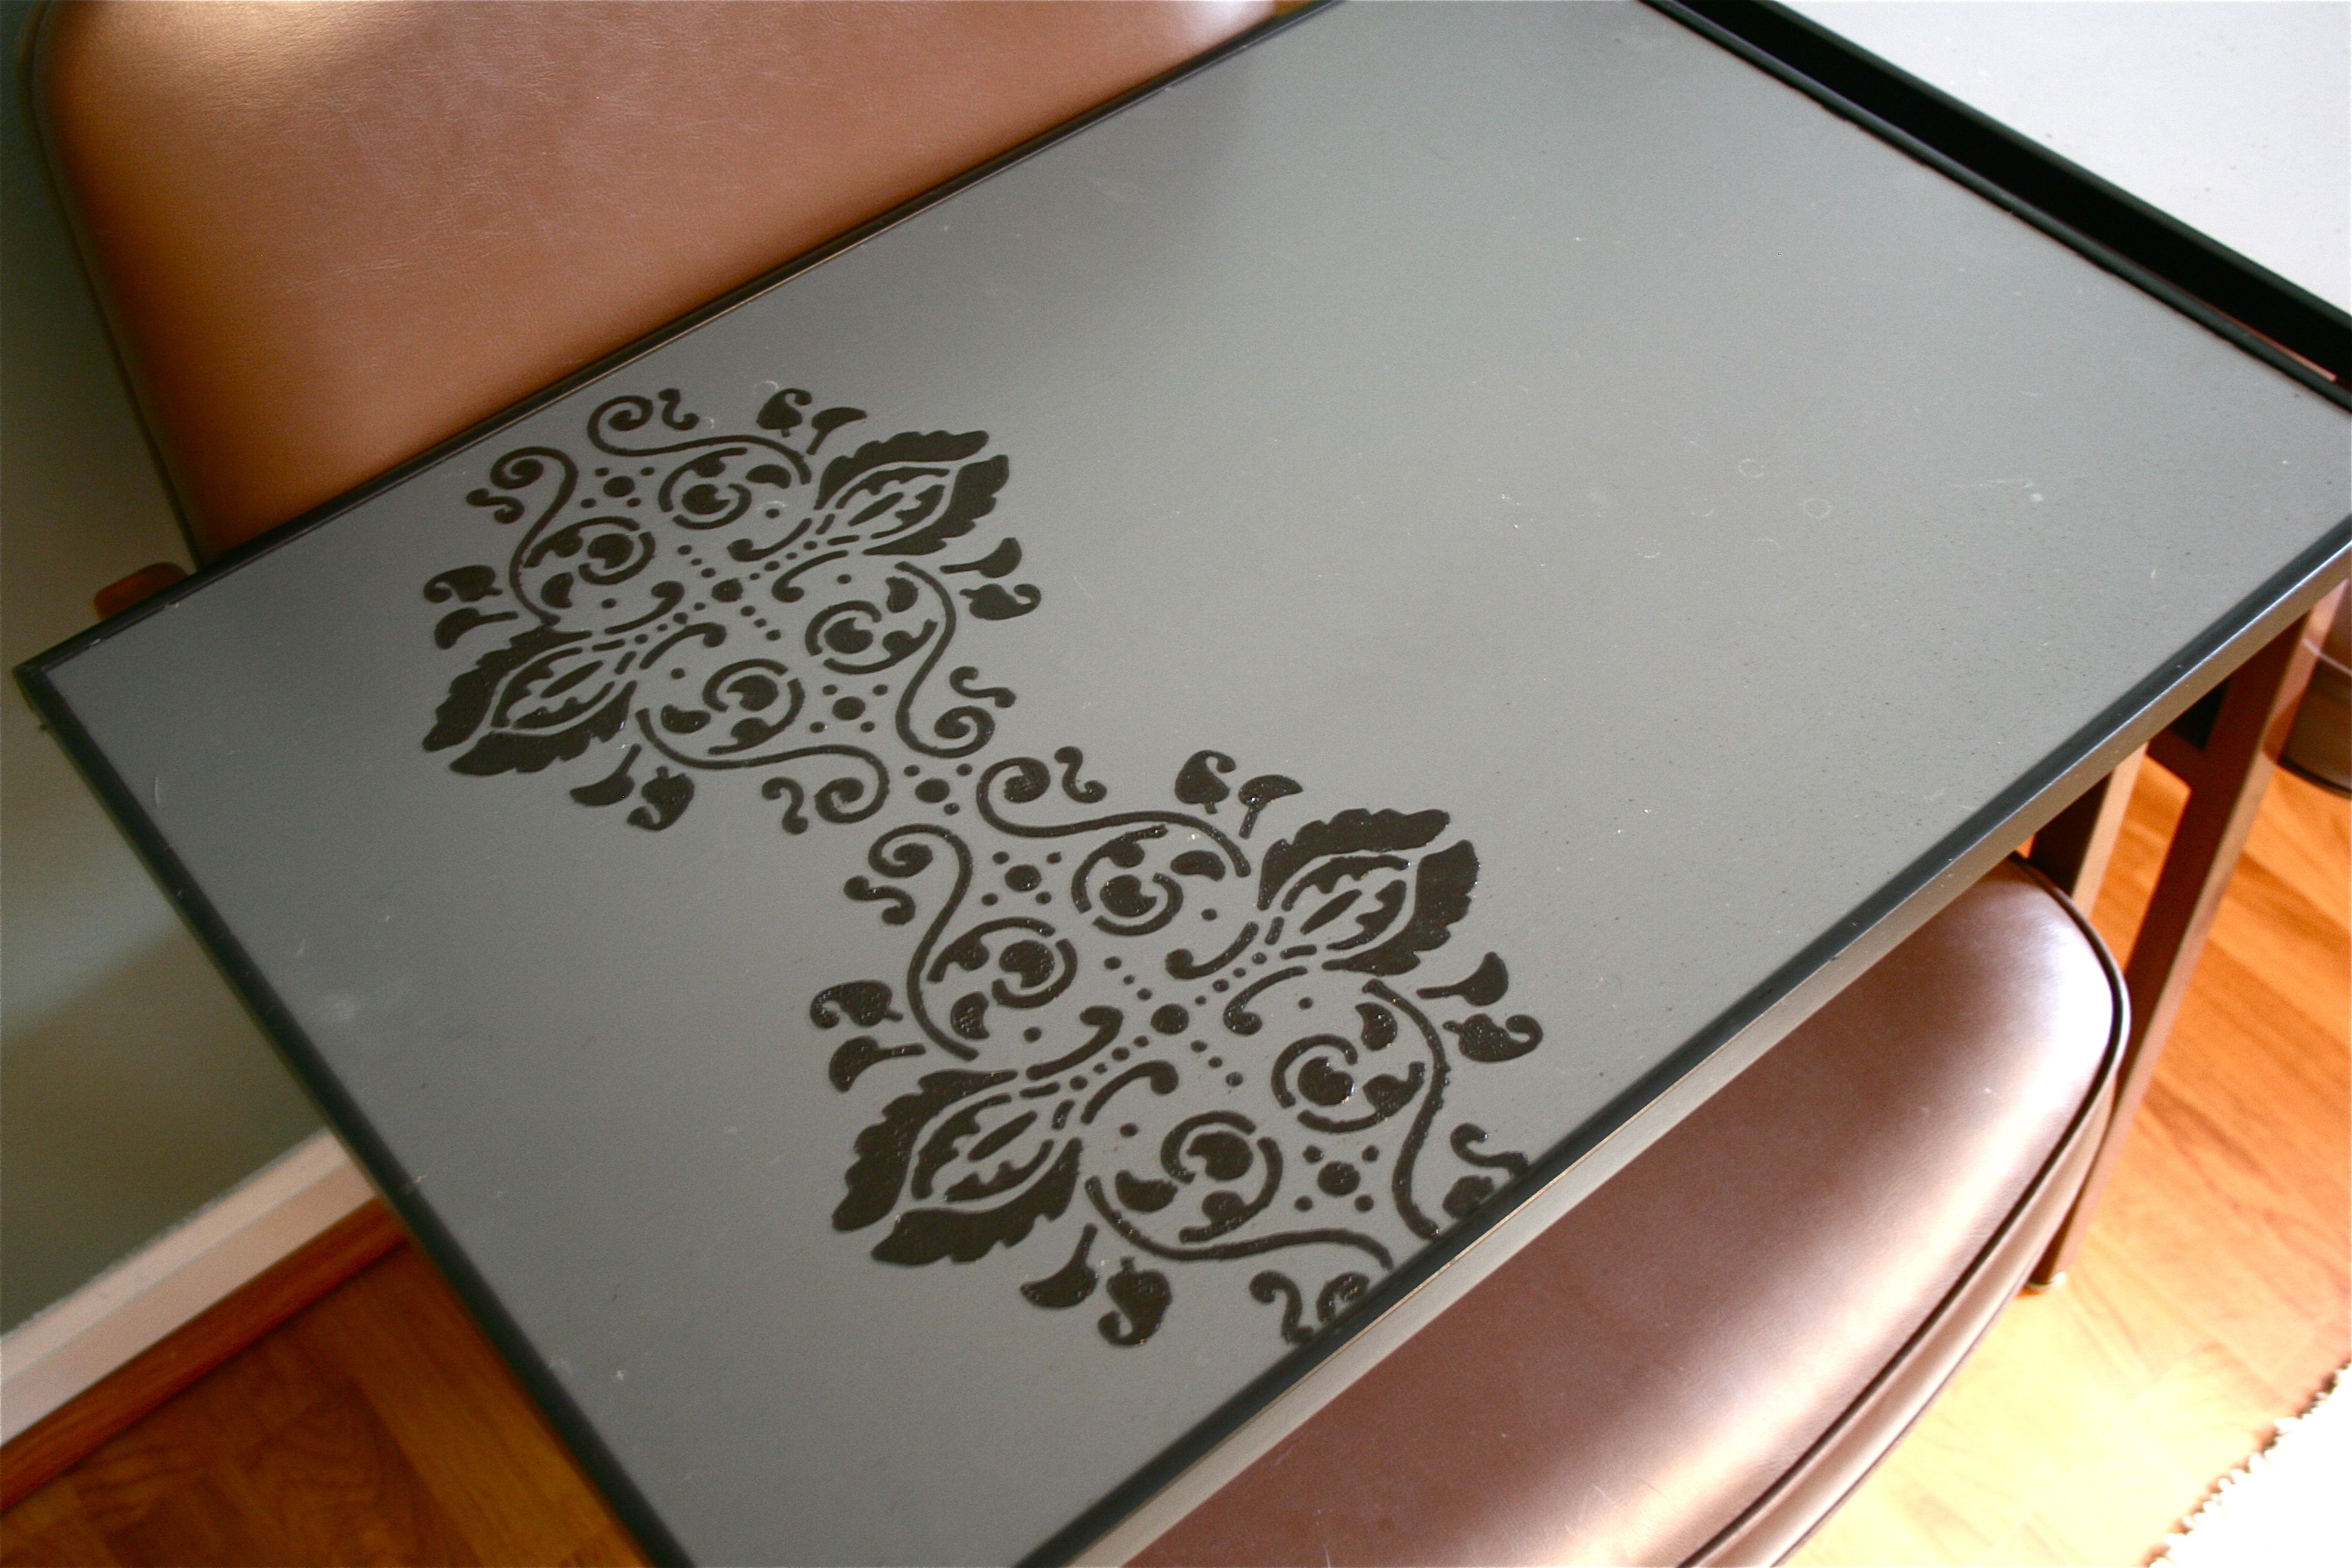
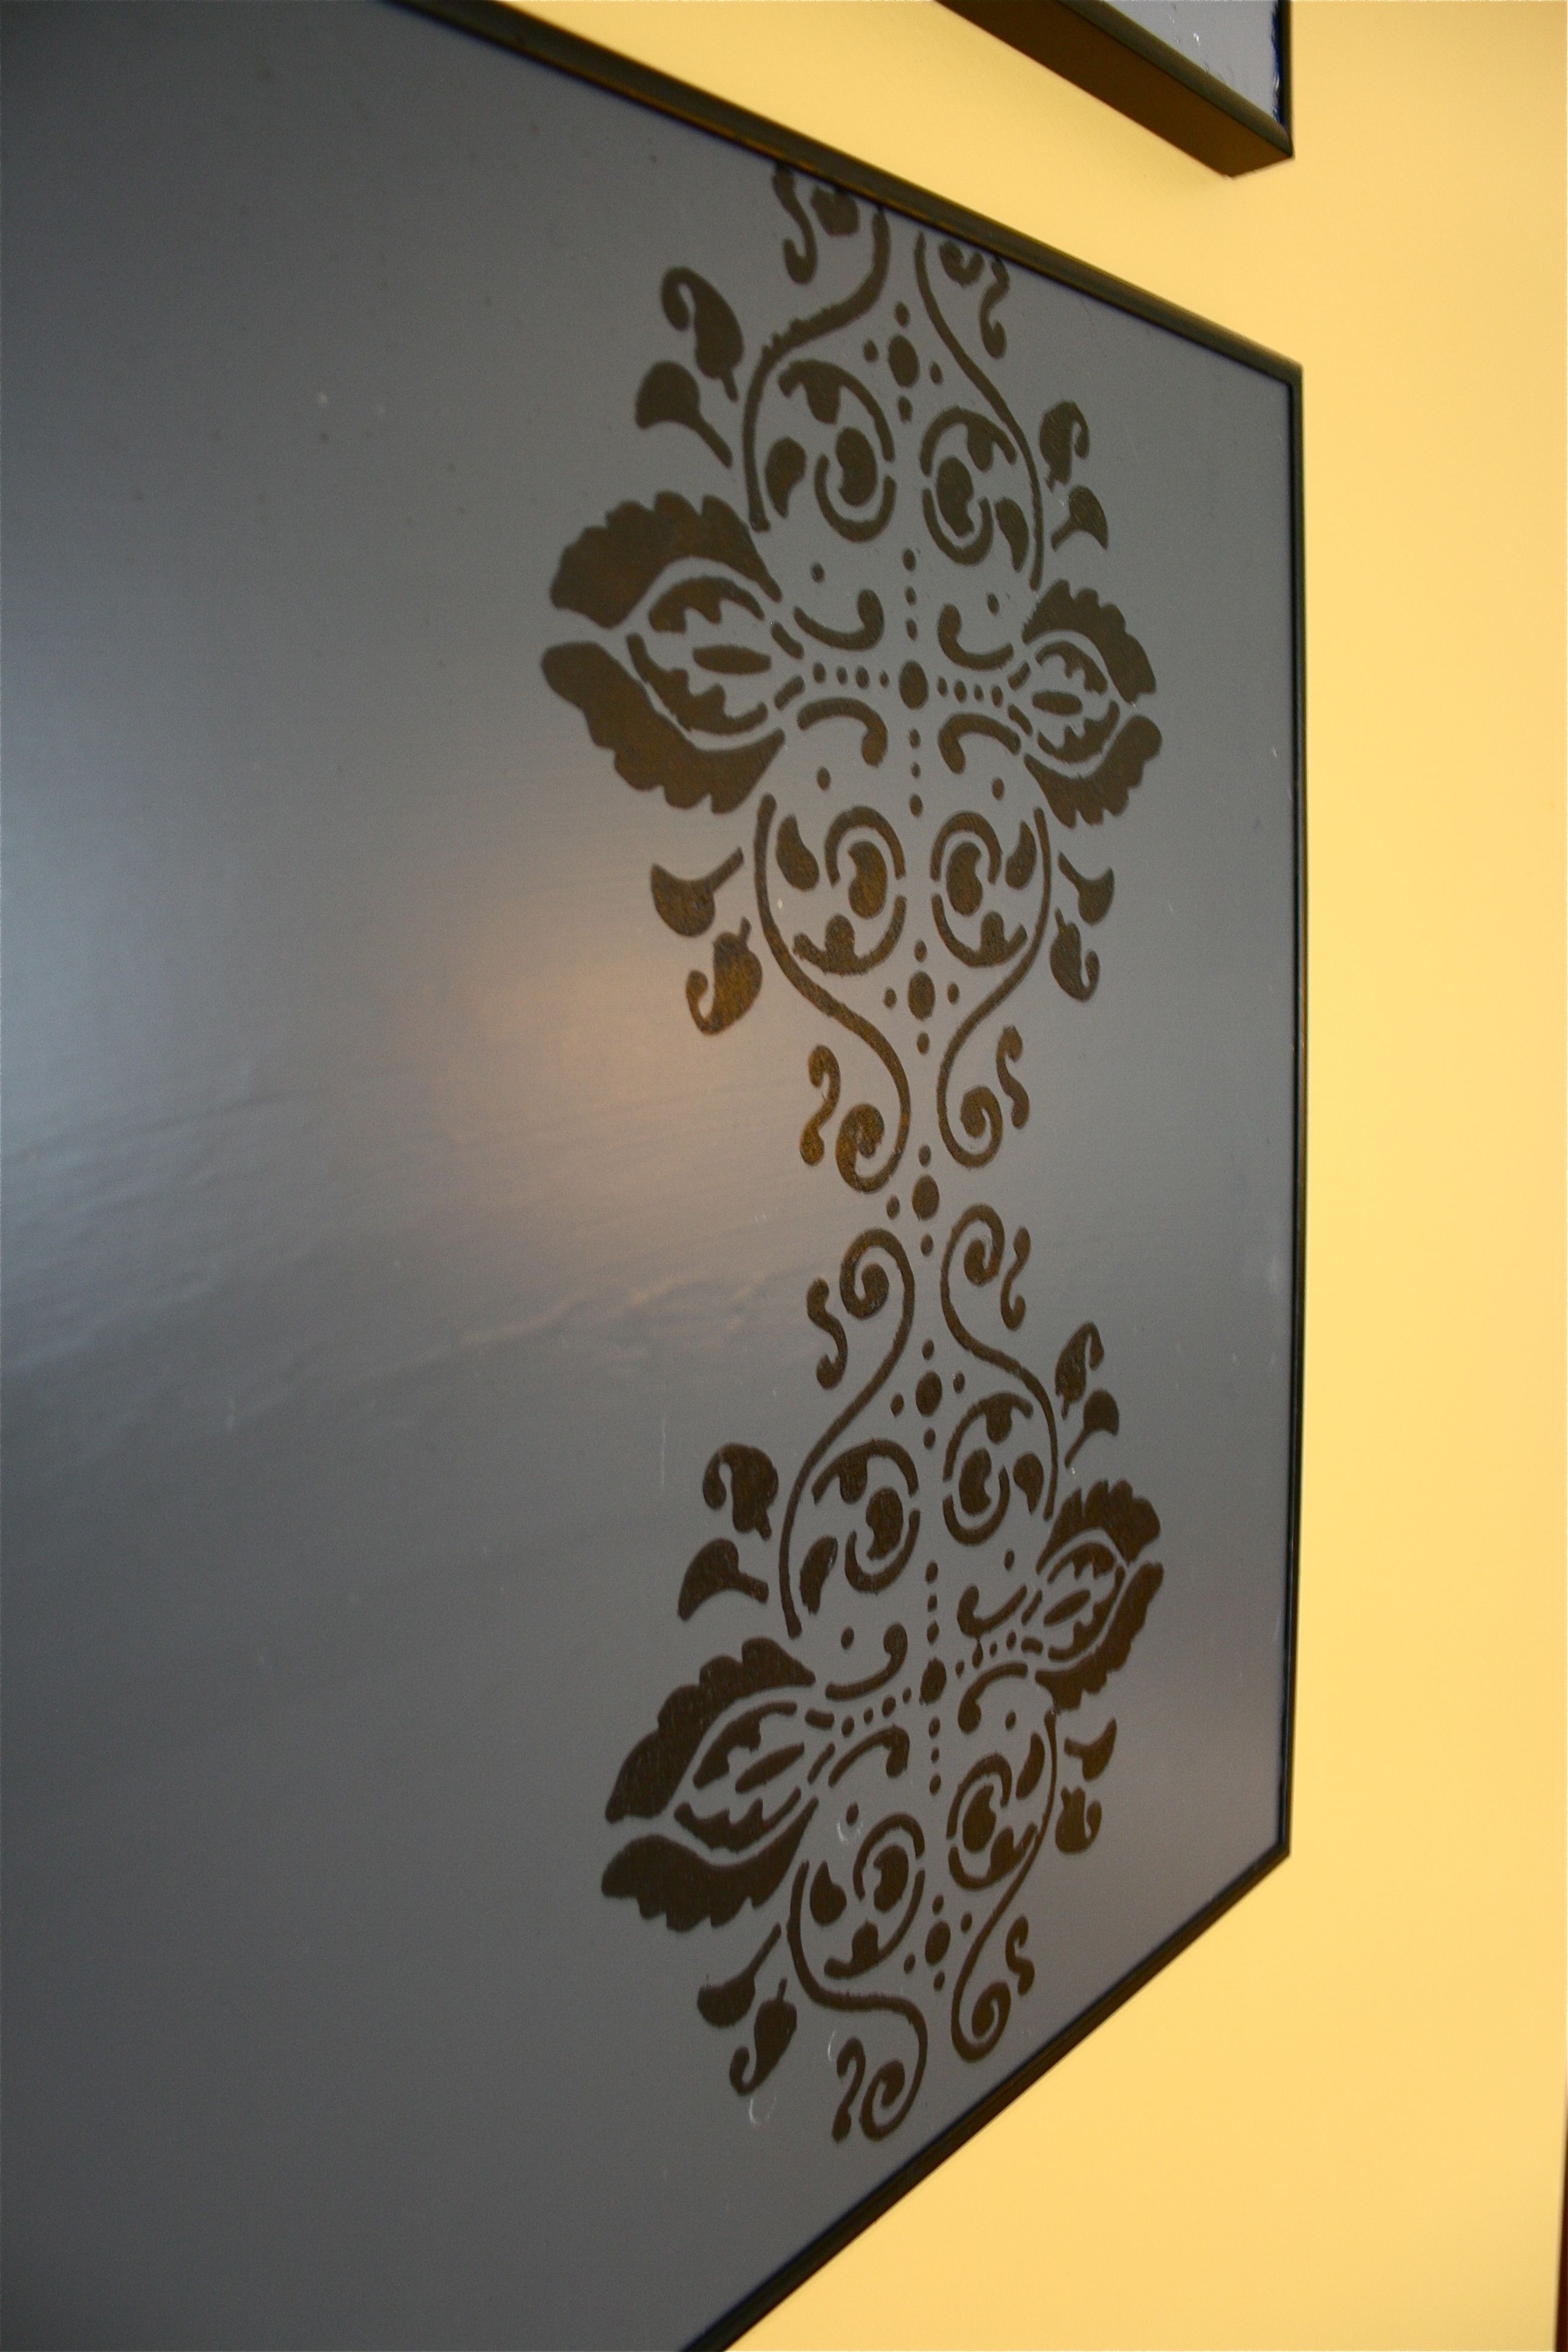
I removed the tape and stencil while the paint was still wet (to avoid peeling dry paint), and voila!
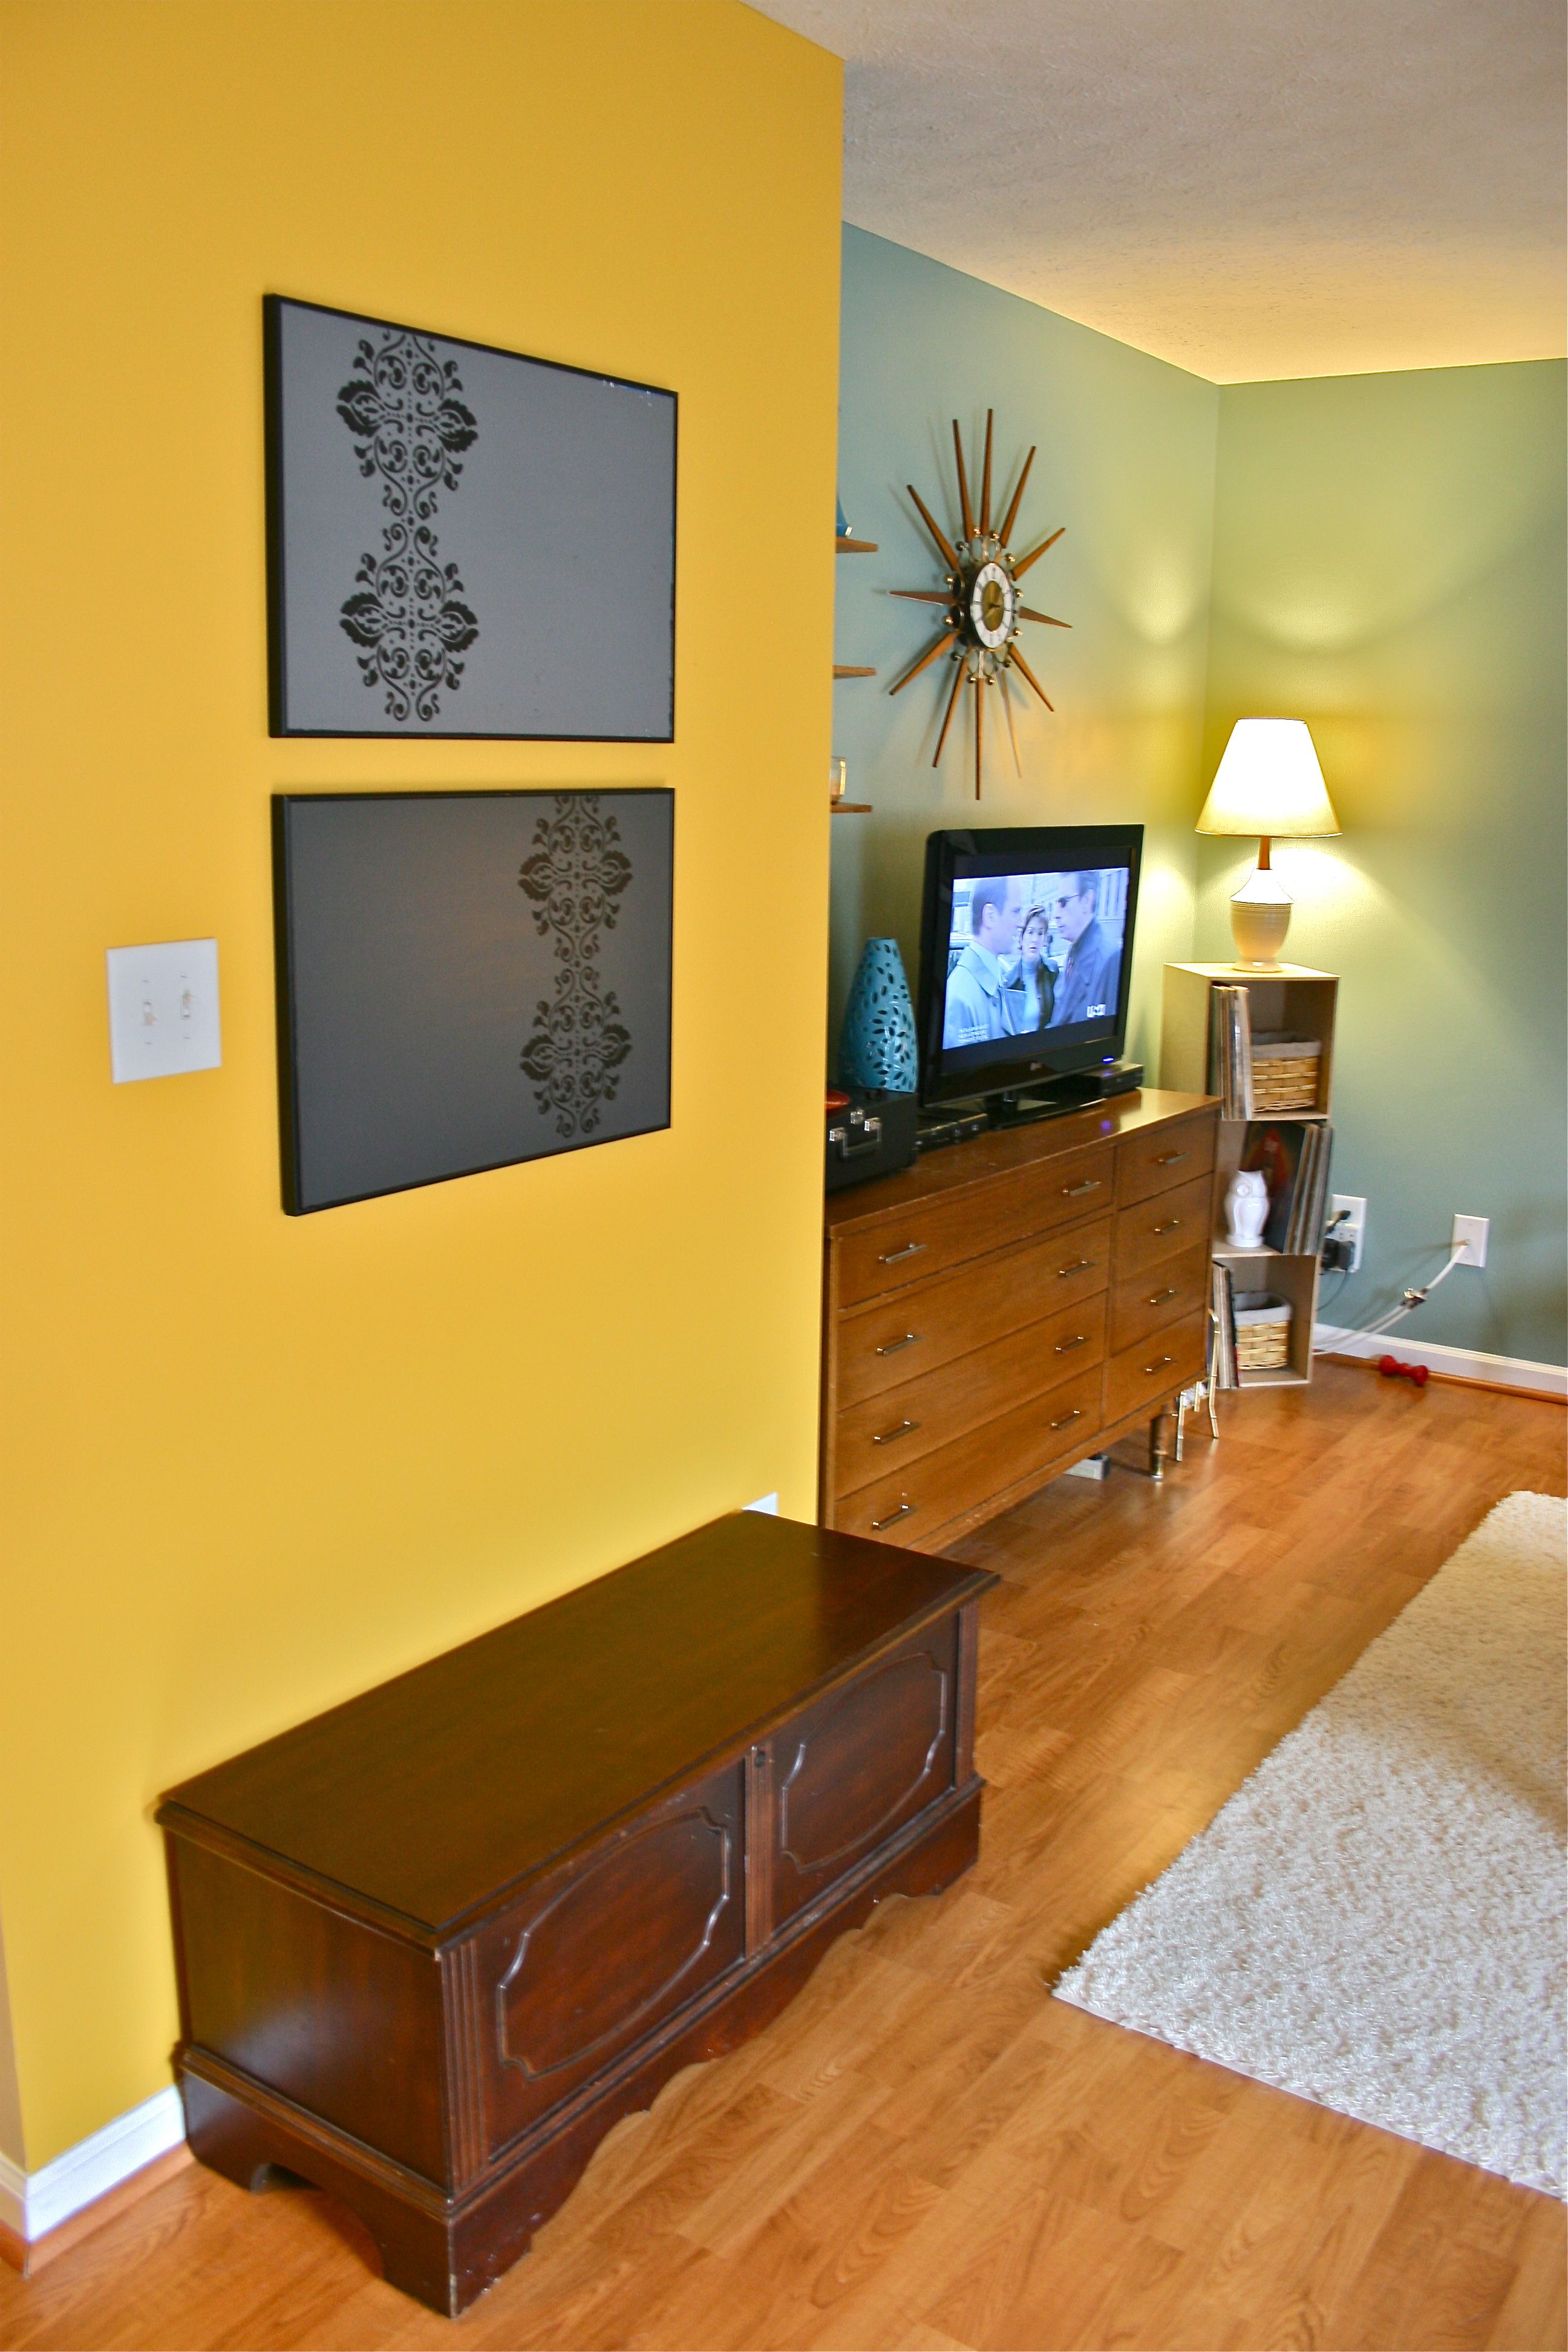
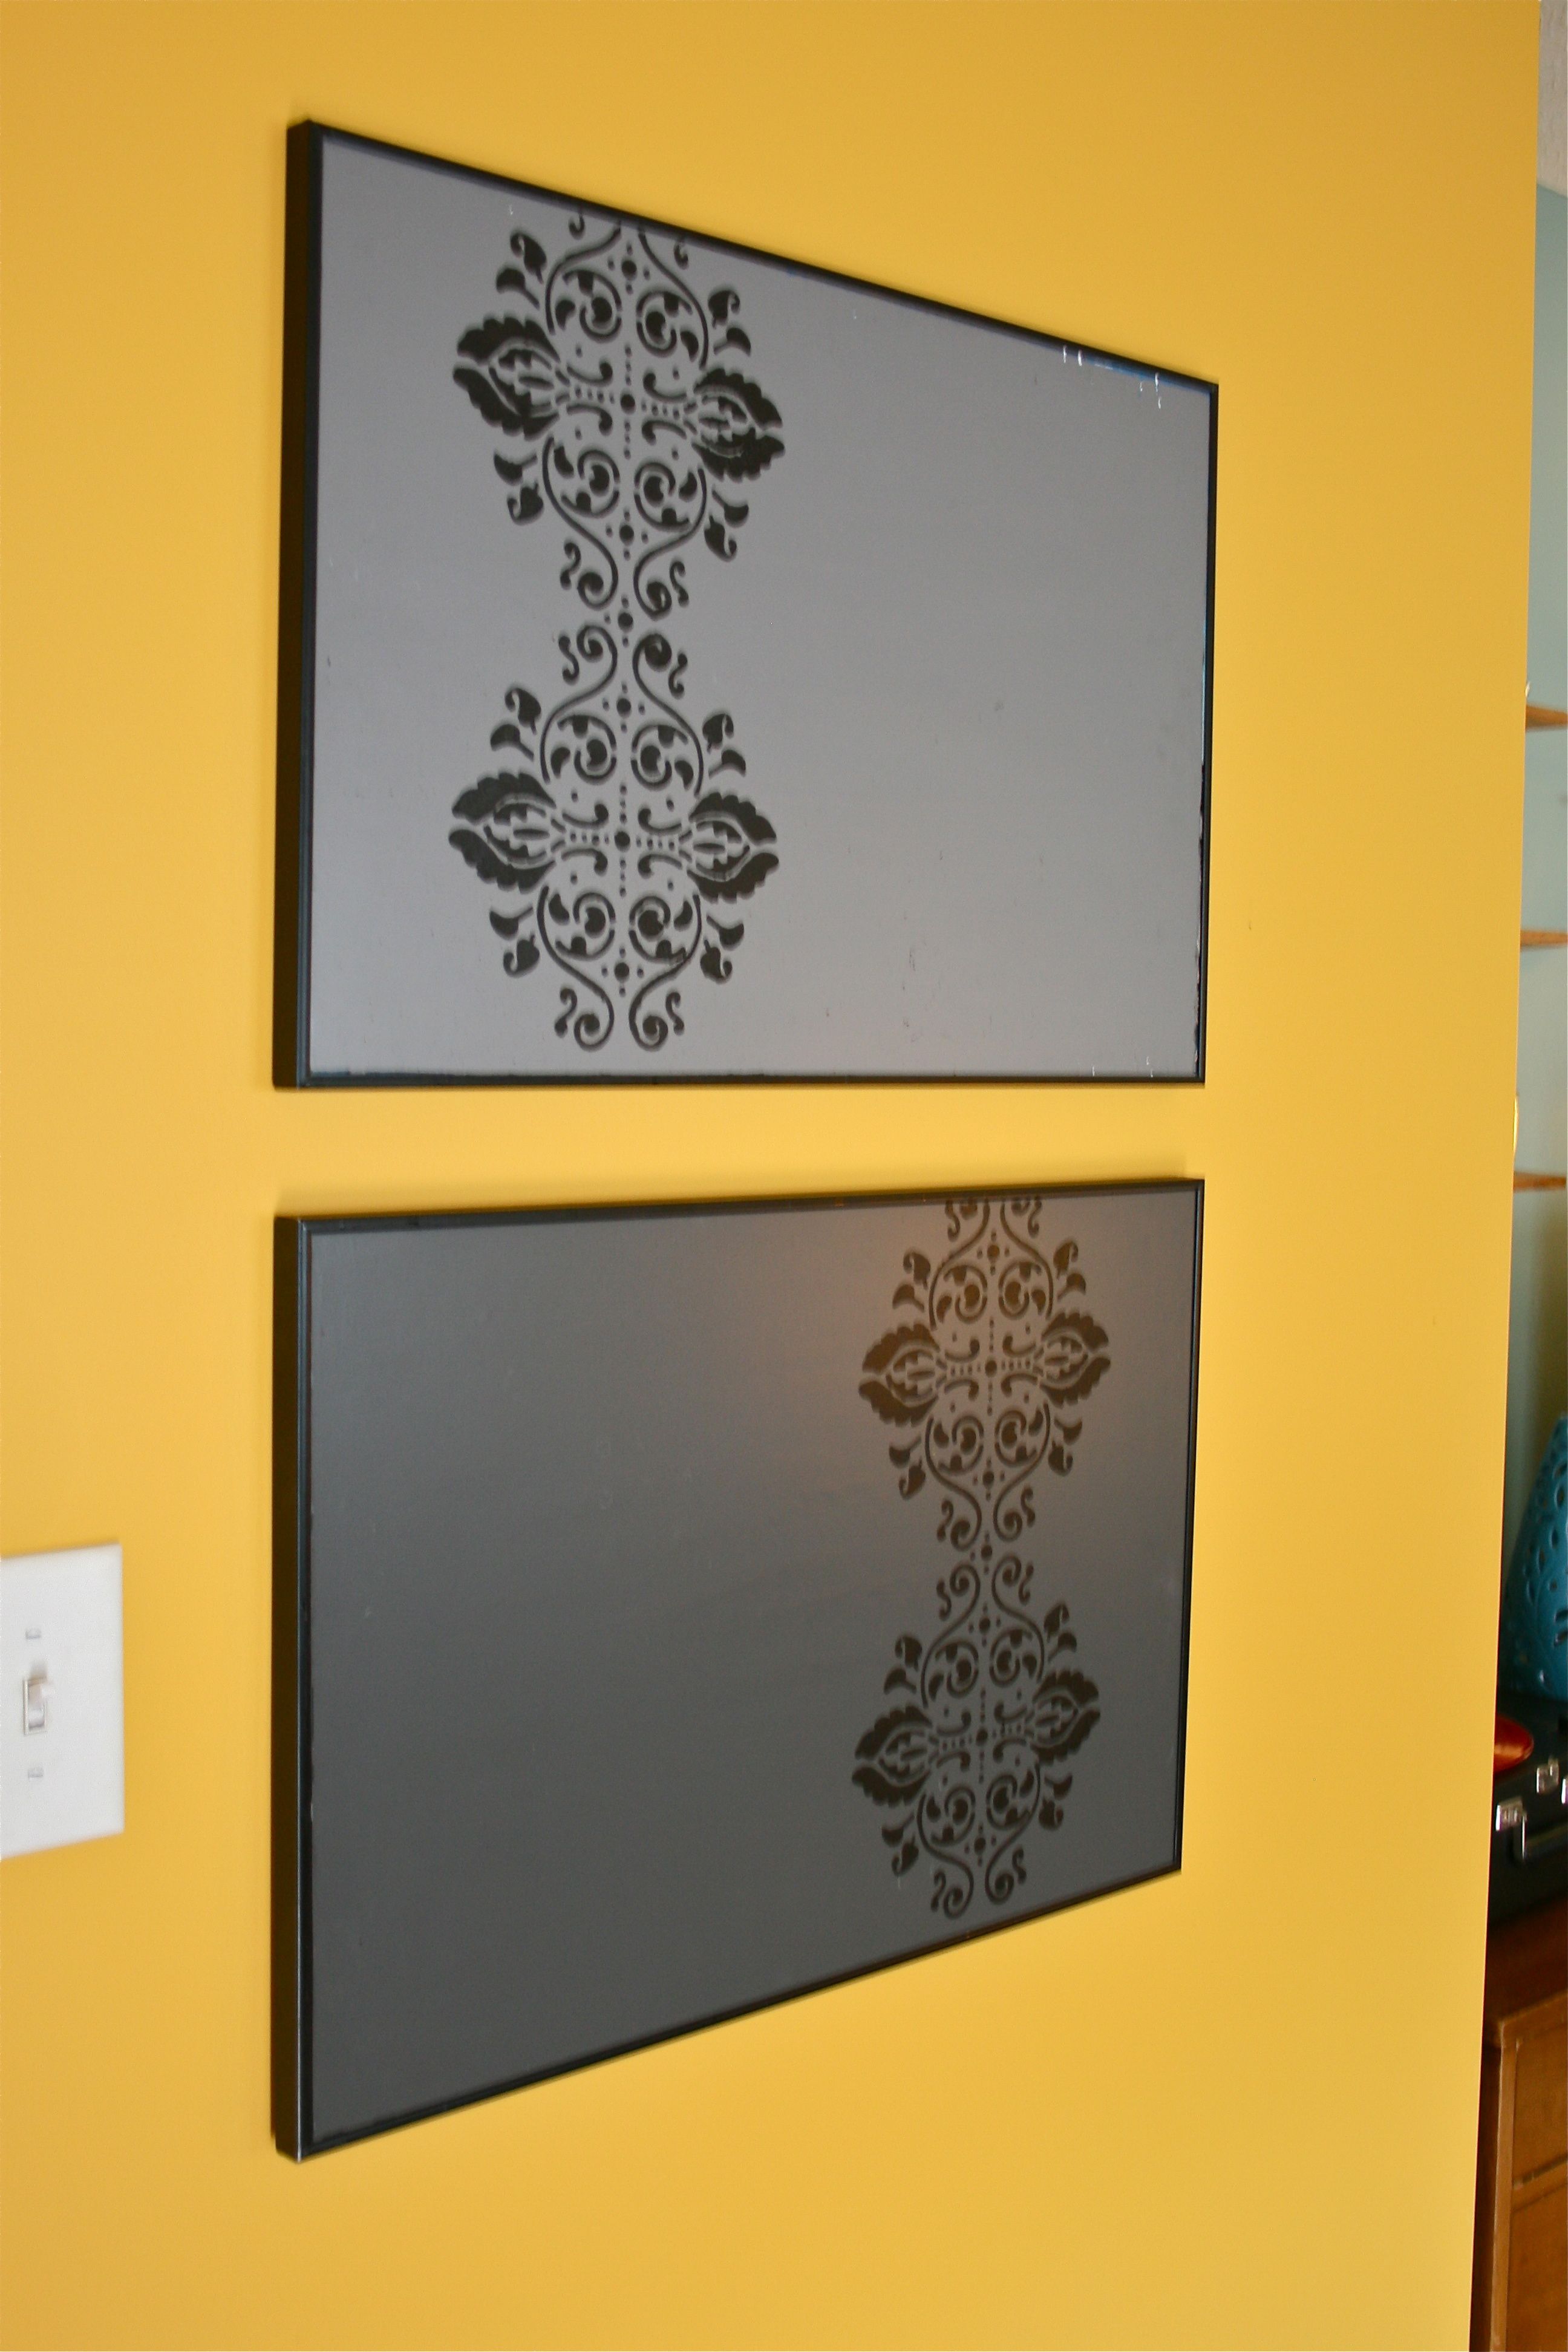
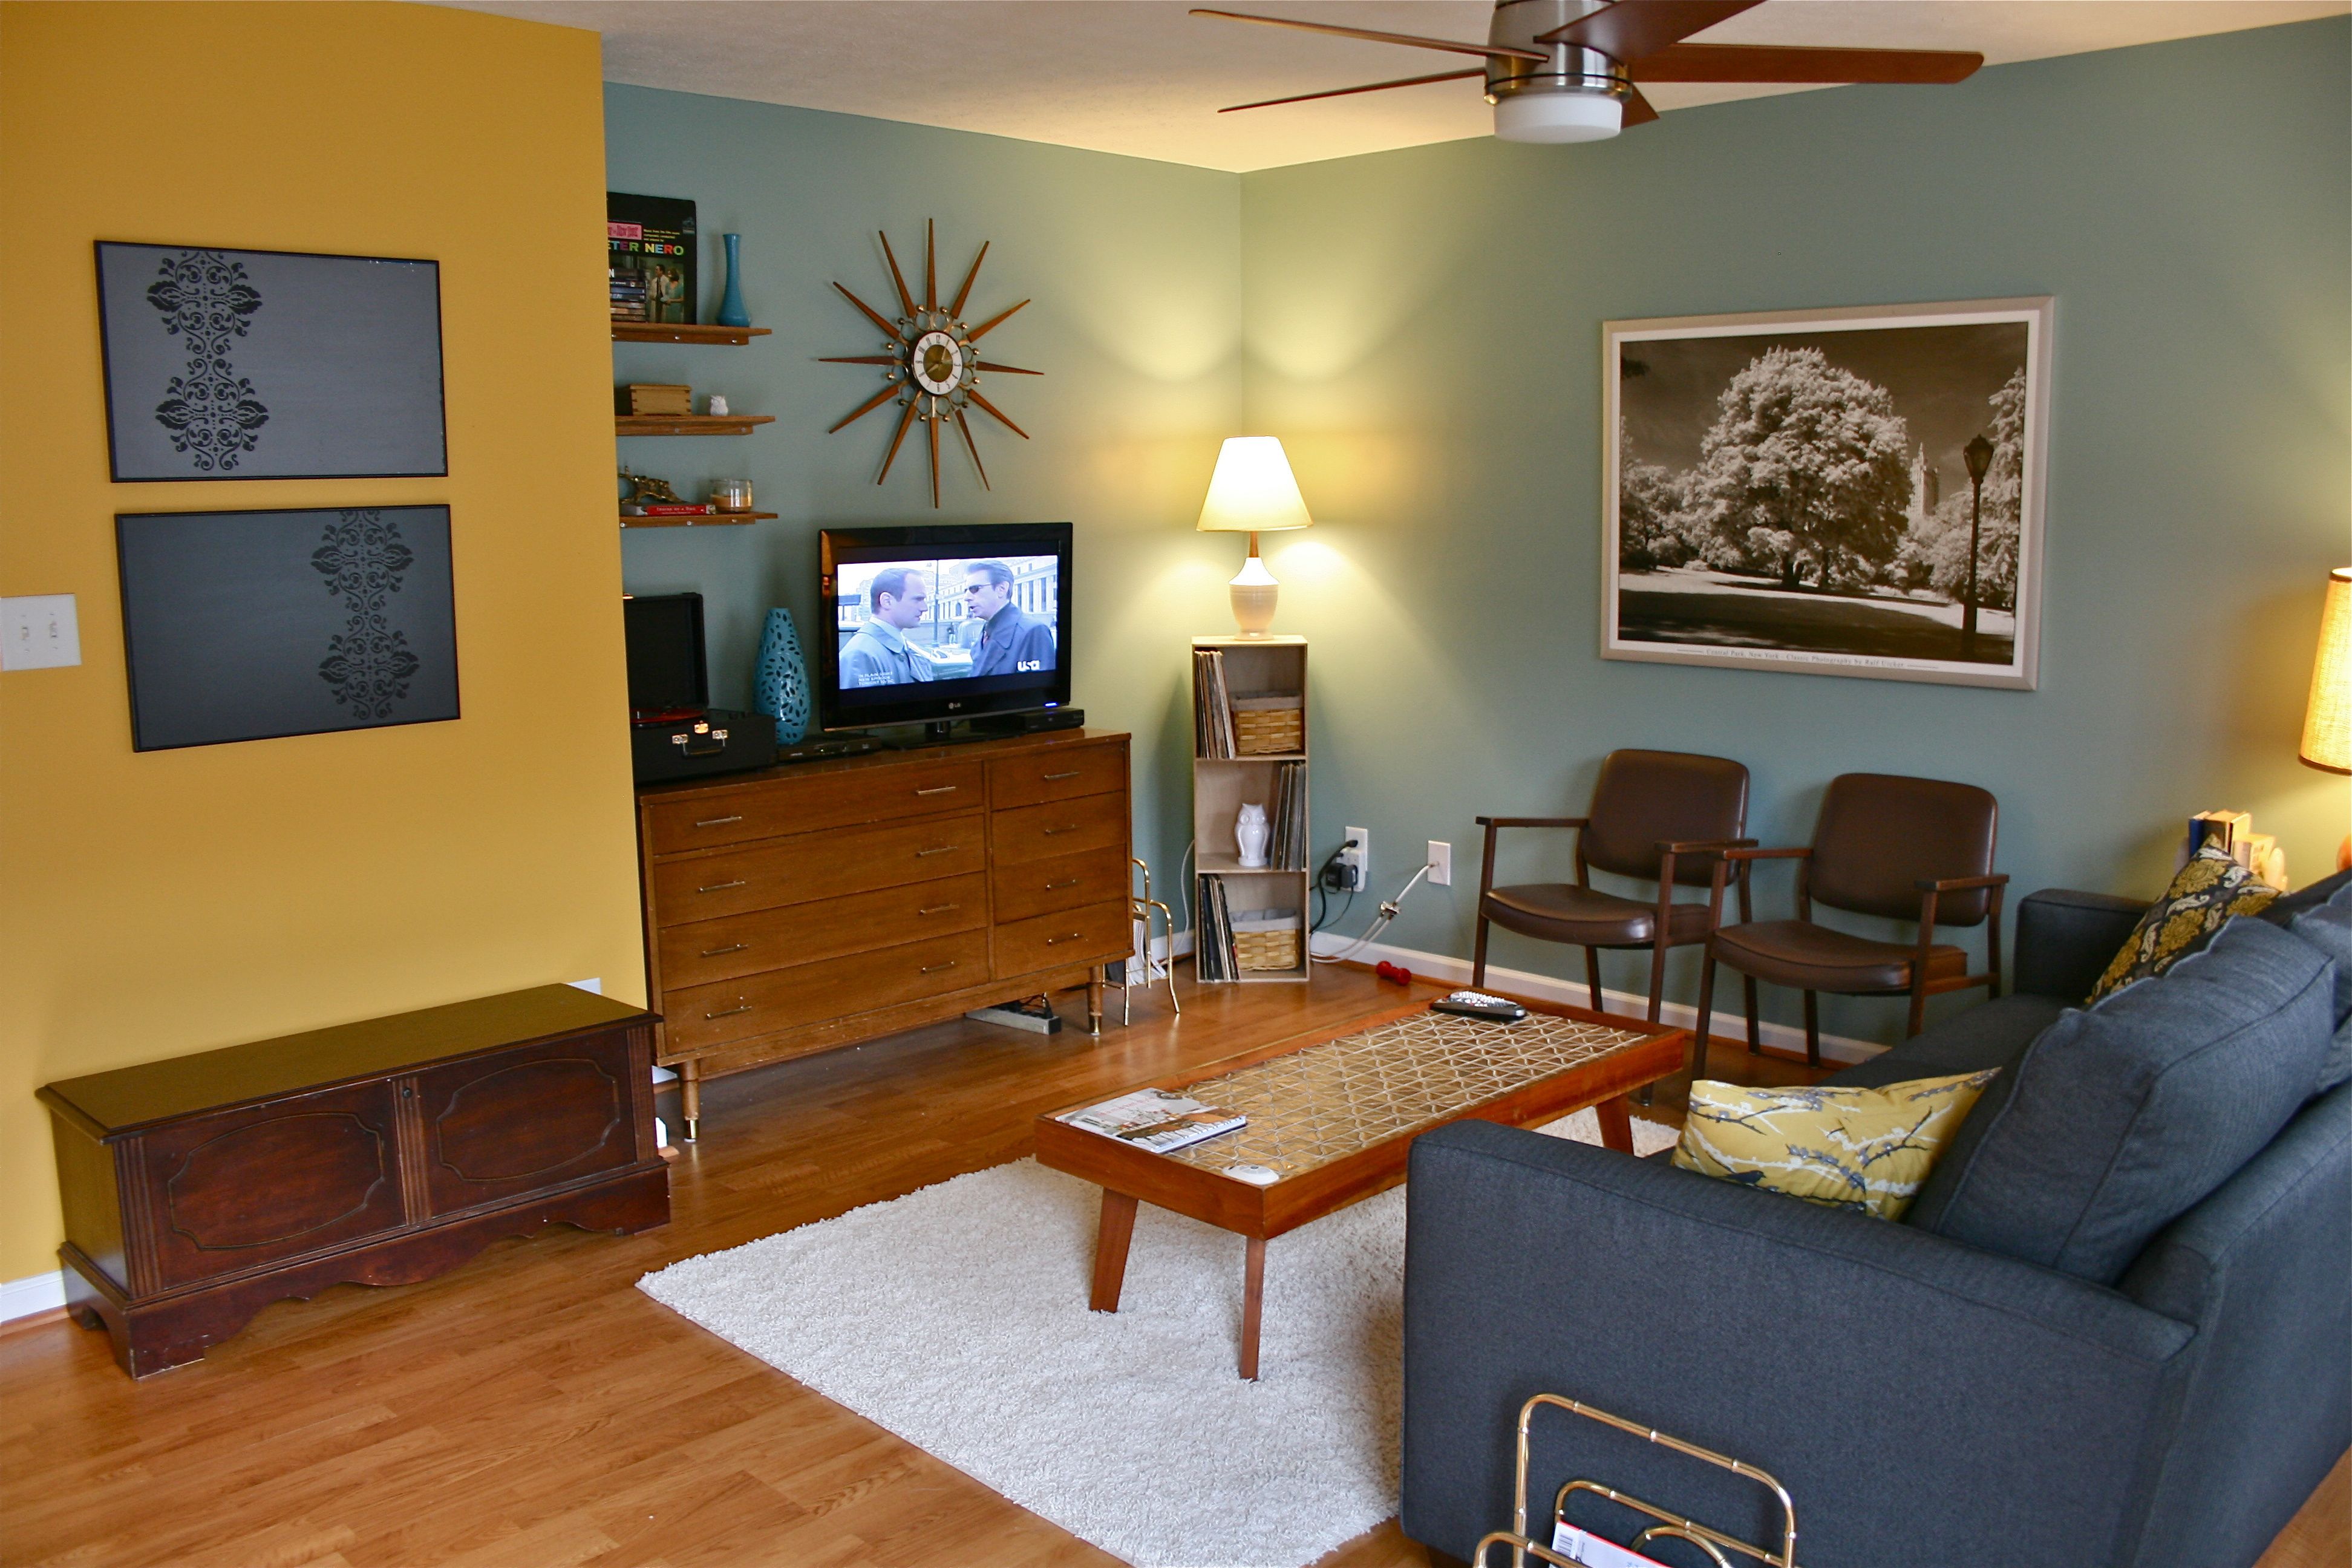
I did the same thing to the other poster, only this time I put the stencil on the right as opposed to the left because I wanted a staggered look when they were up on the wall together – I’m all about asymmetry. Here they are up on the yellow wall together!
My plan is to paint two more layers of the stencil using colors that lighten as it progresses (i.e. light yellow goes on top of the black layer, white goes on top of that!) – I think it will give it a bit of a 3D effect when all done. And to clarify my vision, the layers will be staggered a bit so that they aren’t covering each other up.
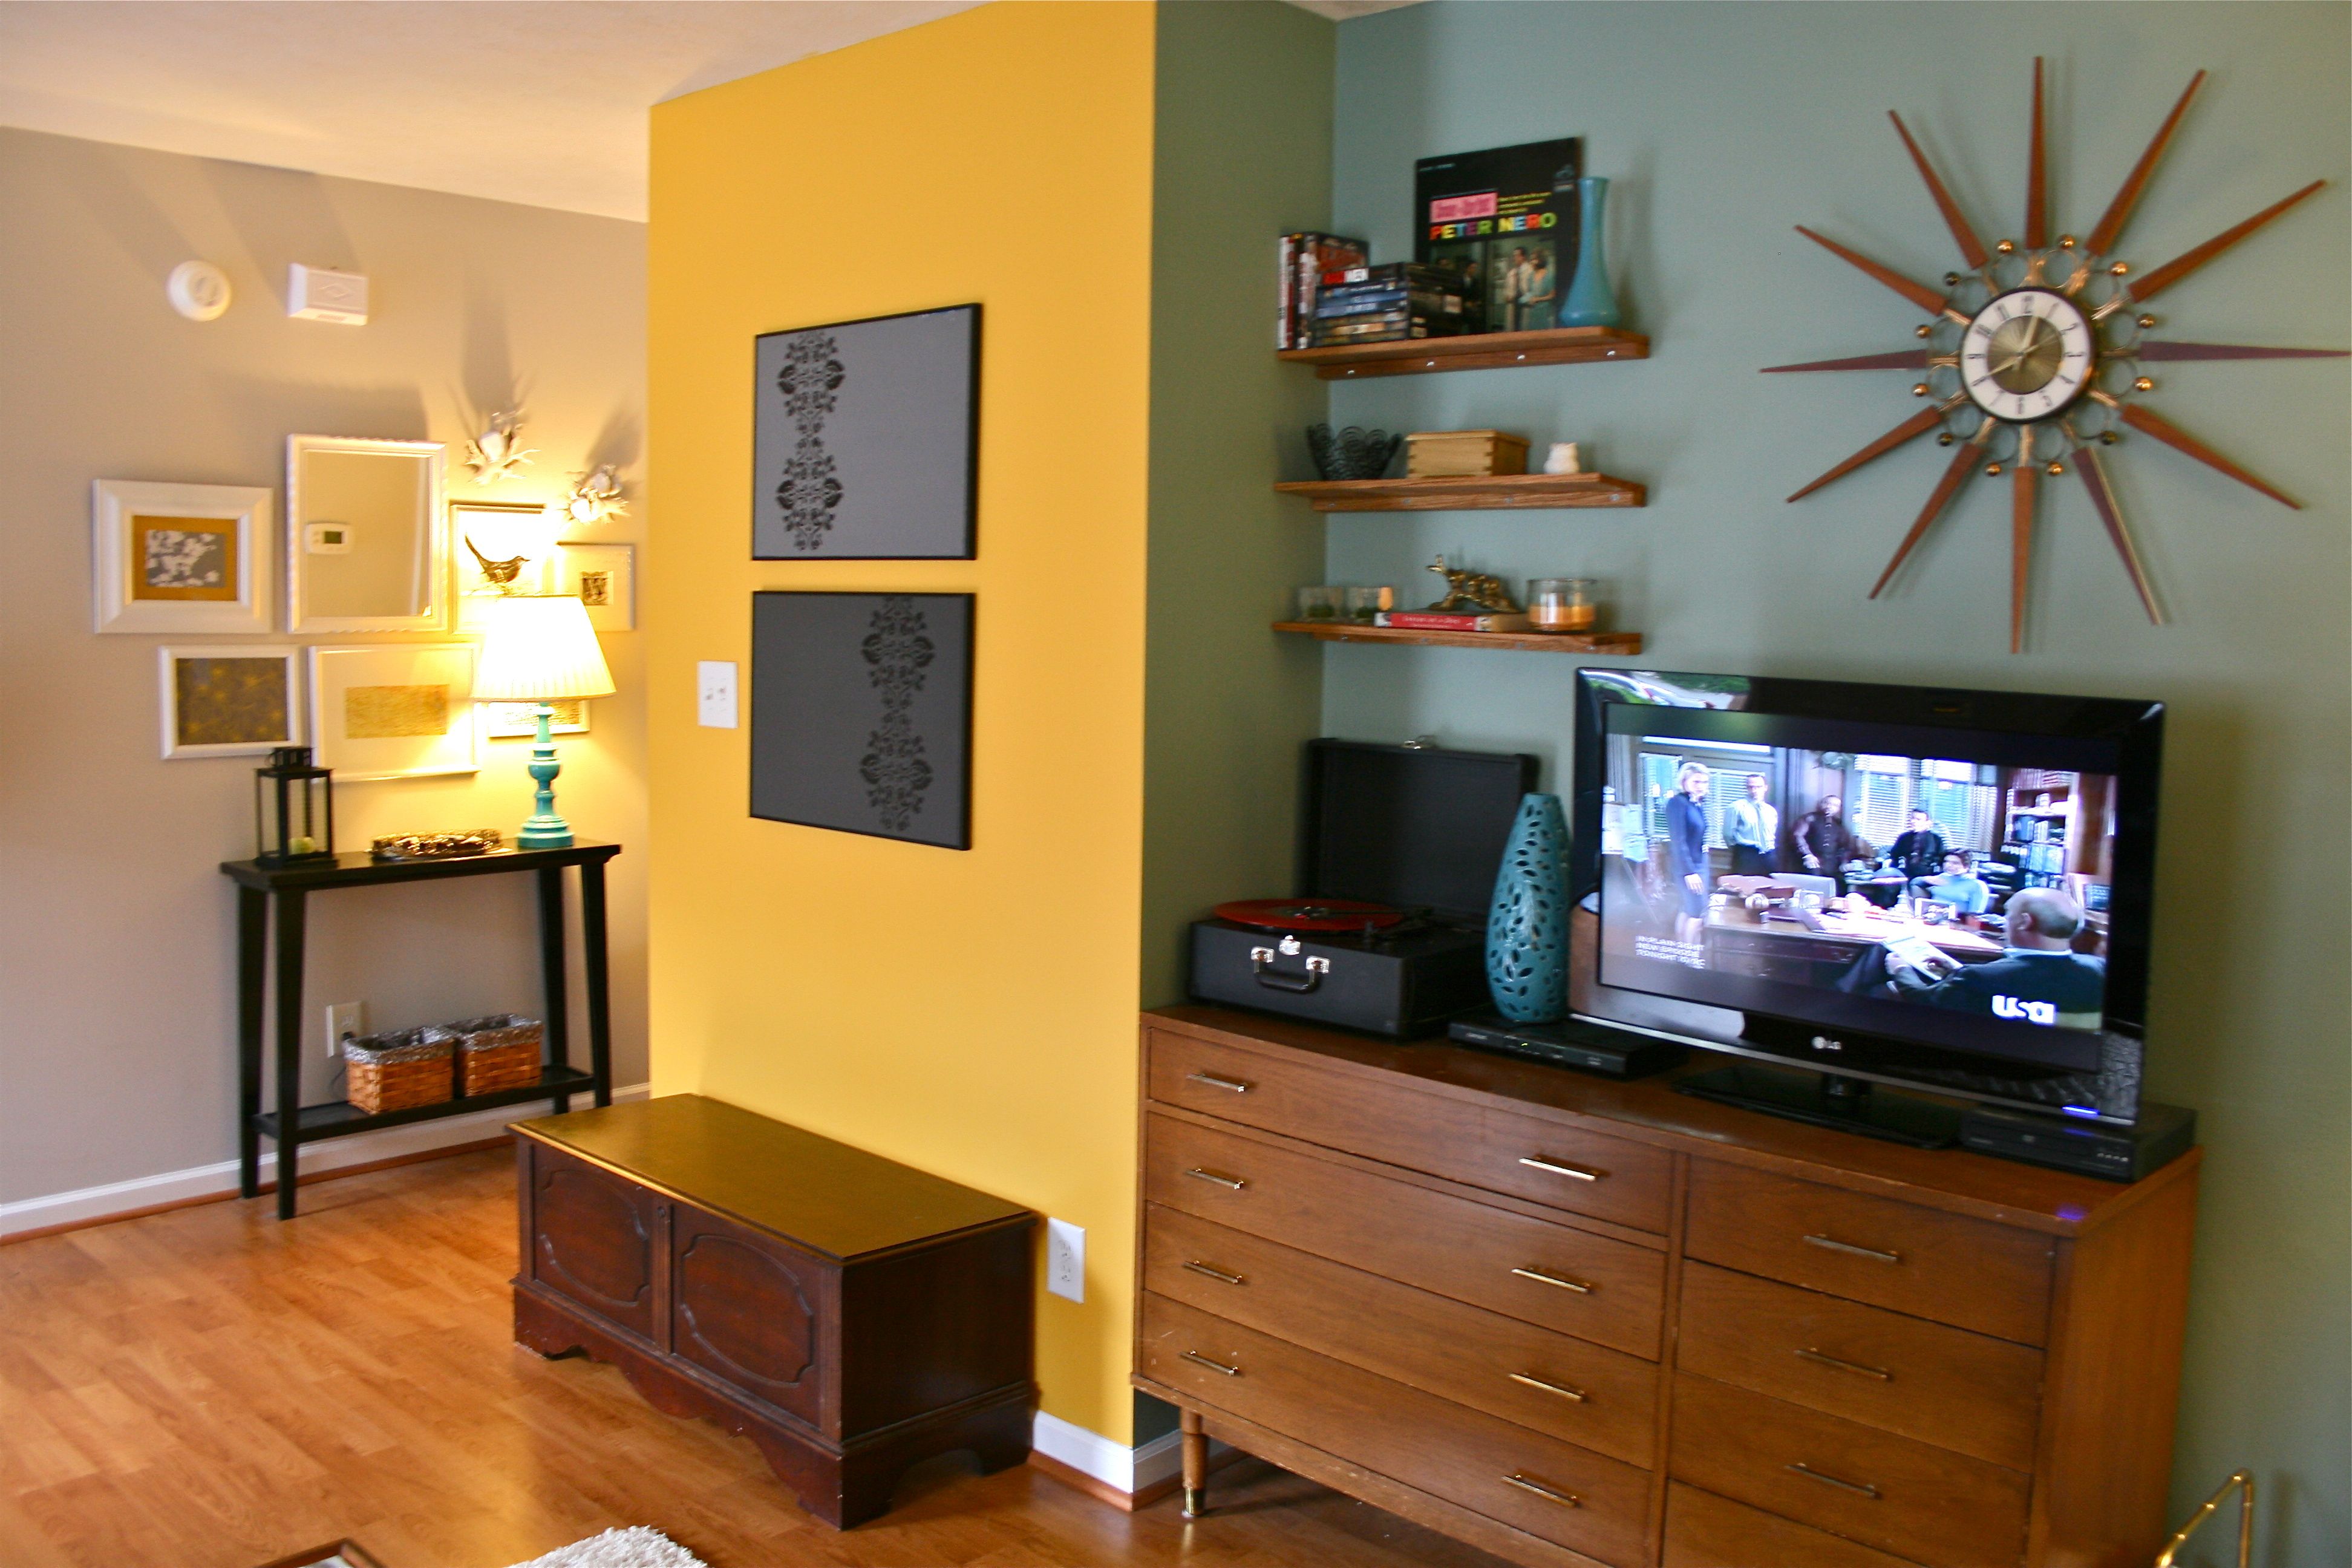
Here are some more wide shots:
What do you guys think? Do you feel like the new darker art work redeems our wild yellow wall?? Hopefully I’ll be able to finish the stenciling soon so you can see the FINAL “After” look 🙂
Hope you enjoy your weekend!

