This is one of those rare moments when I admit that I may have gone too far…
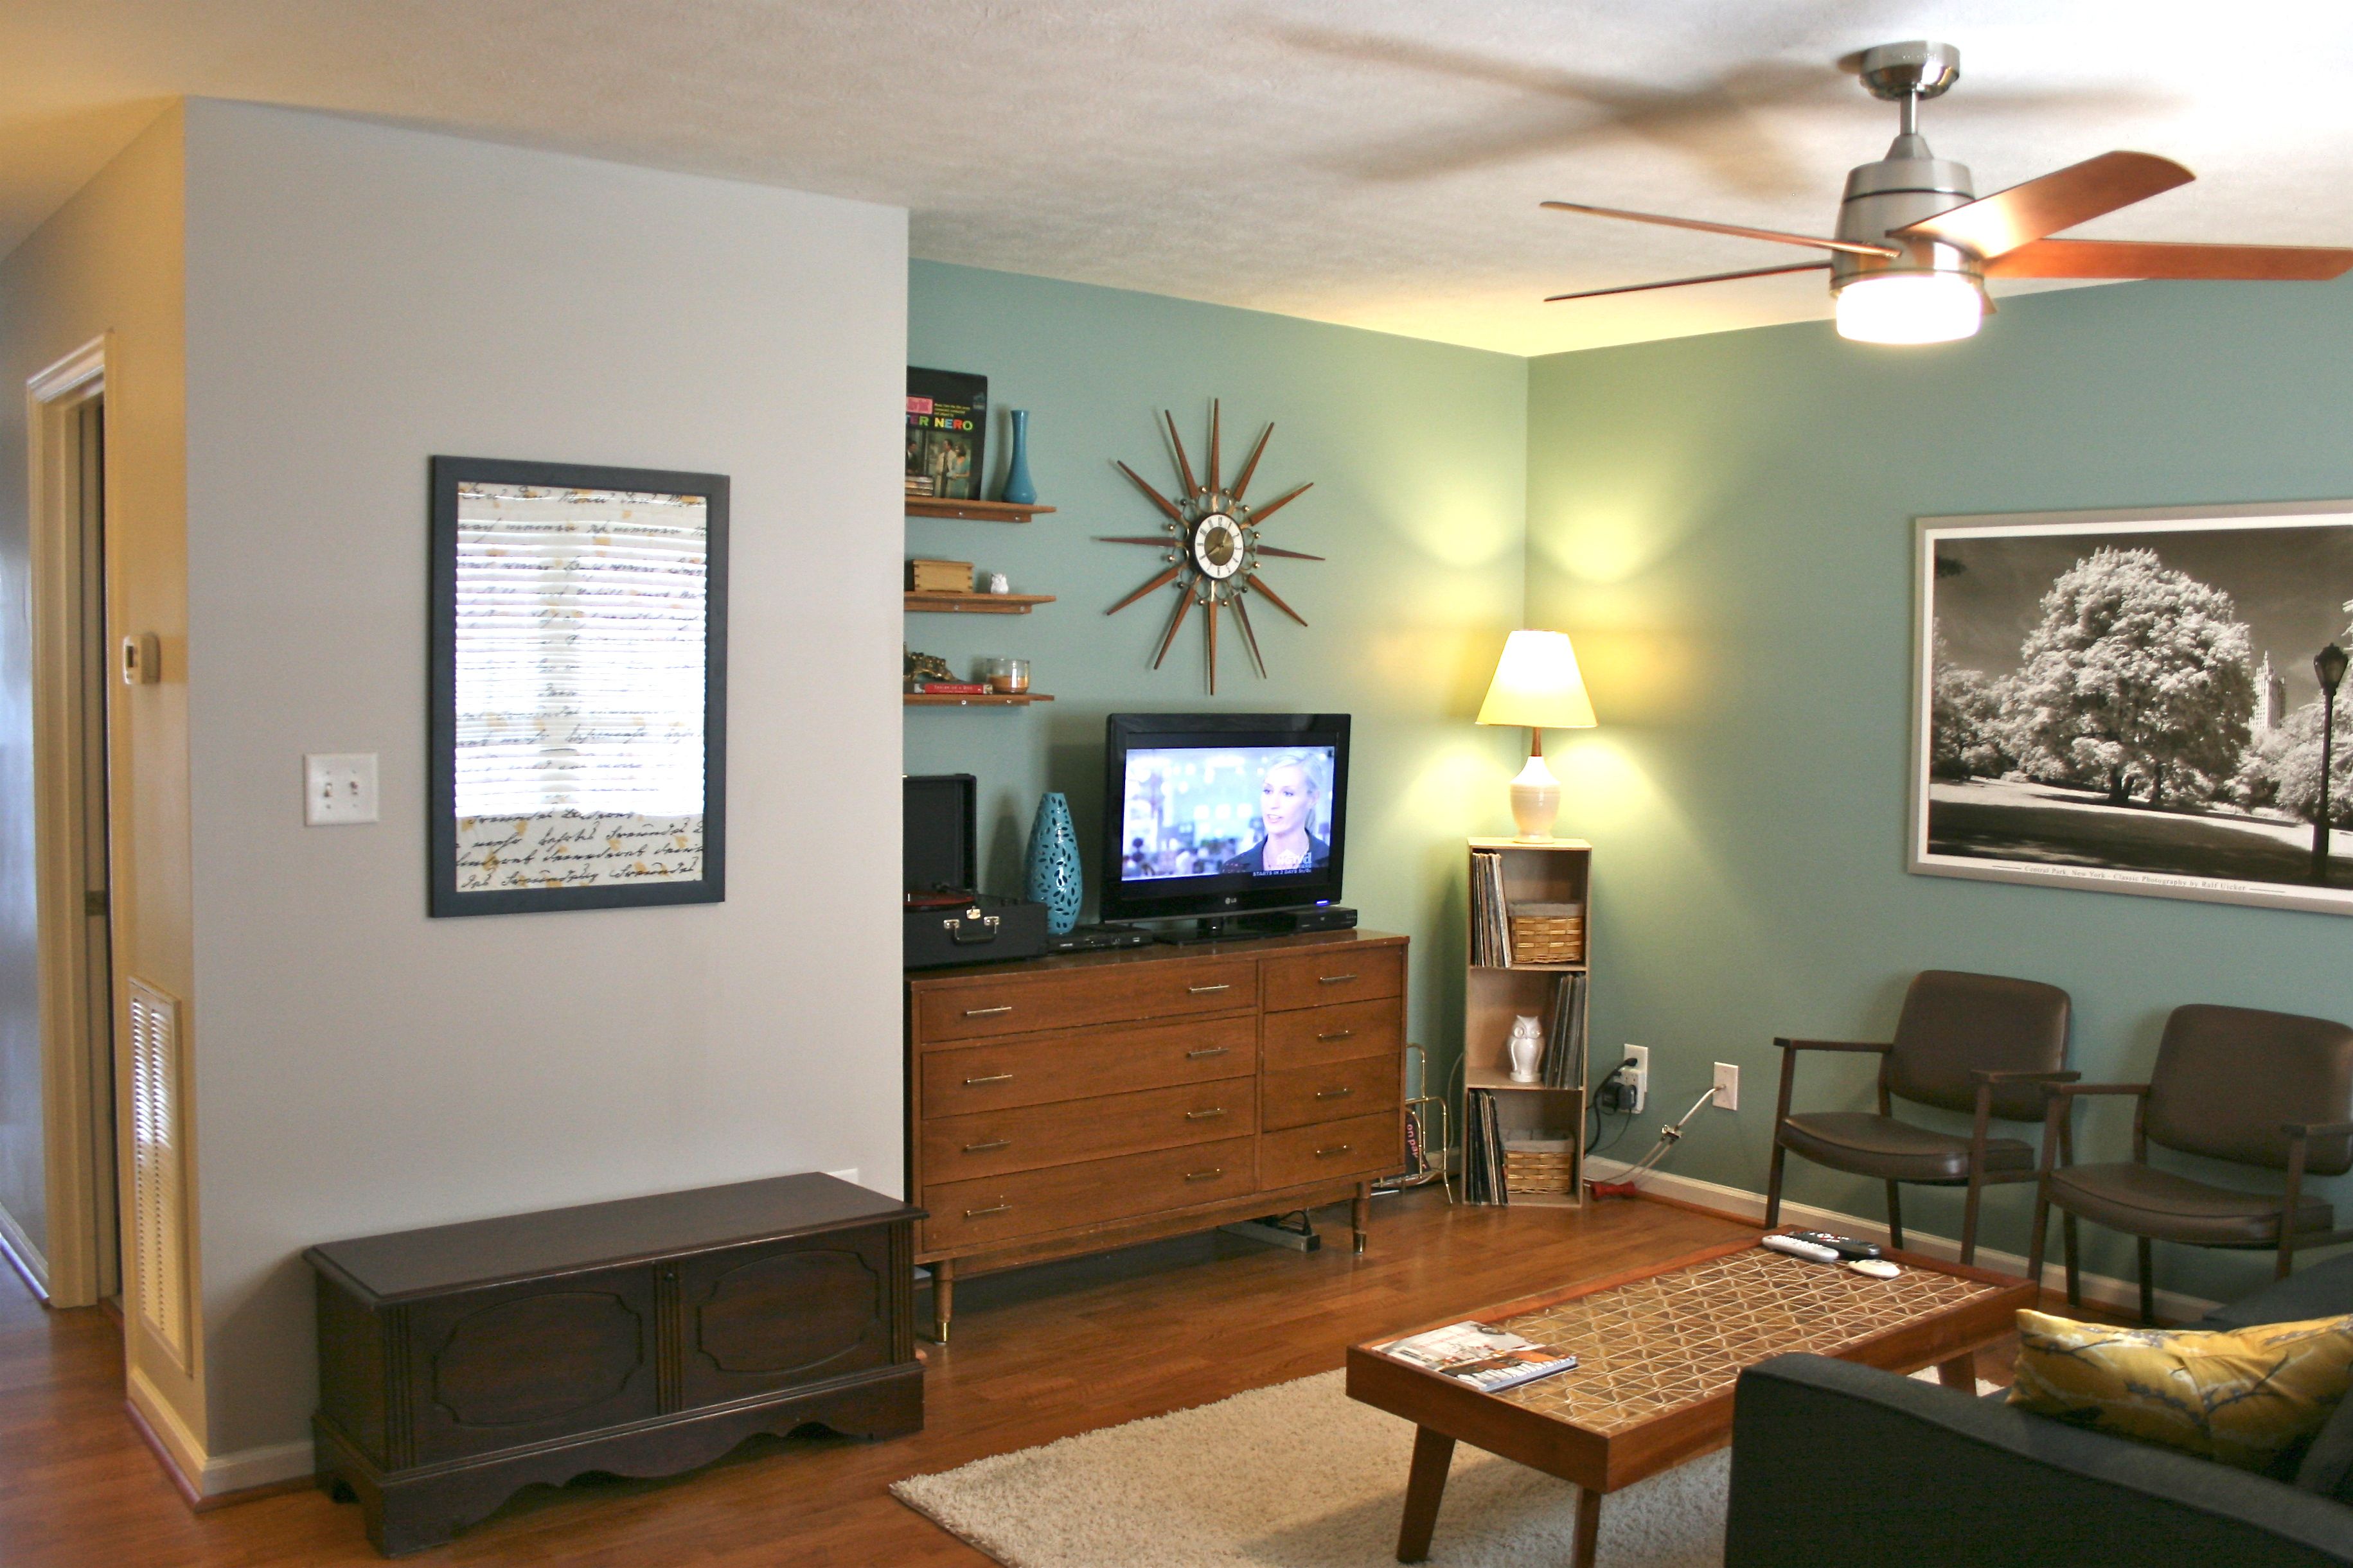
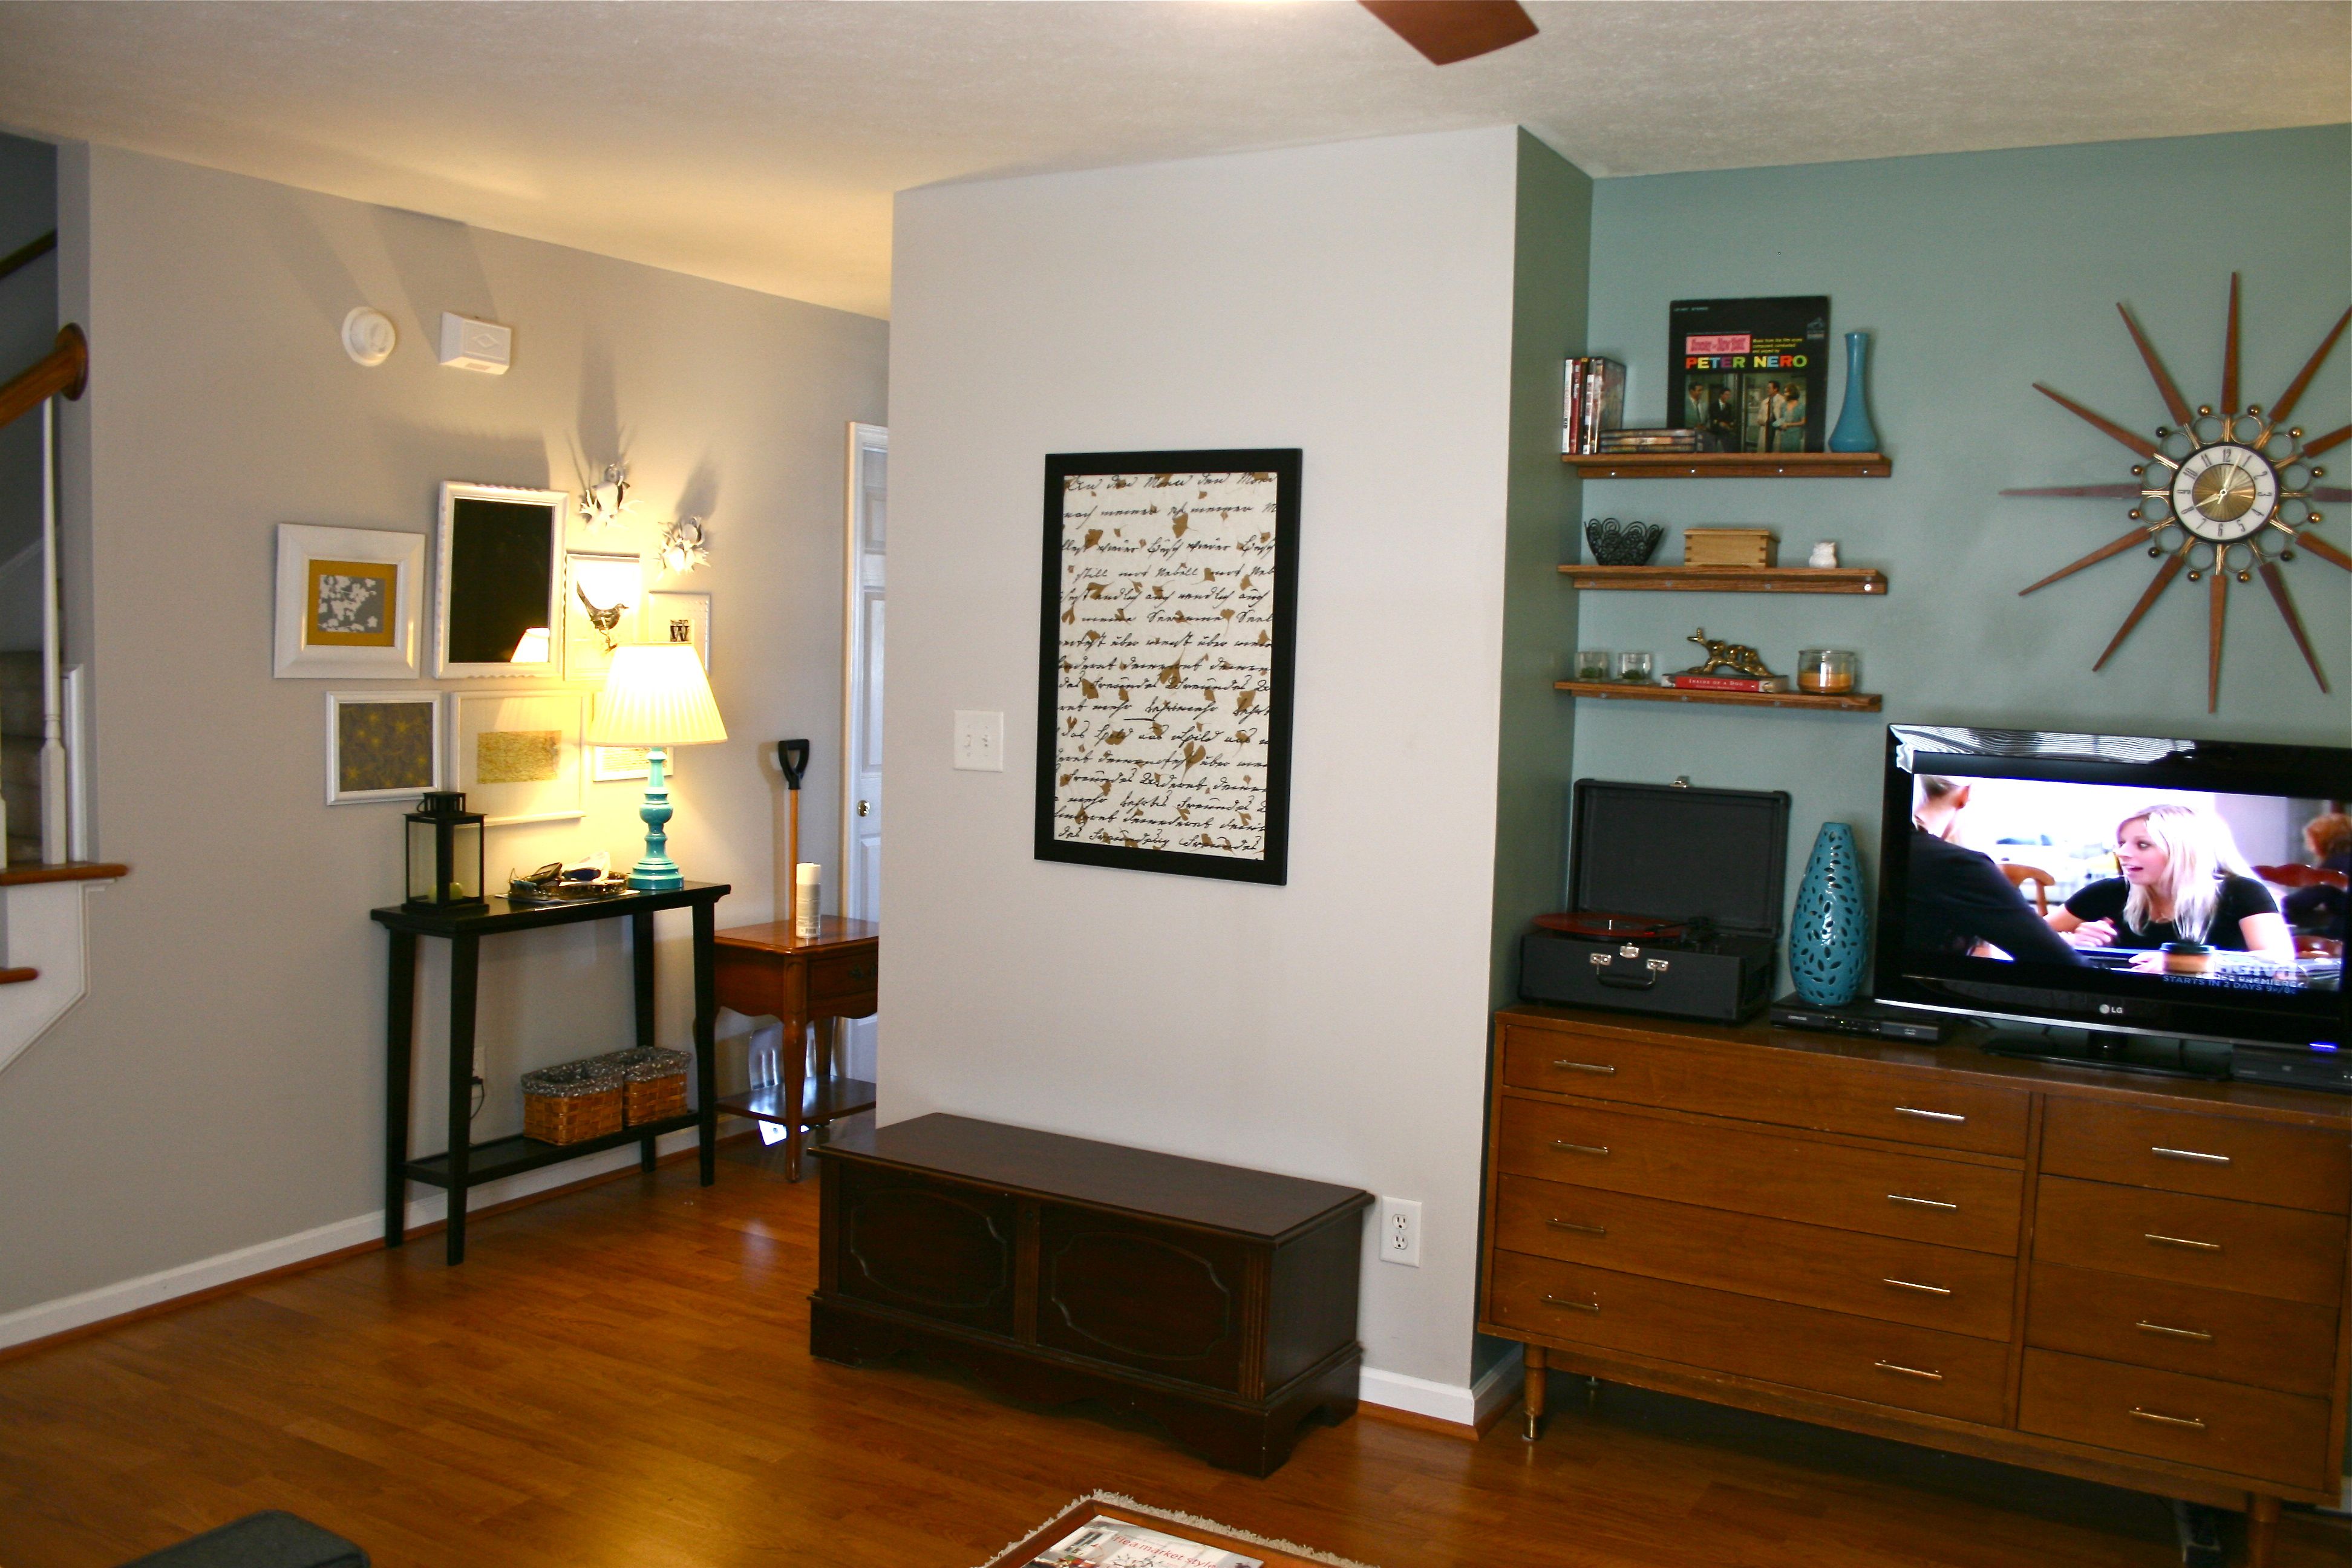
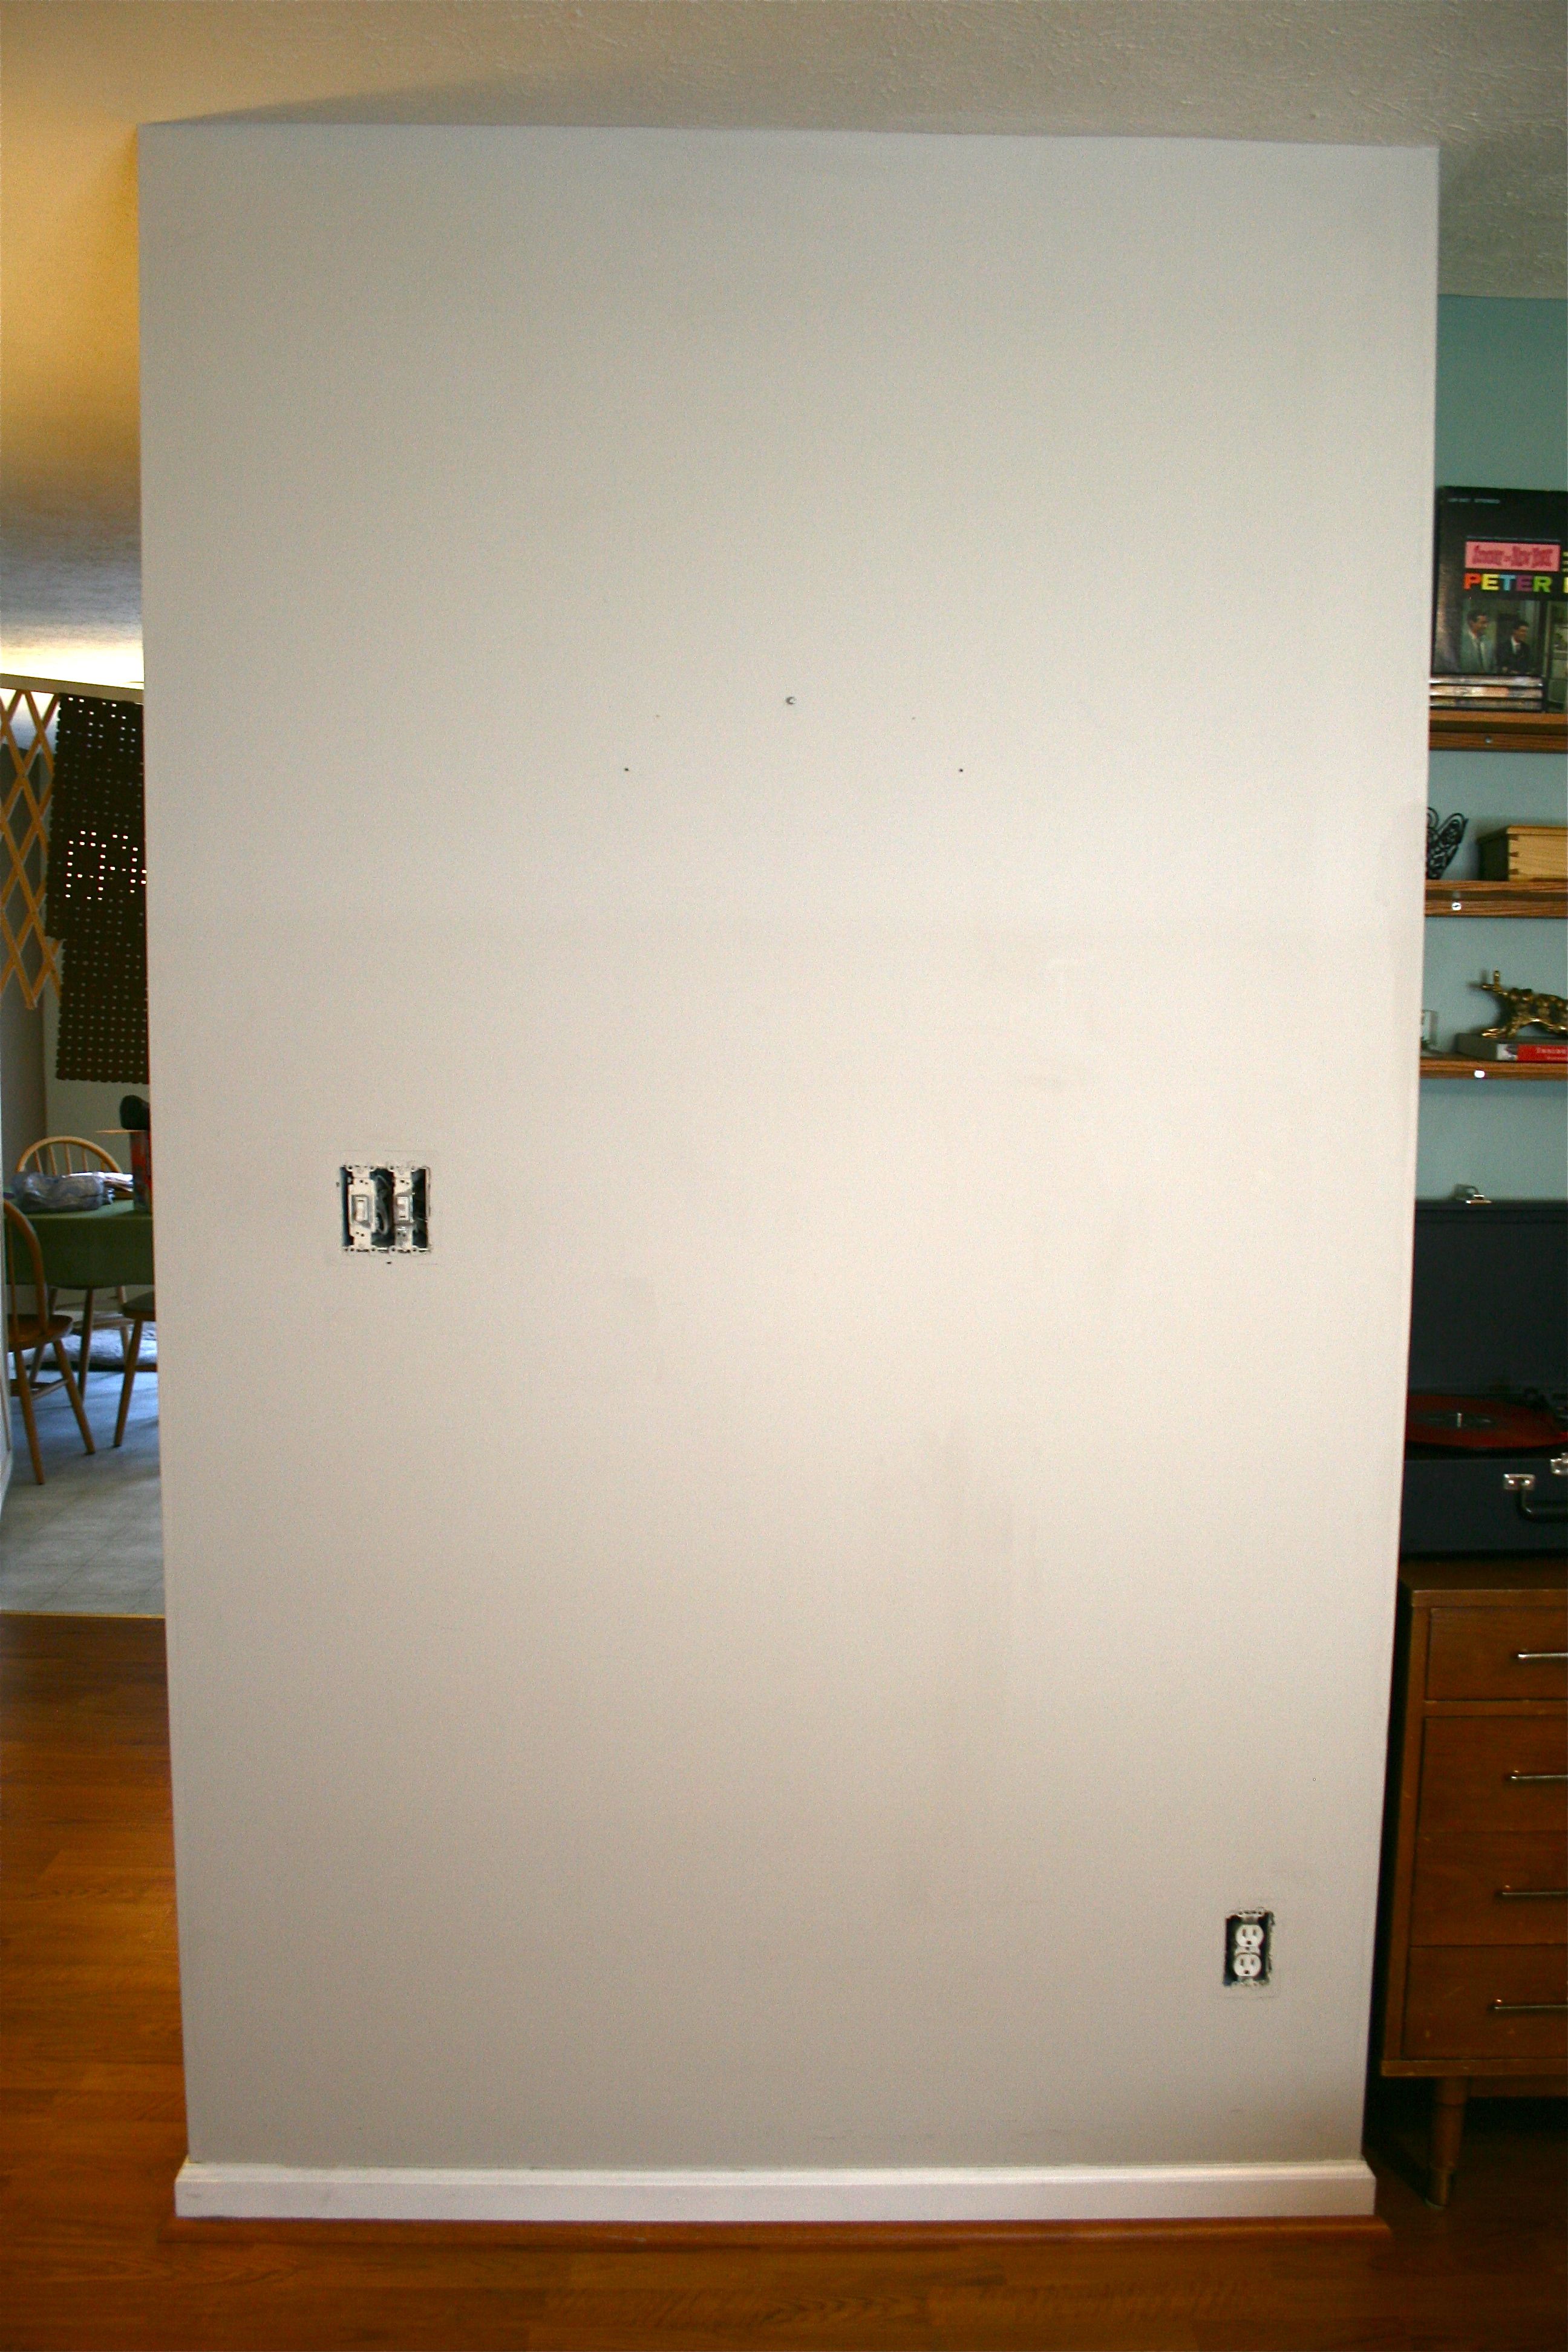
See that wall beside the television? The one that’s plain white next to the pretty pale teal one? Well, I couldn’t leave “well enough” alone and just HAD to revamp it into a focal point…
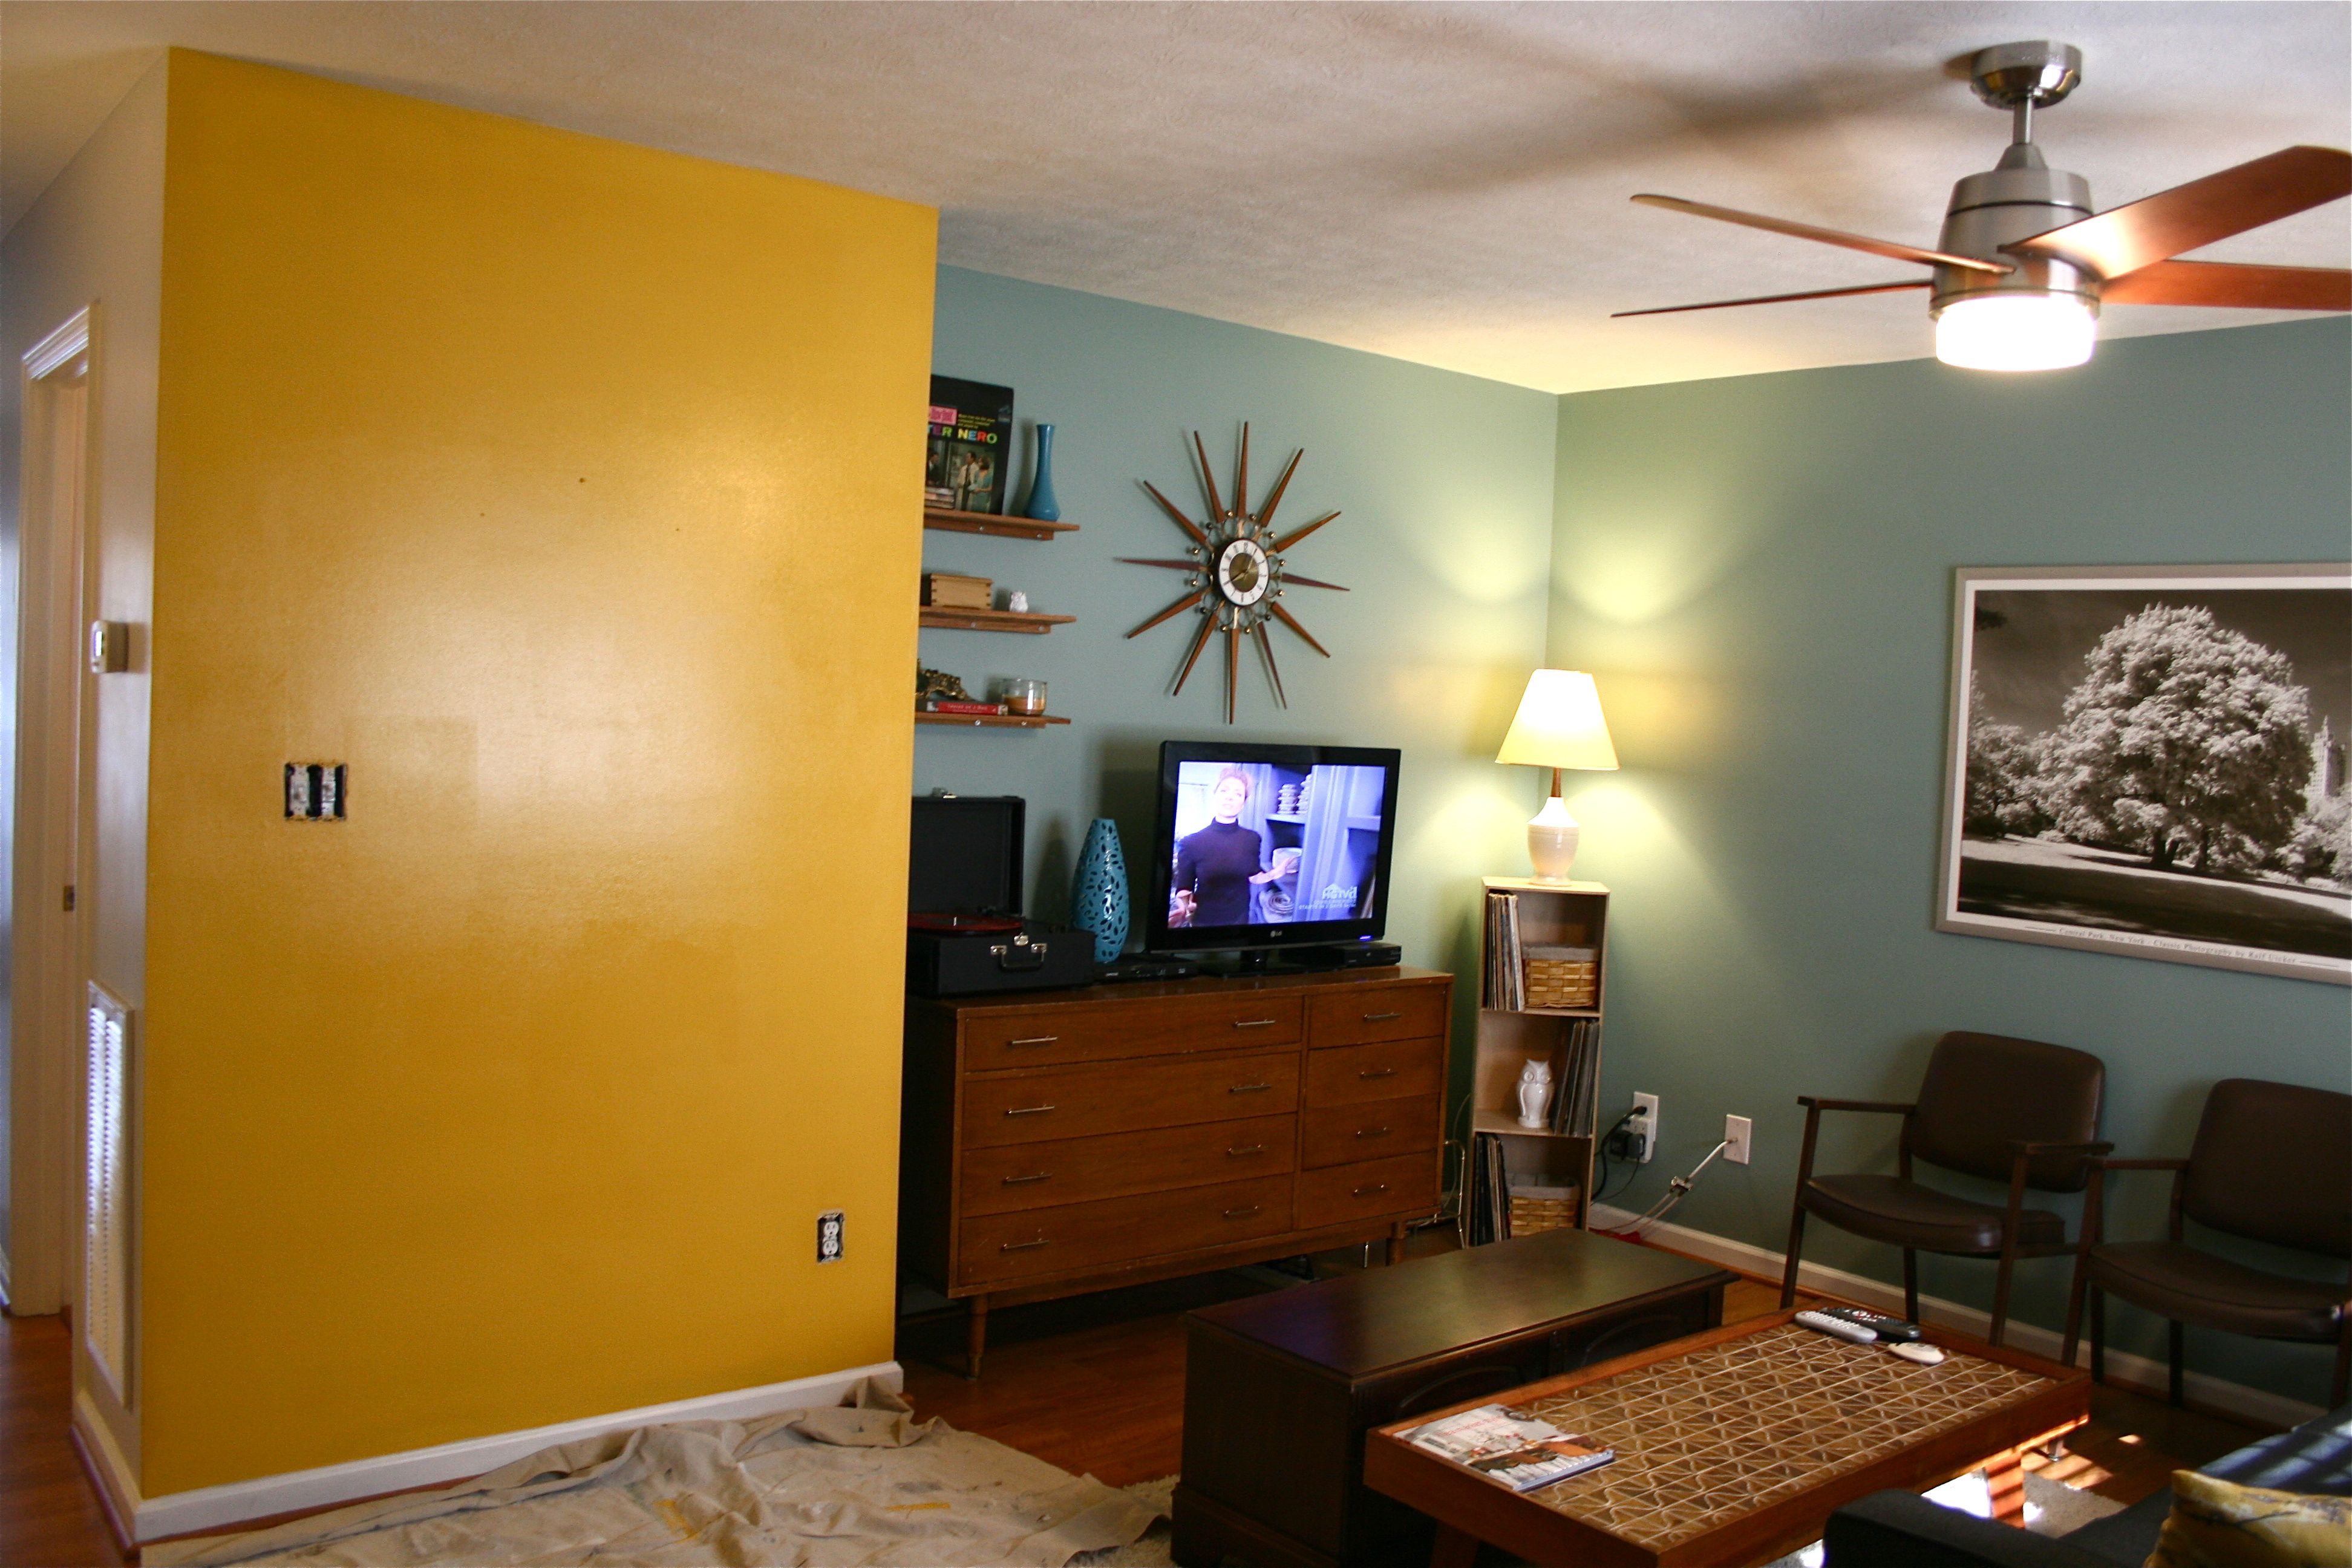
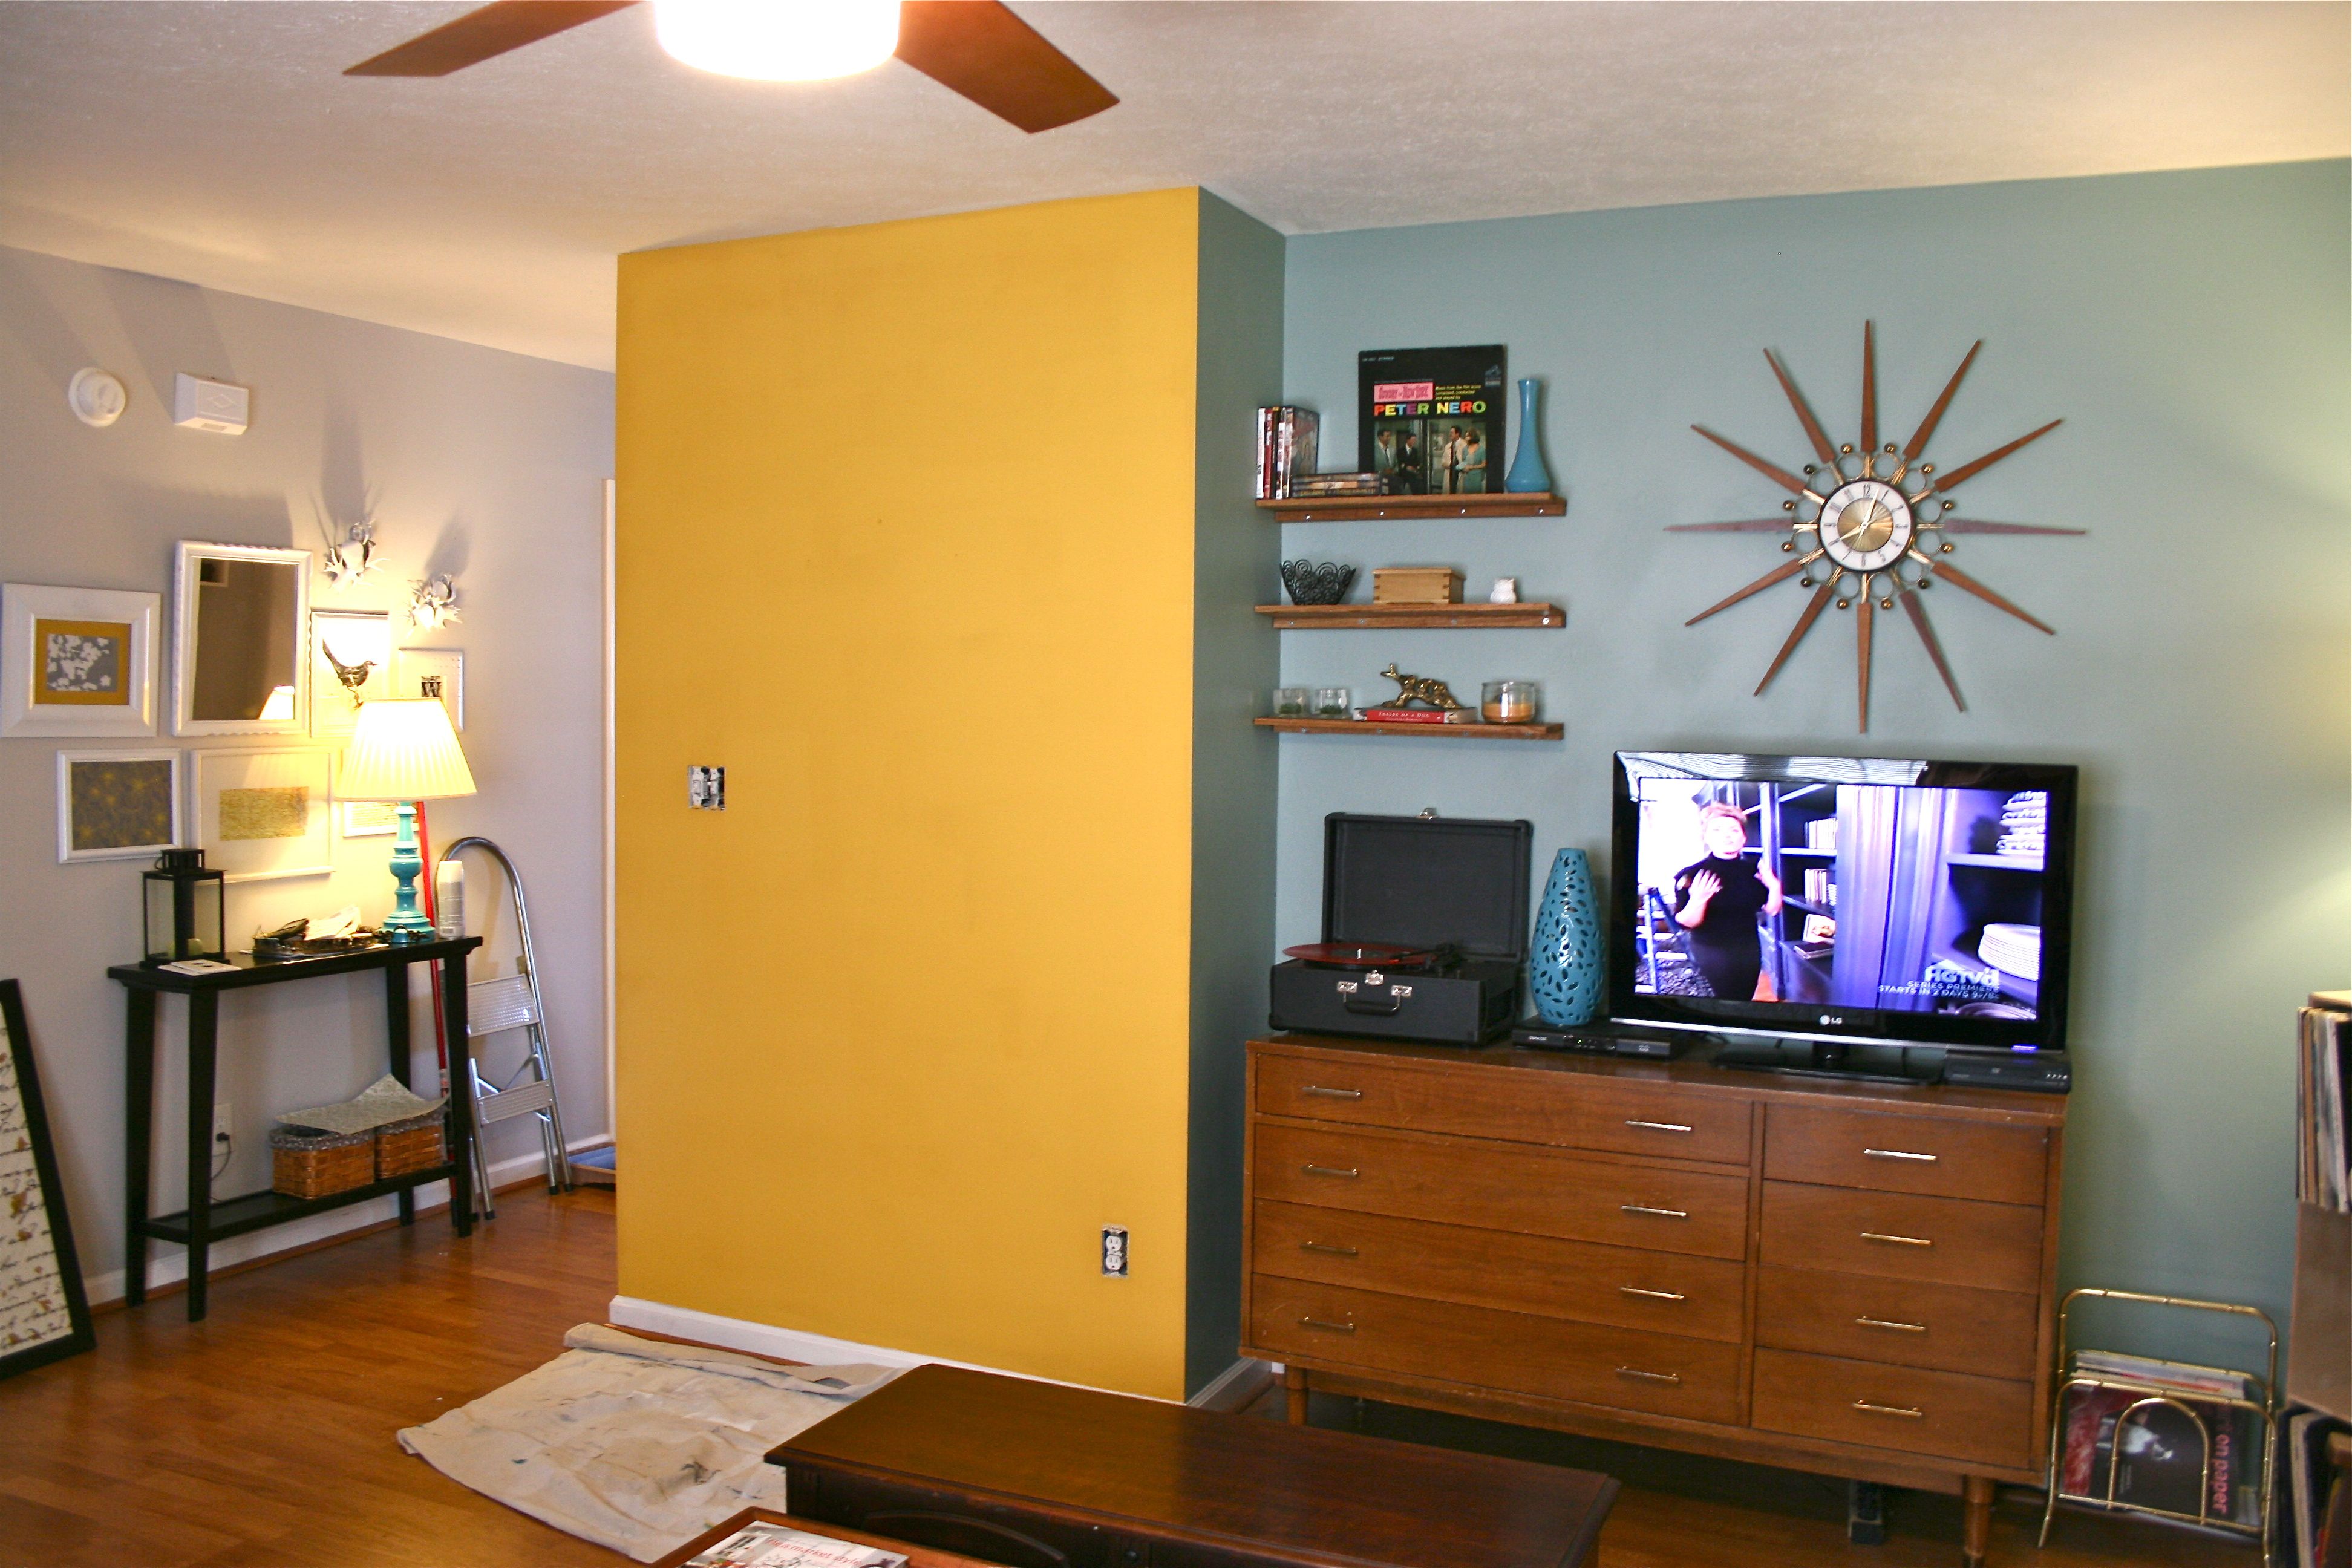
I’m pretty sure that it’s my unofficial goal to make sure every single wall in the house is touched by my paintbrush, because that’s exactly what I hit this plain little wall with over the weekend. Yes, I like to make sure that every room has its fair share of the warmth and personality through new paint colors, but I also had another motivation for attacking this particular wall. If you look at the two photos above, you can see that there’s a whole lot of the blue/teal from my color scheme, but not very much yellow.
You may remember the pillows that dictated the introduction of yellow into the color scheme for our living room…If not, here’s a reminder:
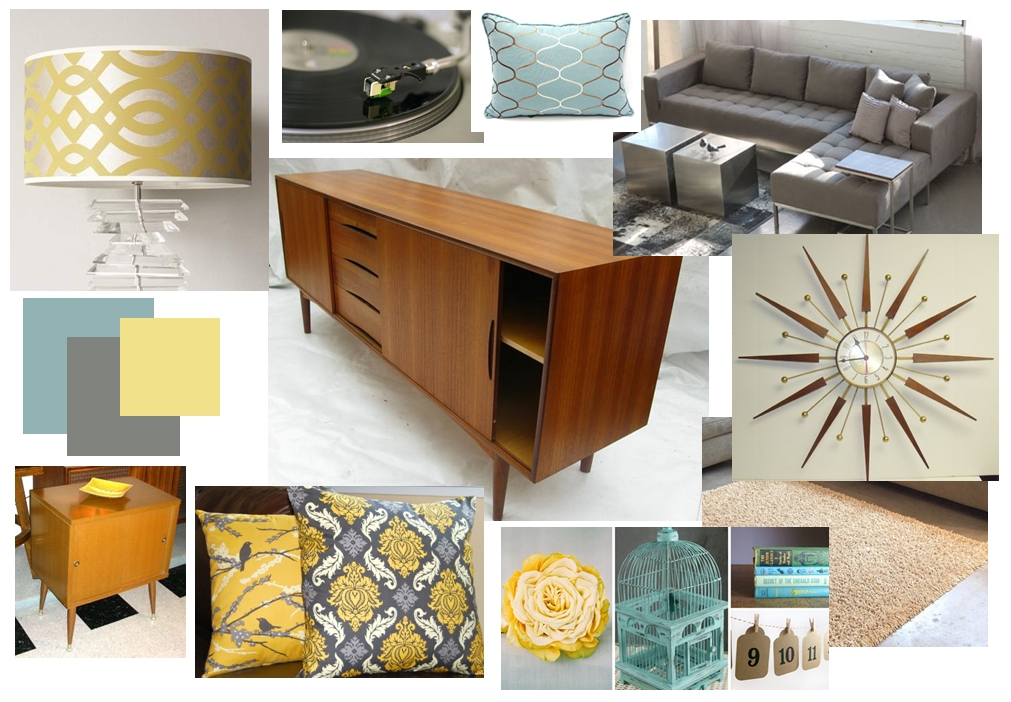
We didn’t want to repaint the walls in the living room because we are both really happy with the existing teal. So I just added that to the color scheme emerging from the new pillows. Thus we came up with this direction: grey, white, yellow and teal. Here’s my mood board for visuals:
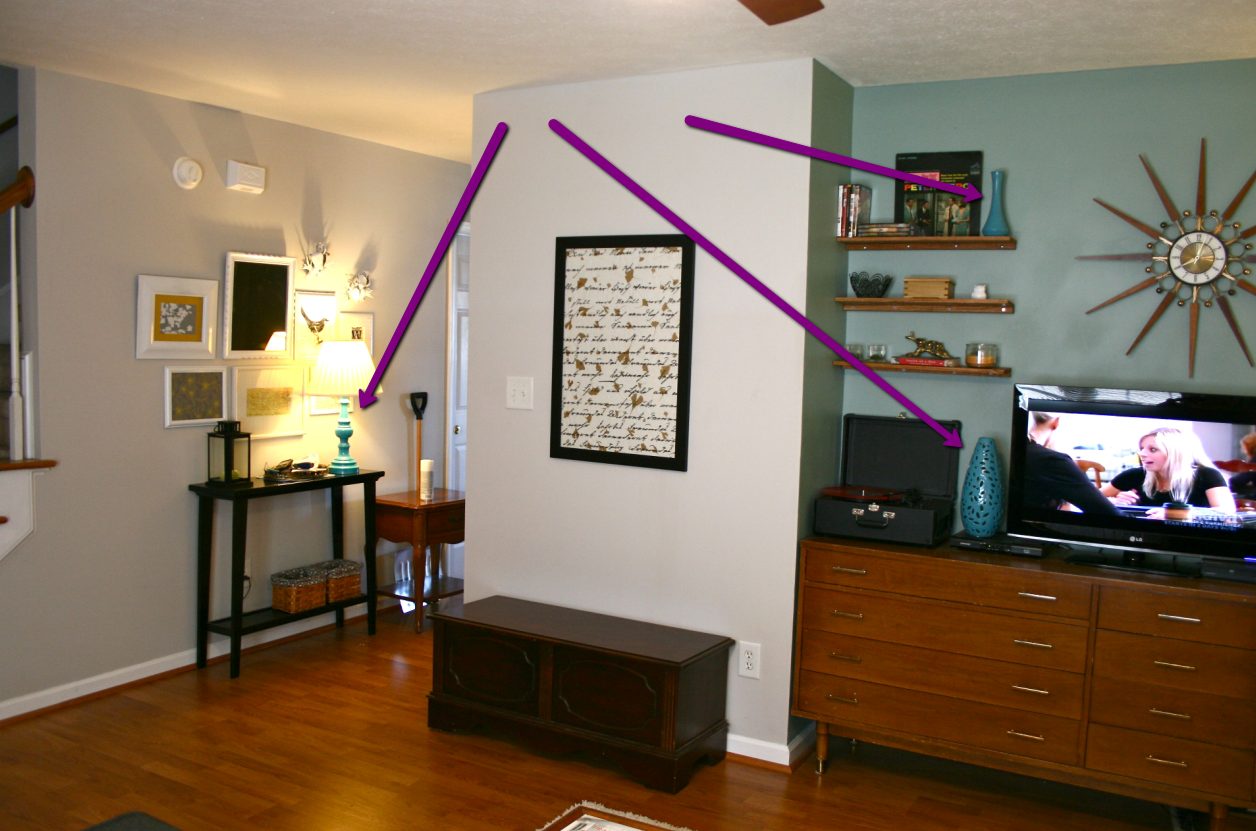
I’ve been lucky finding/creating a smattering of pretty teal accessories, like the eyelet vase between the TV and record player, the spray-painted vase on the oak shelves and the painted lamp on the entry table.
But the yellow just isn’t there…So, as I’m sure you’ve probably gathered by this point, I decided to paint the “jut out” wall by the TV stand a matching yellow to bring out our fully rounded color scheme.
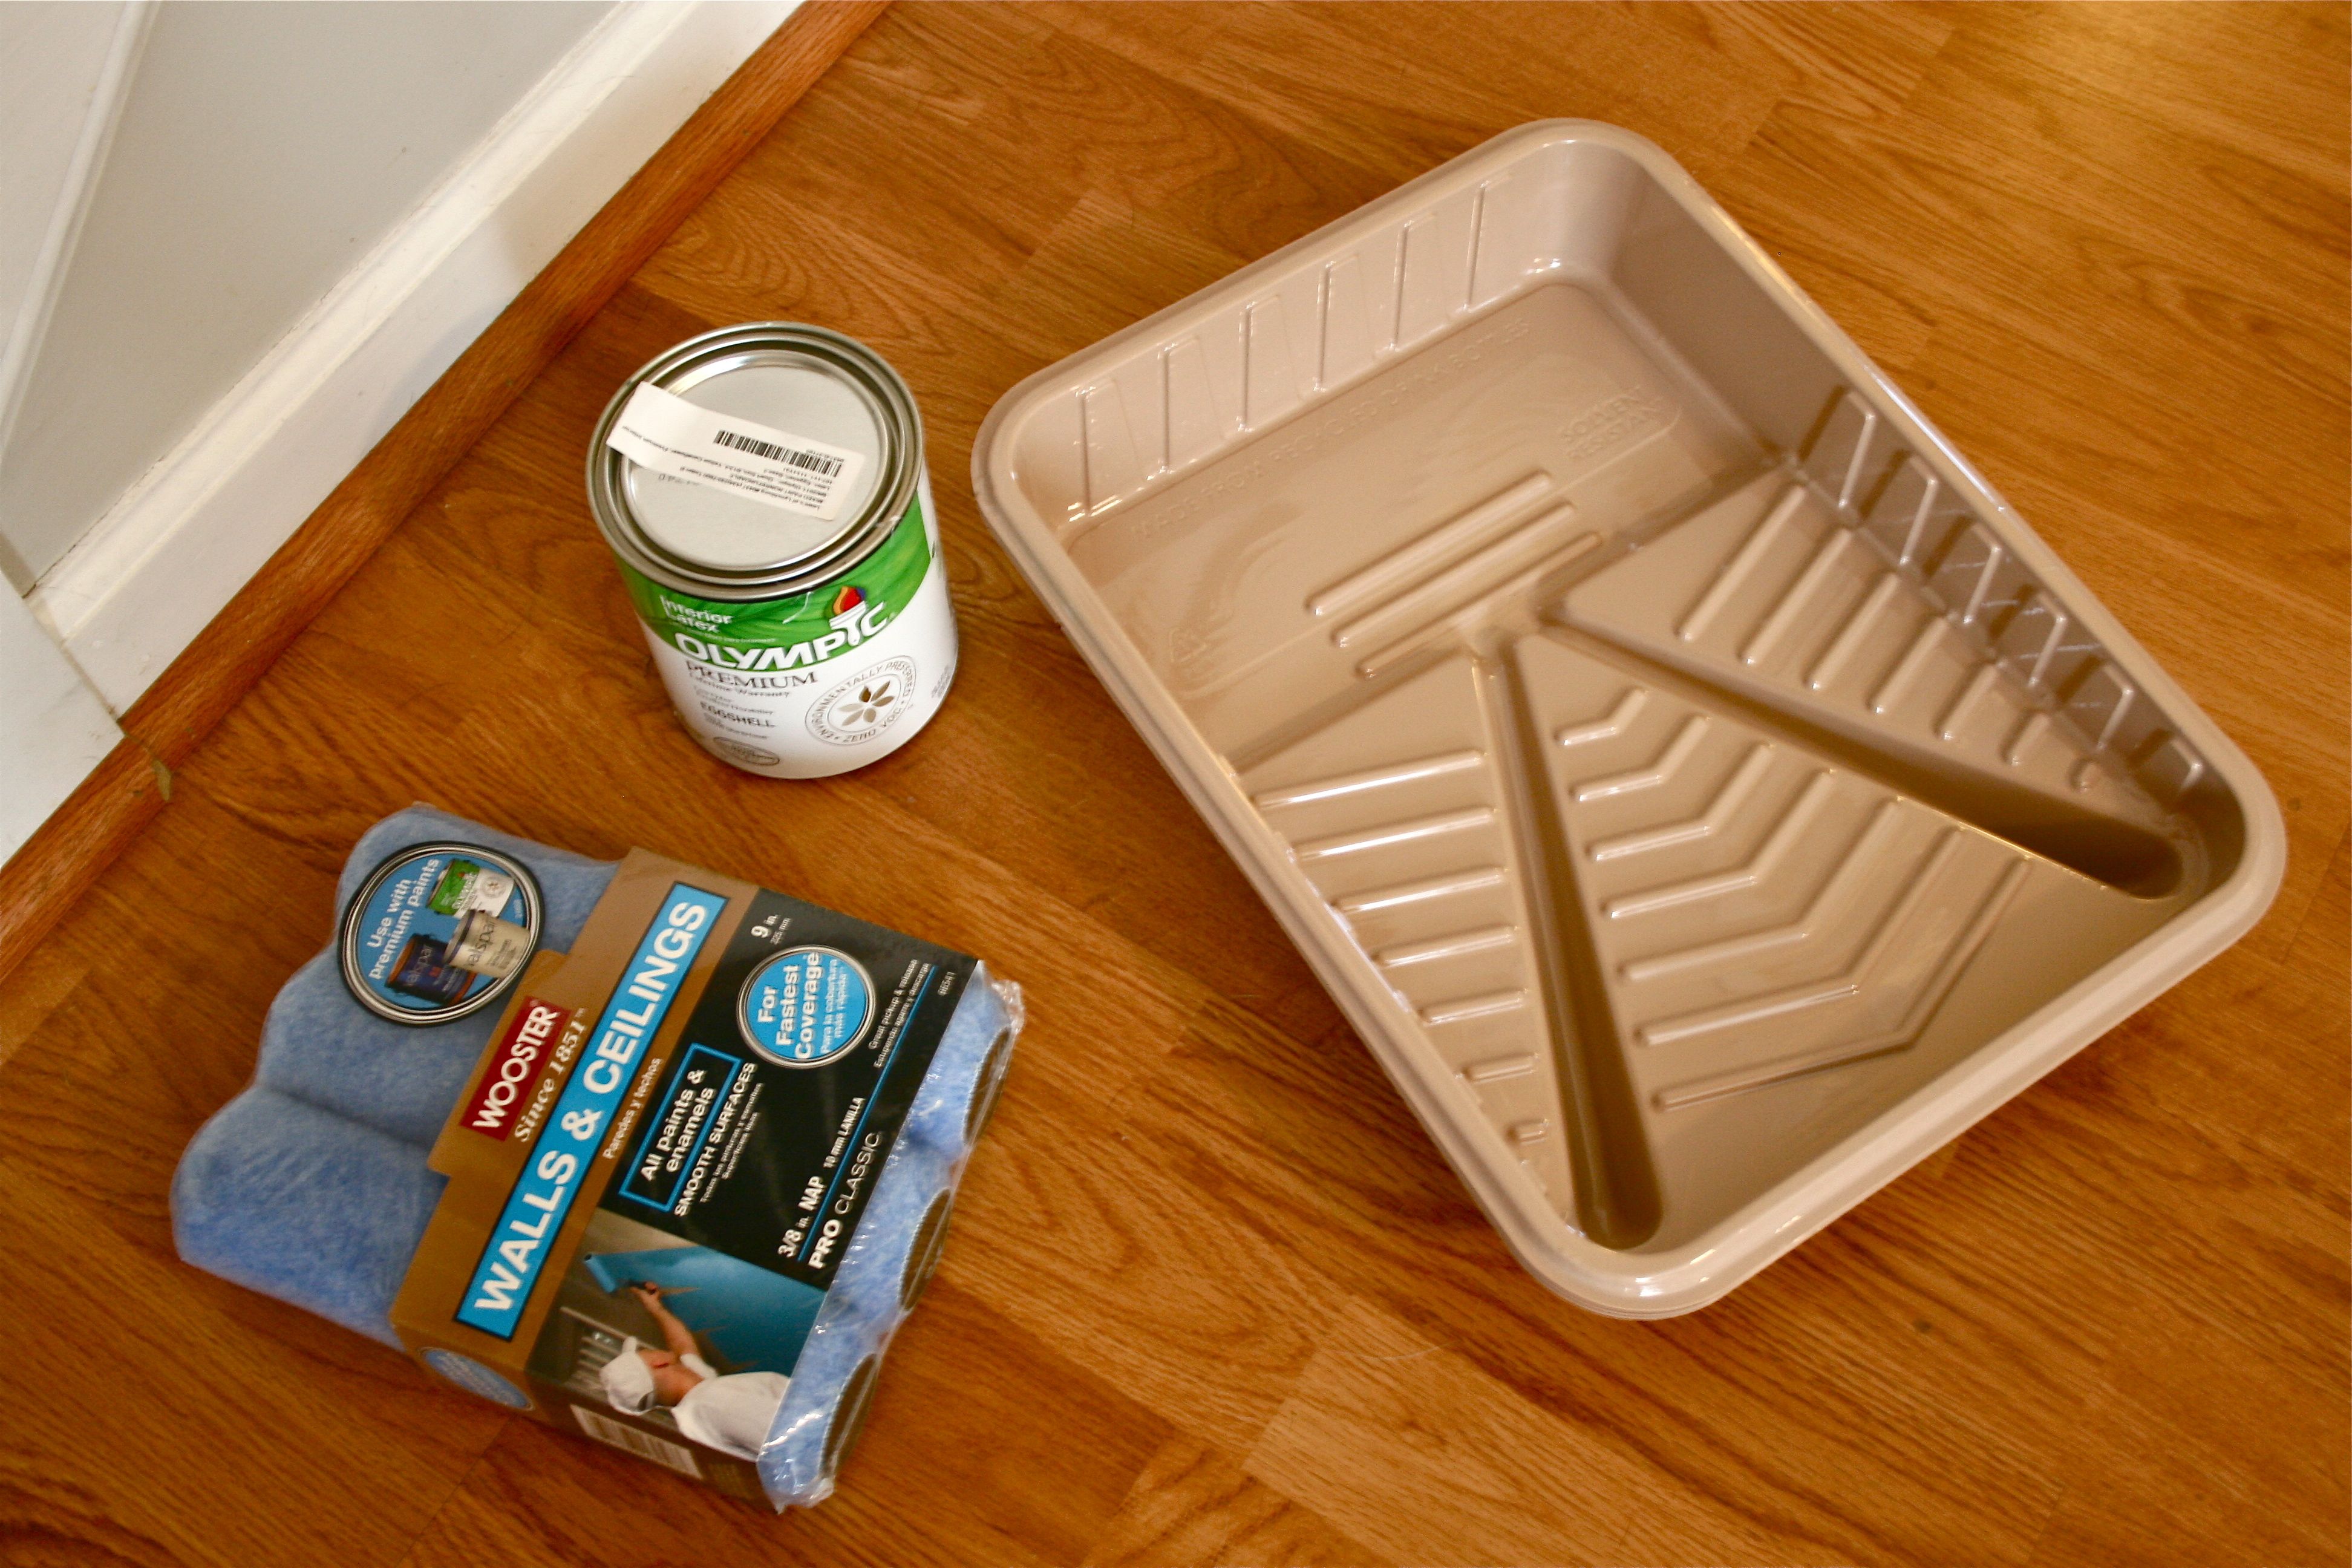
Off to Lowe’s we went (well we actually went twice because I forgot my paint swatch…) where we picked up a quart of Olympic no-VOC paint in “Yellow Coneflower”, some disposable paint tray liners and fresh rollers.
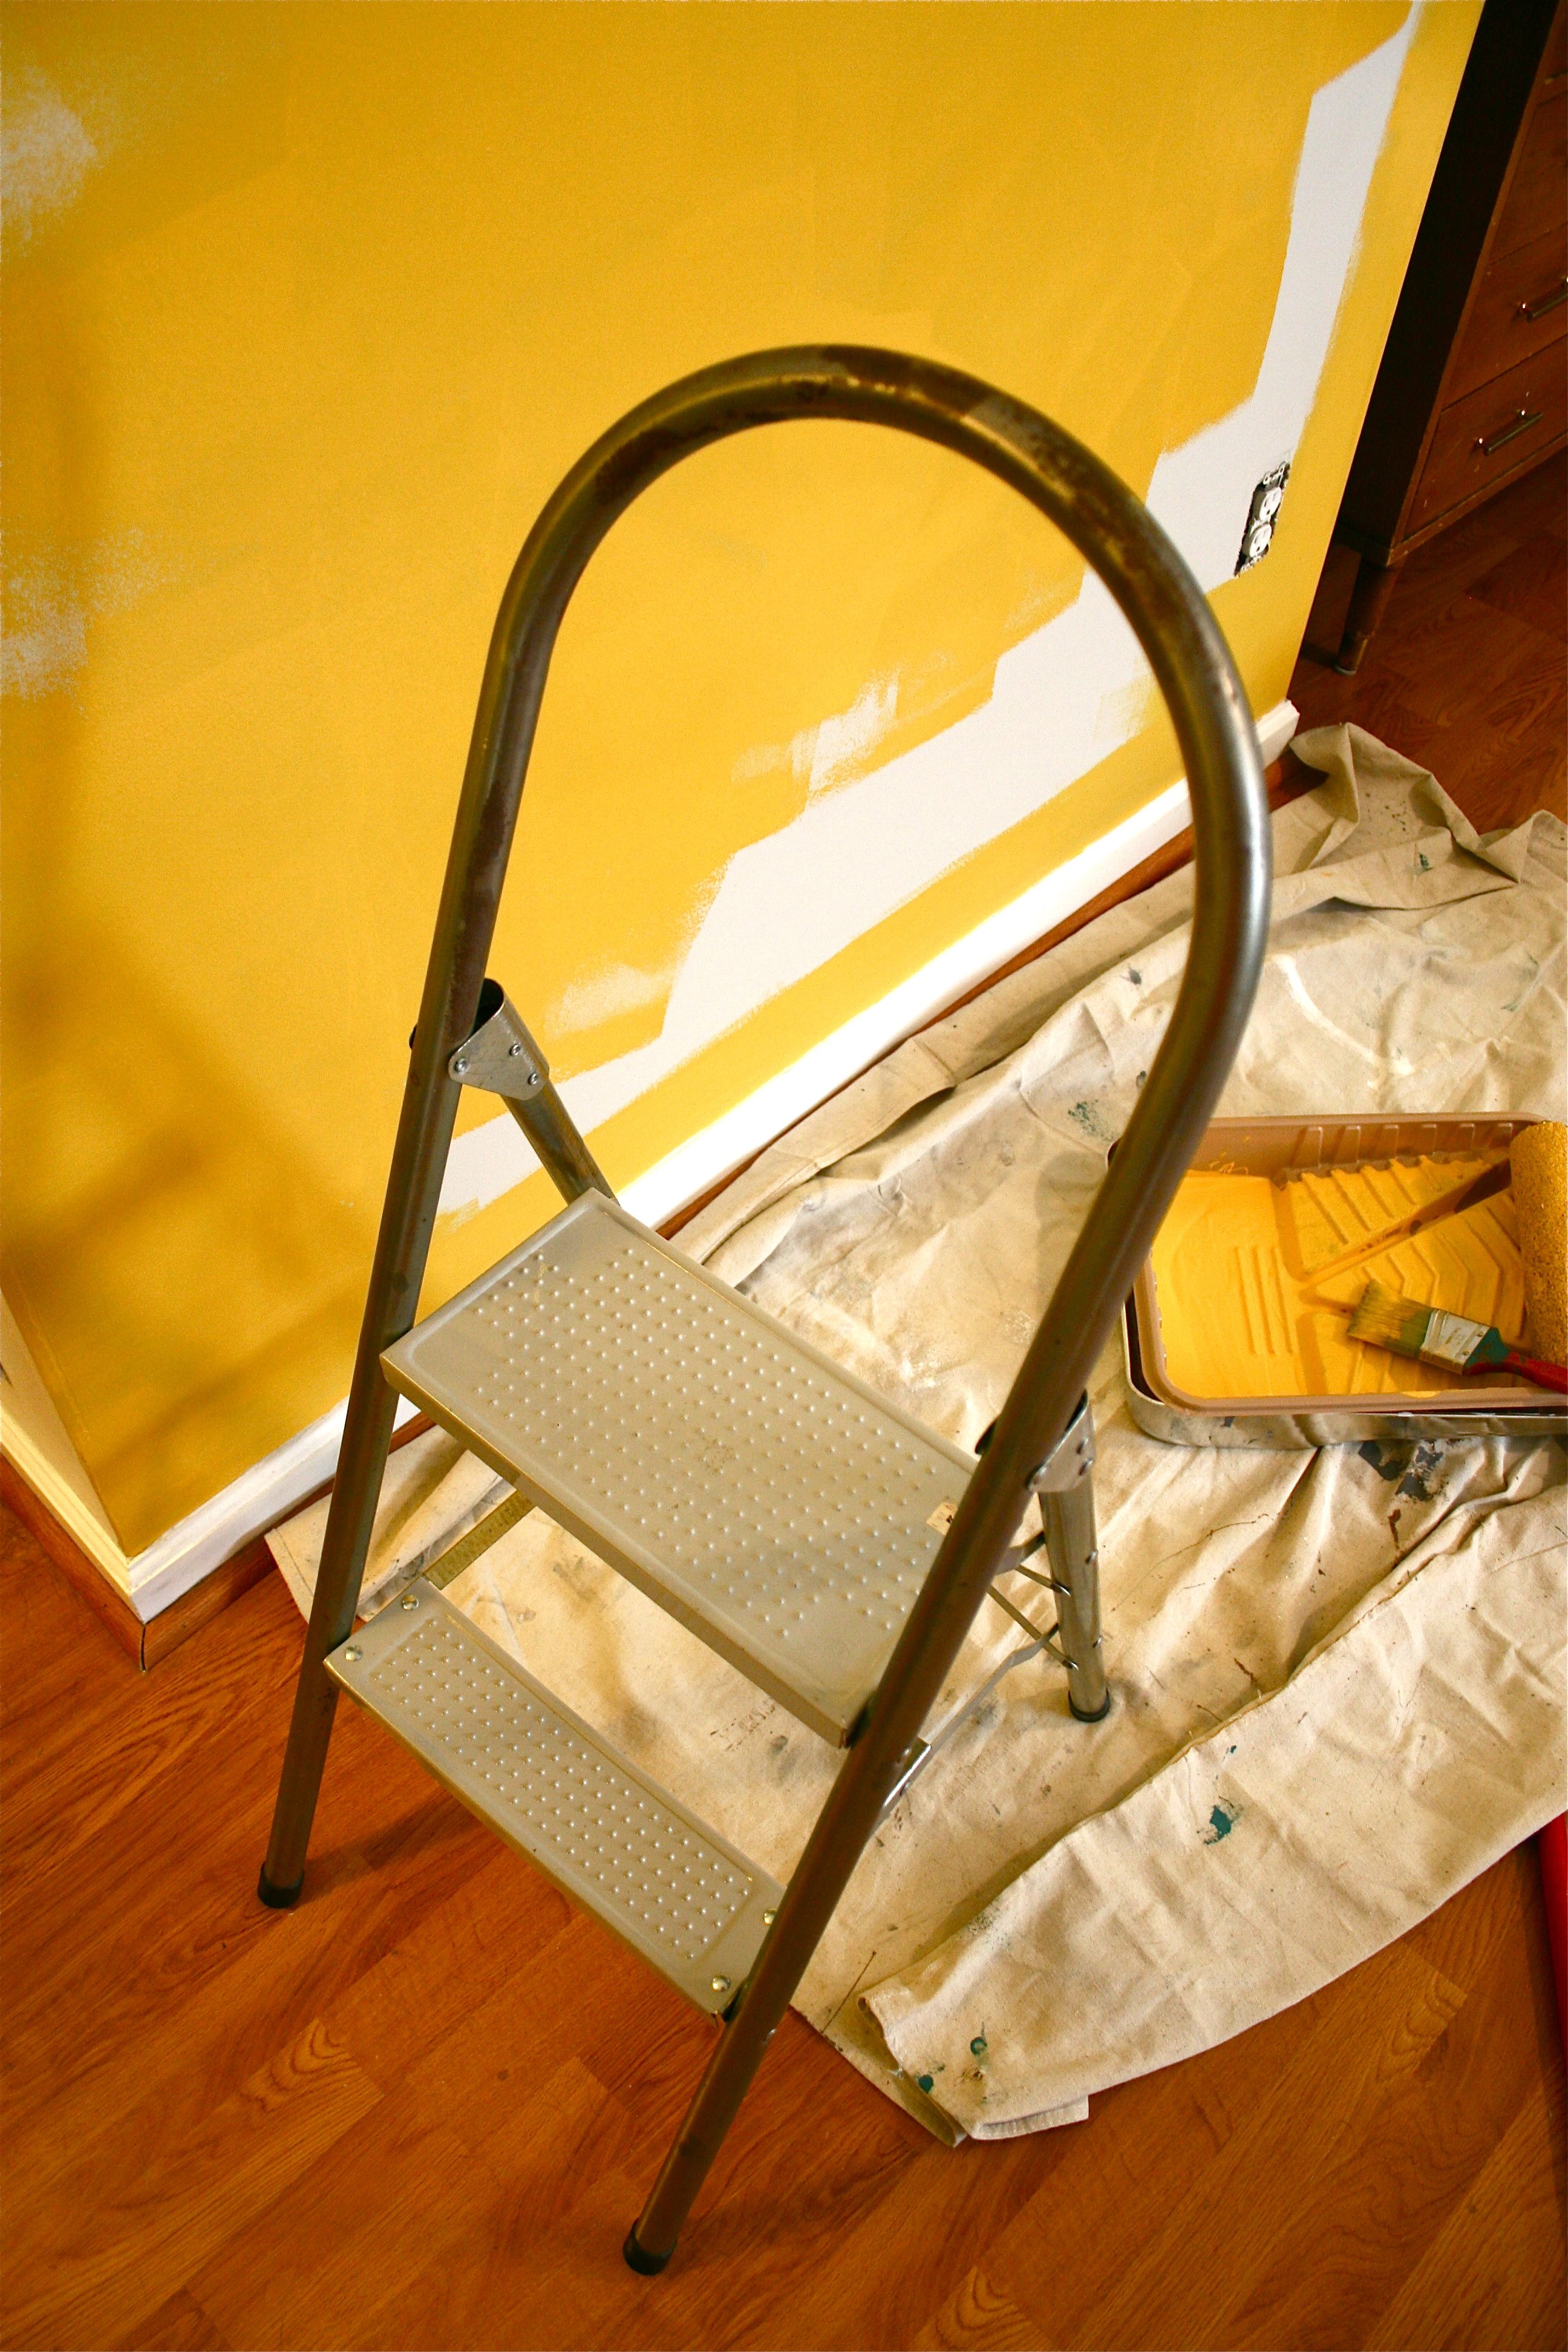
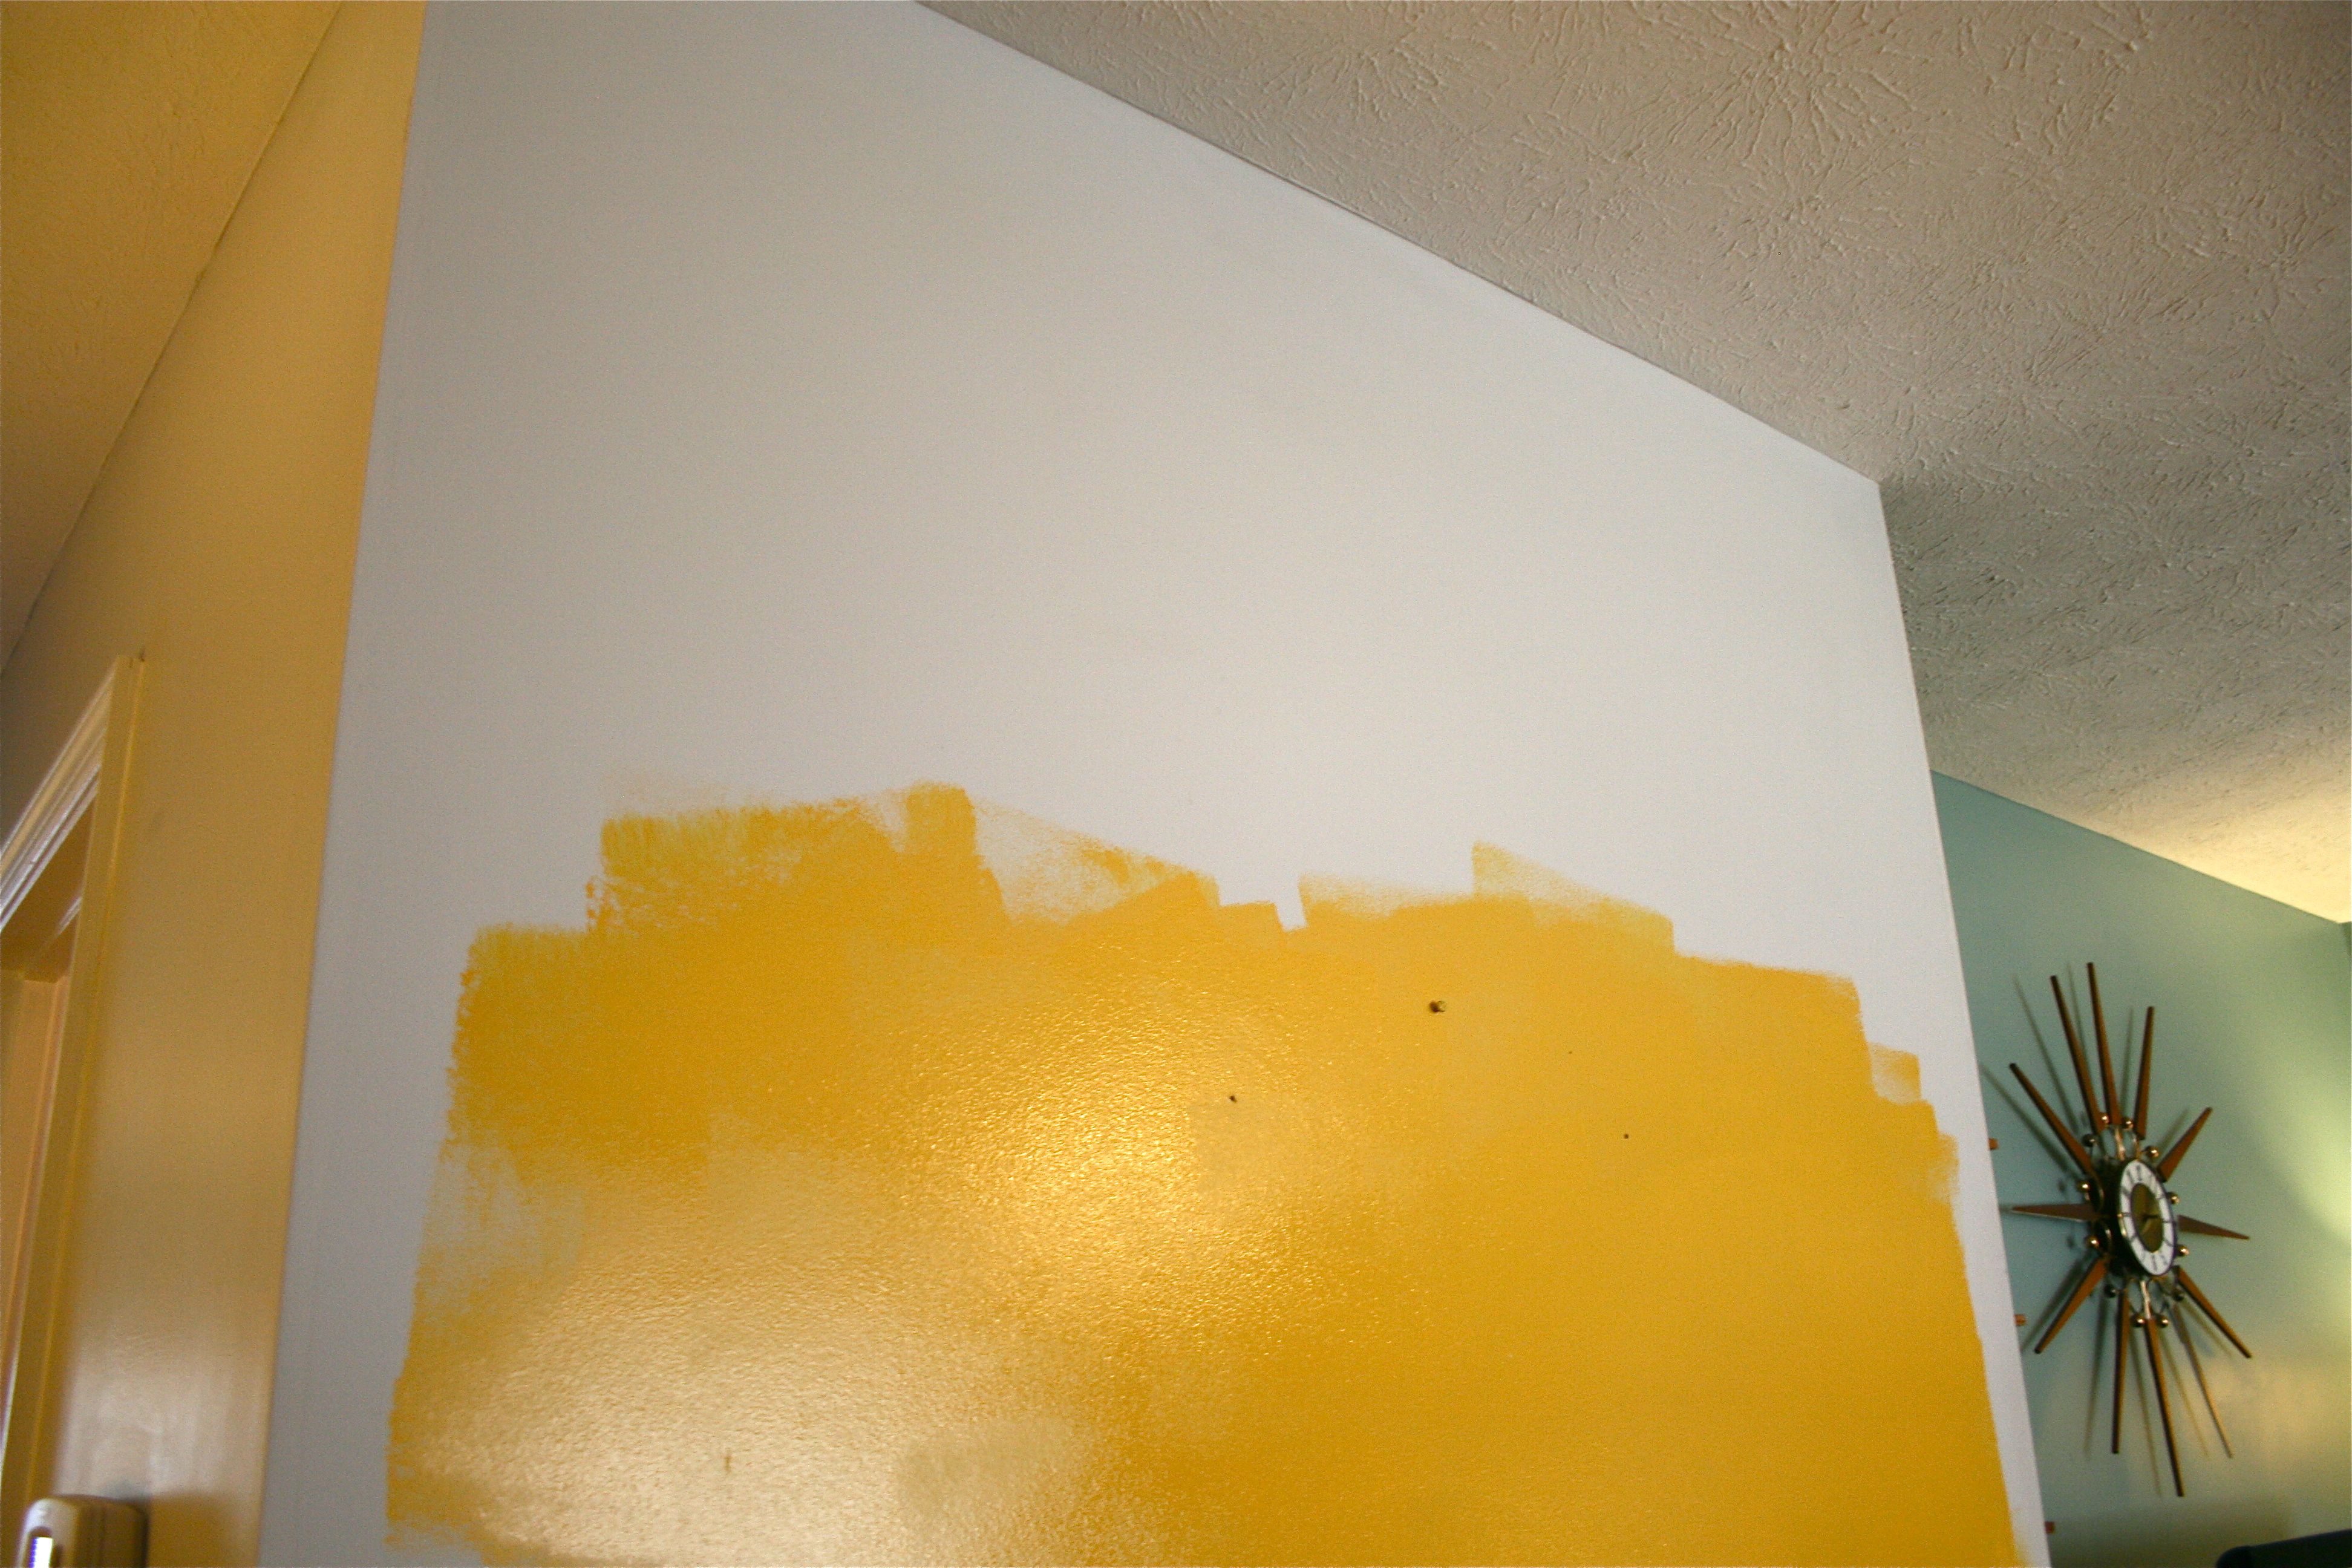
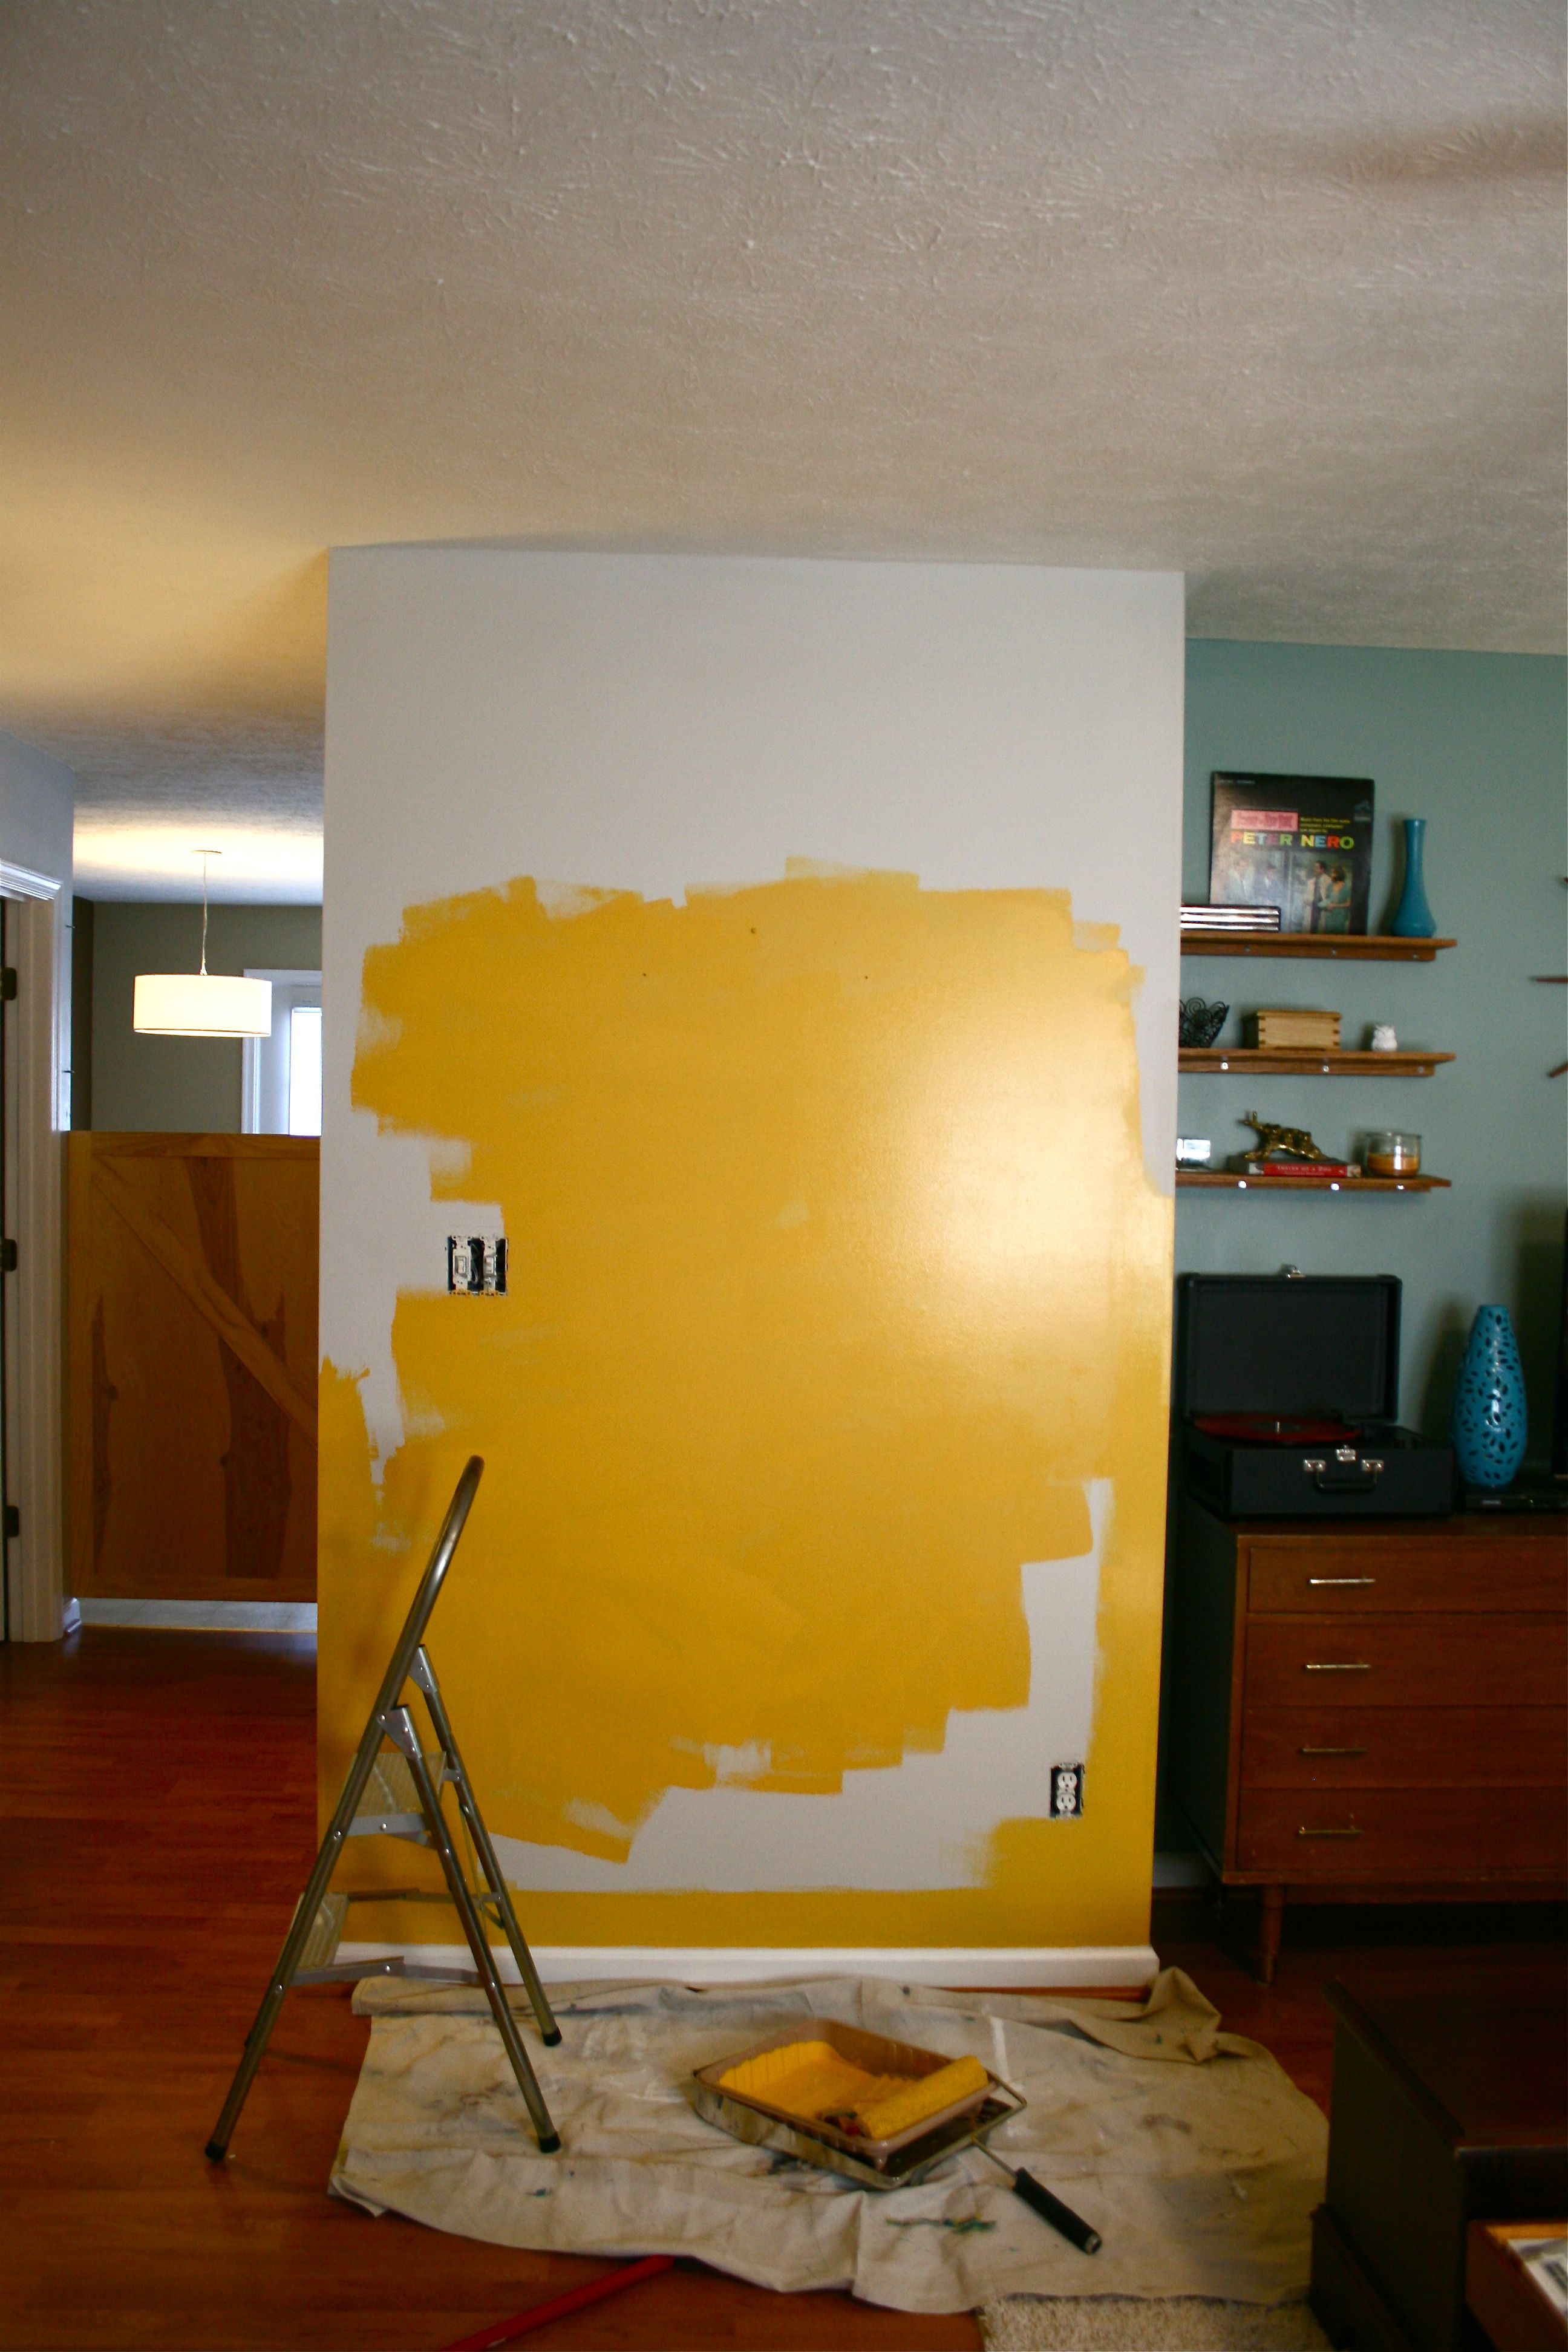
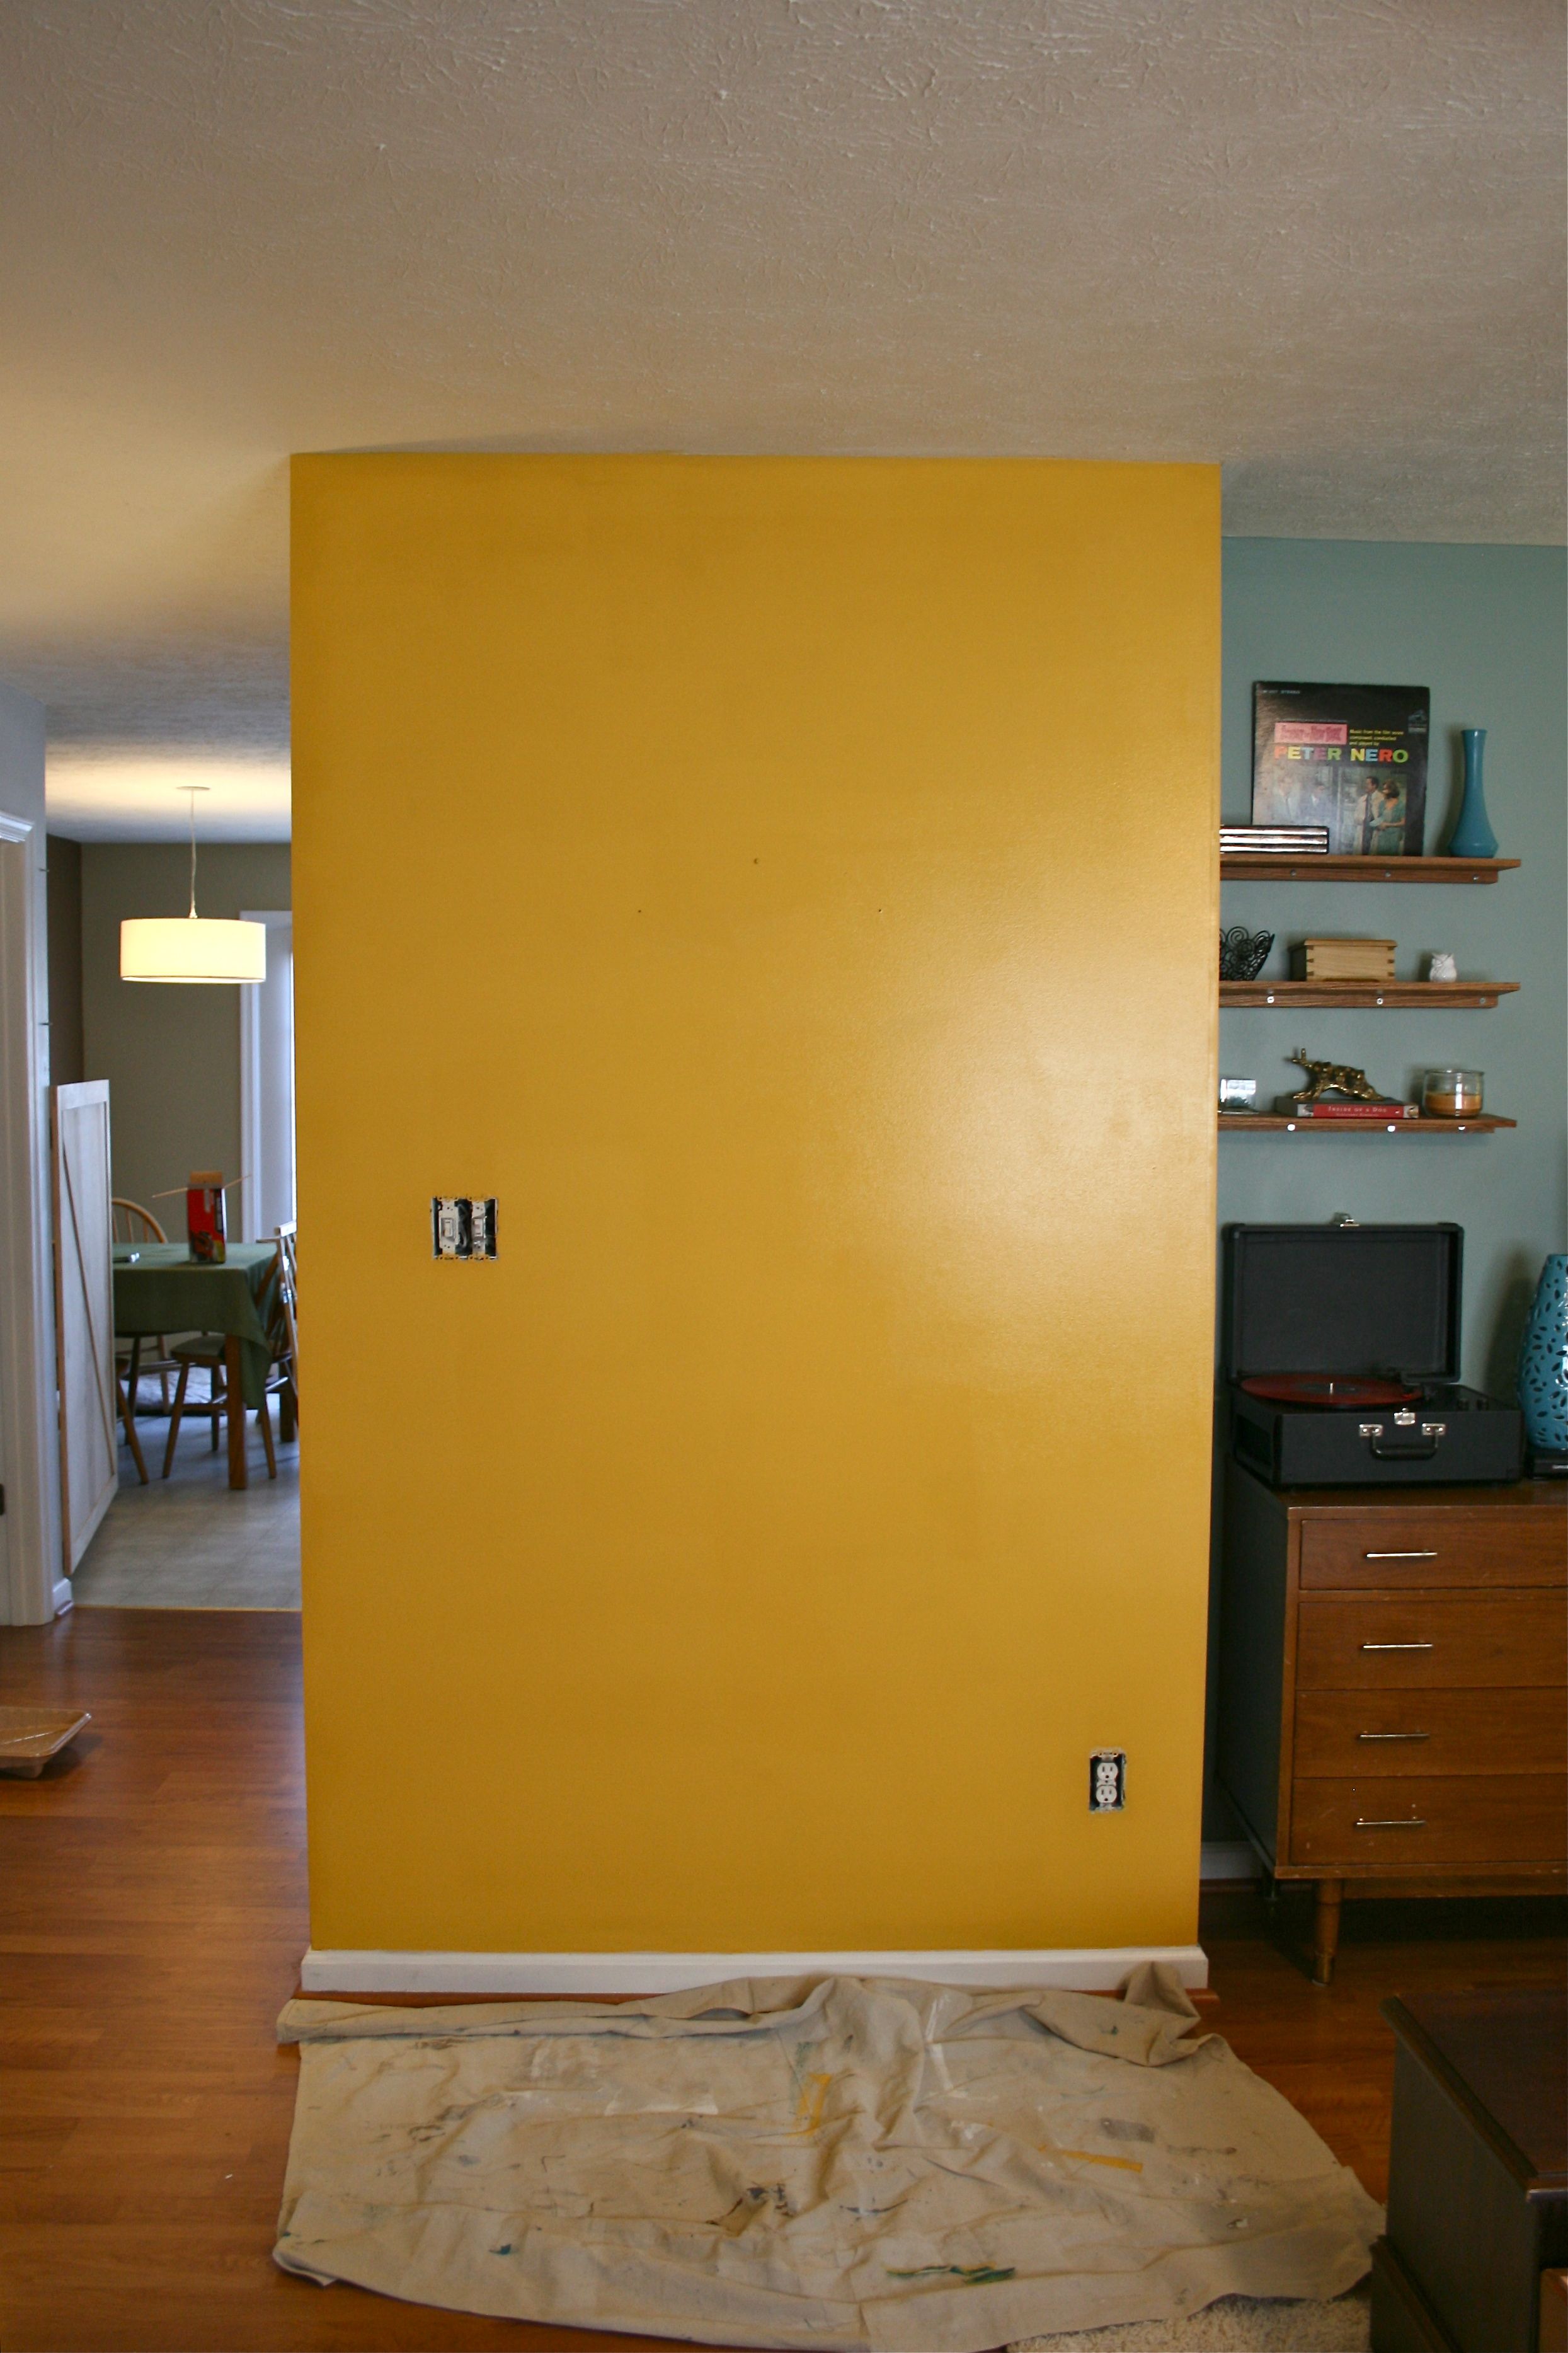
I got right to work once we made it home – First, I rolled on a quick layer just to see how it looked. Pretty bright…But I wasn’t going to stop once I got started, so off I went! I did coat one of the edging using my angled brush and then rolled on a coat to feather out the streaky finish left by the paint brush. I also got to use our newly-thrifted step-ladder to help me reach the high parts!
It only took about 30-40 minutes for me to knock out coat one, pause to watch a little “Candace Tells All” and “Dear Genevieve” to let it dry and then finish up with coat number two.
“Before”:
And “After”:
Now granted, these “After” views are still a bit in progress…Since these photos, I have been able to screw the electrical plates back into place, reposition the trunk and put the original framed art back up. But I’m not so sure it’s exactly how I want it yet, so I’m going to delay the FINAL “After” shot until I have a chance to develop it over the weekend.
Let’s talk general appearance though…I’d love people’s opinion – Is it too bright? I think that it’s probably just something I need to get used to – I love change and I’m certainly not afraid of color, but sometimes it does take a second to let it sink in. John already admitted that he likes it more than he thought he would after I explained my vision to him, so that’s pretty good validation for me.
I think it will look much more unified after I bring more yellow into the rest of the room (stay tuned for tomorrow’s “Thrift Store SCORE!” for more on that) and with the right art. We’ll see! I’m not entirely sure HOW I feel about it, but even if we think it might be a little too powerful for the space initially I’m going to keep it for a while in case I change my mind.

