I hope that everyone enjoyed a fun Memorial Day celebration! If you’re a local central Virginian, then how about this HEAT?! Yikes…Hope you have a pool or lake to find refuge in!!
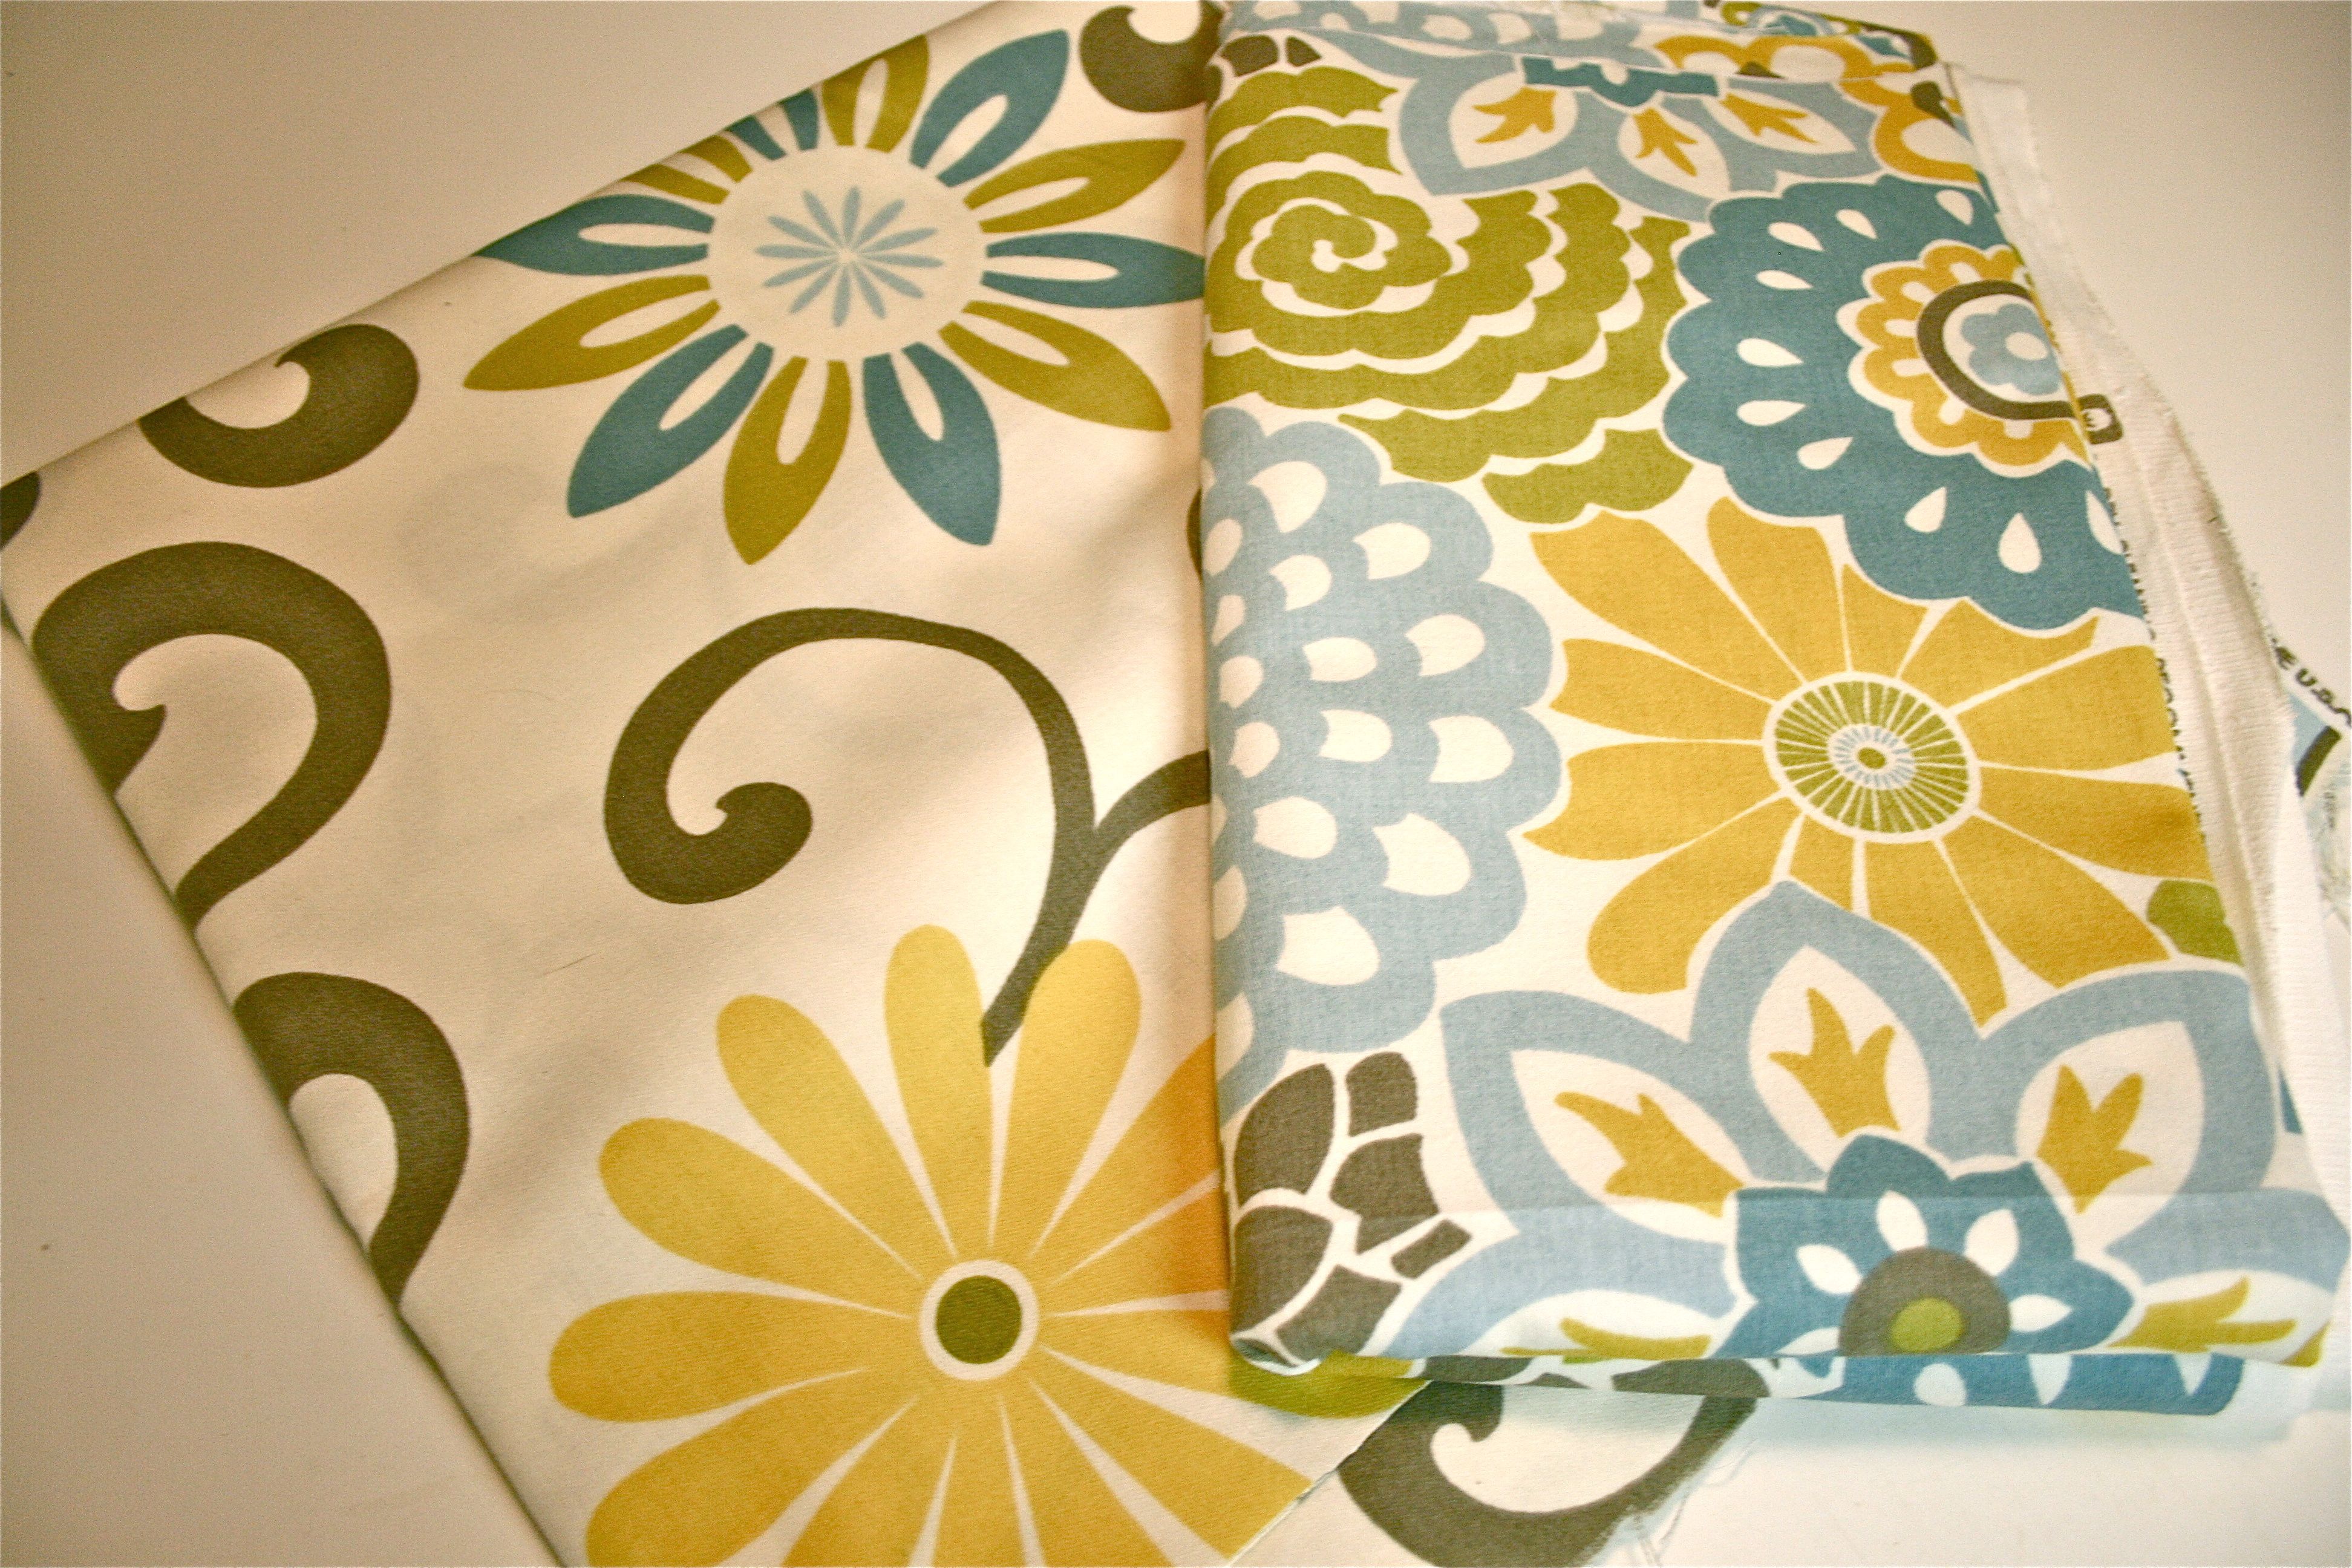
For today’s post, I want to reveal my second “cover up” project using the fabric I bought from JoAnn’s a couple of weeks ago. I am still so giddy and in love with the patterns we found – You can bet your booty I’m going to find a way to put it up in as many places as possible in the studio.
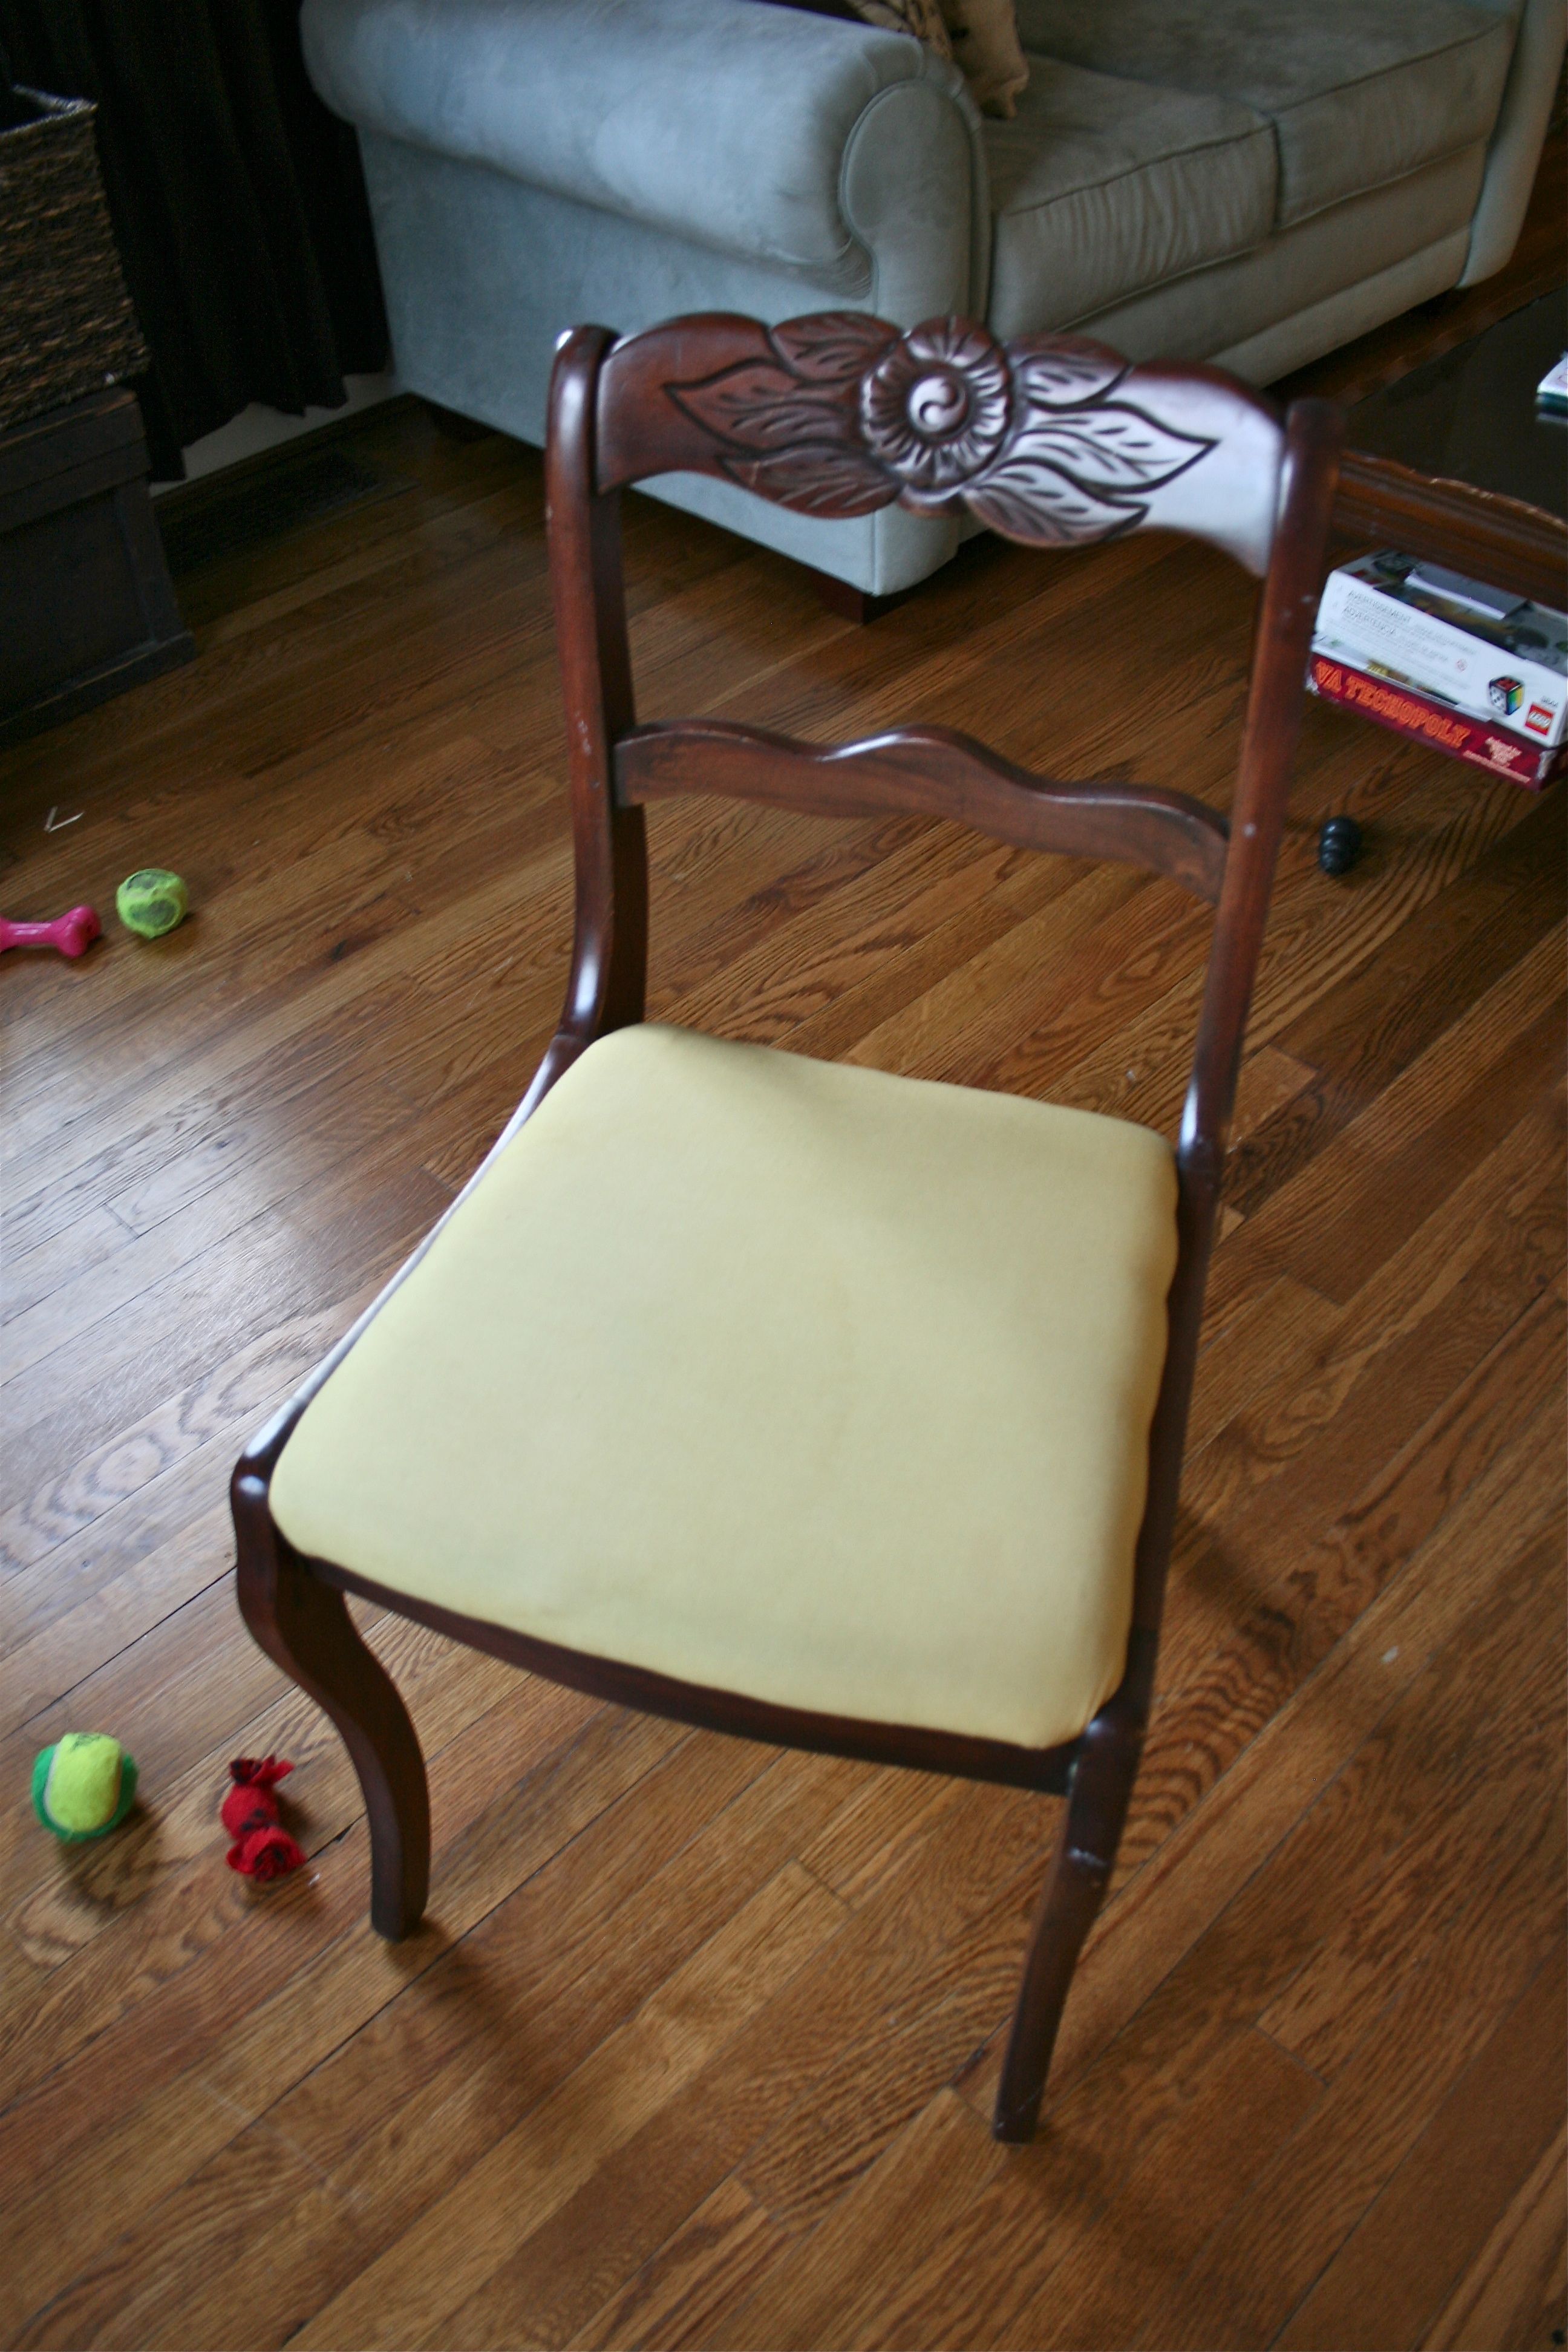
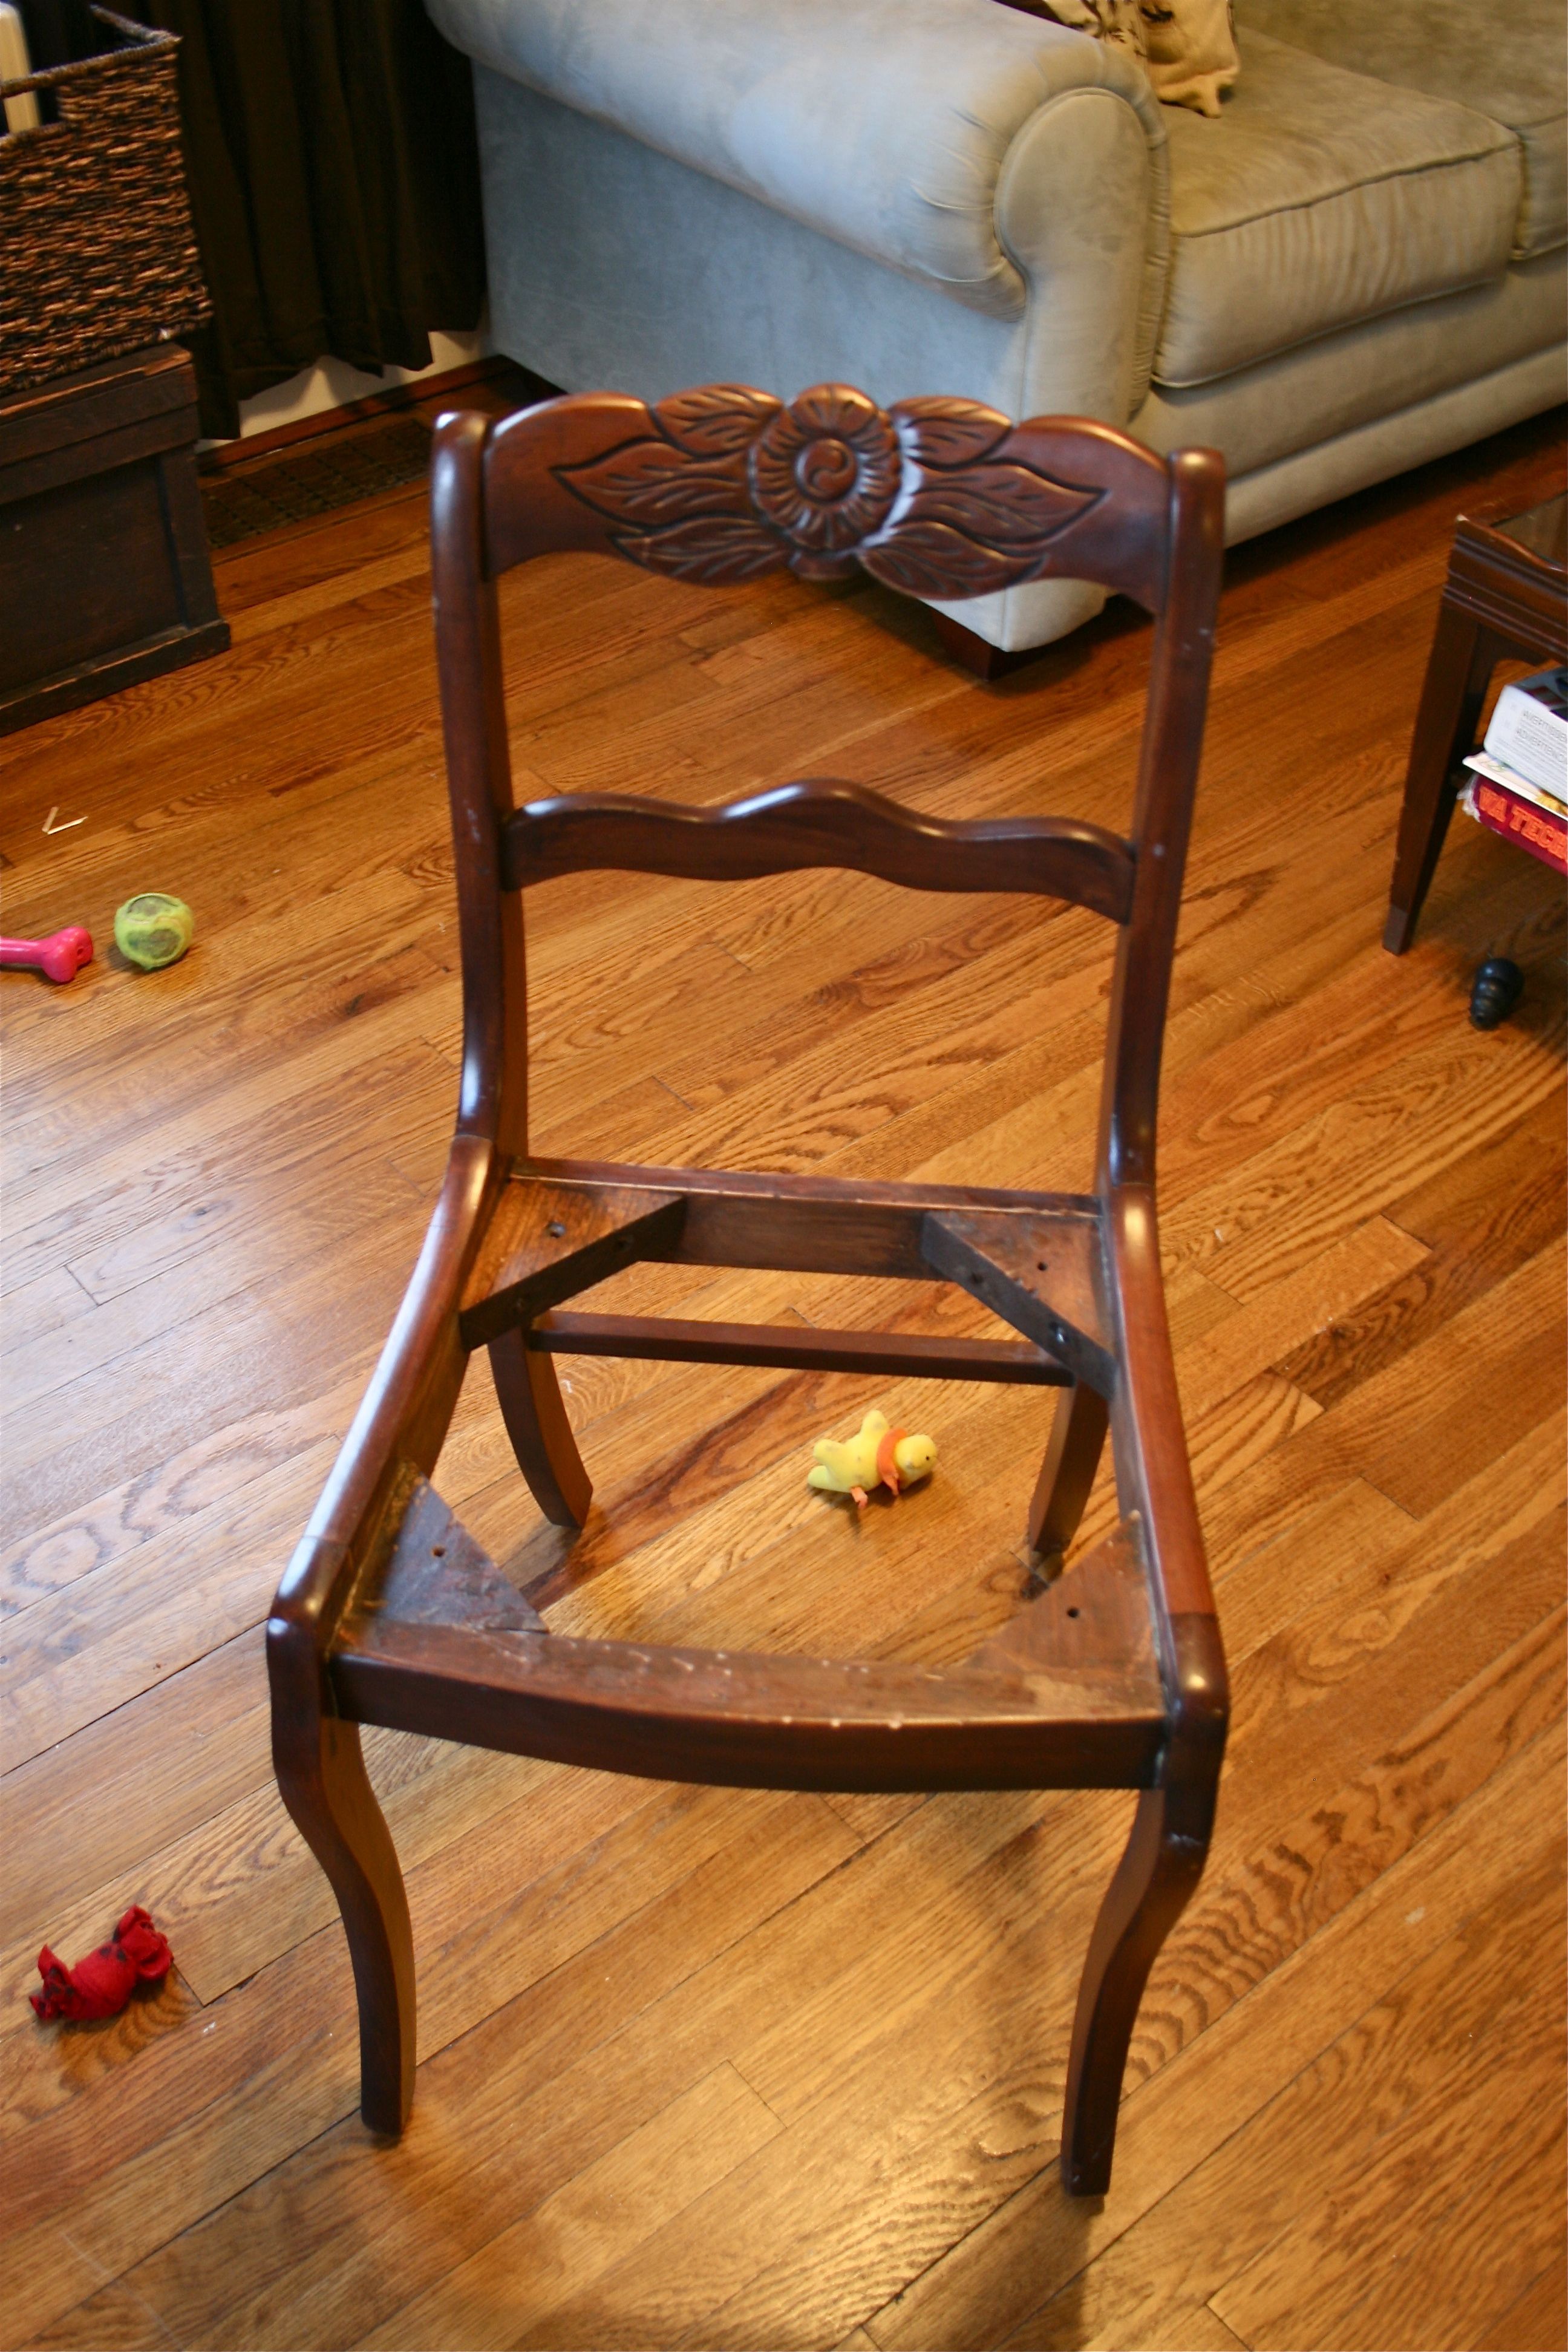
For “cover up” project number two, I decided to tackle my desk chair – It has a padded upholstered seat, so it was PERFECT for the new fabric. You may remember from the original post that the cream background of one of the fabrics (the one I decided to use for this DIY project) was a little see-through…But luckily, the chair fabric I ended up covering was a solid yellow color – No bold patterns to sneak through! Here’s the chair before:
Oh, and before you start thinking that we suddenly managed to get beautiful, dark-stained hardwood floors, alas I must shake my head “no”…I took this project over to one of my good friends’ house (P.S. She’s also a fellow blogger) – Bonnie and I have actually known each other pretty much since birth and grew up across the street from one another. I remember running across the street all the time to tap on her front door to ask her mom if she could come out to play – Ah the joys of growing up on a quiet cul-de-sac…I love that the majority of my girl friends are ladies I’ve known since we were toddlers!!
But enough reminiscing! This friend is not only a fellow blogger, but someone who has the same “nesting” instincts and craft-obsessed mind that I do. Her and her husband’s home is TO DIE FOR! I wish that I could share a picture of every detail because all of Bonnie’s home-made and vintage pieces make me drool with envy, but I didn’t prepare her for a photo shoot ahead of time.
But here are a few photos that I managed to capture in between project steps:
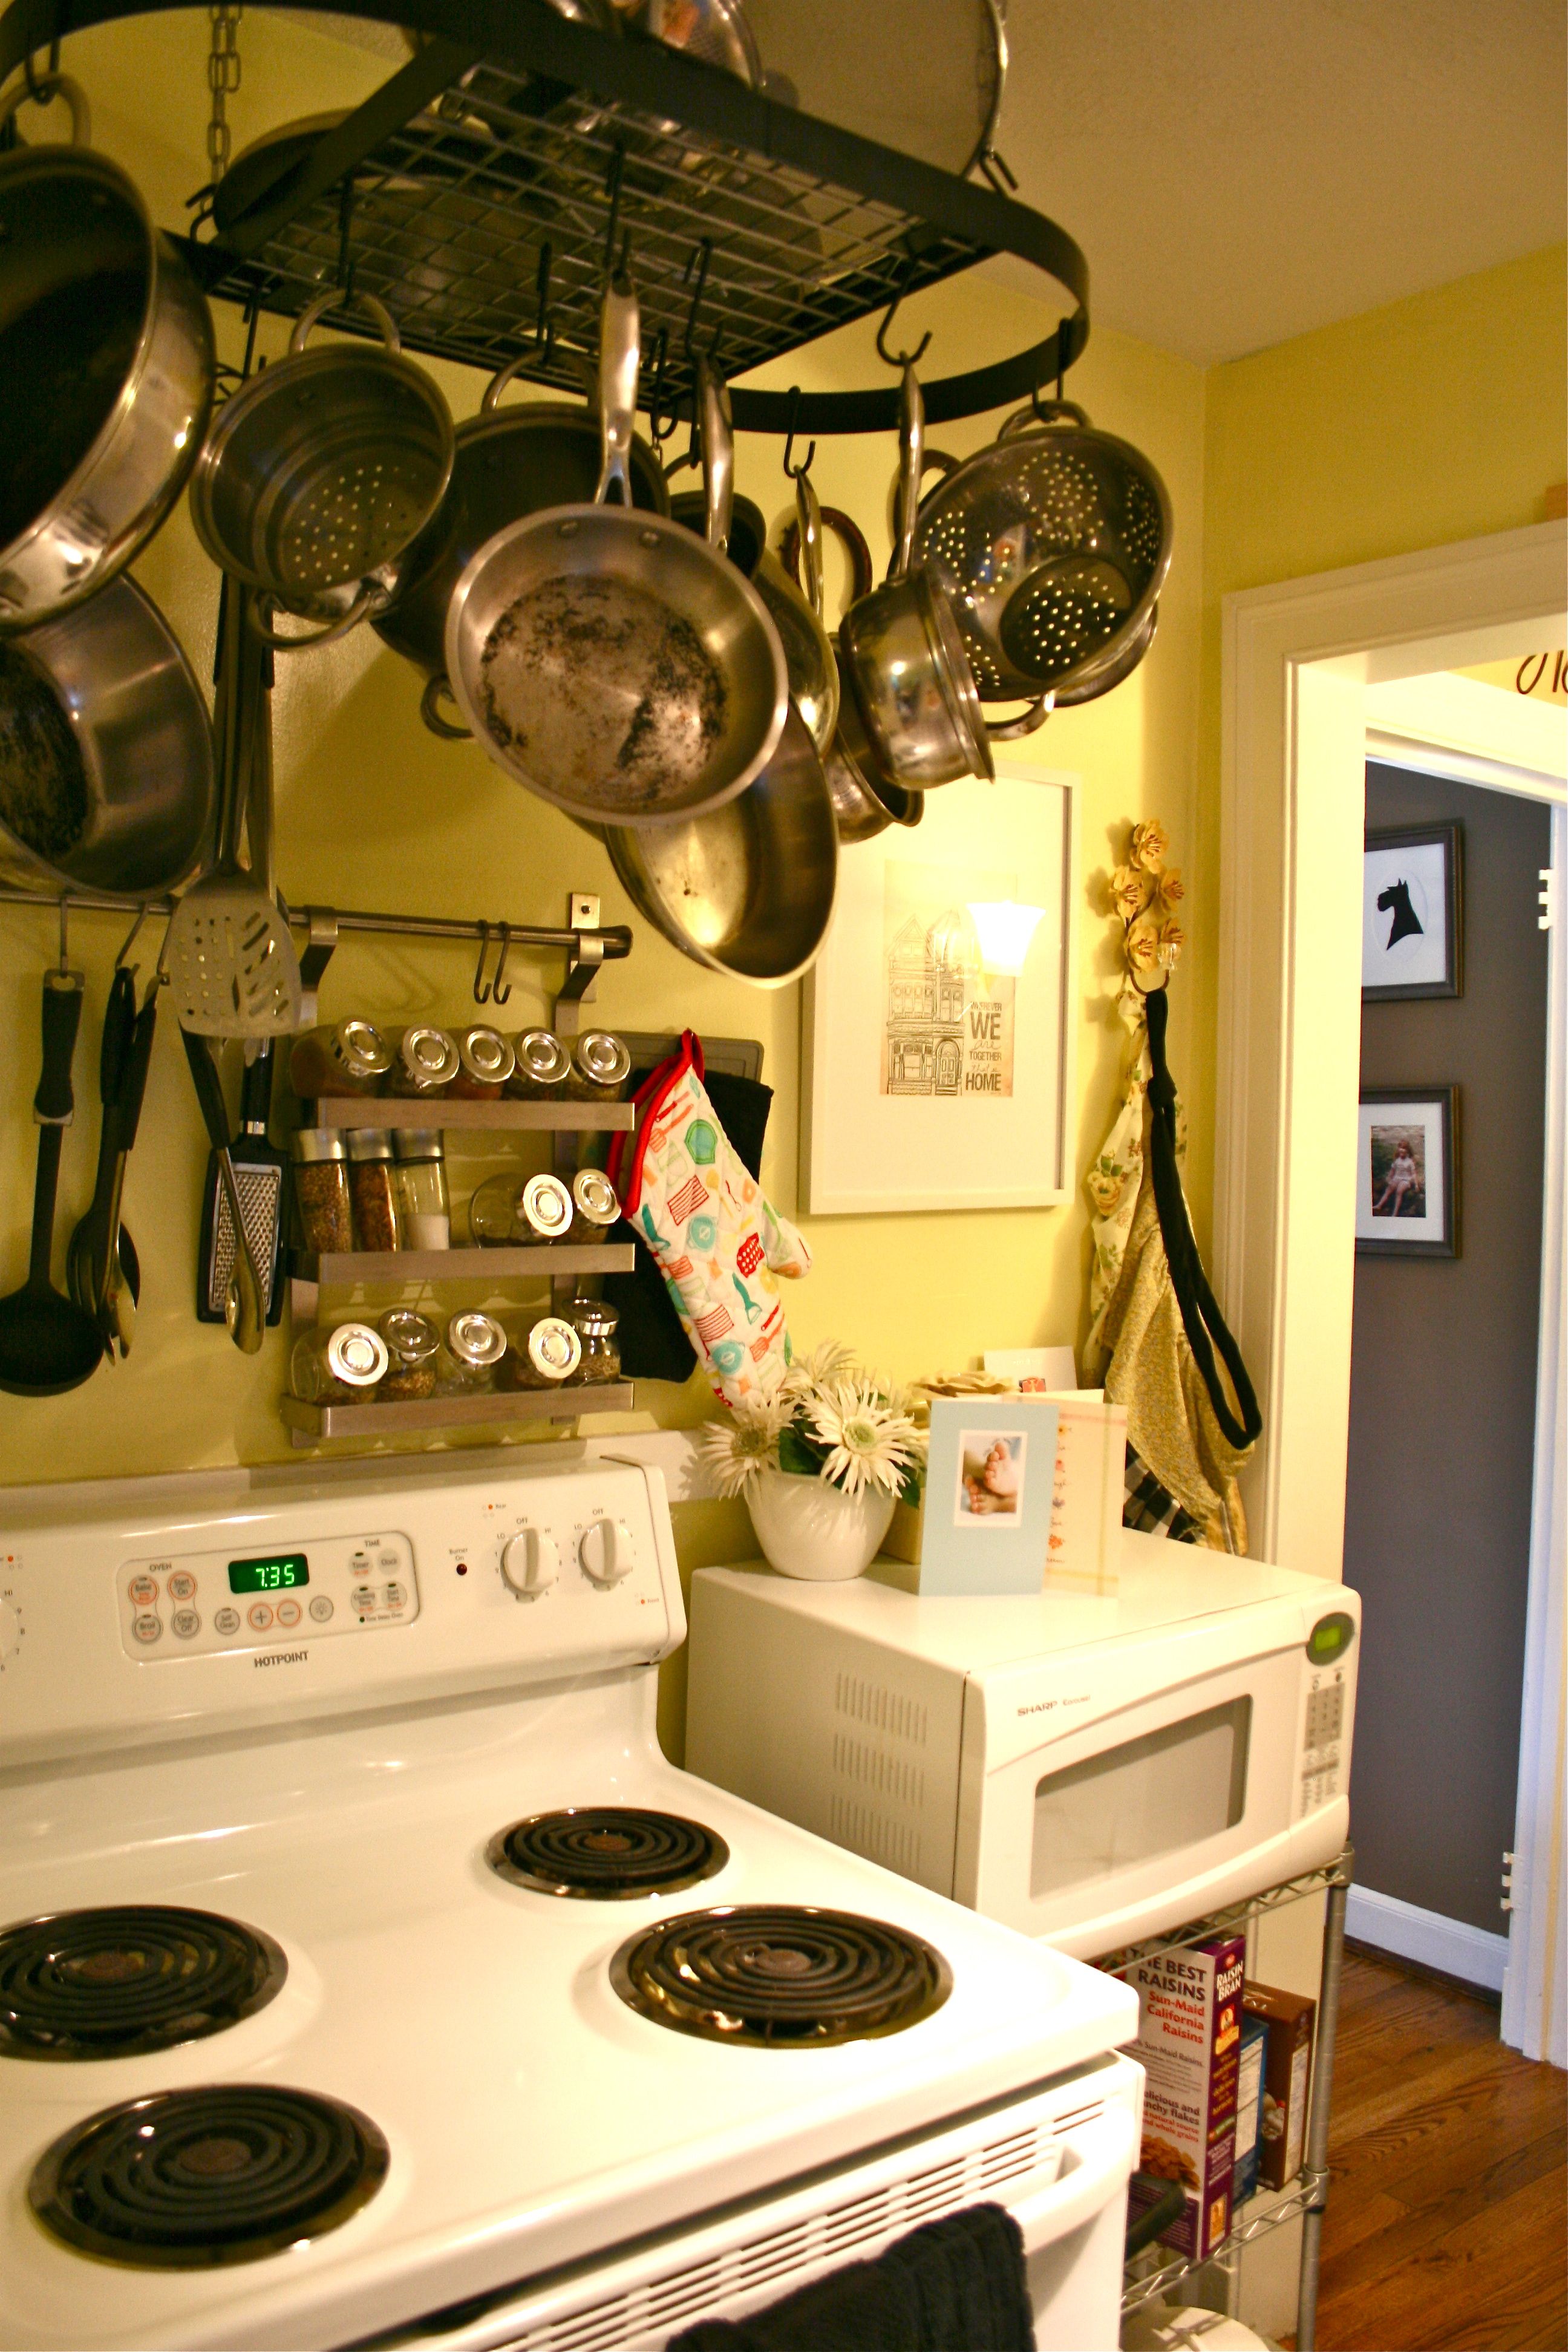
I L-O-V-E the cheery yellow color in their kitchen!! There’s nothing home-y-er then an inviting kitchen…I can only dream of our kitchen one day being as inviting as this little oasis. And all of the extra storage she’s managed to create in this little corner blows me away! Check out her spice and utensil rack, which I’m guessing originated from Ikea – STILL haven’t been to that store yet! Gotta get with the times…
A couple of fun, pretty accents like the framed print, colorful apron and bowl of fresh flowers really turns this room into a focal point. I love leaning in the doorway and chatting with her while she bustles around like the good housewife she is 🙂
Oh and did you notice the adorable dog silhouette in the peek-a-boo of the living room through the open doorways? That’s one of their two beloved dogs – Such a great way to pay homage to your pets!
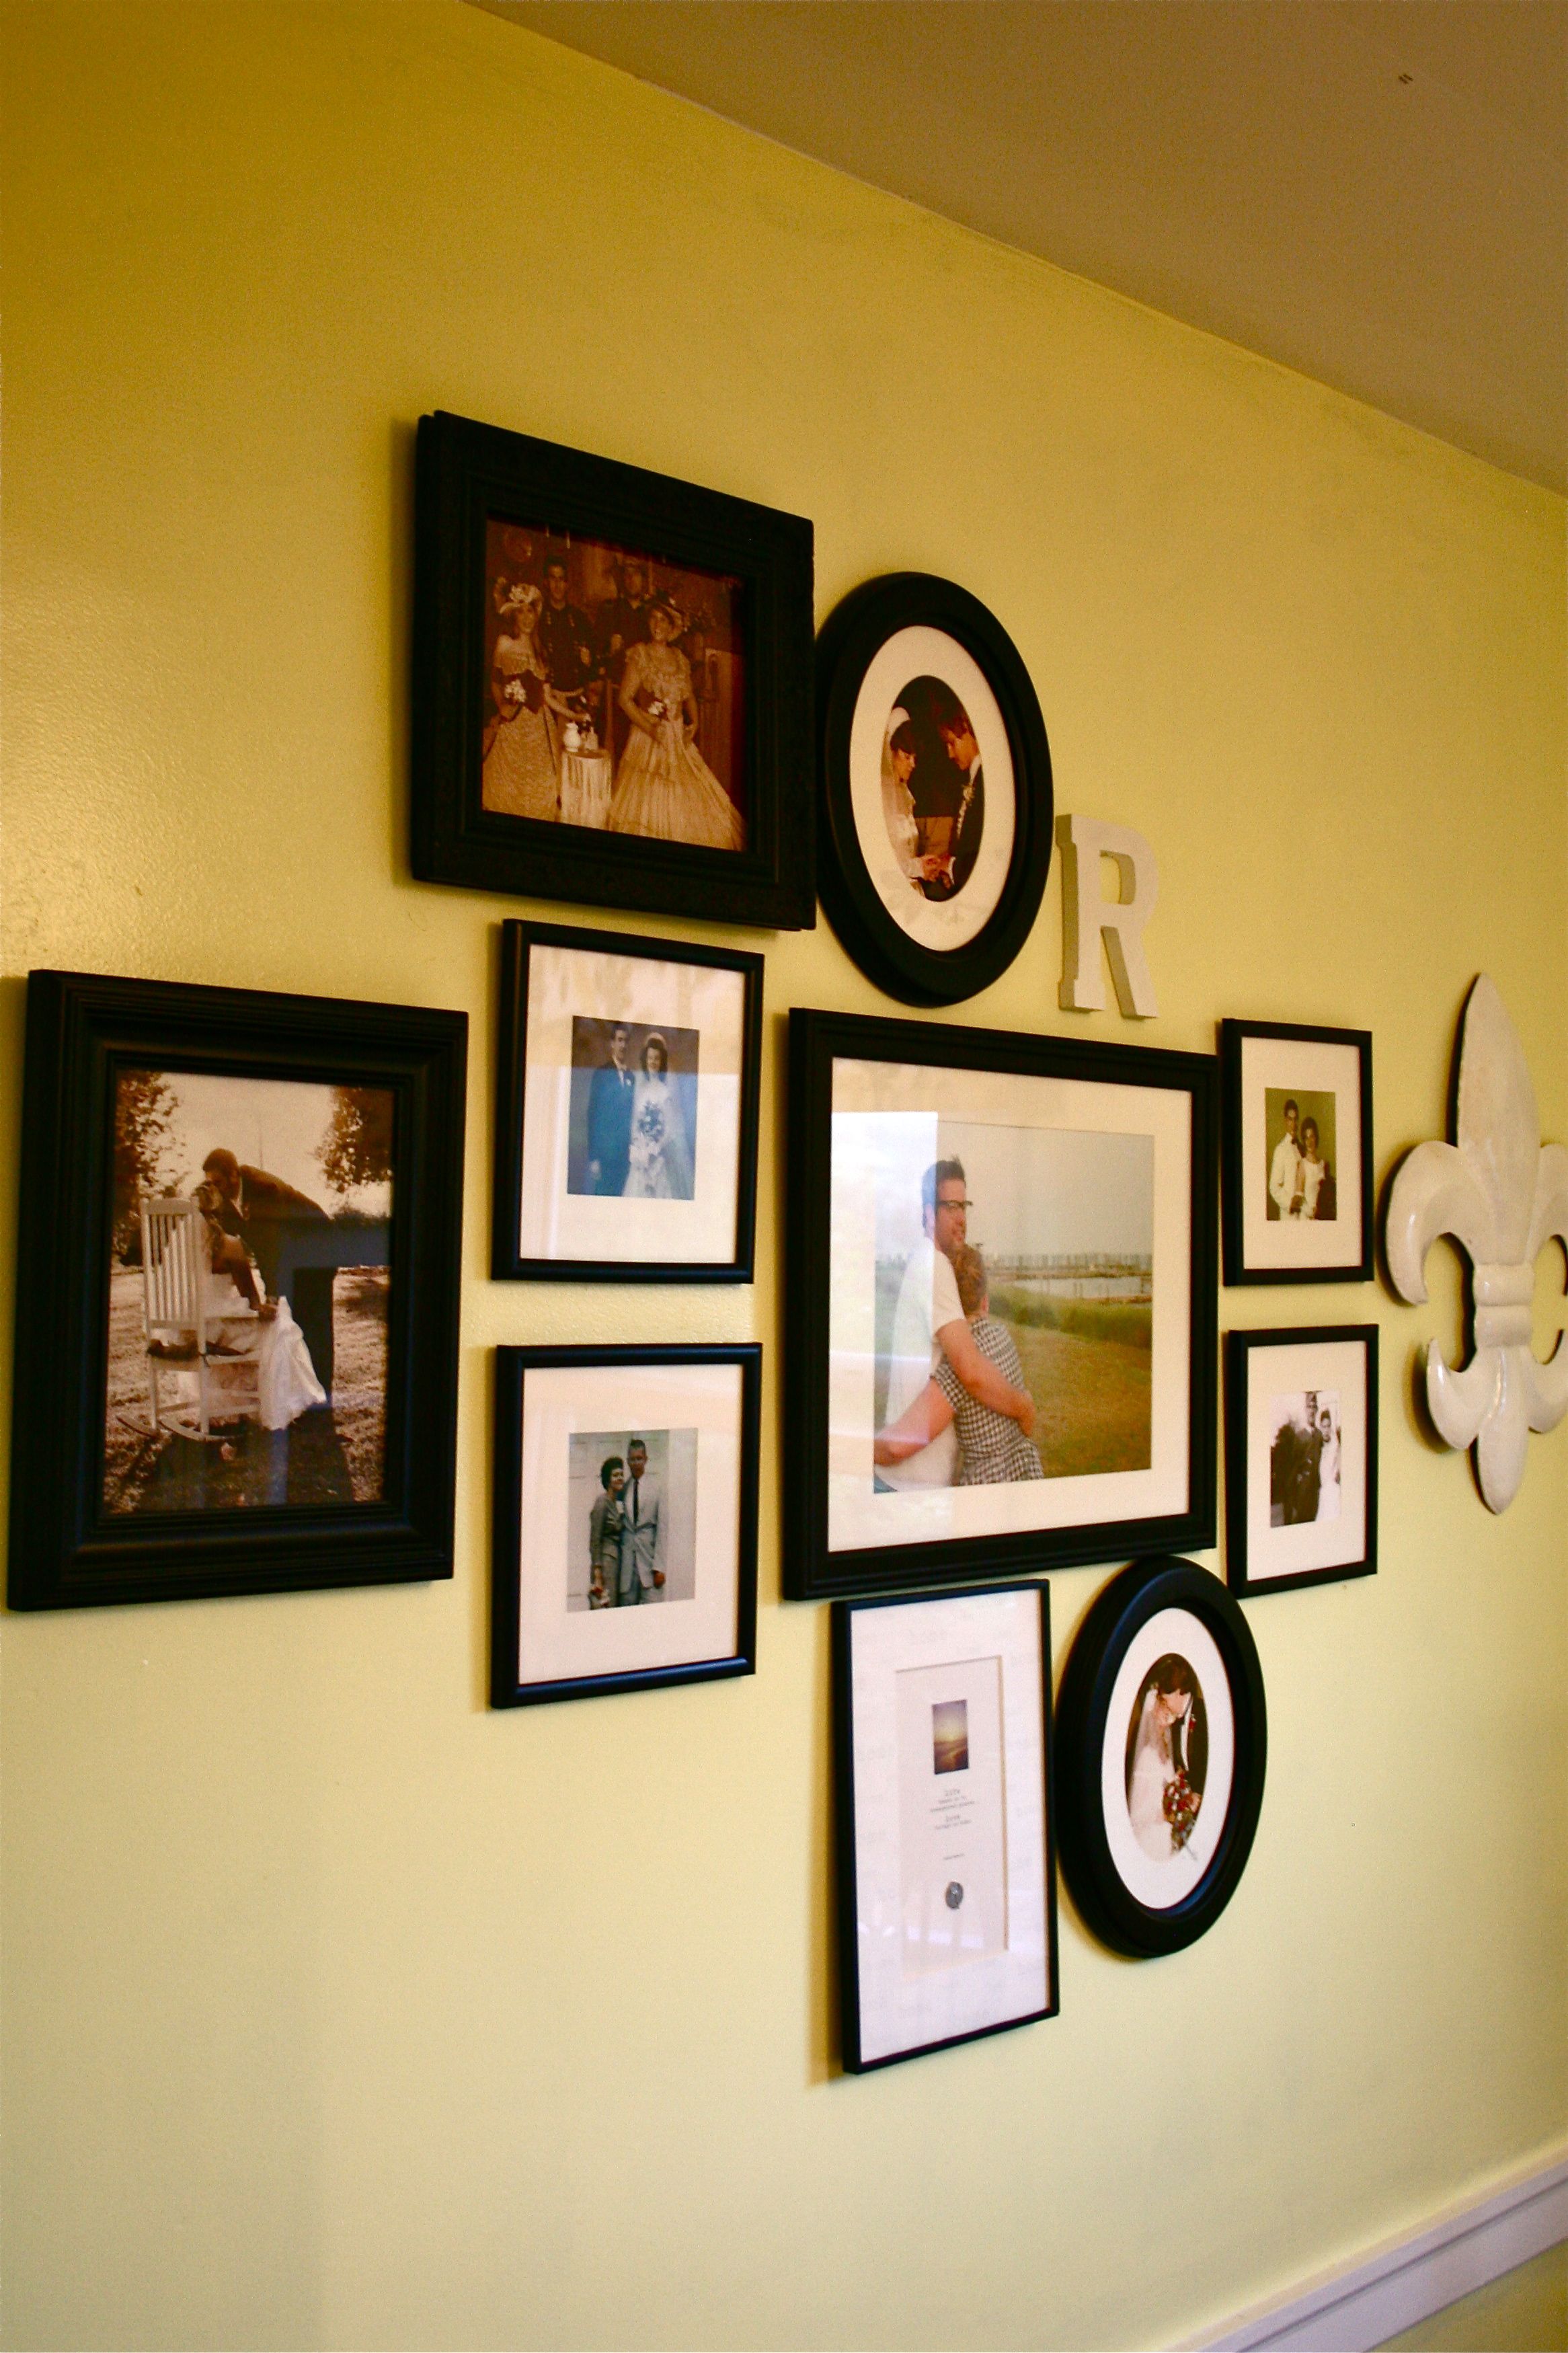
Below is the gallery wall that she put together in their dining room – I love the subject matter of family that she ran with, complete with generations of wedding portraits, an “R” for their last name initial and photos of friends and family trips. Also love the graphic fleur-de-lis too!
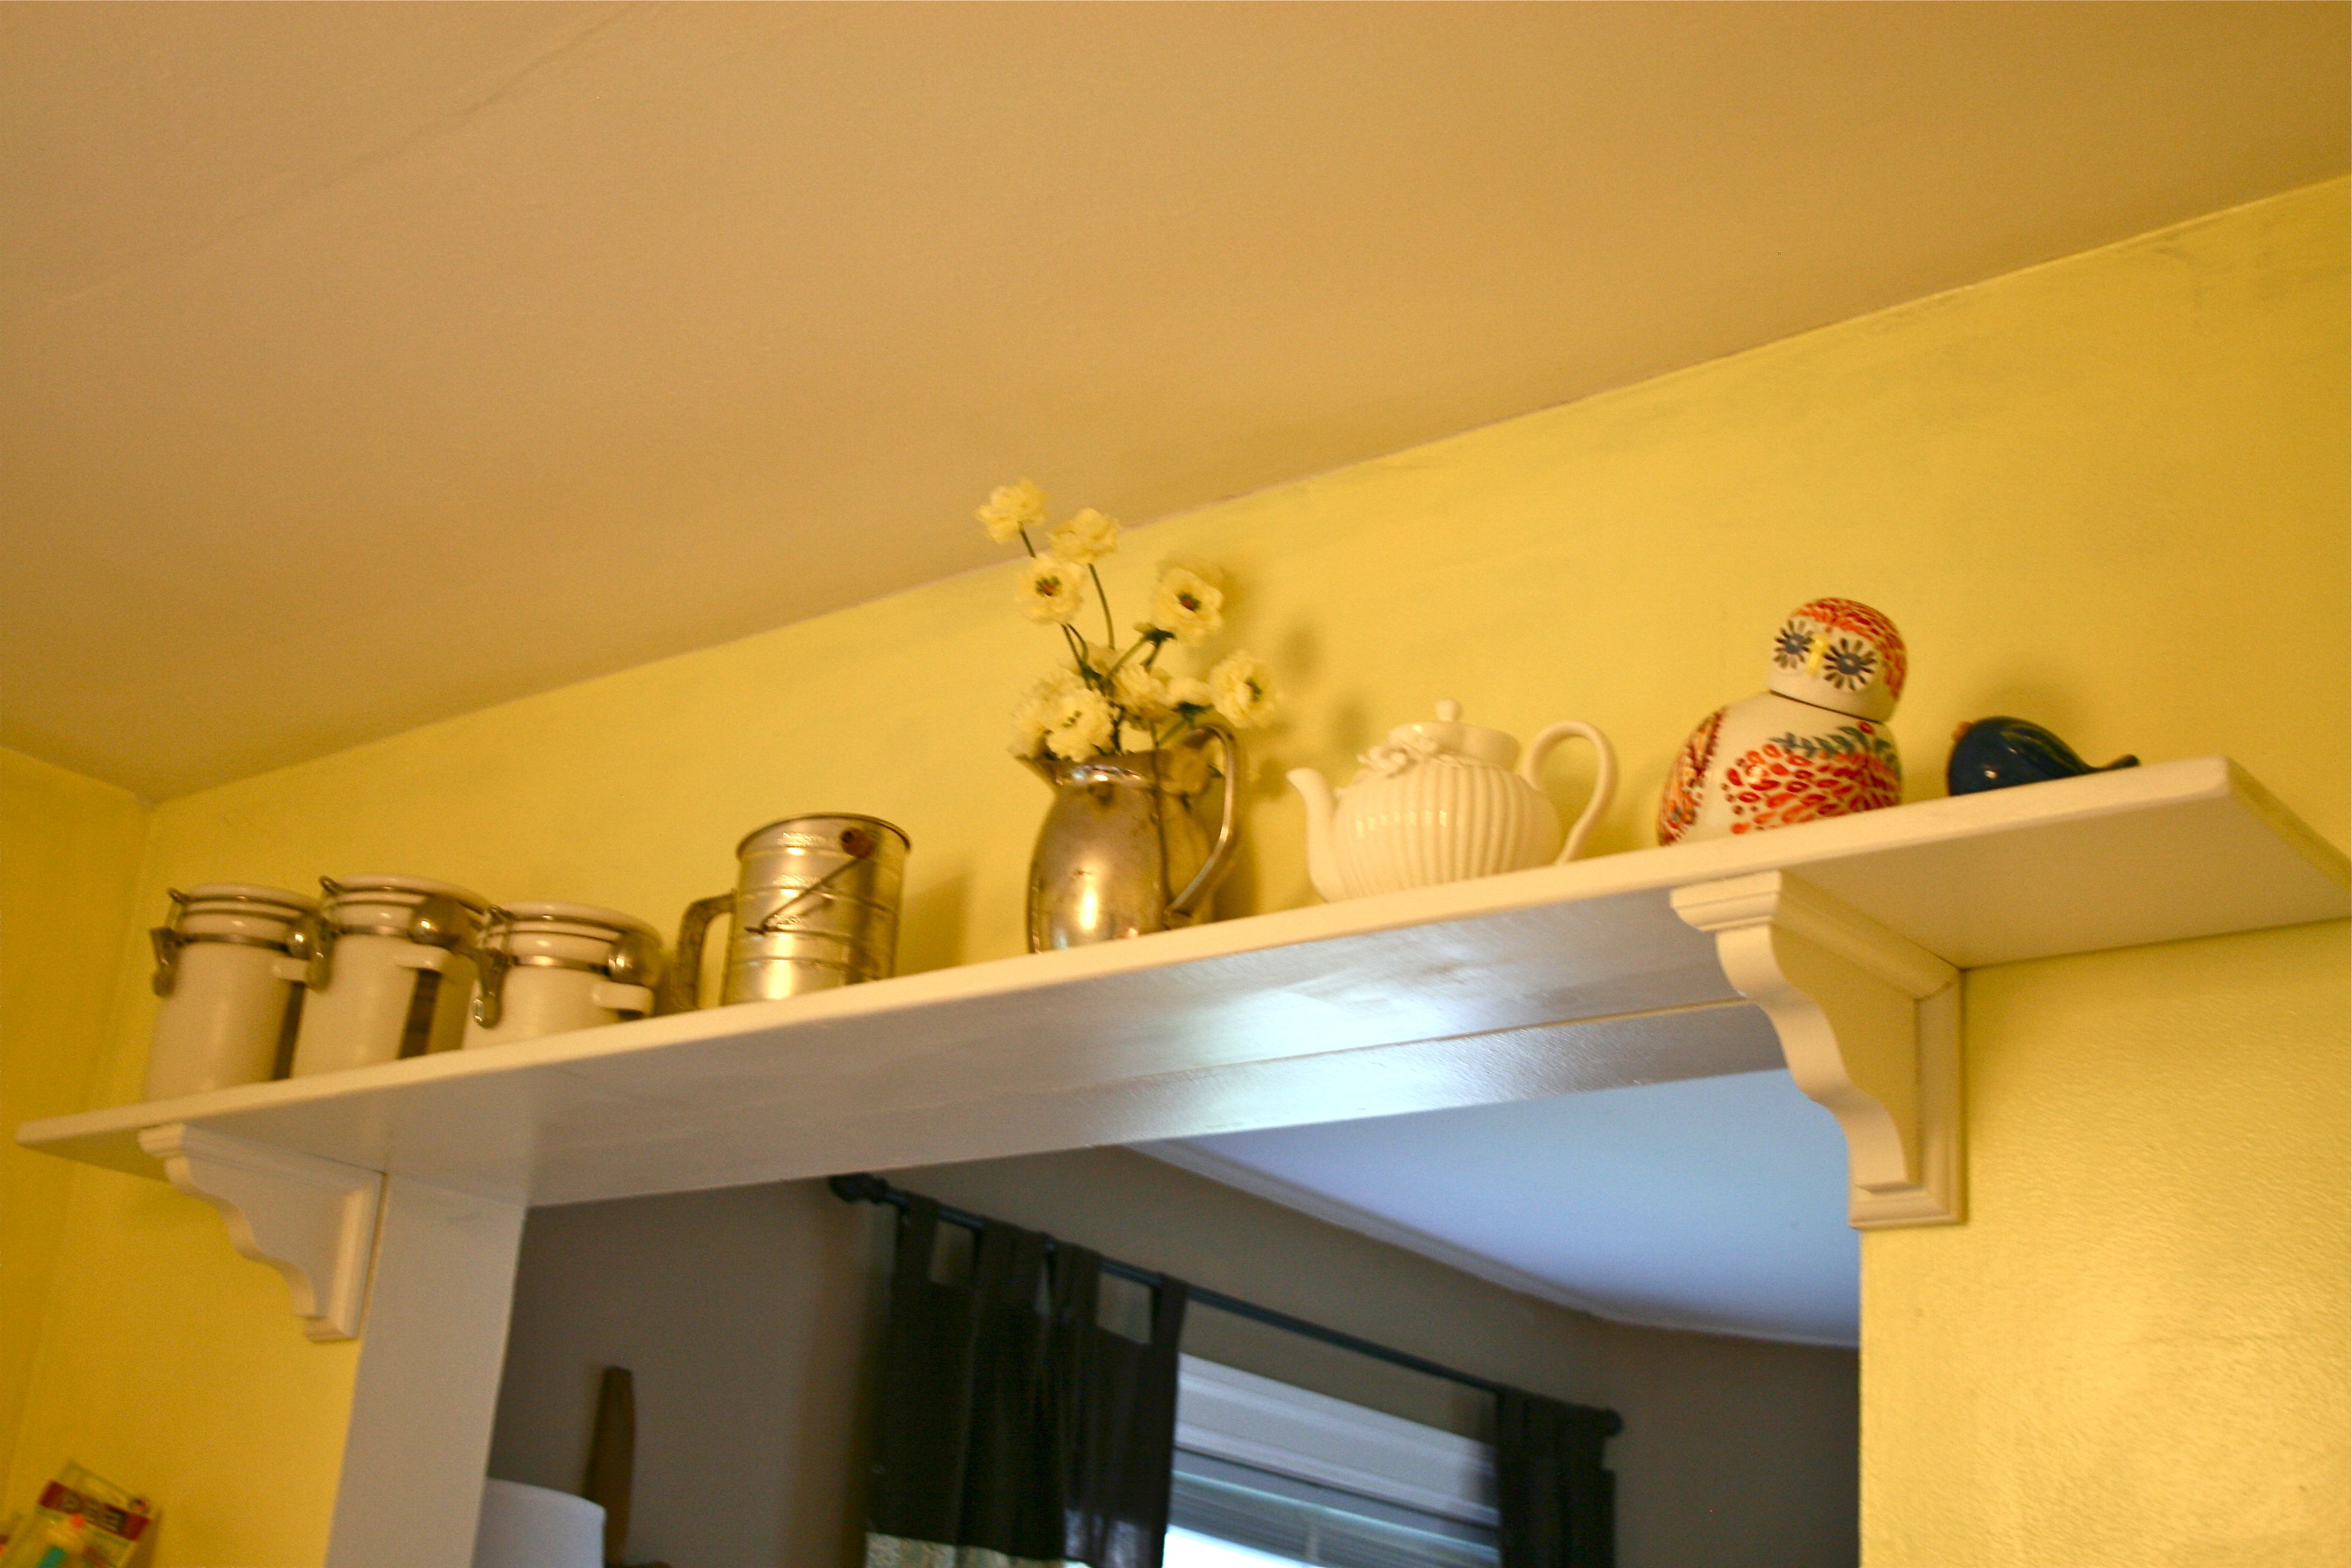
She and I spoke for several minutes over the shelf pictured below – What a creative way to find extra storage over an open doorway!!! And it’s a way to store the “pretty” things that need a place to live too – Like the little bird-shaped canister that she picked up from Anthropology. This wouldn’t be too difficult to put together either…A little wood, decorative shelf anchors, some white paint and nails/screws and you’ve got it – Thanks for the tip, Bonnie!
Hopefully (with her permission) we can revisit her house for a full tour?? Crossing my fingers!
But back to the chair 🙂
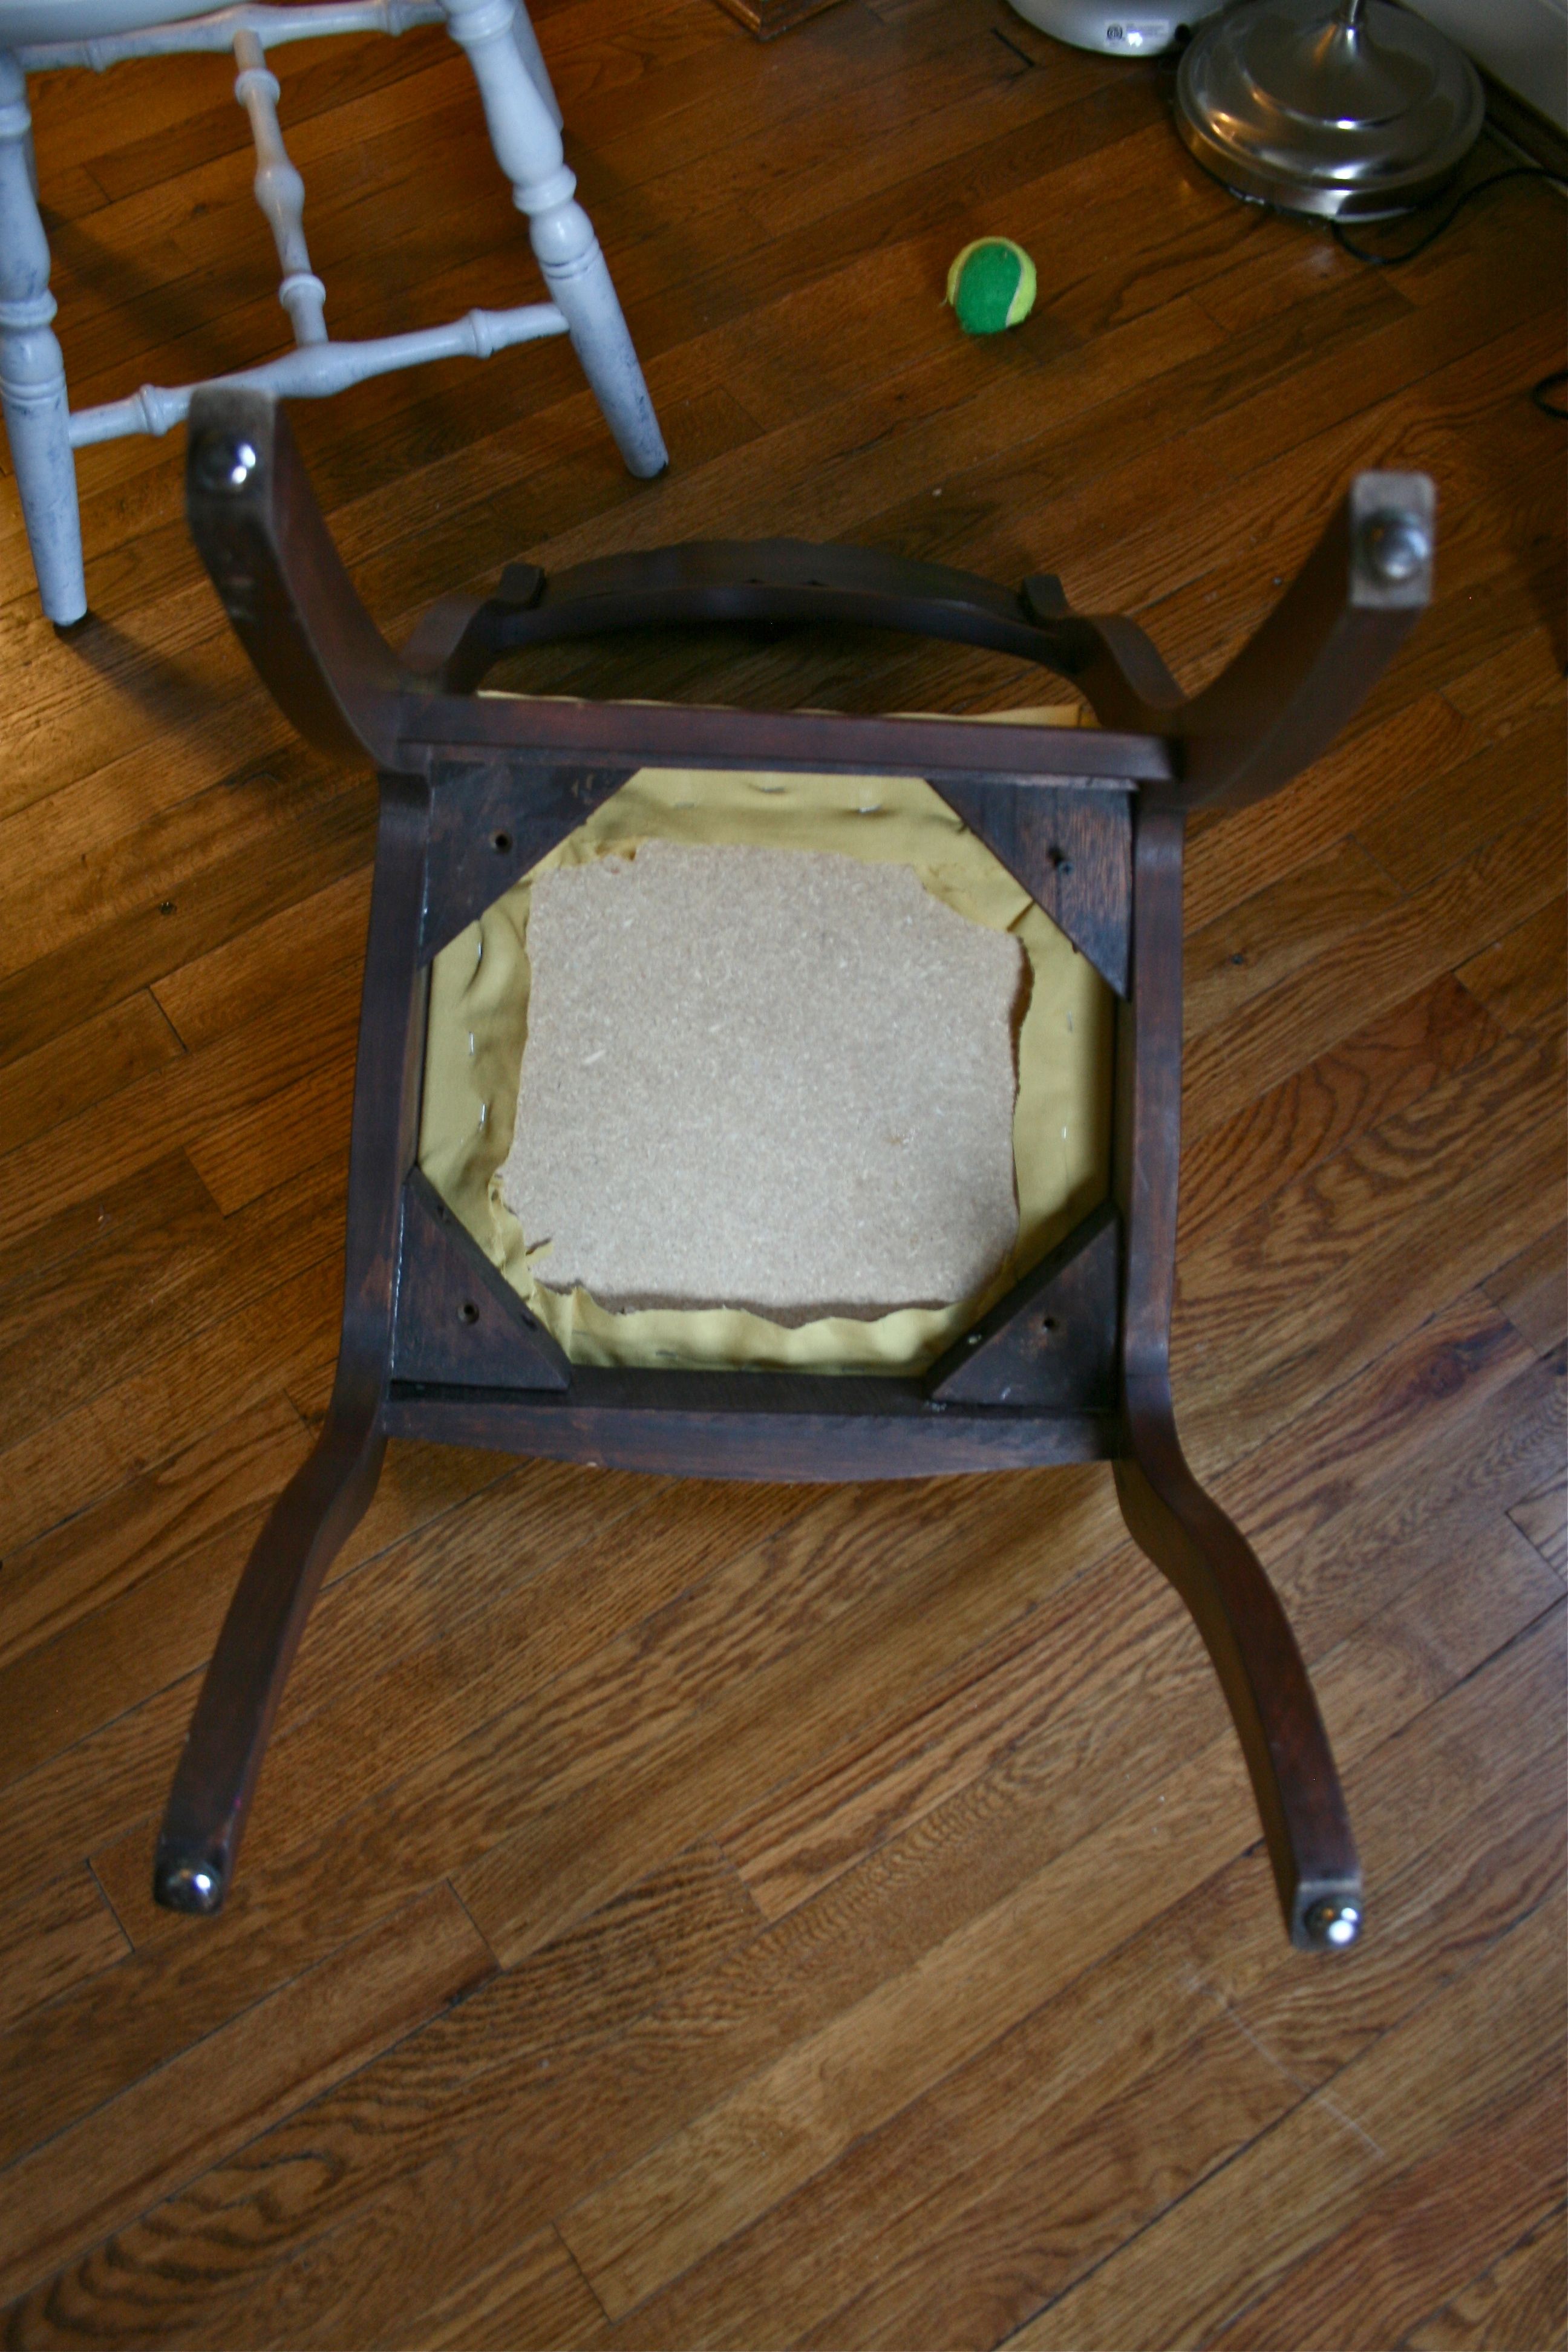
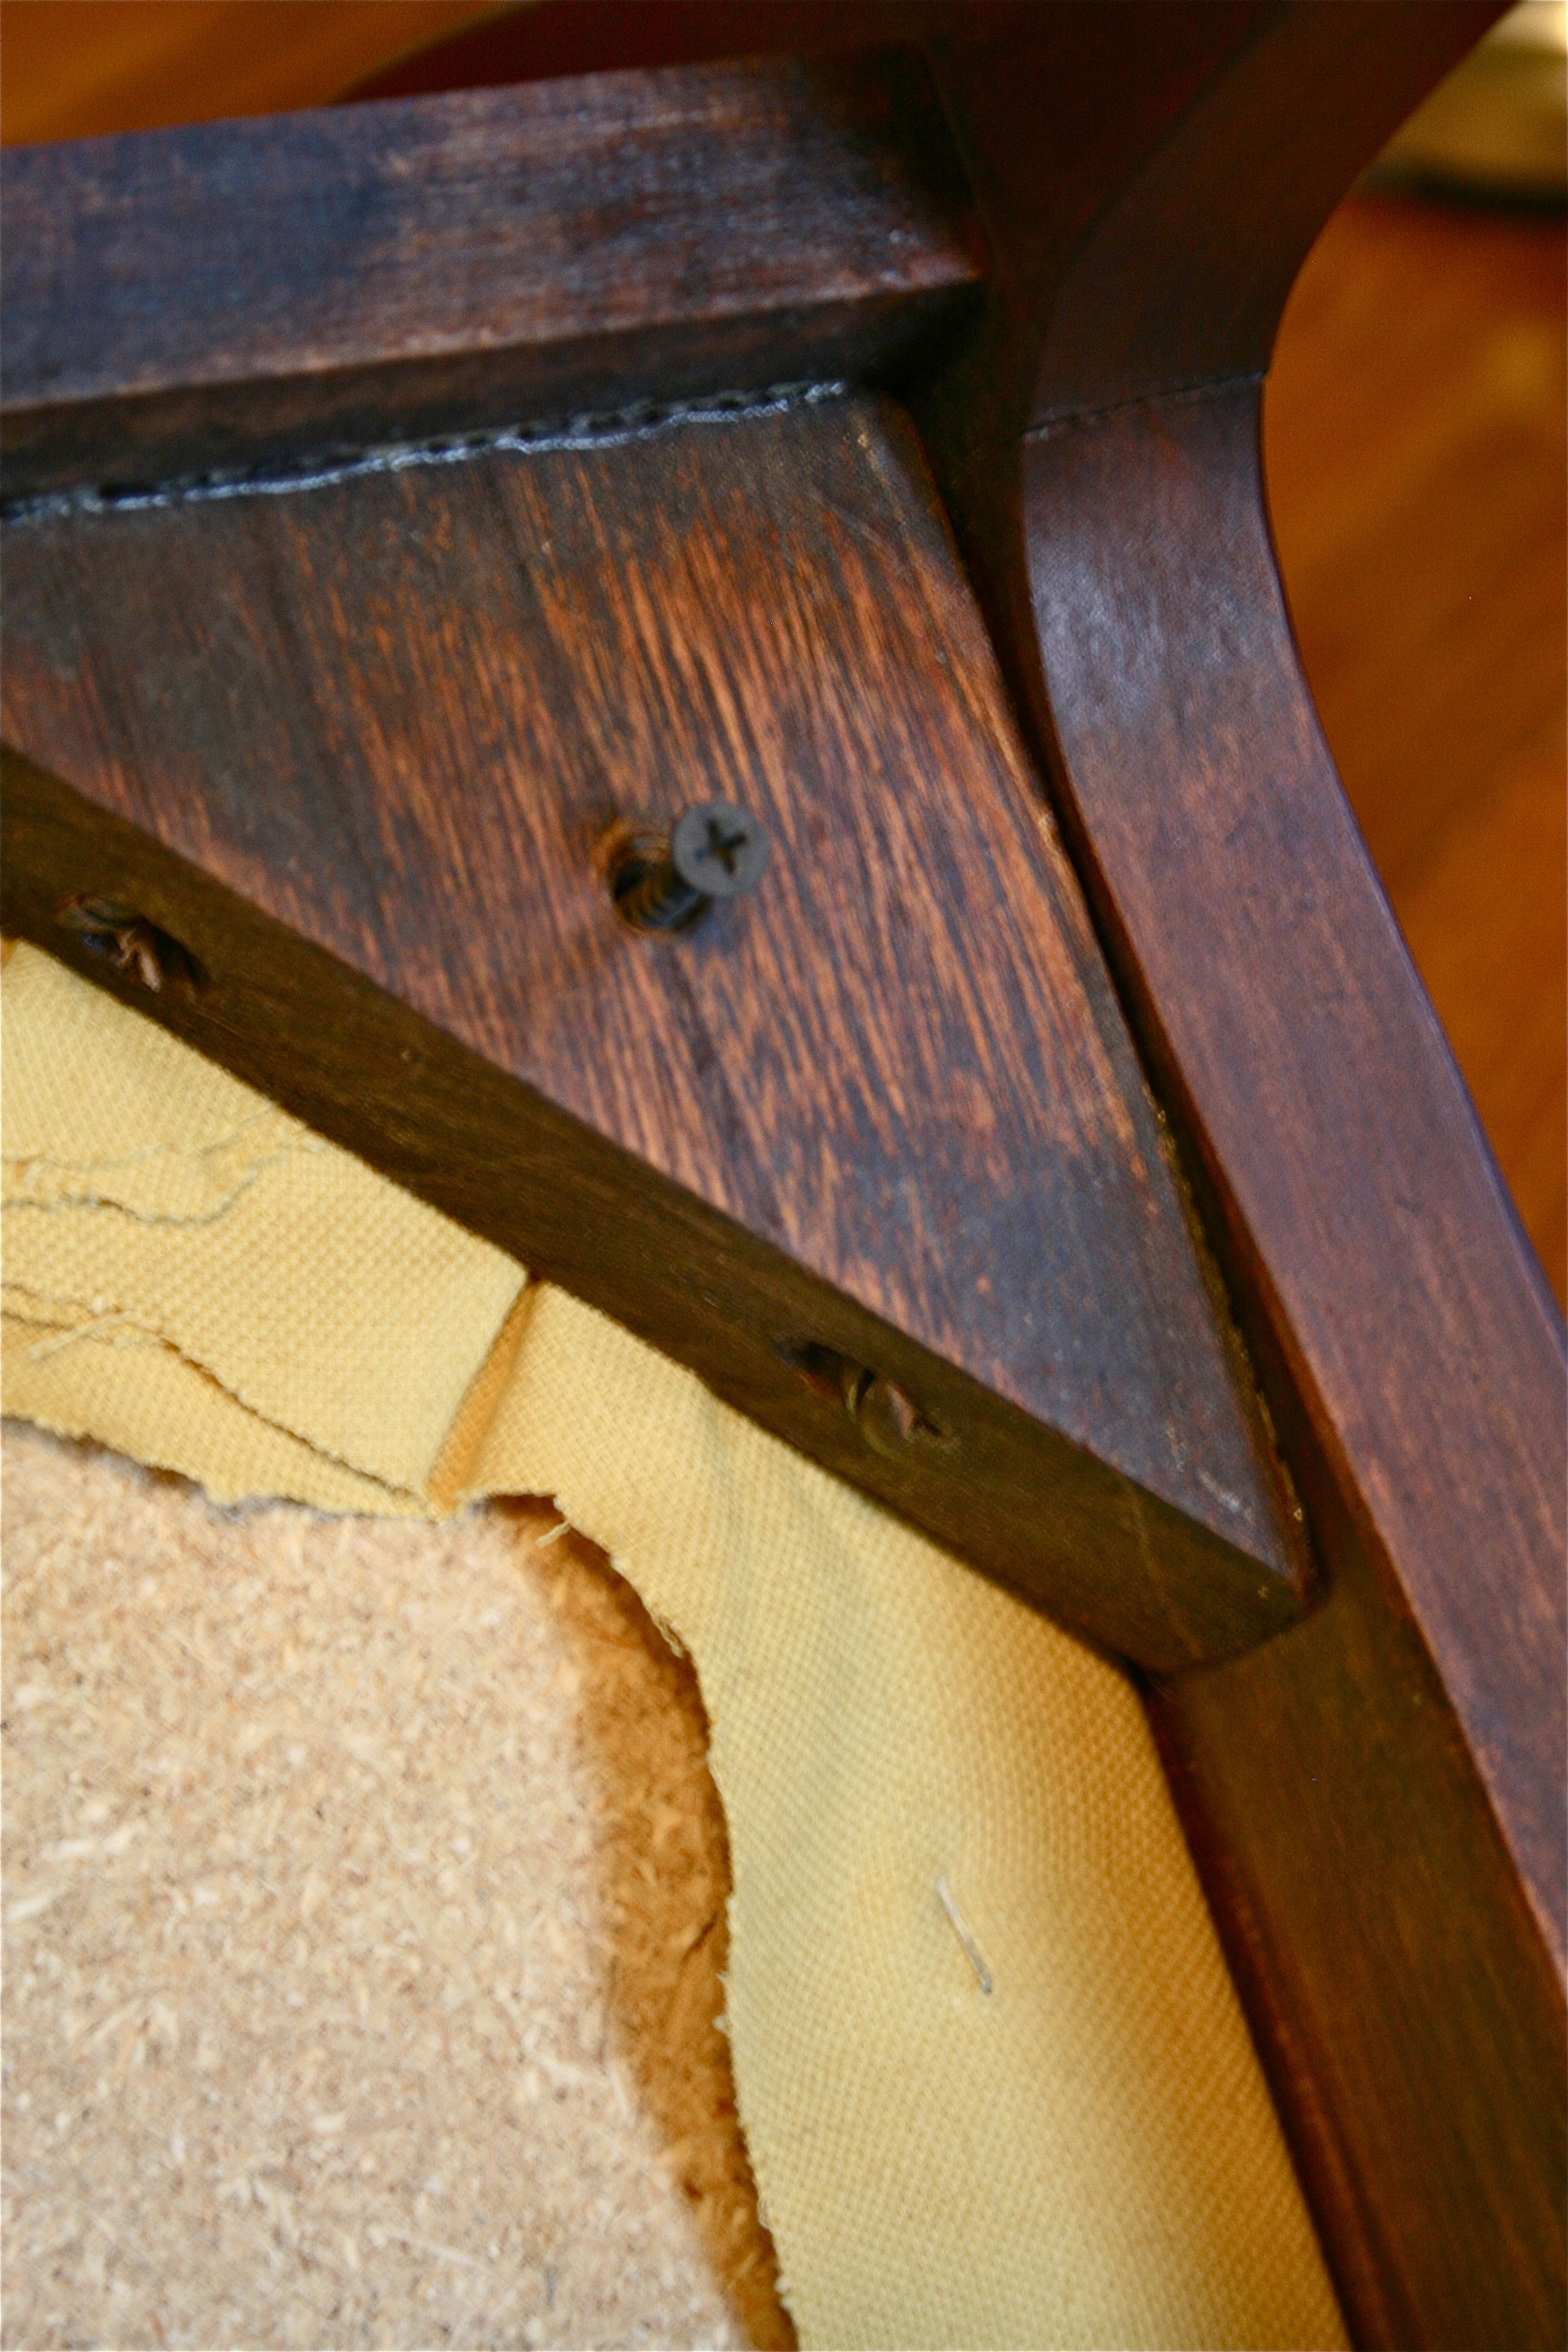
So first, I flipped it over and detached the chair seat from the wooden frame using a screw driver:
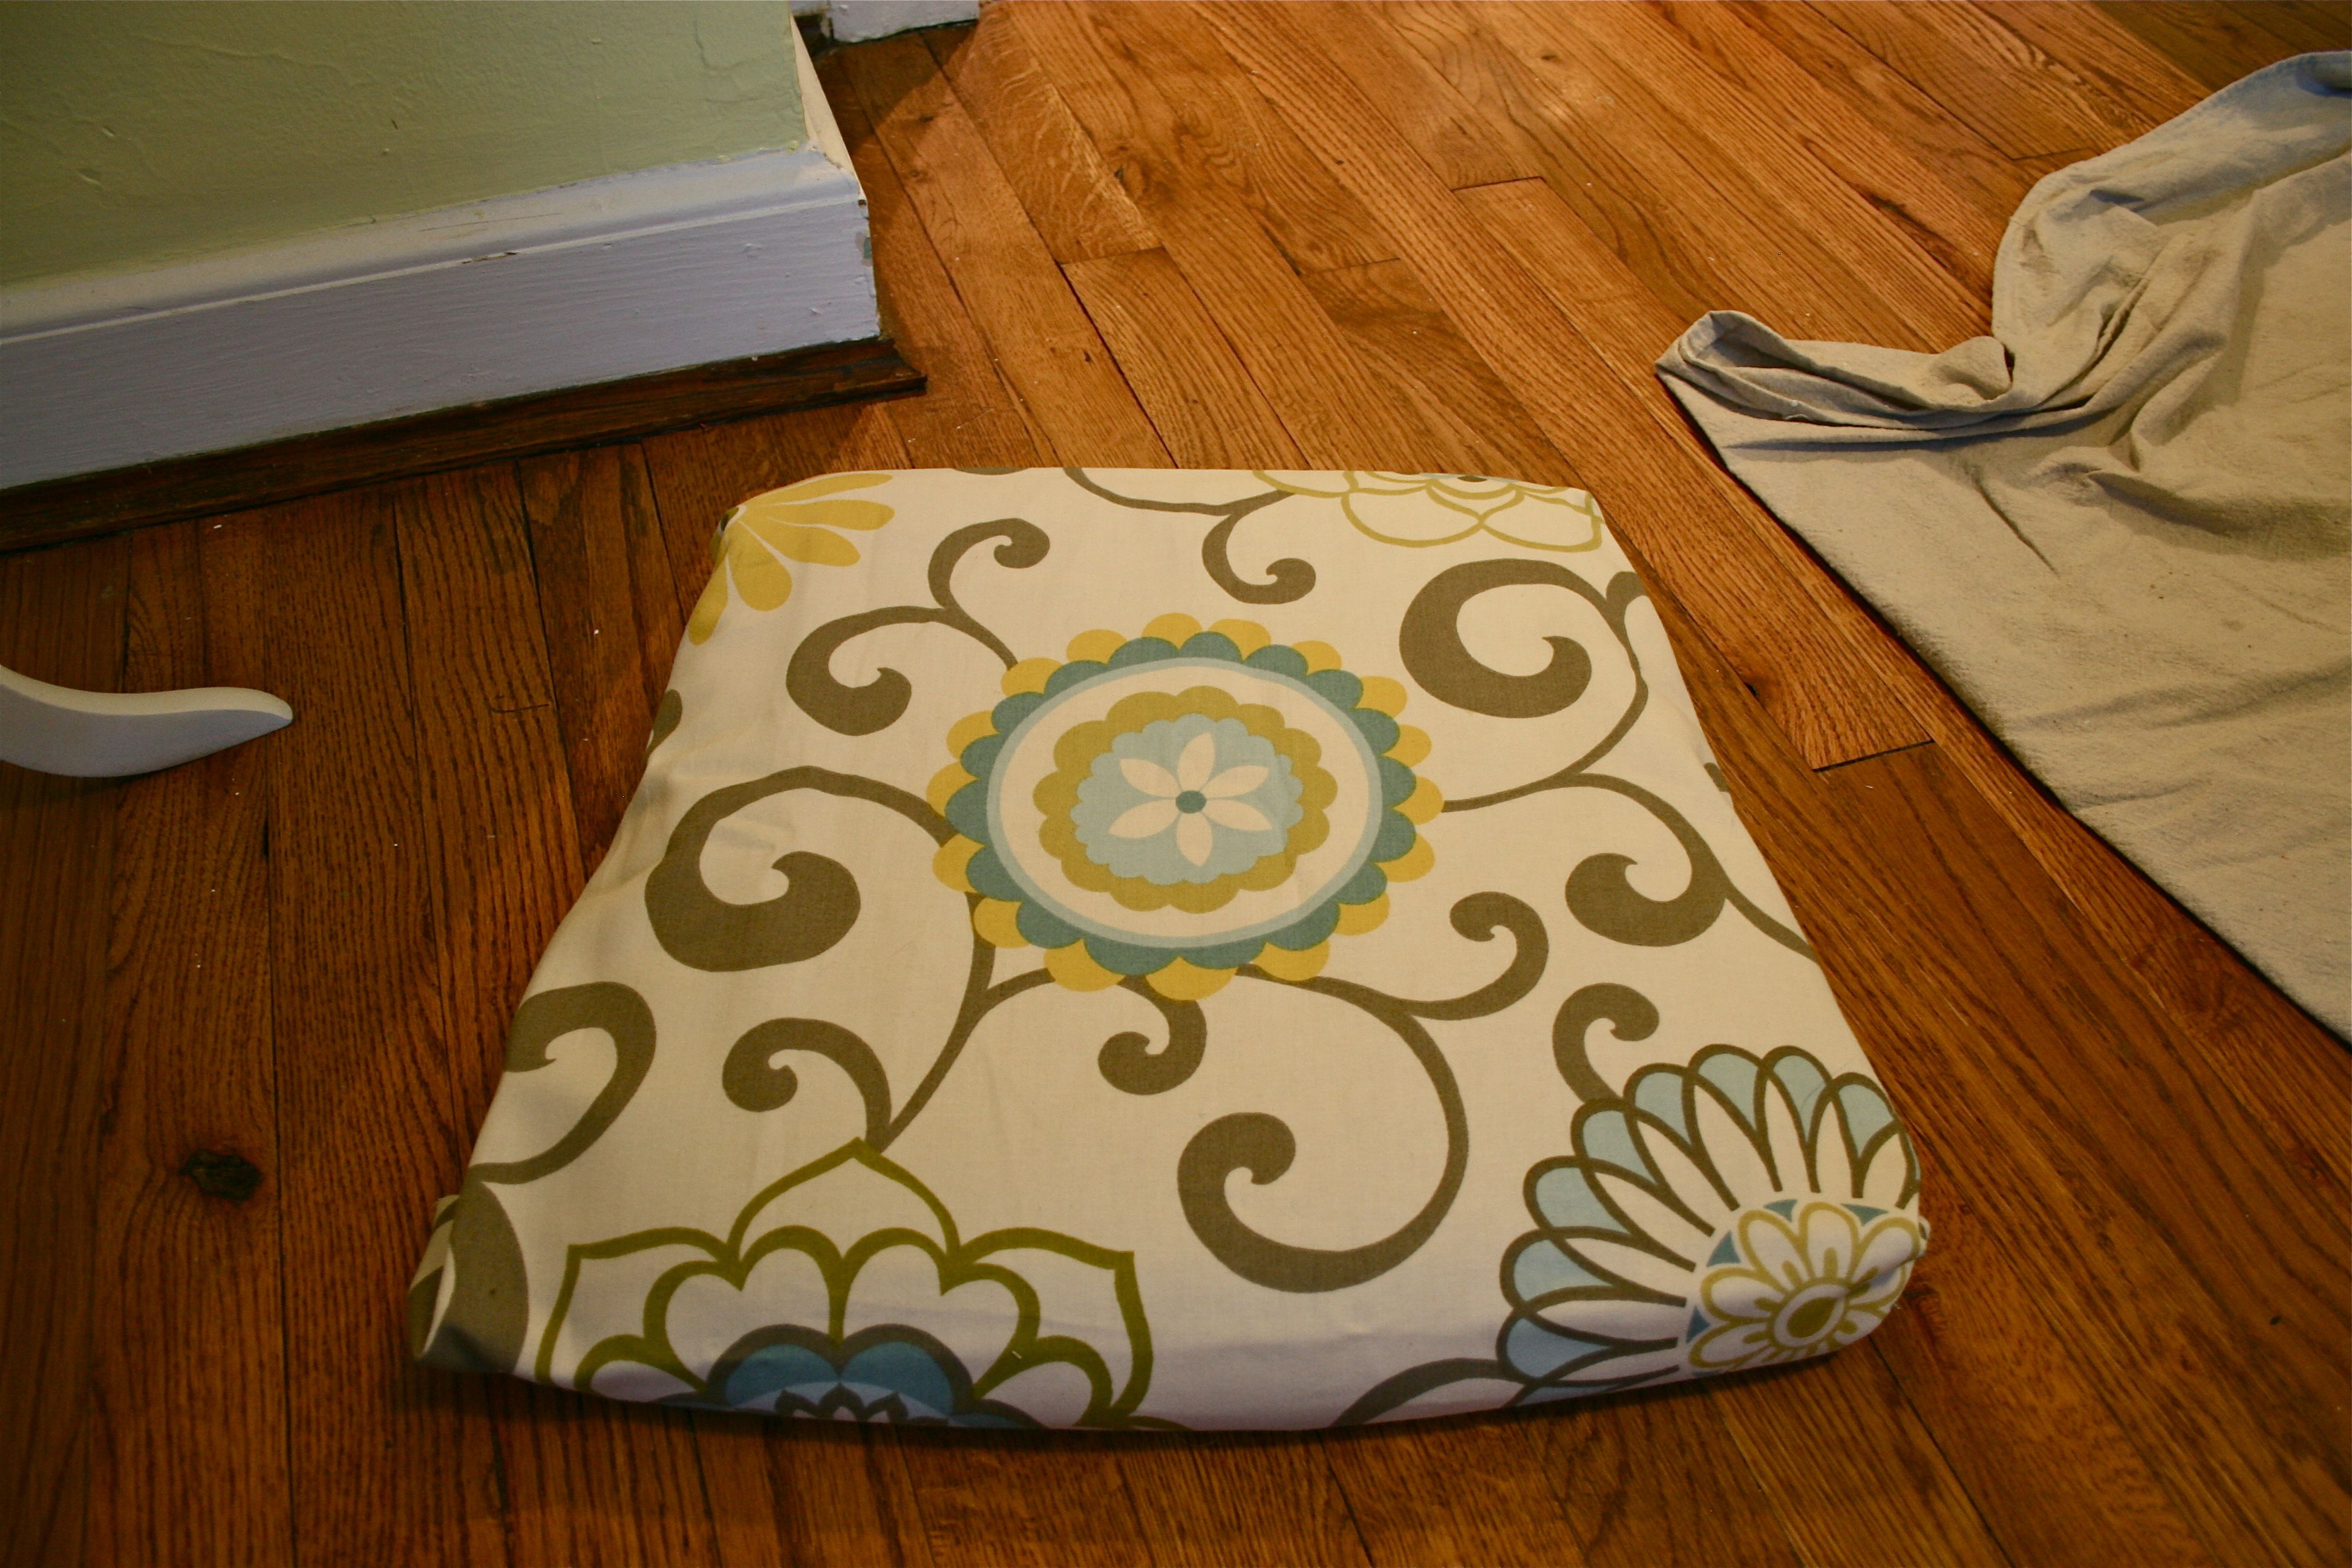
Then I laid out the new fabric over the detached seat until I found a layout I liked. I wanted one of the graphic flowers in the fabric to be centered, but it was hard work deciding on which one! I knew I wanted one with a pop of yellow, so this final arrangement was eventually given the nod of approval by both ladies in attendance…I also love that a tiny bit of the rest of the flowers are shown in the corners.
Time to staple! Unfortunately, this is where I ran into a bit of a hiccup (and when Bonnie’s husband, Todd, probably started to resent the fact that I had set up shop in their dining room ;)) – My beloved staple gun, the one that I used for this project (although it ended up being too strong) and this project, wasn’t doing a very good job.
I.E. it FAILED completely!
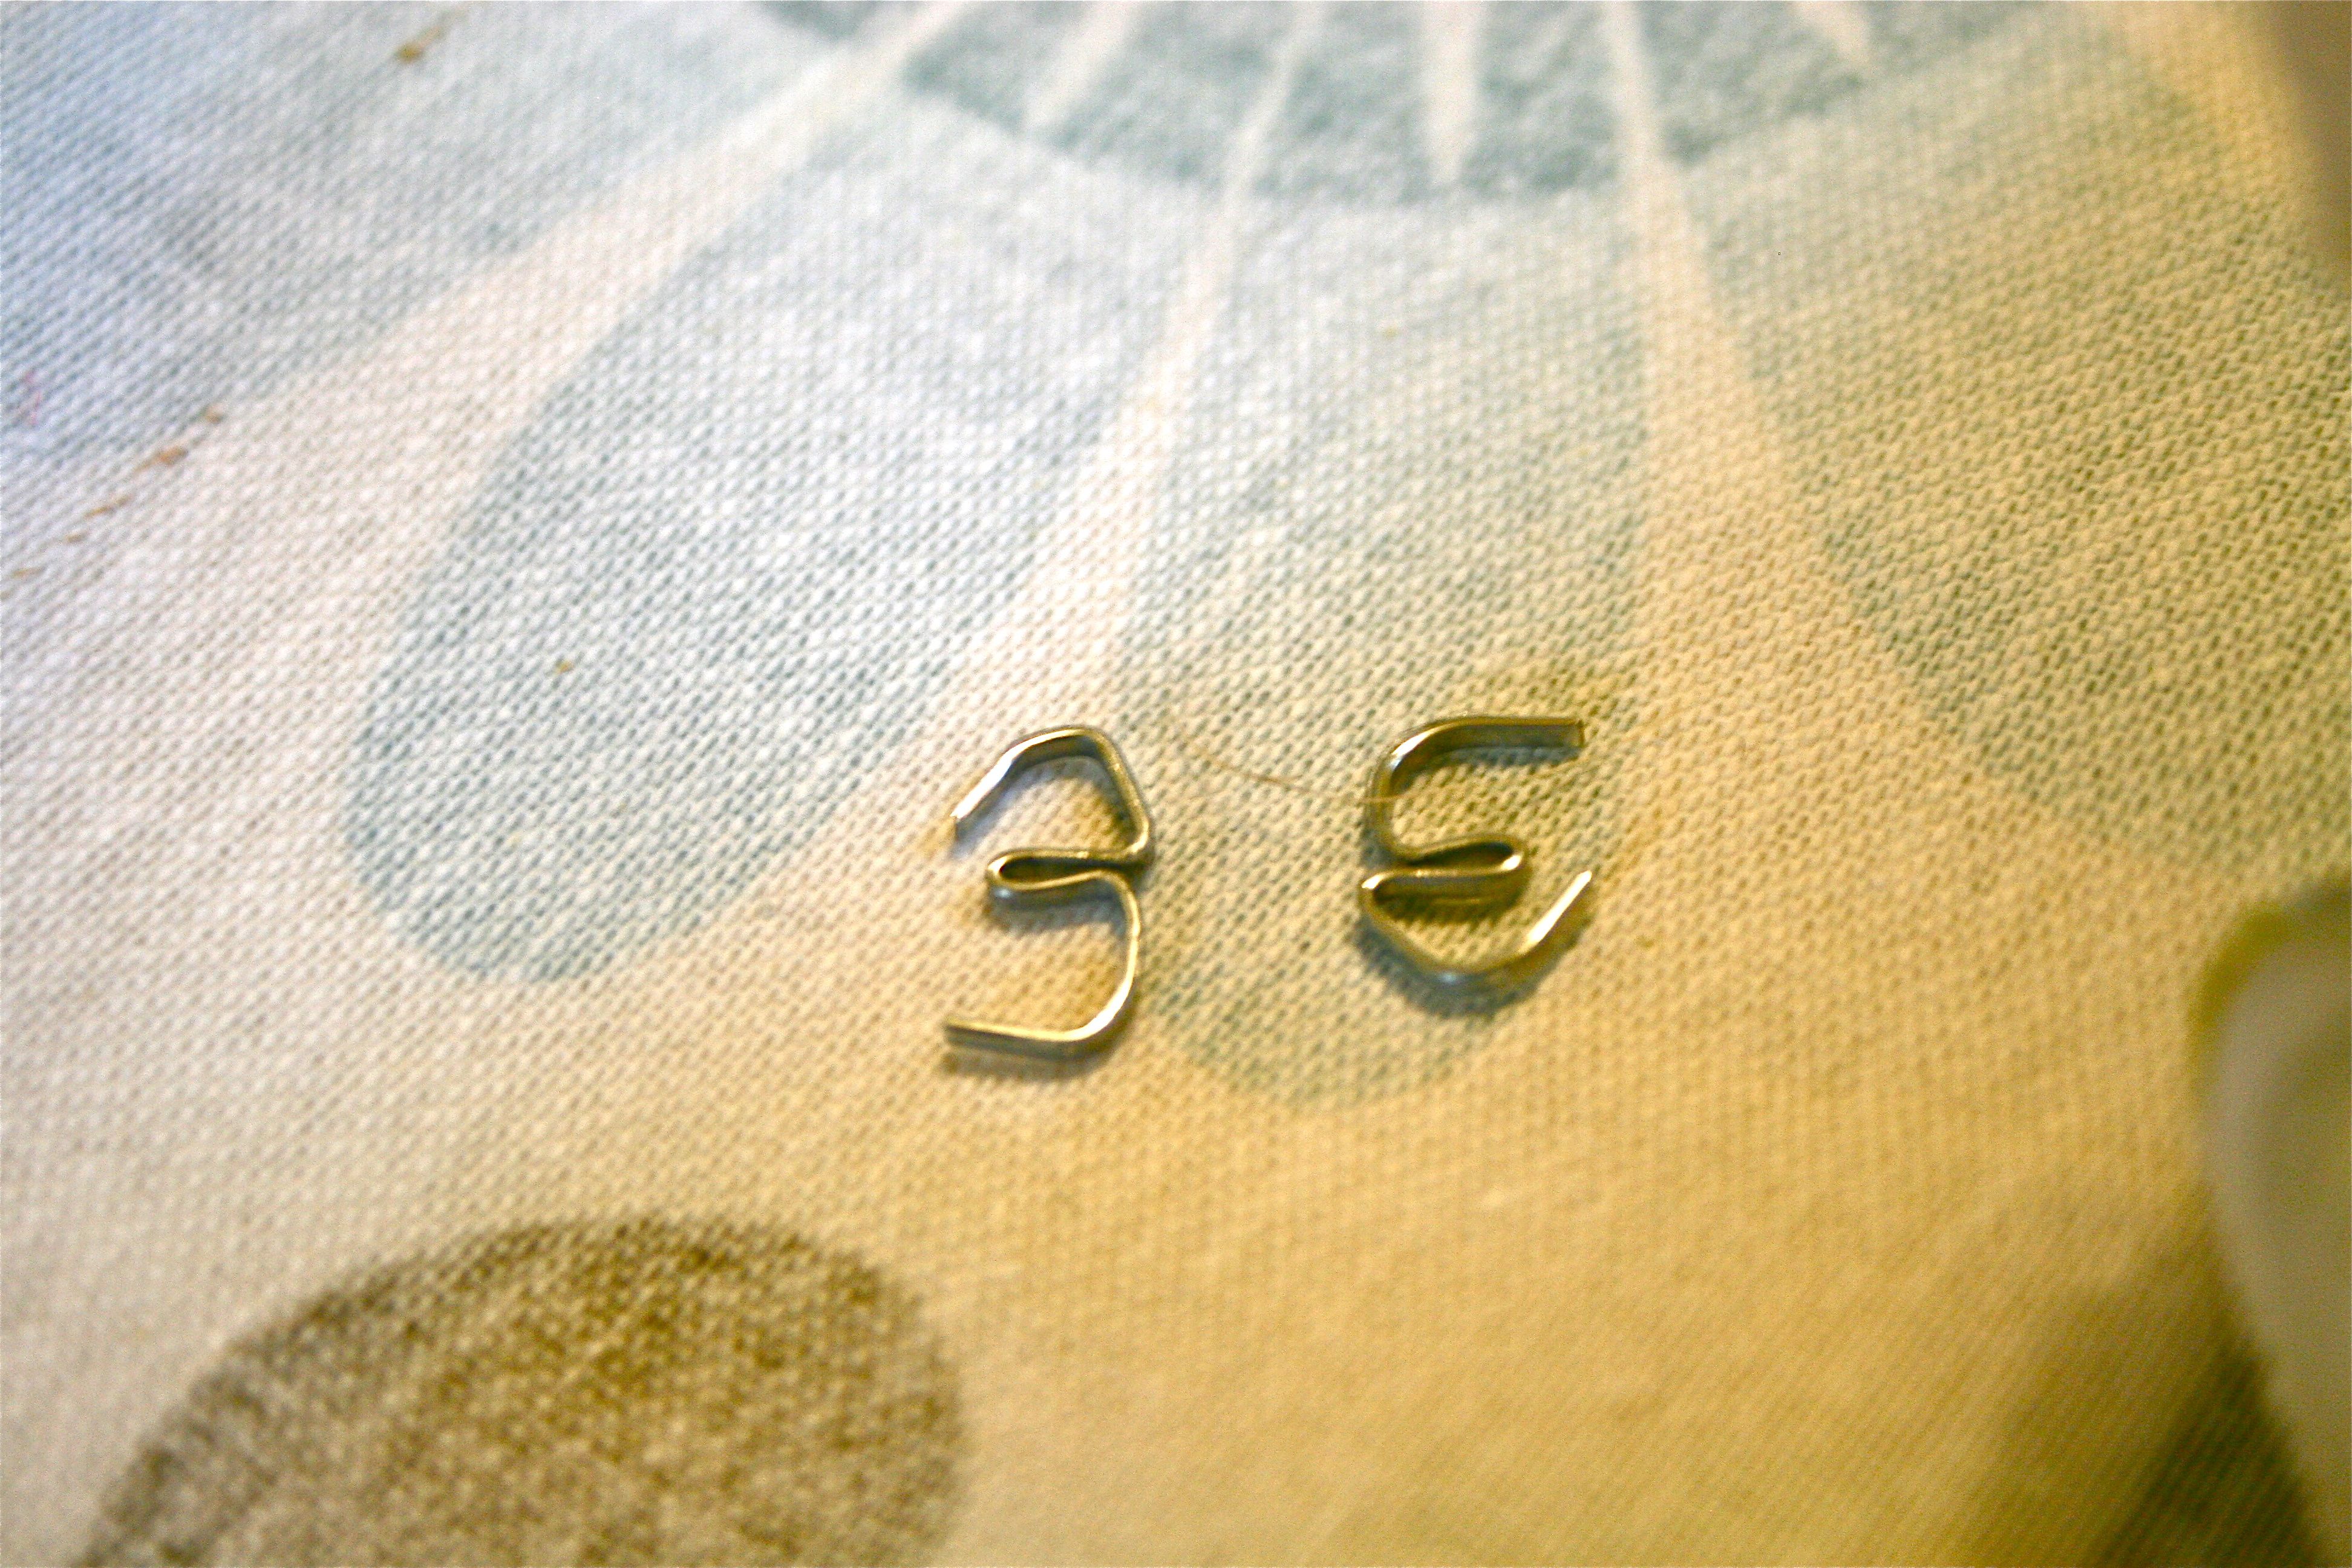
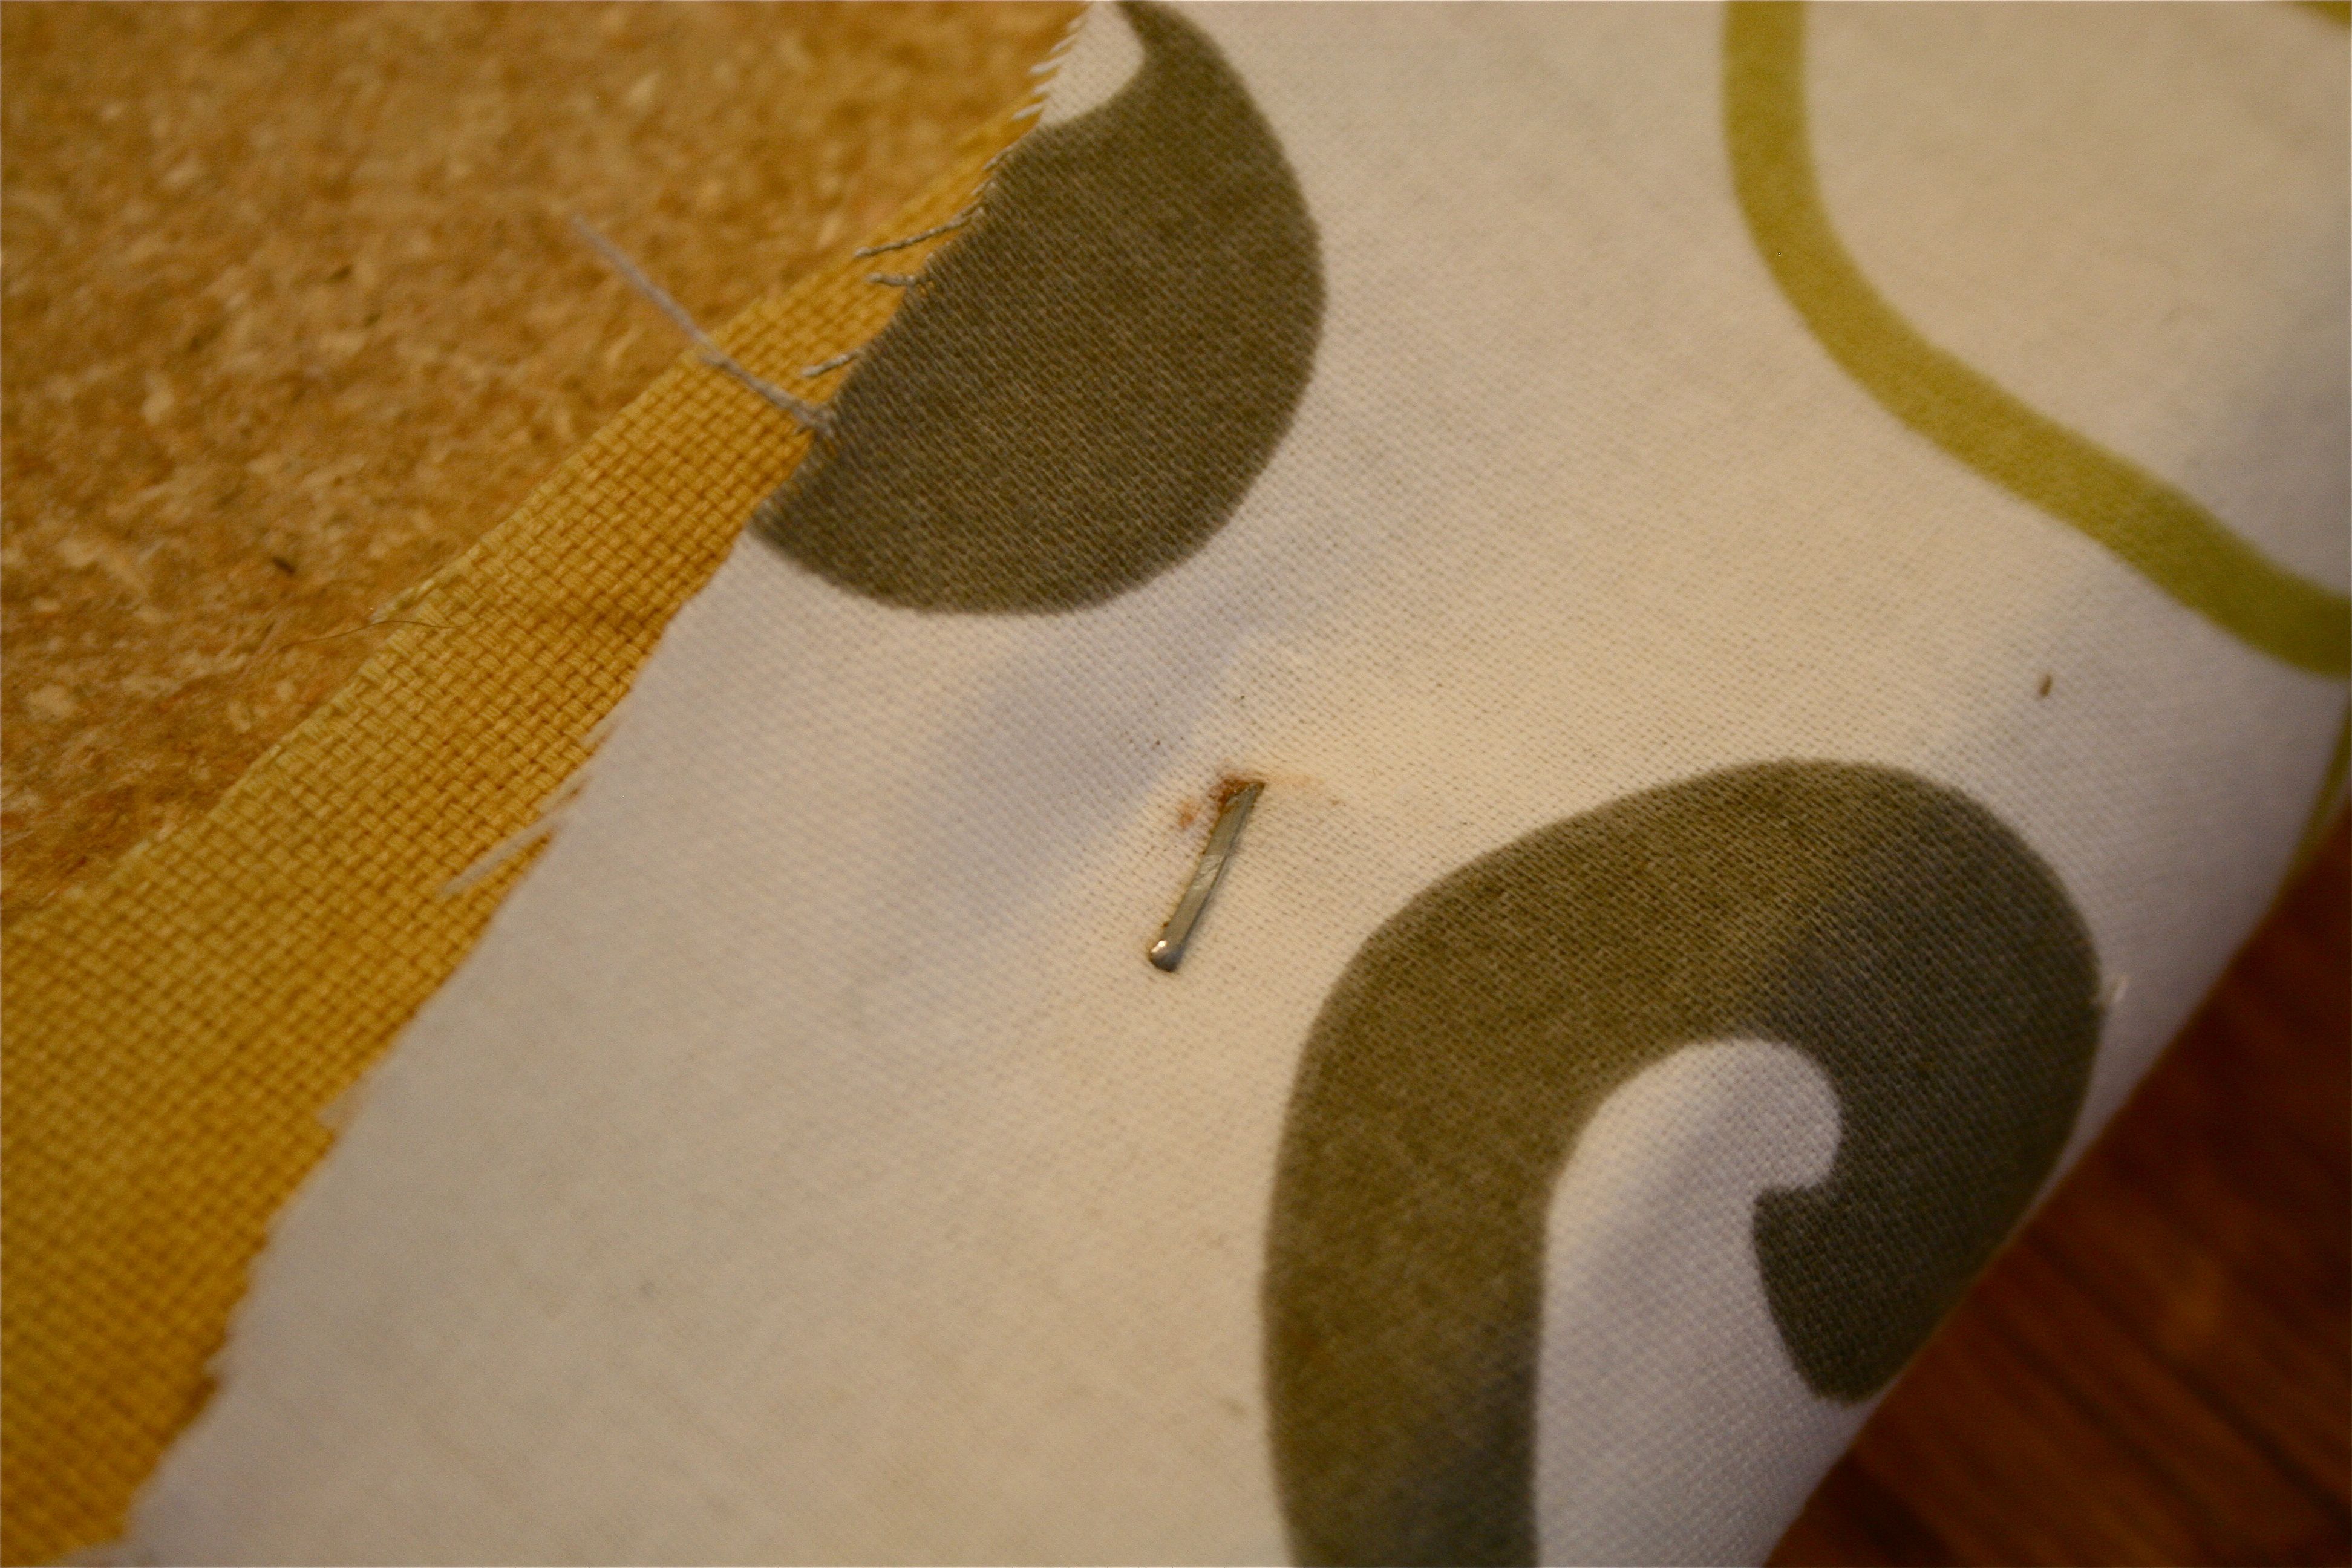
This is what the staples looked like when I tried to put them through the back of the wooden seat (and had to pull them back out again):
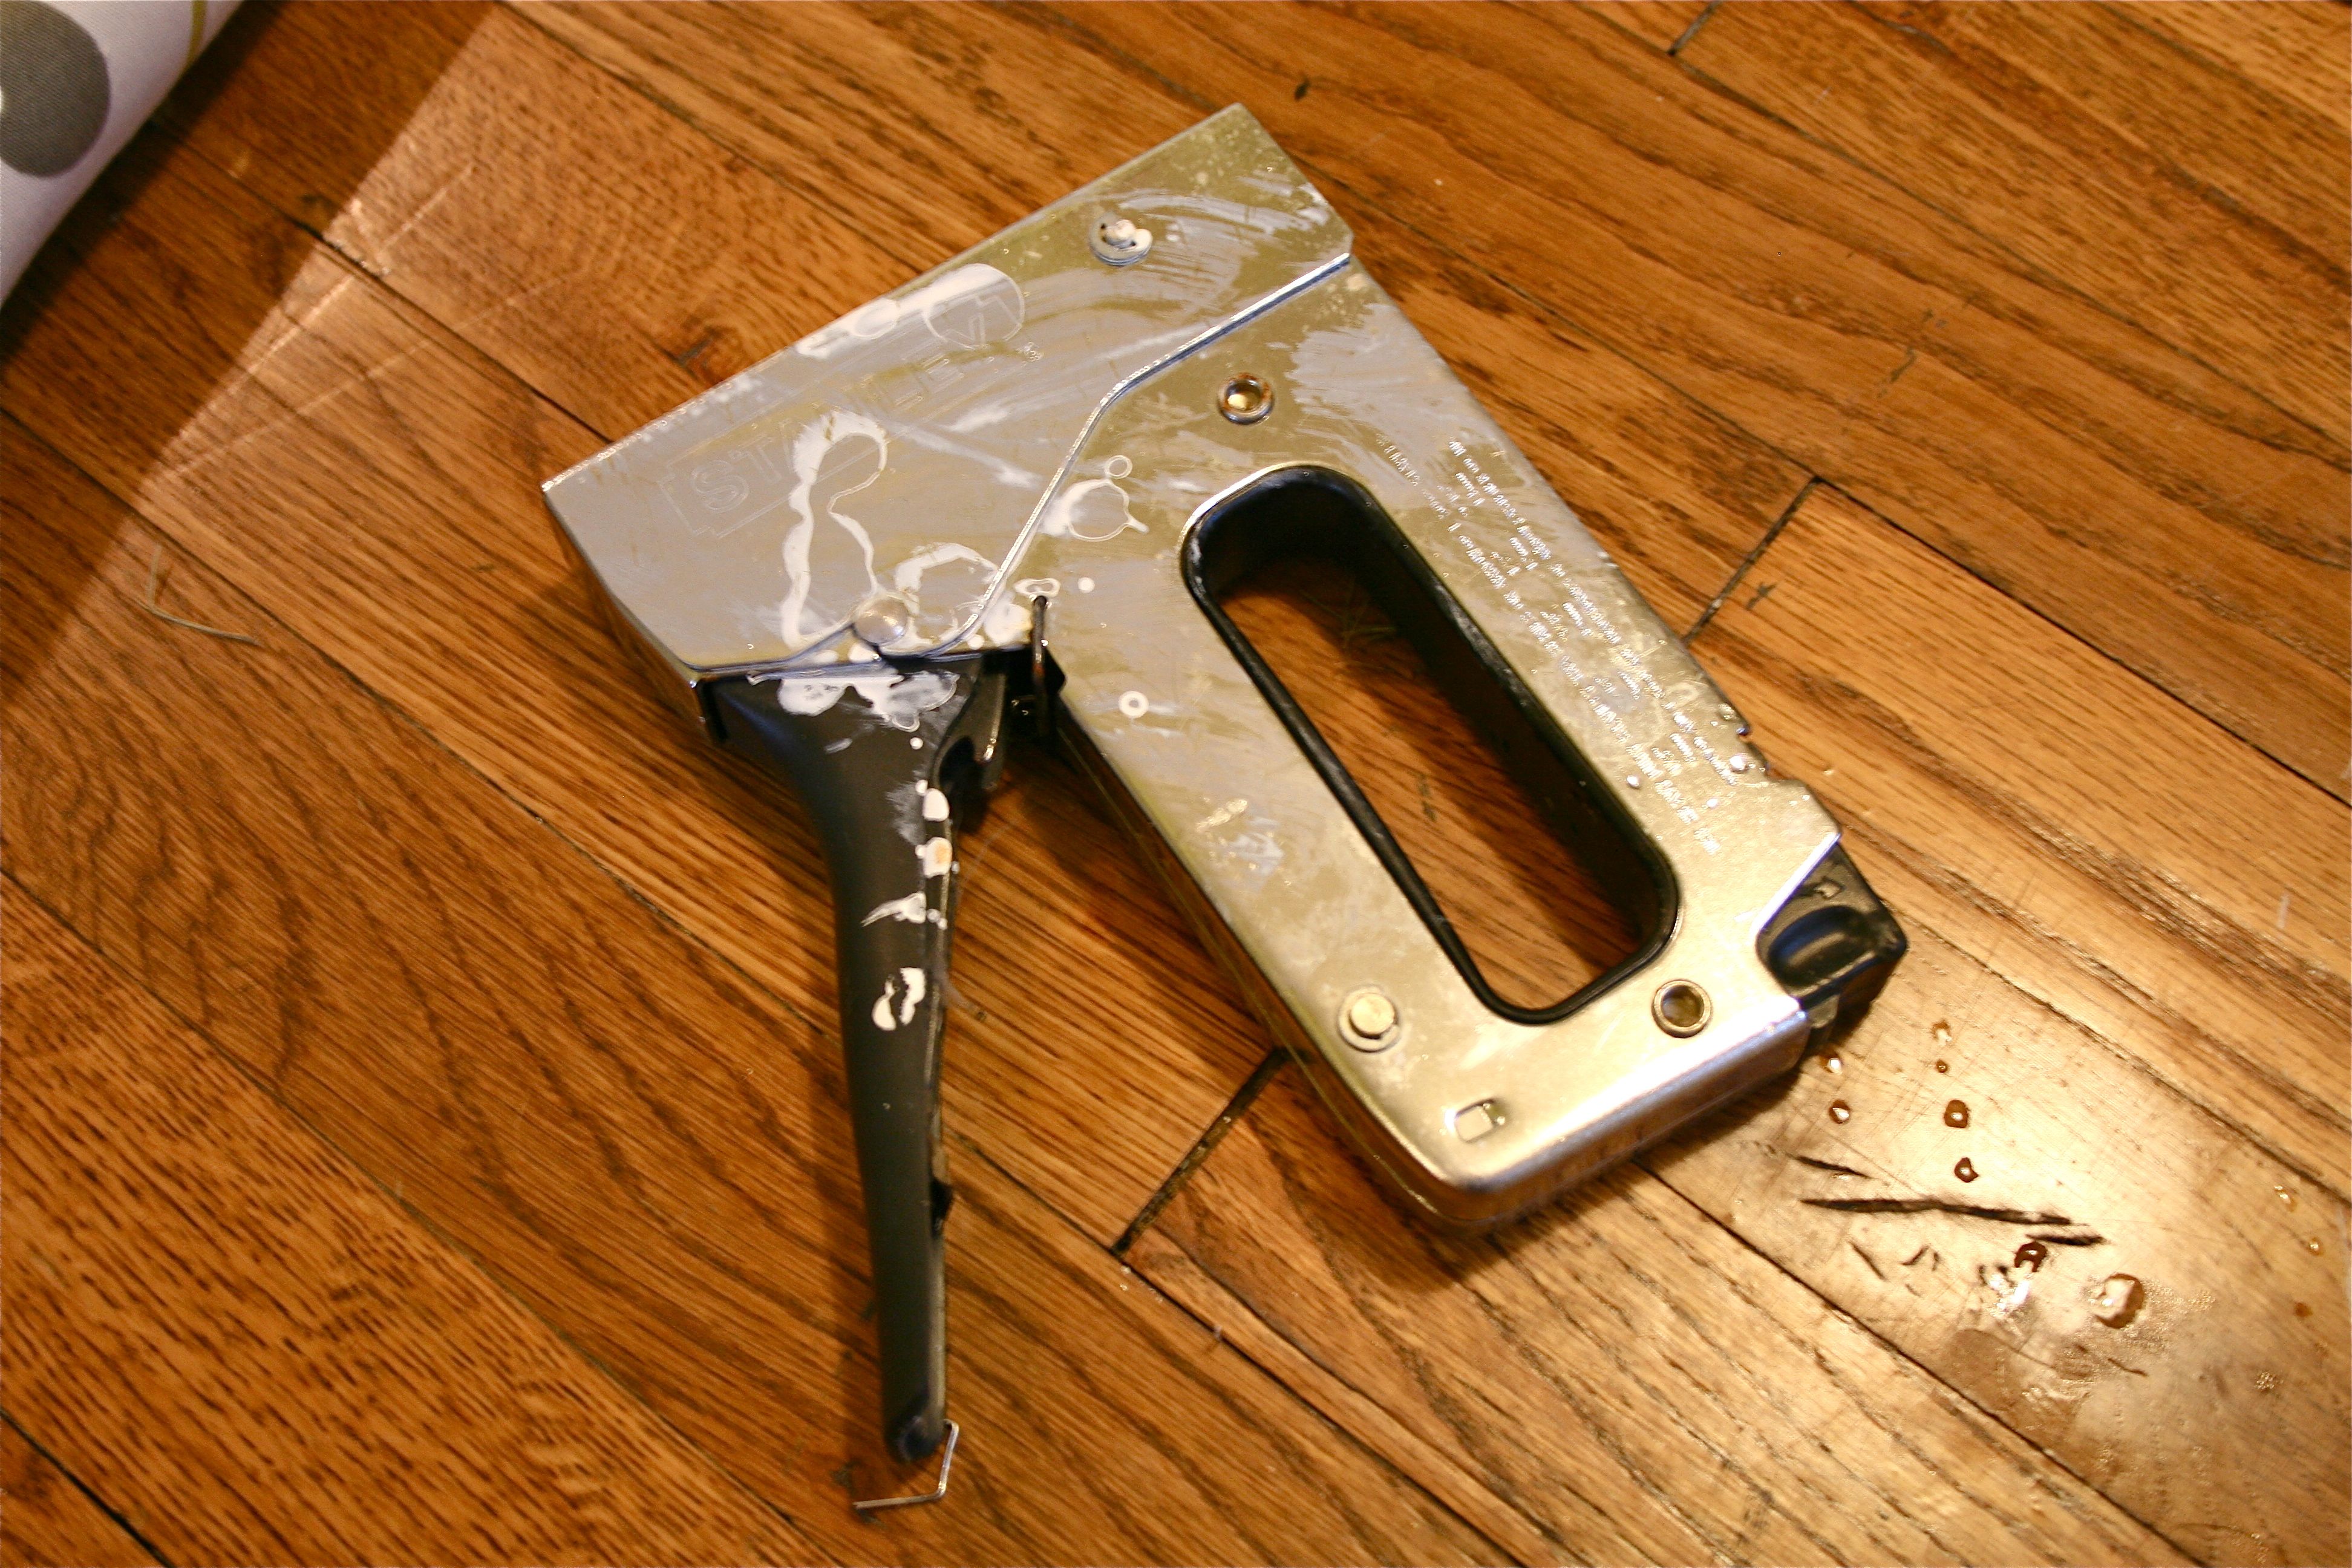
Didn’t even put a dent in the wood – They just gave right in to the pressure. After about ten minutes of each of us trying our hand at it, Bonnie finally went out to find Todd. We eventually decided the best thing to do was to abandon my new staple gun and go with their own old staple gun, passed down through the men in their family.
This old trusty version of my spanking new gun worked without a single accident. Definitely put modern tools to shame! We eventually figured out that my staples were too long and too blunt on the ends to make it through the project…HUGE “Thanks!!” to the “R” family for loaning me a piece from their fabulous tool supply!!
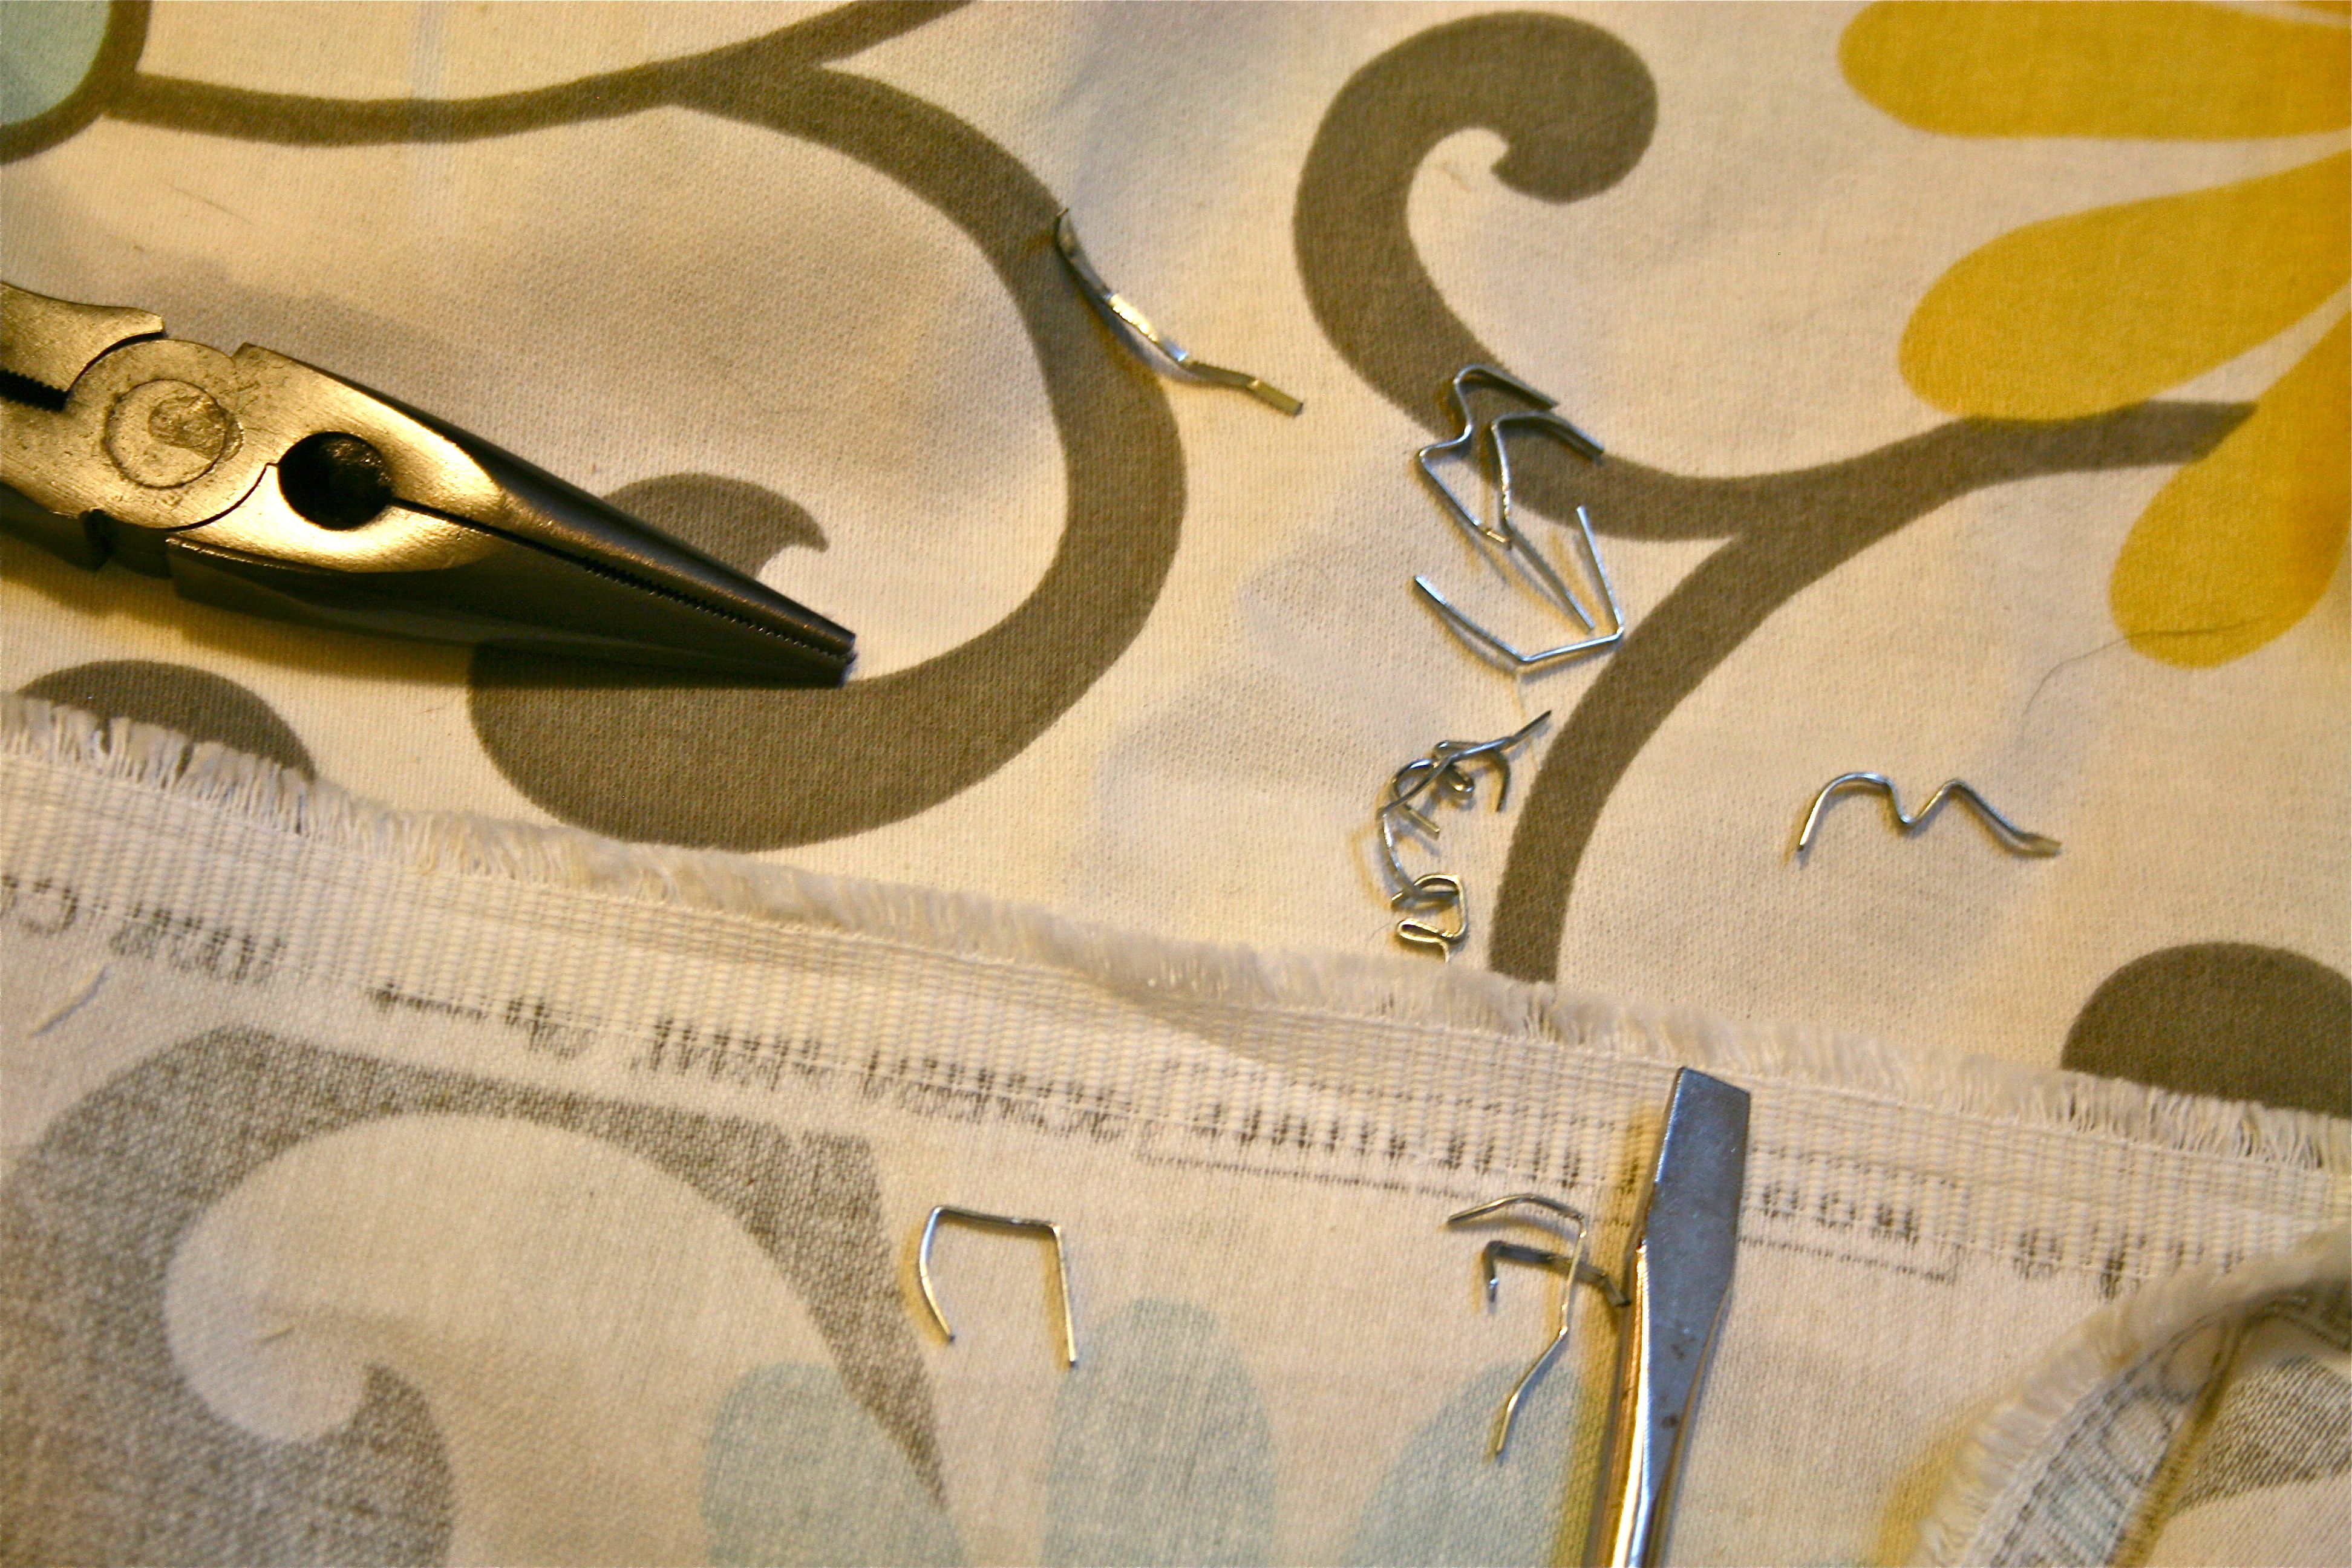
We went from pulling out staple after ruined staple…
…to this! No more bent metal 🙂
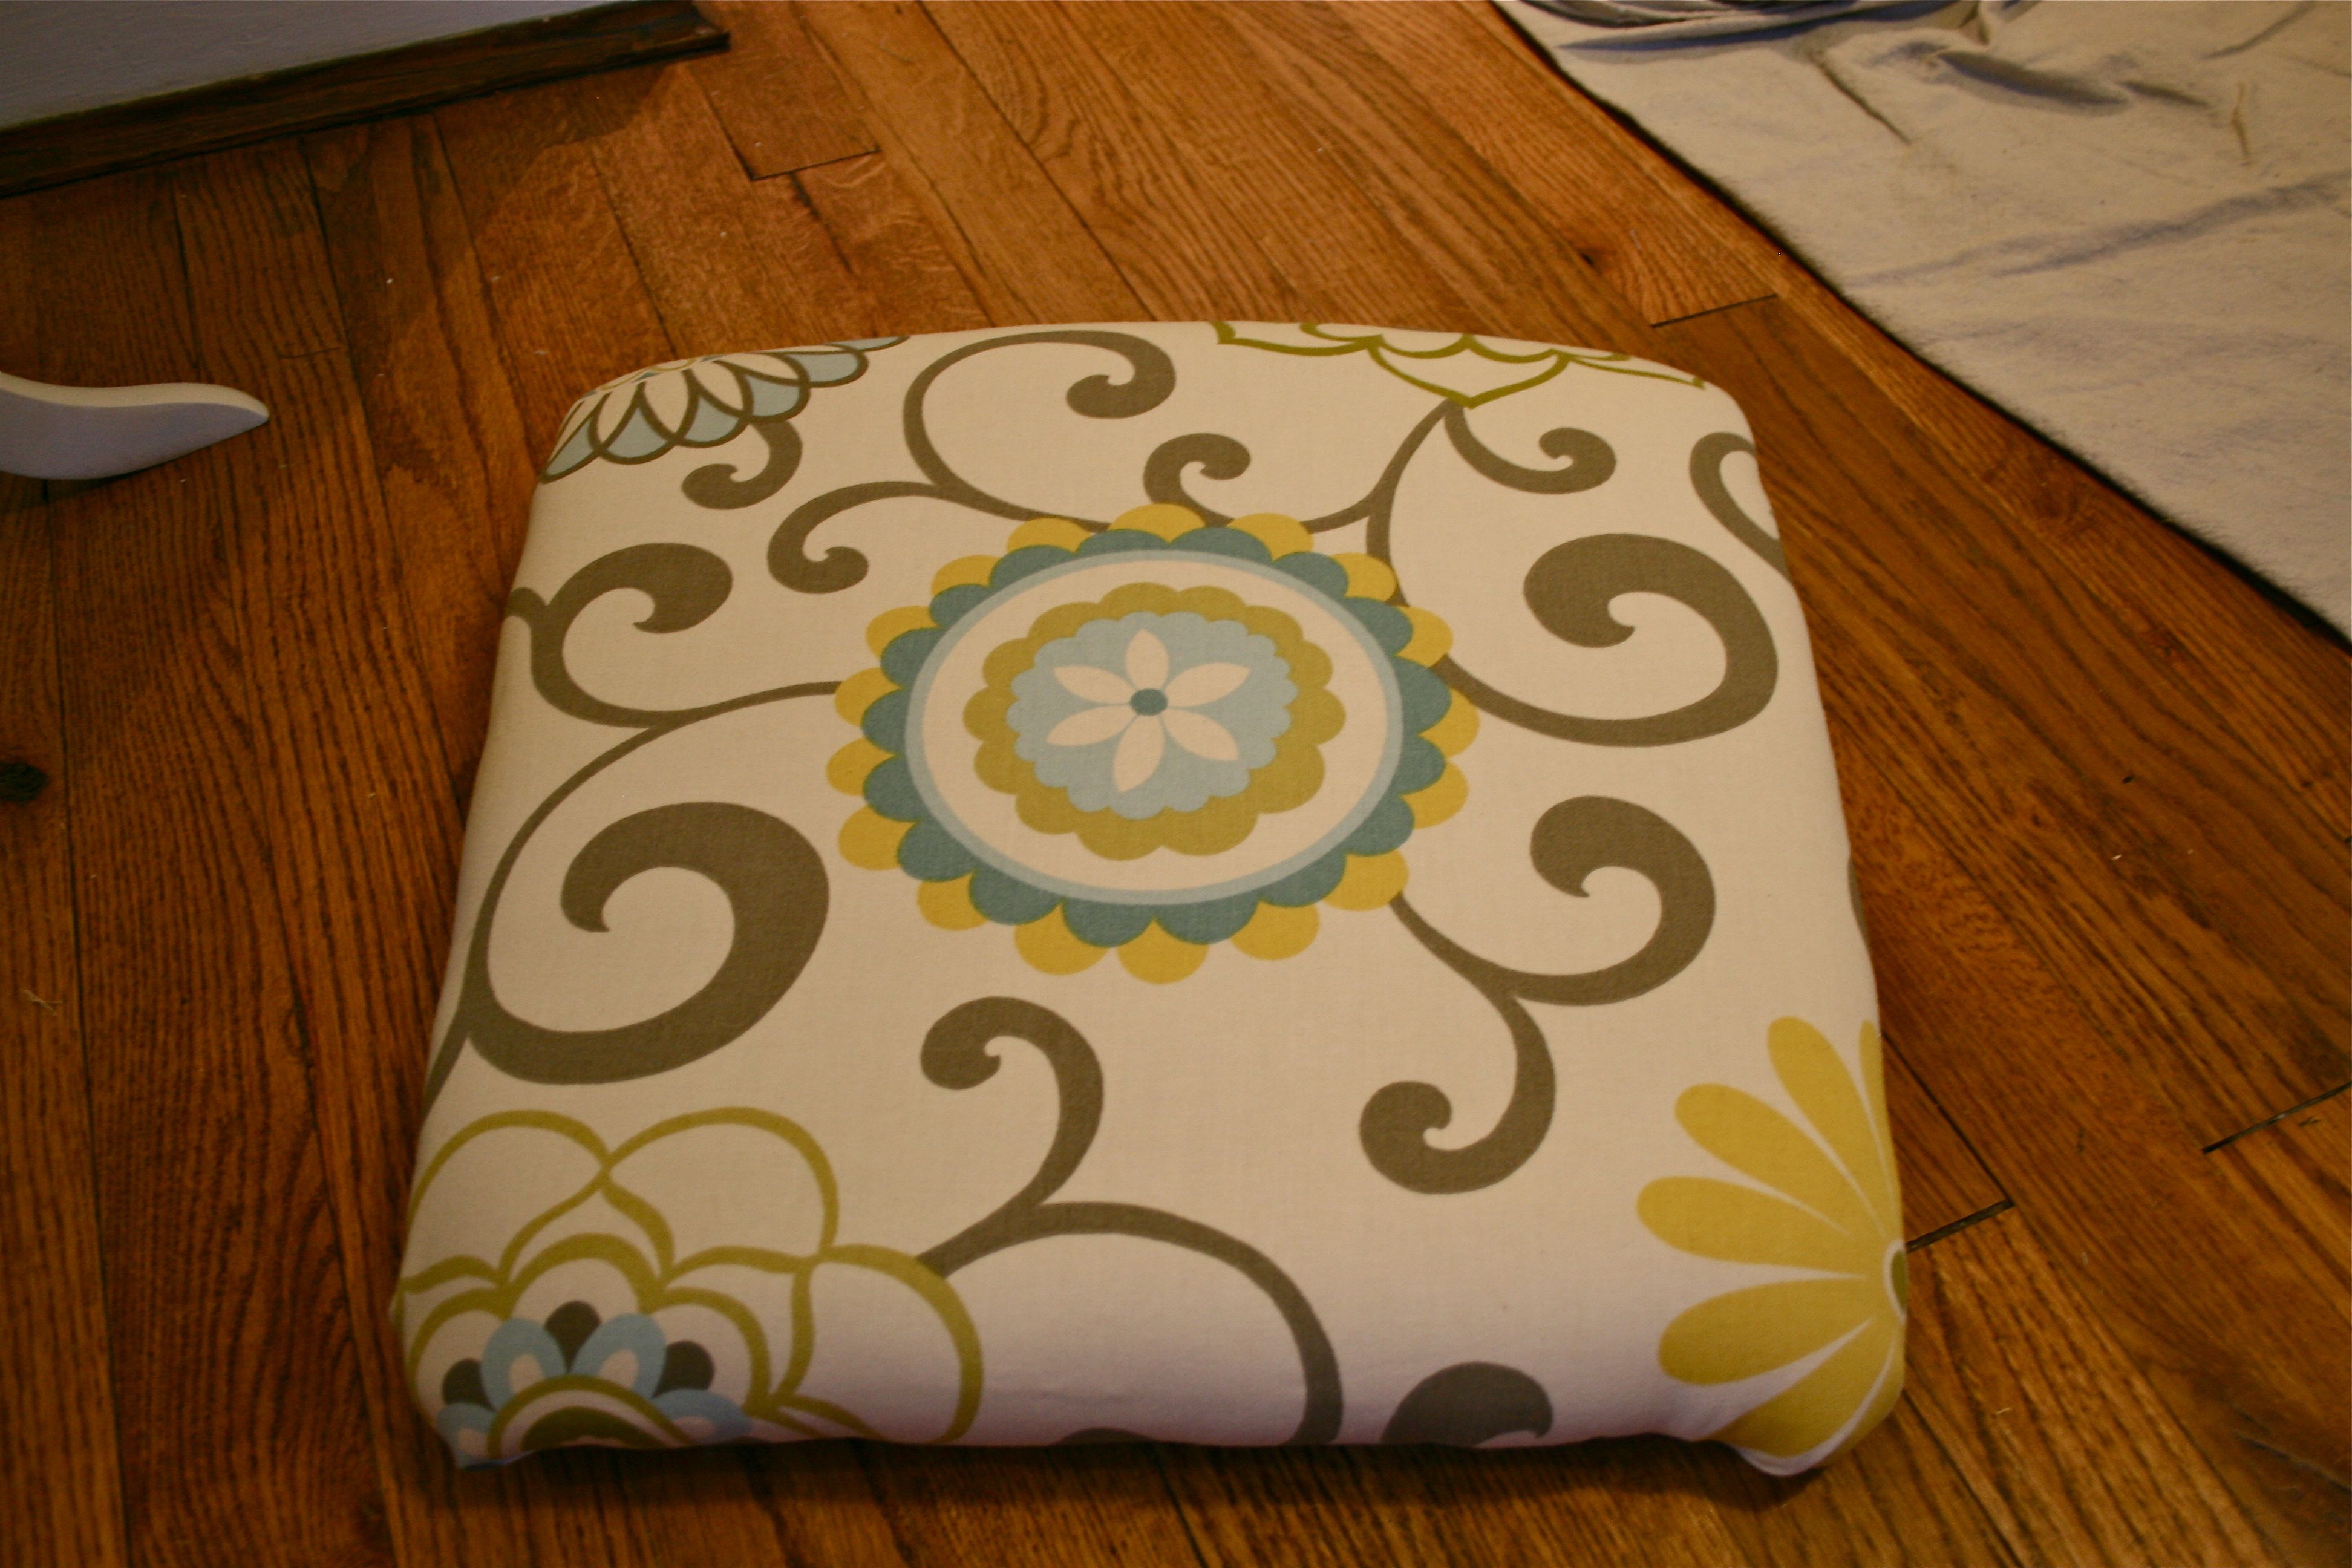
To complete the project, I just used the same technique I went through when I covered the painting – Pull the fabric lightly taut (don’t want it to be TOO stretched), put staples in the middle of all four sides and work your way out from the center one side at a time. Then I did four “hospital corners” to finish everything off!
All done!
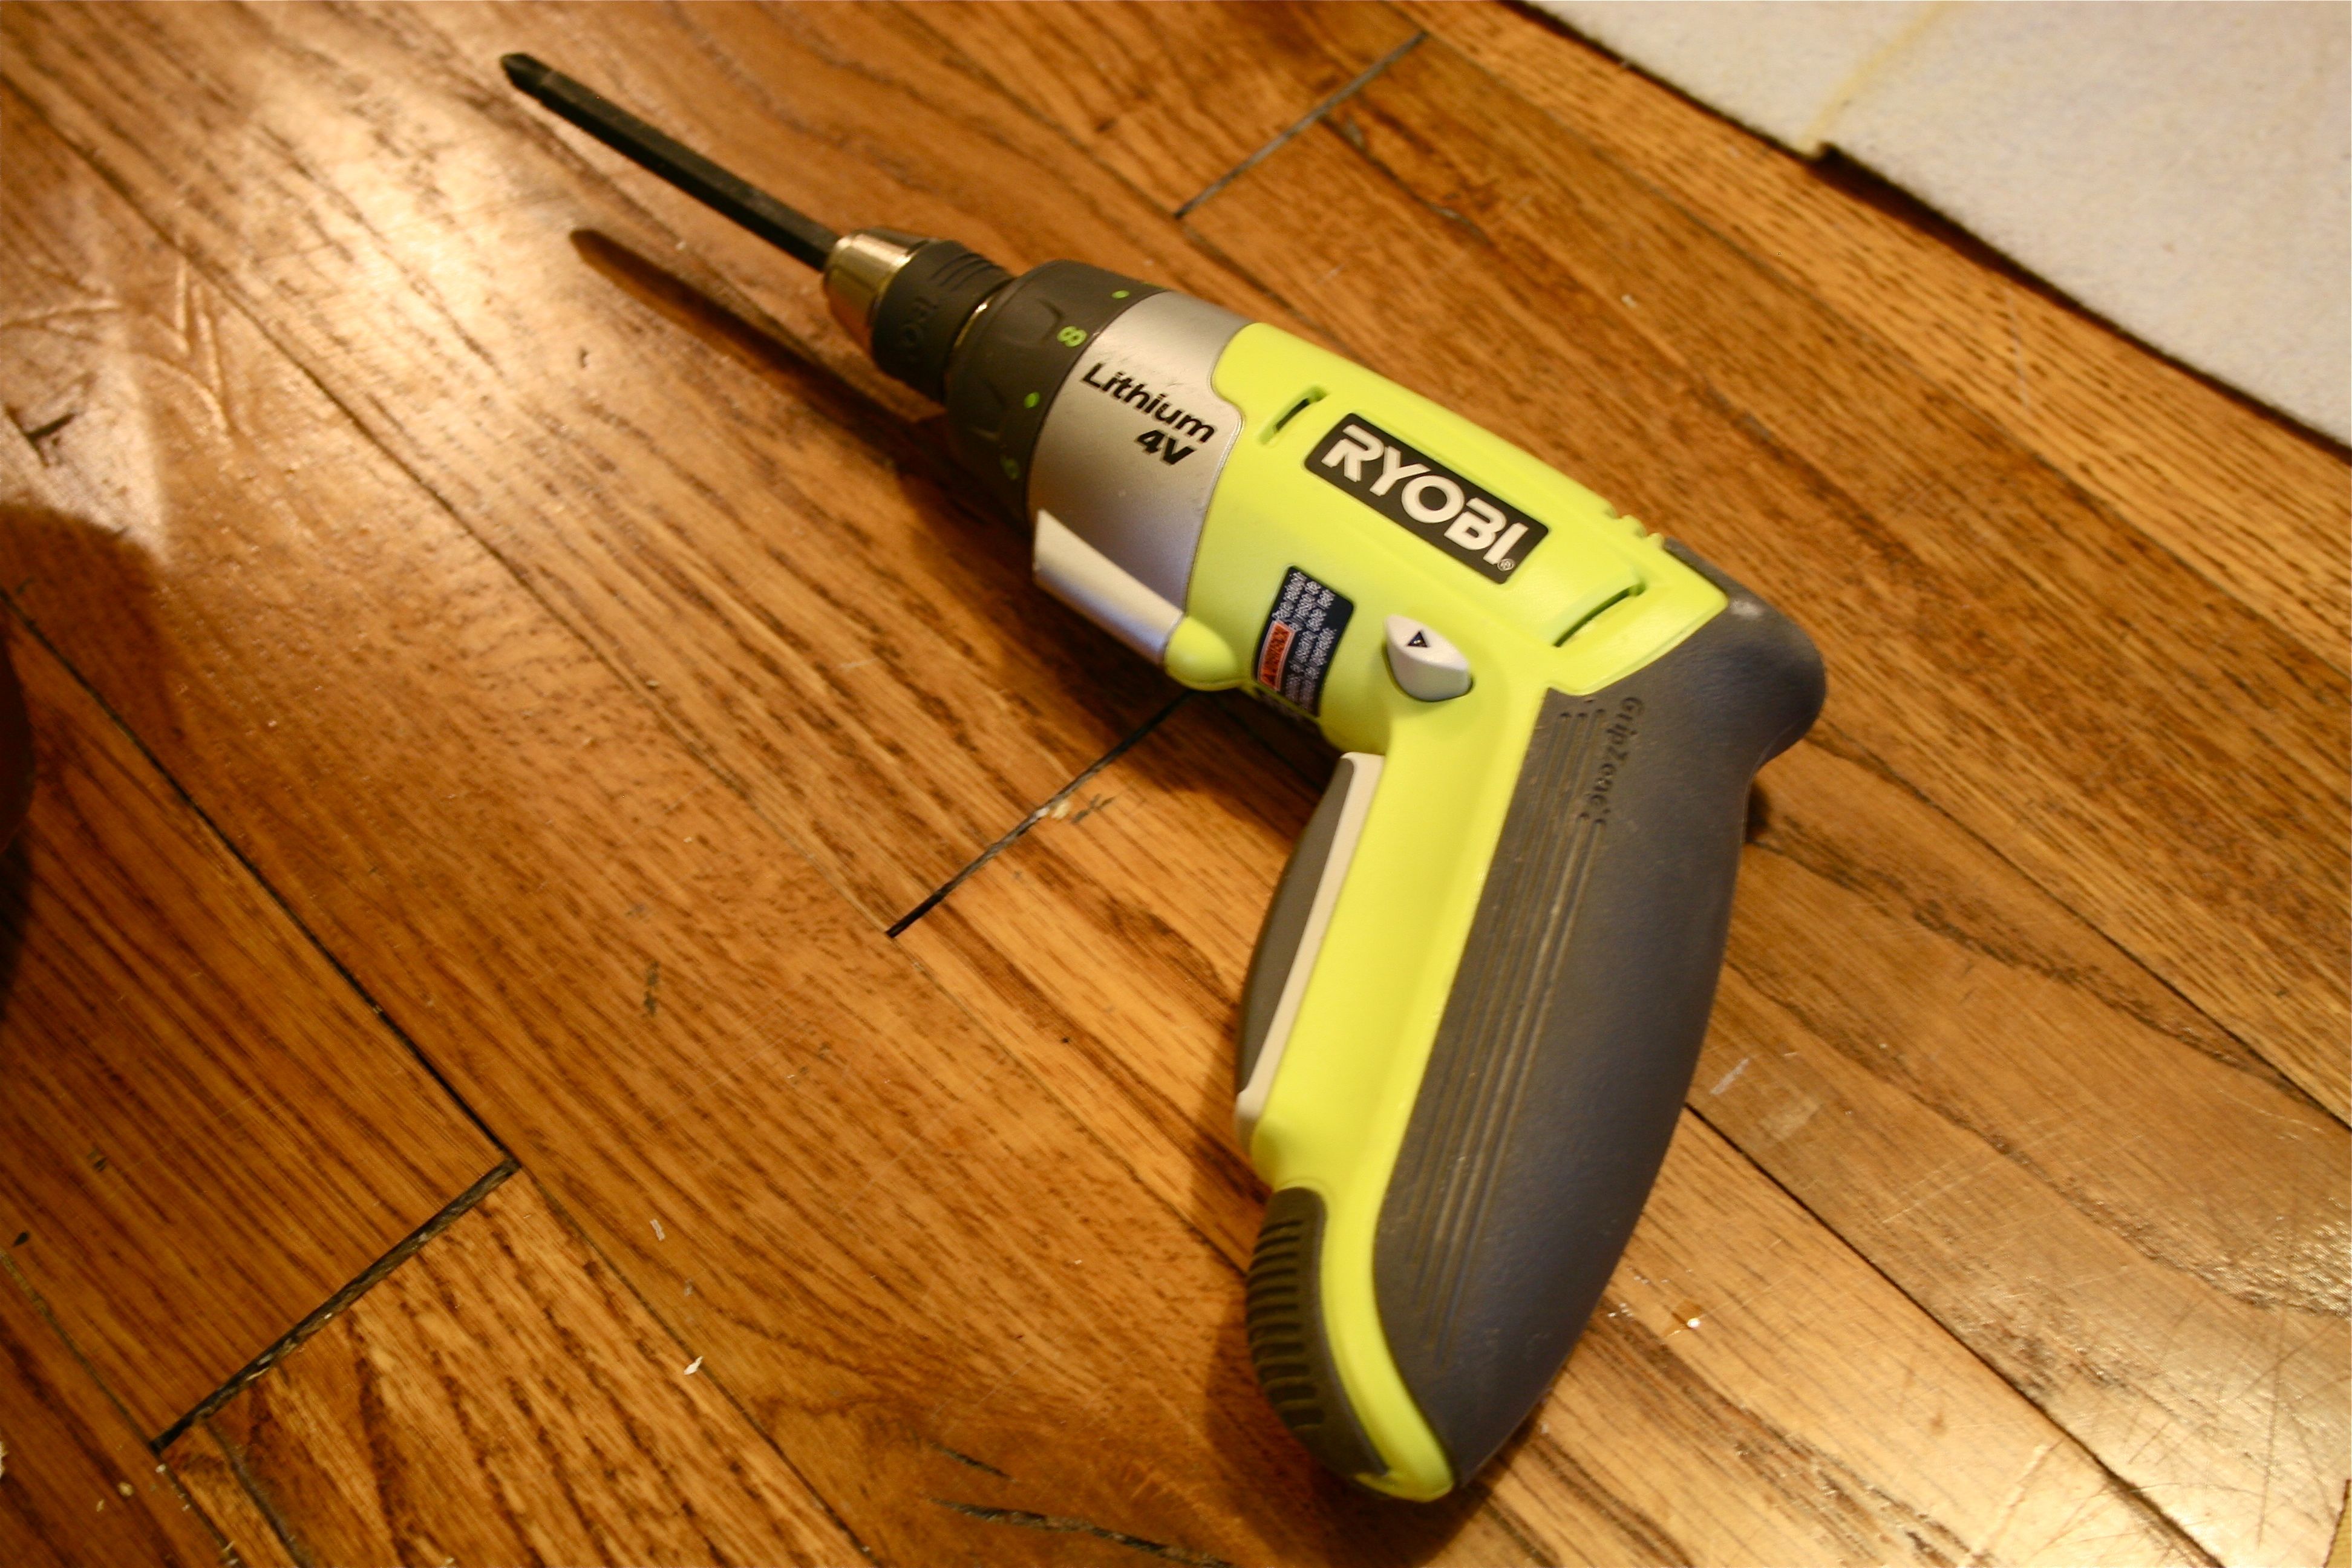
All that was left was to set it back on the wooden frame and screw the hardware back in! Bonnie graciously helped me with this part (did I mention that the poor girl was trying to work on her OWN project – painting a table and set of chairs – but I continually pulled her away from it?? I am looking forward to returning her many favors throughout this project some day soooooon). She even lent me another of her AMAZING tools for this step:
Highly recommend this…It’s small – Really just fits in your hand, but is GREAT for a little power when screwing in small stuff.
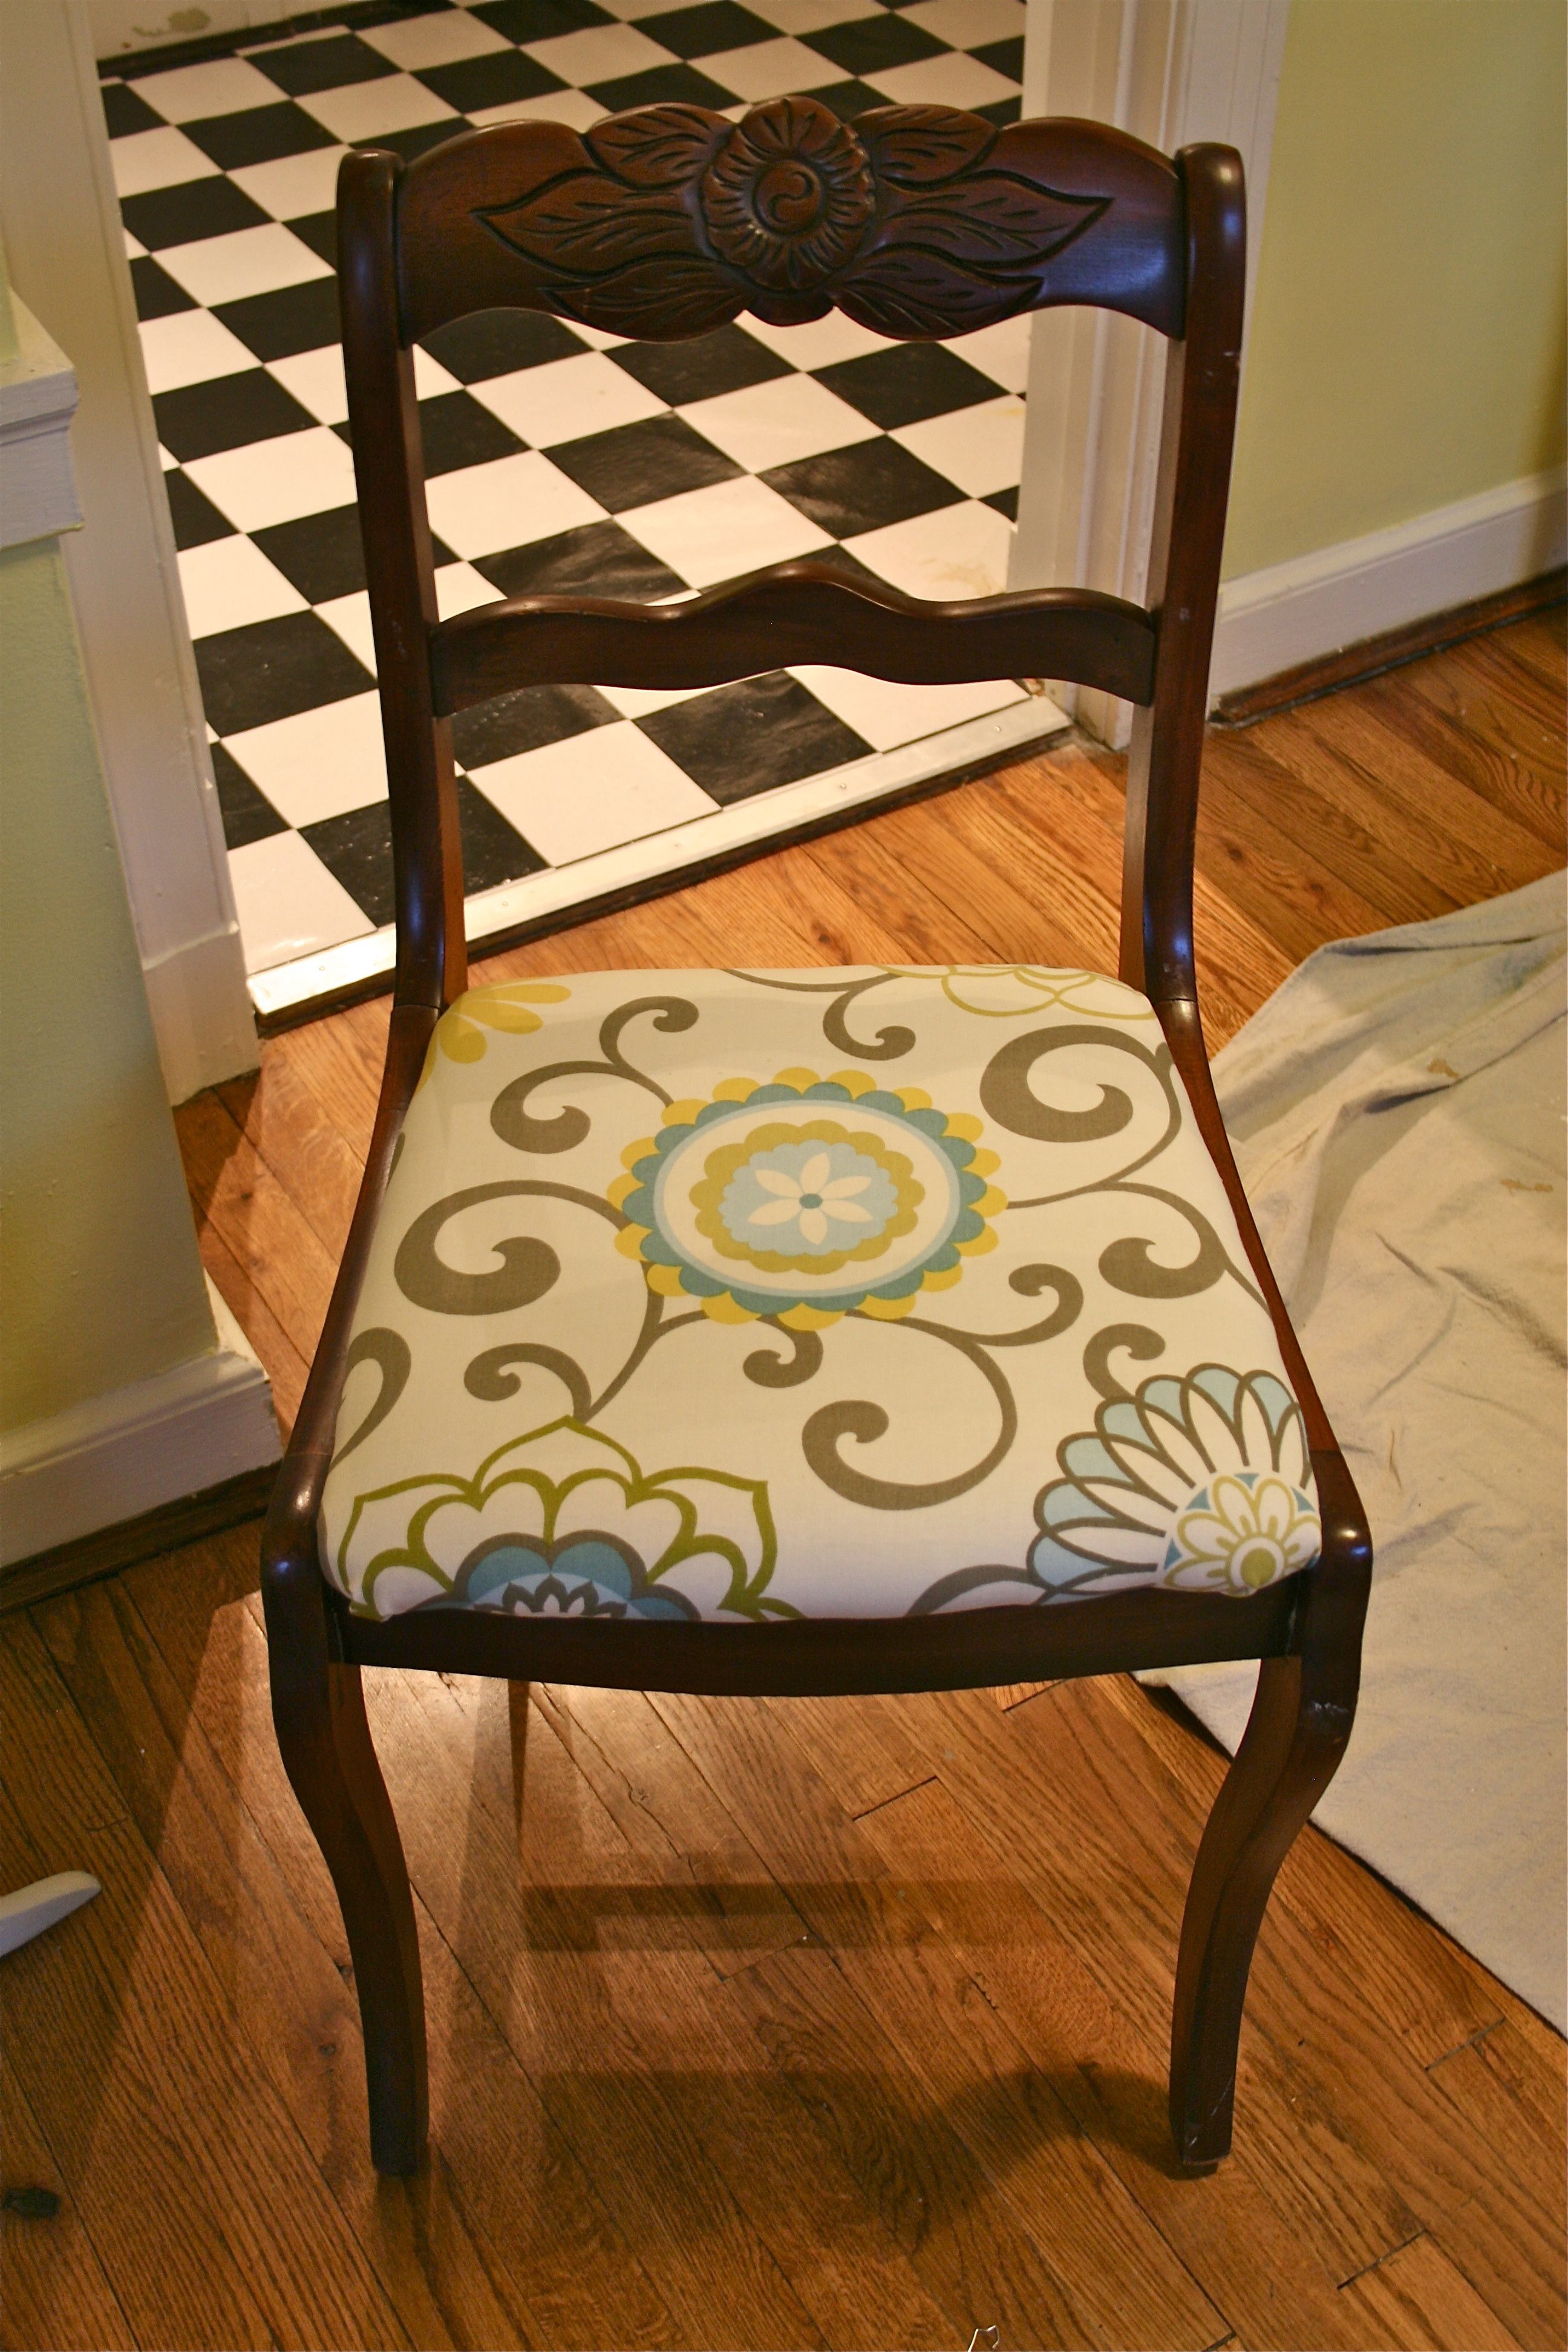
Thirty seconds later, we were all done!
Even though the solid color of the original fabric would have matched the green/white/teal/yellow theme I’ve got going in the studio, this pattern is a bit more cheery and fun. I haven’t moved my desk into the house yet so I don’t have a FINAL “After” shot of it all in place, but you know I’ll post it as soon as it’s ready!
Thanks again to Bonnie and Todd for letting me bring our blog to their house!! It was so much fun to gab with a friend while I worked on this project (John’s more of a get-things-done kind of helper :)) Hope we can revisit their lovely home again in the near future!

