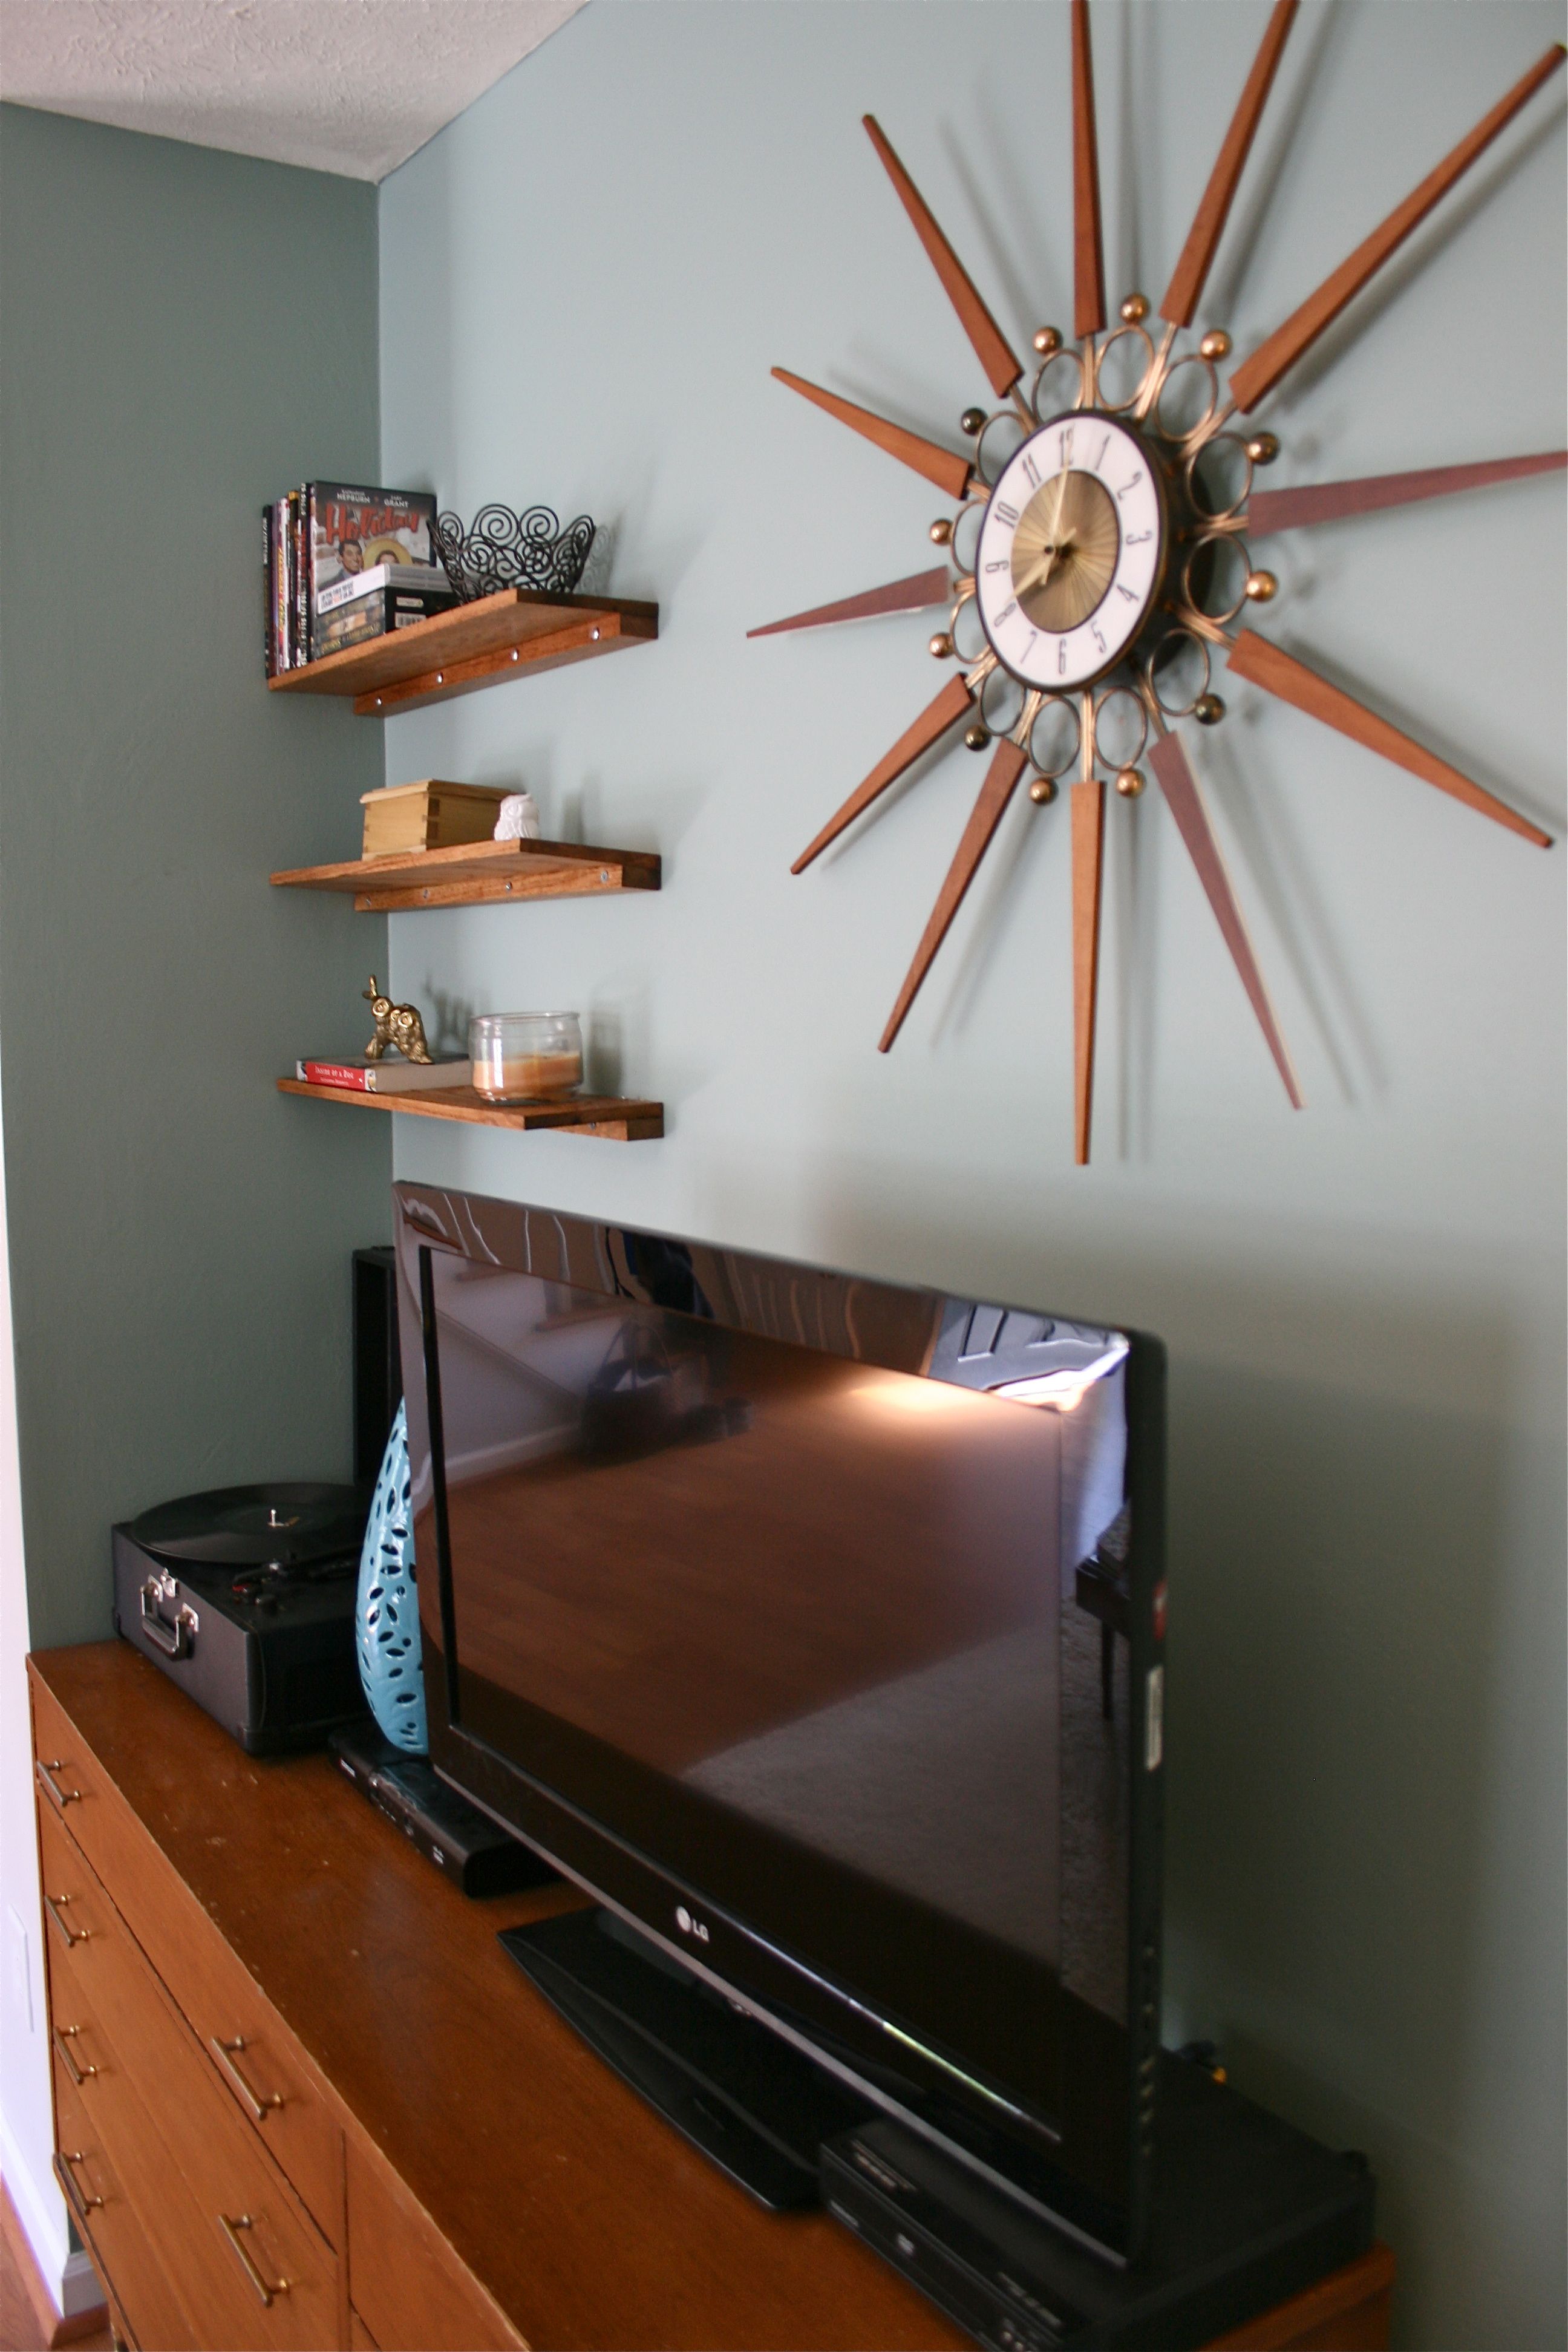
As you may know, we had a blast jumping headfirst into wood-working projects (see the fruits of our first labors here). So we decided to keep the ball rolling with our next project: Display shelves for the living room.
When we found ourselves at Lowe’s last Sunday to pick up a new fan for the living room, we also bought wood for a shelf design I’d been throwing around in my head for about a week. Here’s a rough digital sketch of my idea:
We picked up everything for just under $40:
- Three 1″ thick oak boards, 2ft long and 7″ deep ($5 each)
- Three 1″ thick oak boards, 2ft long but only 2″ deep ($3 each)
- 3 packs of 4 count 3″ flathead screws ($1 each)
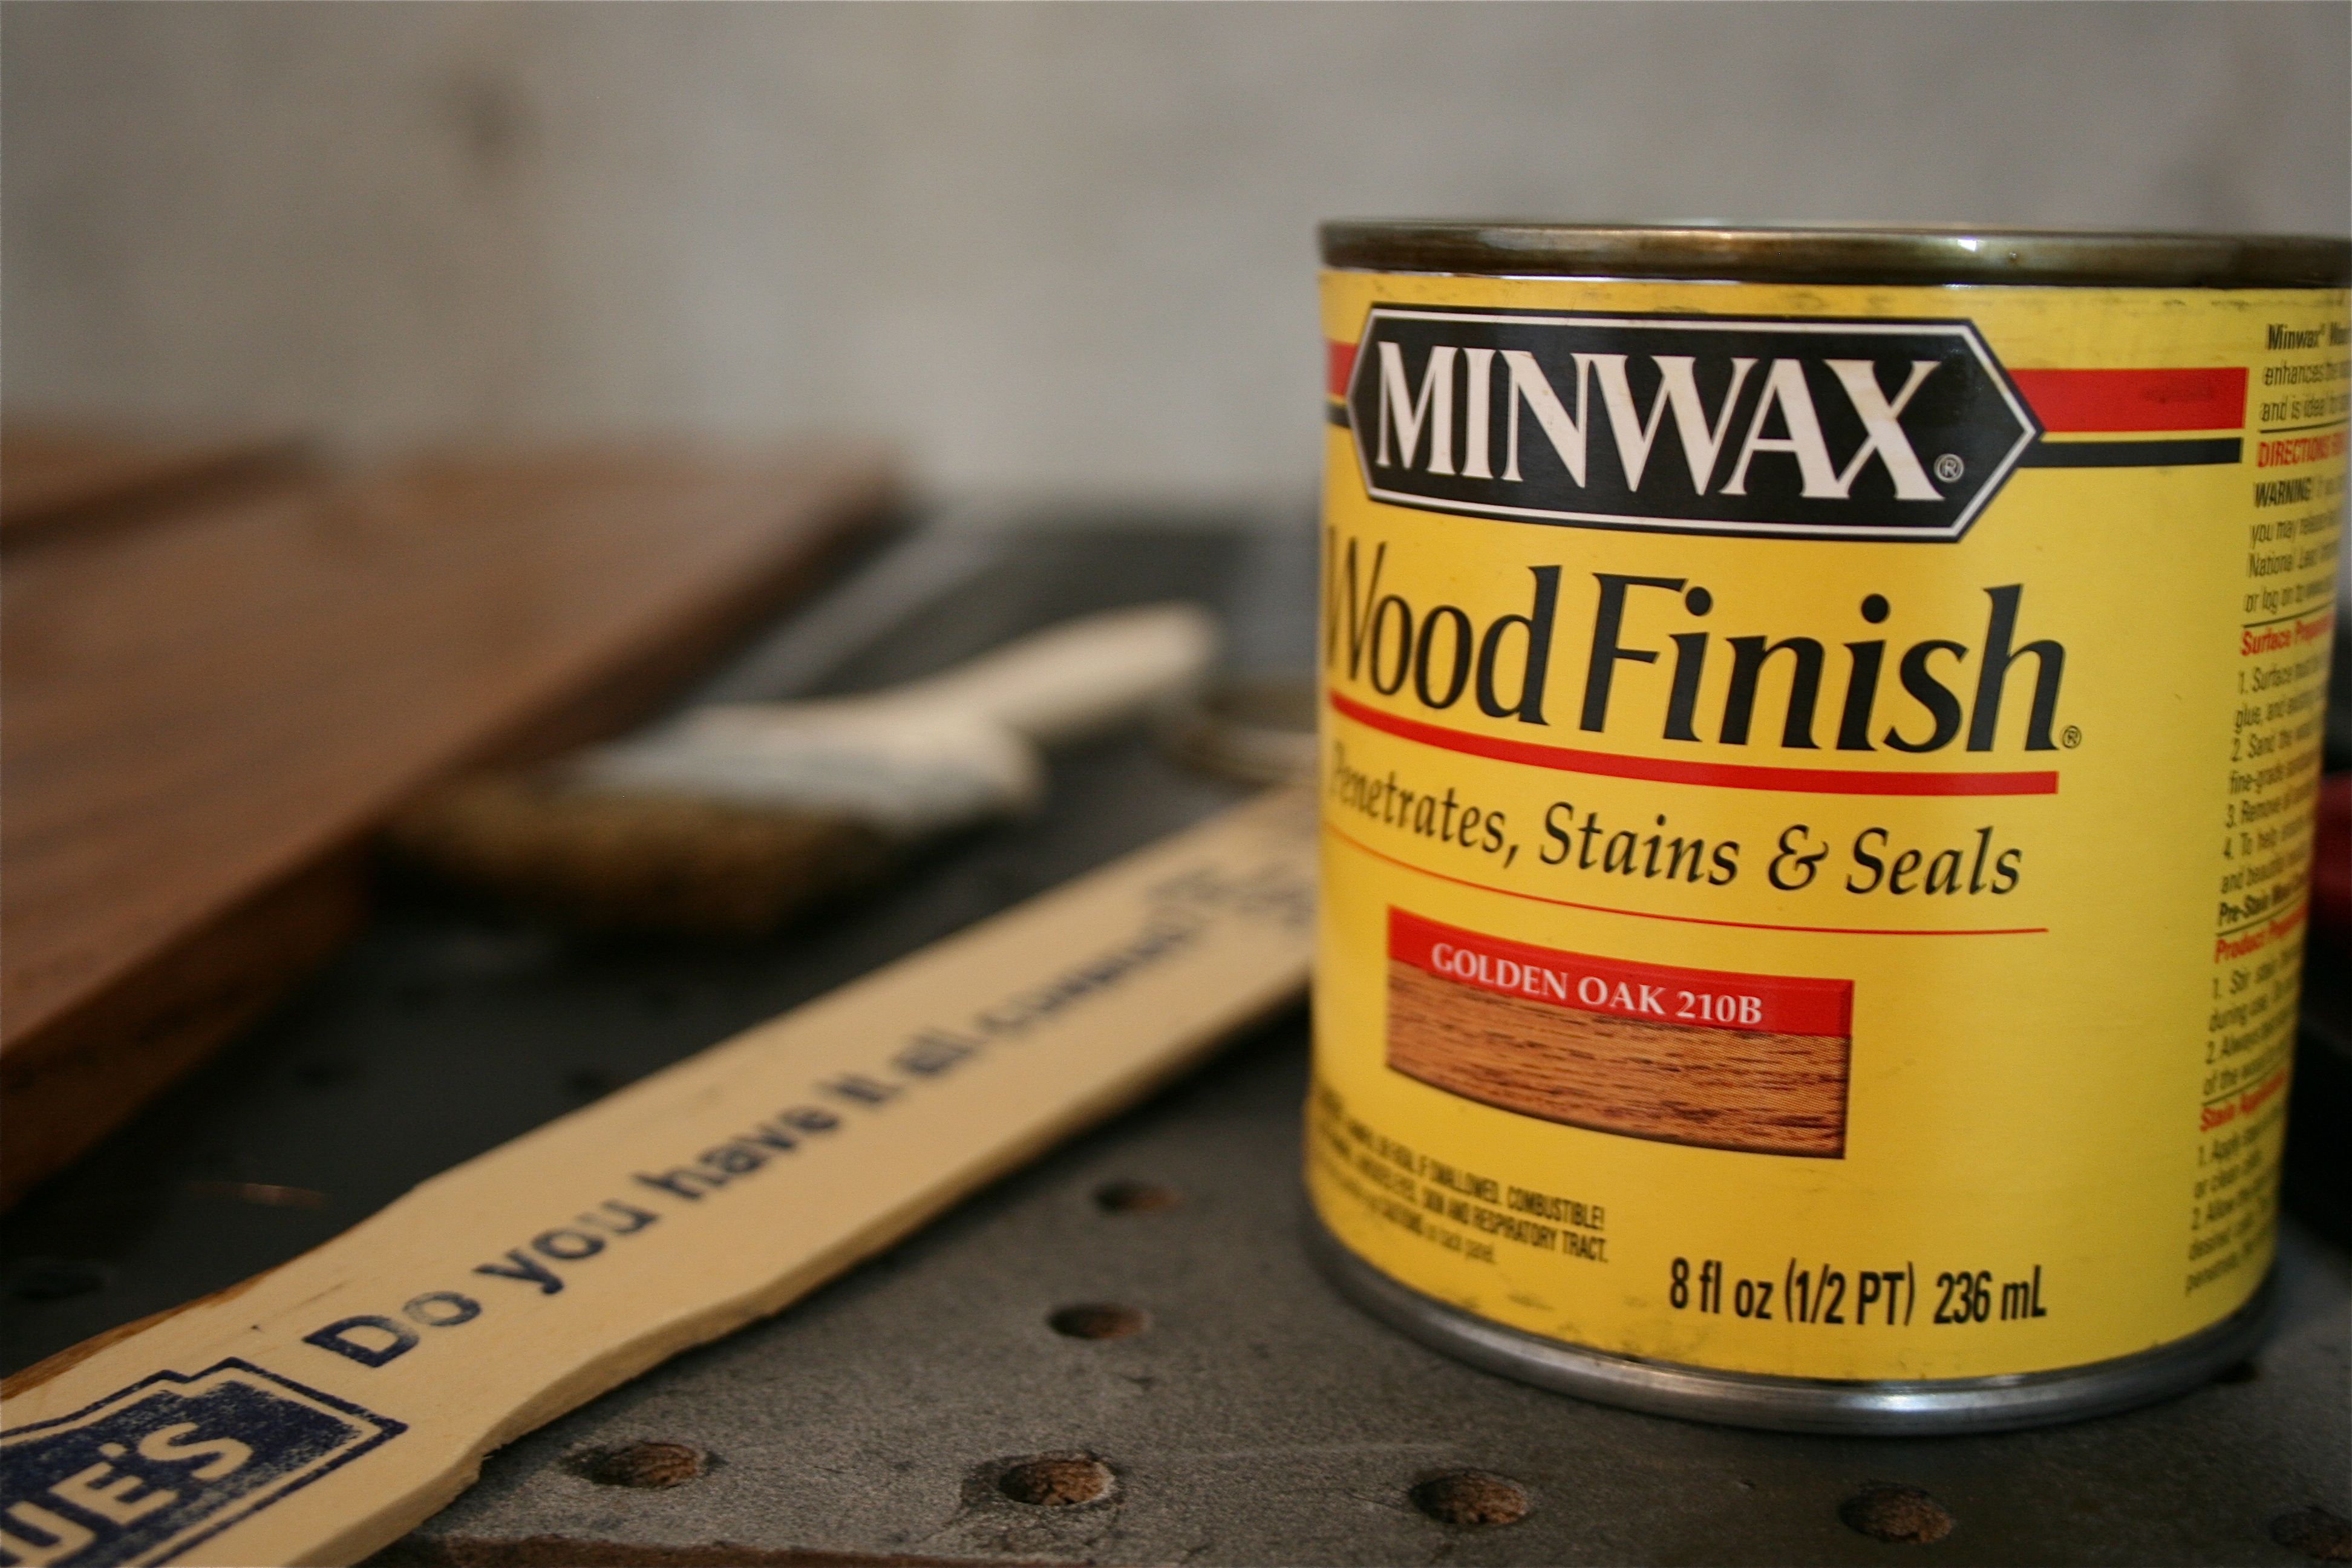
- An extra 8 fluid oz. can of “Golden Oak” Minwax stain ($5)
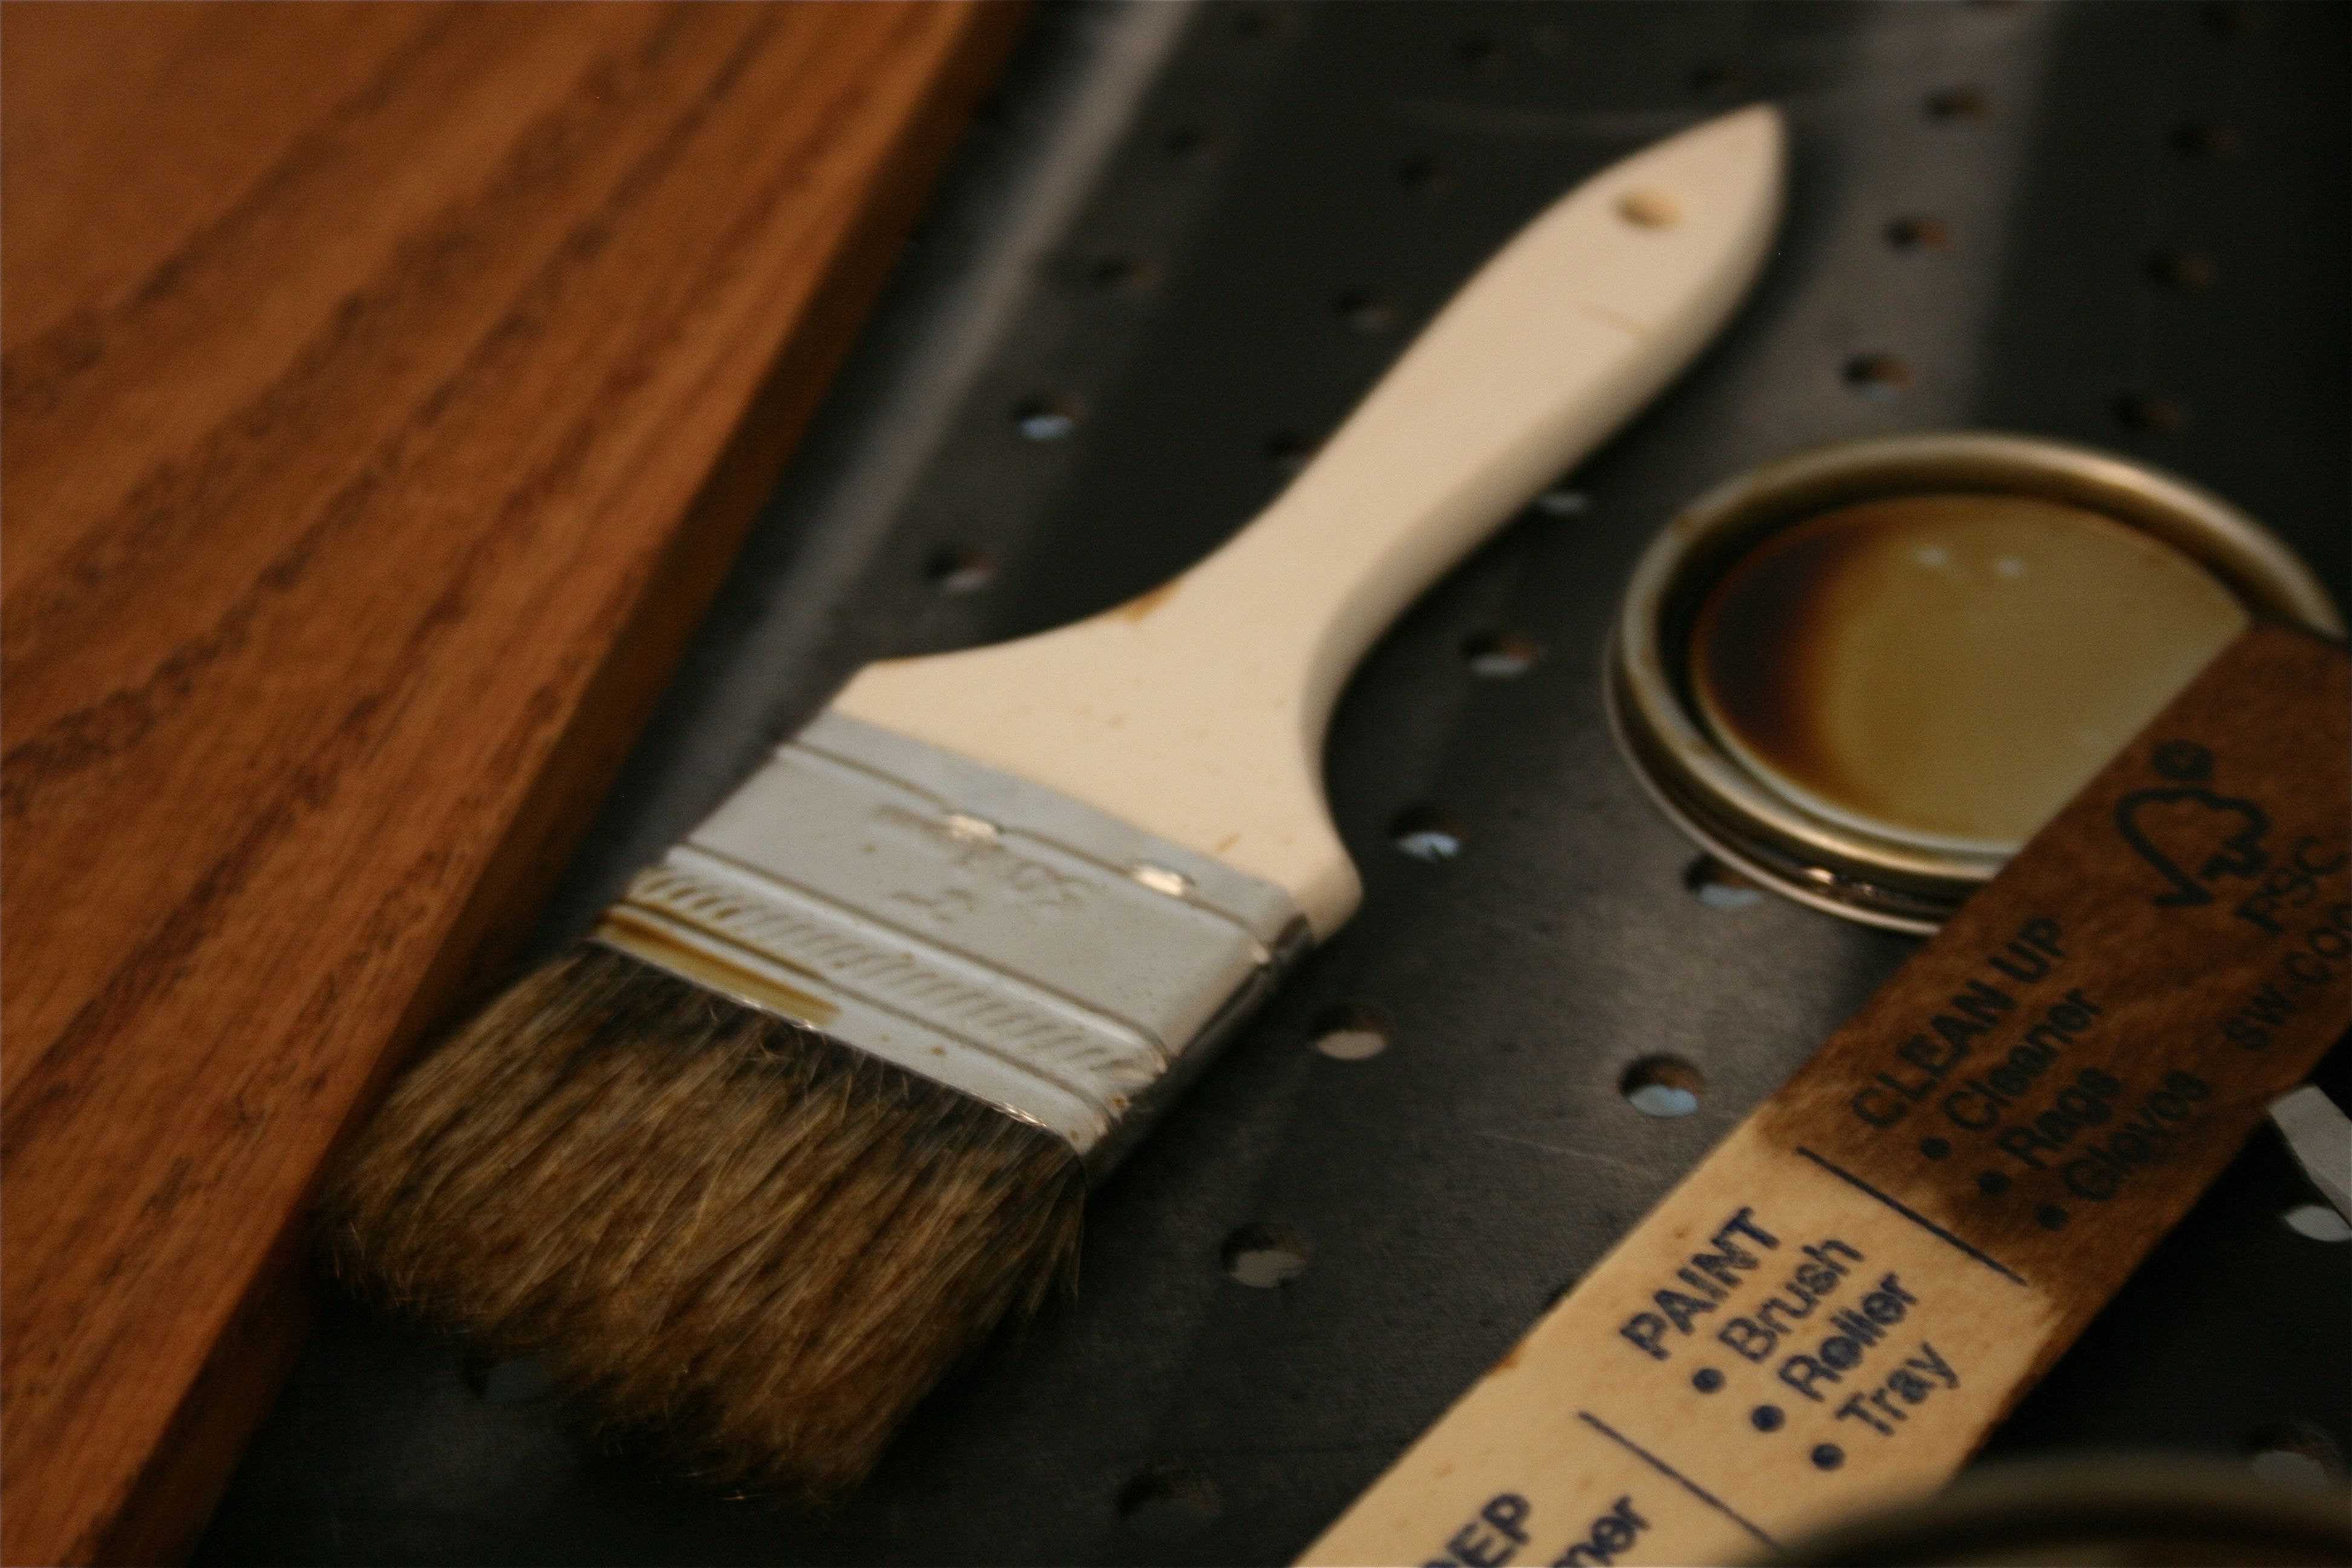
- A pack of cheap paintbrushes (6 for $5)
Yes, we probably could have just bought three fake wooden shelves from Target or Ross for about the cost of our supplies, but we can say that we actually built ours – There’s more pride in making it ourselves and I think that’s worth it!
So as soon as we got home, I got to staining! I actually didn’t even use the extra can of Minwax stain that I mentioned buying earlier…I had plenty left over from the cornice board project a couple weeks ago – So detract that $5 from the project total!
Unlike when I did the staining for the cornice board (I did just a thin wipe-on technique with a rag then), I put the stain on in a thick wash with one of the cheap paint brushes we bought.
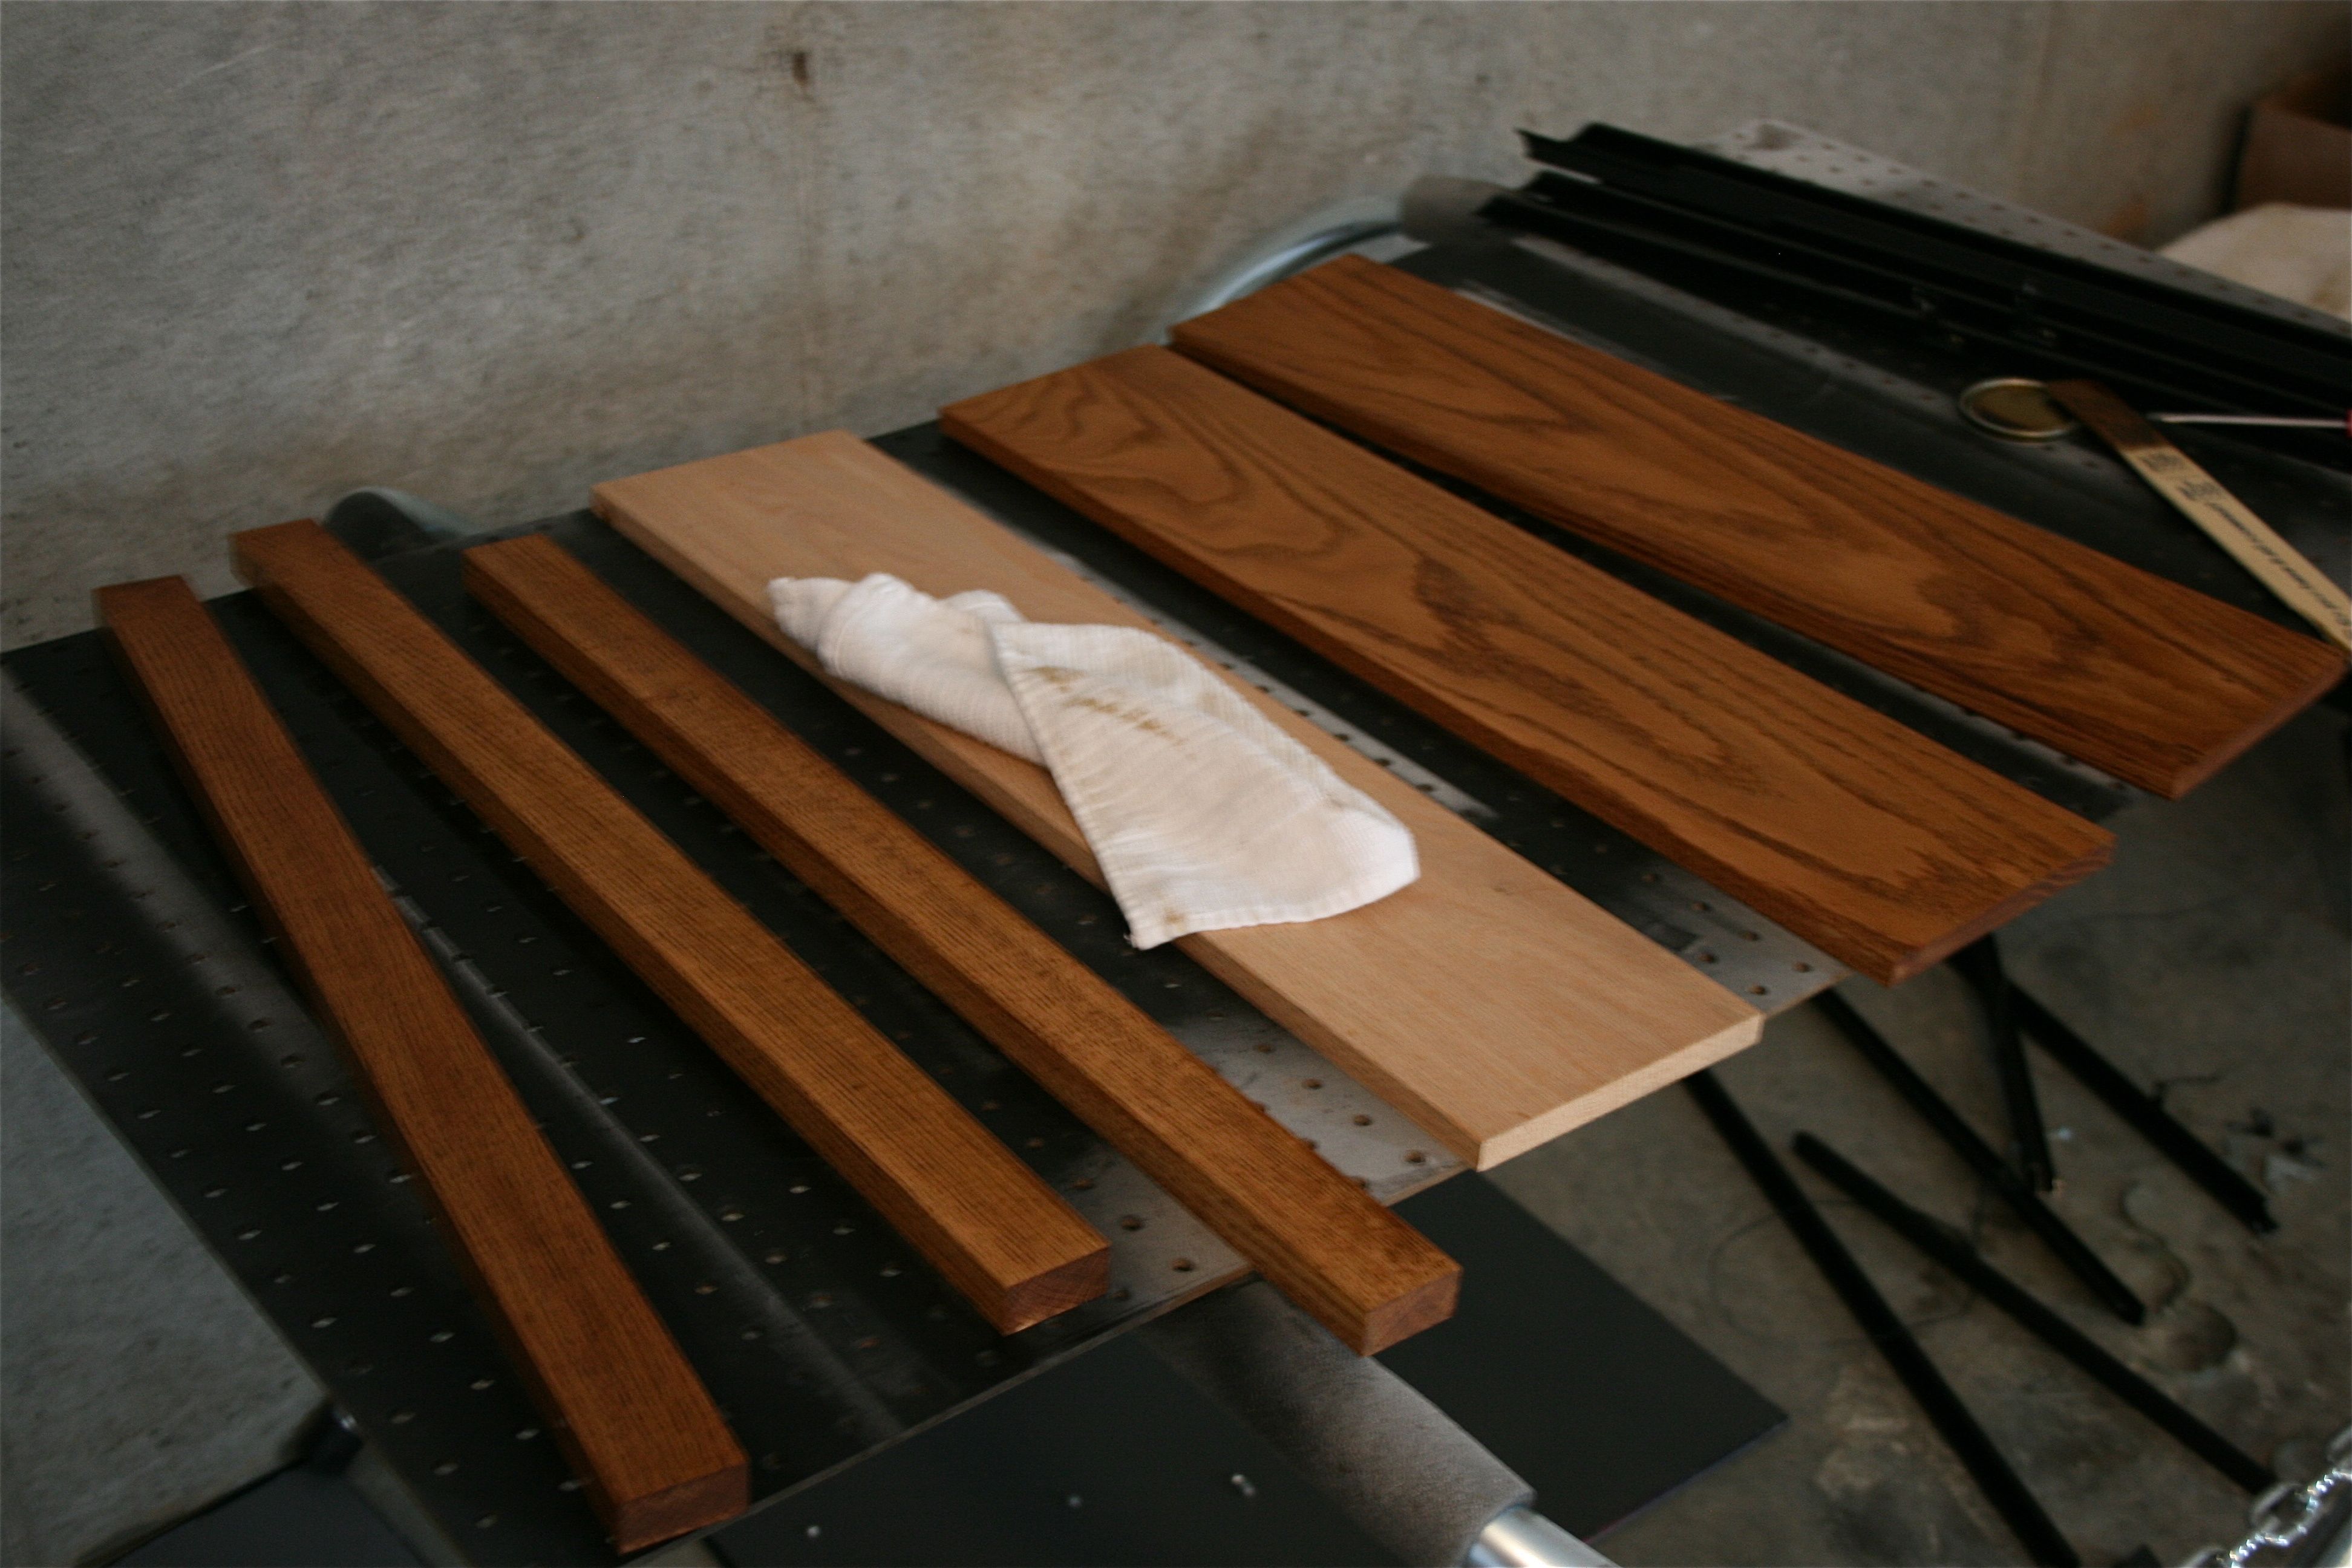
I wiped off the excess a couple of minutes later and got a beautifully rich coat. You can really see how the stain brings out the grain in the wood when you compare the dark ones to the unstained board in the middle.
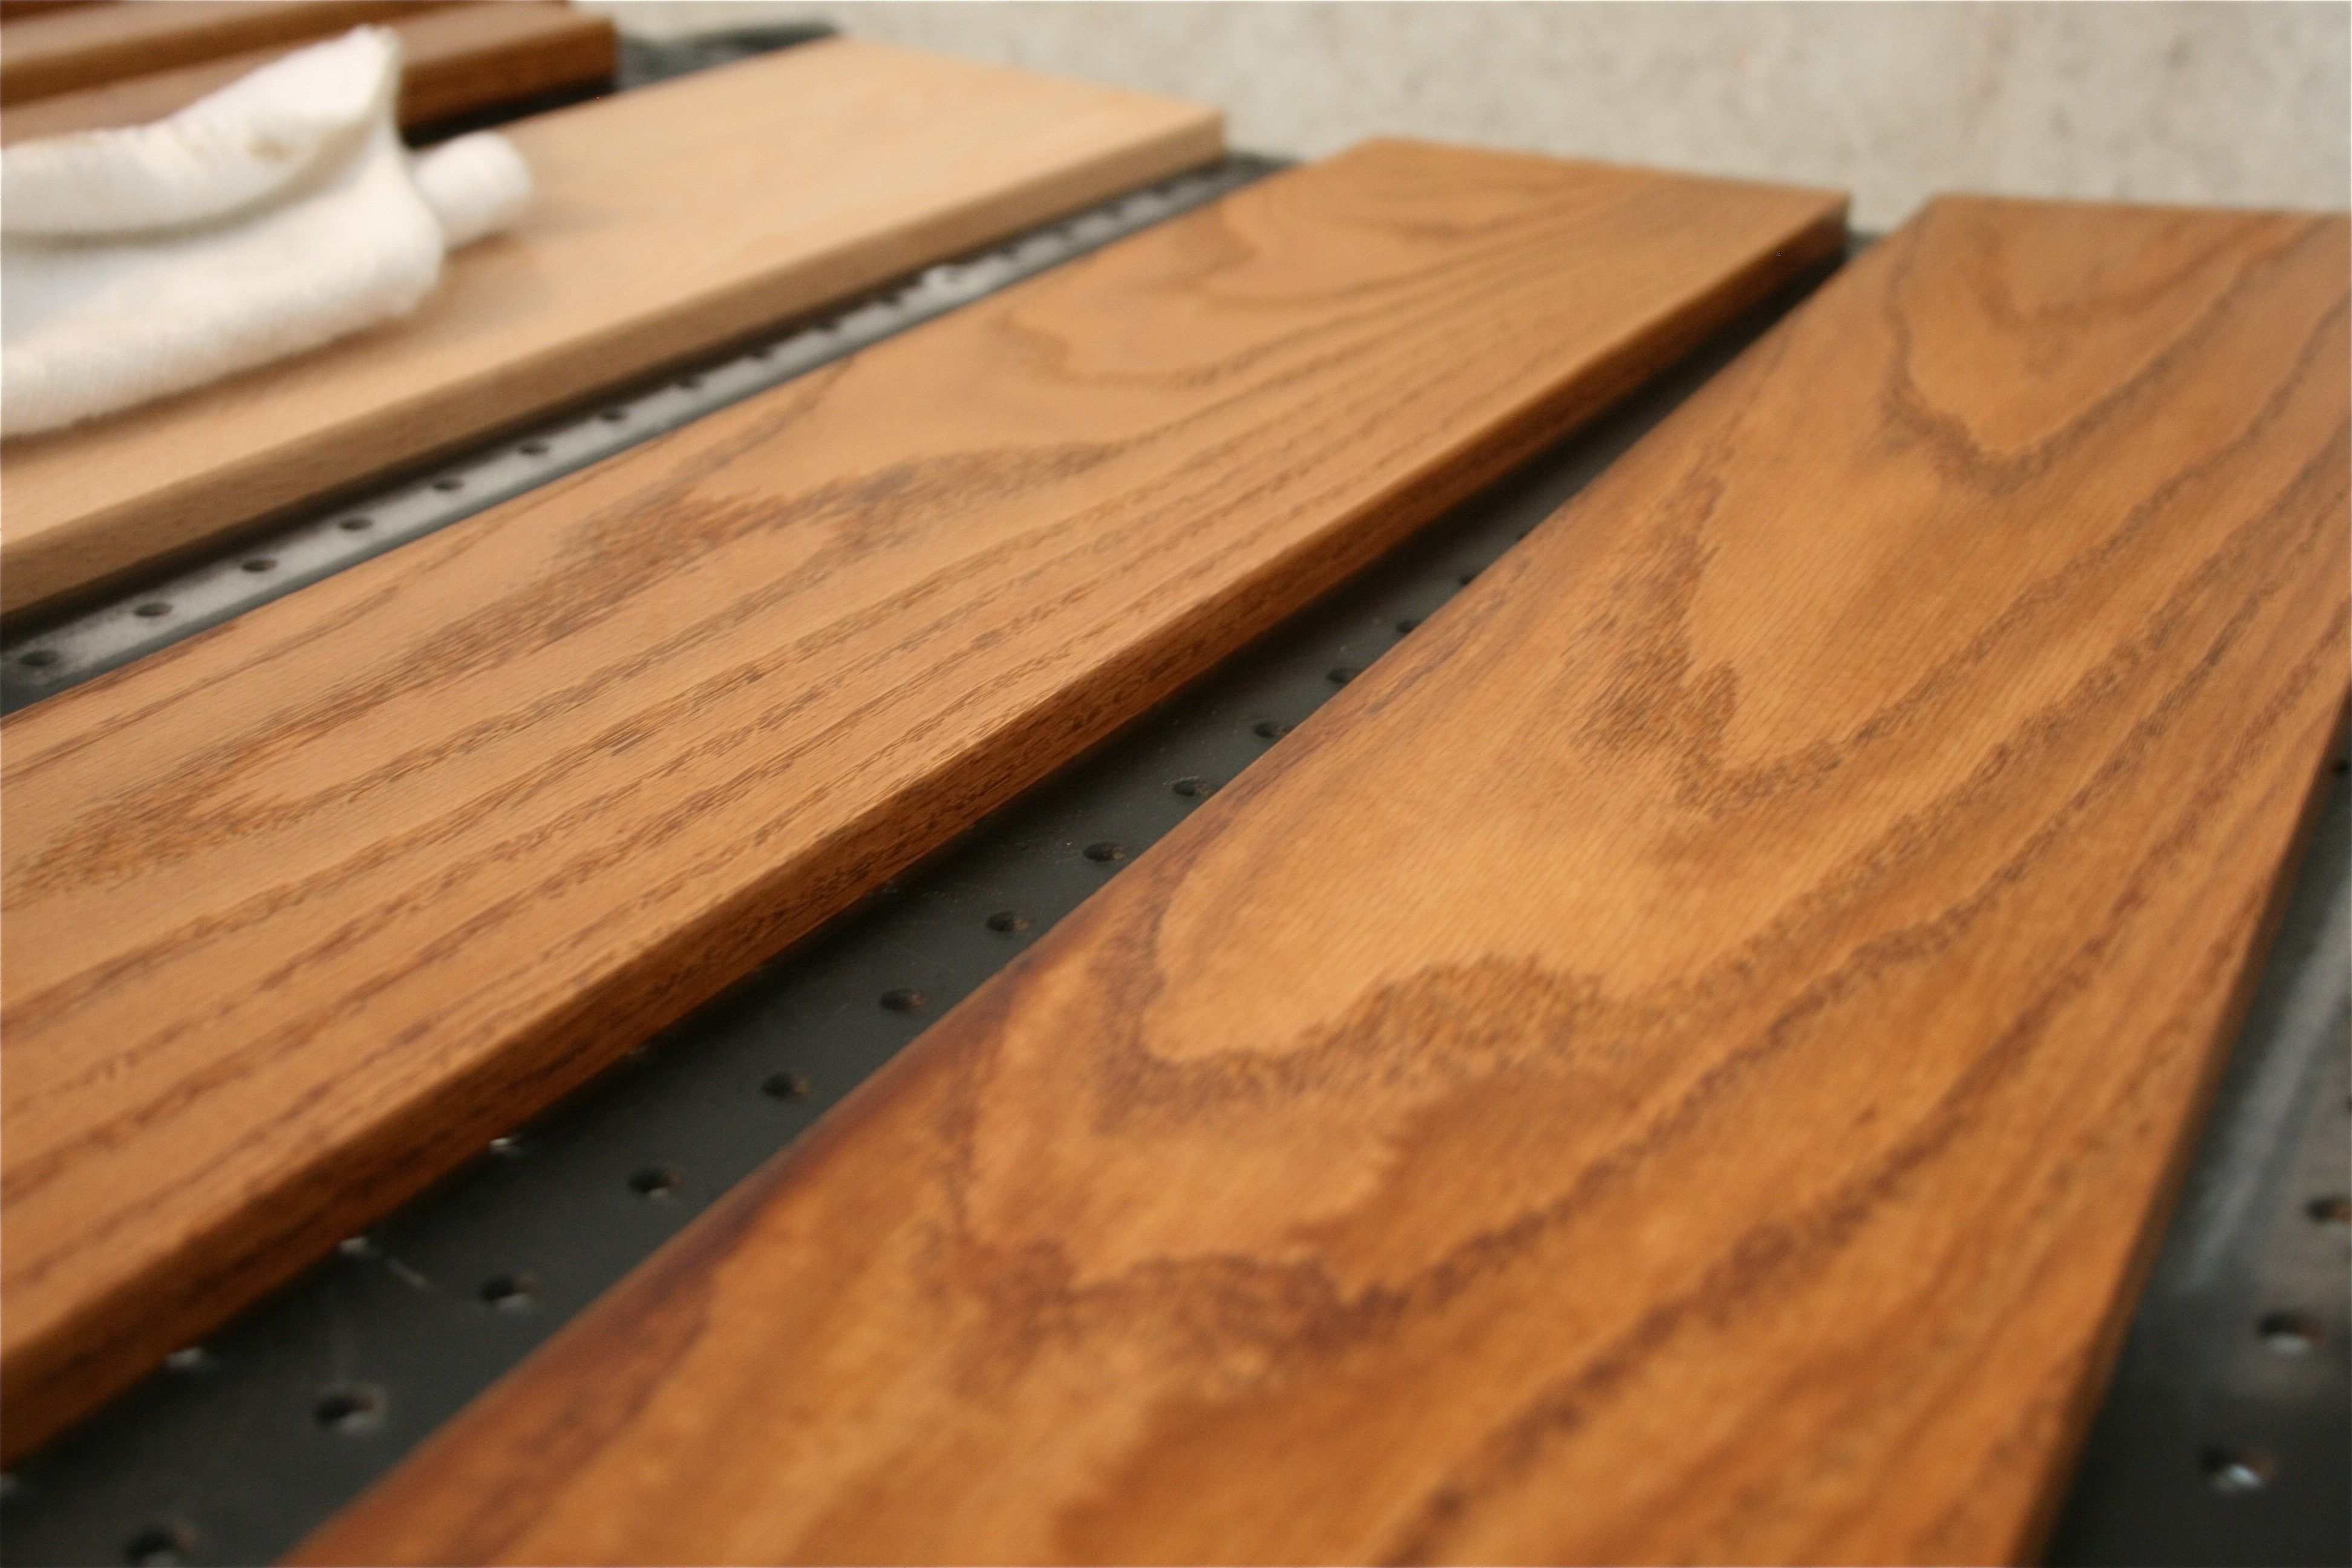
I love how the wood grain is really pronounced now:
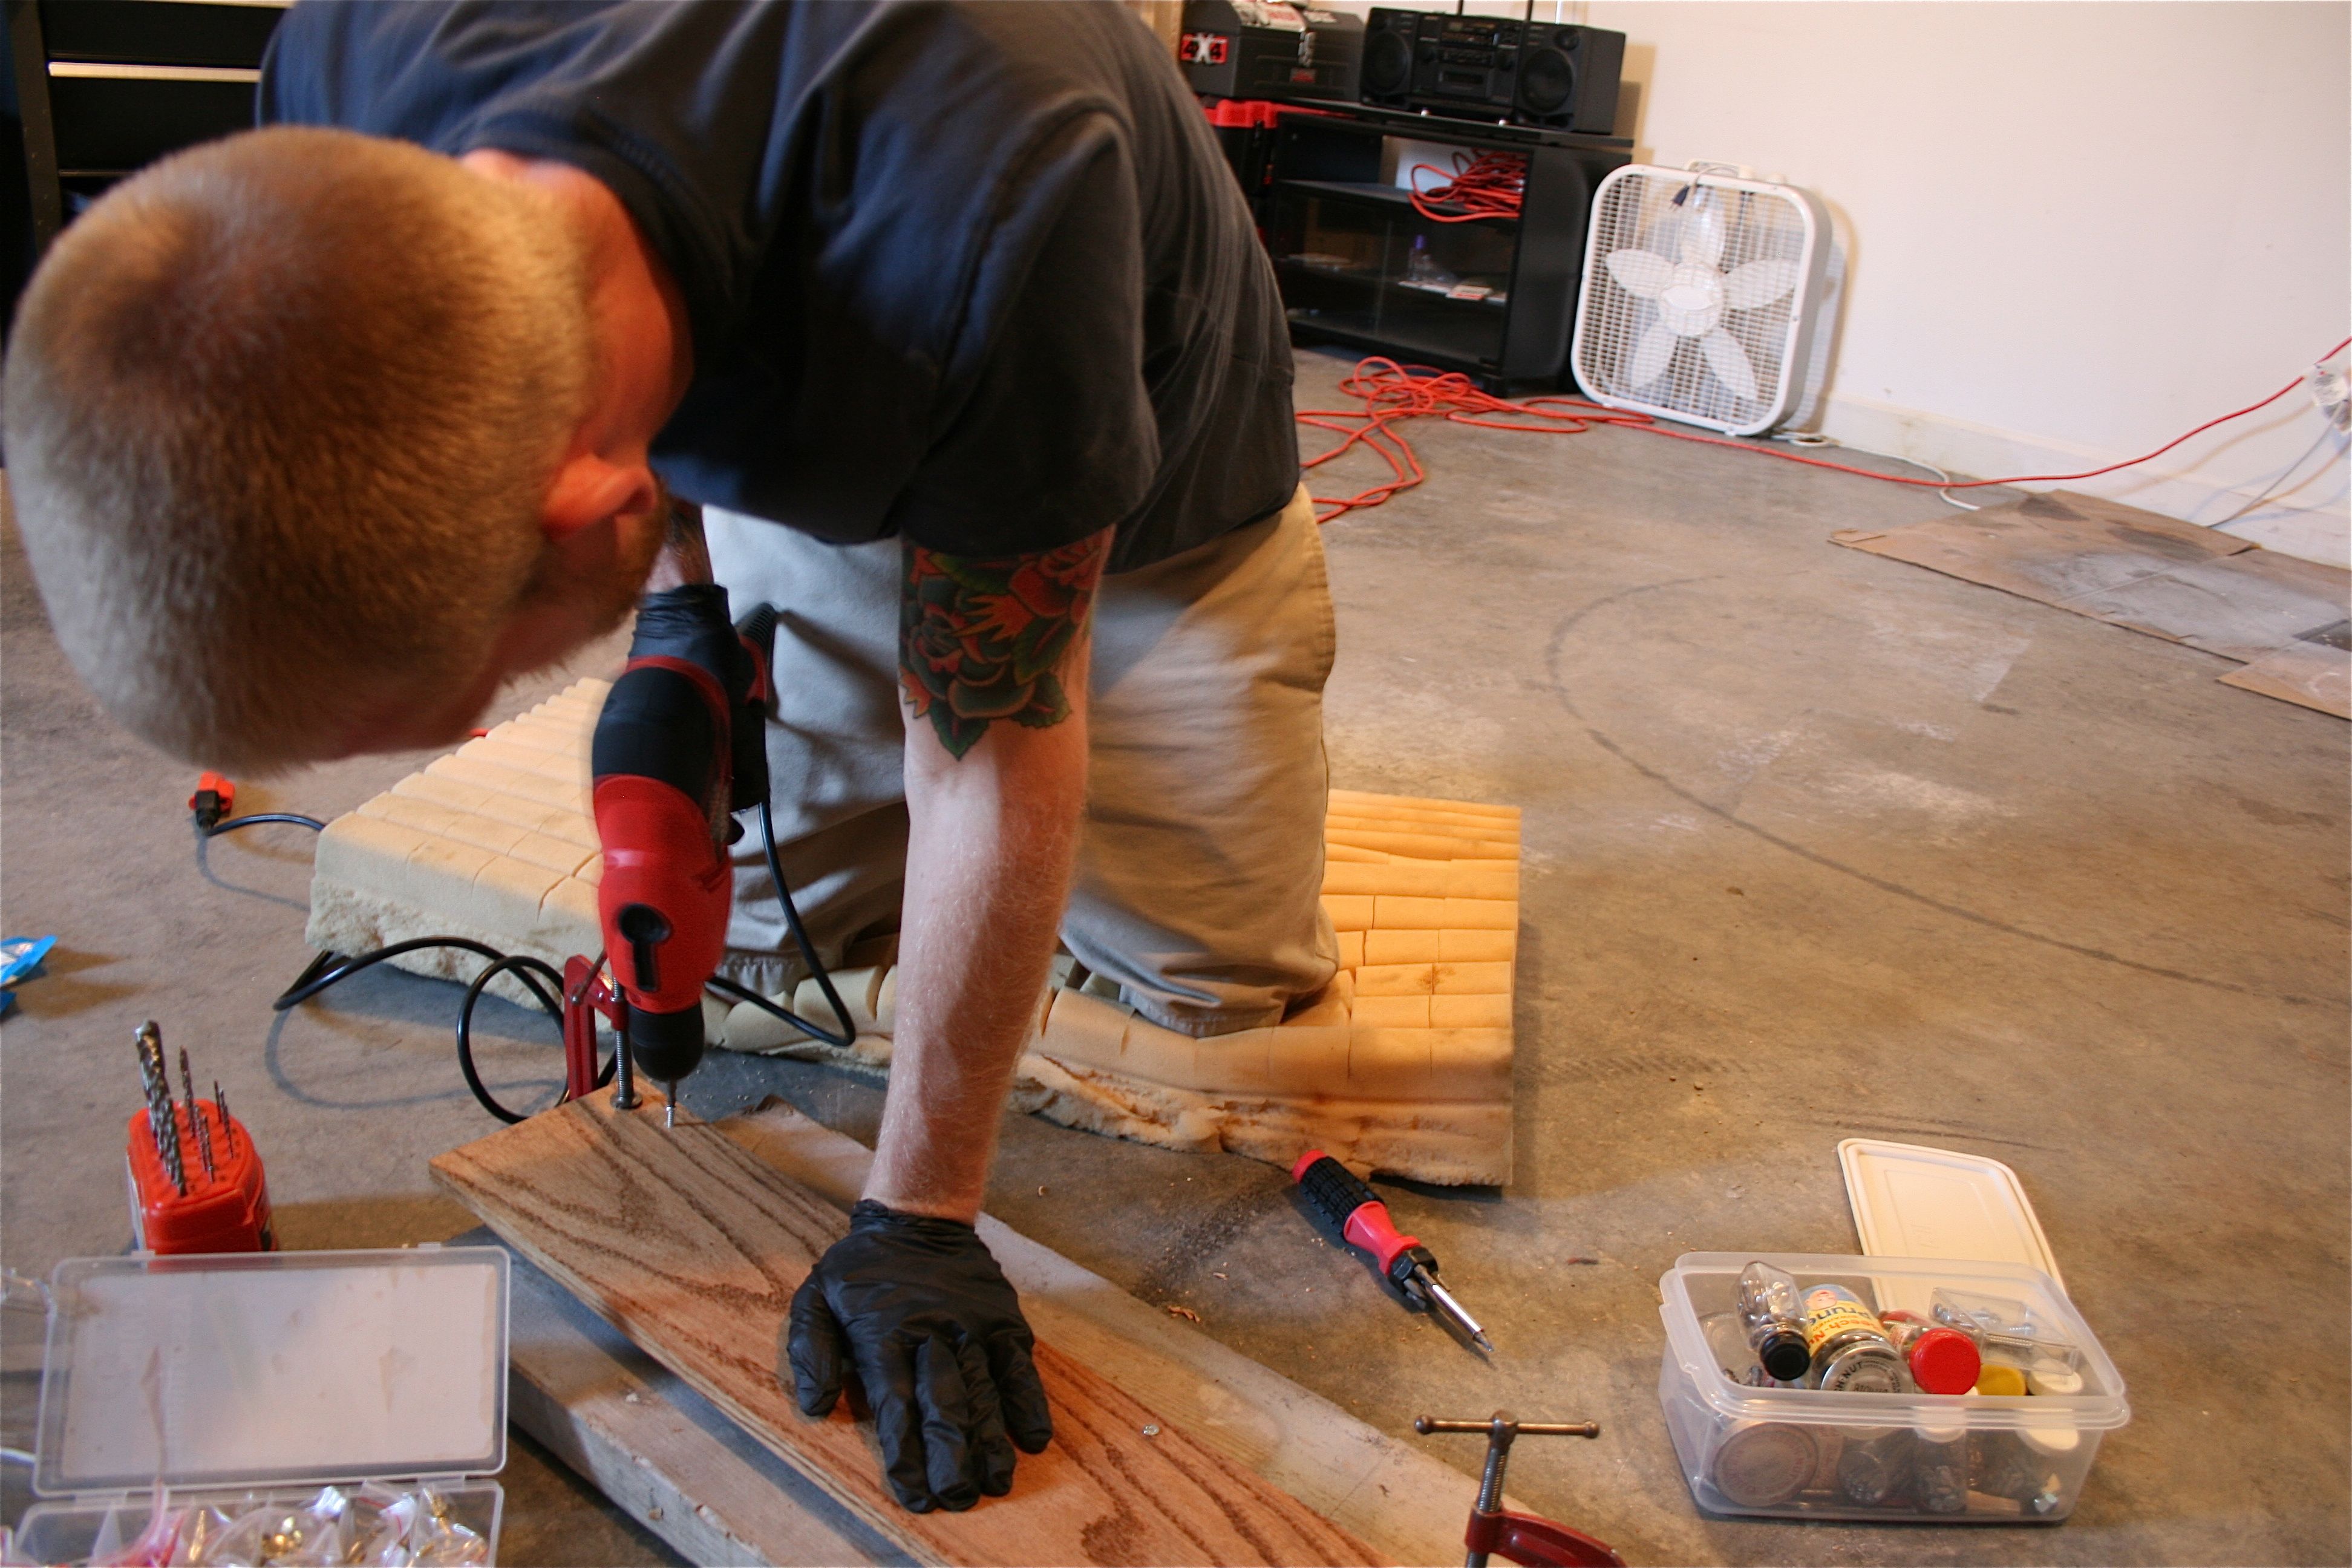
Once they were done and mostly dry (you know I can’t wait long enough for them to dry completely – thus the black rubber gloves John’s wearing in the rest of the pictures), we got to drilling the holes for the screws.
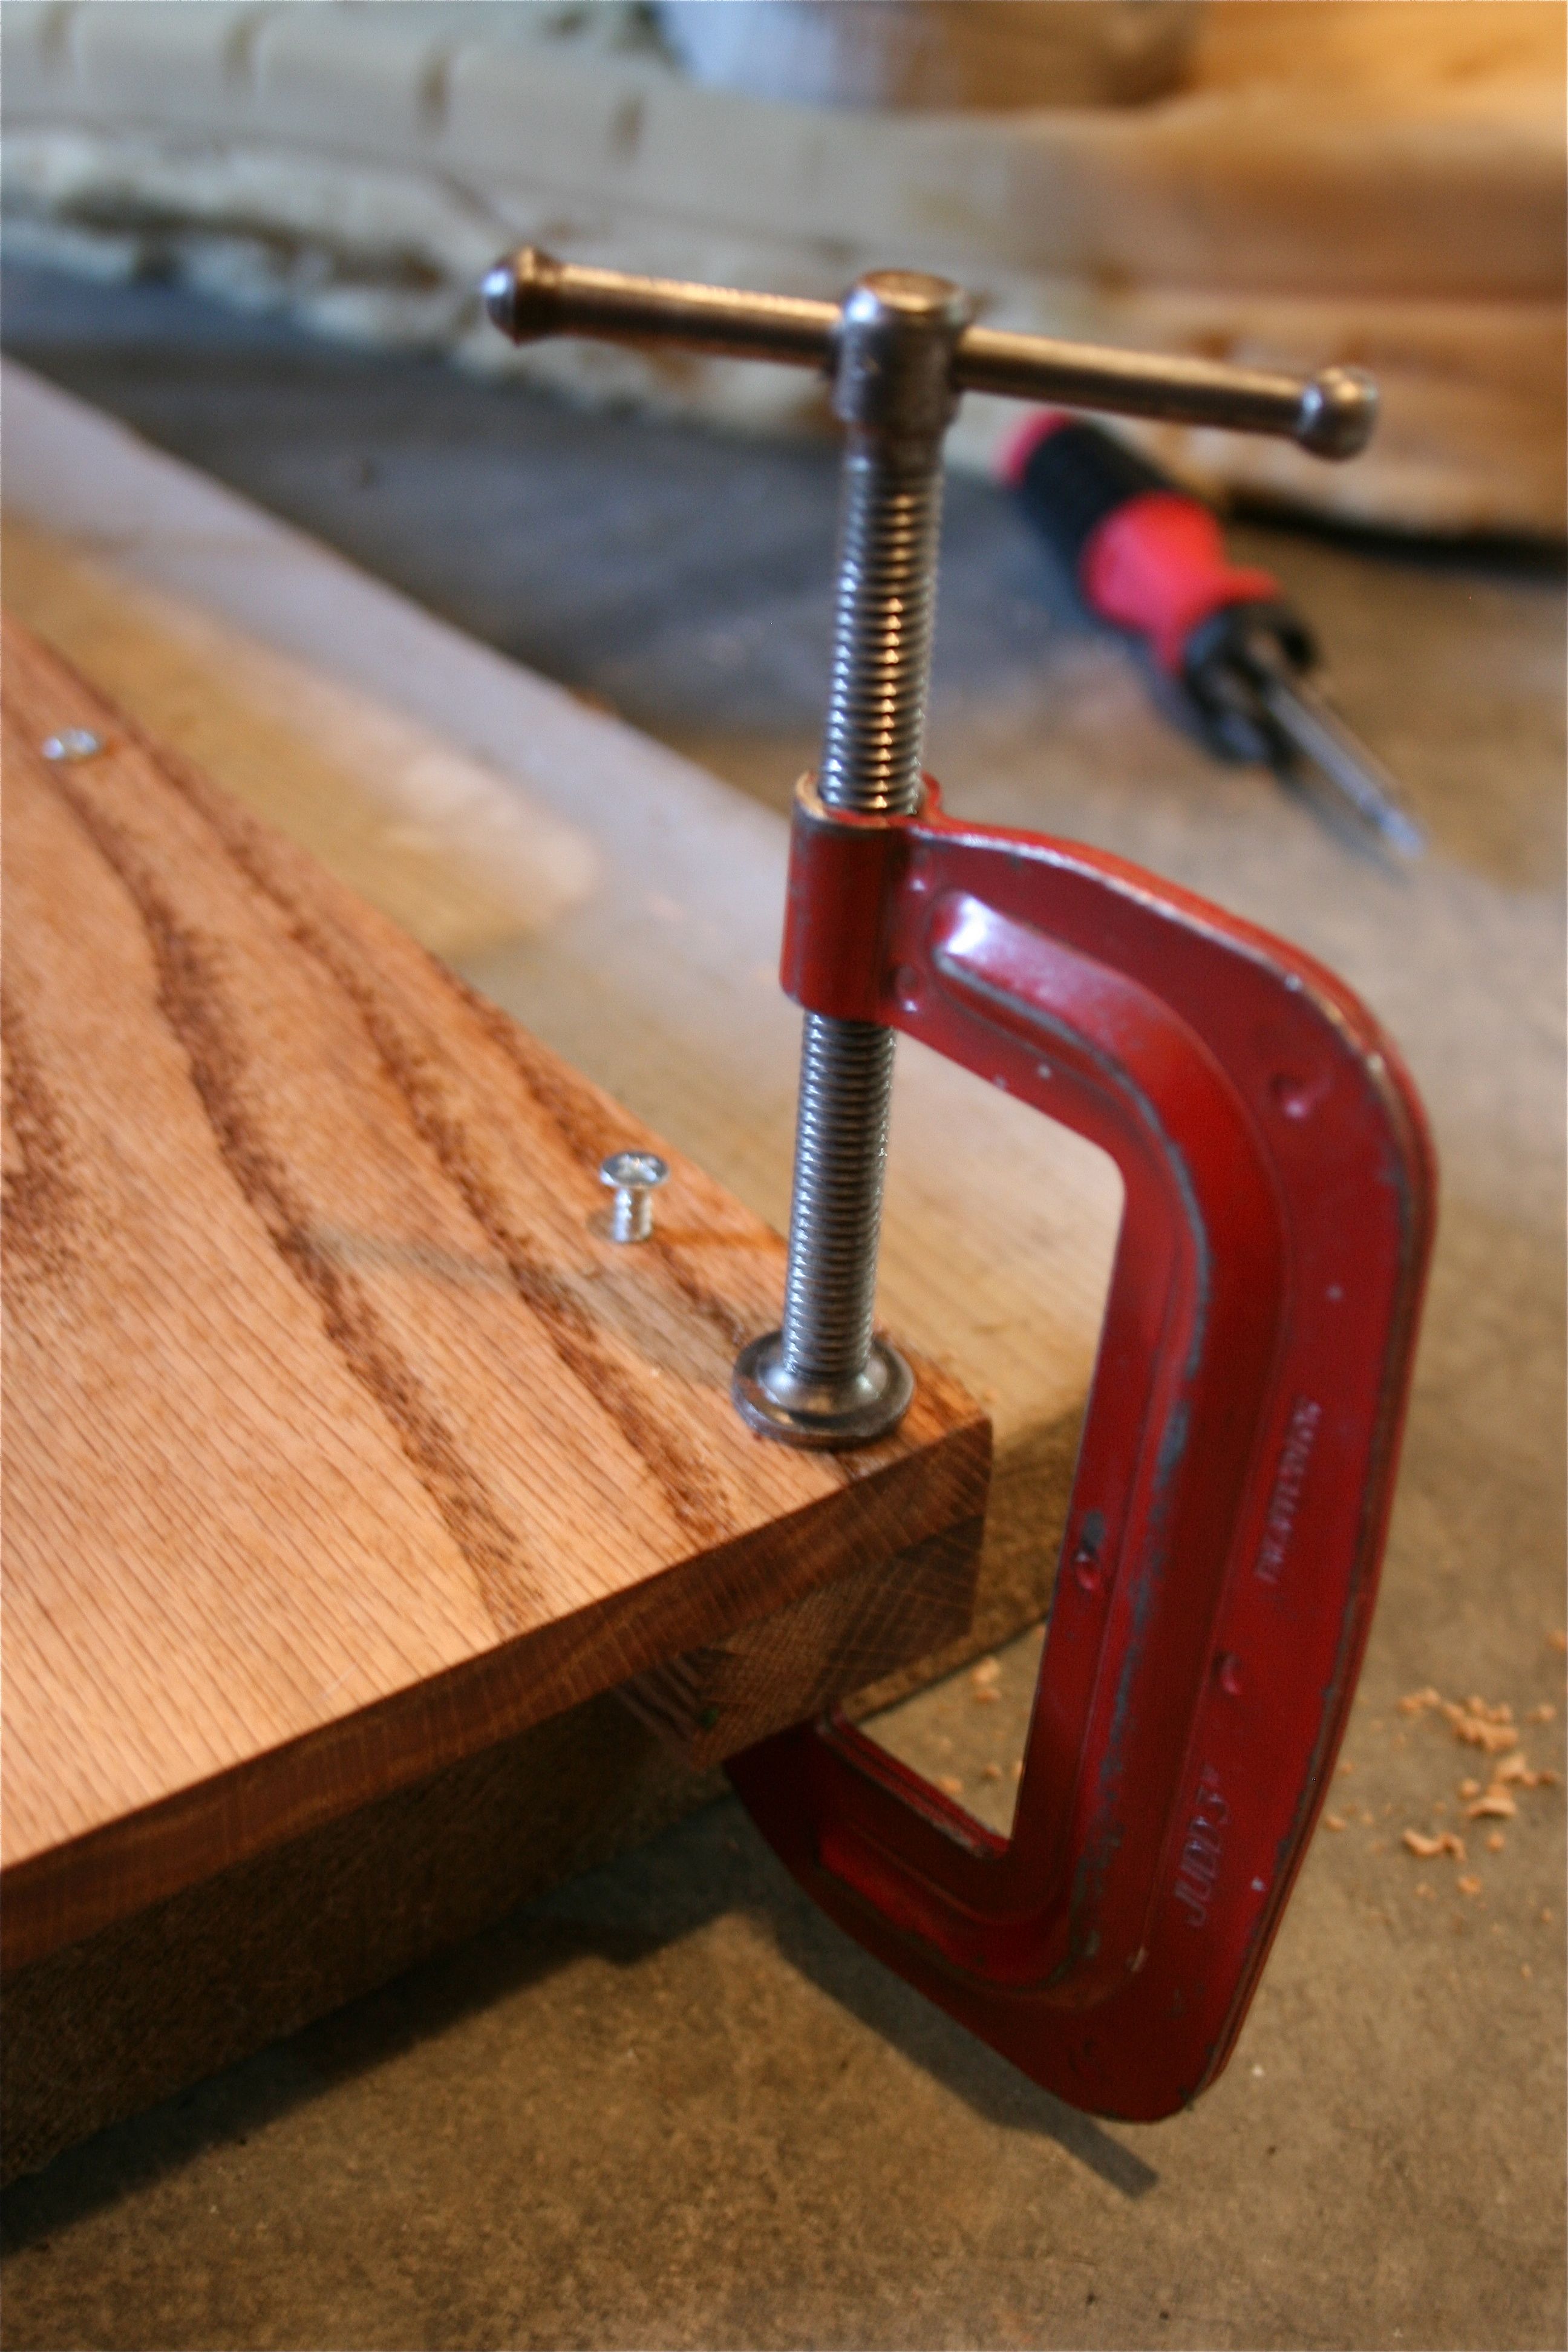
We took one thick “shelf board” and one of the thin “ledge boards”, clamped them together with a couple of “C” clips and pre-drilled four holes through the top of the “shelf board” into the “ledge boards”. If you try this at home, be careful not the drill all the way through because you’ll be able to see the holes when standing beneath the shelves.
At first we started to screw the hardware in to connect the boards, but then realized it’d be a heck of a lot easier to screw the thin “ledge boards” into the wall first without the shelf connected since the drill bit can’t fit underneath the shelf when attached. So we took all the screws out and set them aside for later…
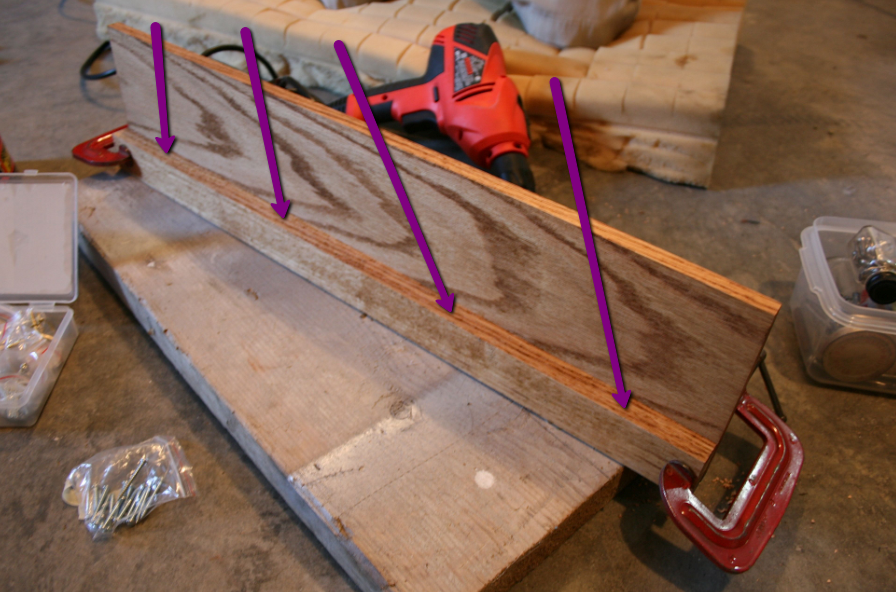
Then we drilled four more holes into the “ledge boards” from the back for the long 3″ screws to go into the wall. We drilled the holes in from the back because it was easier just to keep the shelves clamped together and the hole would be on each side – It didn’t matter which way we drilled the hole. This may make more sense when you see them up on the wall.
We hadn’t actually started the drilling yet in the photo below, but imagine the holes for the 3″ screws being where the arrows are pointing:
Time to get these bad boys up on the wall!
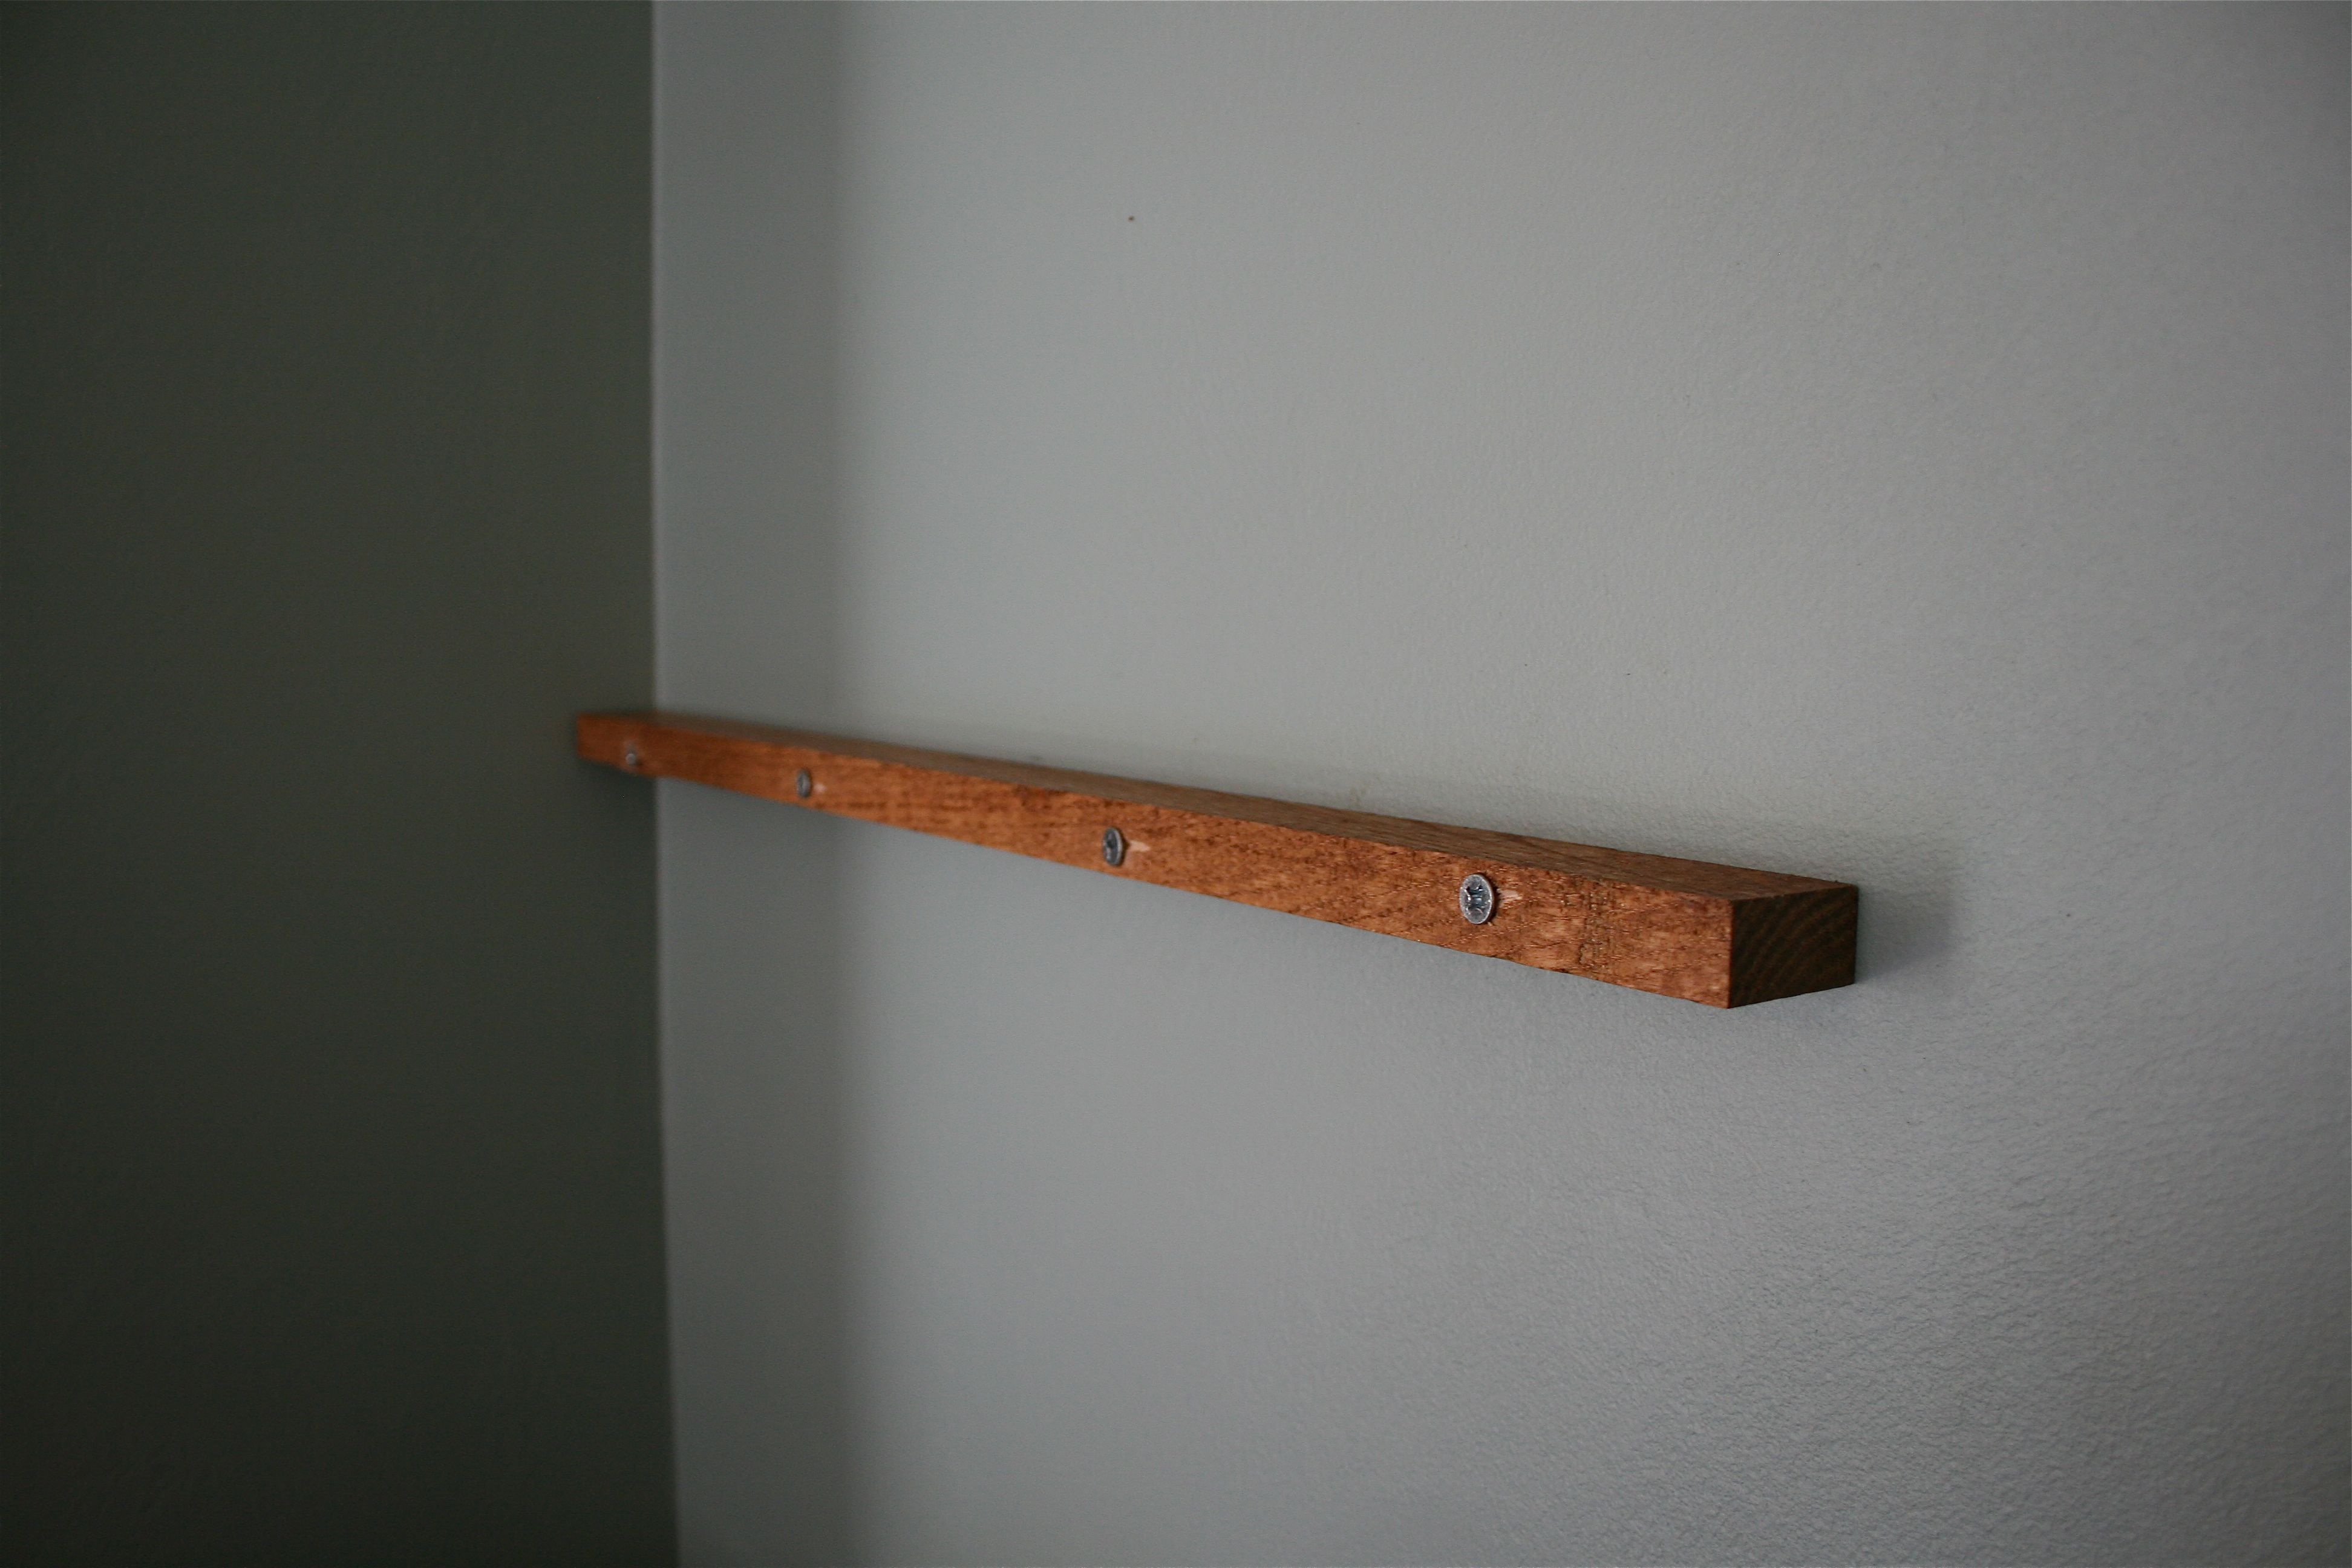
Once we got it level and in place by hand, we used the electric drill to screw the long 3″ screws through the pre-drilled holes in the “ledge board” into the wall:
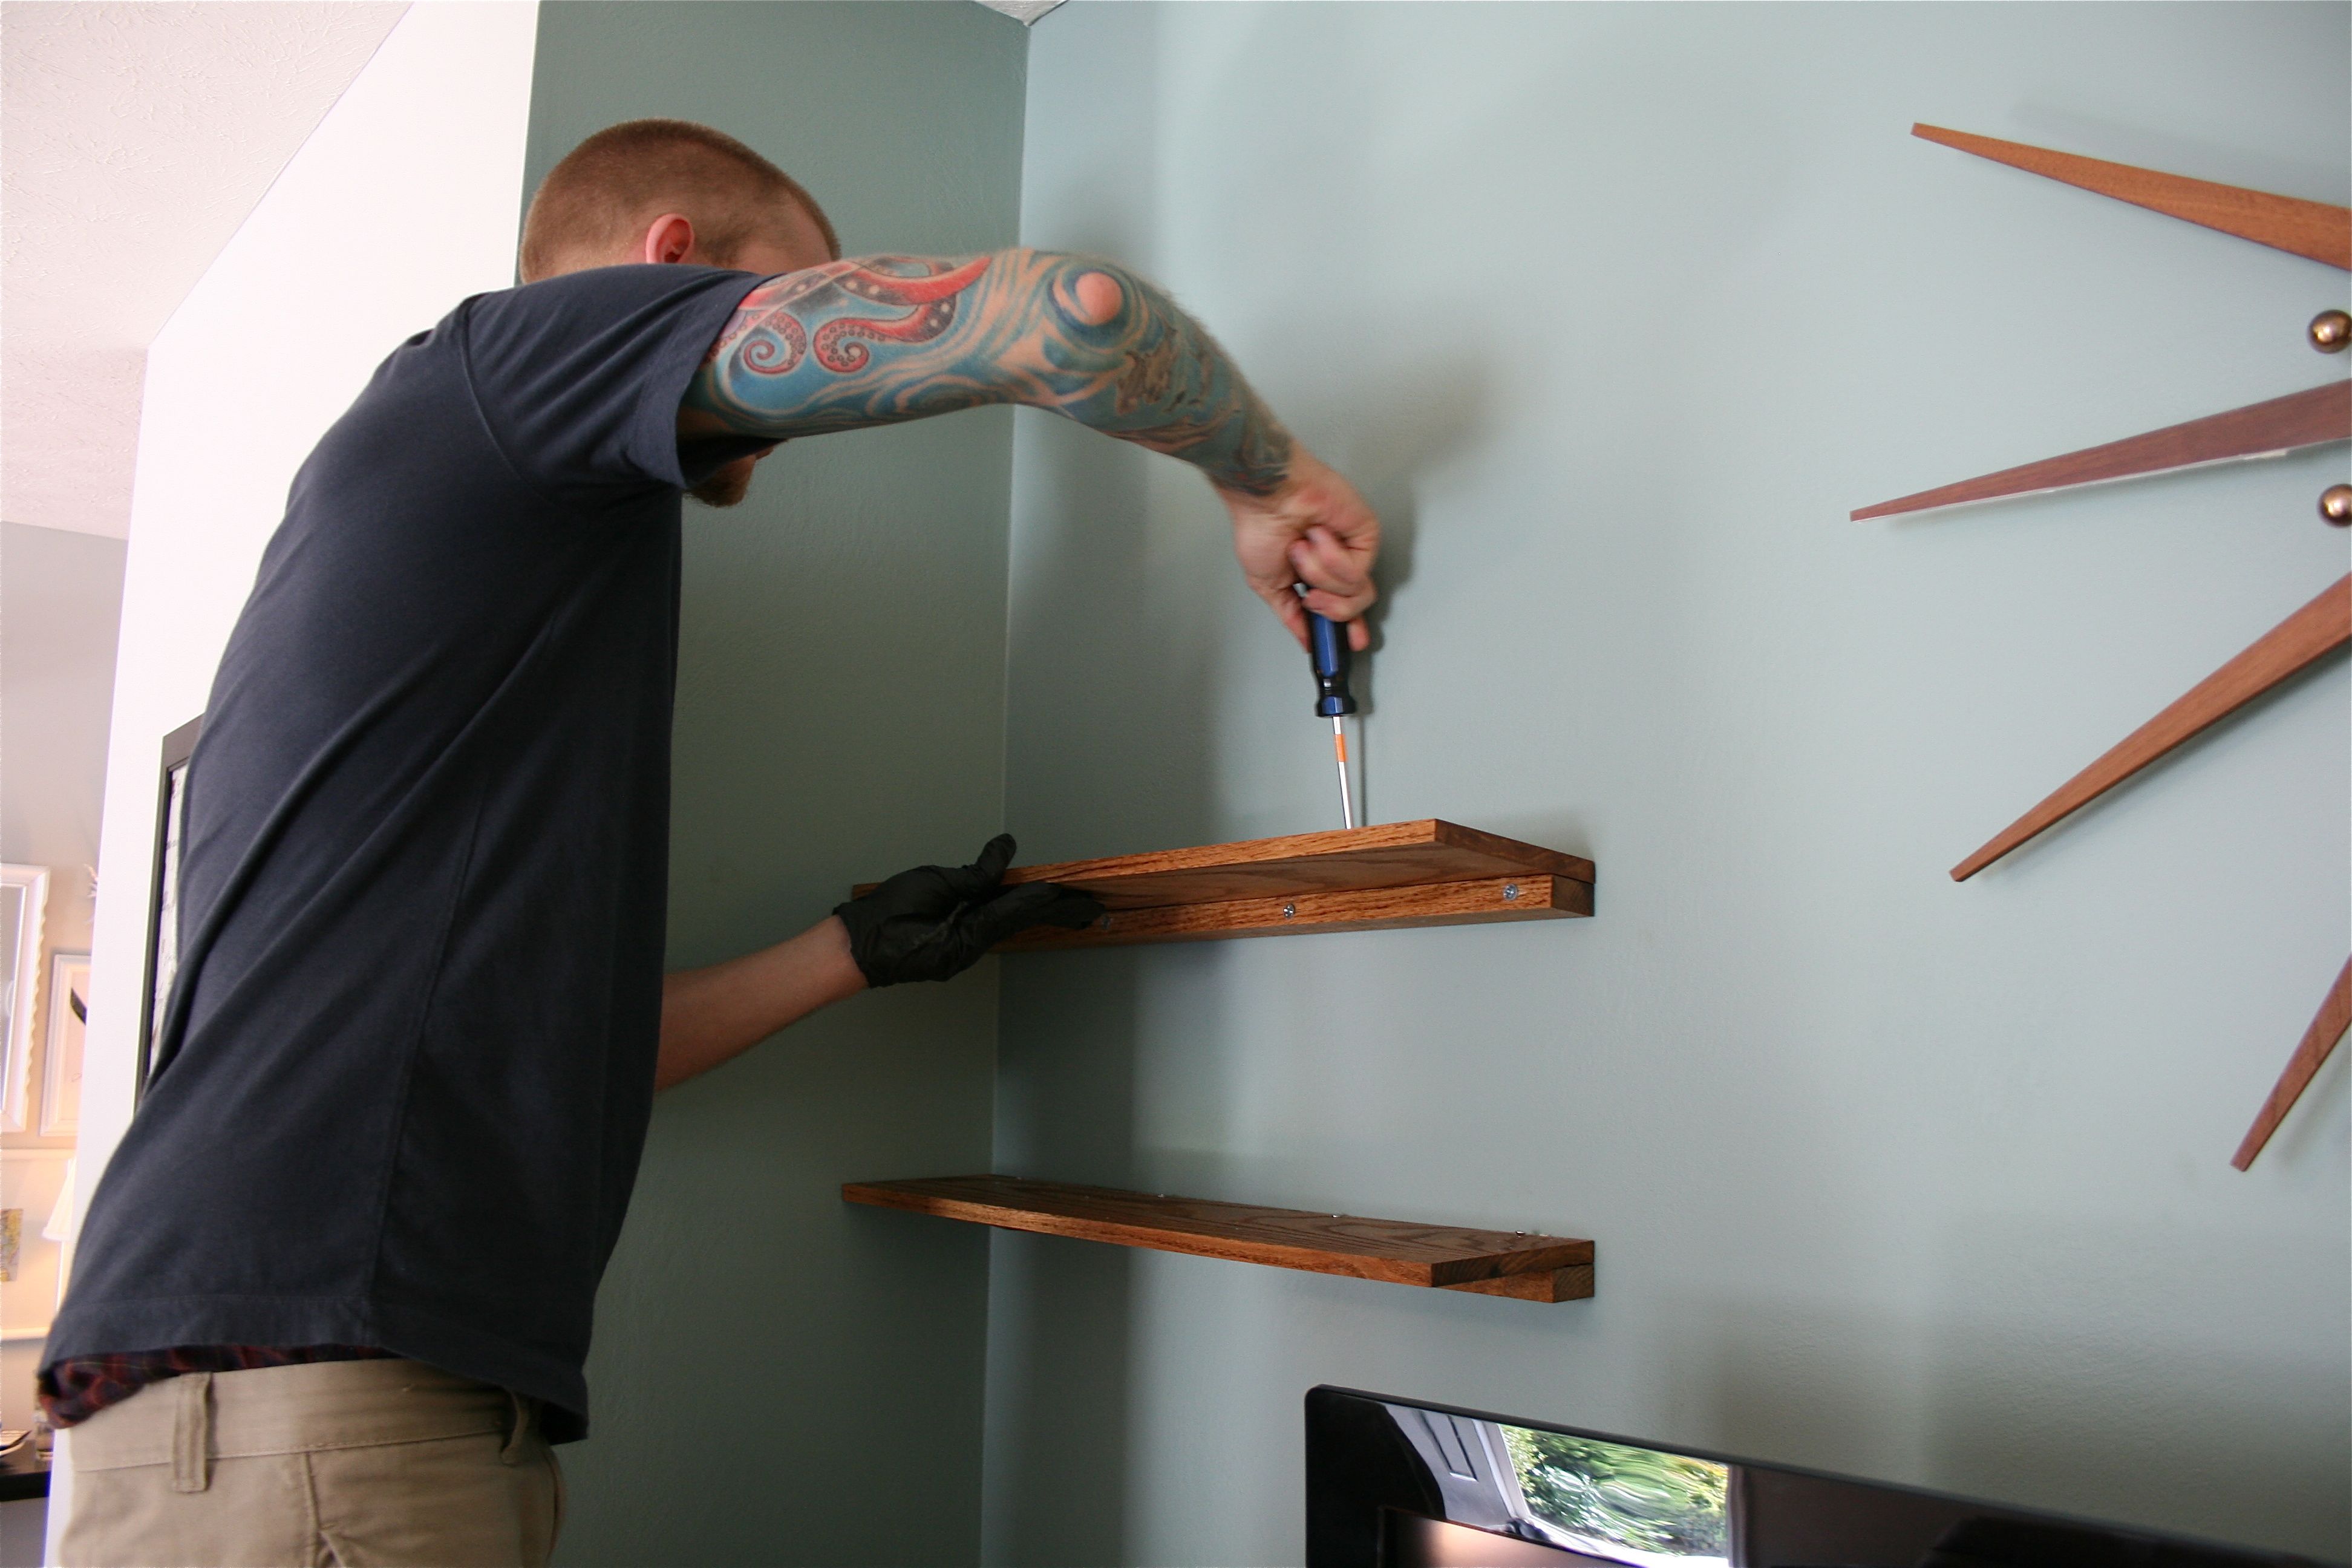
Then we screwed the “shelf board” on top of the “ledge board” using short screws and the pre-drilled holes we made on top. We had to do this by hand with a skinny manual screwdriver since the holes were so close to the wall – The big electric drill wouldn’t fit…But given the choice, it was MUCH easier to screw the short screws in by hand then the long 3″ ones.
Time to accessorize and for the big reveal!
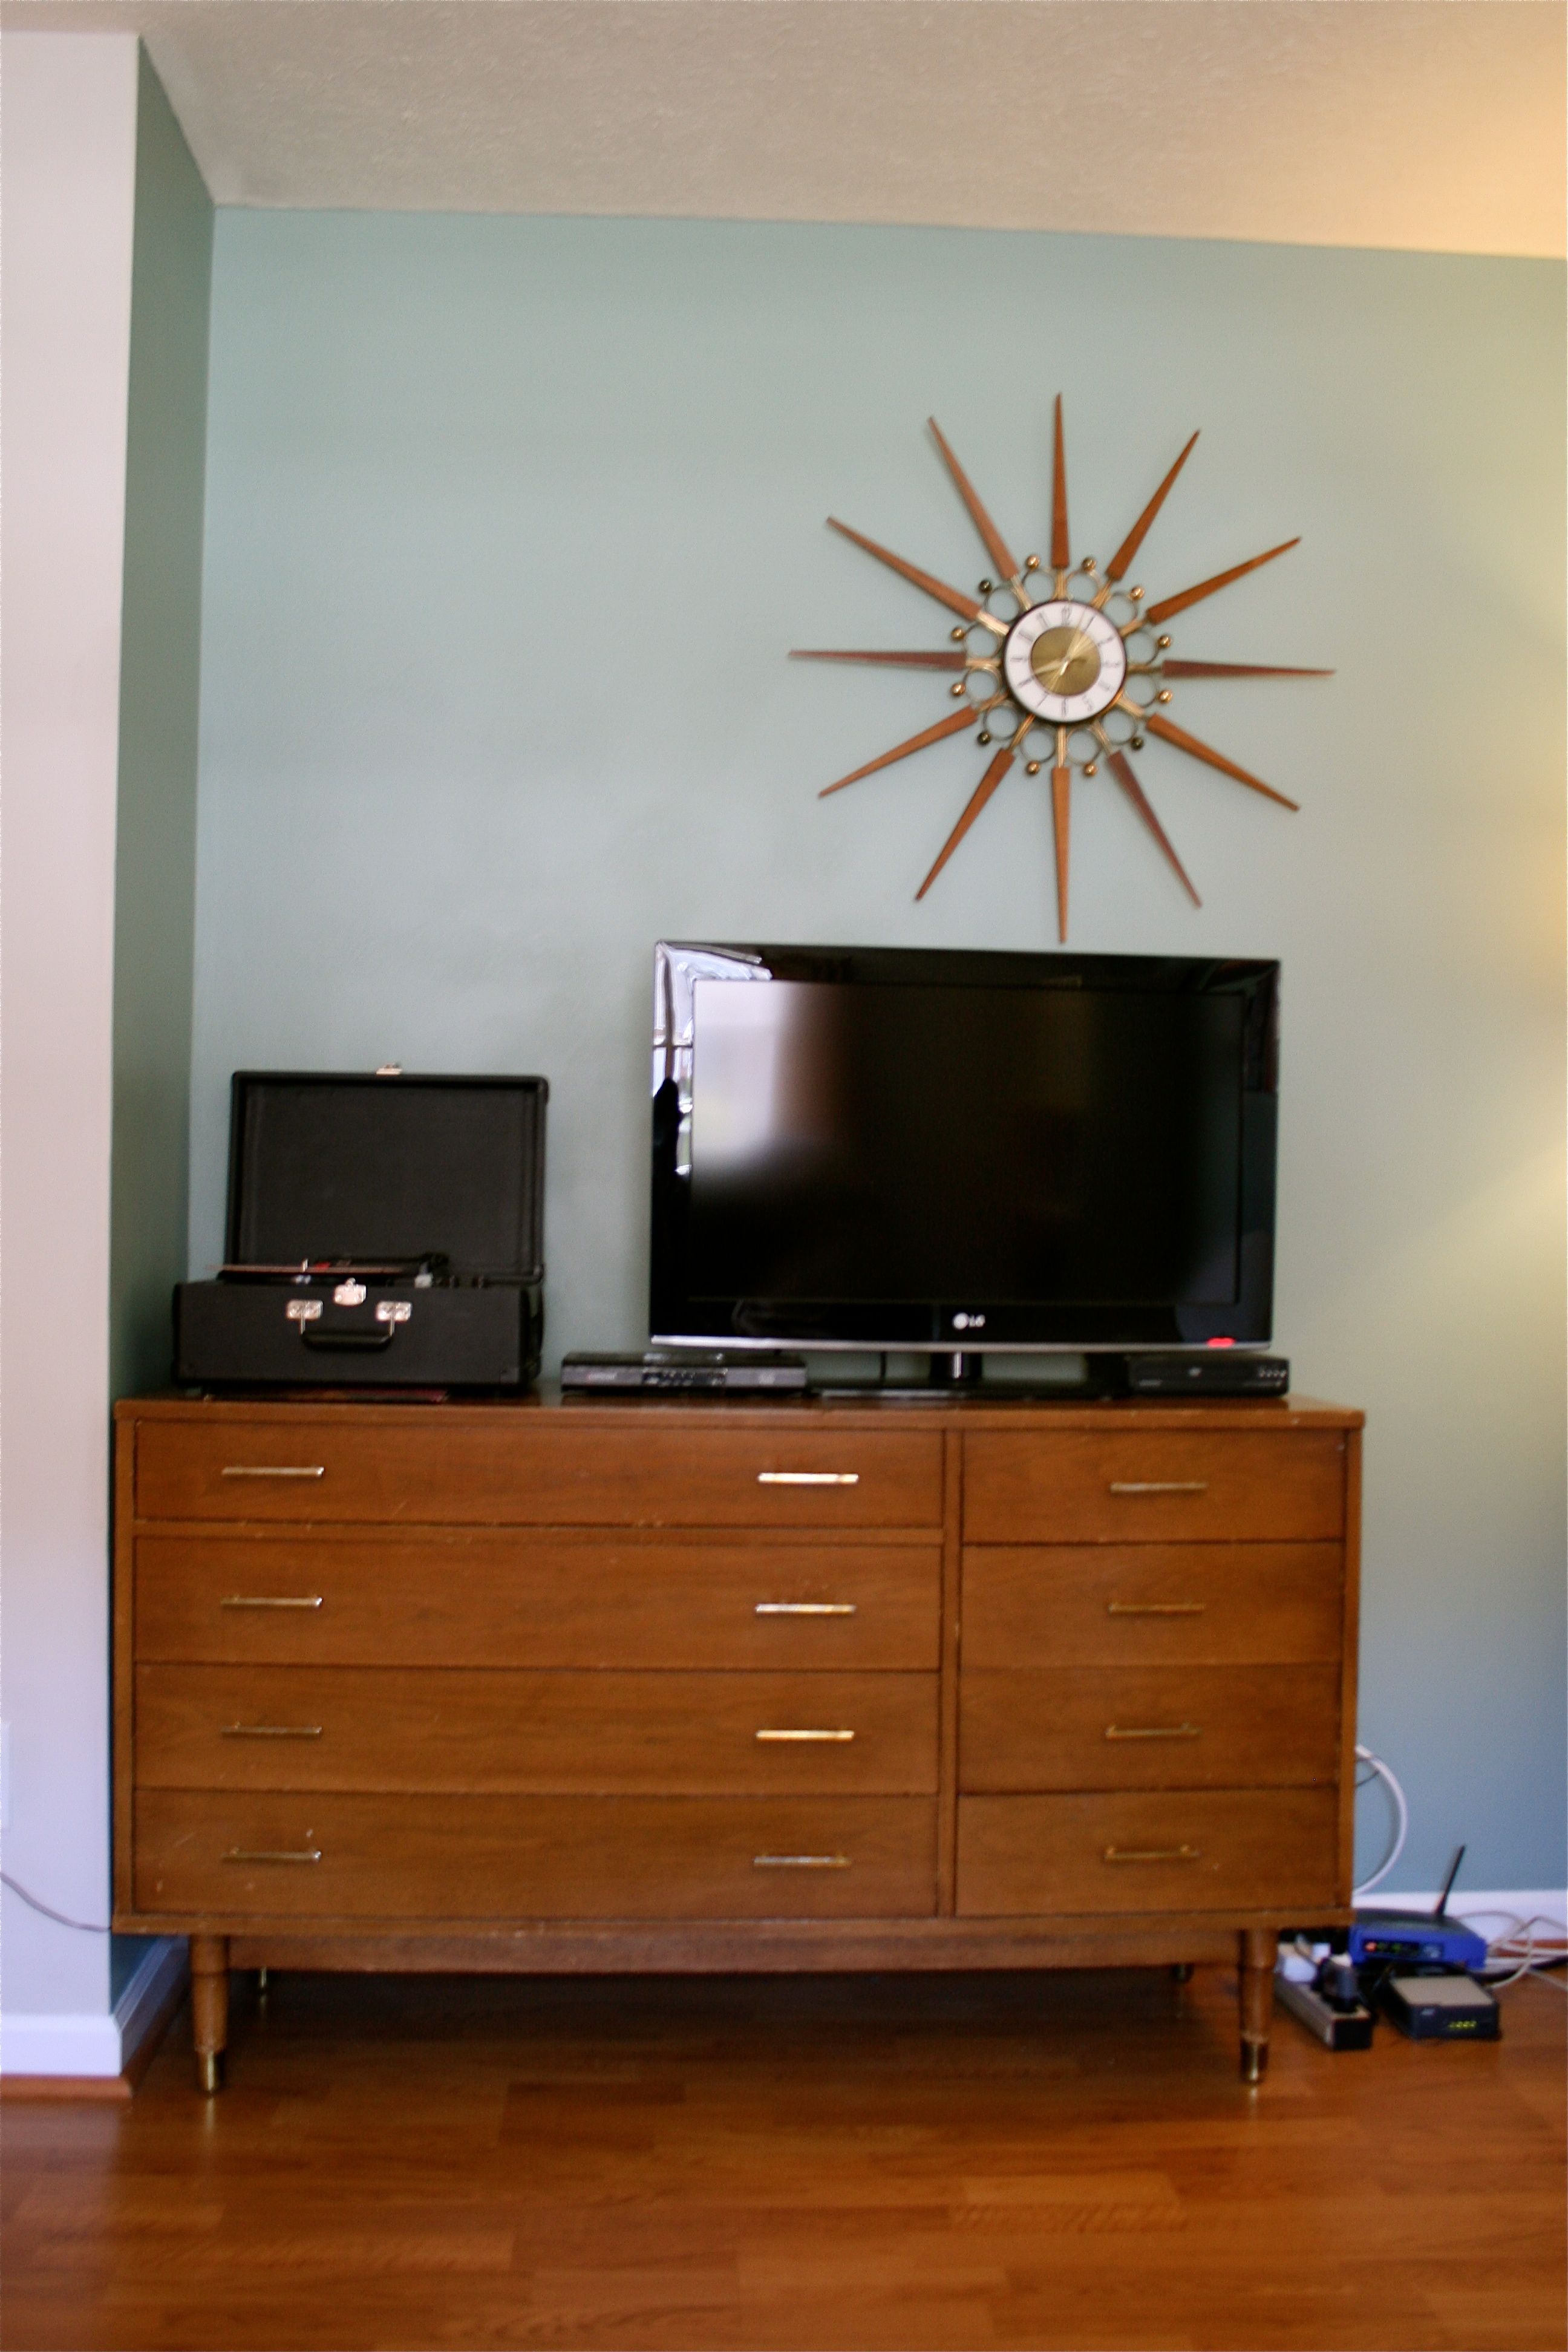
Before:
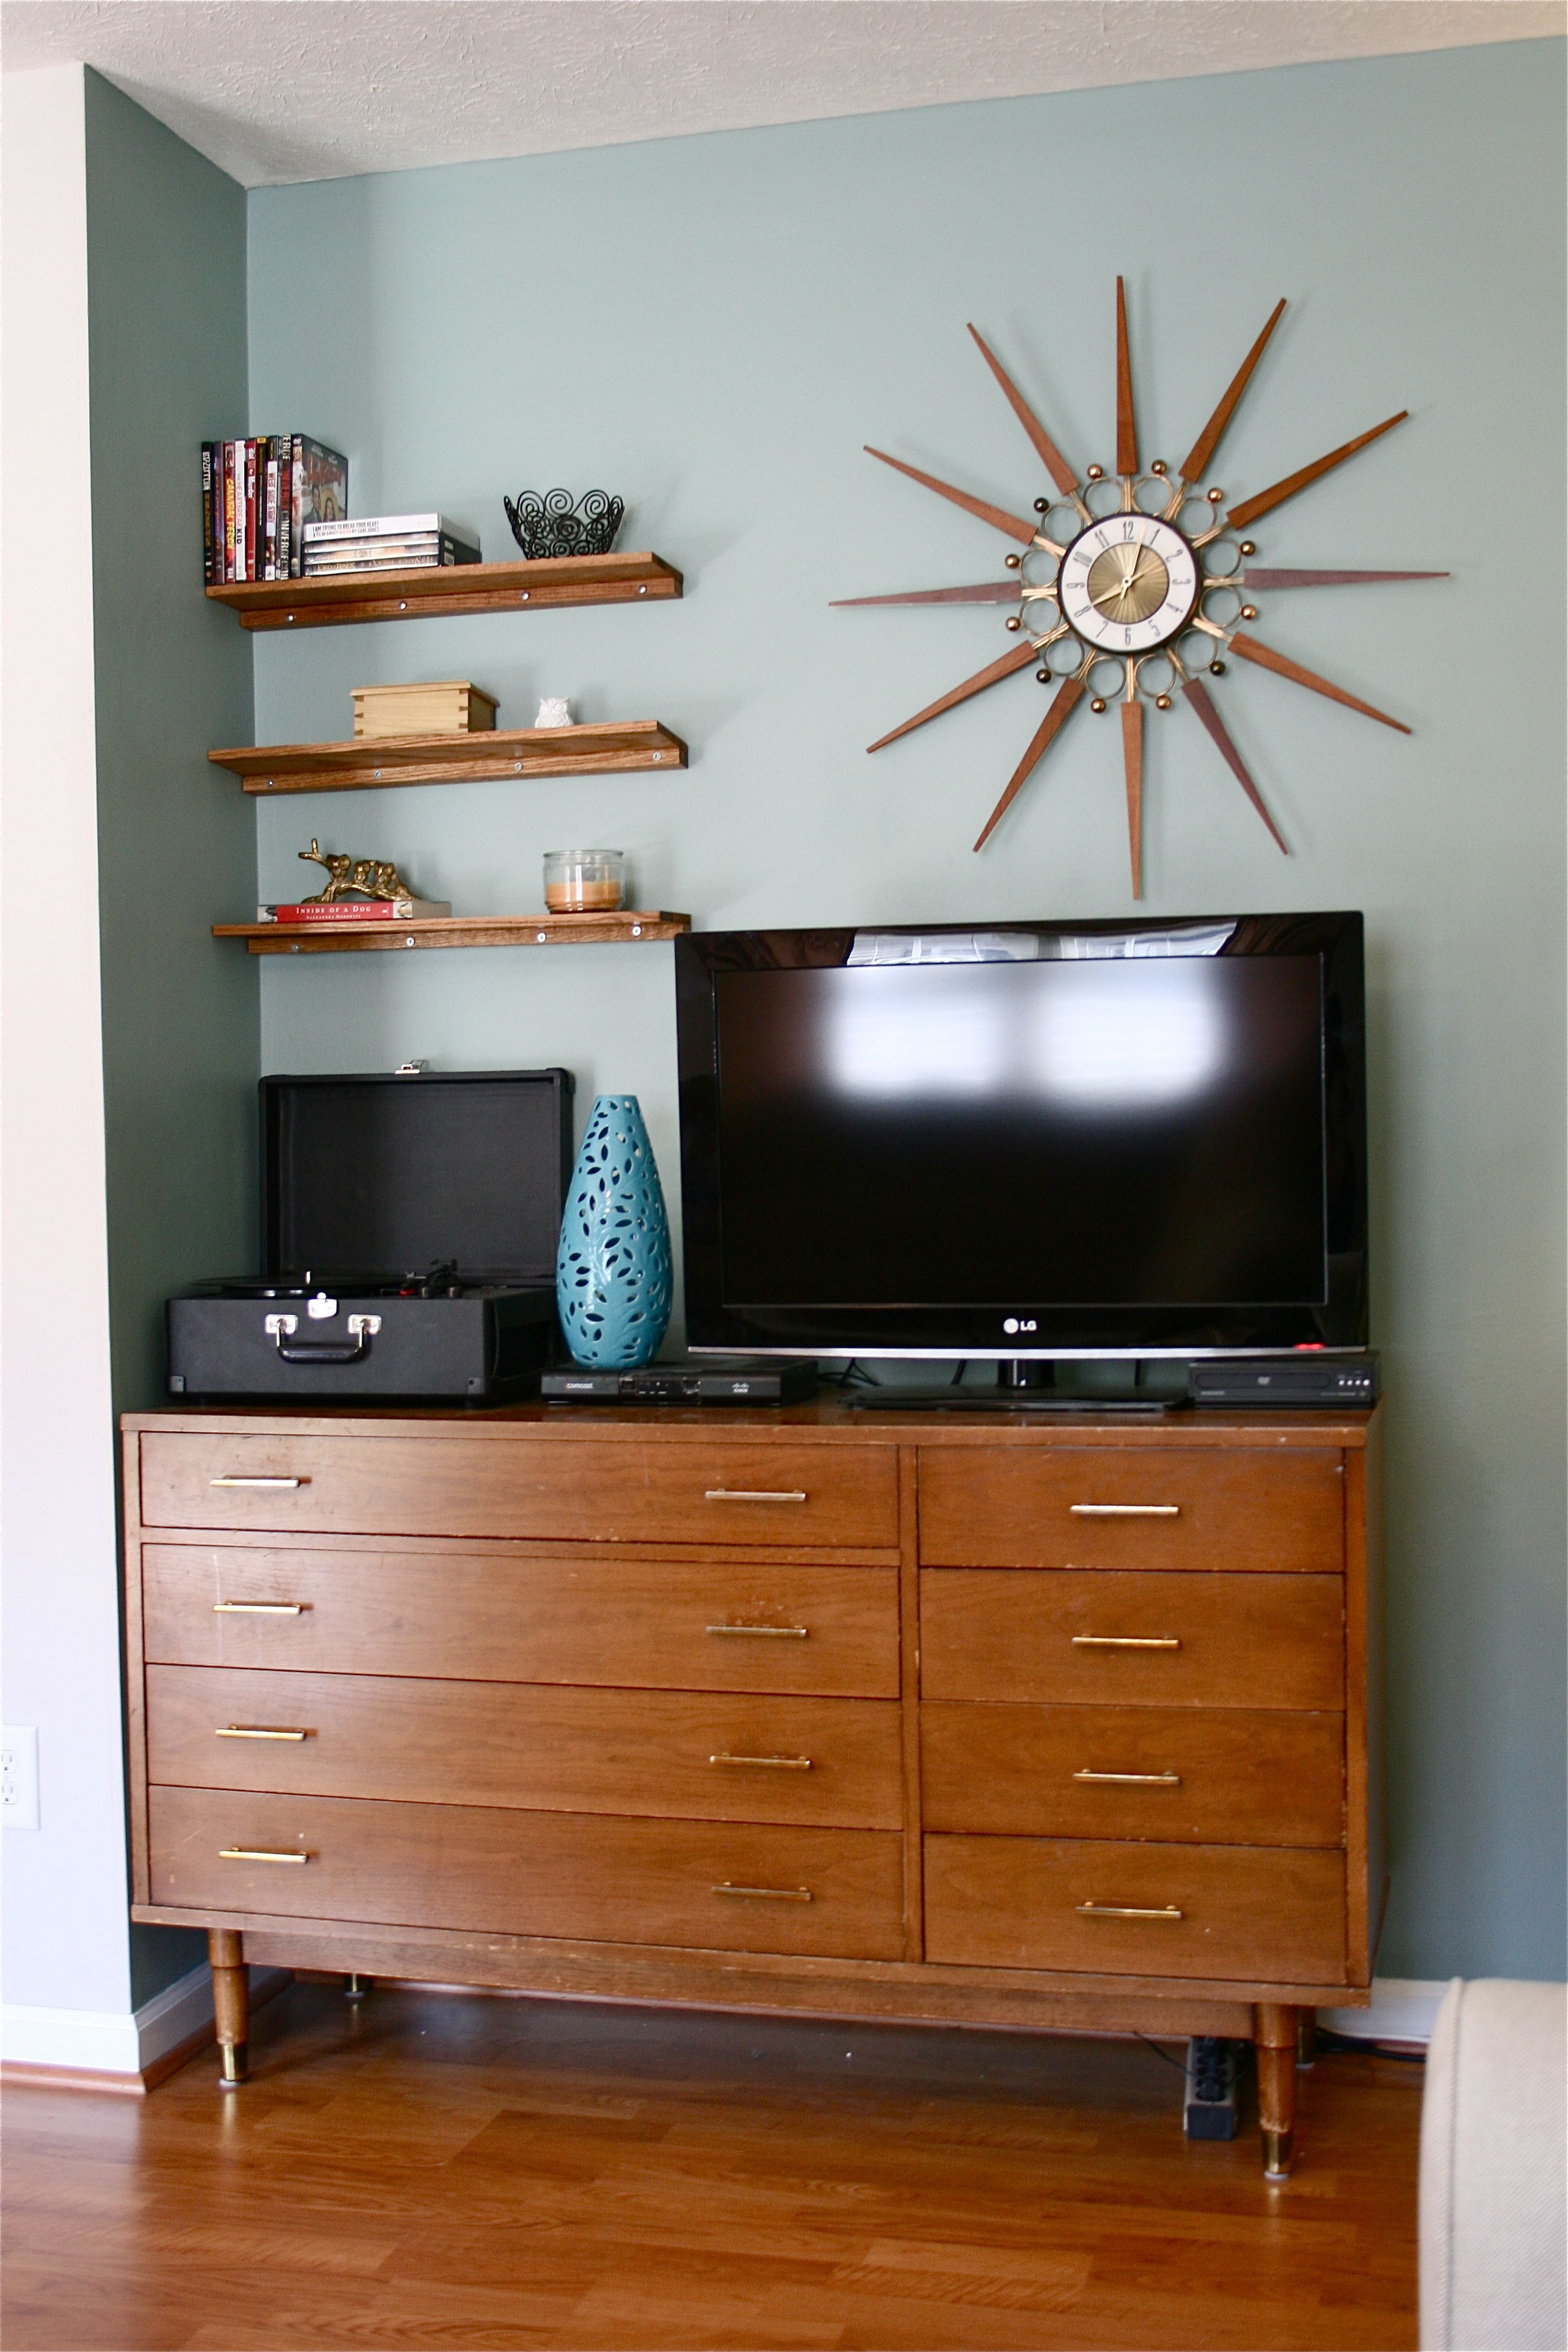
And now after!:
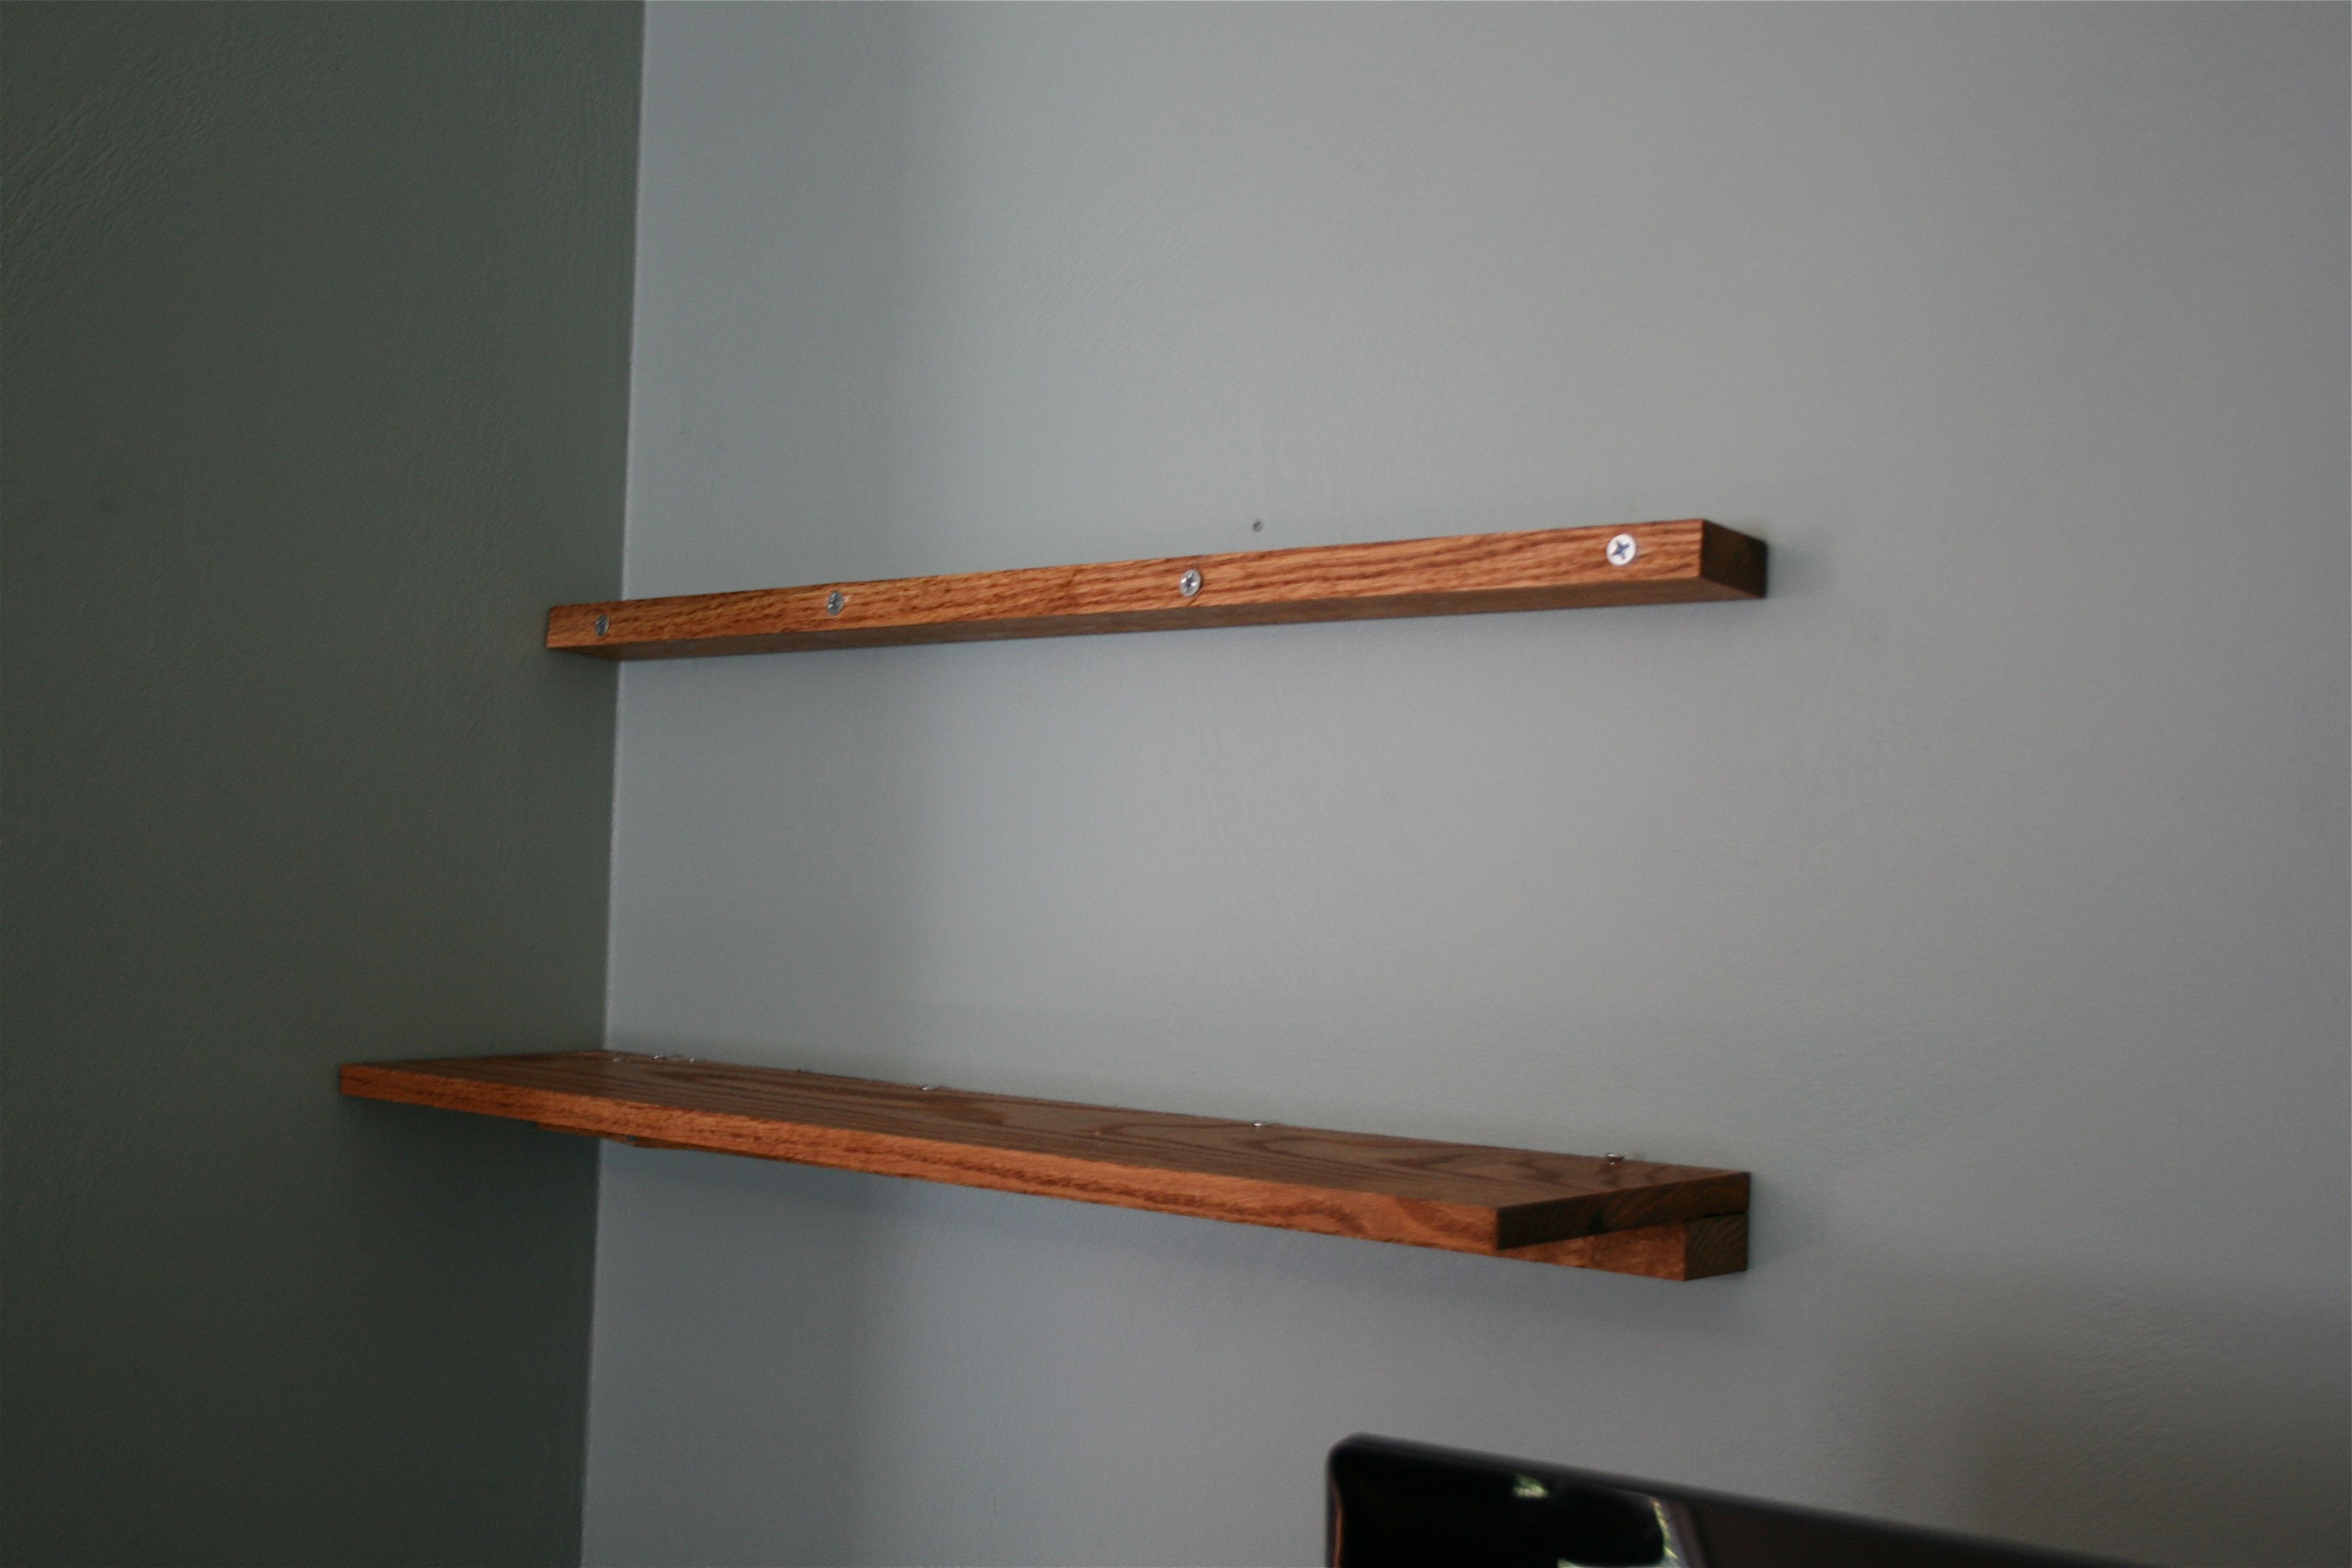
BLOOPER ALERT: Did you notice that we accidentally picked up one packet of round-head screws instead of all flat ones? They were used on the top shelf…Oops! But you probably wouldn’t have noticed unless I told you, so I’m not going to lose TOO much sleep over it…
We love the asymmetrical look and it seems to finally finish off the TV stand wall. John and I both agree that next time we’d measure out the screws more evenly…But live and learn! I might try some more wood-photocopying magic (like I did with the clock “faux spokes”) to cover up the screw heads.
We’ll keep you posted!


