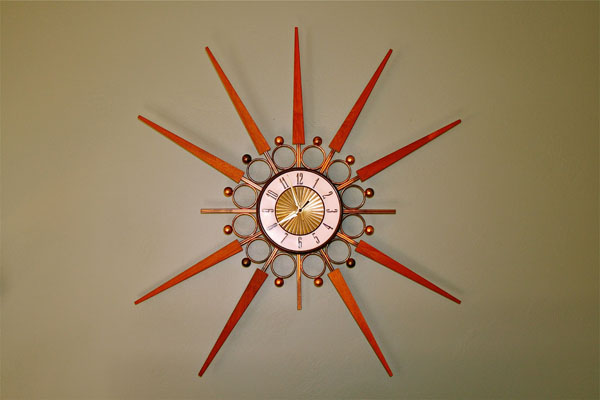
Okay, so yesterday’s post was all about my crazy idea to fix the new-to-us thrifted clock (which was missing 3 out of its 12 “spokes”) seen here:
While it’s still got PLENTY of 1970’s flair, even with its missing appendages, I thought we could do better…
So here’s the run down on my creative quick fix.
John and I hopped on over to Michael’s last night (after a very relaxing date night out to Ruby Tuesday’s) and picked up the needed supplies for the clock.
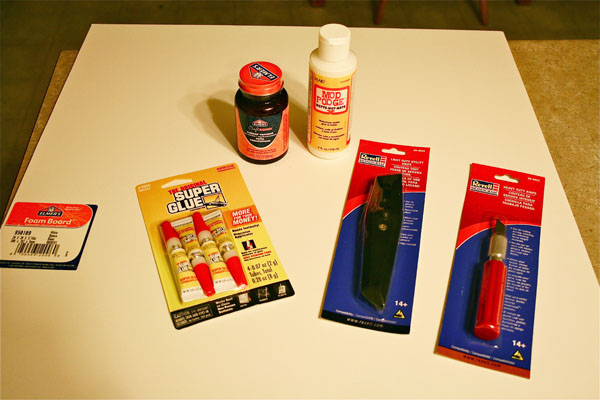
This is our bounty:
- Typical sheet of white foam core in standard size and depth
- Two different kinds of blades – A box cutter and an exacto knife for the precision trimming/cutting
- A jar of rubber cement (YAY!)
- Some matte finish Mod Podge for sealing everything
- (Sorry…the Super Glue was actually purchased for John’s new RC car – Didn’t mean to put it in the shot. Oops!)
Total cost was about $20 for all of it. Yes, that’s more than the $12.50 I spent on the clock, but my justification is that I can re-use ALL of these supplies for future projects 🙂 So really it’s just a fraction of that final cost…If you REALLY think about it.
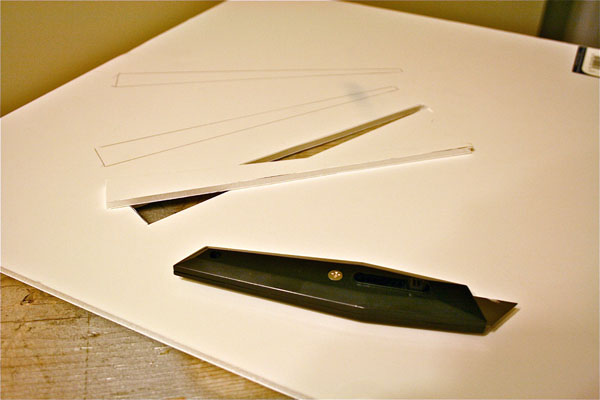
So the first step was to trace one of the real spokes onto the foam core three times and then cut each out with the box cutter.
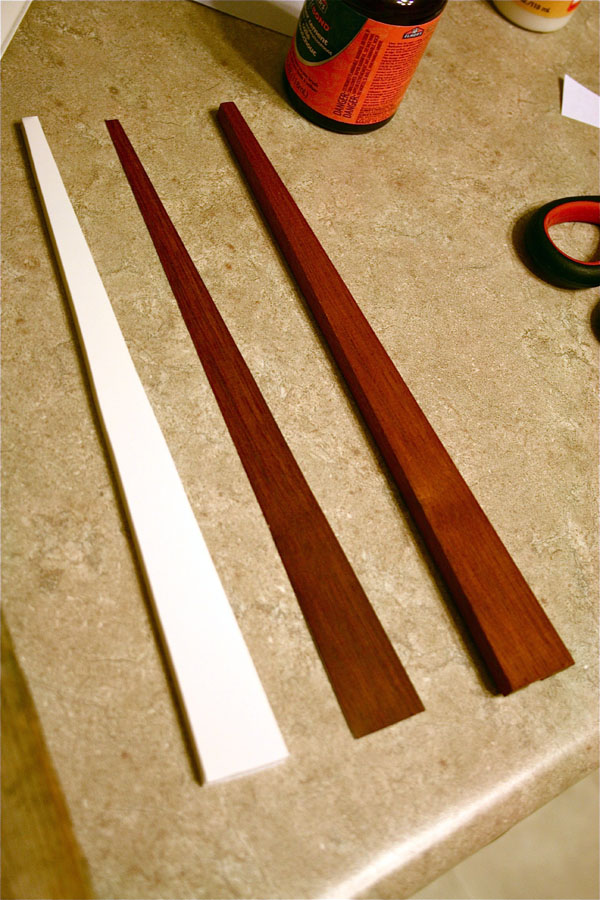
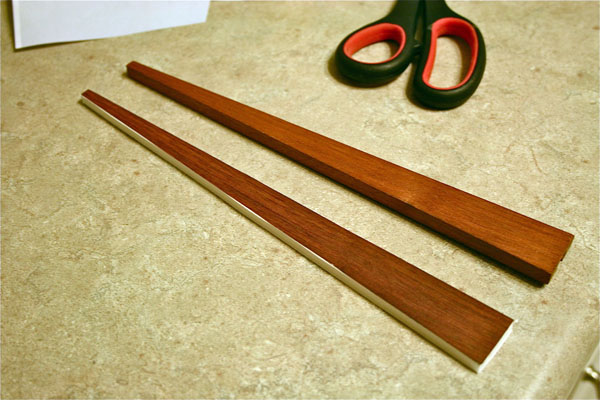
Then I carefully cut out the 3 “faux spoke” photocopies I had made earlier. Here’s a shot of all the pieces laid out (all two of them) sitting next to the real spoke. The color copy ended up being slightly darker and a deeper brown color than the real one, but I hoped it would blend in once up on the wall.
Then I just used the rubber cement to glue the paper copy onto the foam core backing and voila!
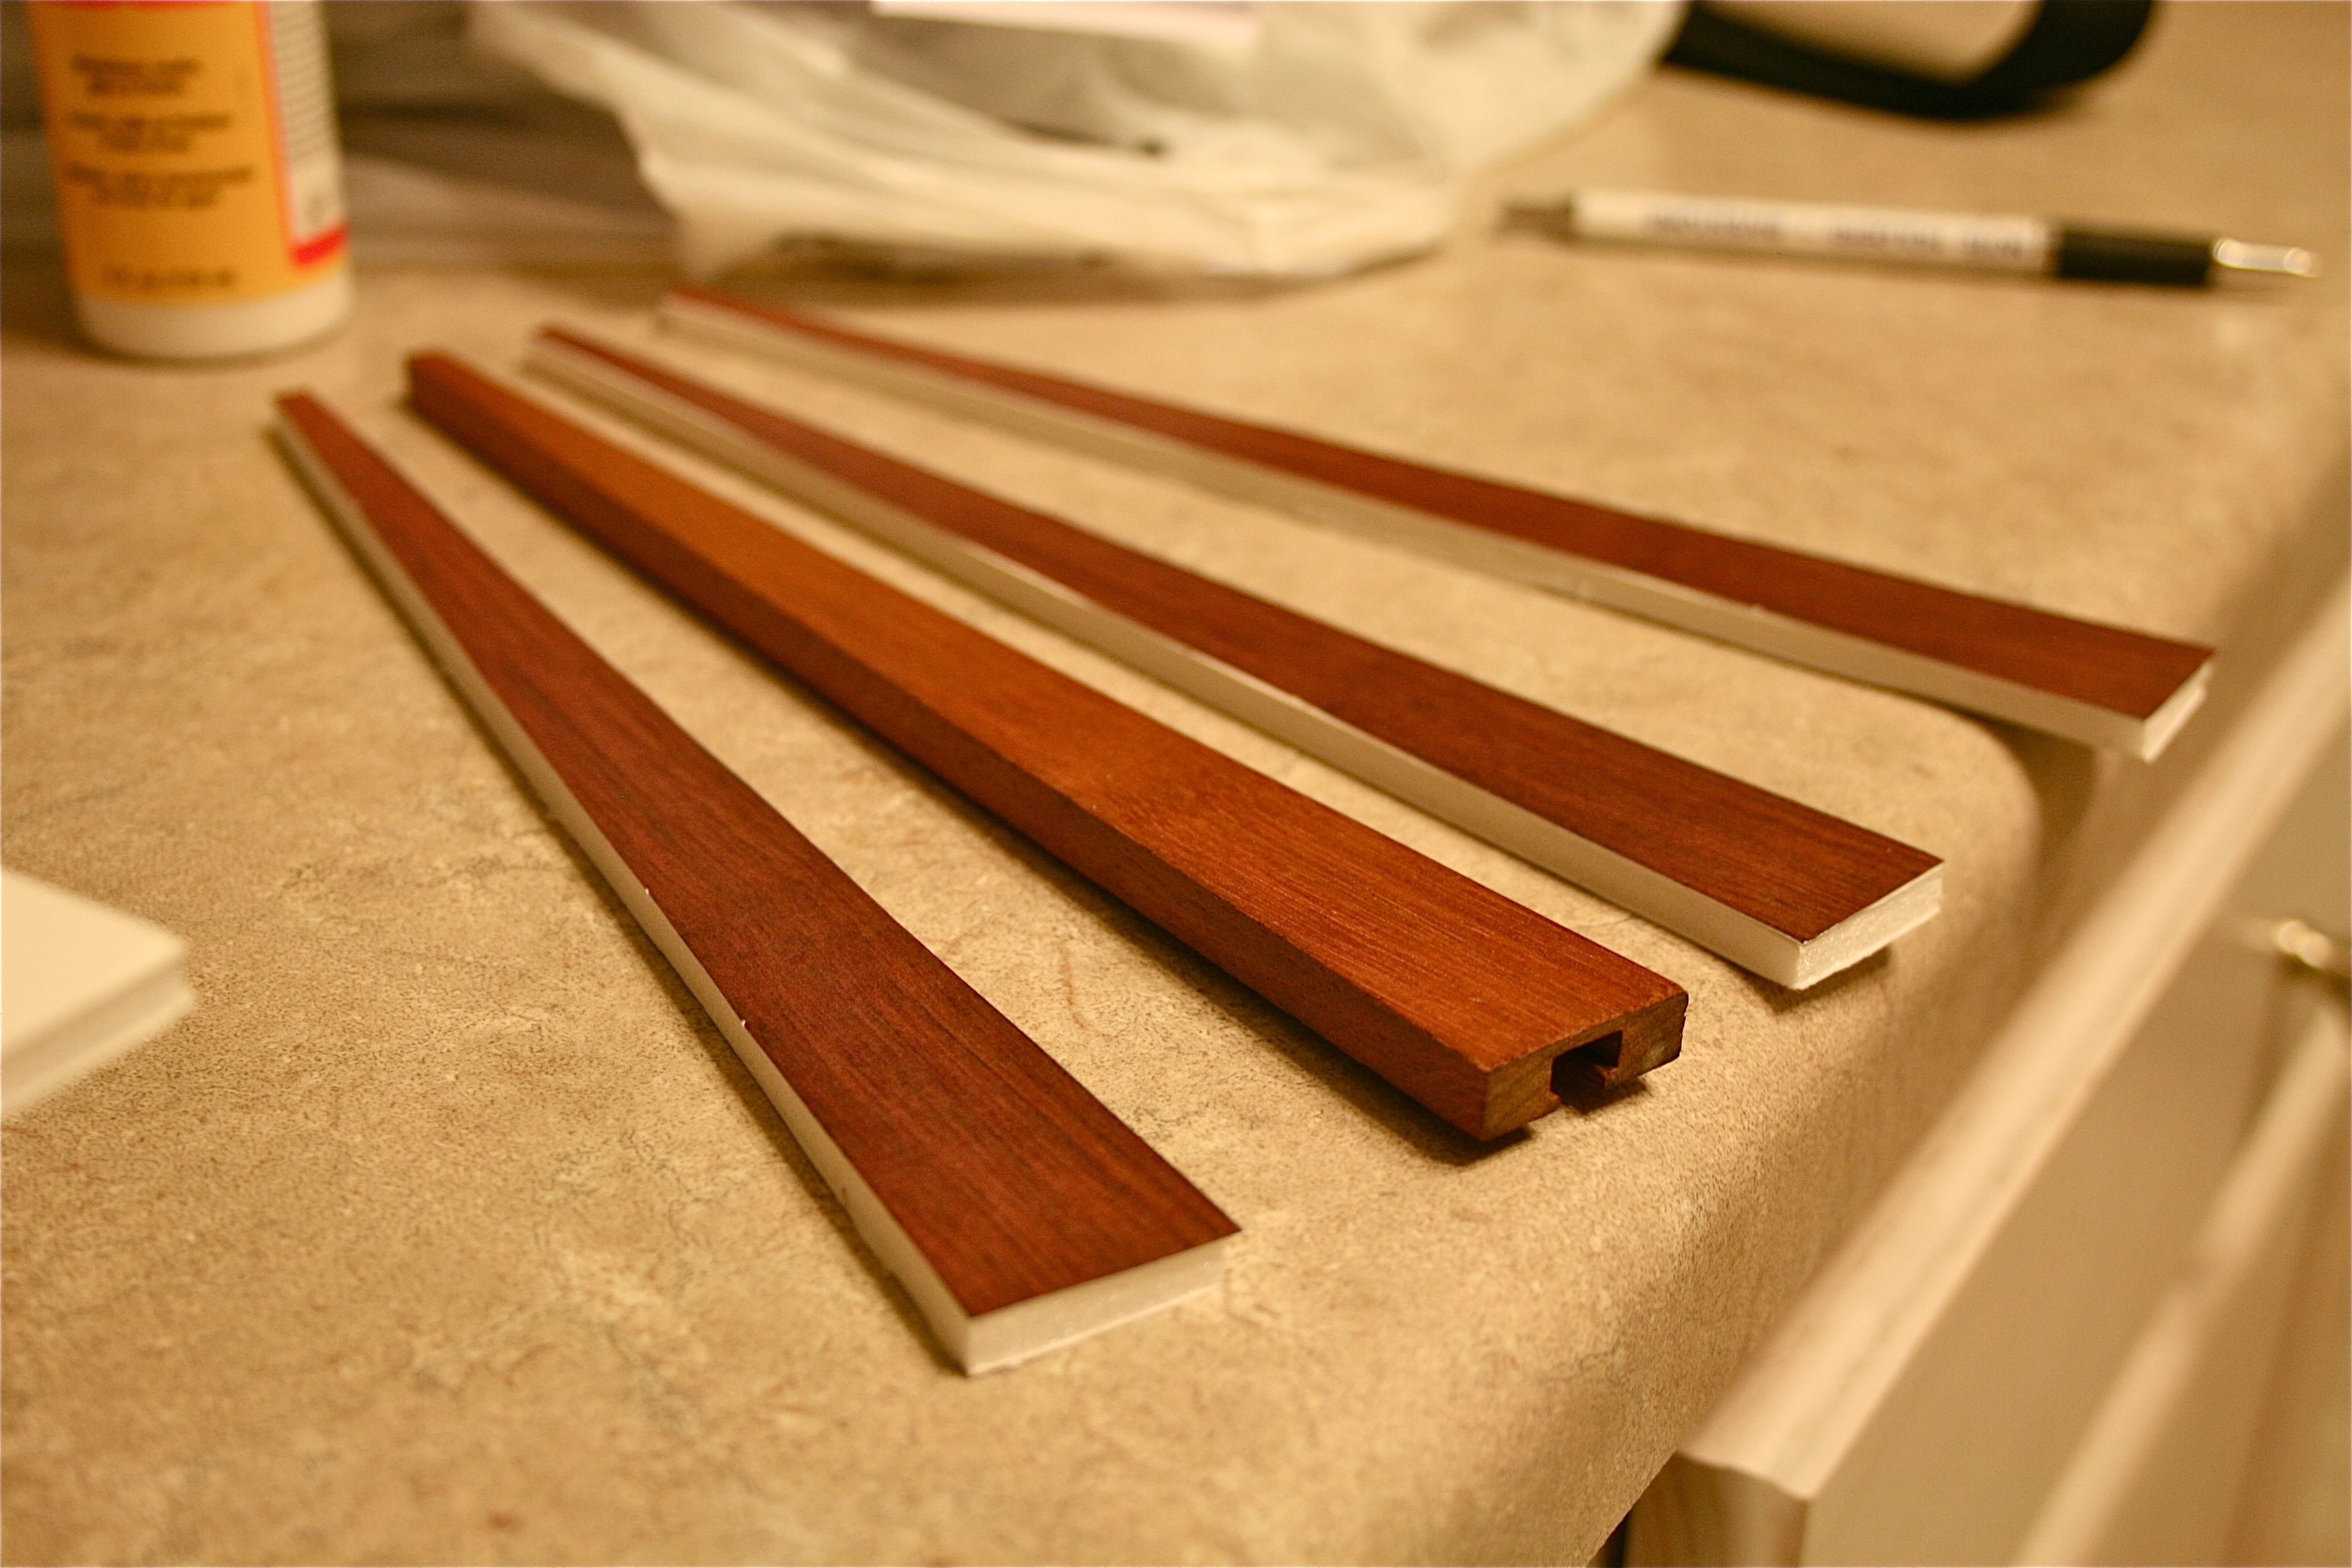
Here are all three of the finished “faux spokes” next to the real one – You can really only tell when you see the white underparts…
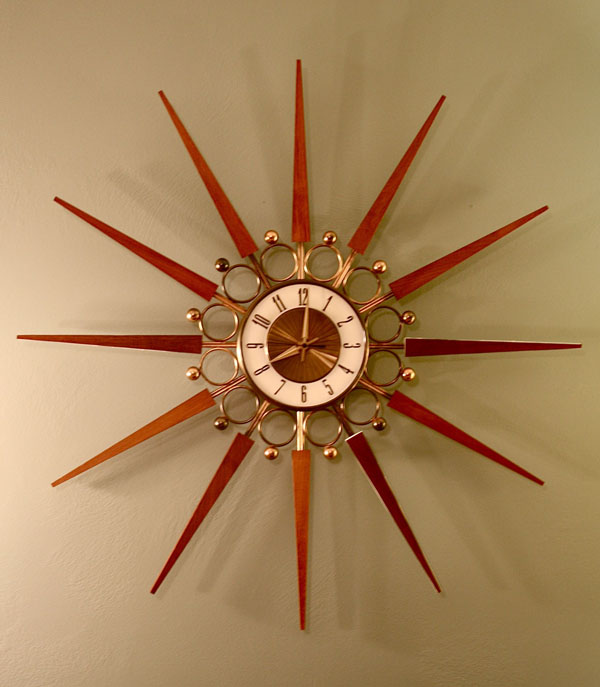
And here, my friends, is the final product up on the wall!!!!
I actually just used some masking tape to attach the faux spokes to the metal arms for the photo – I’m planning on using the exacto knife to precision-trim the edges, painting the exposed white undersides of the foam core the same brown hue as the real wooden ones, sealing it all with the Mod Podge and then hot gluing the foam core to the arm. Although, I’m thinking it doesn’t look half bad as is!!!!!!
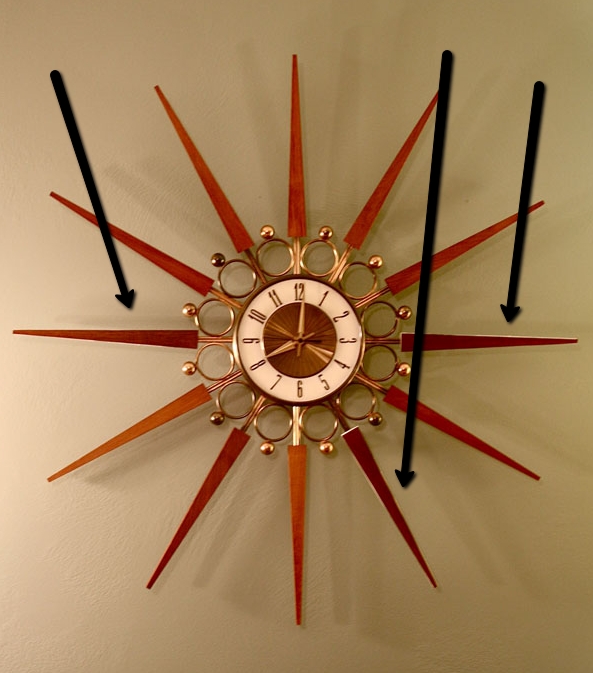
Can you tell which ones are the imposters? Probably…But here’s a diagram just to make me feel better that they are that realistic looking 🙂
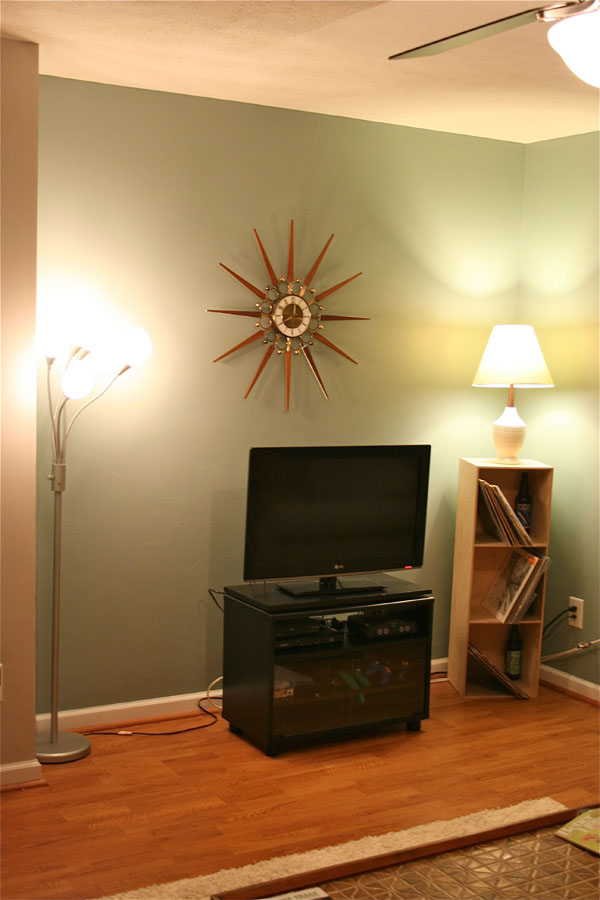
Here’s a shot of it from far away perched over the TV (can’t wait to find a mid-century sideboard for the TV, btw…No offense to John’s “bachelor” TV stand though!)
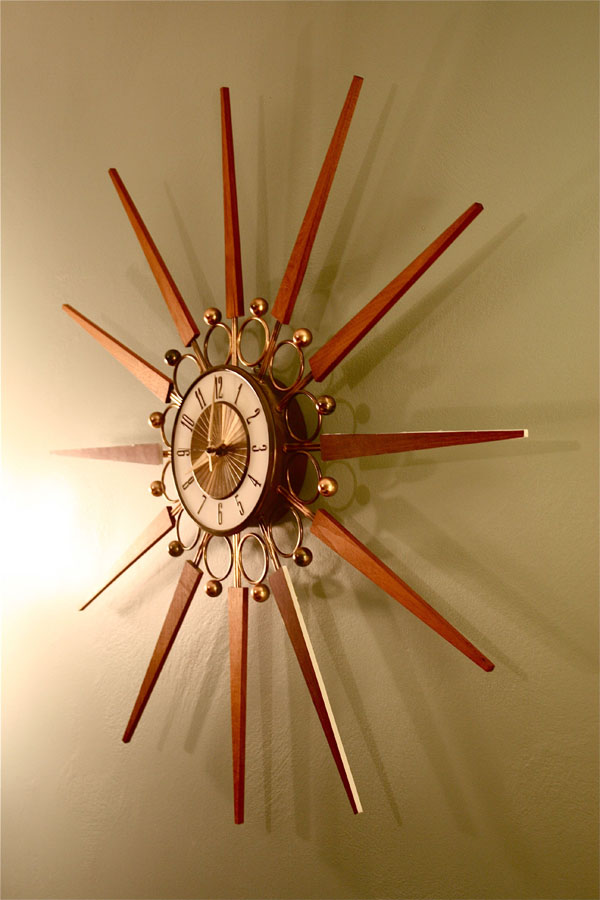
And then from the side – You can DEFINITELY see the faux spokes from this angle…
All-in-all, I was pleasantly surprised by how cheap, quick and easy this whole redo was! And I’m thrilled to have the clock “restored” to its full glory 🙂

