So I definitely had the urge to start this post with something like “Okay, today’s lesson will involve…”, something teacher-ly…
Brings me back to the days when I was 7 and used to sit my little 4-year-old sister, Kat, down on pillows in my bedroom so that I could teach her about the new math problems I learned in school. Leaning the giant white board our dad had somehow snagged from work up against the wall, I would go through the steps as though I was Mrs. Bourne. Kat would be equipped with her own little stack of notebook paper and would do her best to follow my expert chaotic instructions on the art of a mathematic matrix.
Mom was so thrilled with our little school play time, that she picked up a whole stack of used textbooks at a yard sale for us to have at. It even came with the coveted TEACHER’S EDITION so that I had all the answers!!! Probably the highlight of my childhood…(am I lame or what?!)
But I digress.
Since I don’t have a big white board to go over the how-to on this project, I’ll settle for this happy little blog and it’s numbered-list ability 🙂
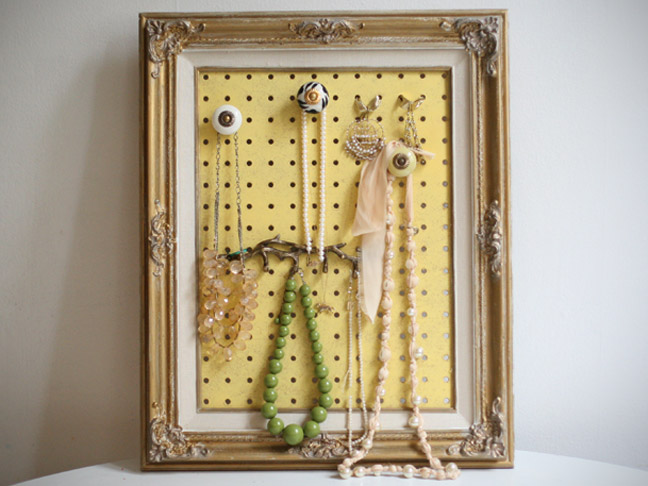
The idea for this project initially came from a leisurely “scroll” through the Craft Gawker website (see what I did there? Man, I’m on fire with the lame-ness today!). While there, I came across this photo:
I have a growing collection of necklaces that is quickly making the wall next to the sink at my apartment look like it has colorful dreadlocks growing out of it with a jesus piece necklace at the very top, of course. As of now, I’ve kept the (color coordinated) necklaces organized and as untangled as possible using three large plastic hooks adhered to the wall using 3M tape strips. But when I take the leap and move in with John in June (yes, the plans are now set and rolling!), I knew I was going to try to come up with a more presentable solution. When I saw the photo above, I knew I just had to have it…(or better yet, make it!)
Items needed:
- Old empty frame
- Collection of antique drawer pulls/knobs in various colors and textures
- Peg board
- Saw to cut the peg board to size
- Hardware to attach the knobs to the peg board (usually it comes with the knobs, but may need to be adjusted for the depth of the peg board…See issues discussed below later in the post)
- Hardware to hang the finished organizer (I ended up just using screws in the wall that lined up with the holes in the peg board)
- A whole heck-of-a-lotta necklaces in all lengths and colors 🙂
So we made a trip downtown a few weeks ago to the Estate Specialist in search of a frame. It took about .5 seconds for me to find the perfect one! She was on top of a huge caged-in heap of empty frames in the dark basement of the building. But I knew the second I saw her that she was perfect…Even the owner commented on how nice a frame it was when we got to the cash register.
I was glowing when we drove home, the frame hugged lovingly in my arms (this was several weeks ago so I’m HOPING this is an exaggeration, but you never know…I tend to get over excited with thrift store finds)
We already had the peg board needed for the project so I just held my breath until we had a spare hour or two to work on it.
But then a week or so later, John pulled one of his “I’m-the-coolest-most-thoughtful-boyfriend-in-the-world” tricks and went ahead and put it together for me! He took a saw to the peg board and cut it to fit the back/inside of the already-empty frame and voila! All ready to go!
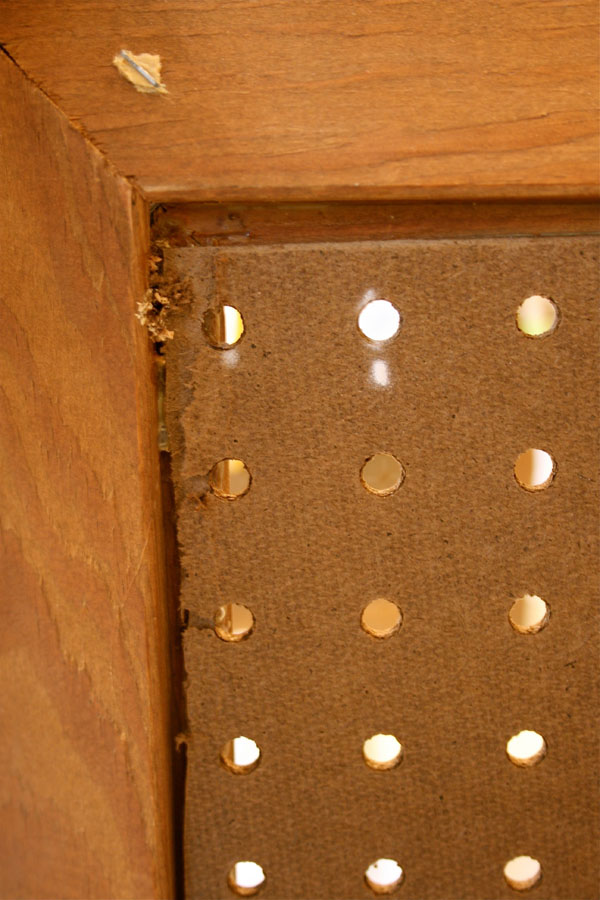
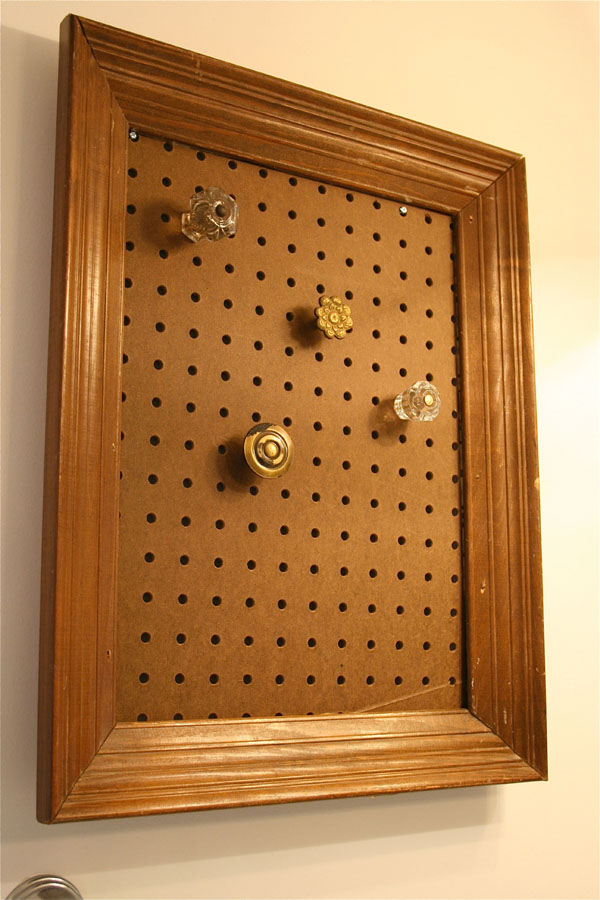
Sorry…I didn’t get a shot of it mid-project (need to get better about that). But here’s one of the “after” shots that shows the detail of the construction without giving away the final result!
As you can see, the peg board backing doesn’t have to be perfect since it’s hidden behind the frame – Carrie’s “Looks” needs are met and John’s “Practical Construction Method” needs are met. Everyone’s happy…
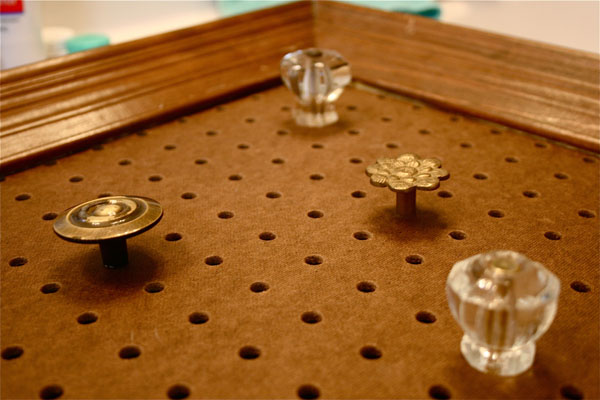
So then it was time to find the knobs…I wanted to find a pretty good mixture – colored ones, glass ones, metal ones, etc. But apparently these are also THE HARDEST THINGS TO FIND IN LYNCHBURG (see the last post on elusive 1/2″ masking tape to understand the anger here).
Although I was hoping to find REAL antique drawer pulls, I gave up after going to all of my go-to thrift stores in the area with no luck. I found 4 new ones that I liked at 2 different hardware stores downtown and was relatively placated. After getting over the disappointment, I now ADORE the knobs I found and couldn’t be happier.
Getting those suckers on there though proved to be a nightmare (and one of the few times that John and I have had a frustrated need-to-walk-away-from-the-project arguments…Live and learn, babe!!!). Basically, the hardware that came with the knobs was drawer-depth, which obviously is much deeper than the super thin peg board…
After whipping out some bolt cutters (and a night of backing away from the project for the sake of our relationship), we got everything in place and ready to go!
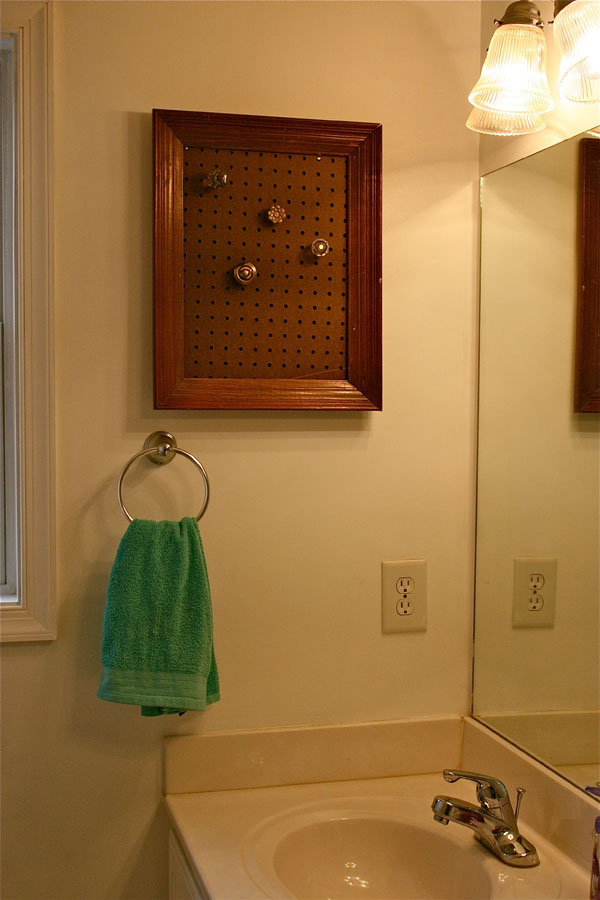
Here it is up on the wall next to “my” sink in the master bathroom without necklaces:
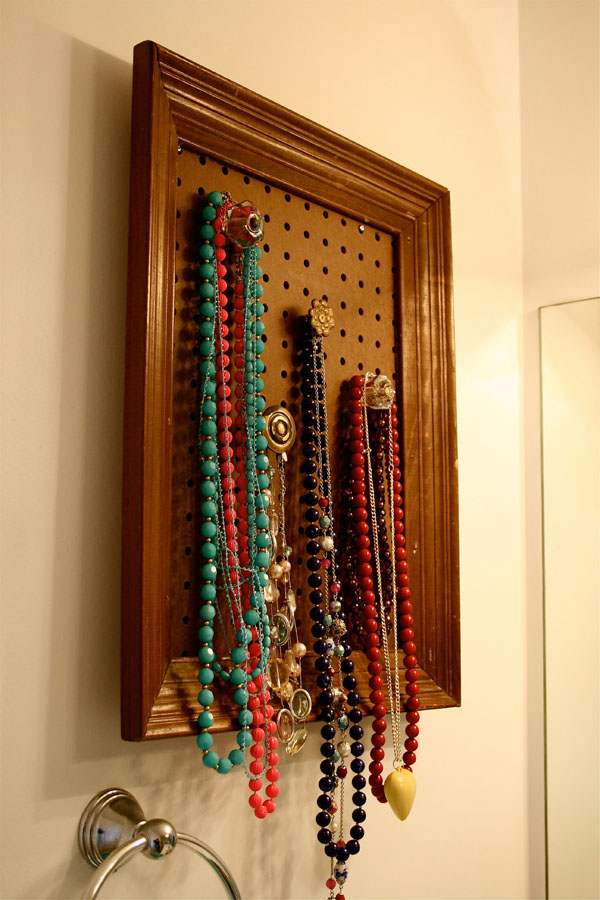
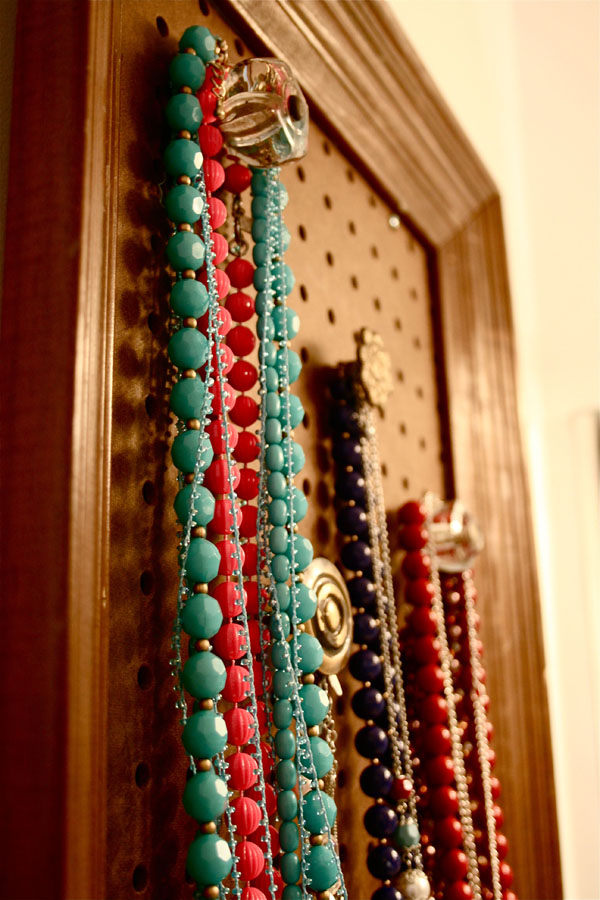
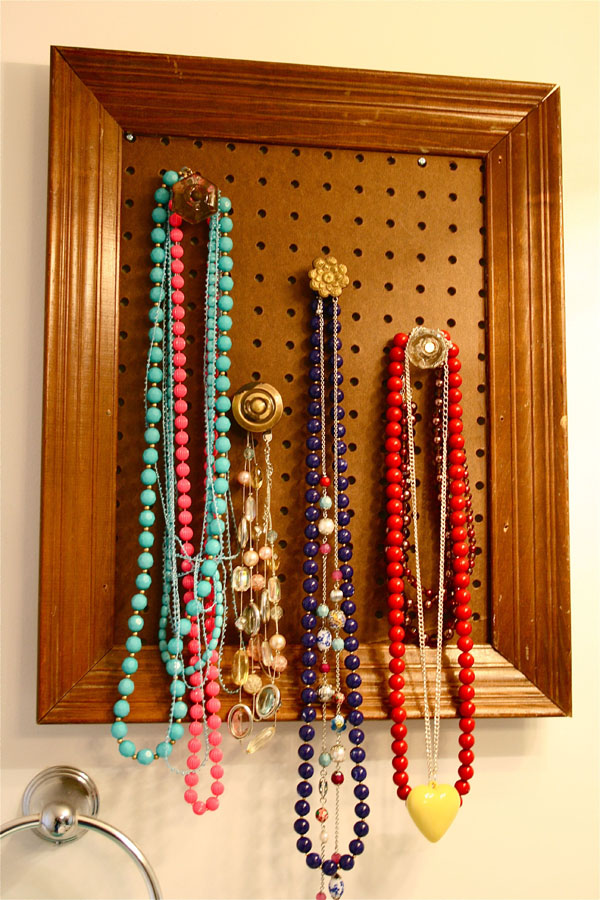
And now WITH my colorful bounty of (about a quarter of) my necklace collection!
What do we think? Should I paint it? The peg board in the inspiration photo is painted yellow – I don’t think I’d paint the frame since it’s so lovely and antique, but I’m open to painting the peg board! We’ll see…
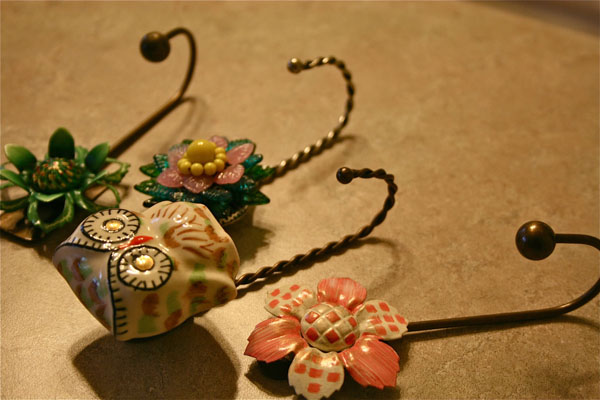
Now what to do with the other 15-20 necklaces I own…I’m planning on taking care of that by using these little hooks that we picked up a couple of weekends ago on a day trip to Richmond.
I think they’d look great attached to an old weathered piece of wood – John’s keeping an eye out for an beat-up pallet for me to rip apart. Keeping my fingers crossed!!!
Class dismissed 🙂
P.S. Wanna see how I’m keeping my earrings organized now too? Click on over to this post for an update!
(Image Credit for inspiration photo of framed jewelry organizer – The blogger who supplied said image also gives a FABULOUS how-to on the project!)

